Tuesday’s Tips & Tricks: Winding Your Bobbin
The bobbin is the tiny spool of thread that fits in the lower part of your sewing machine. Some pop into the front of the base, while others drop in from above. These bobbins must be wound with thread that matches your main thread. It’s an easy process, but always double-check your manual to be sure you’re doing it right for your machine.
Winding Your Bobbin
Before you can load your bobbin, you first need to put thread on the spool. This should match your top thread—indeed, you use the top spool of thread to wind your bobbin. Here’s how.
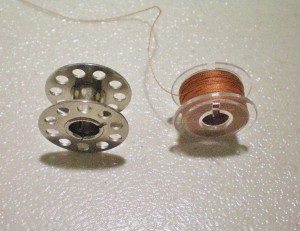
Take a look at your bobbin. Some are made of metal, while others are plastic. Metal bobbins are more durable, but plastic ones are lighter and cheaper. I have had plastic bobbins crack and break, however, so be aware of the downsides before choosing.
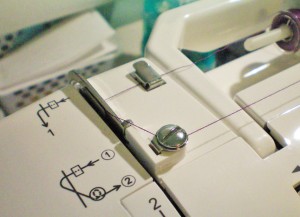
Place your thread onto the main spindle, but don’t thread your machine. Instead, look at the thread guide over on the left. Nearby should be a small bobbin winding tension disk. If there are arrows, follow them. The thread should wrap around this disk and then cross back over to where the bobbin’s spindle is. Depending on the machine, it may also pass through a tension hook.
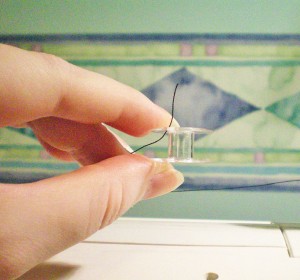
If you look at your empty bobbin spool, you’ll notice tiny holes along the top. There may be holes all around, or there may just be one or two. If there are two holes of varying size, choose the larger hole. Otherwise, pick one at random. Take the thread from your main spool of thread and slip the end through the hole on your bobbin from underneath.
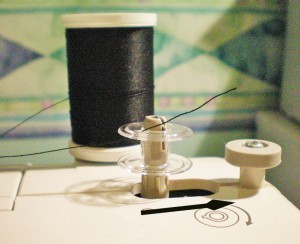
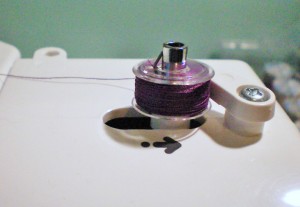
Holding onto the tail of thread so it doesn’t slip loose, slide the bobbin onto the bobbin spindle. What happens next varies between machines. With many machines, the bobbin spindle slides to the right, locking into place. That disengages the motor, so that when you step on the foot pedal, instead of making the needle move, it spins the bobbin spindle. On an older machine I once used, instead of sliding the bobbin spindle over, you had to twist the outer ring of the hand-wheel, which disengaged the engine and allowed you to thread your bobbin. Read your manual to see what method it uses for this.
When you’re ready, keep hold of the thread tail with one hand and gently step on your foot pedal. Ease into it, until you’re going about 3/4 speed. Release the tail once the thread has wrapped around the spool several times. The thread leading from the tension disk should move up and down as it winds. This is how it winds evenly onto the bobbin, instead of having the thread clumped at one end. If you find that yours isn’t winding evenly, you can reach up and gently lift the thread, helping it move up and down.
Most bobbins will stop automatically once the spool is full. Keep an eye on your main spool of thread, however. If it starts getting low, you may choose to stop prematurely, so that you’ll have enough thread to finish your project. If you have a large project, it’s best to buy at least two spools of thread, so that you have one for winding your bobbins and one for sewing with.
Once your bobbin is full, cut the thread, slide the bobbin back to the left, and remove it. Trim the thread tail from the hole, so that it won’t get tangled when you’re sewing.
~~*~~
In the next installment, we’ll look at how to thread your bobbin and test its tension.

