
(Click any illustration to view the full-sized image.)
There are three pieces of furniture every sewing room needs:
- Sewing Table
- Cutting Table
- Pressing Station
It’s fine to build your collection as you’re able, rather than investing in several pieces of furniture all at once. My sewing table, for example, is an extremely sturdy folding table that’s served me well for a long time.
A couple years back, I bought a great cutting table, which has pop-up leaves at either end to extend the length, and cubbies underneath for storage.
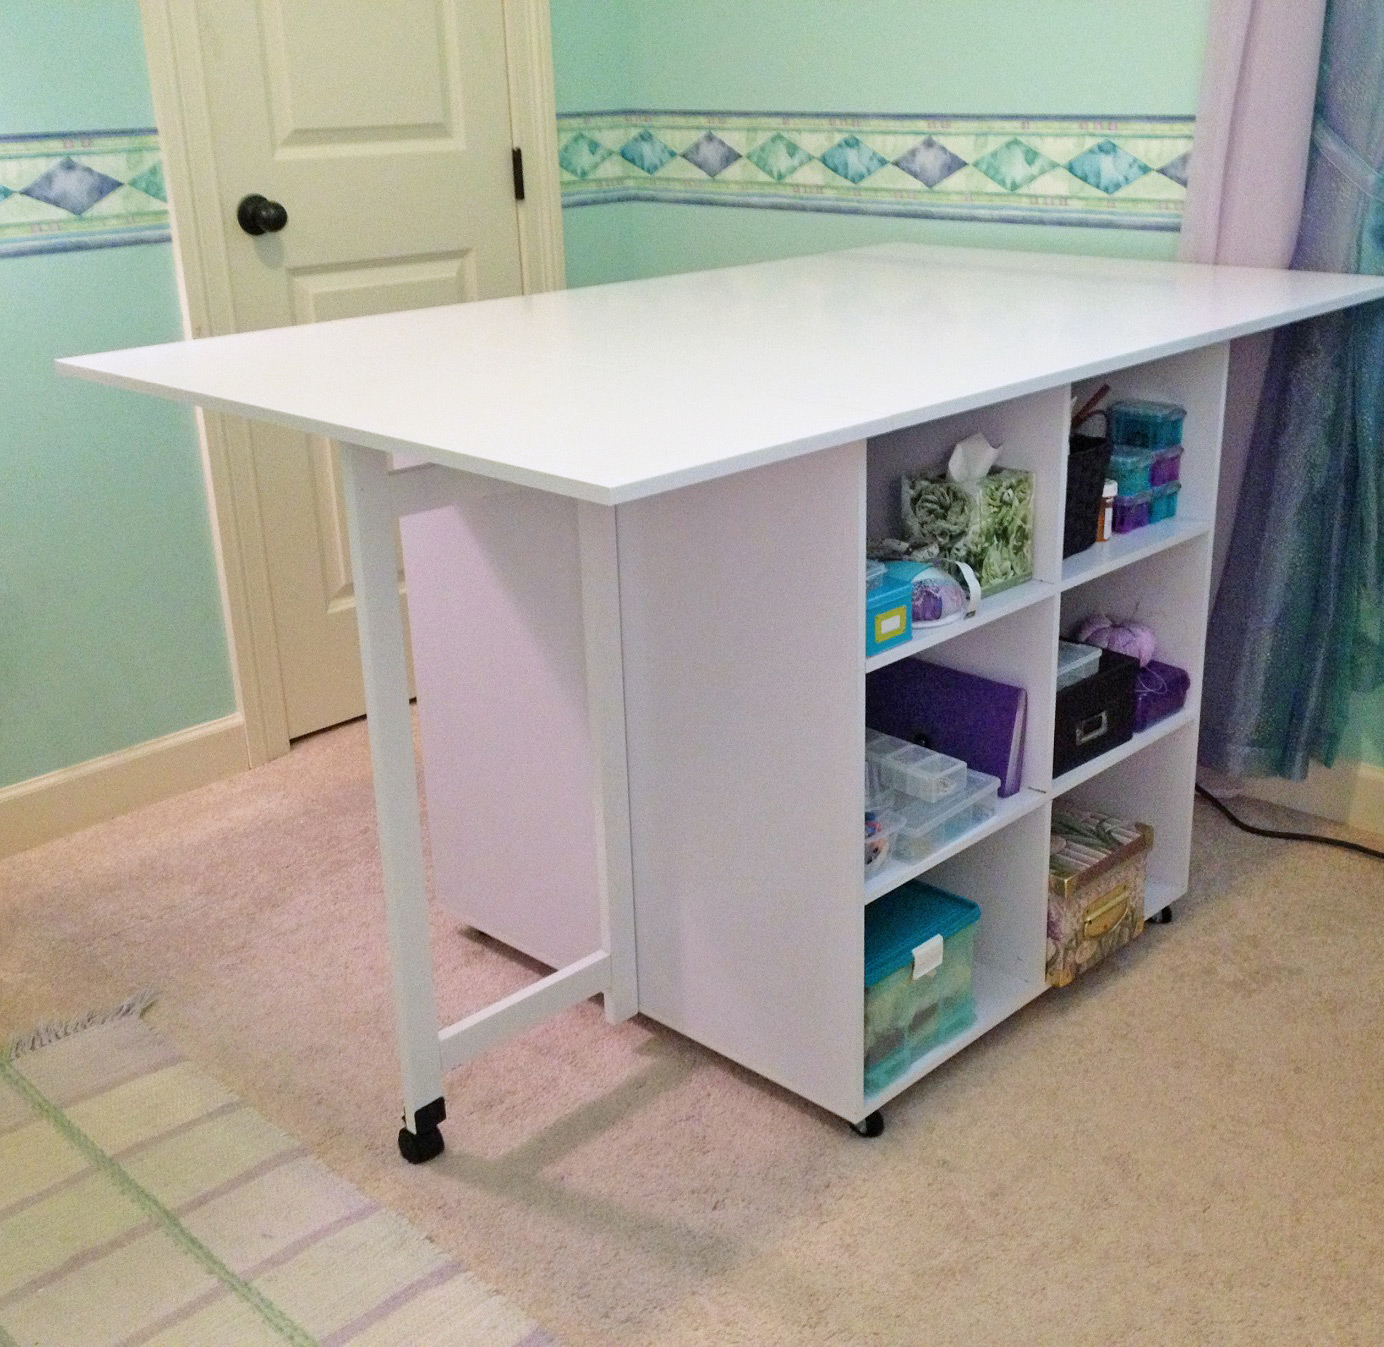
My Cutting Table
As for my pressing station, I’ve made do for a long time with a basic ironing board, but I’ve been unhappy with it. Because of the X-design of the legs, I can’t store much underneath the ironing board, and since it takes up about two-thirds of one wall in my sewing room, that’s a lot of wasted space.
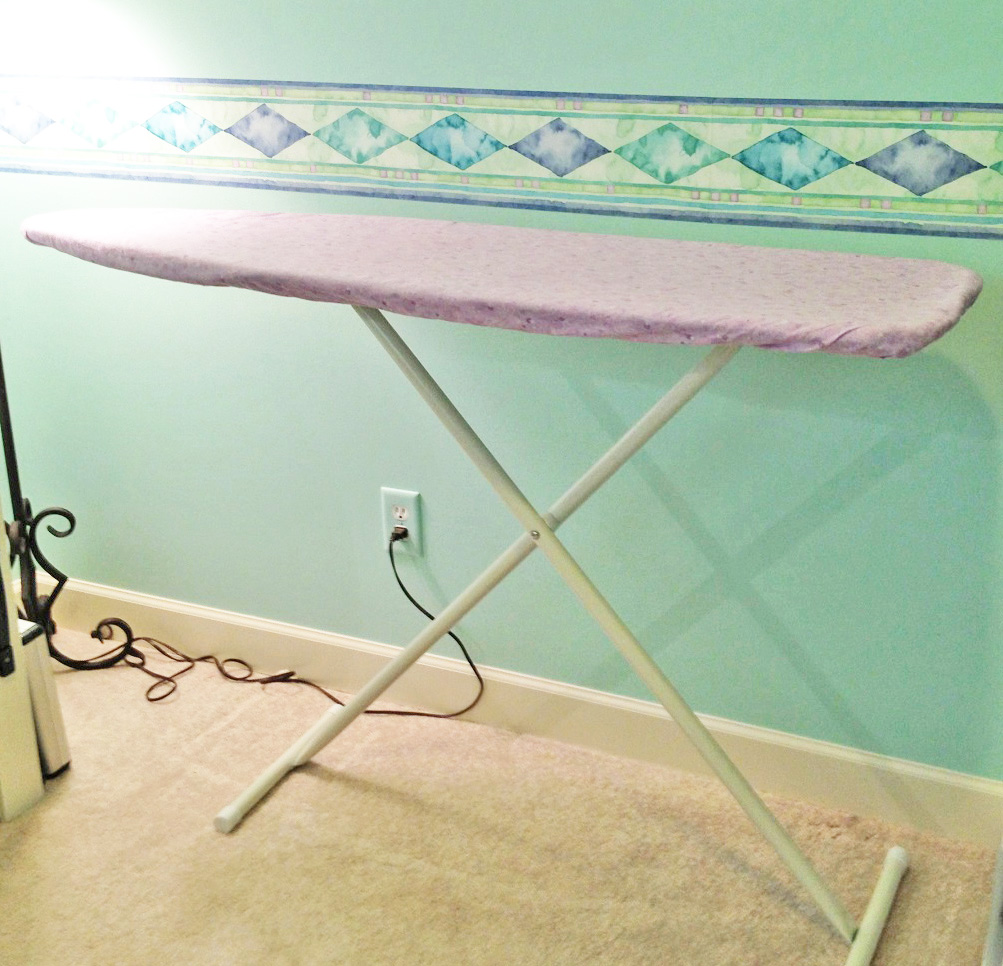
My Ironing Board
When I stumbled across a blogger’s design for a DIY pressing station, I knew this was the solution I’d been looking for. There are plenty of examples to be found on Pinterest. Here’s just a few.
Many quilters, dressmakers, and crafters have husbands or friends who are skilled in carpentry, so they’re able to have custom pressing stations built. I knew I’d never convince my hubby to tackle a project of such magnitude, so I figured I’d build one using a pre-made cabinet as the base.
Supplies
- Cabinet, Cupboard, Dresser, Bookcase, etc. (35 ½” to 36″ tall)
- Sheet of Wood (½” to ⅝” thick)
- Wood Trim (½”)
- Insulated (Heat-Resistant) Batting
- Cotton Batting
- Cotton Fabric, 2 yards
- Cotton Twill Tape
- Elmer’s White Glue
- Ratchet-style Screwdriver
- Hacksaw
- Measuring Tape
- Ruler
- Pencil
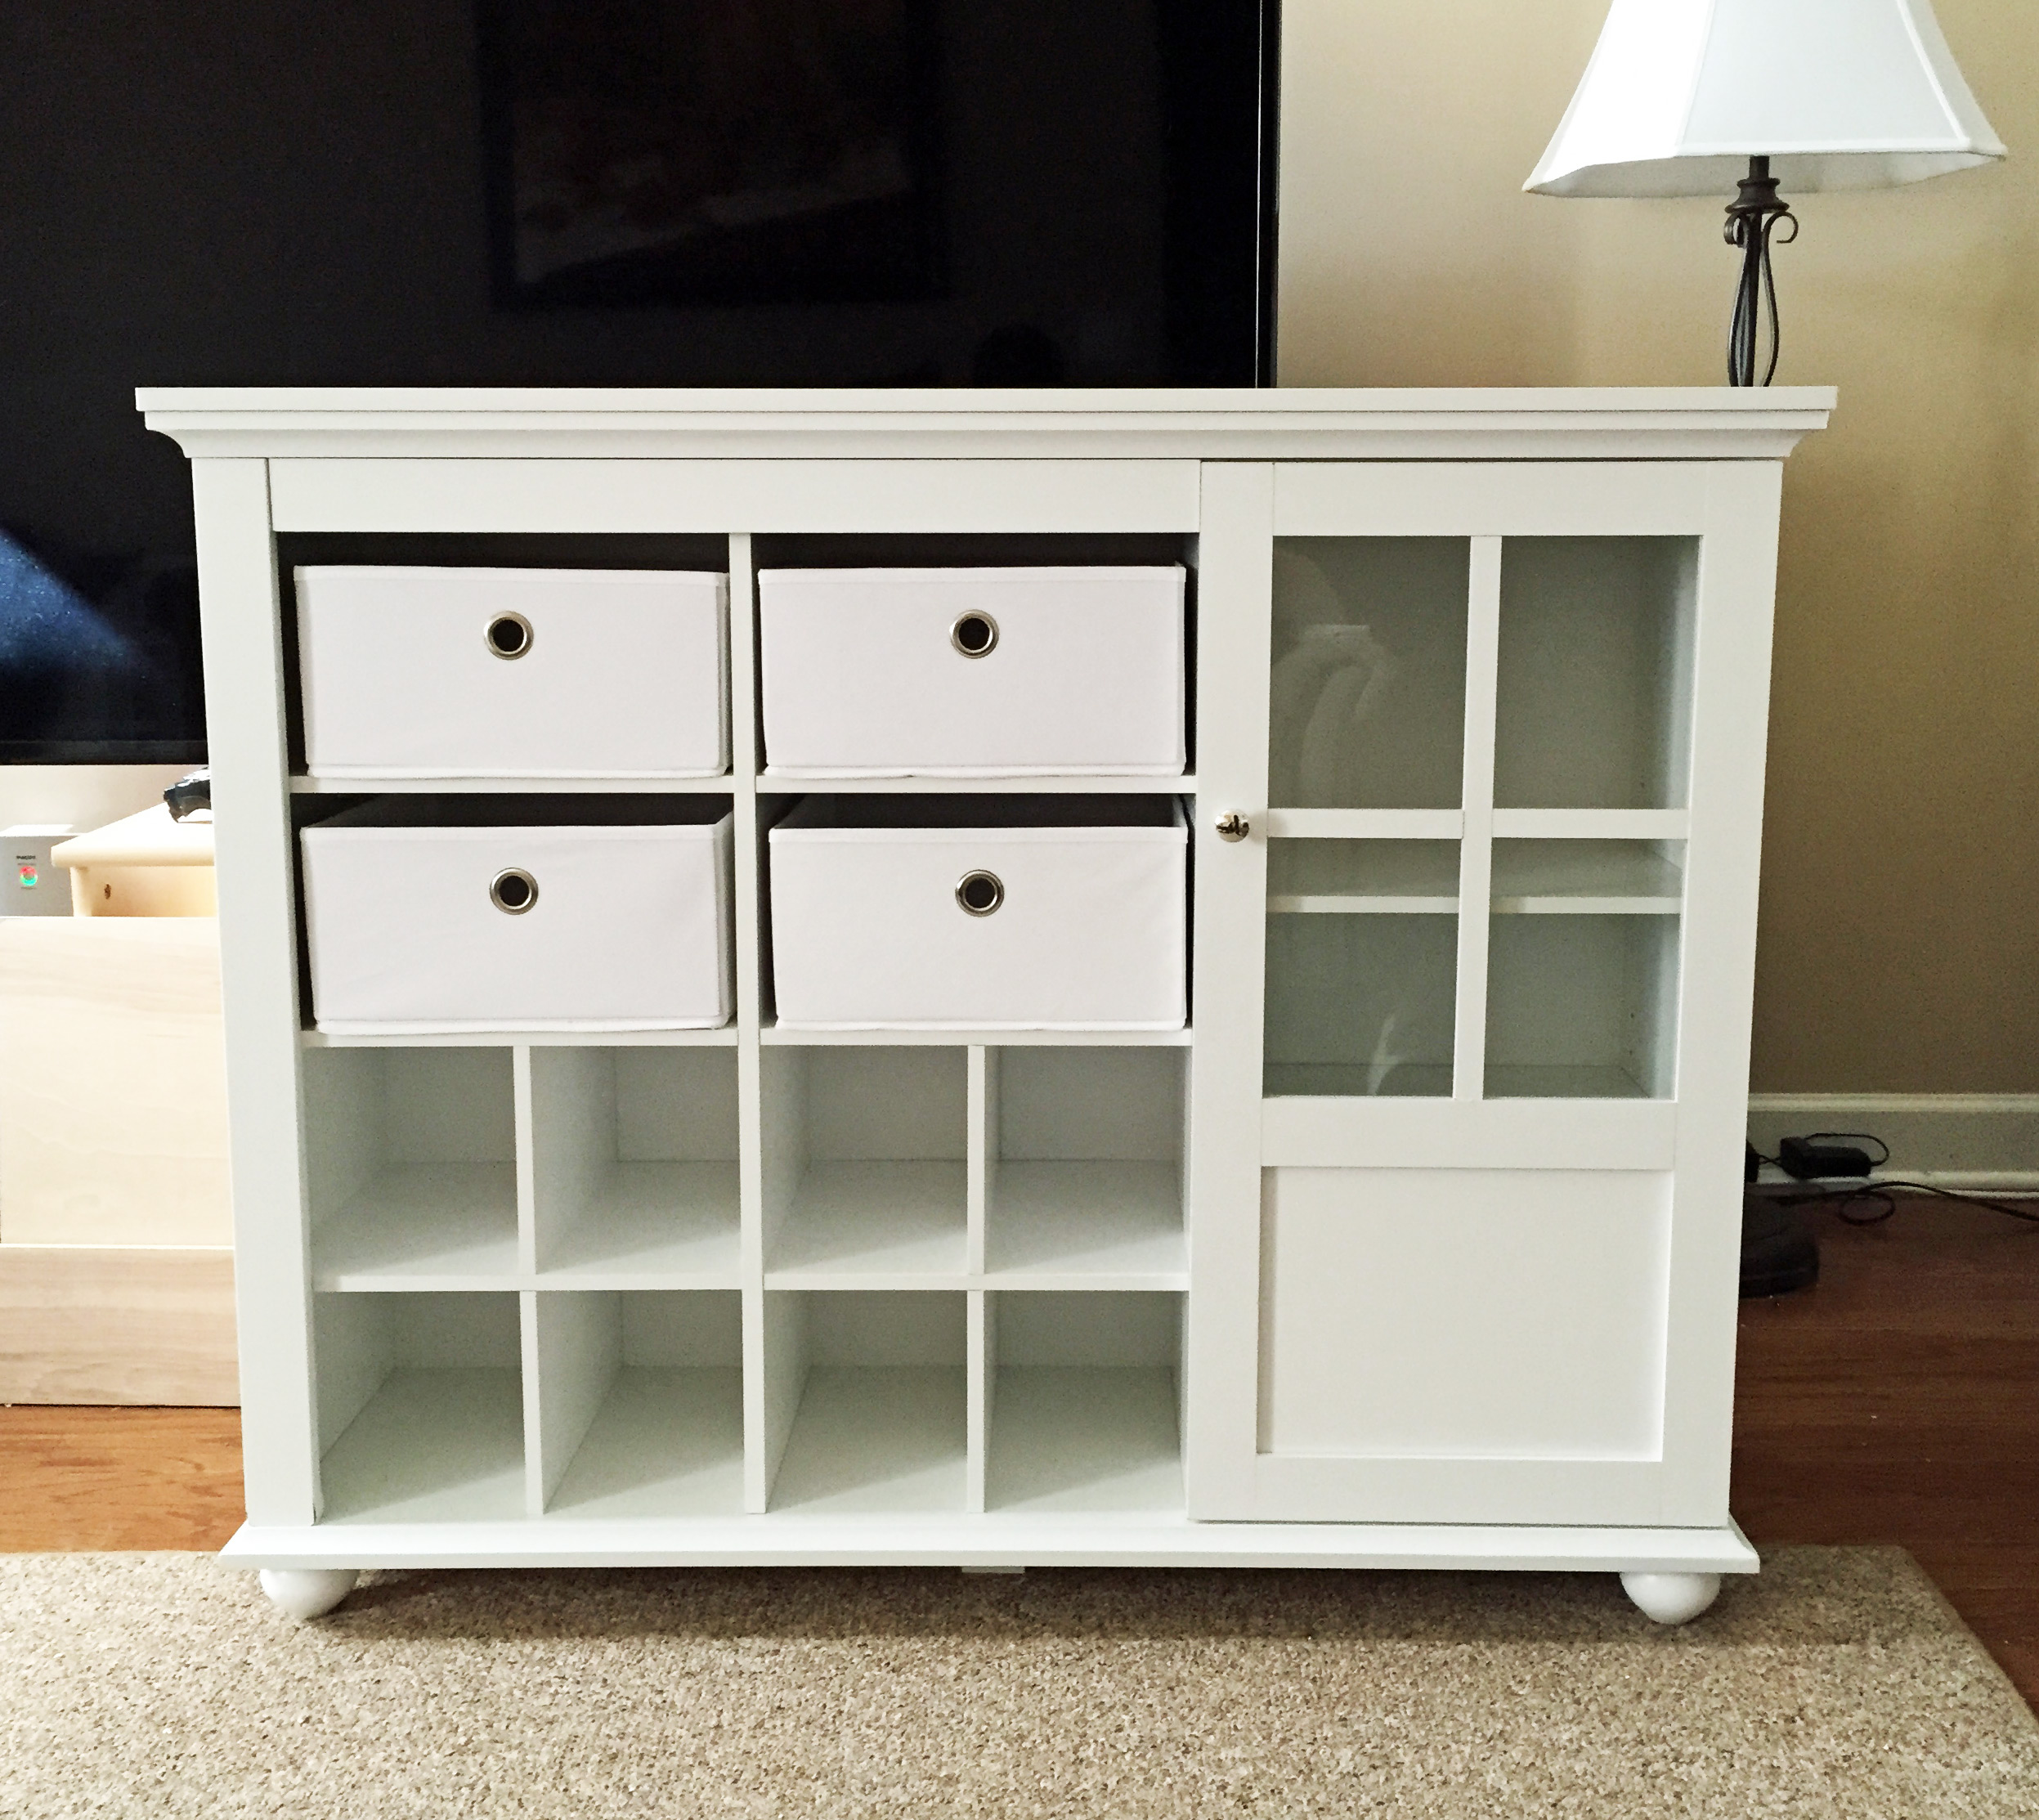
I wasn’t picky as to the type of base—I looked at all sorts of different storage units: bookcases, small dressers, bathroom cabinets, etc. Unfortunately, most were either shorter than I needed, wider than my space would allow for, or more costly than I was willing to spend. Eventually, I found the Alta Reese Park Storage Cabinet, which I decided would work nicely. I happened to have a gift card to Amazon, so I was able to buy the cabinet for around $100, plus tax.
The cabinet was the largest expenditure for this project. Altogether, I’d say I spent about $175 on the materials, cabinet included.
| (Note: Yesterday’s Thimble is a participant in the Amazon Services LLC Associates Program. Basically, this means if you click a link to an item that Amazon sells, and then buy it, I earn a small fee that helps support this website.) |
Base Cabinet
My husband and I were out at the movies the evening the cabinet was delivered, and for some reason, UPS decided to drop the package off in front of the garage, instead of lugging it up to the porch. Naturally, it rained. Let me tell you, I was furious when we pulled into the driveway and saw the package sitting out in the open, getting soaked! Fortunately, when my hubby opened the box and inspected the contents, nothing seemed to be damaged.
When I first saw how many parts and pieces there were to the cabinet, I was a bit overwhelmed, but the directions were straightforward and it honestly wasn’t that difficult. It took me three days to assemble the cabinet, but I was working on my own, and only able to devote about thirty minutes at a time to the project. Eventually, the cabinet got done!
Assembled Cabinet
Ironing Board
Next, I needed a wooden board to rest on top of the cabinet, to serve as the ironing board. A friend helped me measure the cabinet, along with the space available in the sewing room, so I could figure out exactly what size the board needed to be. I decided on 18″ x 52″, which would make it a few inches longer and wider than the top of the cabinet.
Big-box hardware stores will cut lumber to size for you, so we drove over to Lowes to peruse the lumber aisle. They had many different types of plywood and MDF, but most of them were rough-surfaced, which didn’t appeal to me. Plus, they were considerably larger than what I needed, and you have to pay for the entire sheet of wood, not just the section they cut for you. After some searching, I found a sheet of high-quality birch wood, ½” thick and 48″ long. It was a couple inches shorter than I wanted, but the next size up was a lot more expensive. I had them trim it down to 18″ wide, thereby ending up with a board that’s 18″ x 48″. Close enough!
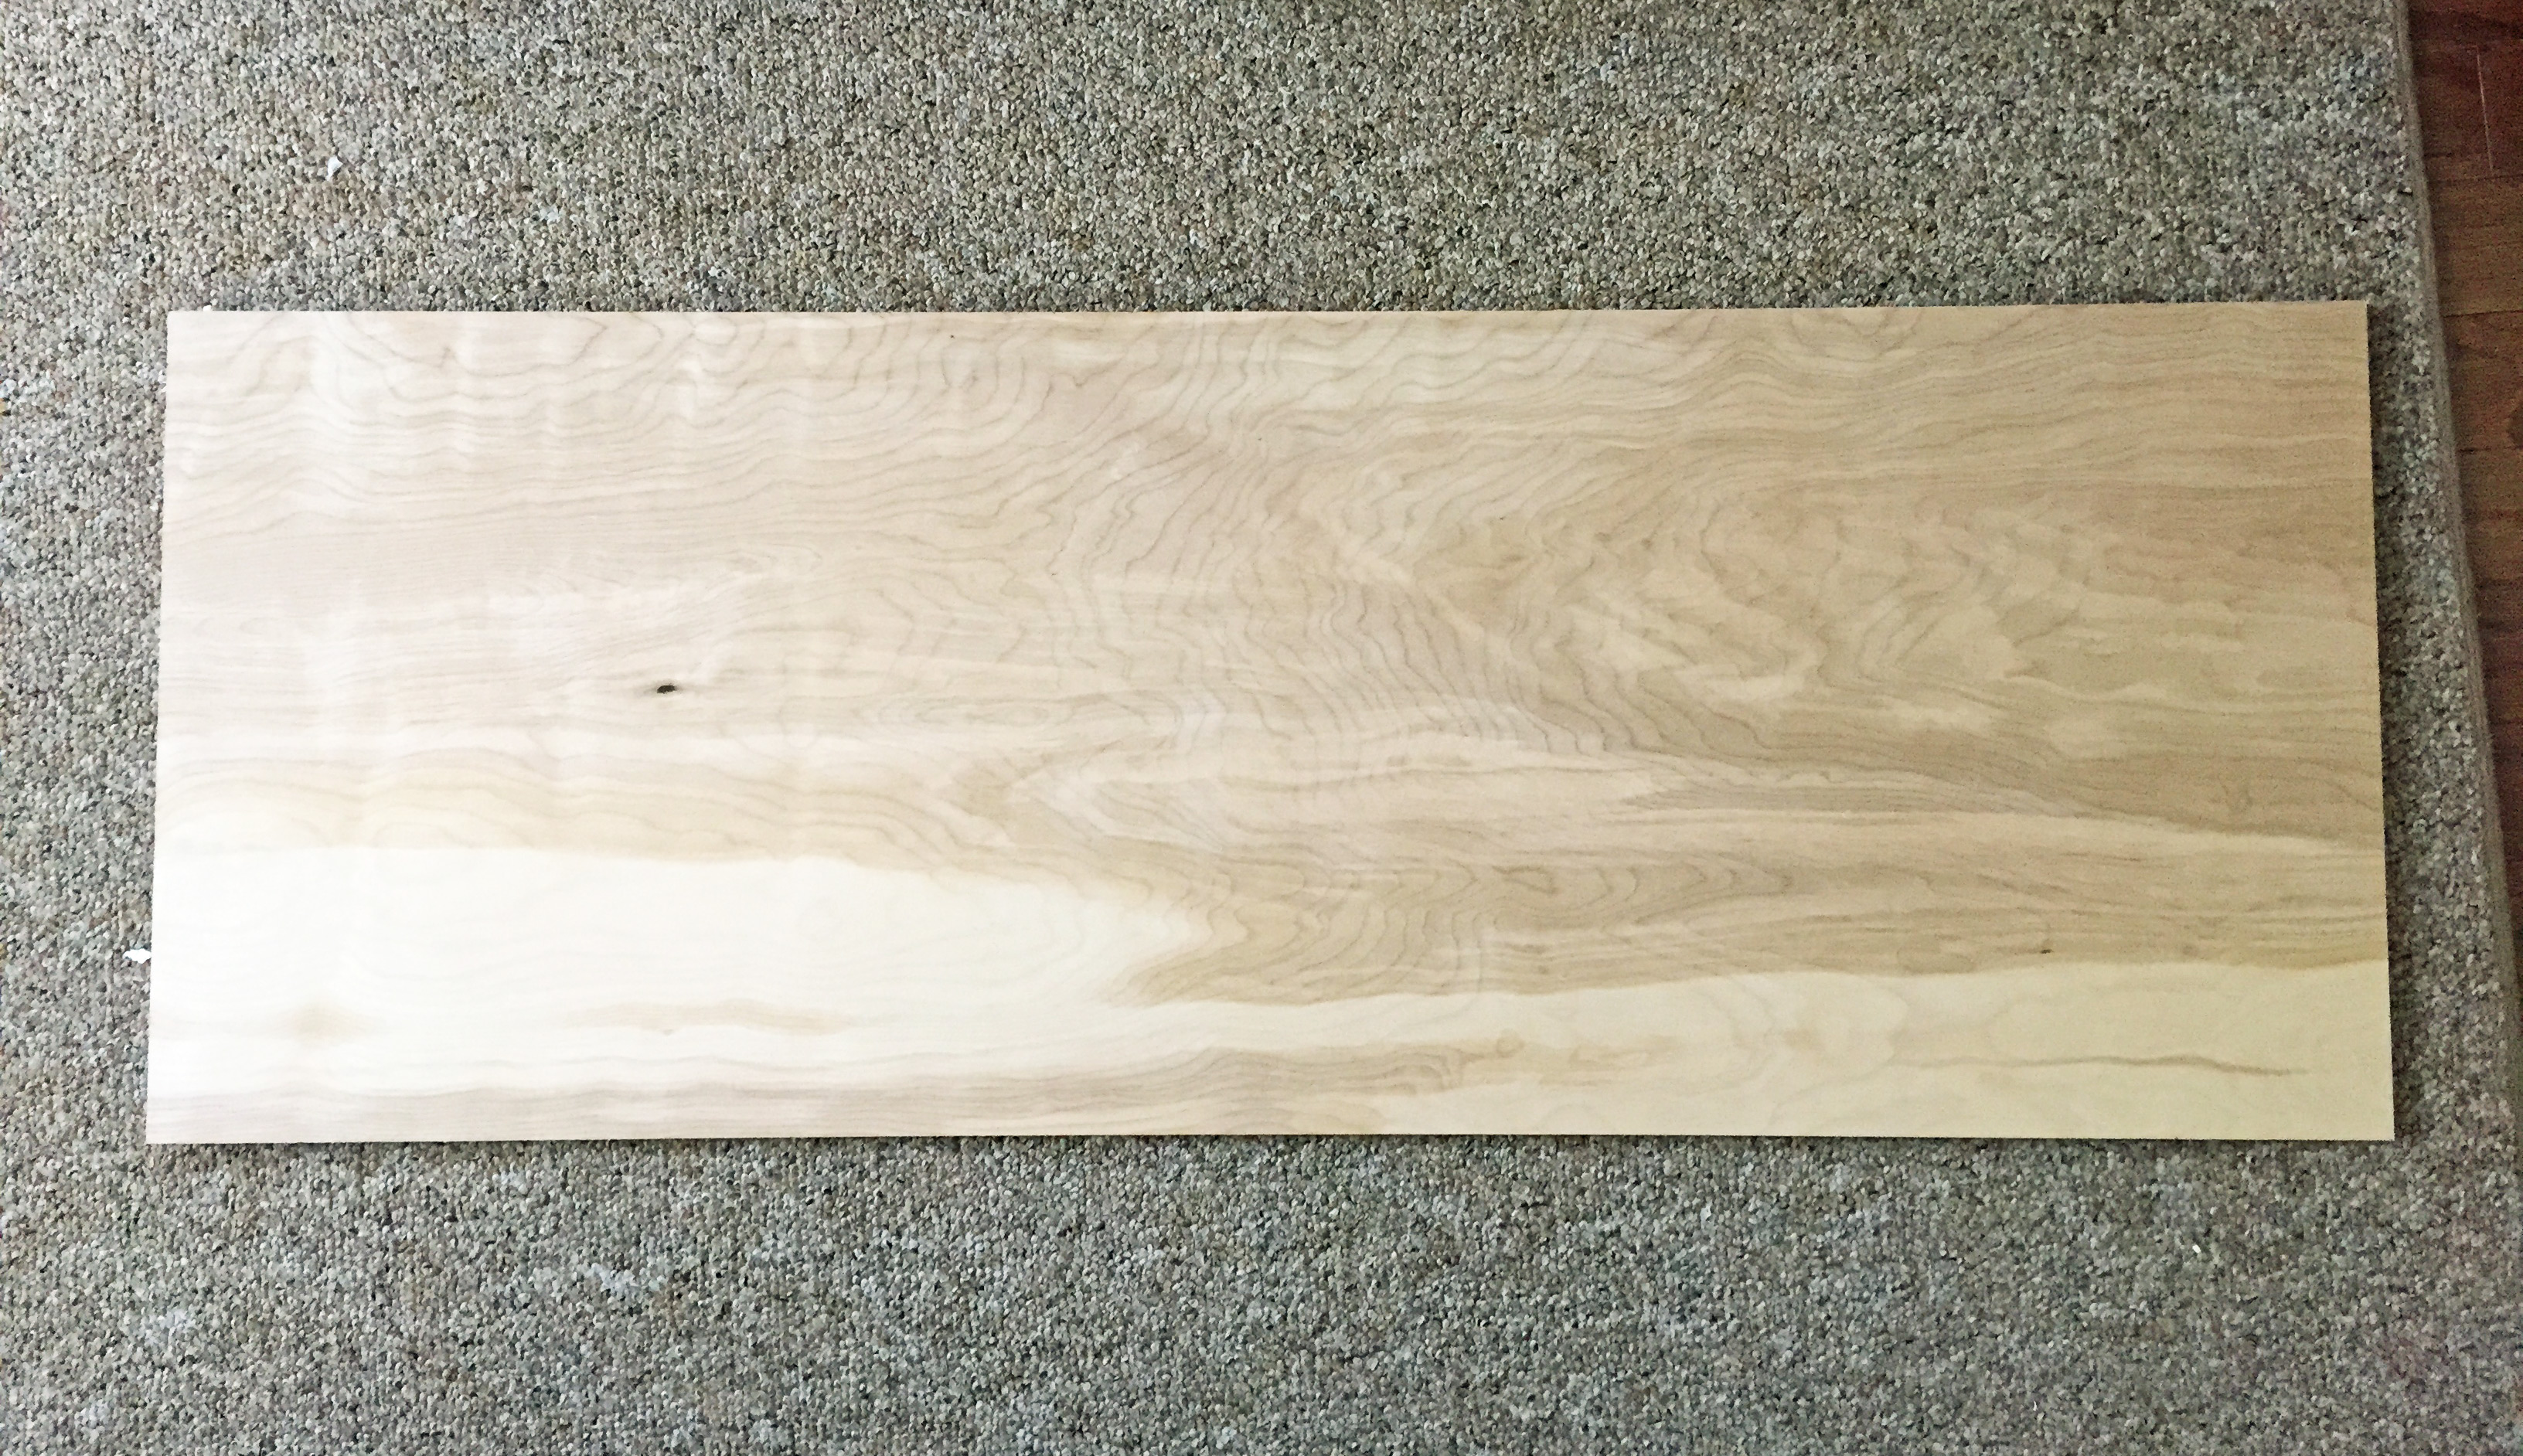
Sheet of Birch Wood
Bumpers
Originally, I thought I was going to have to bolt the board to the top of the cabinet, which worried me, because my ironing board would then have lumpy screws sticking out of it. After giving it some thought, I decided that the weight of the wood alone would probably be enough to hold it in place, without resorting to anchoring. Unfortunately, the birch wasn’t heavy enough—the slightest nudge shifted the whole board. I didn’t want that happening while I was ironing, so I tried to brainstorm a solution.
Eventually I came up with the idea of attaching narrow strips of wood to the underside of the board, to serve as bumpers. If I measured precisely, the bumpers would fit snugly over the top of the cabinet, thereby preventing the board from shifting. I found some lengths of ½” wood trim at Hobby Lobby and, with my husband’s help, glued them to the underside of the board.

Wood Bumpers
We measured to ascertain the correct placement of the bumpers, but just to ensure a snug fit, my husband suggested that once the first bumper was glued on, I should flip the board over and pull it so the bumper was flush against the back of the cabinet, then mark the underside at the front edge of the cabinet. It’s a good thing I did, because there were some screws on the back side of the cabinet that stuck out a bit farther than the cabinet’s top. If I’d relied on the measurements alone, the bumpers wouldn’t have fit over the cabinet.
Batting
To cover the wood, I ordered two yards of insulating batting, which is heat-tolerant. It’s intended for making your own oven mitts and pot-holders, as well as lunch bag coolers, and things of that sort. I also ordered two yards of cotton batting to go over the heat-batting. Not being a quilter, I had no idea what cotton batting was like. It’s very thin and dense, almost like felt, but much softer. Honestly, it makes me want to sew a quilt, just so I can use some!
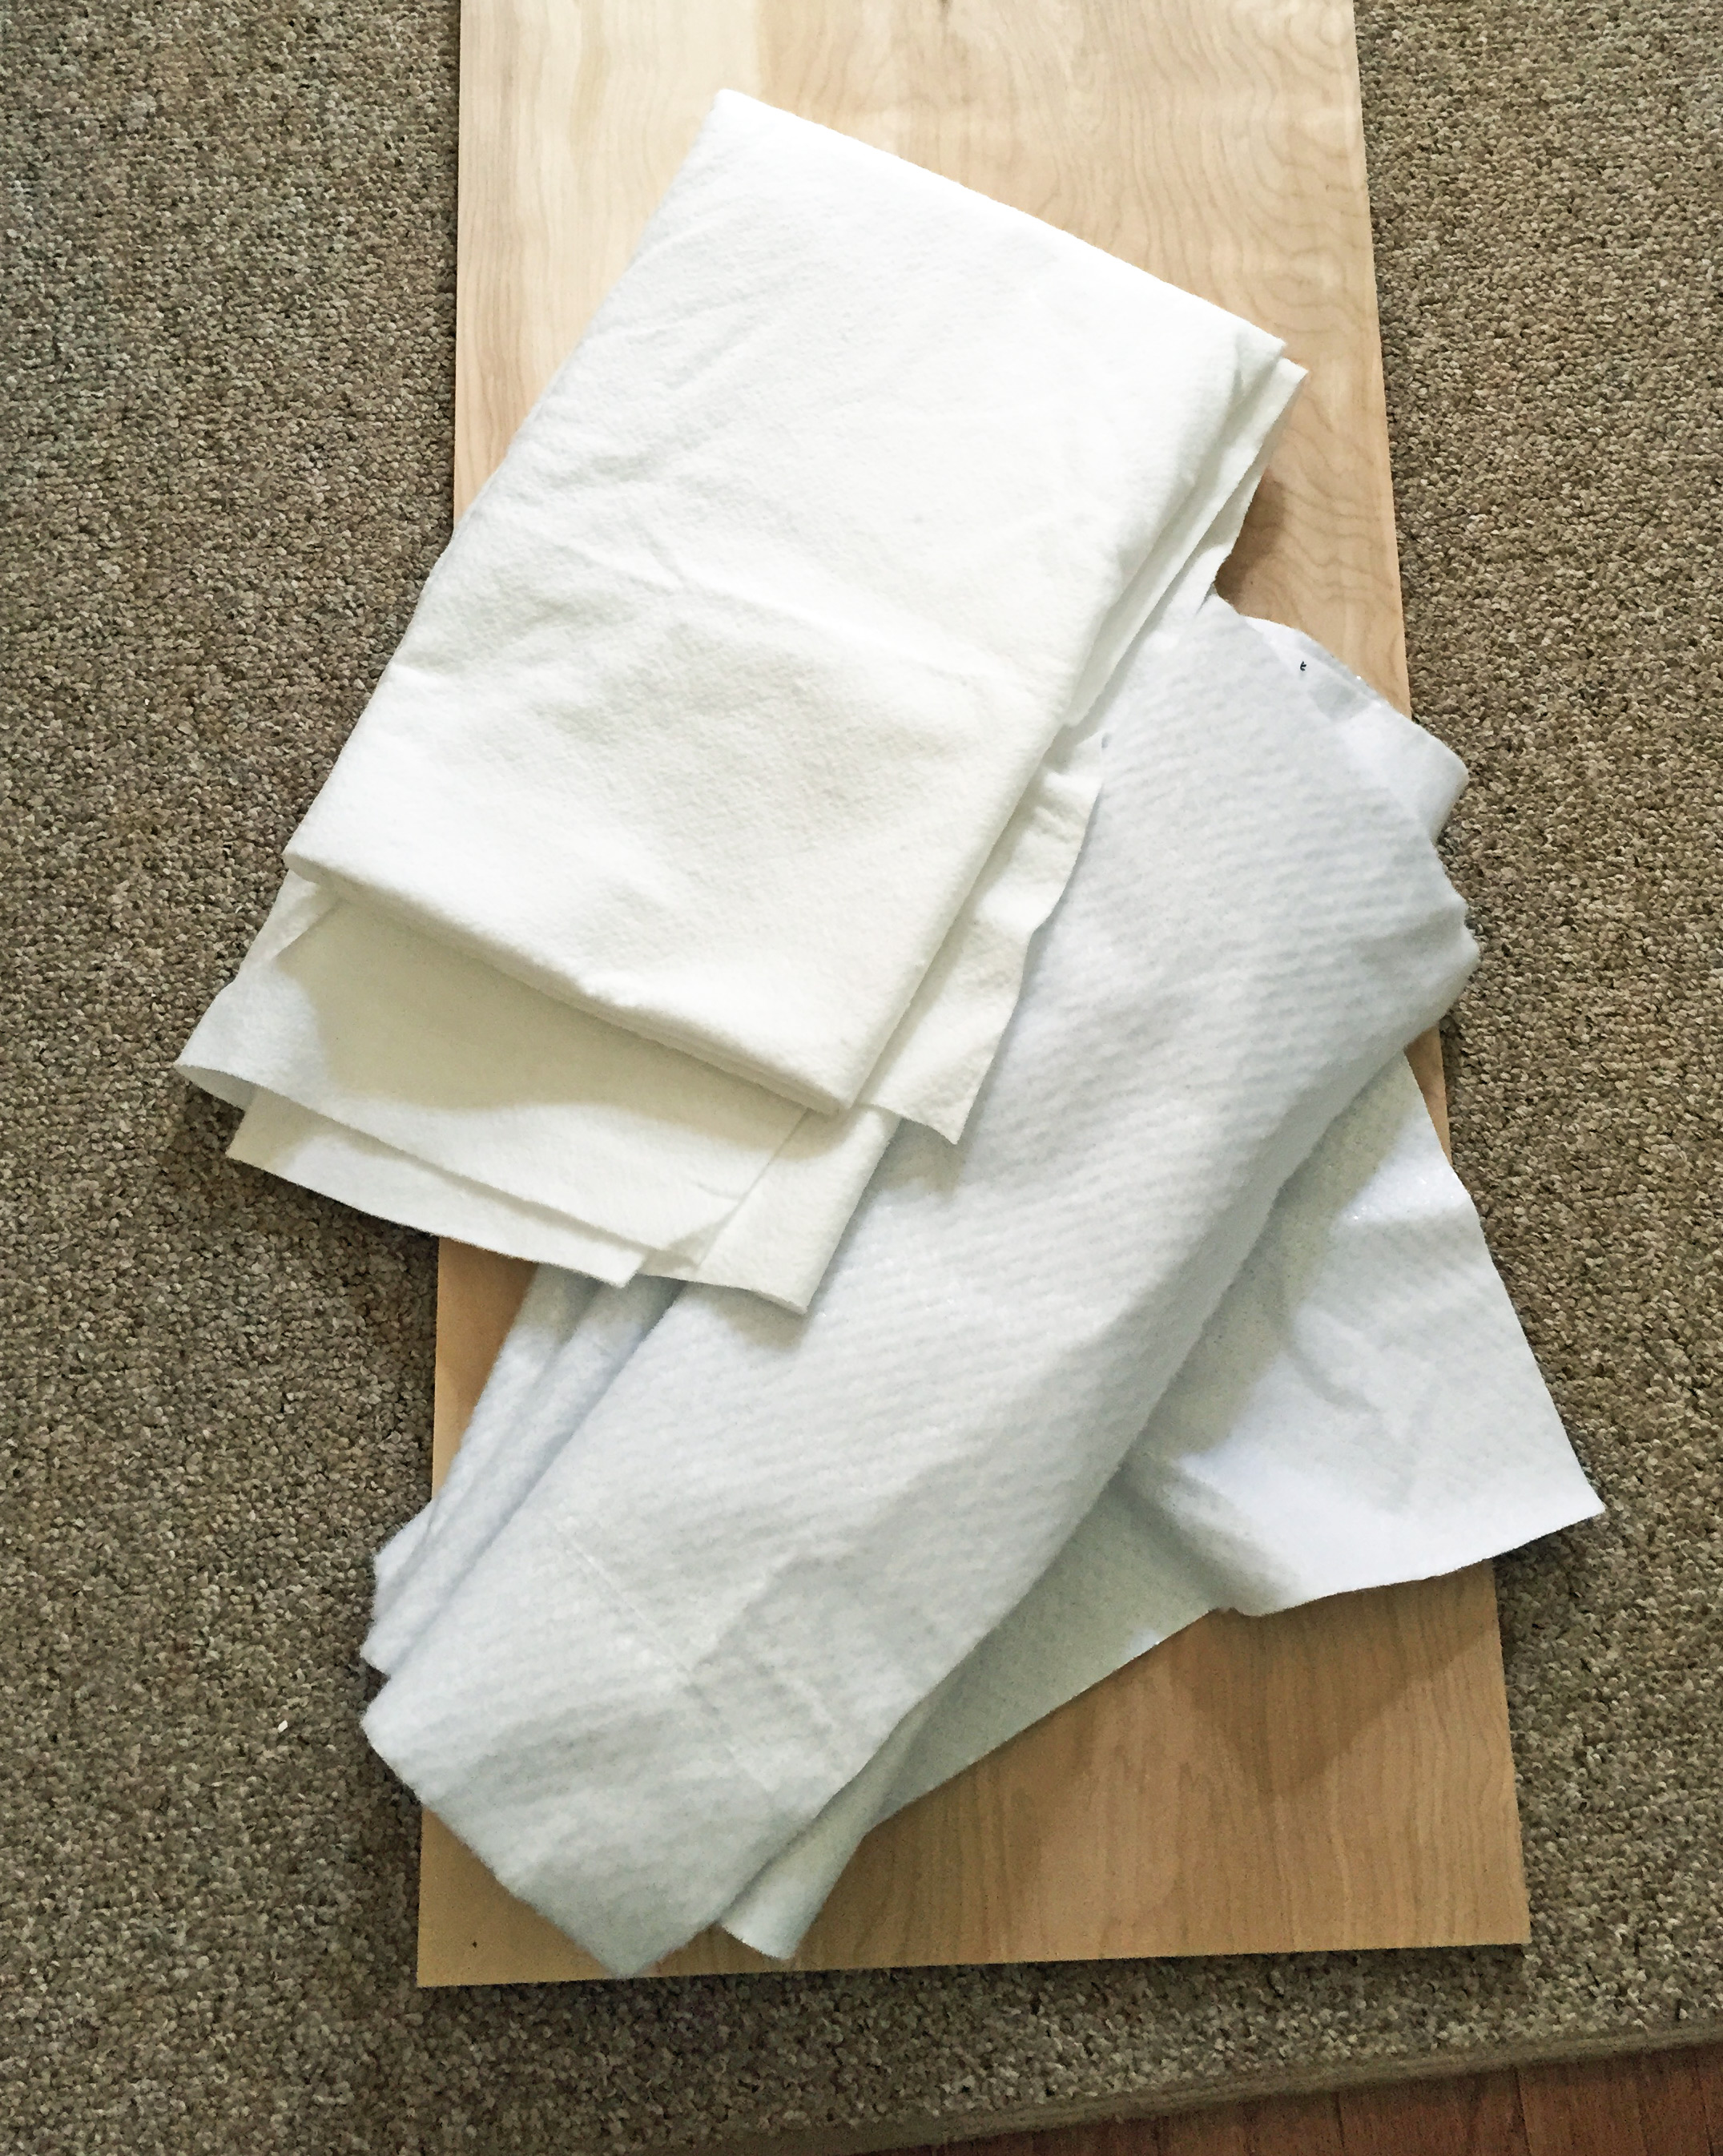
Batting
I borrowed a friend’s powered staple gun and got my husband to staple the batting to the board for me. (I don’t have the strength in my hands to hold the staple gun steady enough.) I trimmed the corners diagonally before stapling, for less bulk.
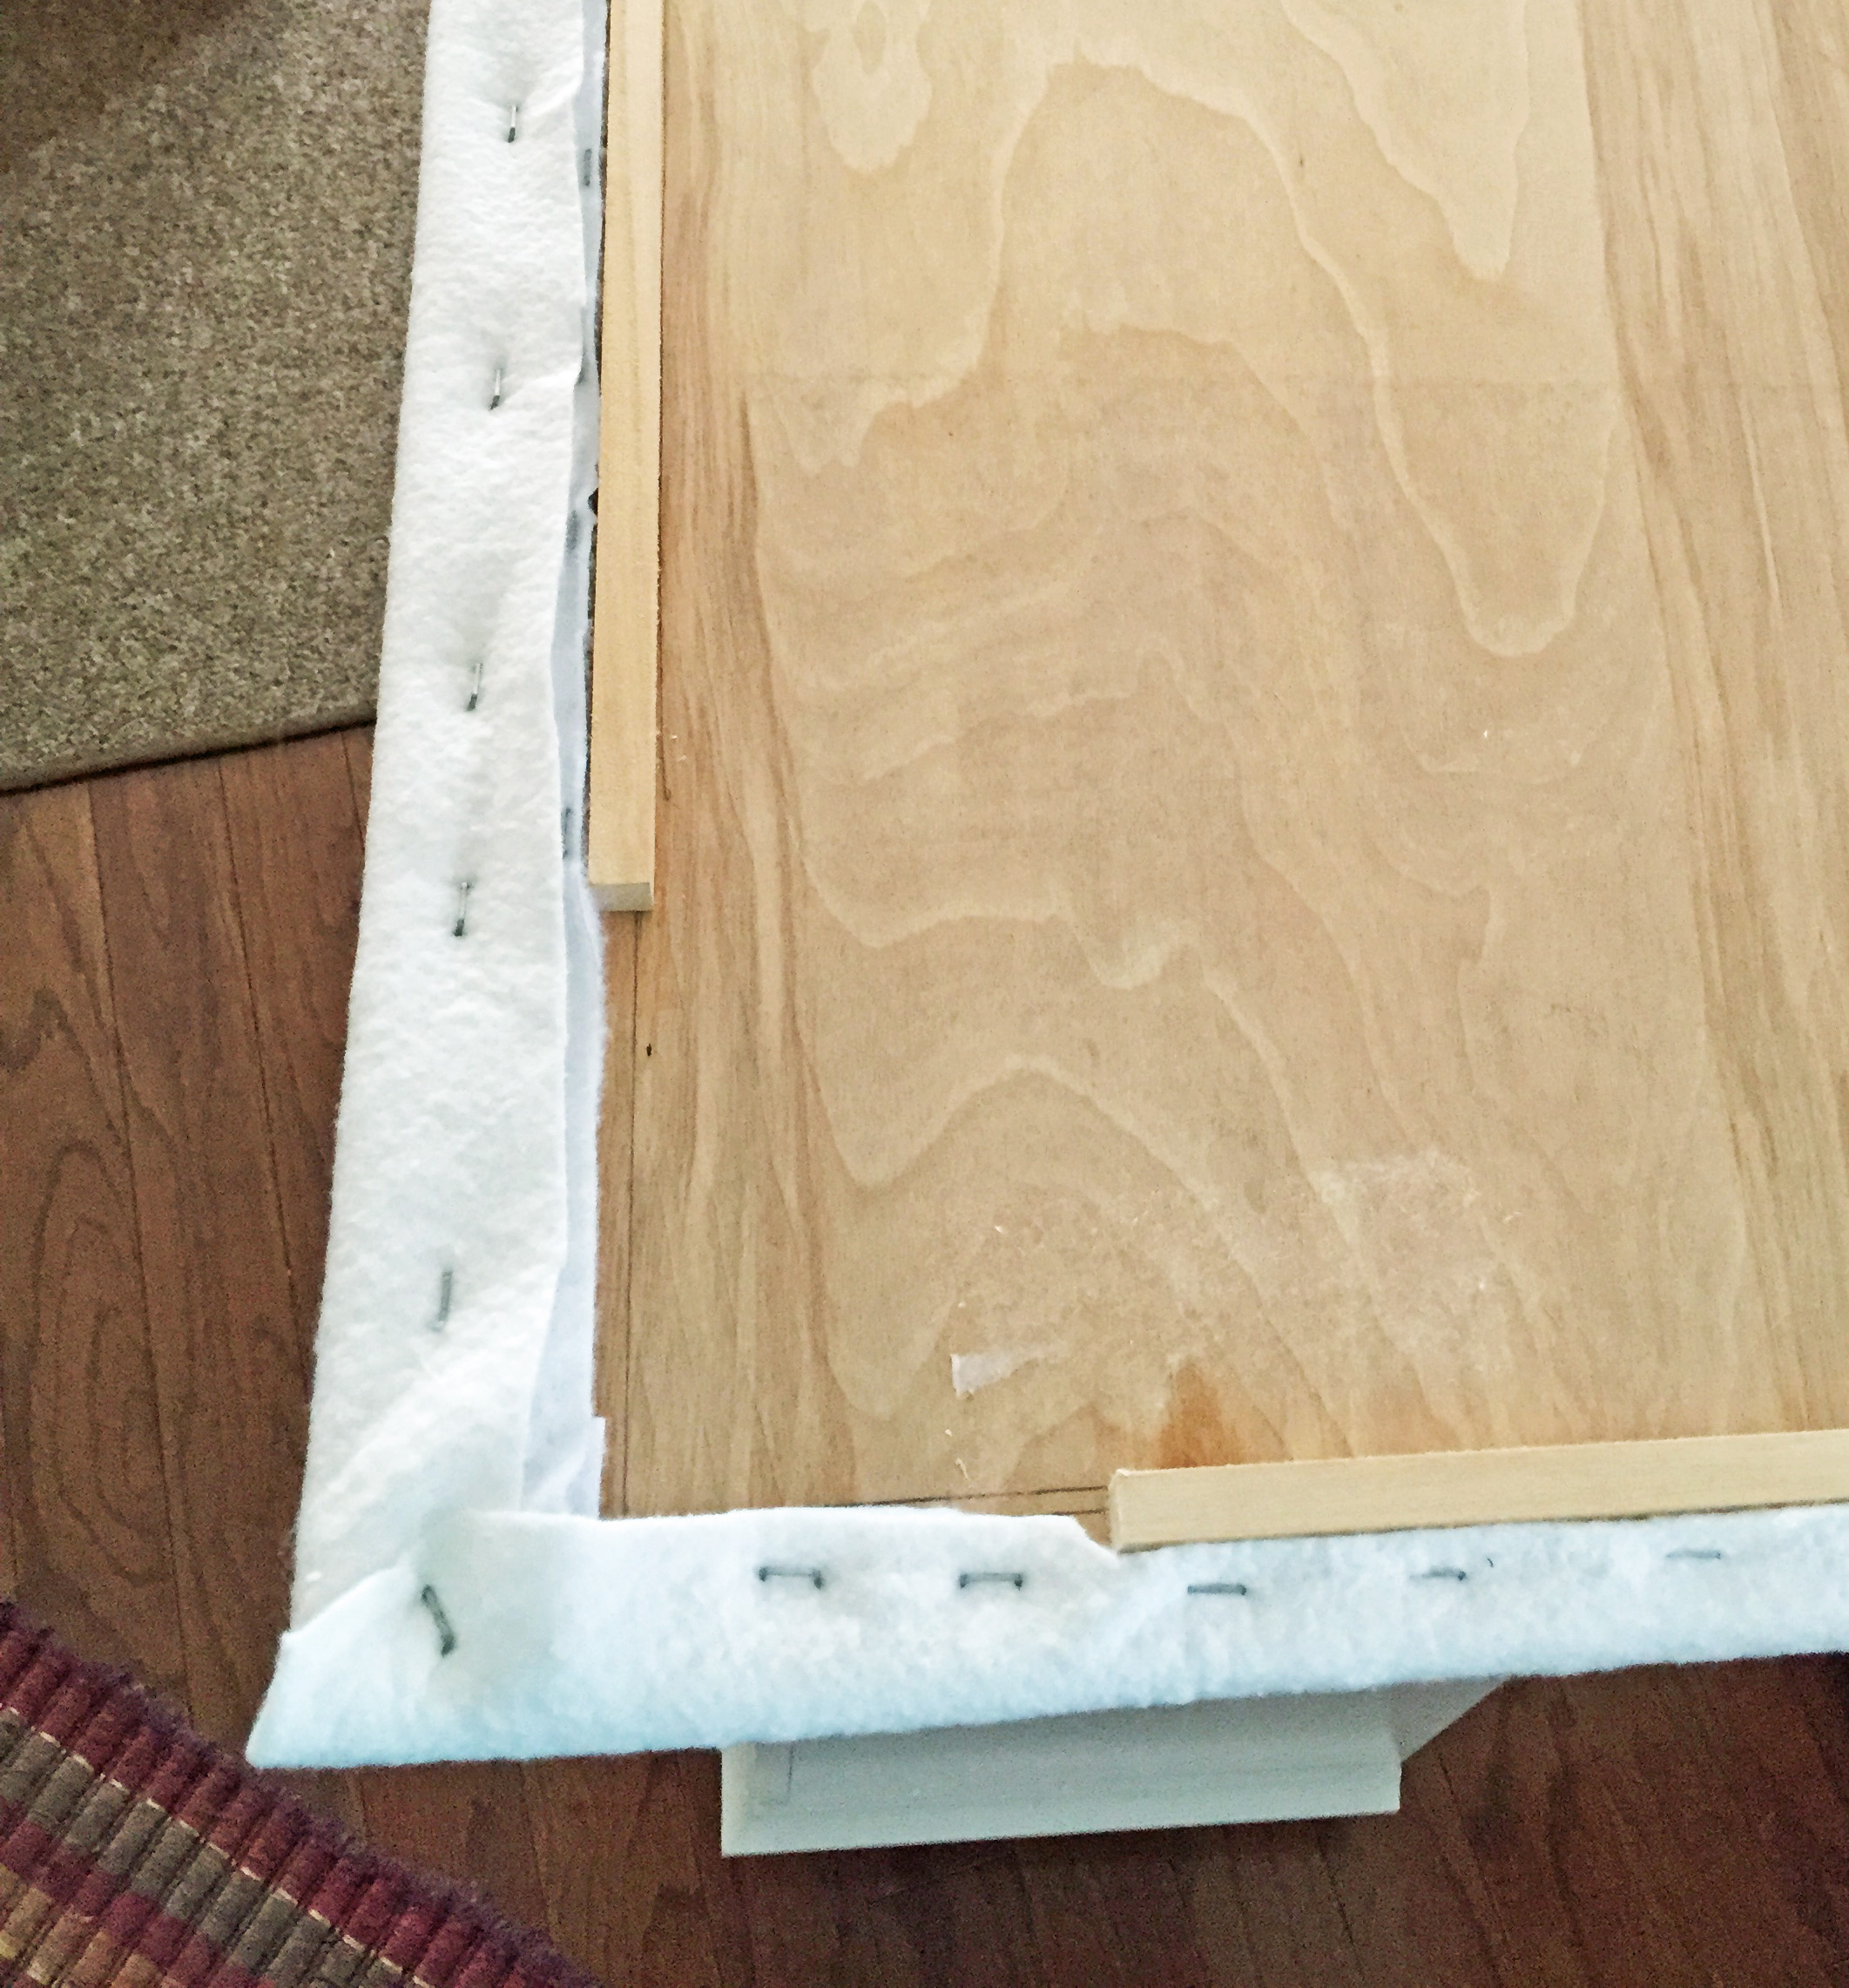
Stapled Batting
Cover
Next, I made a cover for the ironing board, using a lavender batik that I bought last year, with this very project in mind. (In the photo, it’s the fabric on the left.)
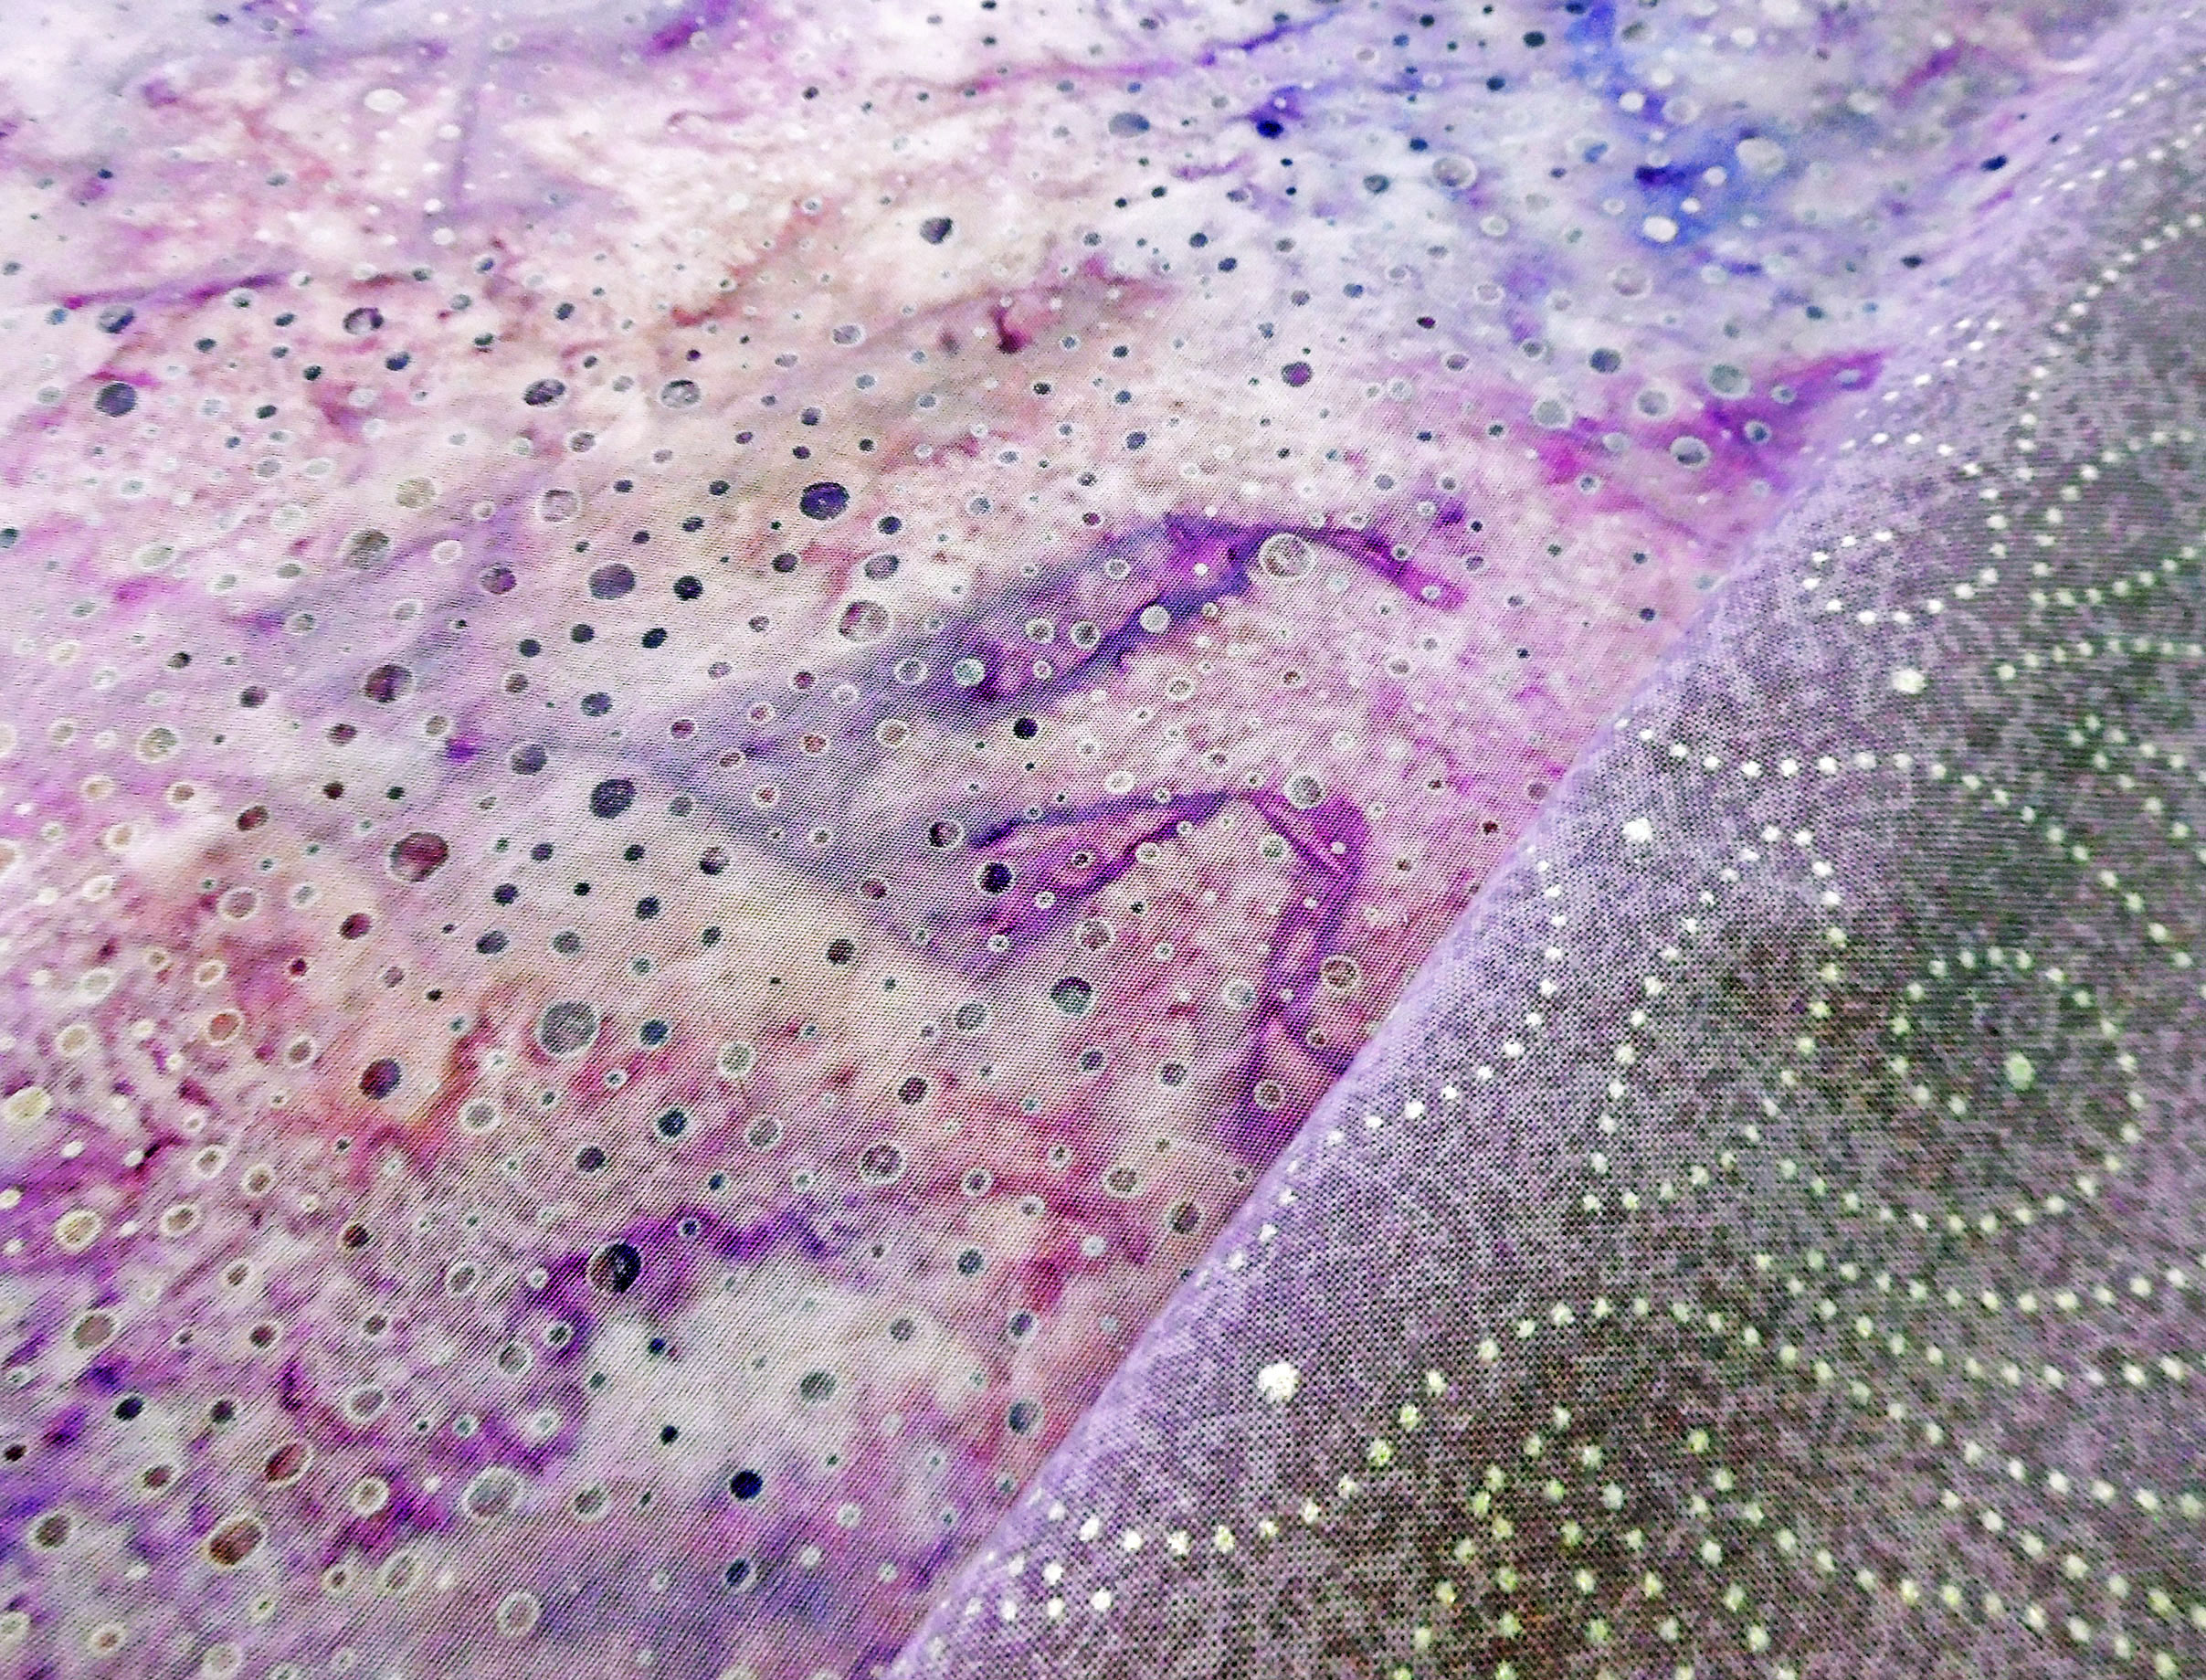
Cotton Batik
Last year, I used the same fabric to make a custom padded cover for the stool I sit on while teaching, so it coordinates.
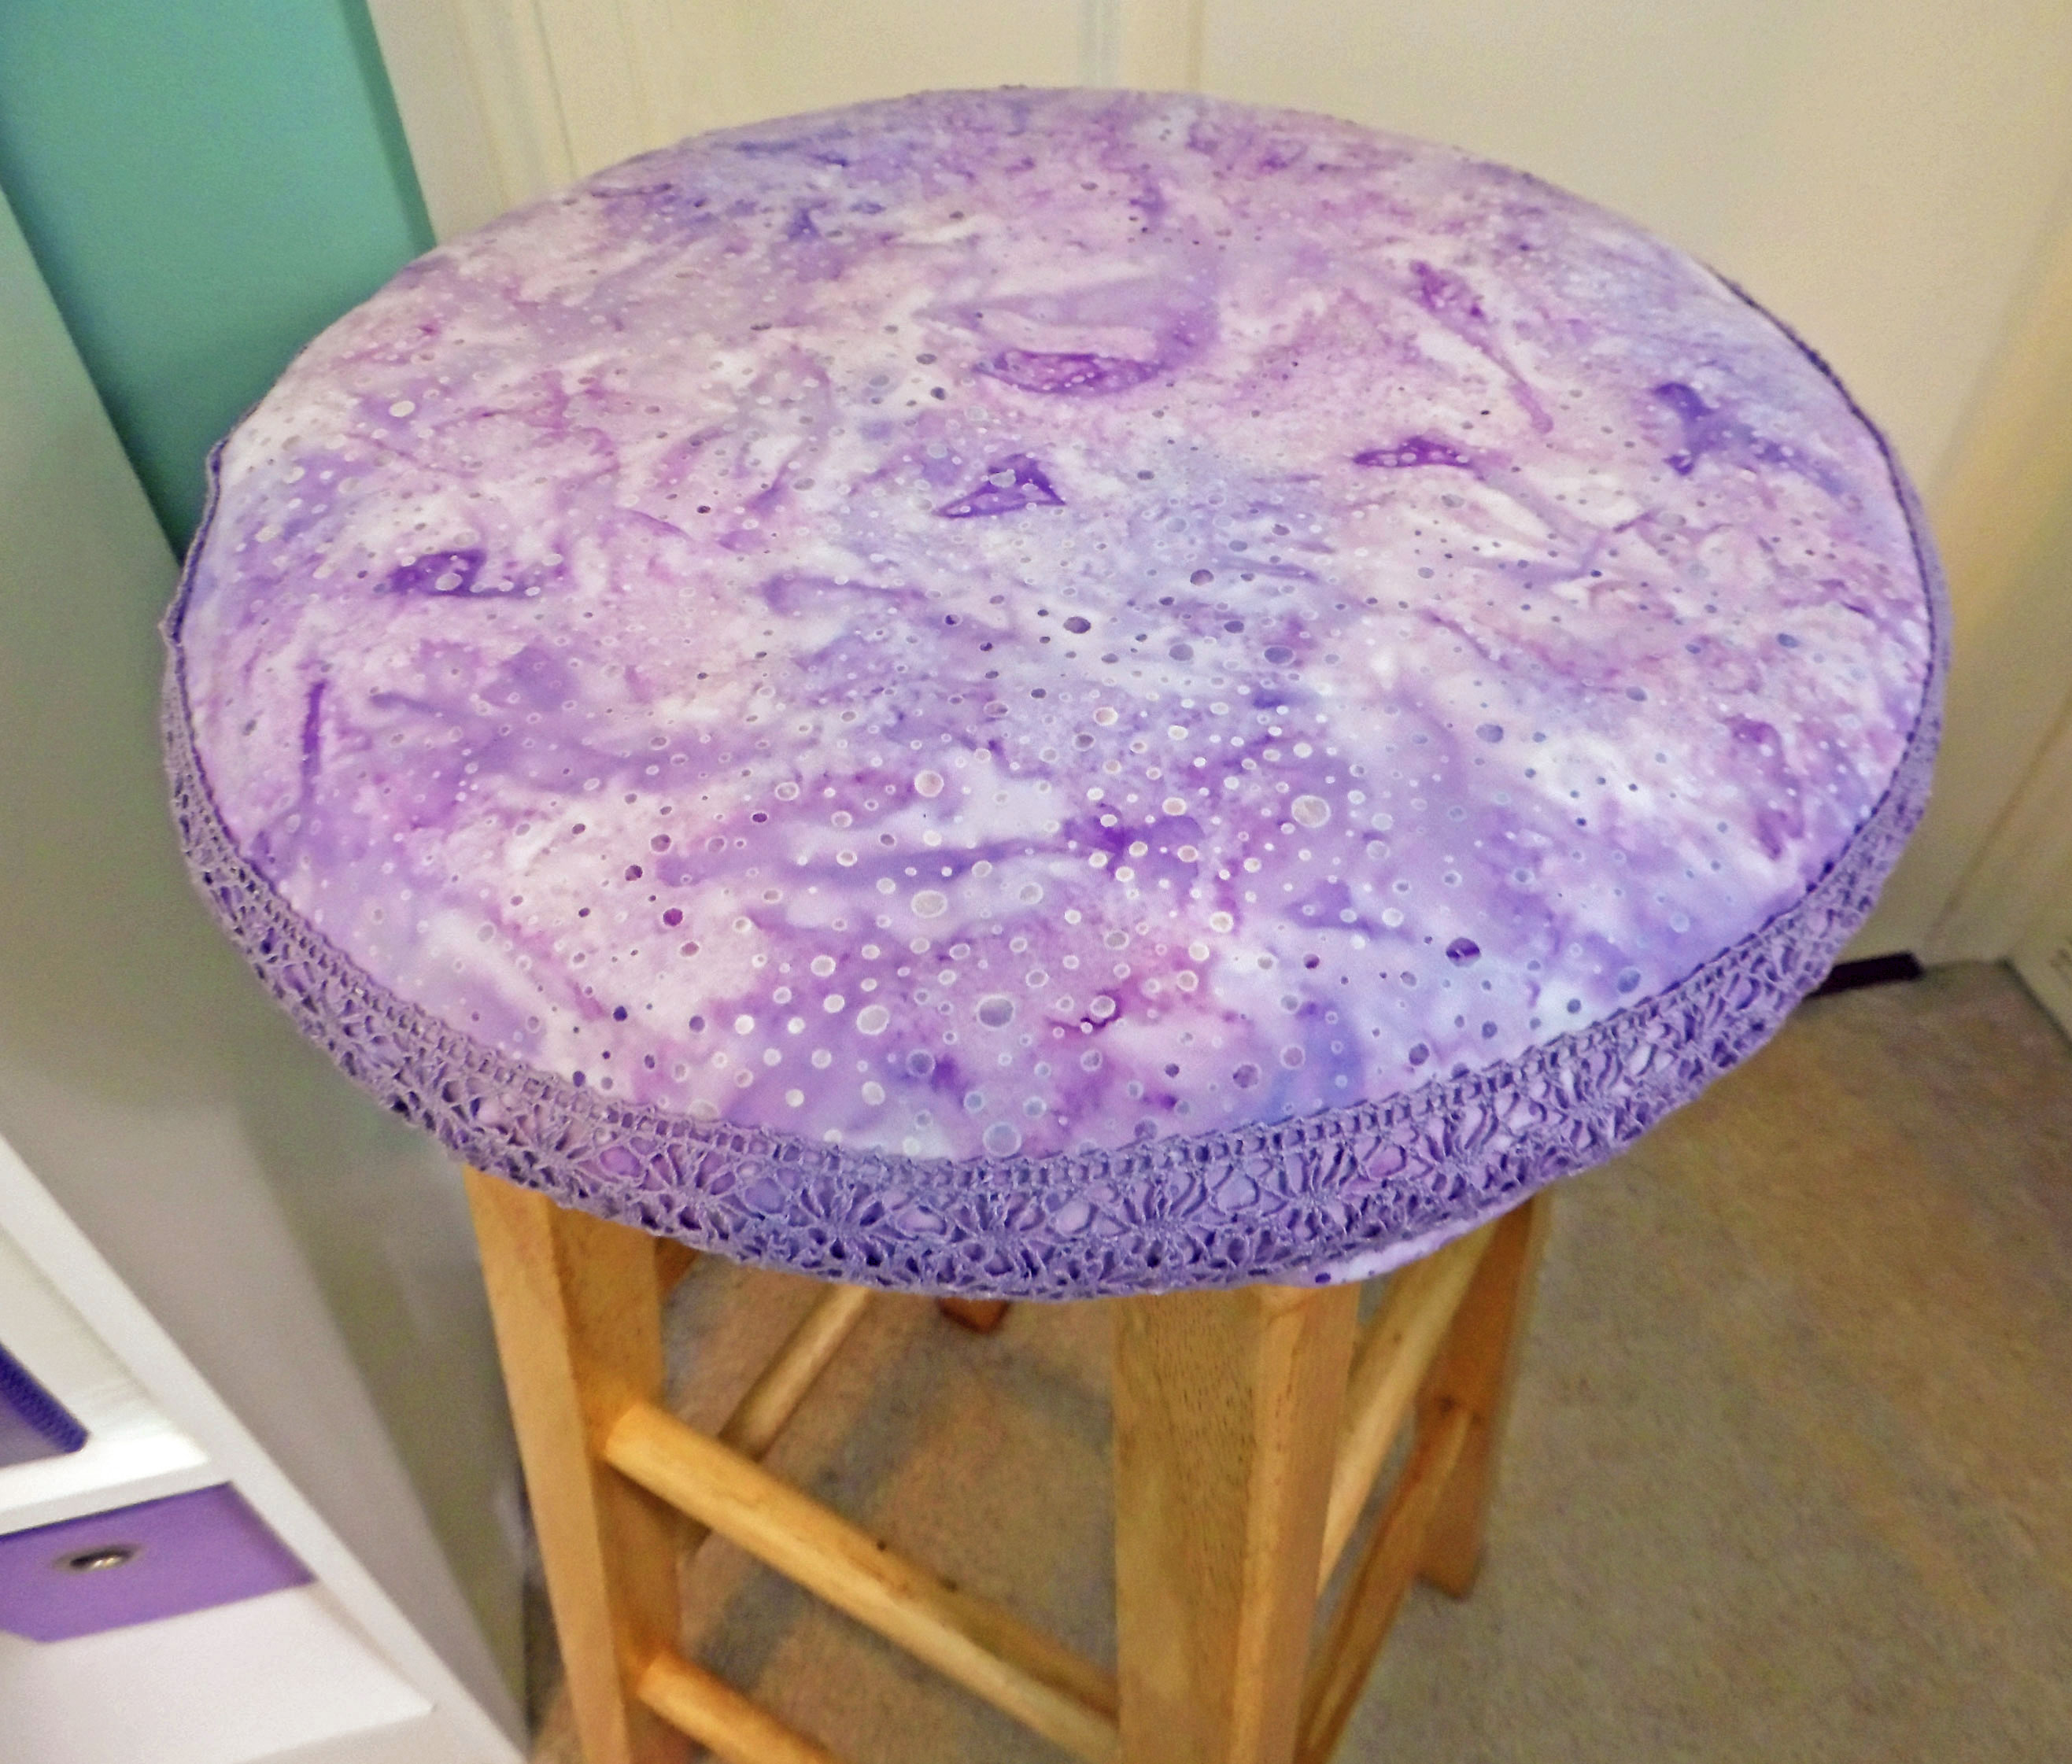
Padded Stool Cover
I had a difficult time with the cover, since I wasn’t working with a pattern. Since I wanted the cover to be removable, I had to decide whether to use elastic or a drawstring. I decided on a drawstring, so to start, I folded the edges under by ½” twice, to form a casing.
But then I had to deal with the corners. If it wasn’t for the drawstring’s need to pass around the corners smoothly, I could have just mitered the corners and been done with it. But I had to leave gaps for the drawstring to emerge at each corner, which made things complicated.
Corner Gaps
It took a lot of finagling and pinning to get things to a point where I thought I could make it work. Once pinned, I took it to the sewing machine and stitched the channels. It’s not perfect, but it works—which is what matters most.
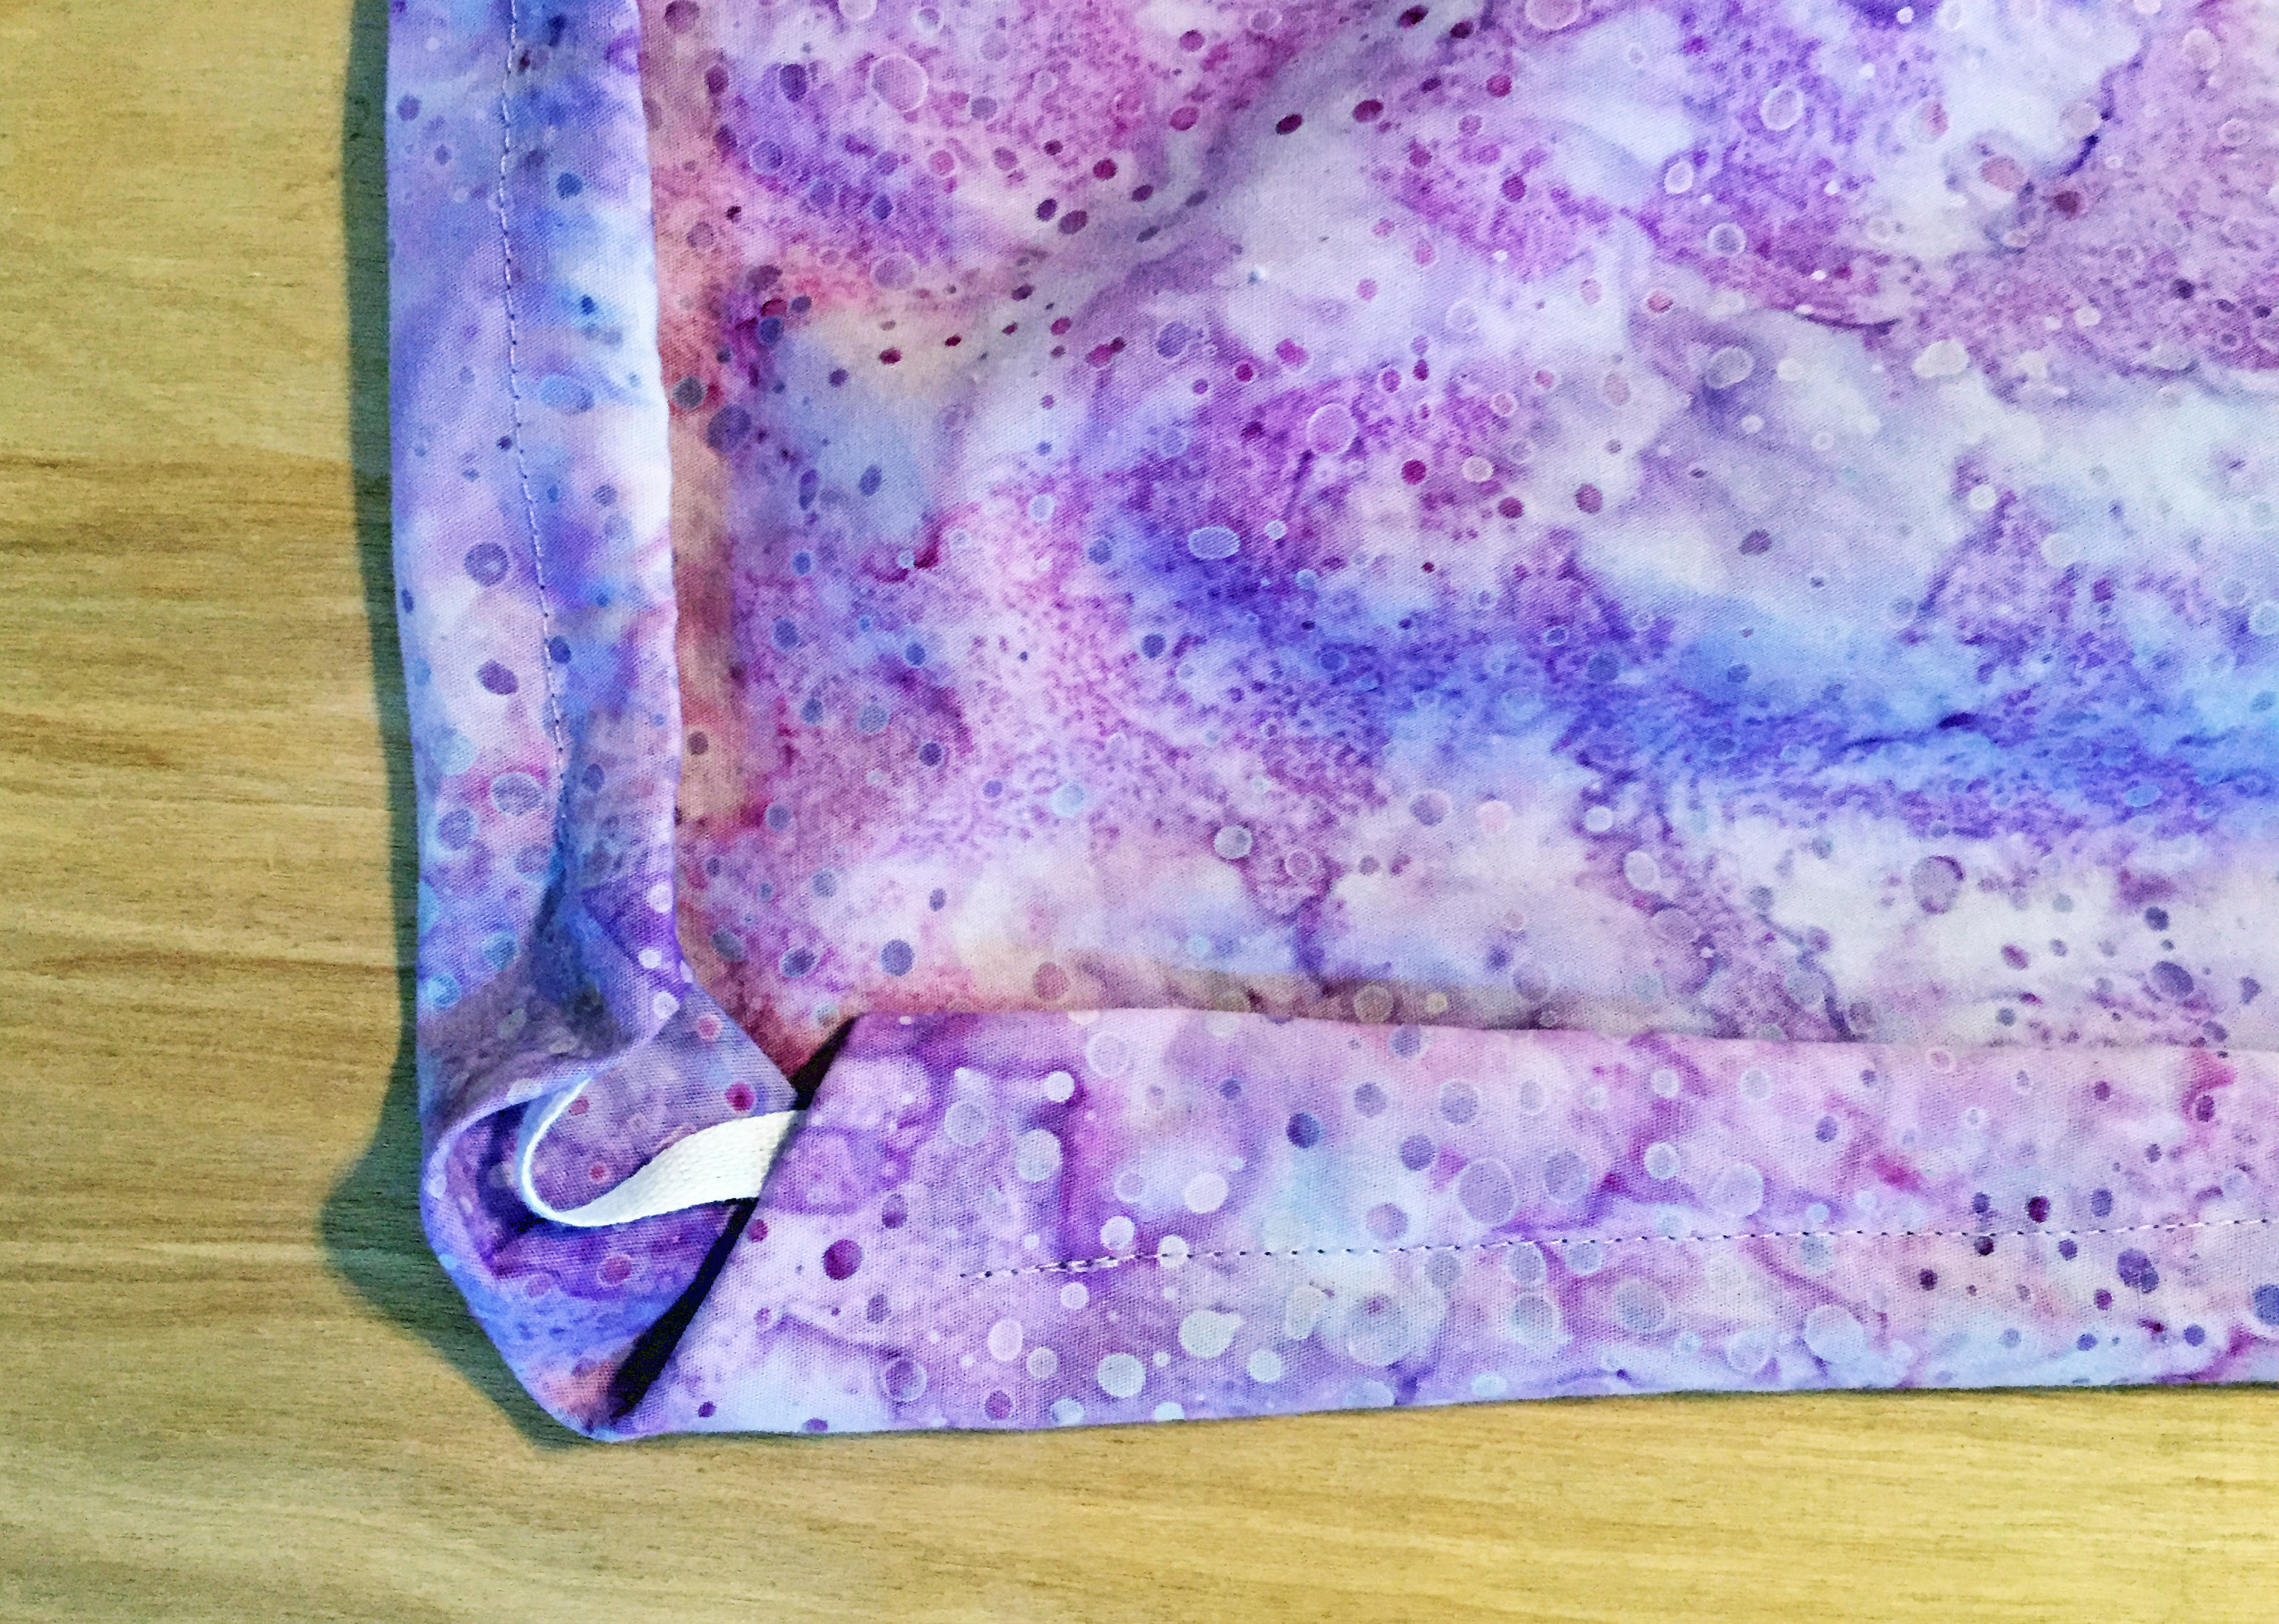
When I made the custom cover for my regular ironing board, I threaded the drawstring with a safety pin, which took a very long time and was quite tedious. This time, I used a bodkin, which made the job go quickly. After fitting the cover over the board, I cinched it up and tied the drawstring at one corner. The sides aren’t as snug as I would’ve liked, but again—it works.

Cover With Drawstring
Finished Pressing Station
Once the board was covered, I placed it on top of the cabinet. The bumpers matched up nicely, providing a snug fit. The hardest part was moving the cabinet into my sewing room! The thing is quite solid. It must weigh 200 pounds, so even working together, my husband and I had a hard time moving it.
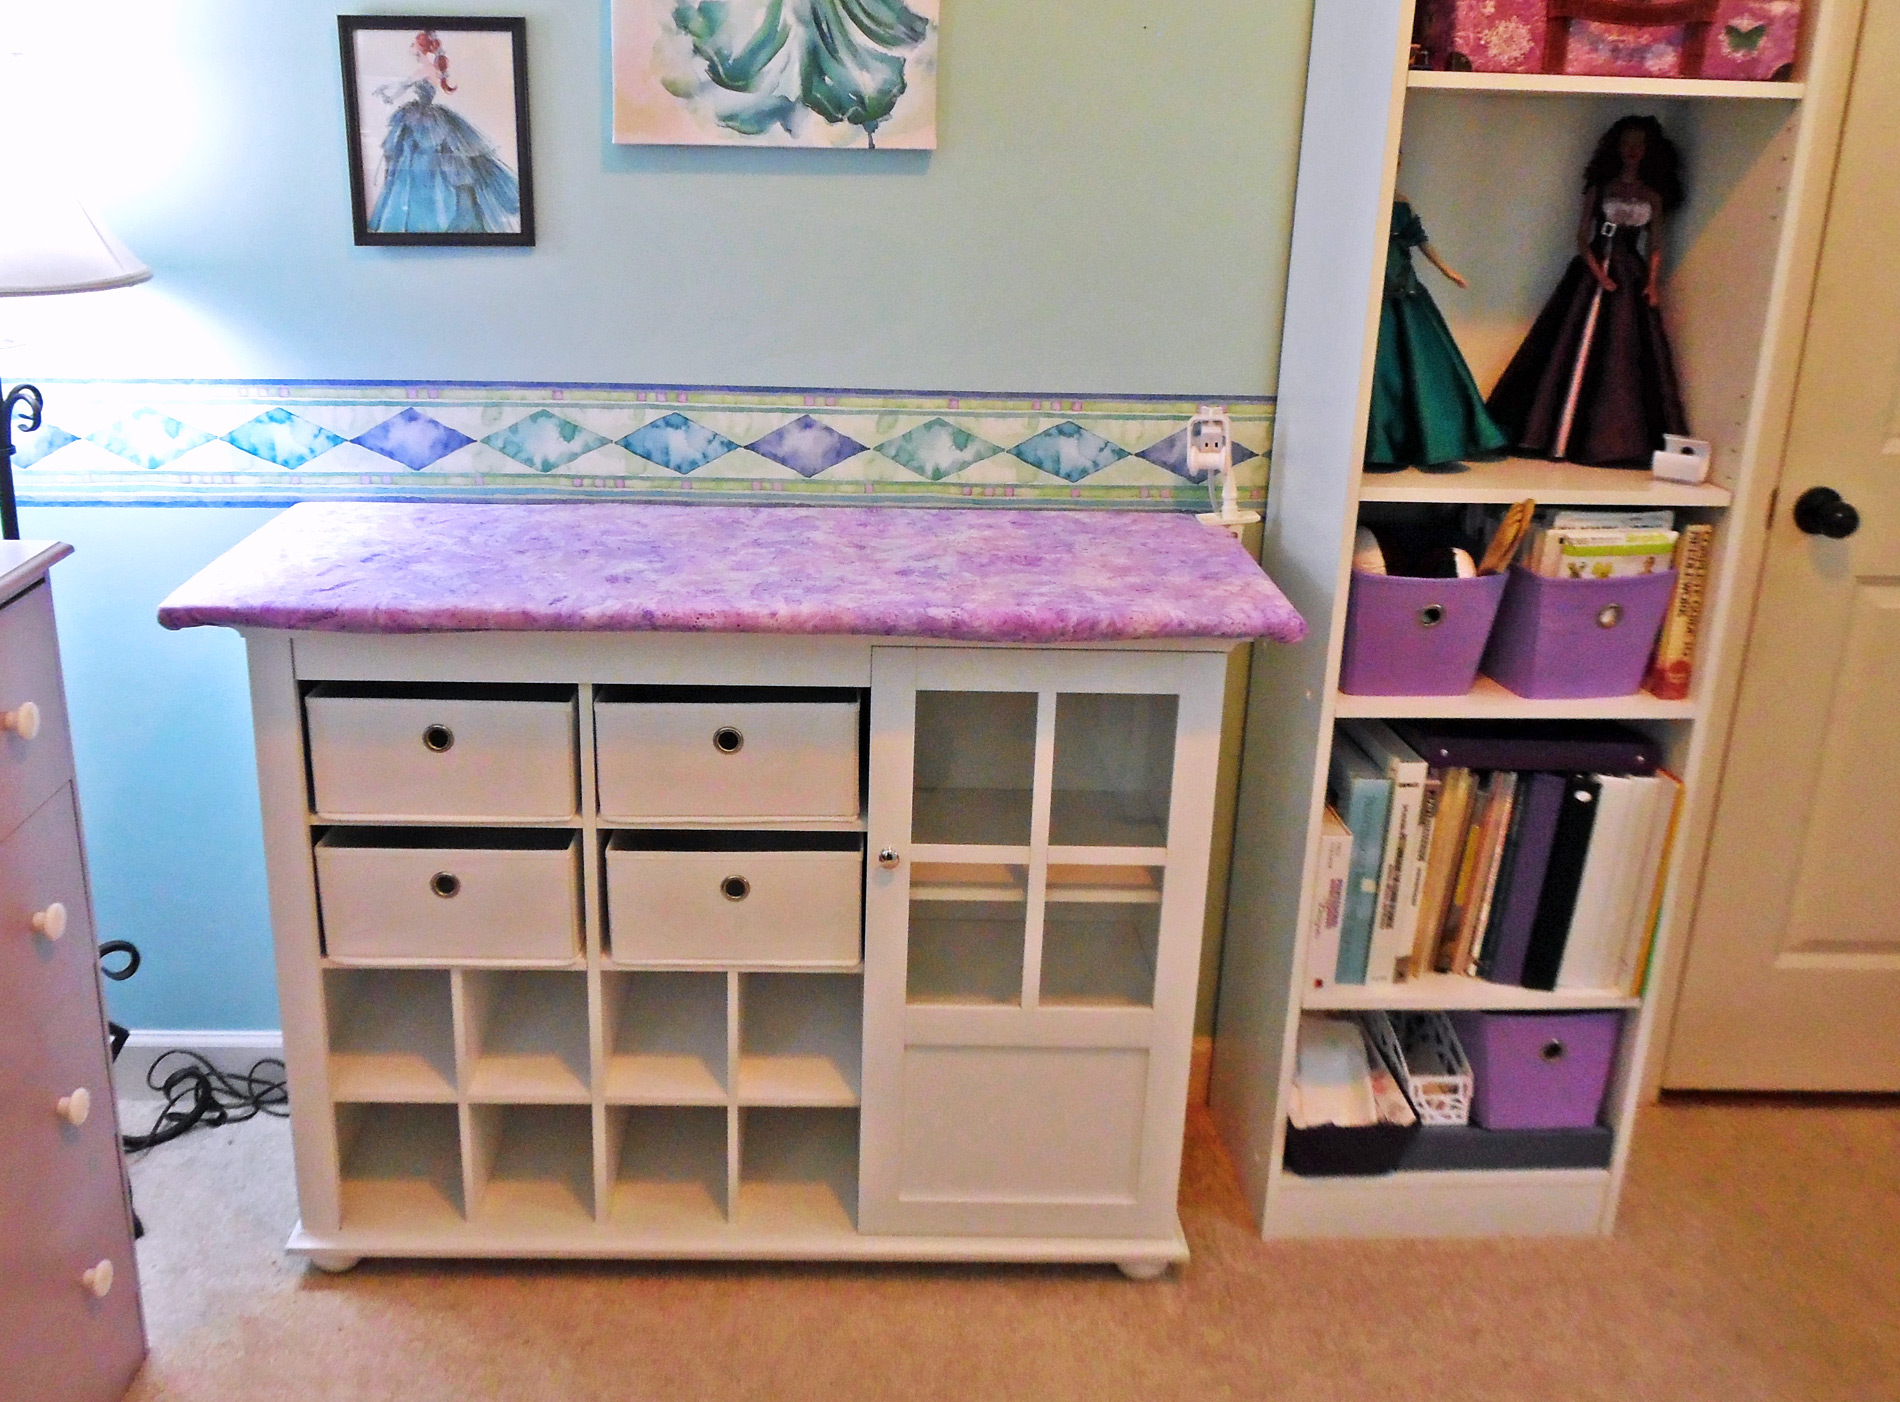
Finished Pressing Cabinet
I’m absolutely thrilled with my new pressing station!
~~*~~
Looking for more DIY? Check out my sewing diaries! You might also enjoy my tutorials and articles.