
A Diary
by Lisha Vidler
(Click any illustration to view it full-size.)
Awhile back, I made a sewing machine cover using Butterick 5636. It was a pain and a half to sew and I swore I’d never do another one! However, my new sewing machine (a Singer Quantum Stylist Touch) is several inches larger than my old one, so the old cover doesn’t fit. Because we have cats, it’s especially important to keep my sewing machine covered. (Cat hair, along with dust and debris, can damage computerized sewing machines.) Therefore, I needed a new cover. This time, I decided to make something really special.
When I first made a set of crazy-quilted pin cushions, I didn’t know enough about the art of crazy-quilting. I didn’t add enough embellishment, so they looked rather plain. Since then, I’ve taken a class in crazy-quilting, plus I bought a book on embroidery stitches appropriate to use for crazy-quilting. Putting my new skills into practice, I made a crazy-quilted book cover, which turned out better than I could have hoped!

Crazy-Quilted Book Cover
Now, I’m putting my new skills to work and making a crazy-quilted sewing machine cover.
Design & Inspiration
My new sewing machine came with a soft vinyl cover, which fits nicely. It has a cutout across the top for the handle, so unfortunately, it doesn’t keep dust out, but I figured I could use it as a pattern for the new cover.
For the crazy-quilting, I first came up with the design of a circle divided into random sections. It looked too precise, though. Crazy-quilting is more of an organic art, all about random chaos, so I adjusted the design, making it less precise. I still wasn’t happy, so after browsing through my collection of inspirational photos, I came up with an even better idea—a merge of traditional quilting with crazy-quilting. The design is an arc of pointed strips, which are embroidered and beaded.
In the illustration below, you can see the evolution of my design.
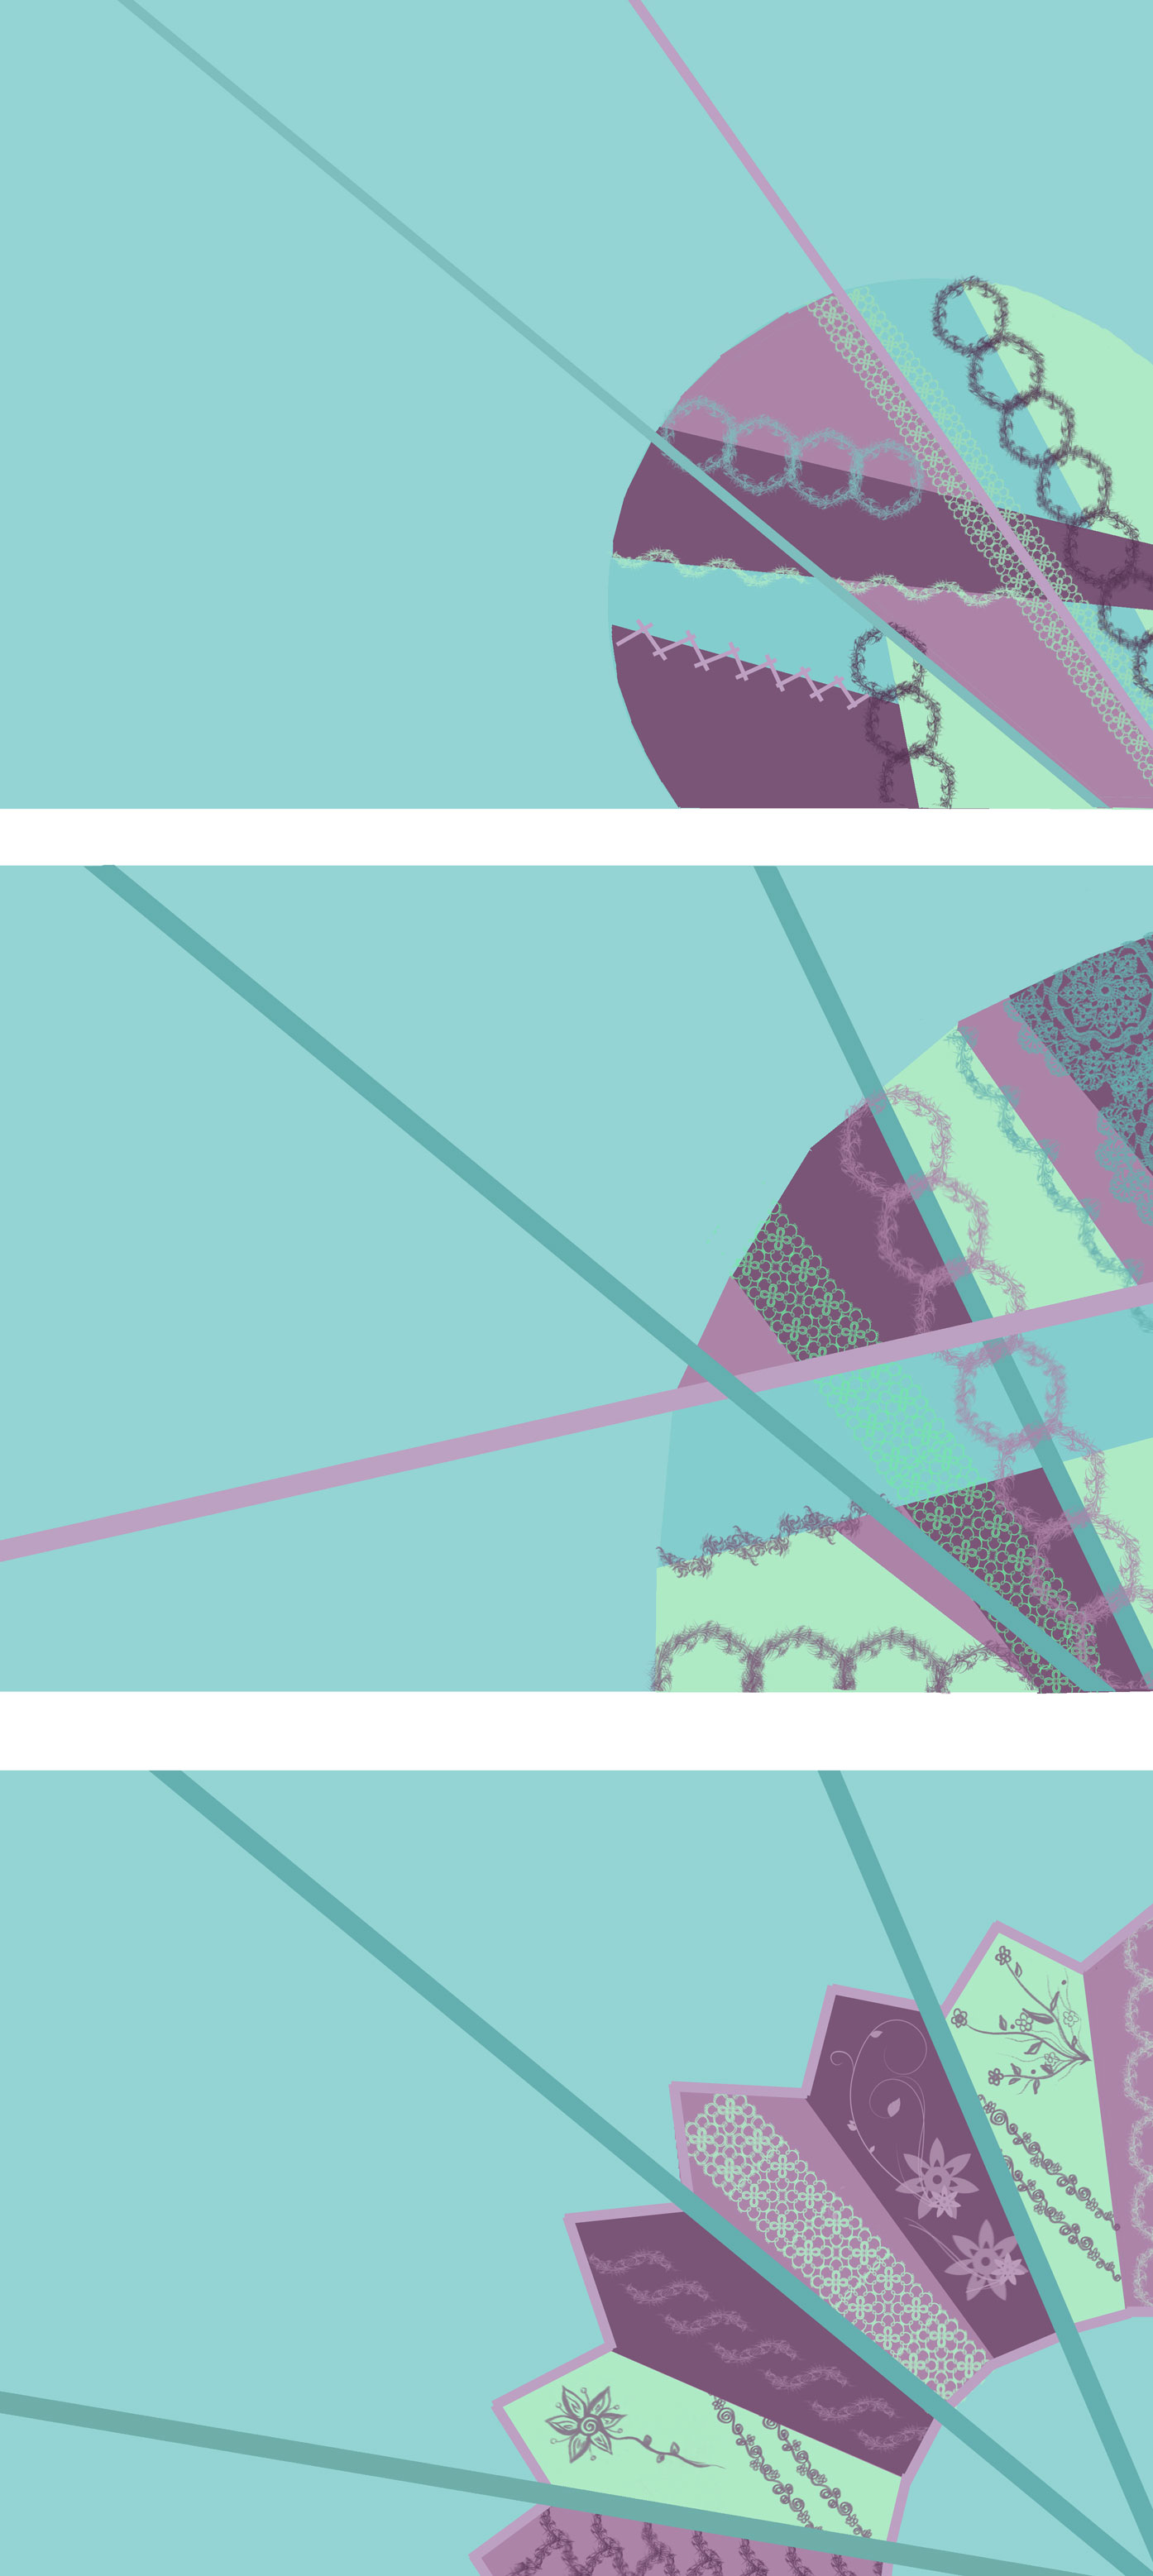
Evolution of My Design
Pattern
- Sewing Machine Cover—Self-Drafted
The vinyl cover is basically a wide rectangle for the front and back, a narrow rectangle for the top, and slanted pieces for the sides. I measured each piece and added a seam allowance, then did a quick muslin mockup. It turned out rather baggy, due to my fabric choice, but it fit well. And I was able to use it as a temporary cover, too.
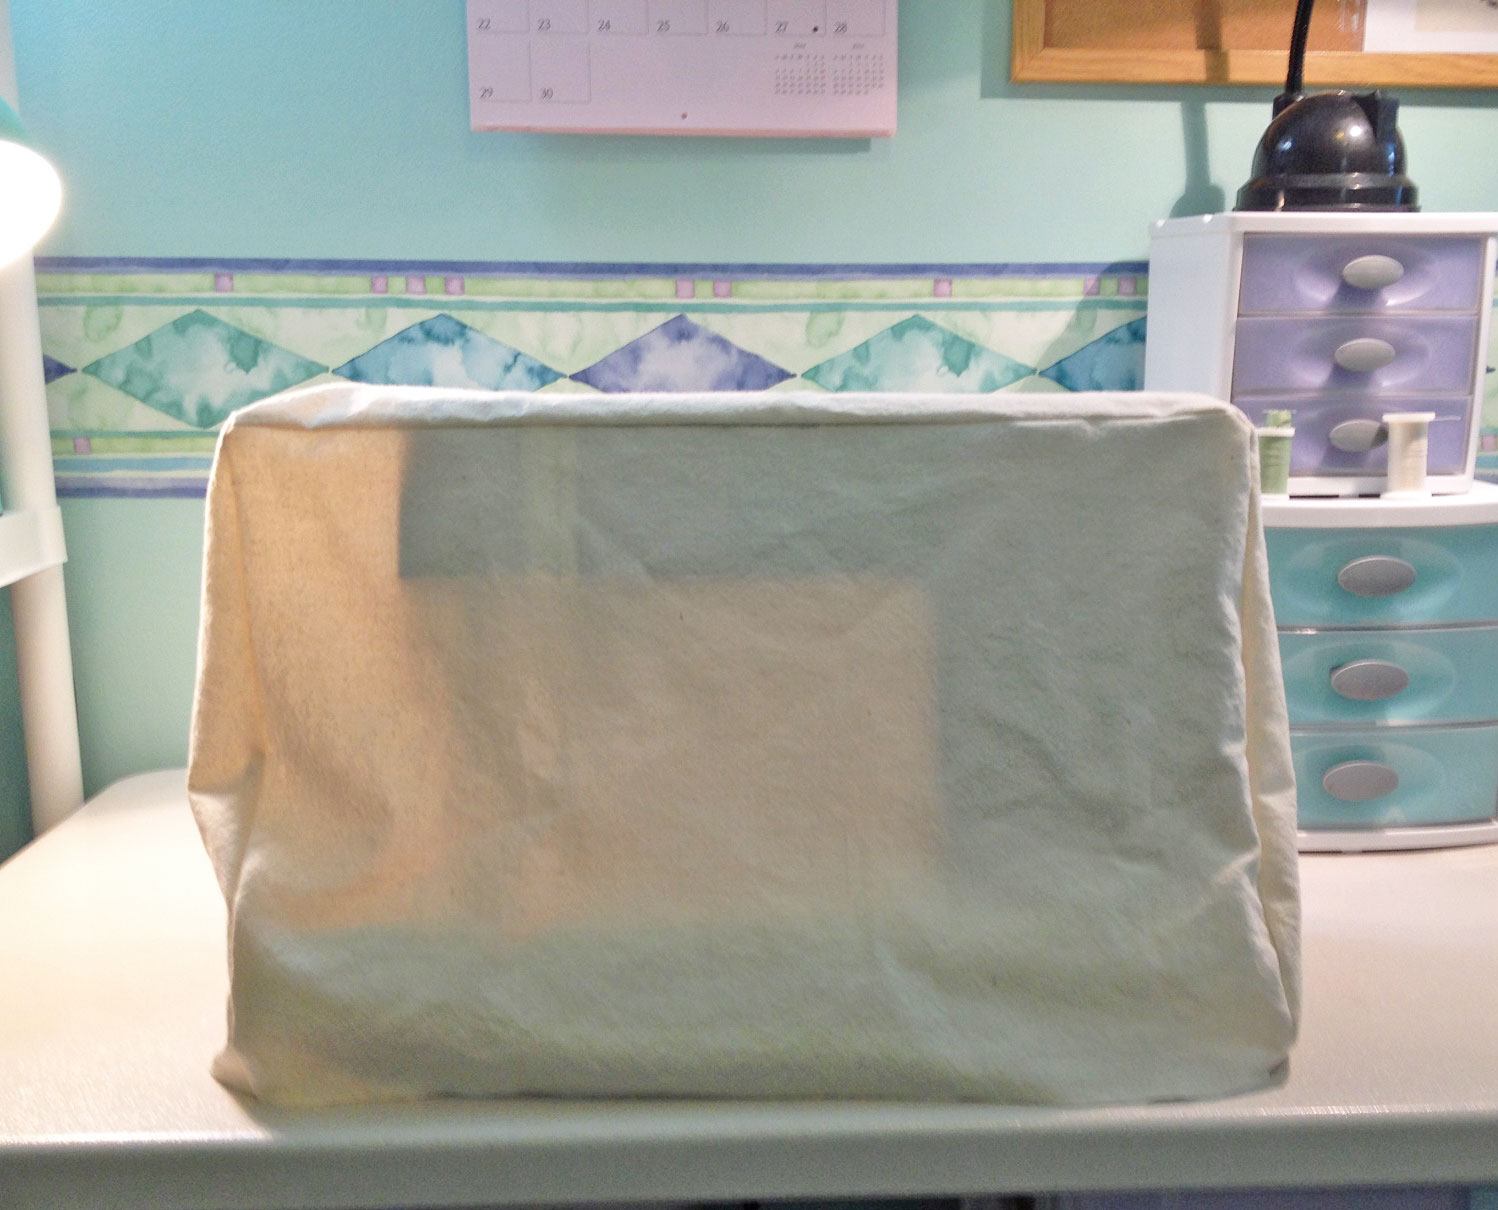
Sewing Machine Cover Mockup
Materials
- Twill
- Fabric Scraps
- Velvet Ribbon
- Hand-Dyed Lace
- Embroidery Floss
- Seed Beads & Swarovski Crystals
For the cover itself, I used an aqua twill, the same as I used for my first sewing machine cover. It’s sturdy enough to work without batting or interfacing, although I must admit, I didn’t realize just how much support the interfacing added to the old cover.
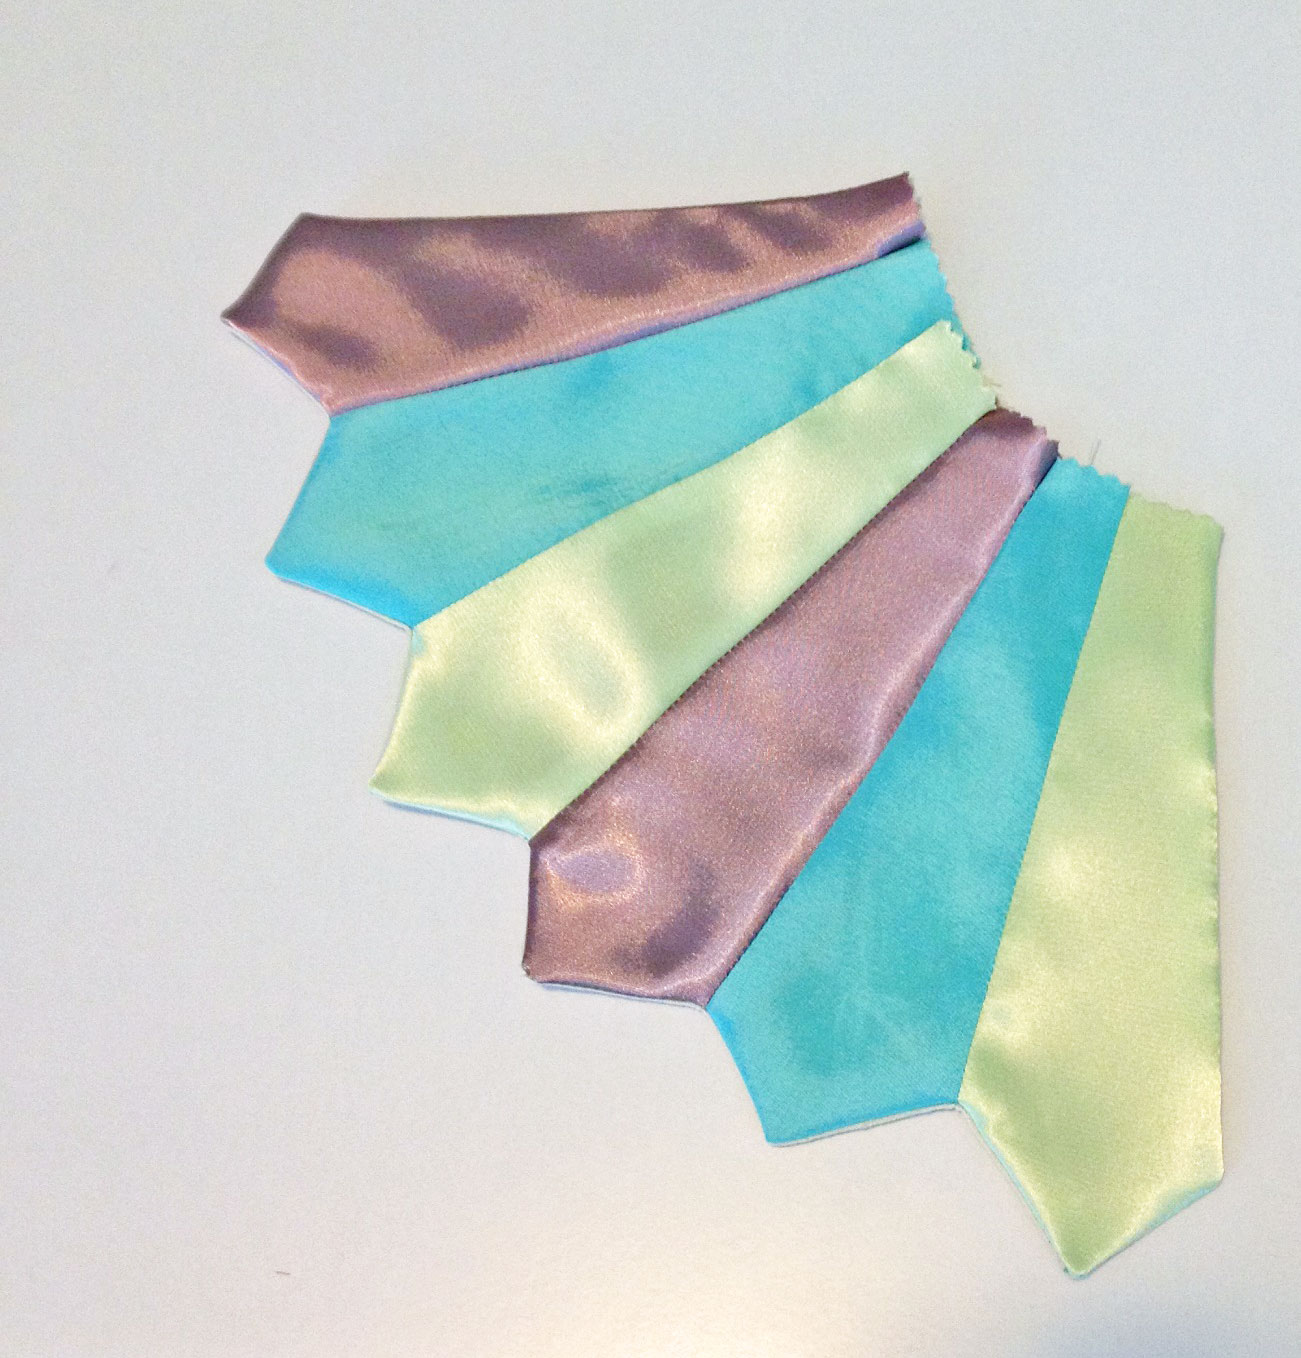
For the crazy-quilt, I used a variety of formal fabric scraps—light green satin, aqua taffeta, and lavender-mauve satin. I added a dark purple satin to the mix, but later nixed it.

Crazy Quilt Fabrics
For the embellishments, I pulled out everything I could find that coordinated. Aqua and lavender velvet ribbon. Crocheted lace. A variety of embroidery floss colors. Seed beads and crystals. I even hand-dyed some delicate filigree lace. For the first piece, I used an ombré effect, blending from green to lavender to aqua. The second, I dyed a solid aqua. Both turned out lovely, and best of all, the color matches the aqua twill almost perfectly.
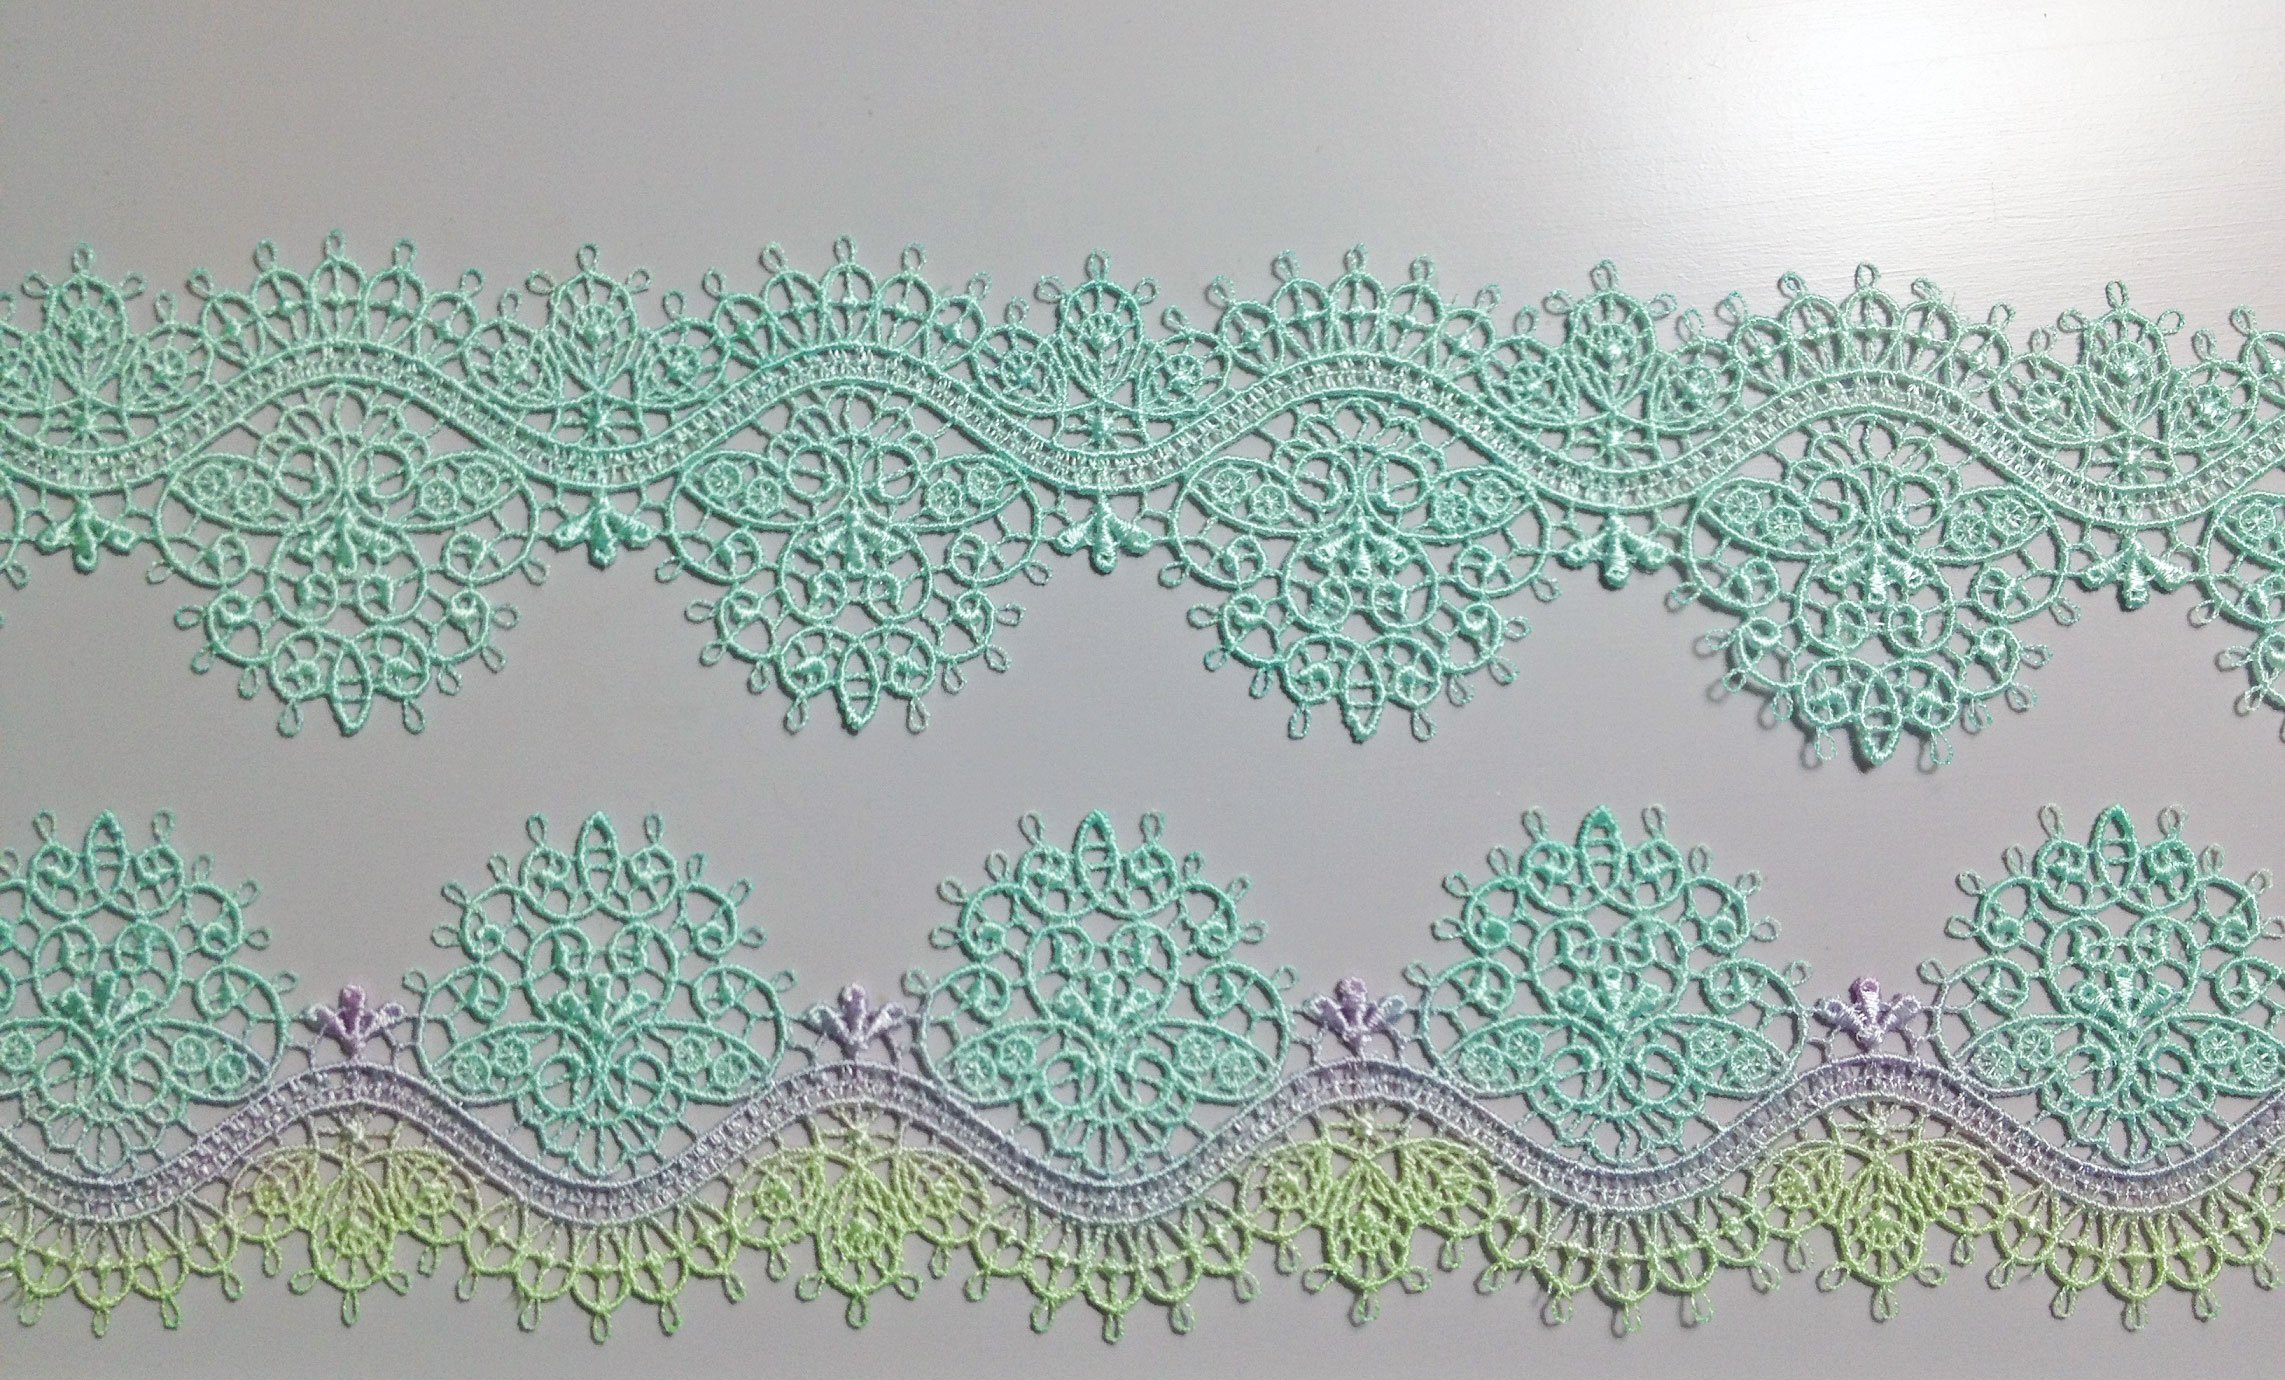
Hand-Dyed Filigree Lace
Crazy Quilting
When designing, you learn that groups or clusters always look better with odd numbers. Therefore, I cut seven panels, using a template to ensure that each piece came out the same size and shape. Somehow, when the cover was finished, I ended up with only six panels. Don’t ask me how!
At first, I used light green, lavender-mauve, and dark purple panels, but it didn’t look right. Even though those colors are part of my sewing room’s décor, it didn’t go. I swapped the purple pieces with aqua taffeta and it looked a hundred times better!

Dark Purple vs Aqua
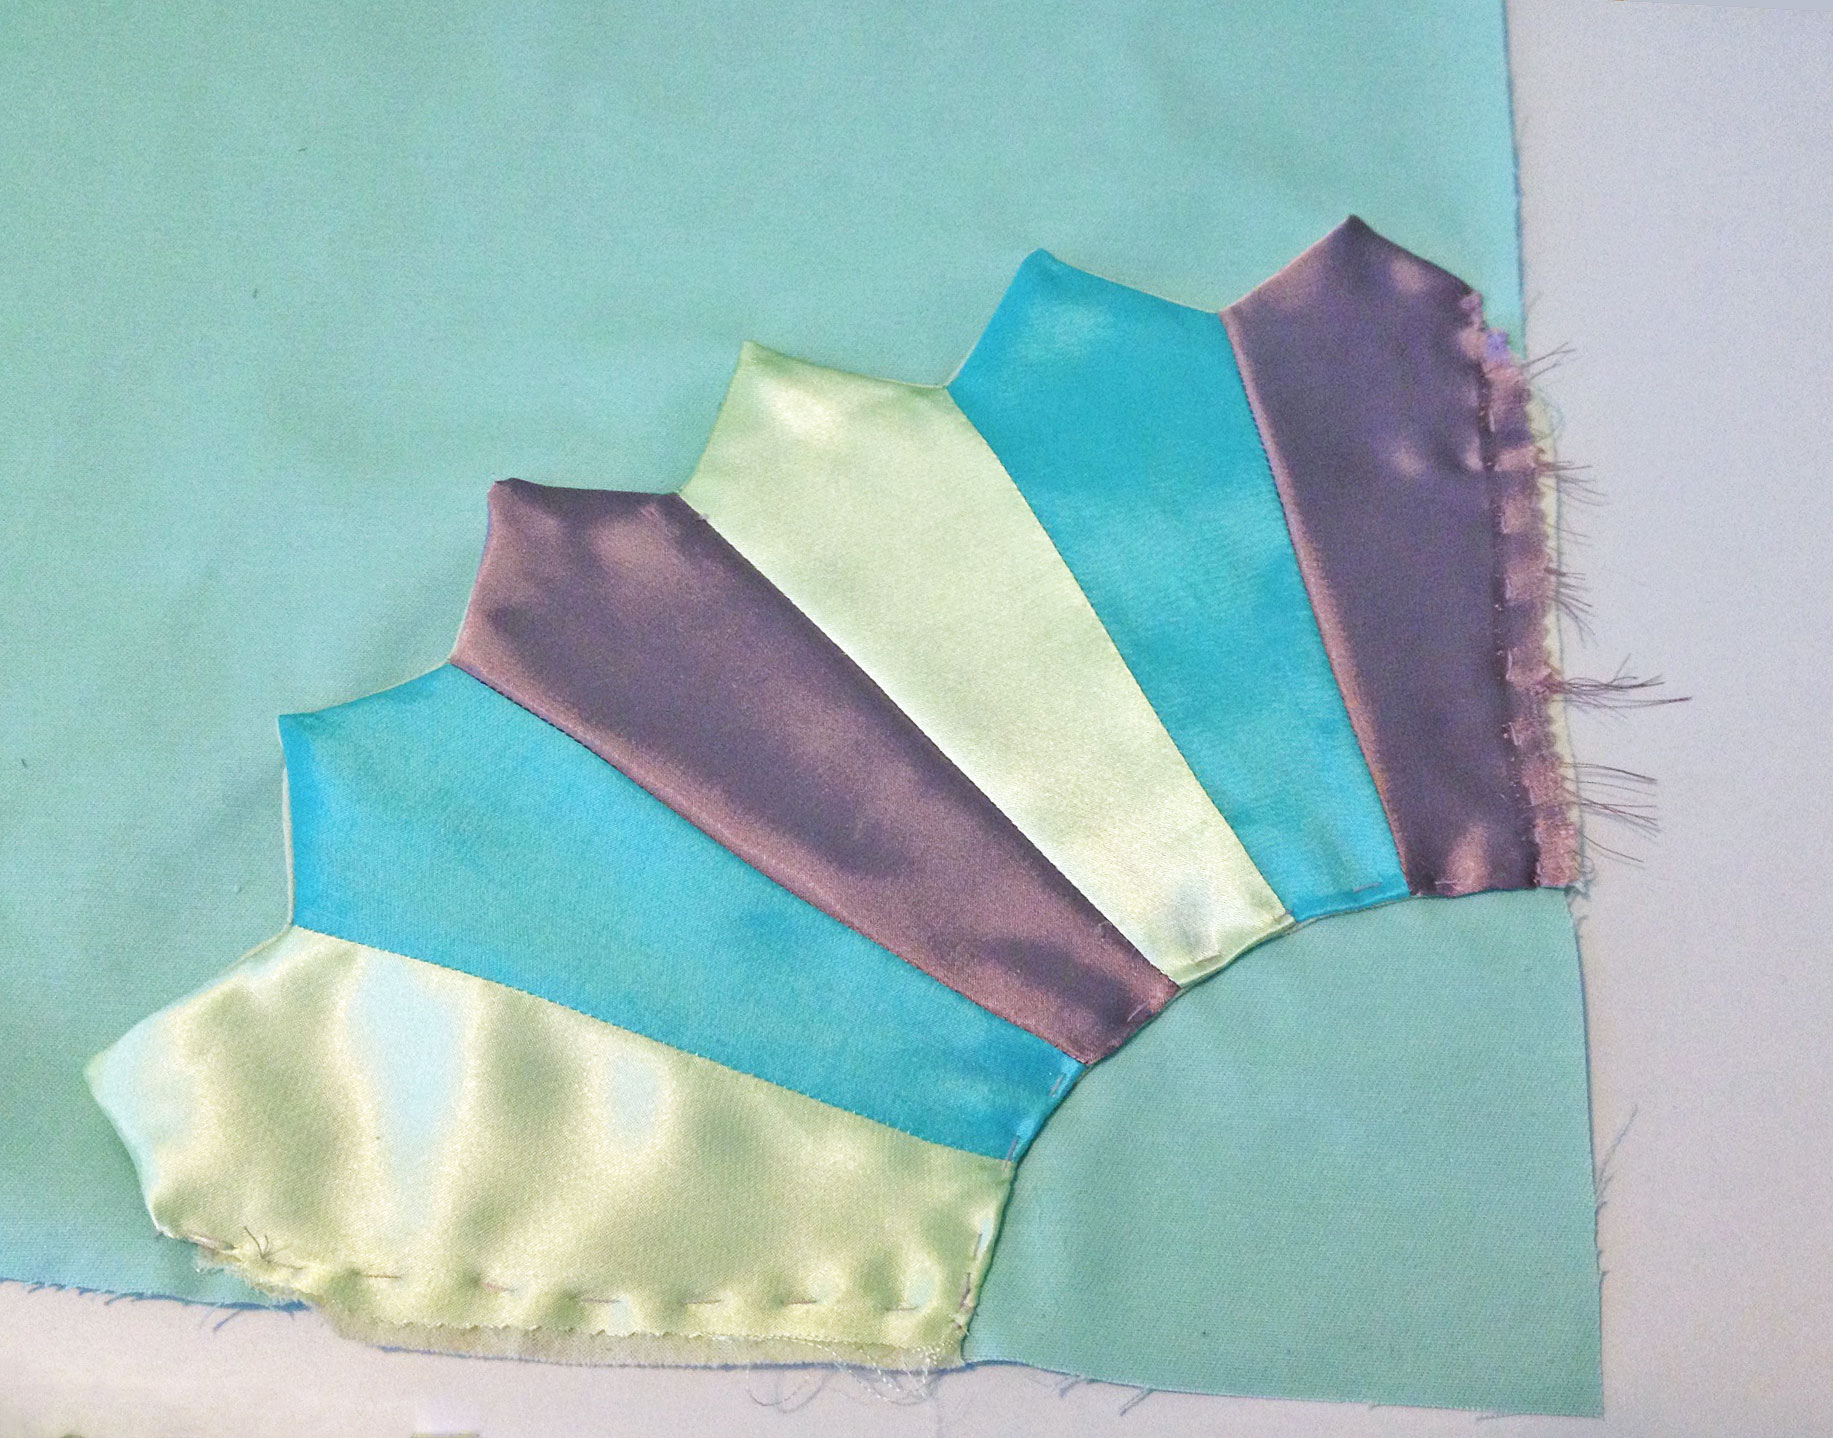
I sewed the panels together, creating a patchwork arc. To stabilize the arc, I pinned it onto a base of unbleached muslin. Since I didn’t want raw edges, I sewed the muslin and quilted arc with right-sides together, leaving the lower curve open. After clipping the corners and trimming the seam allowances, I flipped it right-side out, then slipstitched the lower curve closed.
I debated whether to stitch-in-the-ditch along the seams of each segment, but decided not to, since the embroidery I was planning would effectively do the same thing.
Sewn Arc
The next step was to attach the quilted arc to the front panel of the twill. I basted the sides and the lower curve, then tacked down the points of each individual segment.
Attached Arc
Time to start embellishing!
Embellishment
First, I attached two lengths of lavender velvet ribbon, radiating outward from the arc. Then, I pulled out my trusty book of embroidery stitches and got to work. I made a row of herringbone stitches and wheat-ear stitches, some lazy-daisy flowers, some chain-stitch circles, and some buttonhole stitch circles.
When the embroidery was done, I tacked the band of filigree lace to the bottom curve, and sewed aqua velvet ribbon along the top edge. Then, I added seed beads, druk beads, and Swarovski crystals.
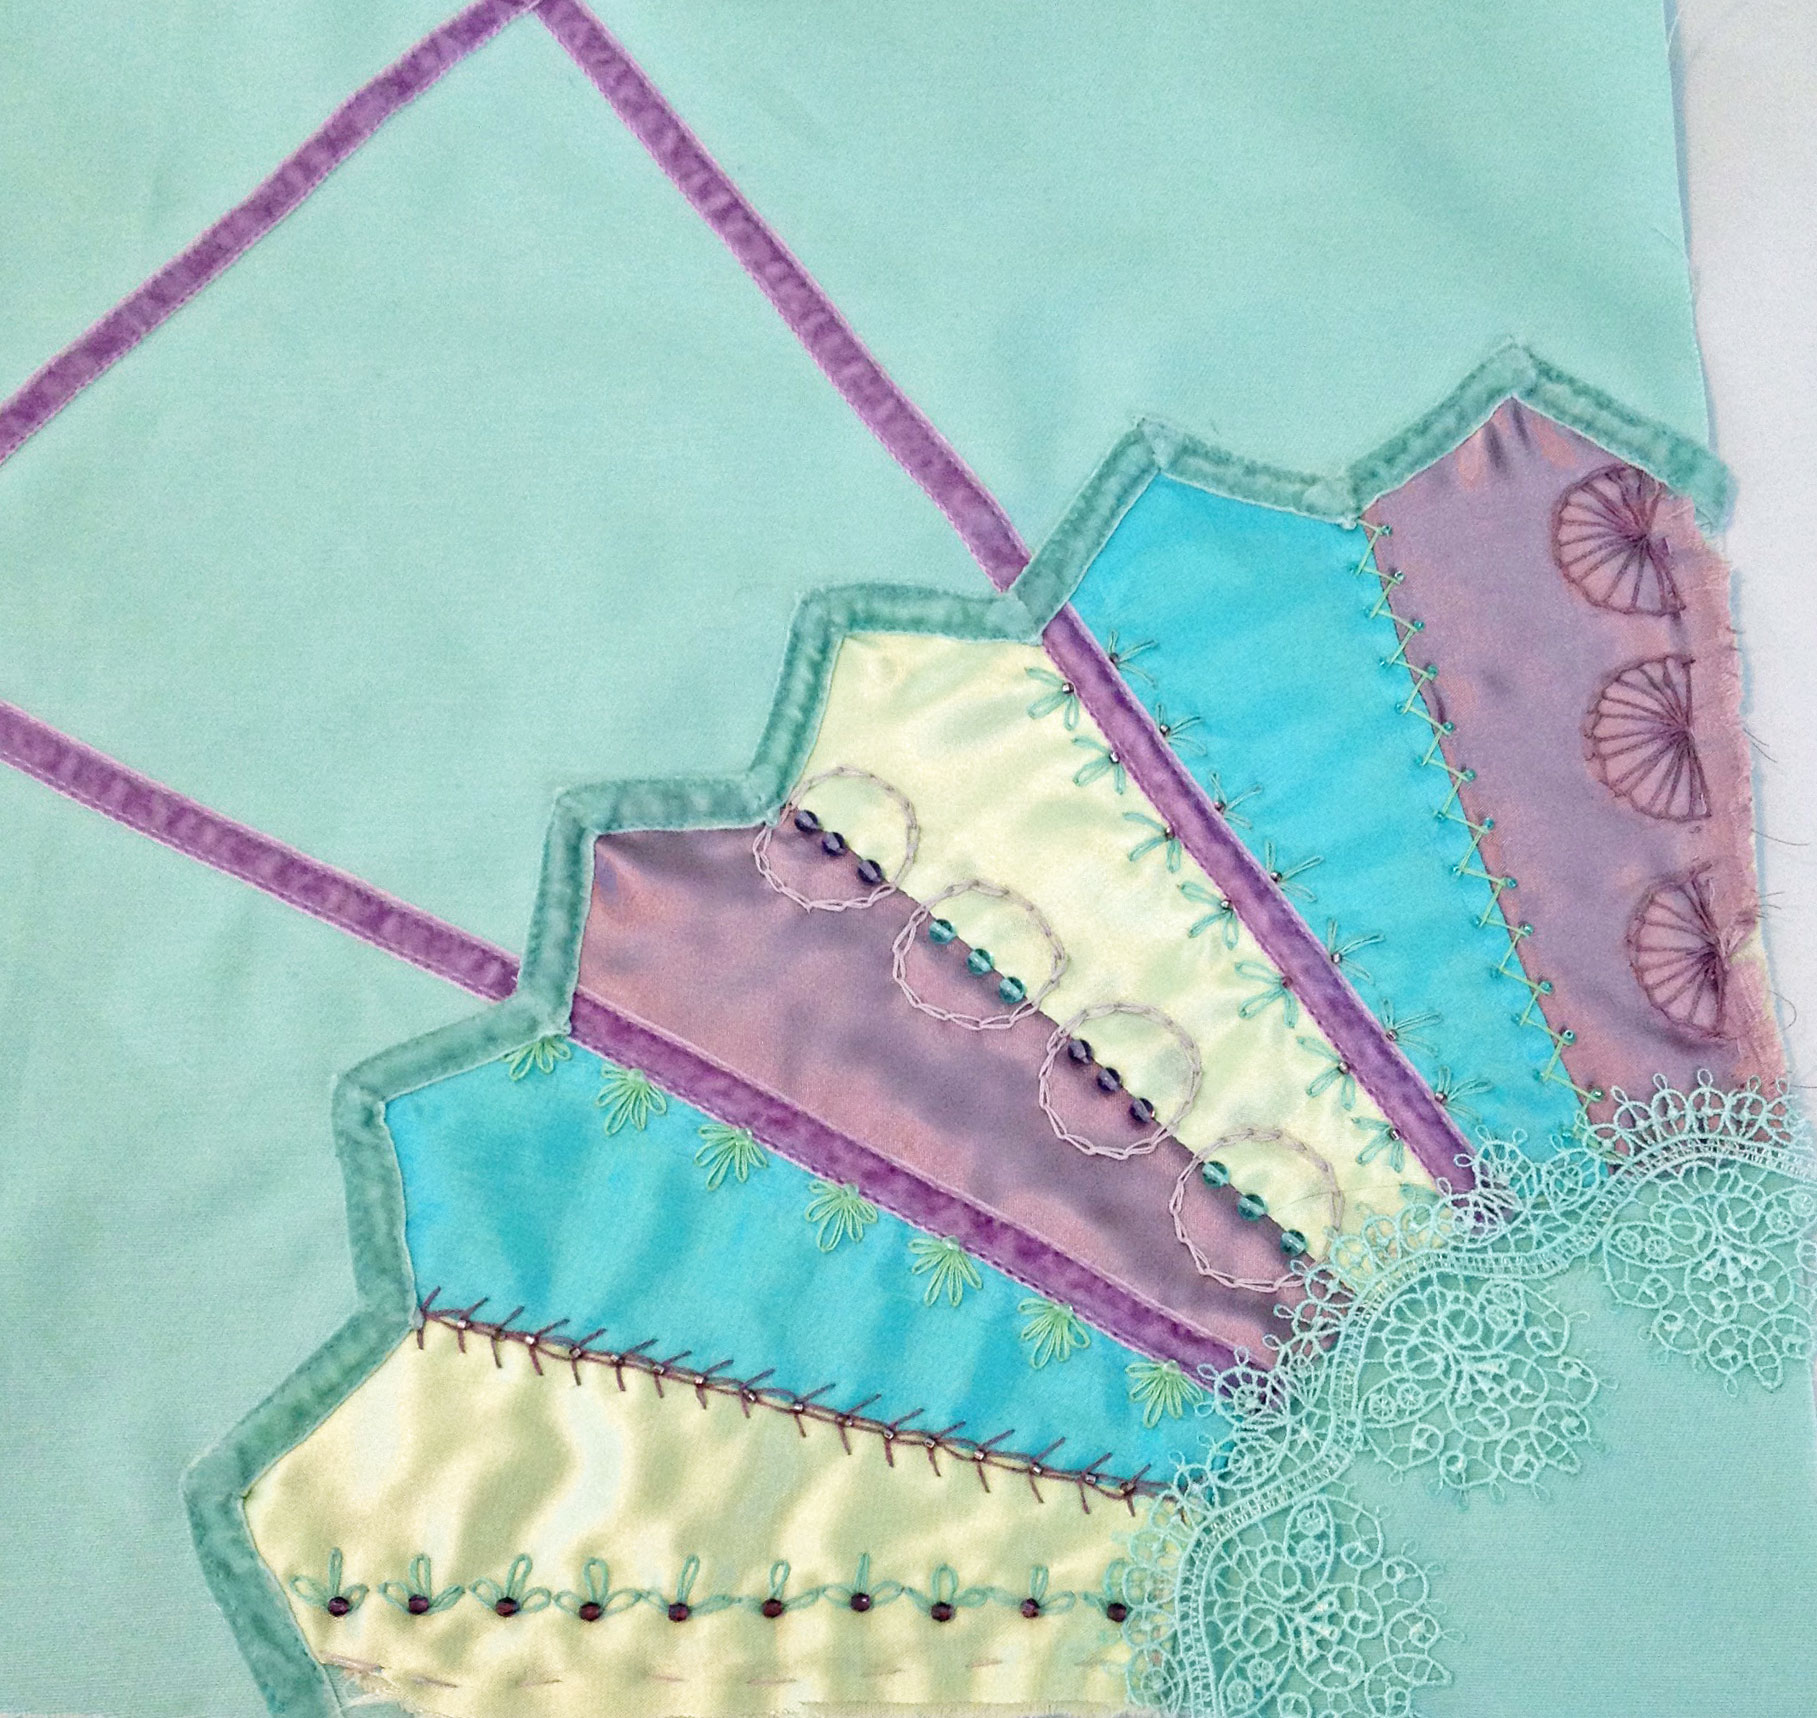
Embellished Panel
For the final touch, I added a length of lavender velvet ribbon running diagonally across the front of the twill, overlapping the other ribbons.
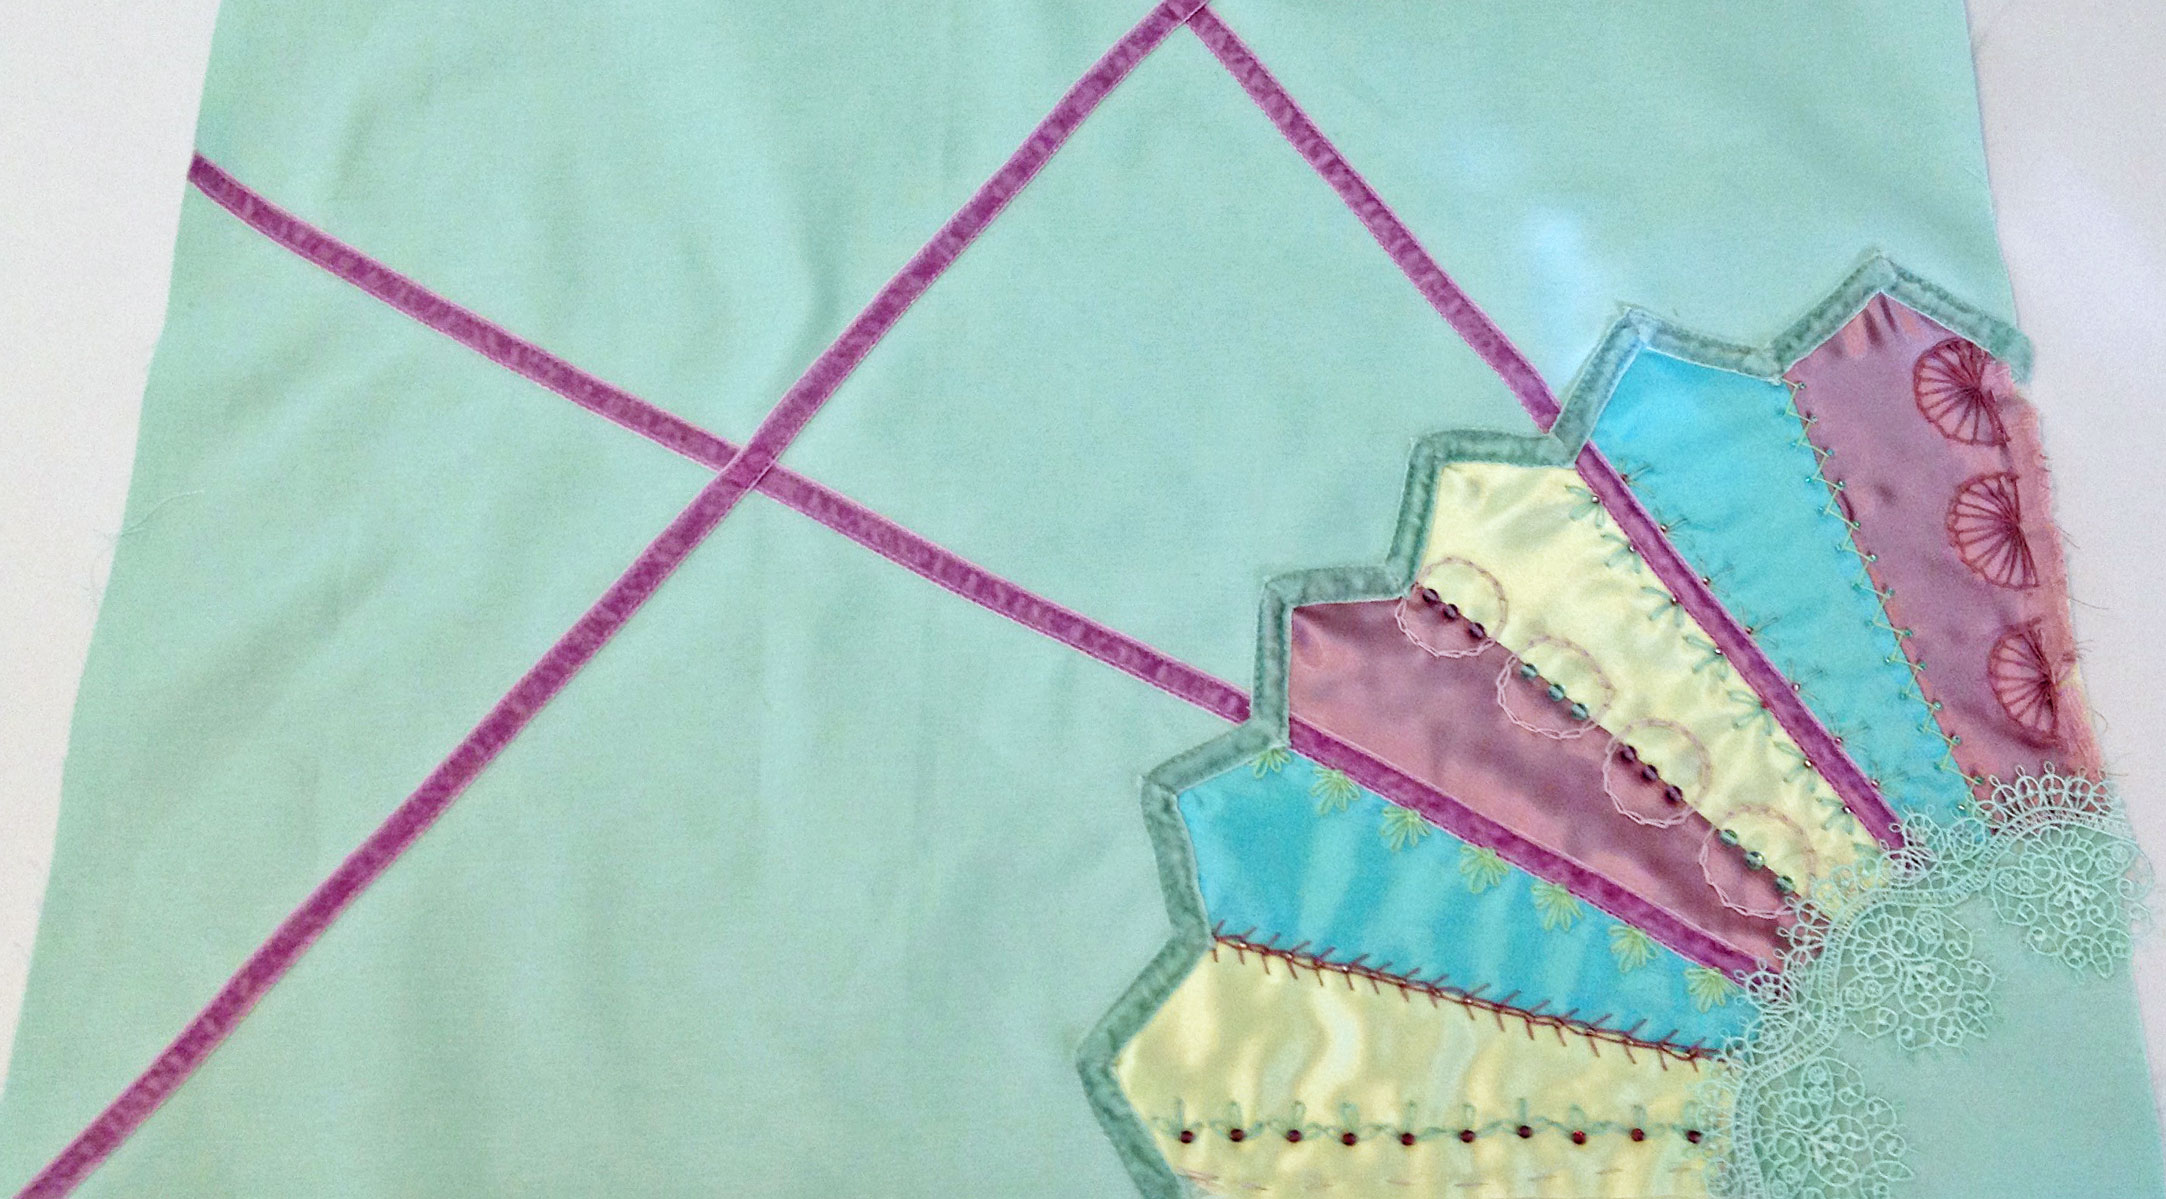
Finished Front Panel
Construction
It was a relatively simple matter to assemble the panels of the cover. The secret to constructing a three-dimensional box is to stop sewing before you reach the end of your seam. If your seam allowances are 1/4″, stop 1/4″ from the end. If they’re 5/8″, stop 5/8″ from the end. This results in decent corners. Pressing the seams helps, too.
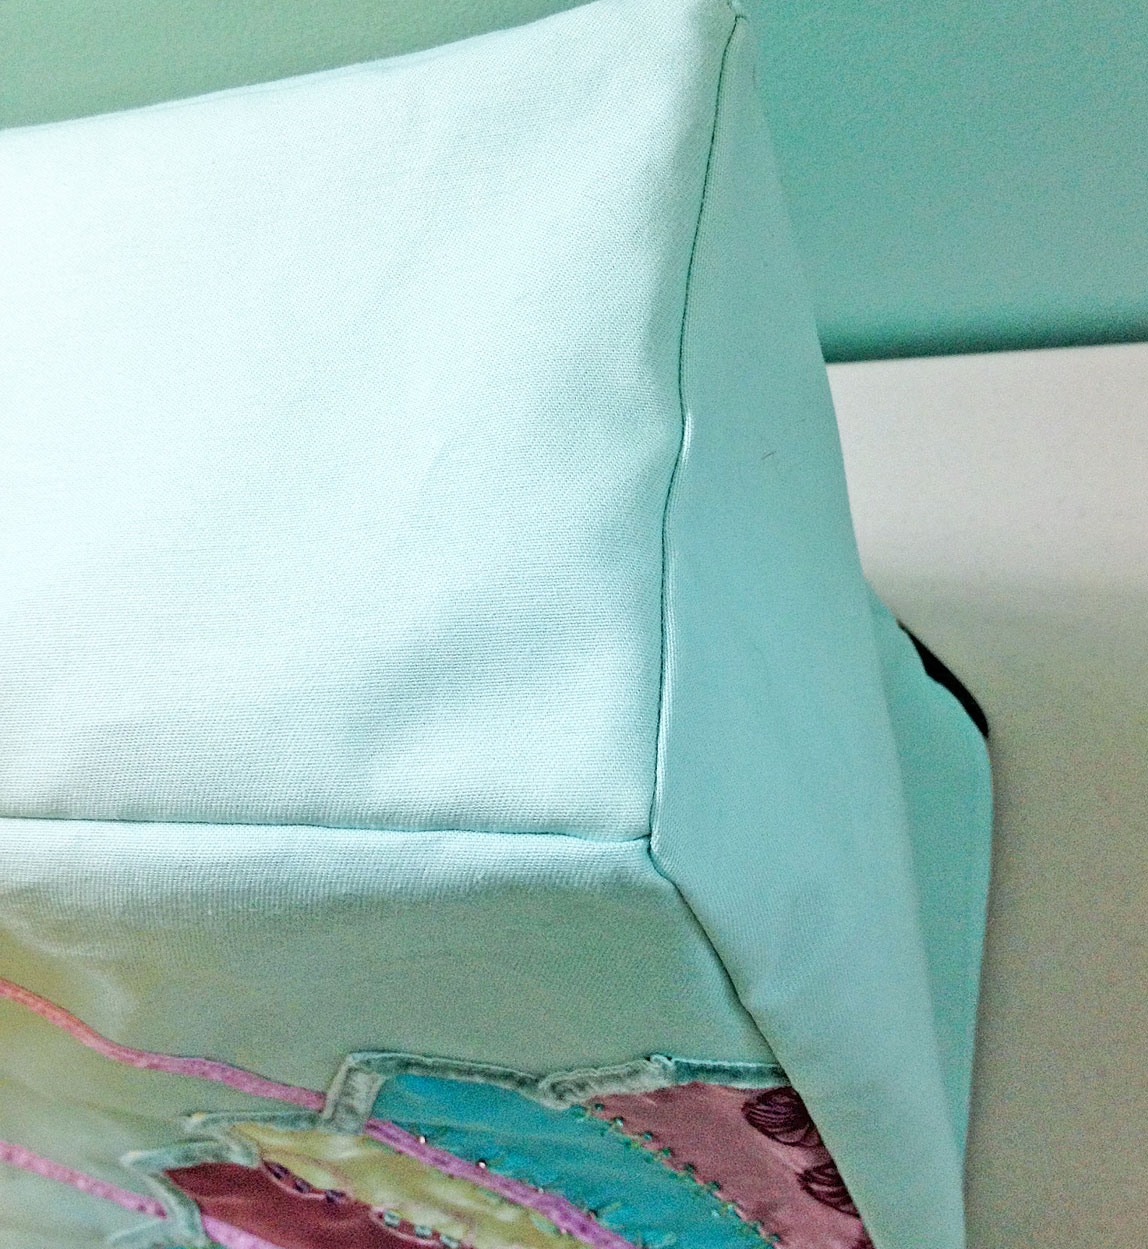
Closeup of Corners
Once the cover was assembled, I finished the lower edge with self-bias tape. I accidentally cut the bias tape too narrow, so instead of binding the edge, I had to flip it to the underside of the cover and stitch the raw edge down. It’s invisible from the front, except for the line of stitching.
And that was it! The cover was done.

Closeup of Embroidery & Beading
Conclusion
This piece was more difficult than my crazy-quilted book cover. The colors didn’t seem harmonious and I wasn’t pleased. In fact, I almost gave up halfway through. But I went ahead and finished it—and I’m glad I did! The end result was much nicer than I expected. I believe the different seed beads and crystals helped tie the colors together, making it look more cohesive.
In the course of these two projects, I learned a great deal about crazy-quilting. For all that it’s meant to appear random and chaotic, it requires a great deal of precision and patience, which is hard for me. Even so, I’m happy with my sewing machine cover.
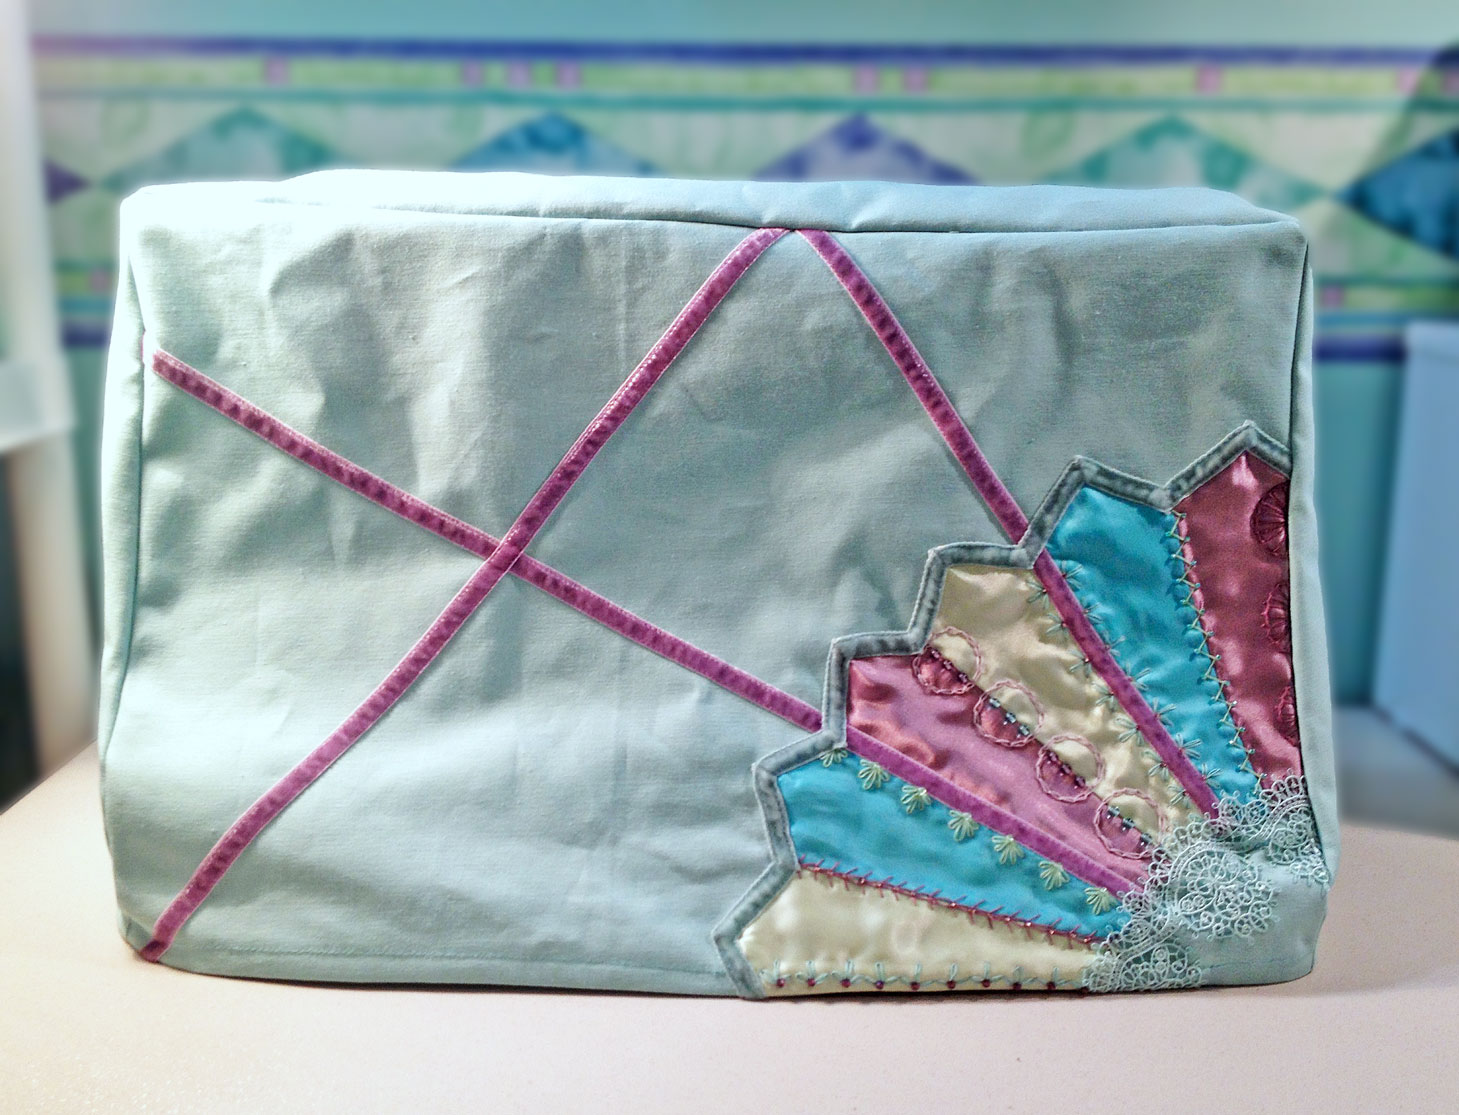
Finished Sewing Machine Cover