
A Sewing Diary
by Lisha Vidler
Last summer, on a trip to California, I made an amazing thrift store find. Amidst discarded bridesmaids’ dresses and tattered Halloween costumes, I discovered a pale green medieval gown. At once, I recognized it as a replica of Arwen’s coronation gown, as seen in the final Lord of the Rings movie, The Return of the King. It cost me $4.95.
The gown wasn’t in the best condition, so I decided to give it a bit of a makeover.
(Click any photo to see the full-sized image.)

Finished Gown (Closeup)
Description
Most of the dress is a pale leaf-green stretch velvet. The neckline and upper part of the sleeves are a floral stretch lace, dyed to match. The lower sleeves are belled in a common medieval-fantasy style, and they’re lined with sheer, flesh-colored tricot undersleeves.
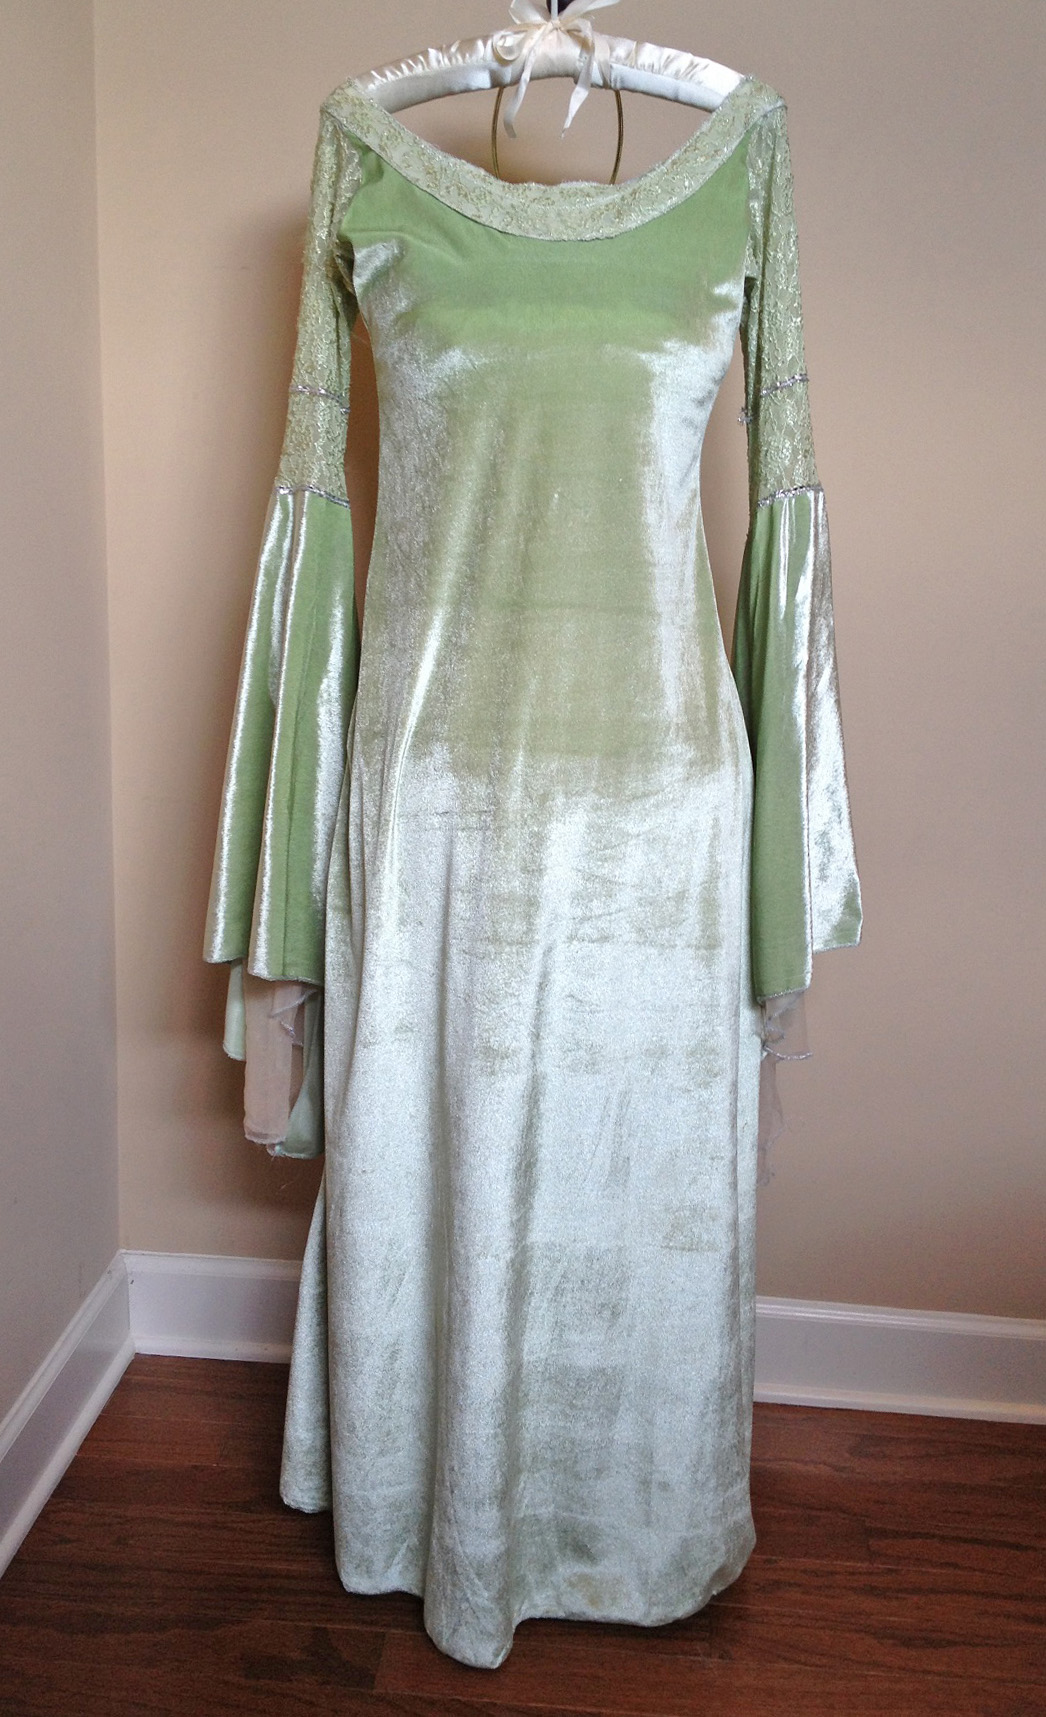
Arwen’s Coronation Dress (Before Makeover)
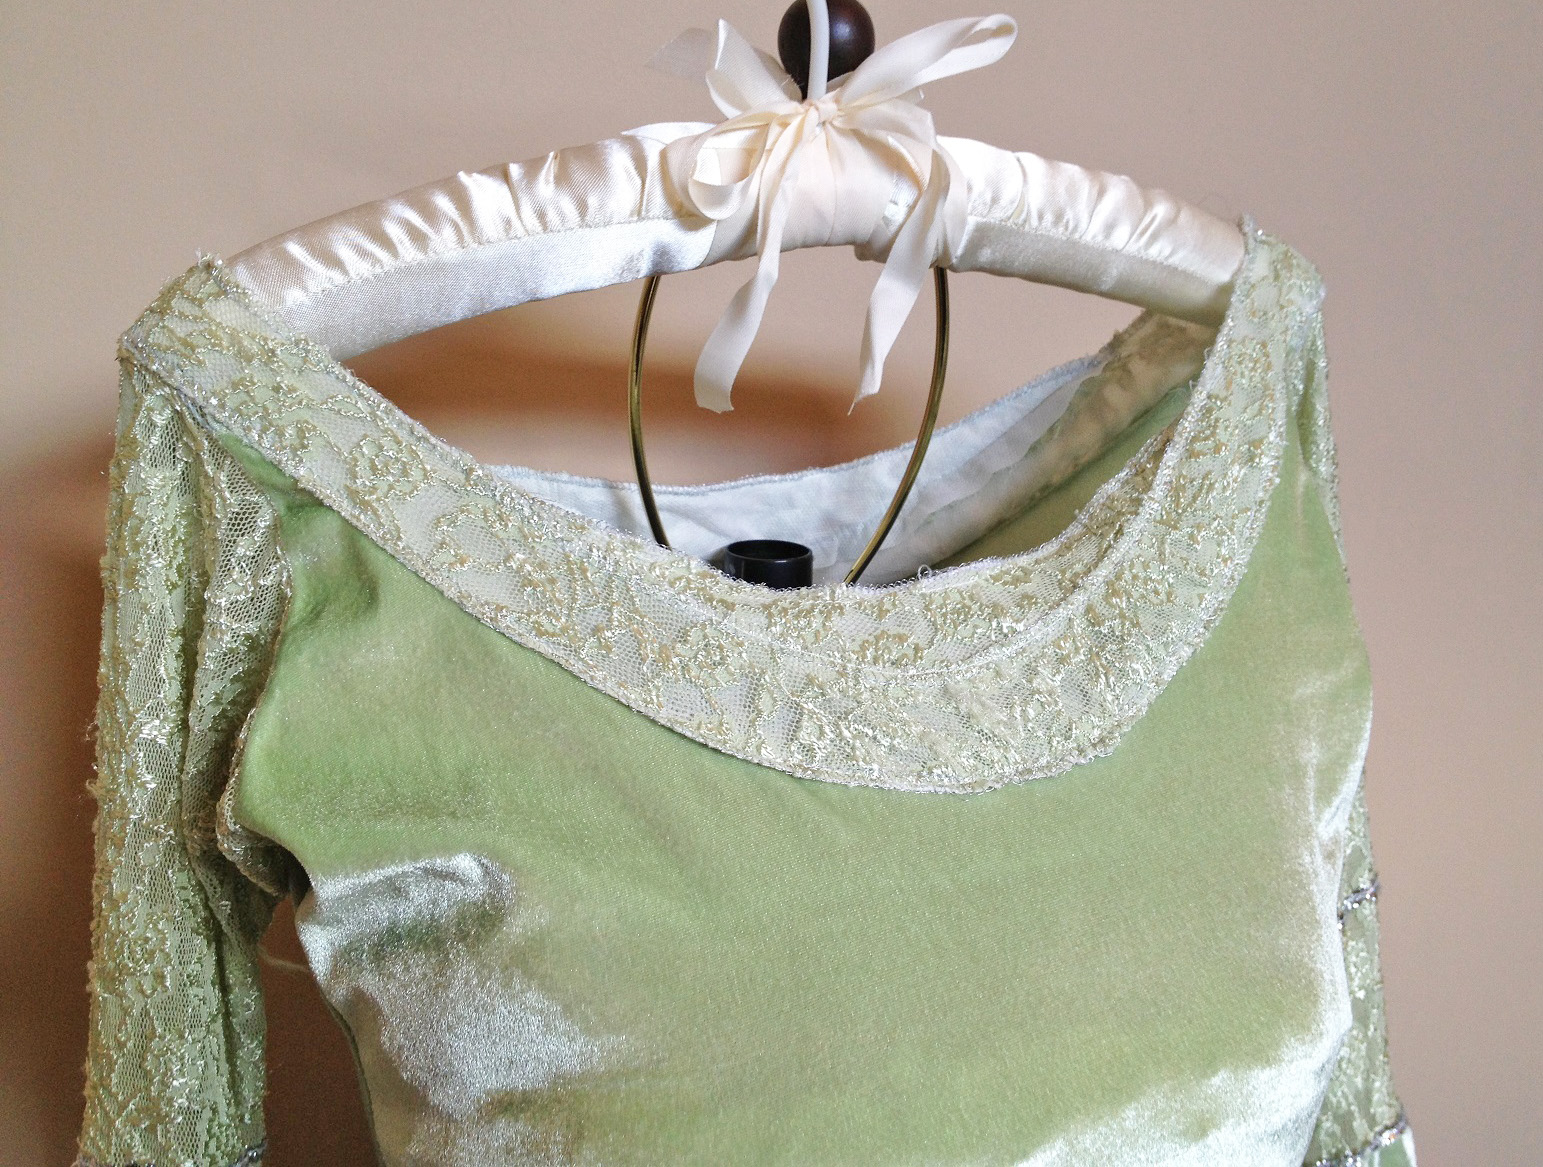
Closeup of Neckline (Before Makeover)
Problems
As I mentioned, the gown wasn’t the highest quality. Here’s a few of the problems I found:
- Some of the seams hadn’t been serged straight, which created gaps in the stitching.
- There were loose threads everywhere.
- Some of the lace was snagged and/or frayed.
- The silver rickrack on the sleeves was falling off.
- The rickrack was also terribly frayed.
- There was no hem.
My goal was to repair the seams, hem the skirt, replace the silver rickrack, and add matching silver trim around the neckline. I also wanted to bead the upper sleeves and neckline, to give the dress some sparkle.
Makeover
To start, I snipped all the loose threads and bits of shredded lace. Using matching thread, I hand-stitched all the loose flaps and holes where the seams hadn’t caught. This took perhaps half an hour.
Next, I looked at the silver rickrack. It was frayed in places, and had come unstitched in others, so I went ahead and removed it.
Silver Rickrack
I had several different silver trims in my stash, but since I primarily work with doll clothes, I didn’t have a lot of yardage of any of these trims. I measured the one I liked best and found that I would have just enough to edge the sleeves and neckline. In the photo below, it’s the bottom trim.

Assortment of Silver Braid
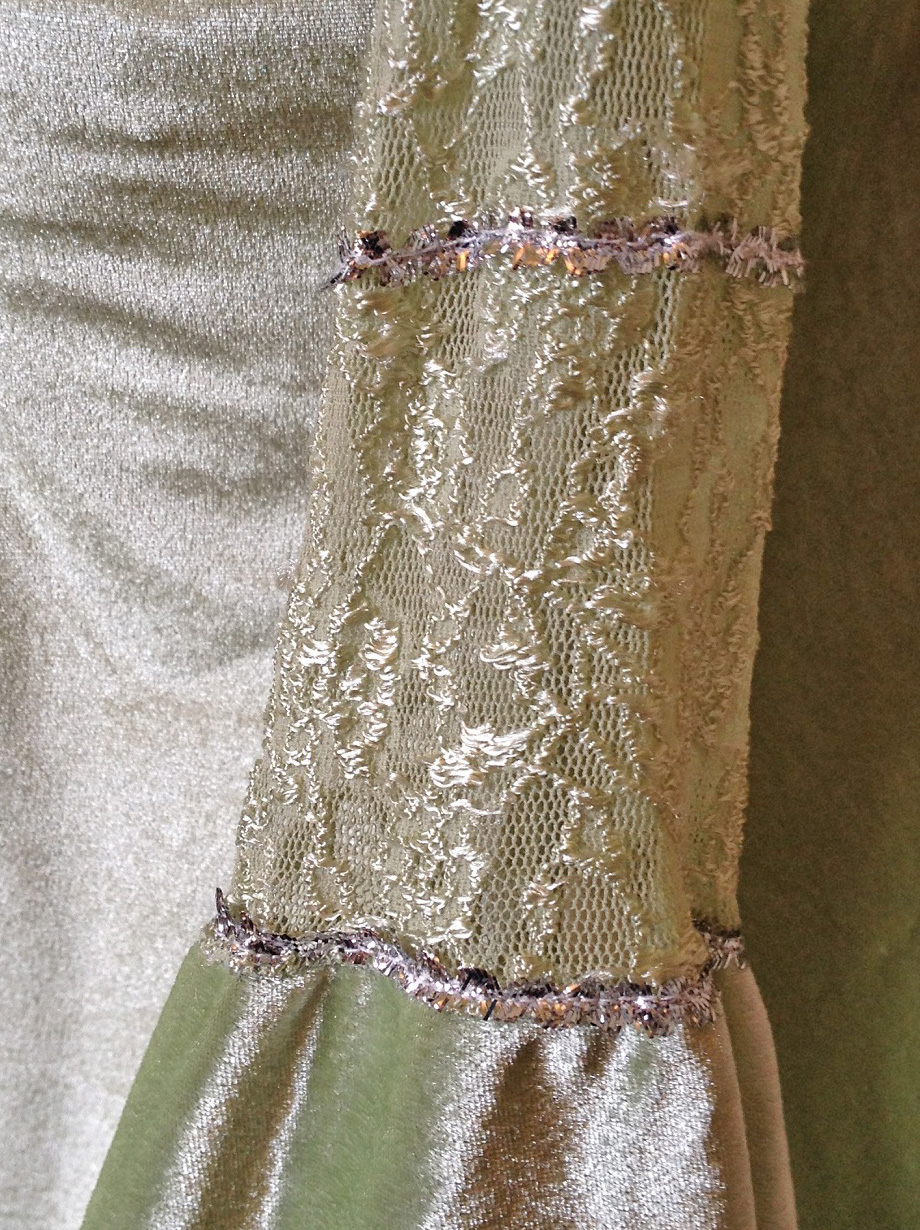
I sewed the first row of braid on top of the seam that connects the upper and lower sleeve. I placed the second row about three and a half inches above that. Because the fabric is stretchy, I attached the trim with a catch-stitch. This allows some give, so the thread won’t break when the fabric is stretched.
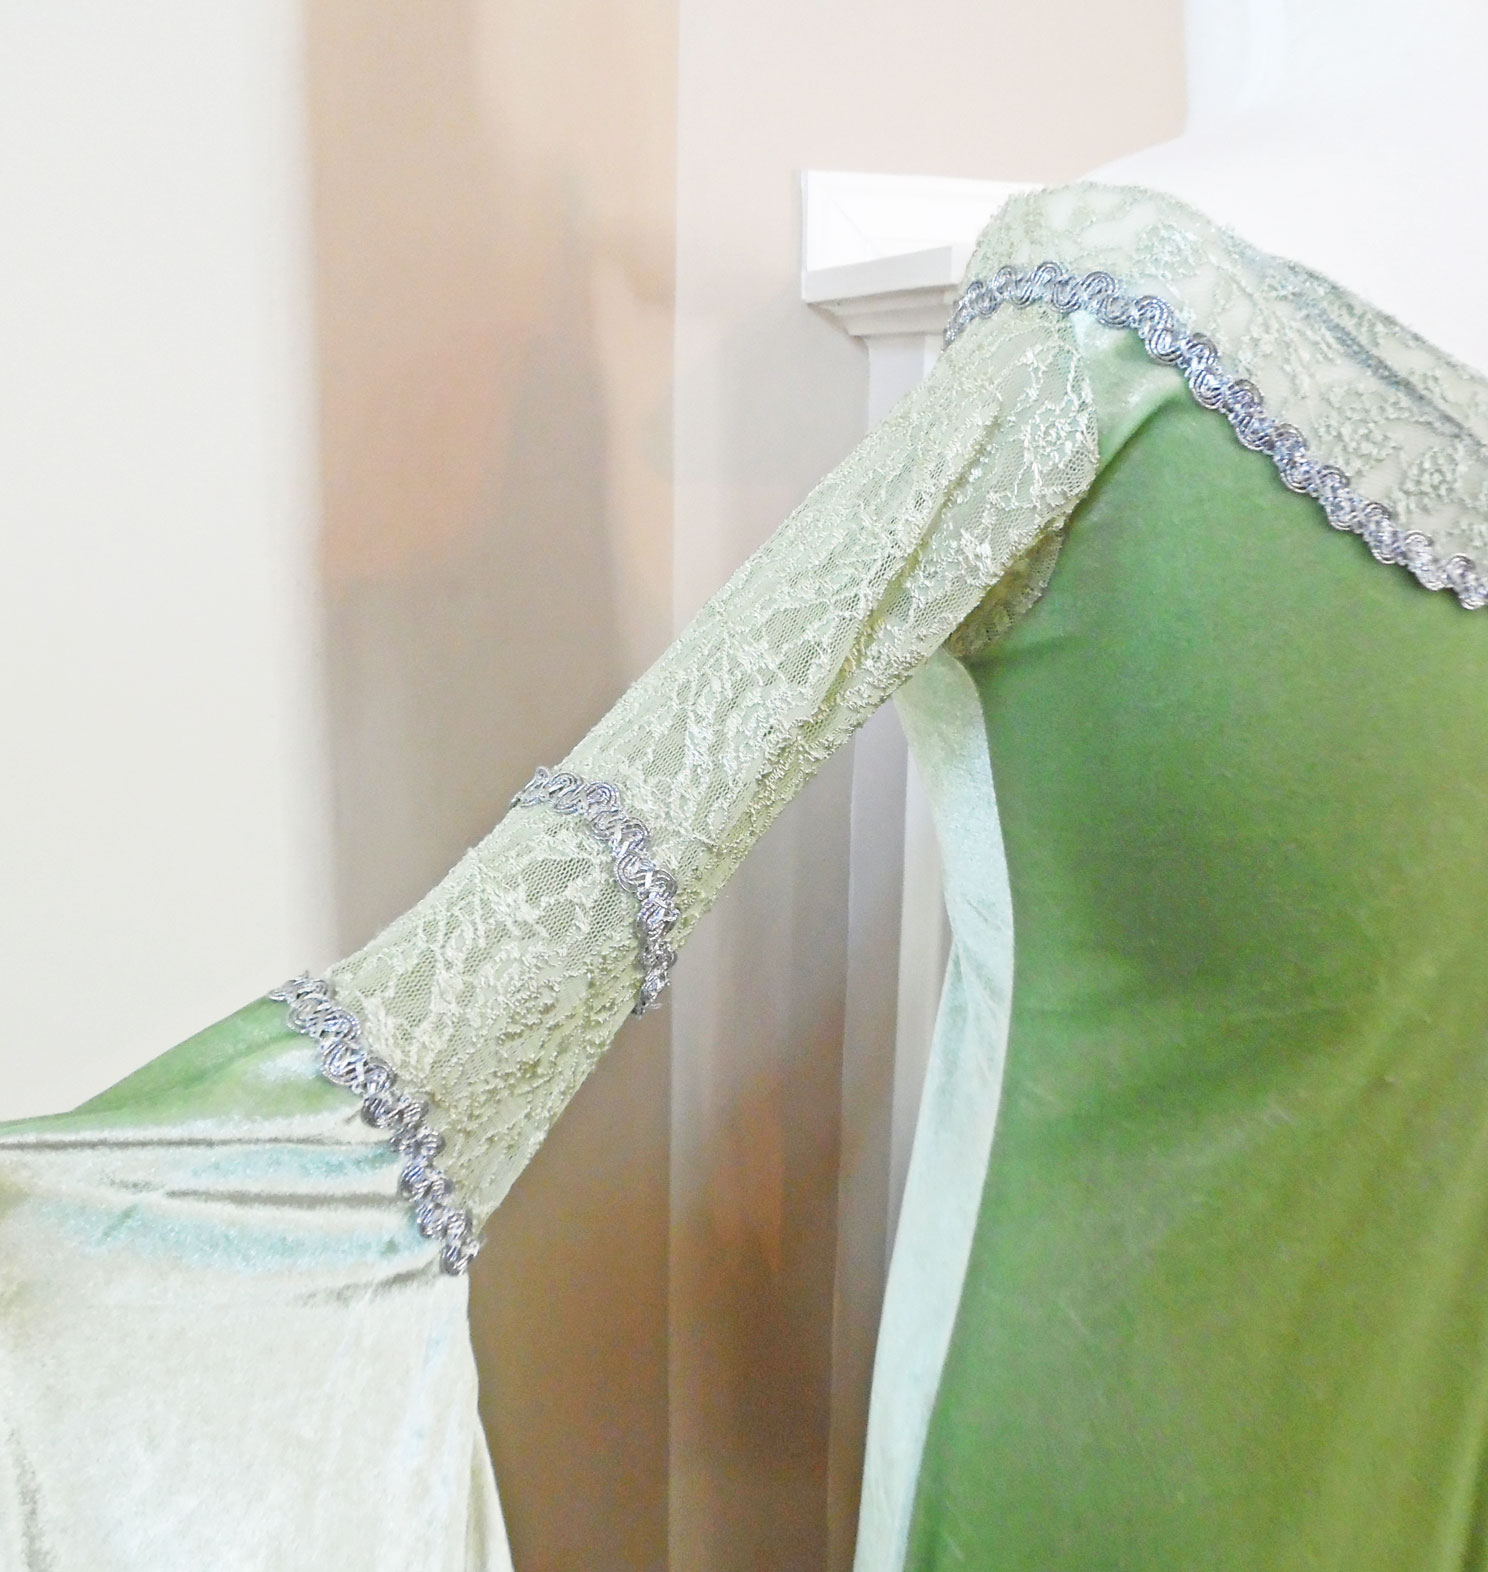
New Sleeve Trim
The real coronation gown has silver trim and beaded embroidery along the neckline, so I decided to fancy mine up a little by adding a row of the silver braid along the lower edge of the lace neckline. Again, I used a catch-stitch, so the trim could stretch with the gown.
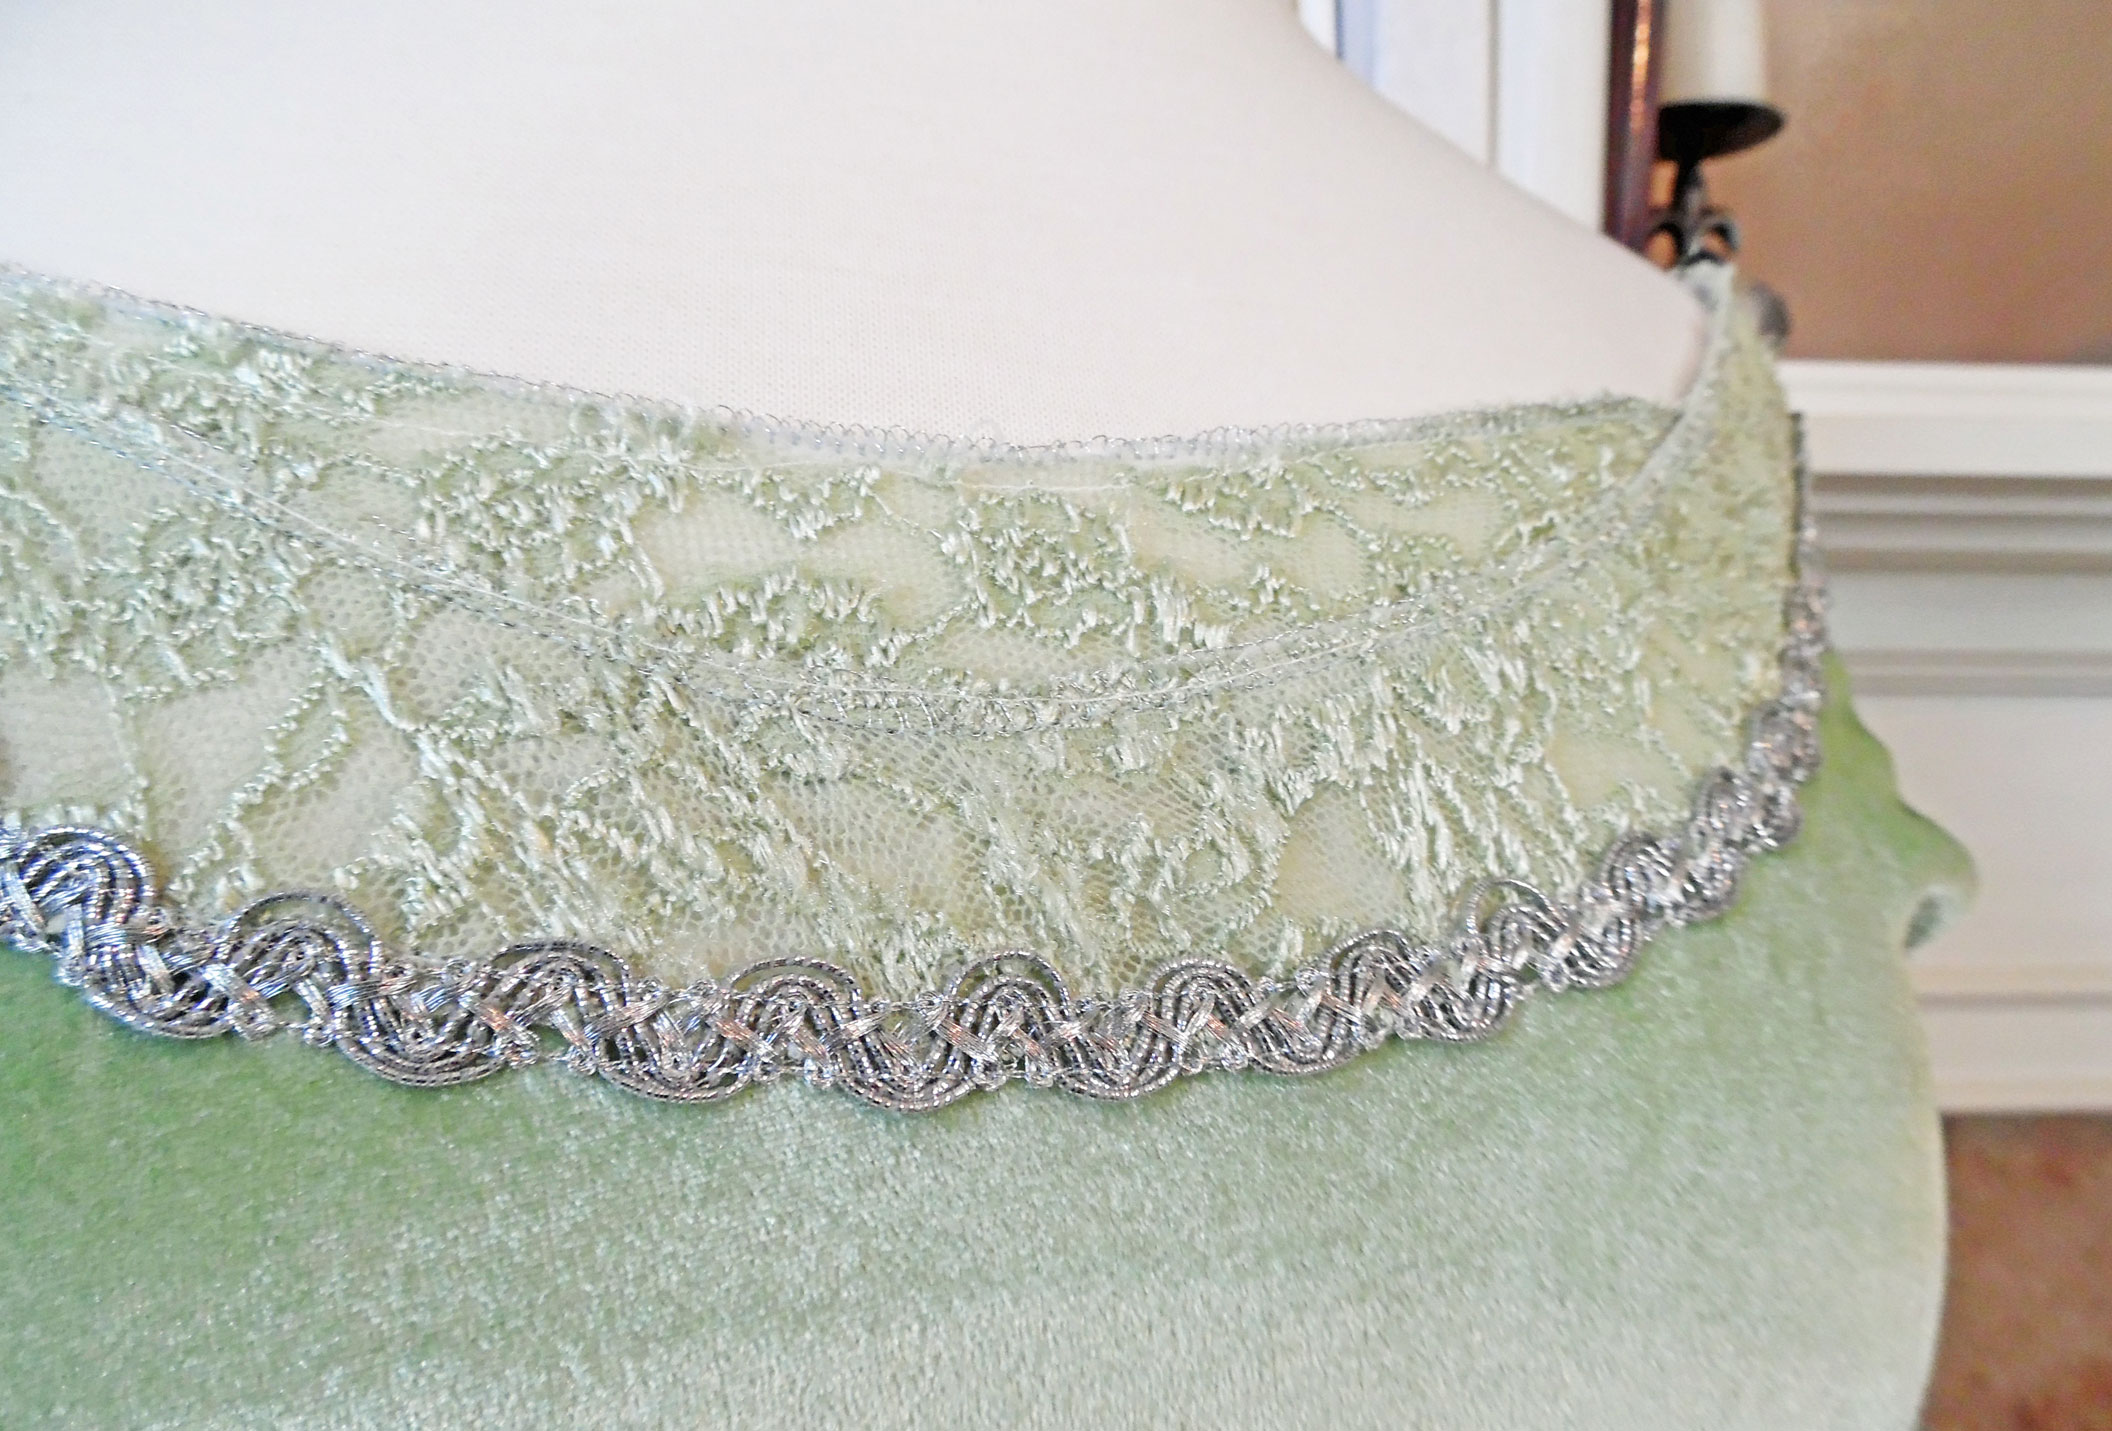
Neckline Trim
The bottom edge of the skirt had been serged, but not actually hemmed, so I turned it under and sewed the hem by hand.
My final goal was to bead the neckline and sleeves. I couldn’t, however, because they’re made of stretch lace. If I’d used regular thread, it would have snapped the first time someone pulled the gown on over their head. And I couldn’t find an elastic thread fine enough to fit through seed beads. A disappointment, to be sure, but I’m still quite pleased with how the dress turned out.
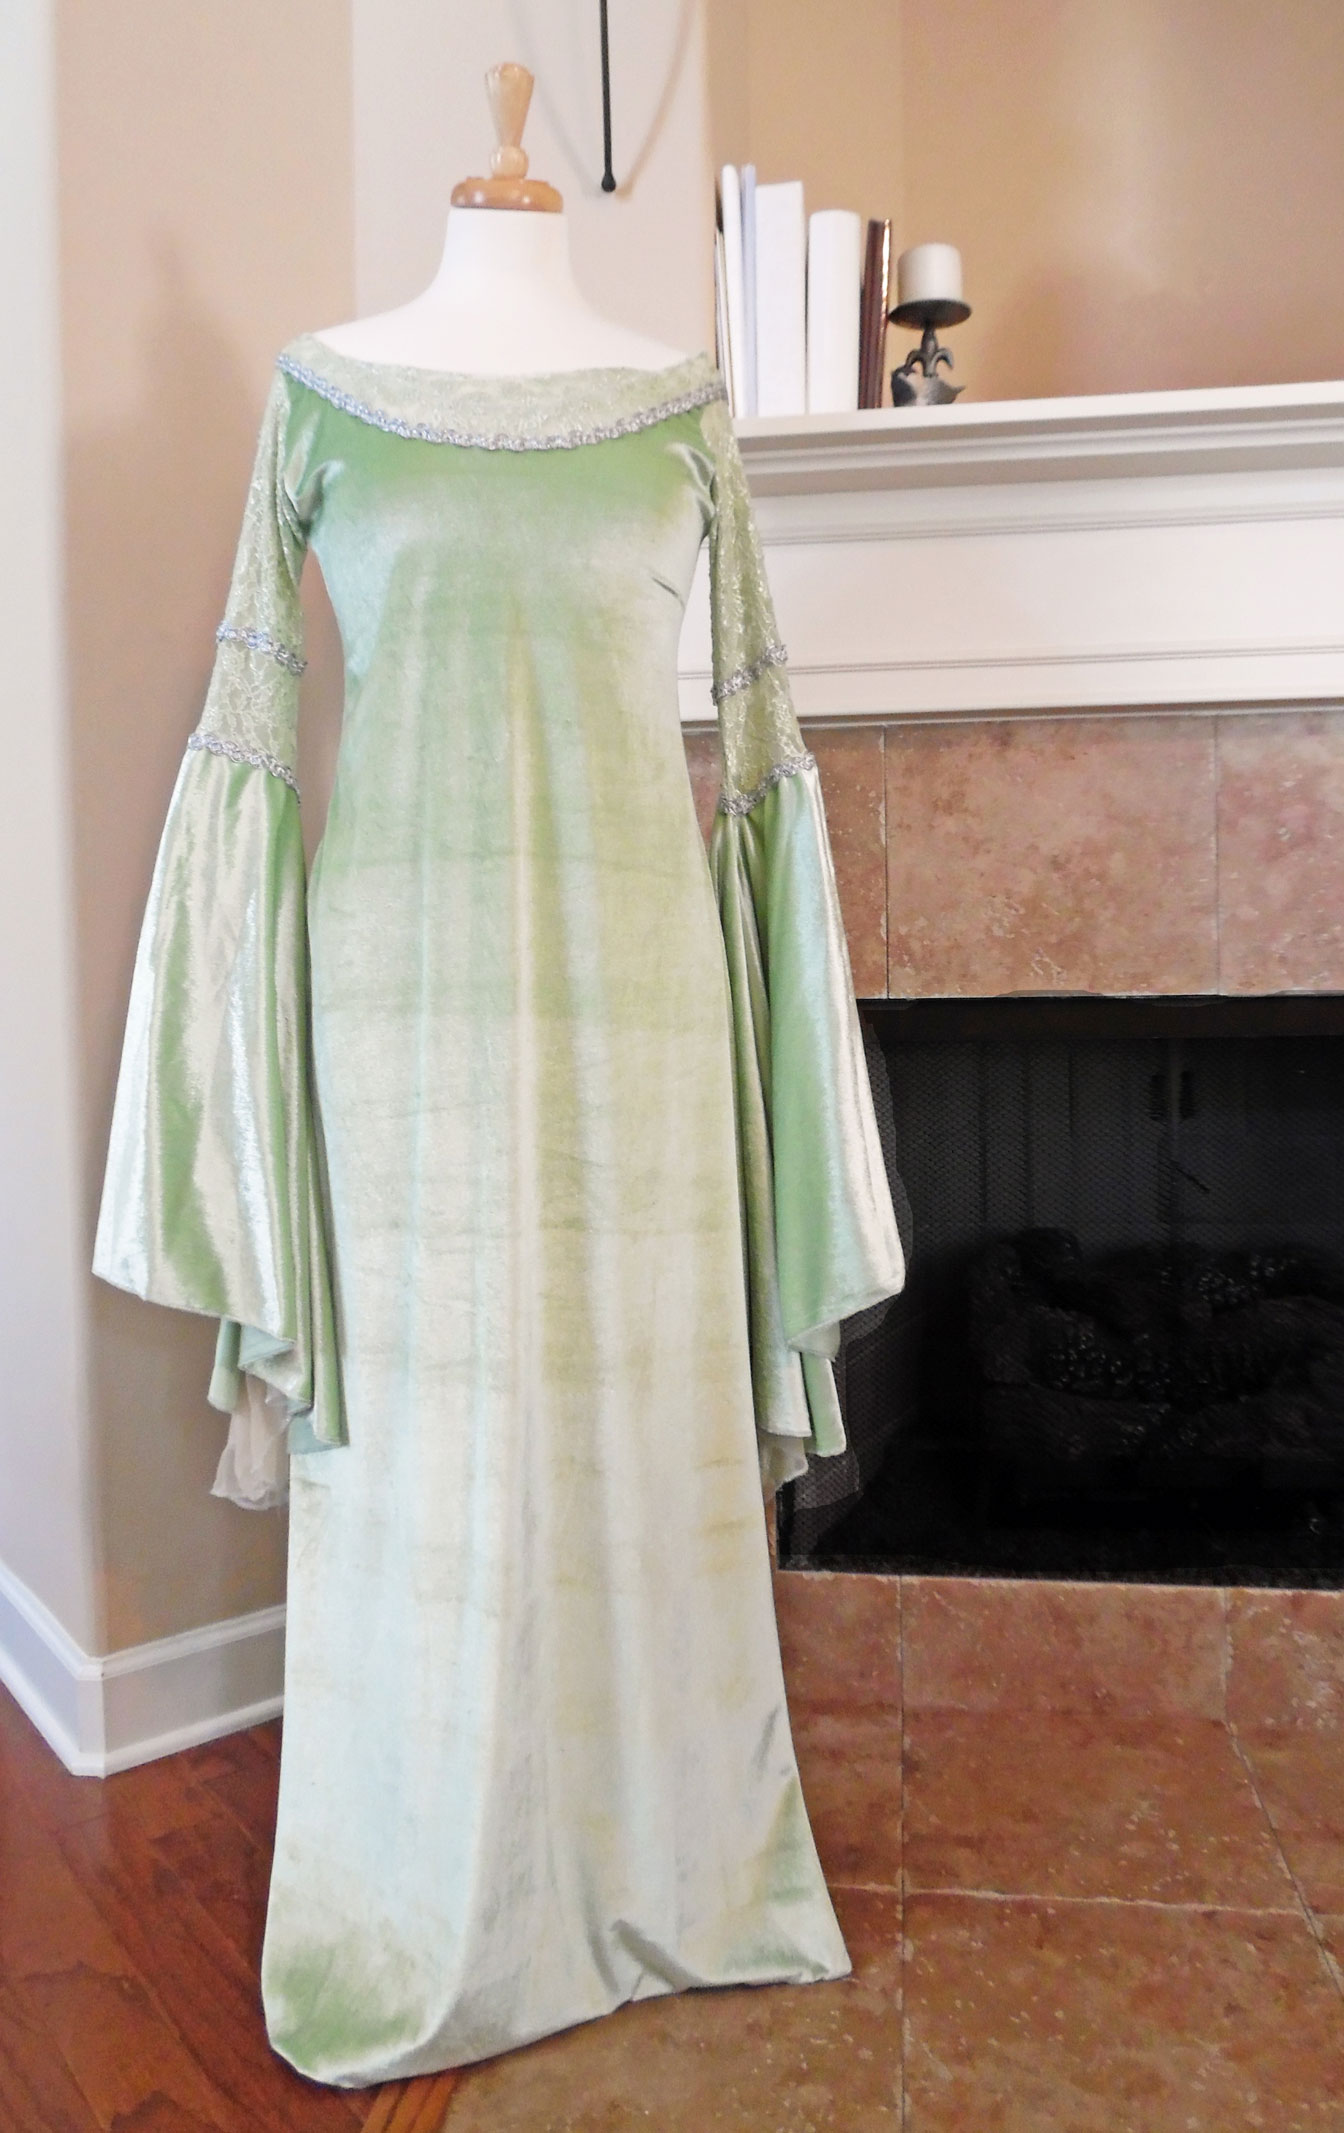
Finished Dress (Front View)
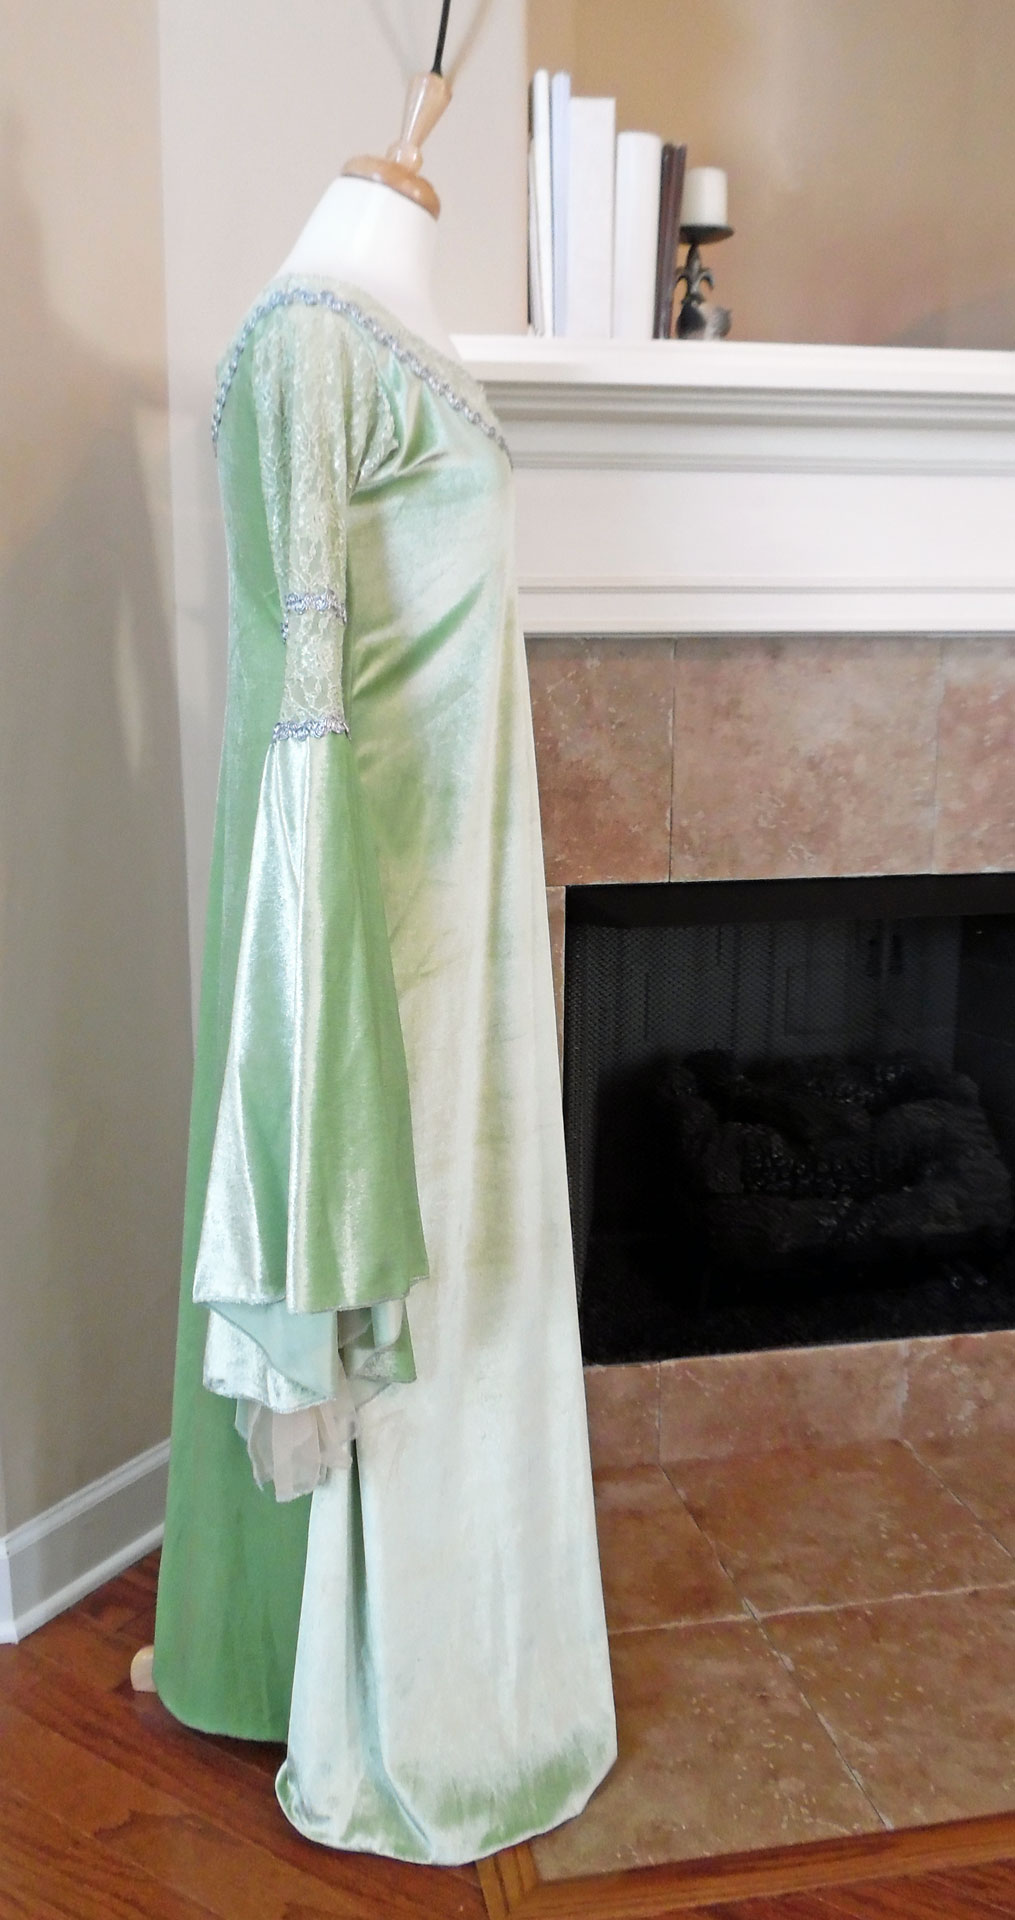
Finished Dress (Side View)
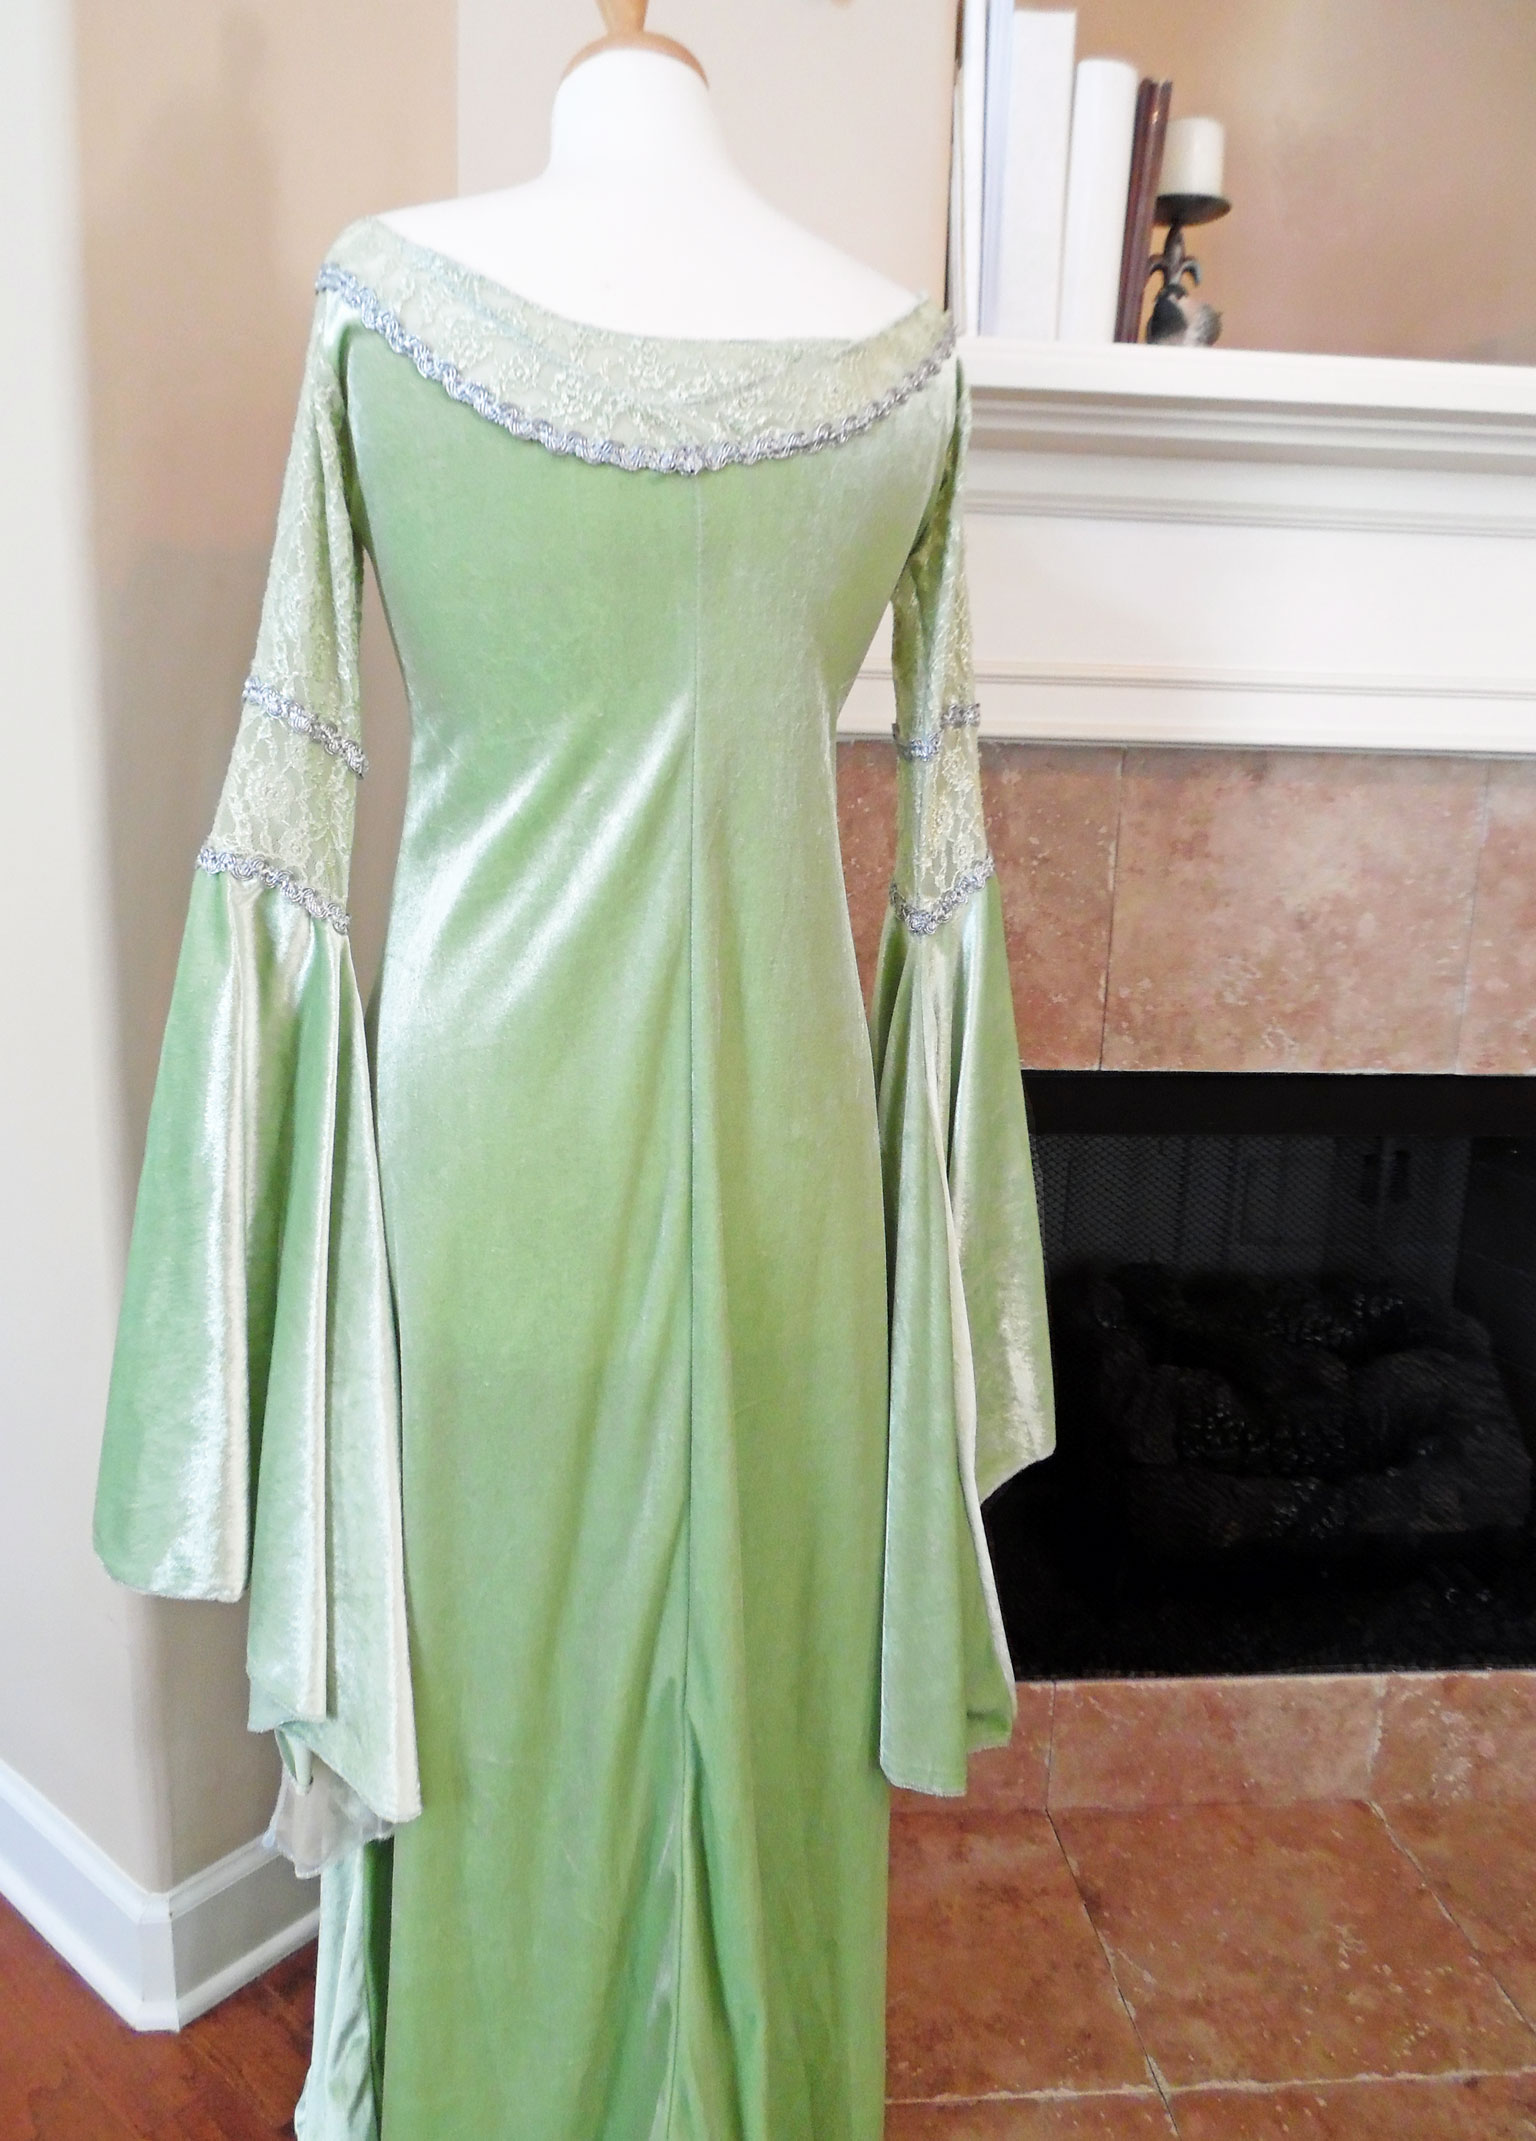
Finished Dress (Back View)