

(This is an updated, more precise version of a previous article on the subject. Click any photo to view full-size.)
It’s hard to sew when you’re surrounded by chaos and clutter. These rules mostly apply to a dedicated sewing area, but even if you only use a corner of your dining room, organizing your sewing space can reduce stress and increase creativity.
Bonus: At the end, I’ll show you my revised sewing room!
Here are the basic rules:
- #1. Purge. Every so often, go through your stash and get rid of anything you don’t need or won’t ever use.
- #2. Furniture. Make sure you have the pieces of furniture you need and arrange them in an efficient way.
- #3. Organize. Have a specific place for everything. Store like items together.
- #4. Decorate. Fill your room with colors that soothe and inspire you. Use coordinating boxes, baskets, bins, and tools.
- #5. Upkeep. Tidy a little each day. Don’t let it get out of control!

In desperate need of tidying. . . .
Let’s start with the hardest element.
#1. Purging
Sewers and crafters tend to be hoarders. Some sewing supplies are hard to find, so we stock up. Or we think, “I might need this someday. . . .” However, if you reduce your stash, you’ll find it easier to keep track of what you have.
Don’t try to sort through everything at once. Divide the task into bite-size chunks. Pick one small area of your room to focus on, like a bin of fabric, a shelf of sewing books, a bag of scraps, or a box of random notions. If that’s too overwhelming, try setting a more specific goal, such as: Choose five patterns to give away. A bigger goal might be: Get rid of enough fabric so that what’s left will fit in the chest of drawers.
While you’re sorting, look at each item and ask yourself whether you really need it. Be honest!
- Notions: Is it something you already have plenty of? Will you need it in the near future? Is it in good condition? (Some notions become unusable over time. Thread weakens, especially if exposed to sunlight. Elastic stops being stretchy, etc.)
- Tools: Is it useful enough to justify the space it takes up in your sewing room? Is it still in good condition? (e.g.: Old pins can go dull and rust.)
- Books: When’s the last time you read it? Does it contain information you might need in the foreseeable future? If it’s a “someday” thing, can you borrow it from the library when the time comes?
- Patterns: Are all the pieces present and accounted for? Is it your size? Is the design still in fashion or has it become dated? Is your skill level up to the task? How likely are you to actually make it? (Remember—be honest!)
- Fabric: Looking at specific pieces of fabric—do you have enough yardage to sew anything? Does the color and print still appeal to you? Regarding that bag of scraps—will you ever use them?
Once you decide you no longer need something, put it in a bag or box that’s clearly marked for giveaway. Don’t wait too long before getting it out of your house! The longer it sits there, the more tempted you’ll be to go through it, second-guessing your decisions.
| Remember: Progress is progress, even if it doesn’t seem like much. Count each purged area, no matter how small, as a success! |
#2. Furniture
Every dedicated sewing room needs three basic pieces of furniture:
- Sewing Desk
First and foremost, you need a sturdy desk or table for your sewing machine. You want it to be heavy enough that it won’t vibrate when you start sewing. Built-in storage is a plus! If you’re using a table, consider tucking a small plastic dresser (or a nightstand) underneath for extra storage.
- Cutting Table
No more cutting patterns out on the floor! Your cutting table should be at least 36″ tall, so you can work standing up. Mine has built-in storage cubbies. It also has collapsable leaves at each end, so I have extra space when I’m not cutting. And since I leave the wall-facing leaf up all the time, I found a plastic dresser that fits perfectly underneath, with extra room for project bins.

(Note: For those who’ve been asking, I ordered my cutting table from Joann’s website several years ago. As far as I know, they no longer carry it. If you’re looking for something similar, try searching Amazon for “sewing table,” “craft table,” “hobby table,” etc.)
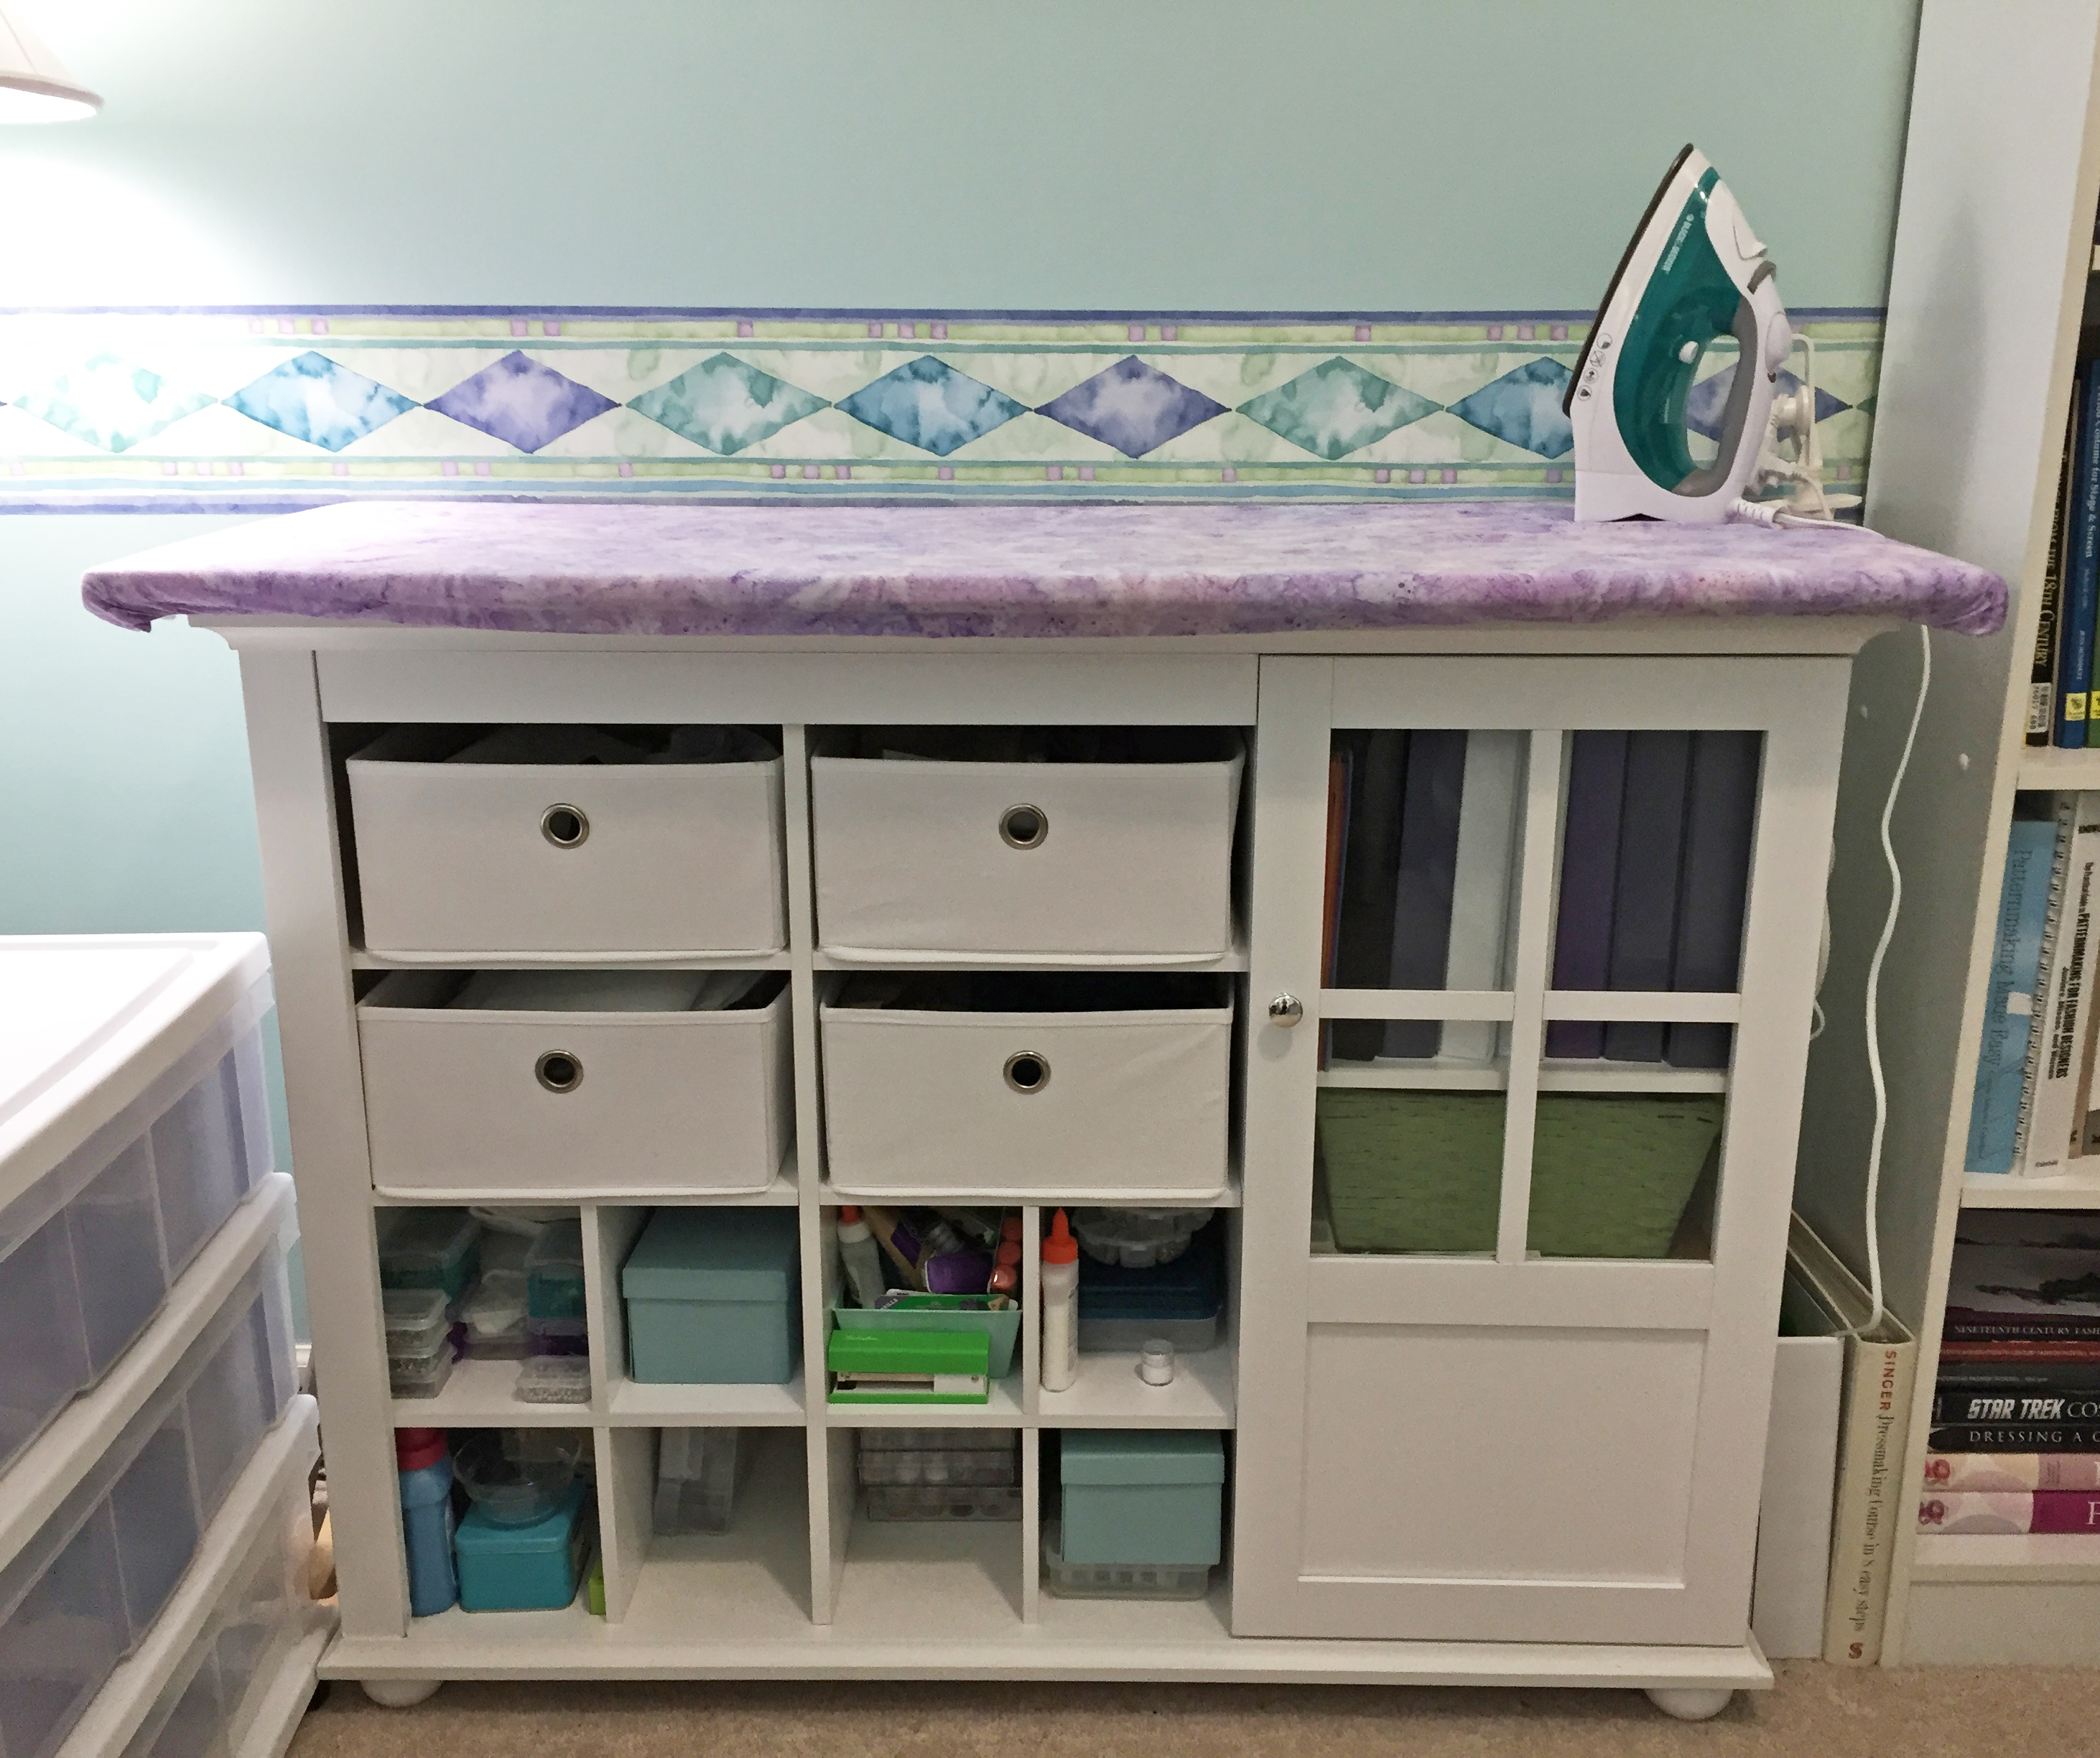
- Pressing Station
The third item is optional, but highly recommended. An ironing board can do in a pinch, but a pressing station is much sturdier and can be any size you want. It’s not hard to make your own out of a dresser or cabinet. (See: DIY Pressing Cabinet) Mine has cubbies with bins that hold interfacing, zippers, and other haberdashery, plus it has a couple of shelves behind a small door.
Additionally, a comfy chair is important, as is good lighting. If you design your own textiles or fashions, you might benefit from a magnetic whiteboard or a corkboard, which you can use to display ideas and inspiration. And of course, you need somewhere to keep all your fabrics, notions, tools, etc., which leads us to. . . .
Furniture: Storage
You need plenty of storage, both big and small. Here are some options.
- A bookcase for your sewing books, DVDs, and small boxes and bins.
- A dresser to hold fabric.
- Shoeboxes for ribbon and lace.
- Larger boxes for patterns.
- Stackable bins to hold materials for current projects.
- Spindled boxes for thread.
- Small divided containers for bobbins.
- Large divided containers for presser feet.
- A pegboard or hooks for rulers and shears.
- Small bins to hold needles.
- Divided containers for embroidery thread.
- Tiny jars for beads.
If you have a closet in your sewing room and don’t use it for hanging clothes, consider installing shelves. Some closets have very high ceilings, so utilize that space! Speaking of space utilization. . . .
Furniture: Mapping
Assuming you have all your furniture now, how do you arrange it in an efficient way? It helps to work with a map of the room. This can be done old school, with paper and a ruler, or you can use a program like Photoshop.
- Using a ruler, lightly draw a 1″ grid on two different sheets of paper. One is for your room map, the other is for your furniture. The scale is 1″ = 1′. (If your room is large, you may need to tape a couple sheets of paper together. Or you can reduce the scale to ½” = 1′.) If you’re using Photoshop, create a file whose measurements are big enough for you to draw the room, and then turn on the grid feature.
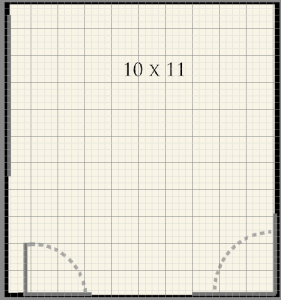
- Measure your room and draw the walls, using the grid to make sure it’s to scale. (e.g.: If you’re using a 1″ = 1′ scale and the room is 10′ x 11′, your map will be 10″ x 11″.) Mark the doors and windows with another color. If there’s any heavy furniture or objects that can’t be moved (fireplace, support beams, etc.) add them in, so you know exactly what you’re working with.
- Measure your pieces of furniture. On the second piece of paper (or a new file in Photoshop), draw a basic outline of each piece of furniture, making each one to scale. If you’re using paper, cut them out. If you’re using Photoshop, copy and paste them to your map image. Make sure each one is its own layer.
- Move the furniture cutouts around until you find a configuration that you like. The following image is my old layout. (Kindly ignore the fact that the map has the wrong measurements for my sewing room. It was a big oopsie that only came to light when I recently started rearranging furniture and found that things didn’t quite fit the way they should’ve.)

Keep in mind, the most efficient workspaces are an L-shape or a U-shape. This allows you to easily move from one task to another. Don’t forget to leave room for your chair and any floor lighting!
Here’s a map of how I wanted my sewing room to look once updated. While the furniture itself isn’t in a U-shape, the working area is. I ended up swapping the dresser and the pressing cabinet for the final design.

| Tip: To save space, you might want your pressing station against the wall, but your cutting table should extend out into the room, so you can move around it while cutting fabric. |
#3. Organize
Once you’ve purged and have your furniture arranged, you need to start organizing the small stuff. As before, don’t try to do it all at once! Pick one area to start with, so you don’t get overwhelmed.
Important tips:
- Don’t be afraid to invest in storage items that will help you stay organized. (Baskets, bins, boxes, jars, etc.) It’s worth it!
- Everything has a place. If you always keep your good shears on a hook near the cutting table, you won’t need to tear the room apart trying to find them.
- Similar items should be grouped together. For example, if you do a lot of pattern drafting, store your rulers and French curves in the same place.
- Separate things by type or use. For example, fabric can be sorted into quilting cotton, knit jersey, upholstery fabric, and so on. Or you could organize by fiber content: cotton, linen, polyester, silk, etc. Find a system that works for you.
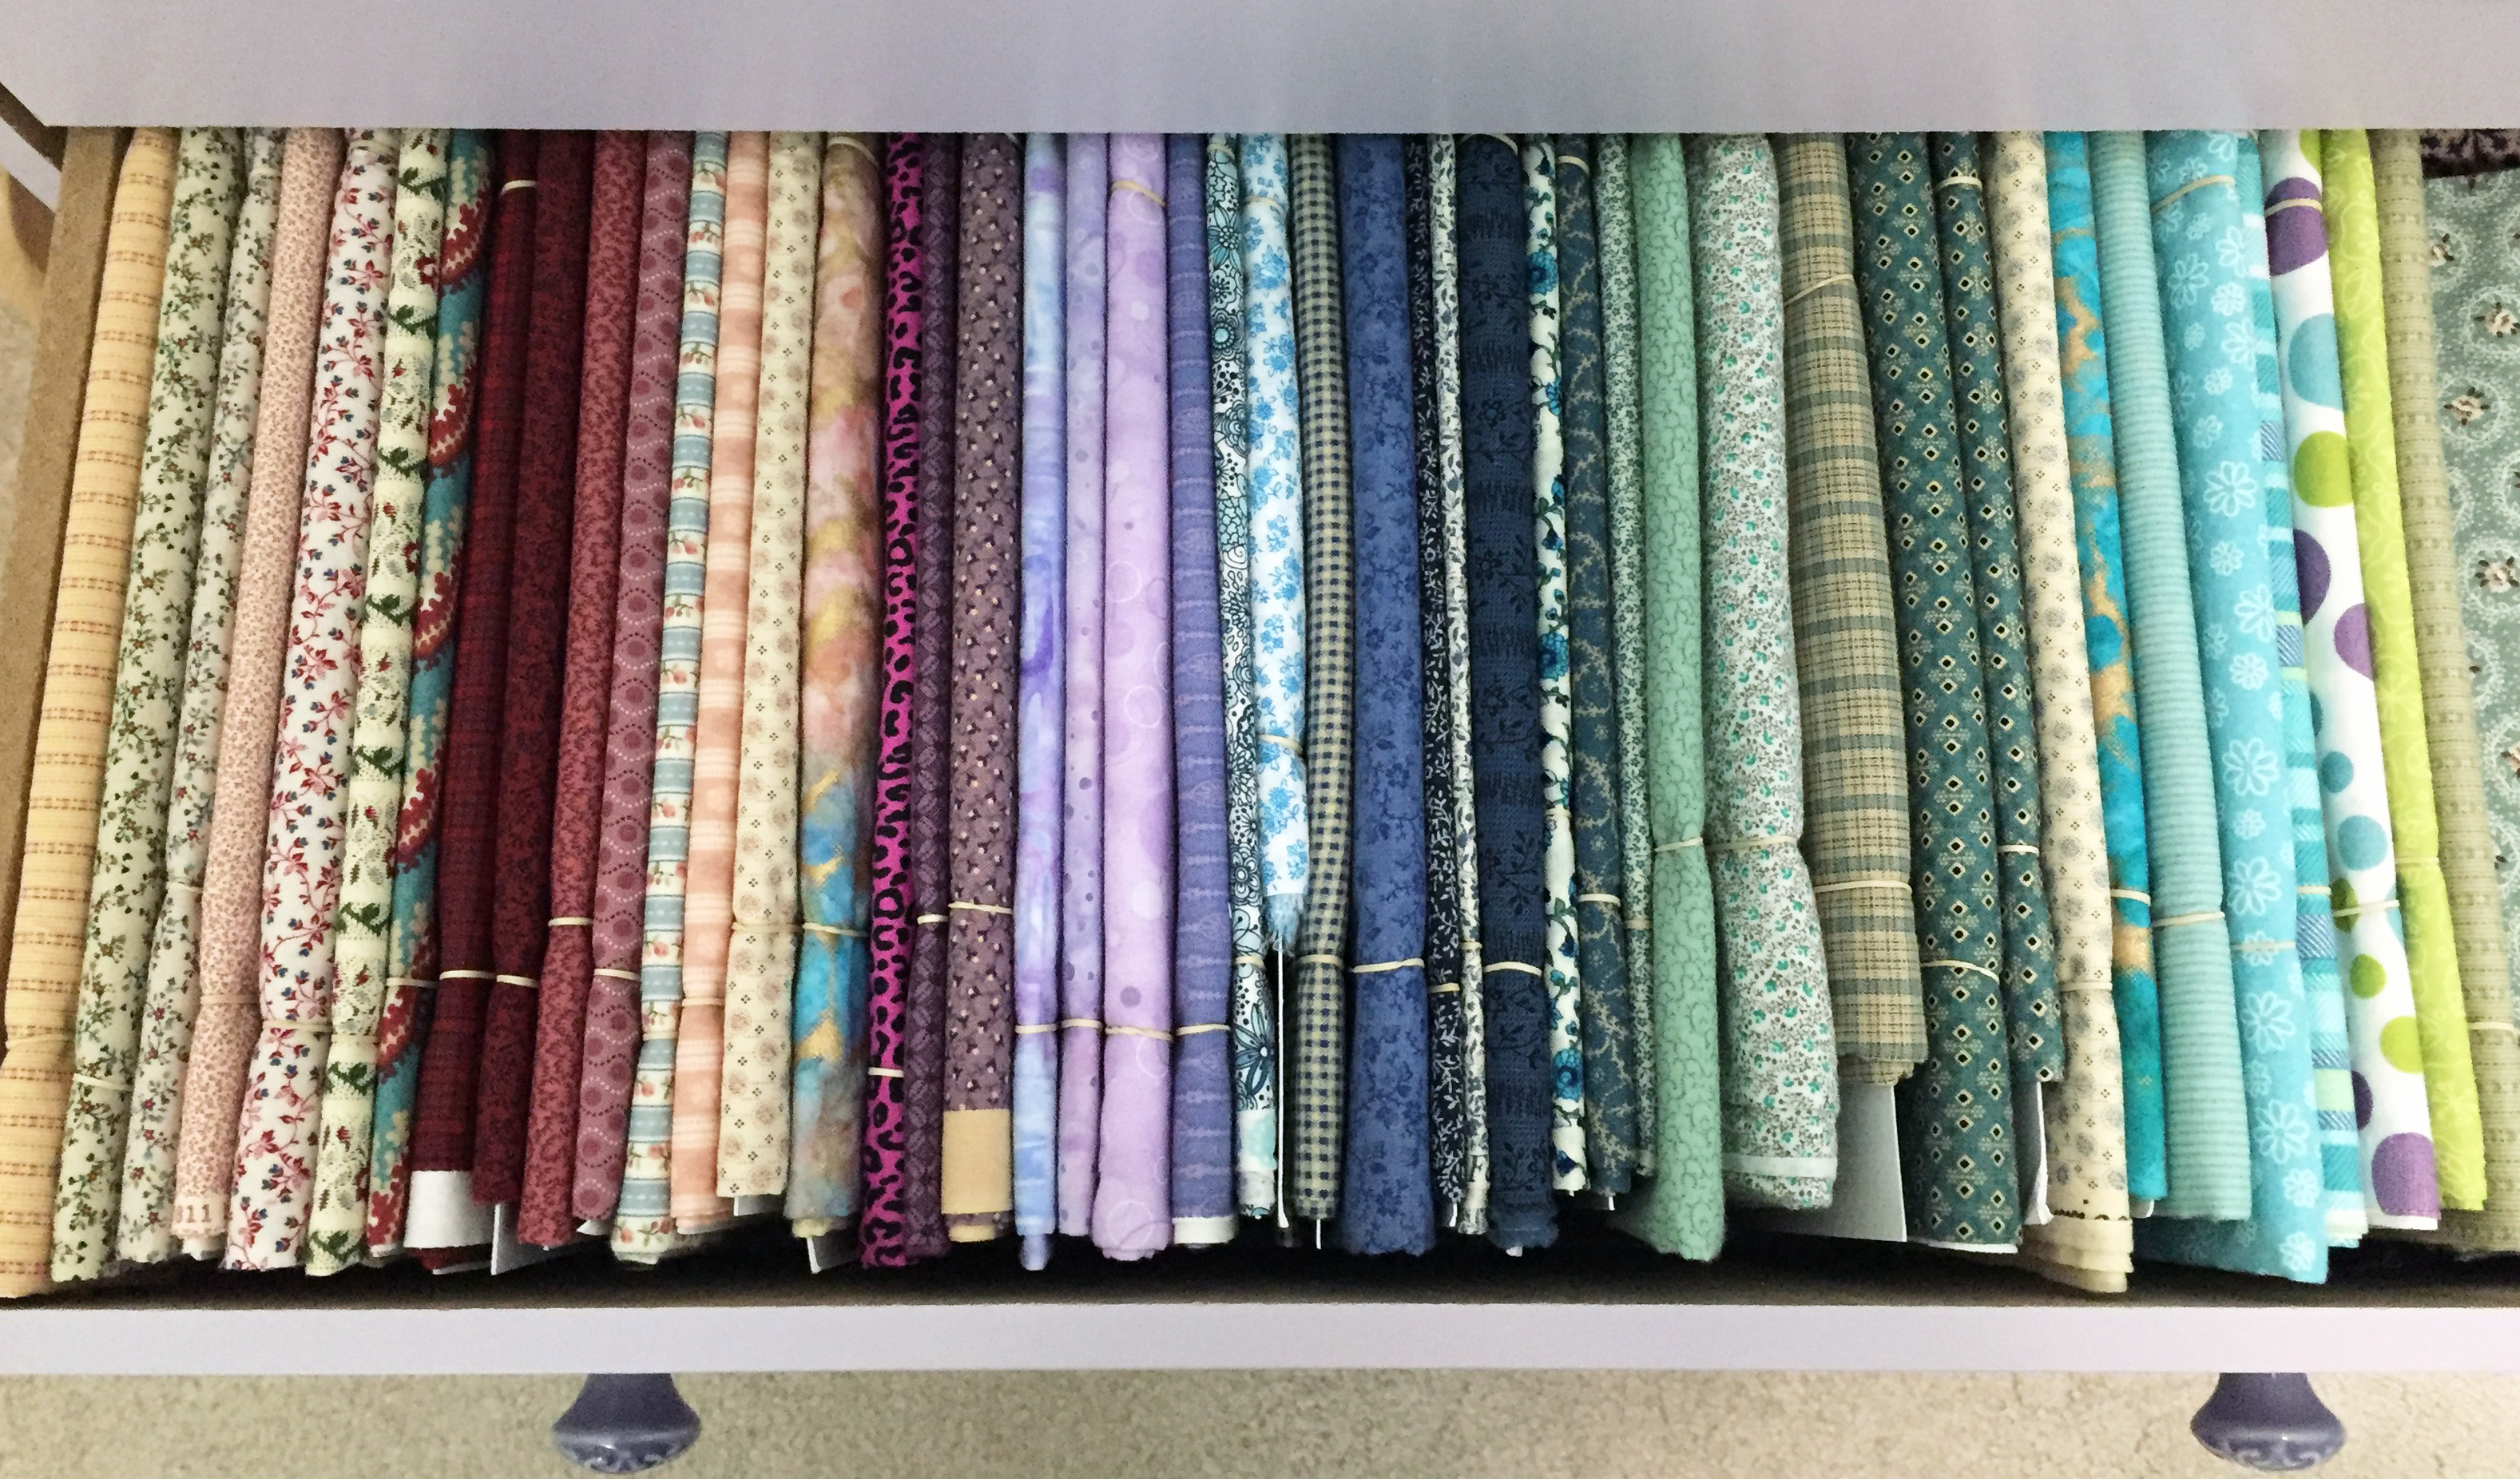
- Arrange by color. Fabric, thread, bobbins, ribbon, lace, trims, embroidery floss, and beads can all be grouped according to color. This makes it easy to see which colors you’re lacking, so you don’t accidentally buy more of something you already have.
#4. Decorate
Decorating your room may be the last thing on your list, but it’s actually pretty important. You use this space to make beautiful things—honor that! Feed your creativity by keeping your surroundings serene. Plus, the cleaner and more attractive your sewing area is, the more time you’ll want to spend there.
- Choose colors that make you feel calm and relaxed. If you don’t know where to start, search Pinterest for color schemes. Other options: Draw colors from a painting you particularly like, or a wallpaper border you intend to put up.
- Avoid colors that are too bright or bold. You’ll probably find them distracting.
- At the same time, don’t chicken out and use nothing but neutrals or faded tints. Embrace color!
- Don’t go with too many colors. Choose a main color, a secondary color, an optional accent color, and a neutral. For example, the wallpaper border in my sewing room has at least six coordinating colors, but I only picked three to use in the room: aqua, lavender, and a touch of light green. My neutral is white, which helps unify everything.

- Look for harmonious furniture. It doesn’t have to all be the same brand or style, but if your sewing table is white, don’t add cherry bookcases and an oak armoire.
- Don’t over-decorate! Keep things simple. The more fussy the room is, the more uncomfortable you’ll feel there. By the same token, don’t put anything in the room that you don’t need in there. (Your sewing room is not the catch-all junk room!)
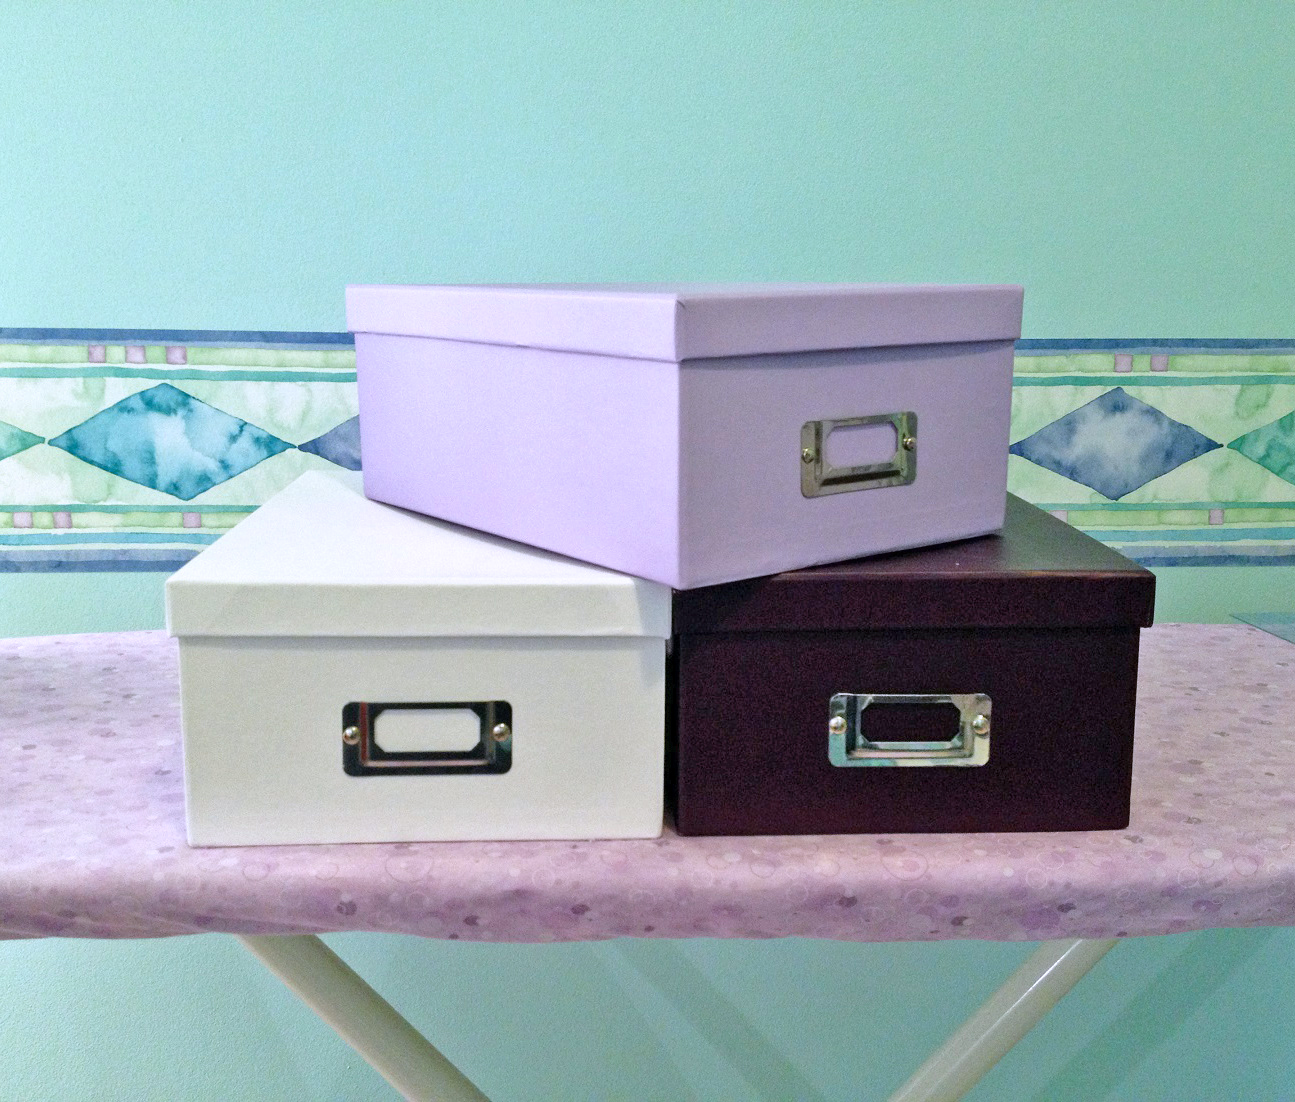
- Hide clutter by using decorative boxes, baskets, and bins that match your color scheme.
- Bonus Tip! If you use plastic dressers with clear drawers, hide the junk by cutting colored paper to fit inside the front of each drawer. This helps coordinate the dresser with your room, too.
#5. Upkeep
It’s easy to let things slide, but do your best to stay tidy! When you’re done sewing for the day, take a few minutes to straighten up. You don’t have to put everything away if you’re knee-deep in a project, but clean up what you can. Toss those scraps of fabric and interfacing. Put your marking pens and pencils back where they belong. Make it so you can easily resume sewing tomorrow, without having to dig through everything to find what you need.
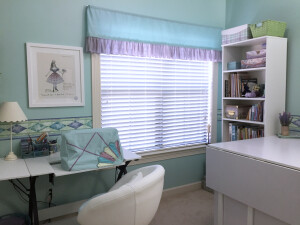
My Updated Room
I kept the same color scheme, because I really like it, but I made new curtains and bought some new furniture at IKEA.
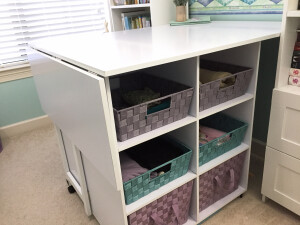
I kept my cutting table, even though it’s no longer in pristine condition. I added some bins that hold fabric and current projects.
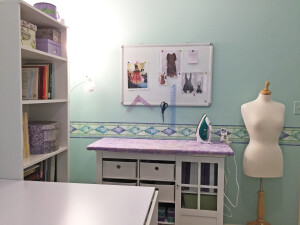
Here’s my pressing cabinet, with a magnetic whiteboard above. I use magnetic hooks to hold my rulers and paper cutting scissors, and decorative magnets to hold inspirational images. There was enough space between the cabinet and the door to stick my dress form.
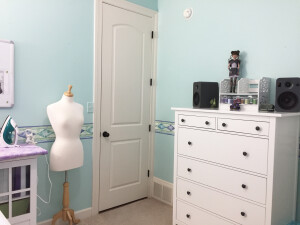
Here’s my IKEA dresser. This is a serious piece of furniture! It’s almost as tall as I am. On top, I keep my thread bins and speakers, so I can listen to music while I work.
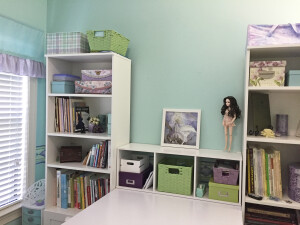
These bookcases are wonderful. They have two drawers at the bottom, plus plenty of room for all my sewing and costuming books. My cutting table fits perfectly between them. Since I wasn’t actually using the flat space between the bookcases, I took a three-cube shelving unit and flipped it on its side for additional storage.
I’m loving the updated look!
~~*~~
Looking for more? Try our articles on Sewing Basics.