
(Click on any illustration to view the full-sized image.)
Sewing isn’t a particularly hazardous occupation, but there are risks to working with sharp objects, such as needles and shears. What can you do to minimize the dangers and keep yourself safe?
1. Get the right tools.
Investing in high-quality tools and supplies is one of the best things you can do. Not only will they last longer and work better, but they’ll reduce the chances of catastrophe. For example, a cheap pair of scissors won’t cut easily, which means you’ll need to get more aggressive while cutting your fabric, which could lead to injury.
Using the correct tool for the job is important, too. Say you’re using a safety pin to thread elastic through a waistband casing. Chances are, it’ll pop open, possibly stabbing you in the finger—which not only hurts, but may get blood on your fabric. If you used the right tool (in this case, a bodkin), disaster could have been averted. There are tools for everything! Find out what exists, so you can be sure and use the right tool for the job. (A great list of sewing tools can be found in Nancy’s Favorite 101 Notions by Nancy Zieman.)
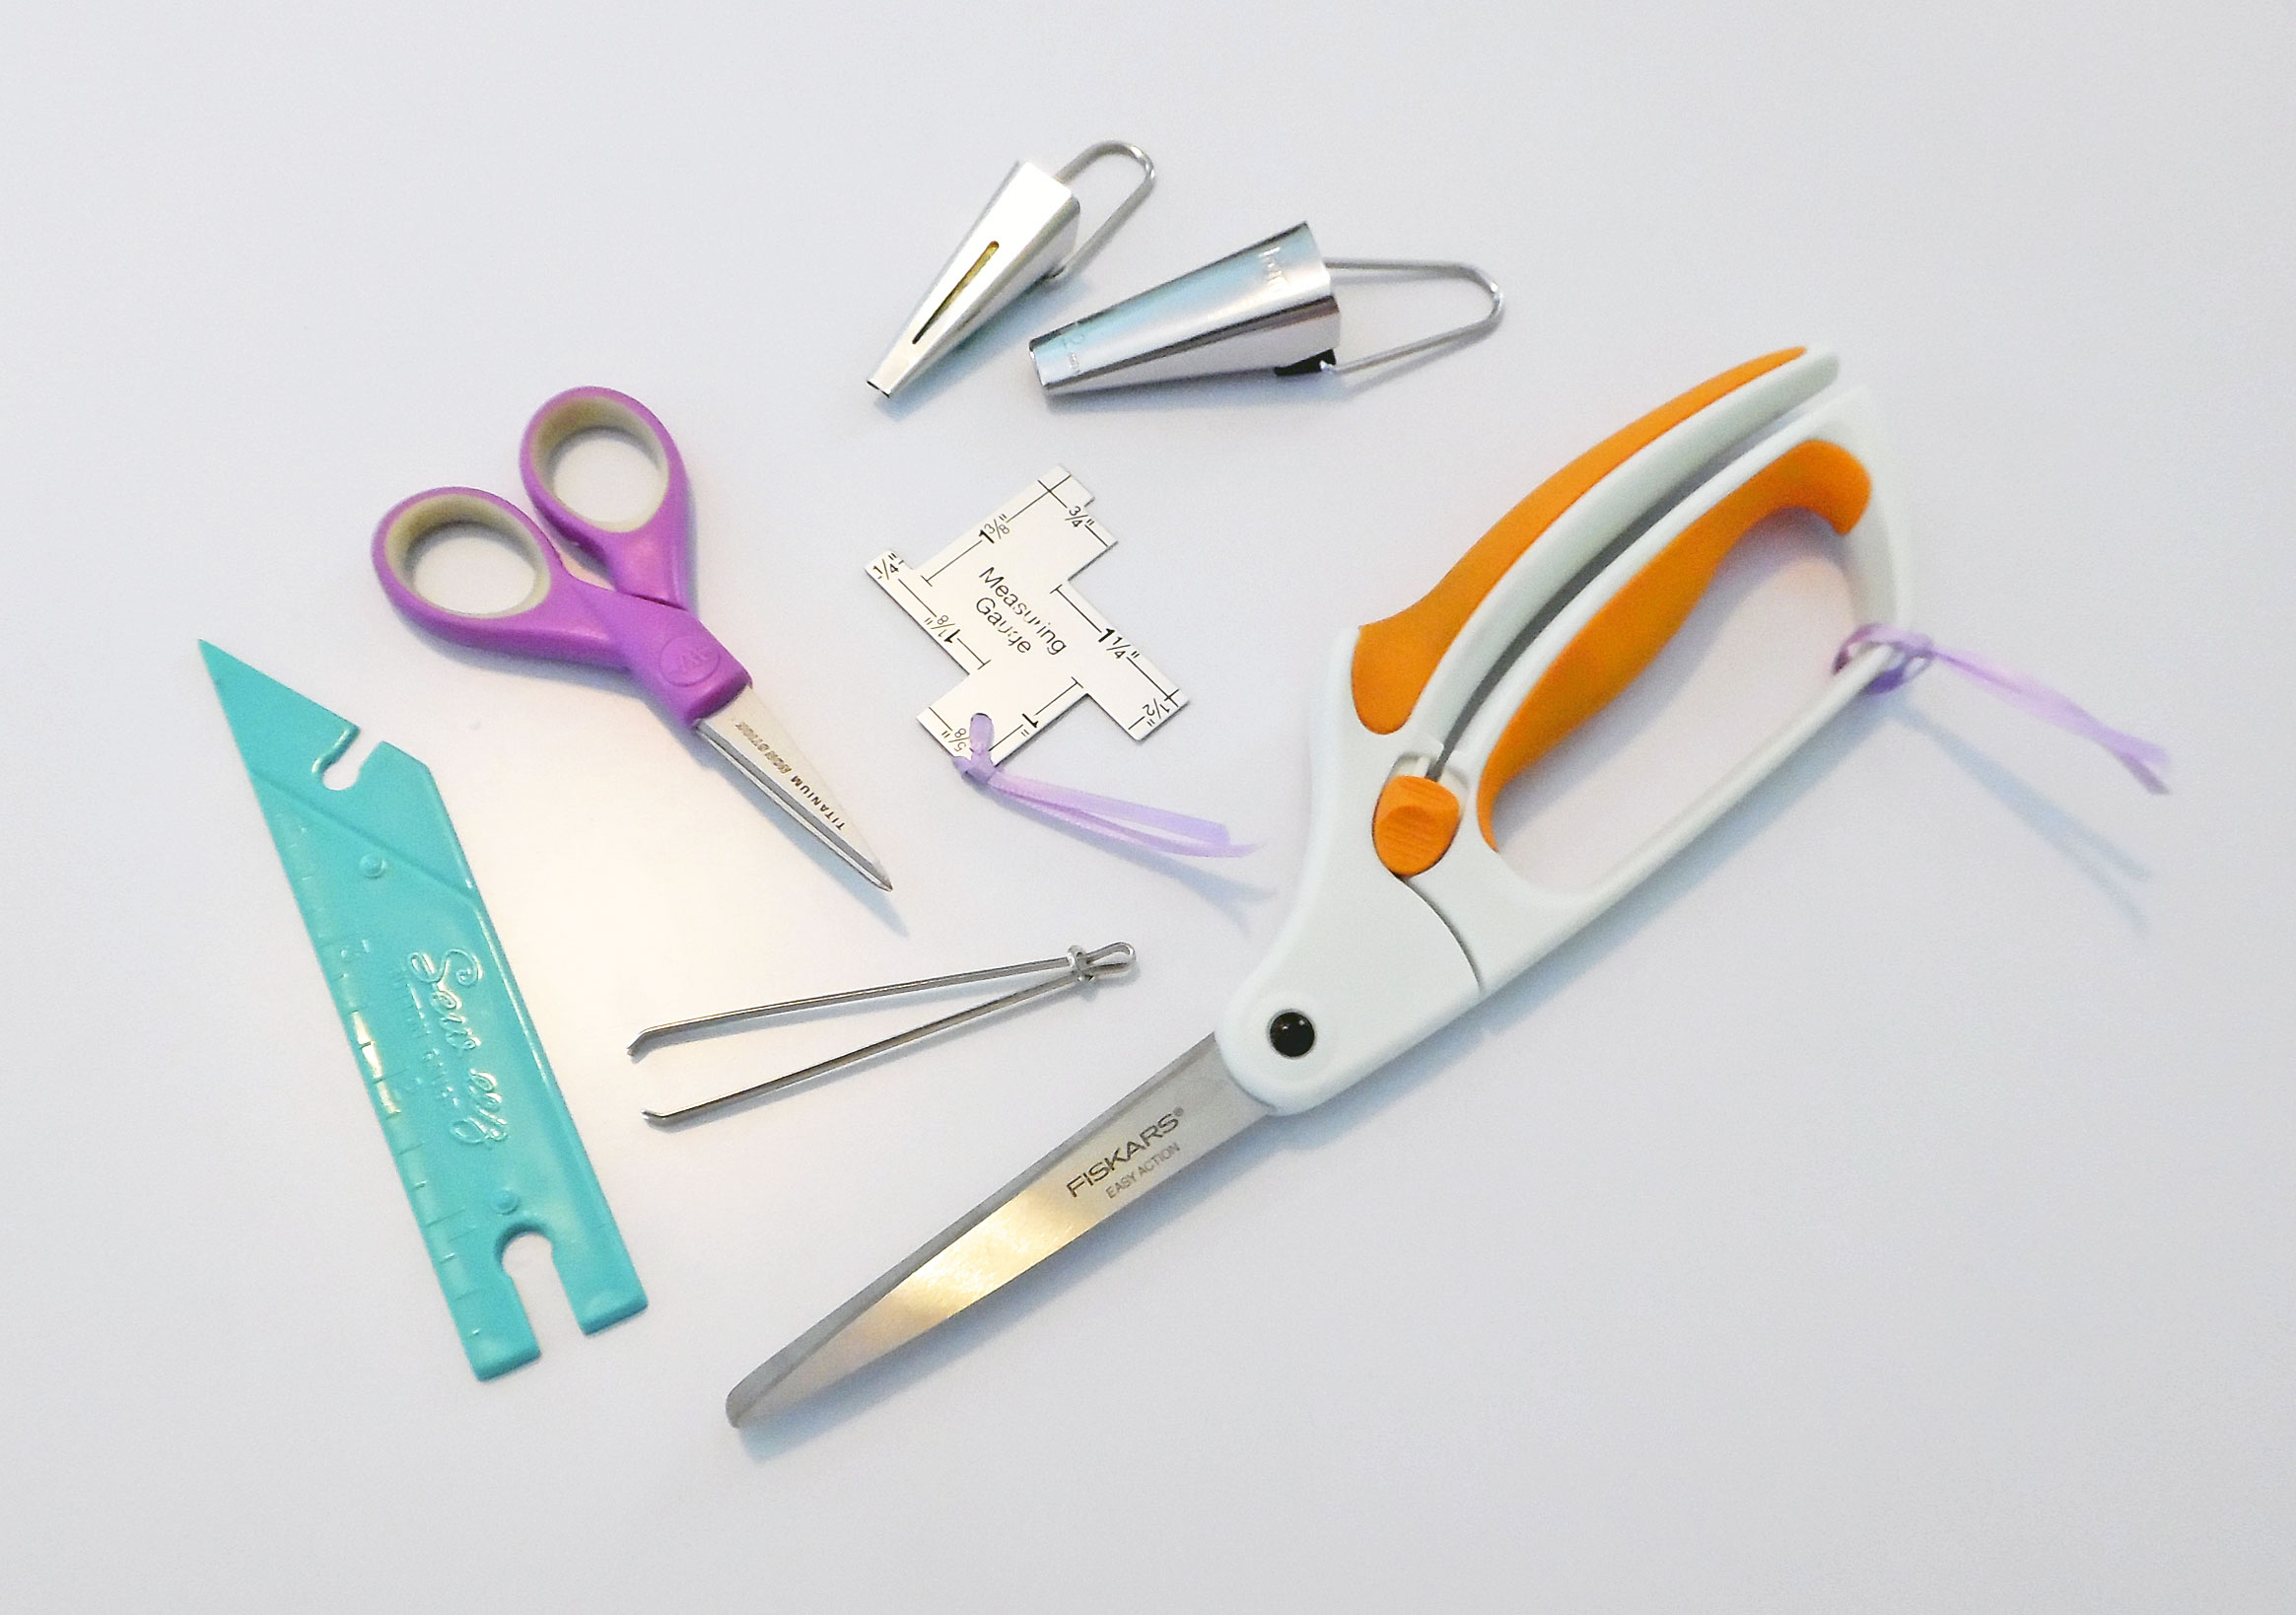
Sewing Tools
2. Use ergonomic tools.
Wherever possible, use ergonomic tools, which are designed to reduce strain and increase comfort. For example, instead of the useless seam ripper that comes with your sewing machine, find one with an ergonomic handle. It won’t cramp your hand the way the small one does, and it will make seam-ripping much easier. They also make spring-loaded shears and pinking shears, which automatically pop open after every stroke, saving you the trouble of having to force them open. It might not seem like a big deal, but when you have a huge project to cut out, spring-loaded shears will be a blessing.
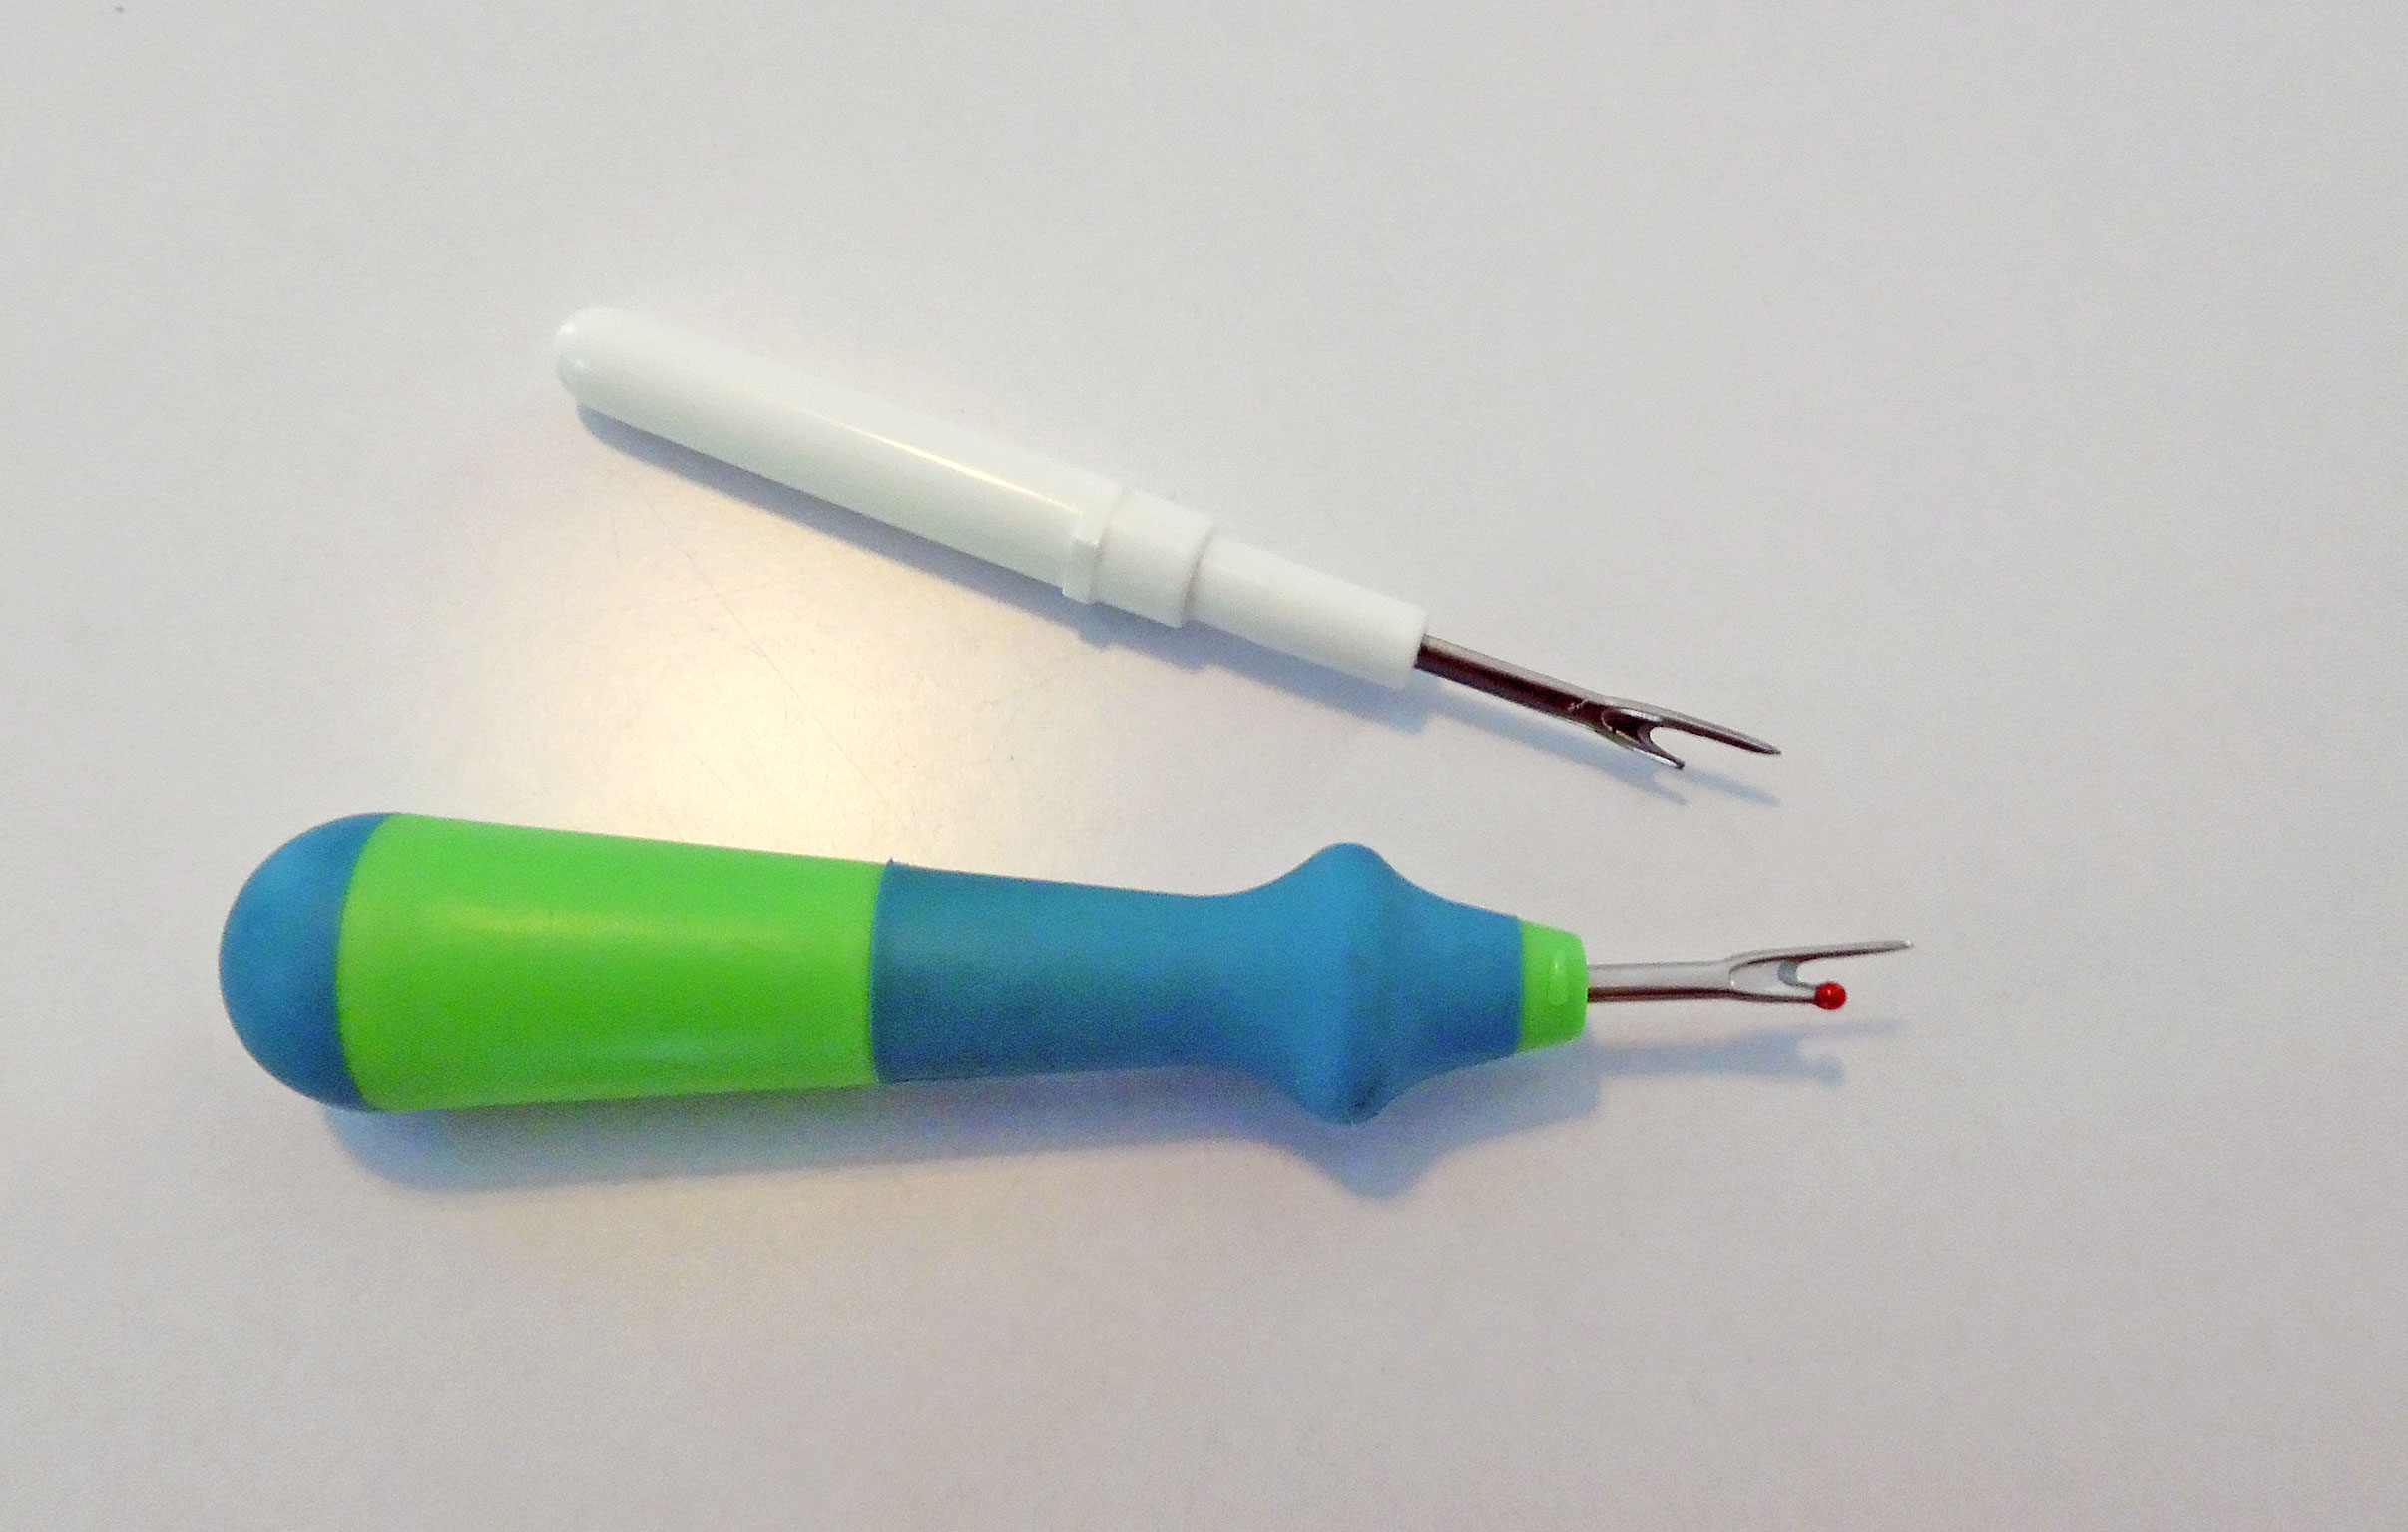
Seam Rippers: Regular vs Ergonomic
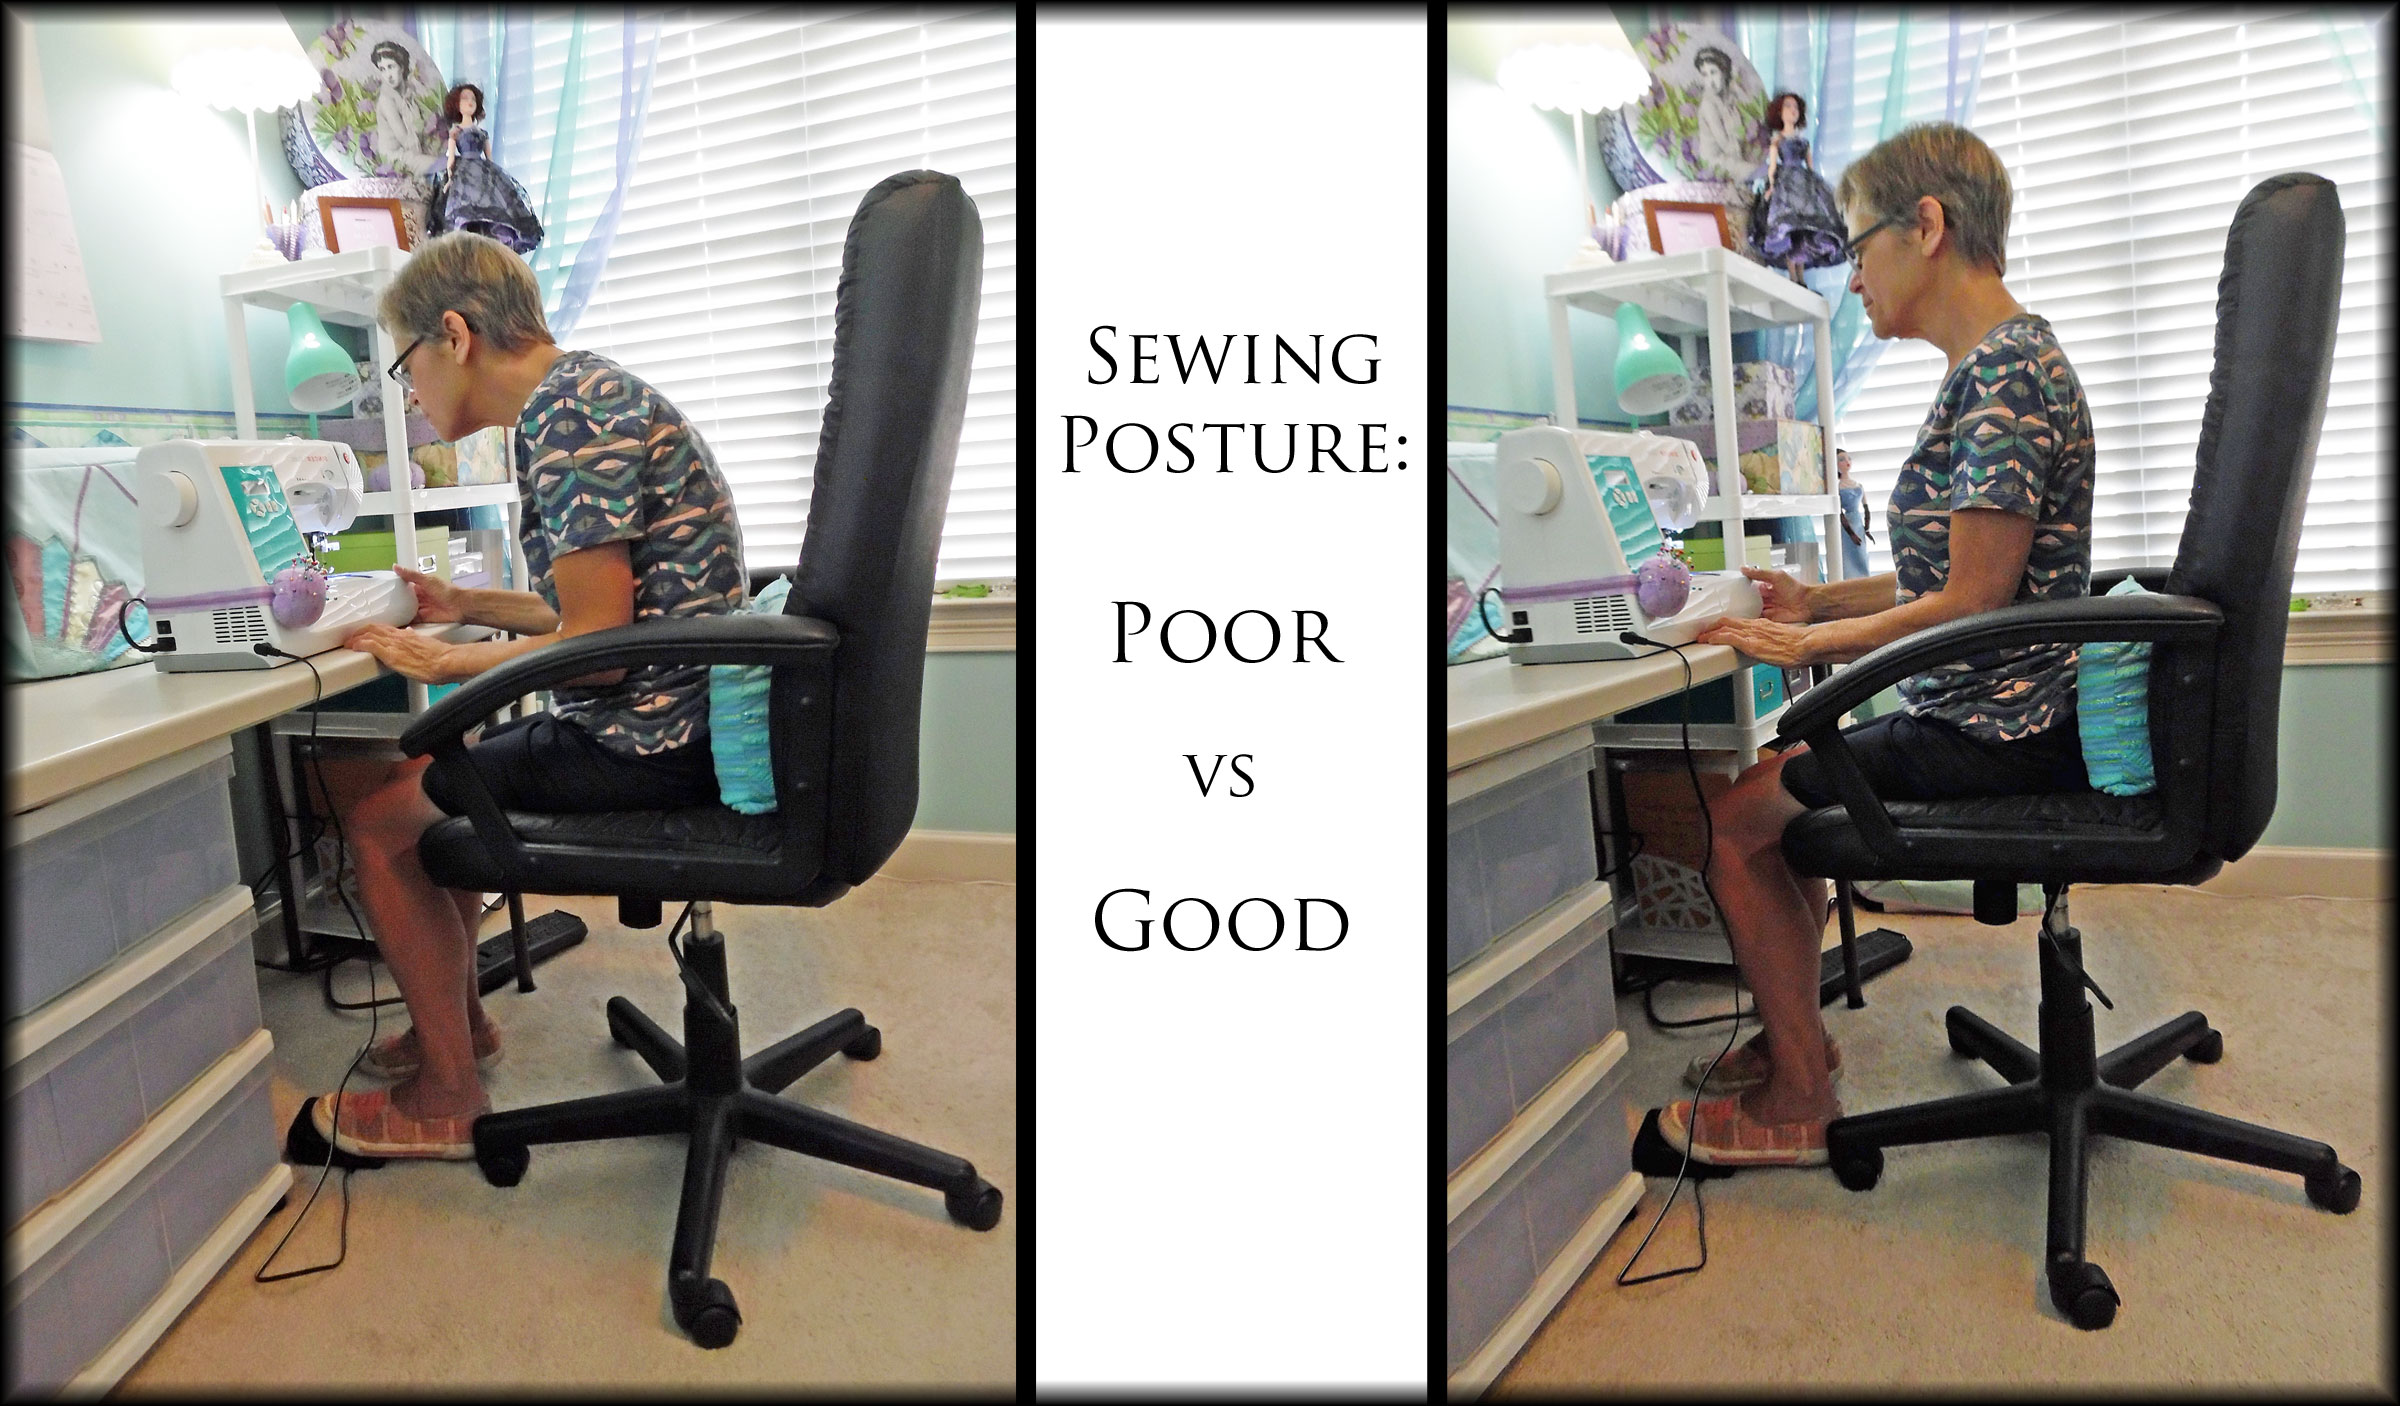
3. Use proper posture.
I know, I know—I sound like your mother. Sorry! But slouching at your sewing machine can strain your neck, shoulders, and back. Eventually, this may lead to chronic pain, or even repetitive strain injury. Don’t hunch over your sewing machine like a caveman! Sit yourself directly in front of the needle, pull your foot pedal close, put your feet flat on the floor, and sit up straight. As a bonus, sitting back while you’re sewing may prevent injury if your needle breaks and tiny shards of metal go flying toward your face.
4. Don’t sew while exhausted, intoxicated, or ill.
This is a big one. The more tired you are, the less you’ll pay attention, and the more likely you are to make a dangerous mistake. Like sewing over a finger. Or clipping your fabric while trying to trim an errant thread.
5. Make sure your shears, needles, and pins are sharp.
While this may seem counter-intuitive to safety, it’s actually smart. Any chef will tell you that the sharper your tools are, the easier (and safer!) they are to use. If you’re trying to work with dull pins, you’ll have to push harder to get them to pierce your fabric, which means there’s a greater chance of stabbing yourself by accident. The same goes for needles, scissors, and shears. Plus, they’ll work a lot better if they’re sharp, which makes your job less frustrating.
You can buy a sharpener to use at home, but take your shears to the repair shop to be sharpened at least once a year. If this isn’t convenient, buy a brand-new pair. Be sure to regularly sharpen your pins and hand needles, too.
-
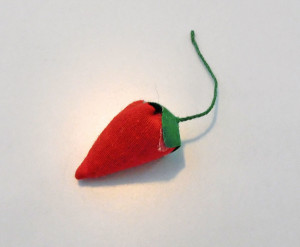
Sharpening Pins & Needles
You know the little strawberry that dangles from a store-bought pincushion? It’s filled with emery, a substance capable of sharpening pins and needles. Stab a dull pin into the strawberry several times to sharpen it.
Don’t try to sharpen sewing machine needles, however! They aren’t meant to be reused. Once they become dull, replace them.
Emery-Filled Strawberry

6. Don’t sew over your fingers.
This may seem like a no-brainer, but lots of dressmakers head to the ER every year because they got their fingers too close to the needle while machine sewing. This is a painful experience! Do your utmost to keep your fingers away from the needle while you’re sewing. If you’re working on a tricky seam, instead of reaching next to the needle to keep the fabric straight, use an awl, a pointed chopstick, a small crochet hook, or my personal favorite, That Purple Thang, a tool designed to help you manipulate fabric while sewing.

That Purple Thang
7. Don’t put pins in your mouth.
Many dressmakers work with pins in their mouth, not realizing how dangerous it is. It’s easy to accidentally swallow pins—or worse, to inhale them! Doing so can necessitate surgery. Google it and you’ll find firsthand stories from those who’ve experienced this, like Annie McCarthy, who inhaled a pin into her lung and ended up with a six-inch scar and permanent nerve damage as a result.
-
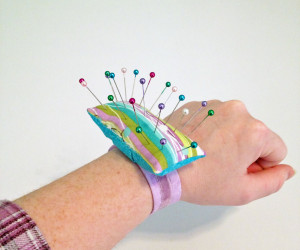
Solution
If you need your pins close at hand while working, instead of popping them in your mouth, get a wrist pincushion. They’re simple to make, fully customizable, and comfortable to wear. To get you started, here’s a tutorial on how to make an easy one, and here’s a sewing diary on making an even better version.
Wrist Pincushion

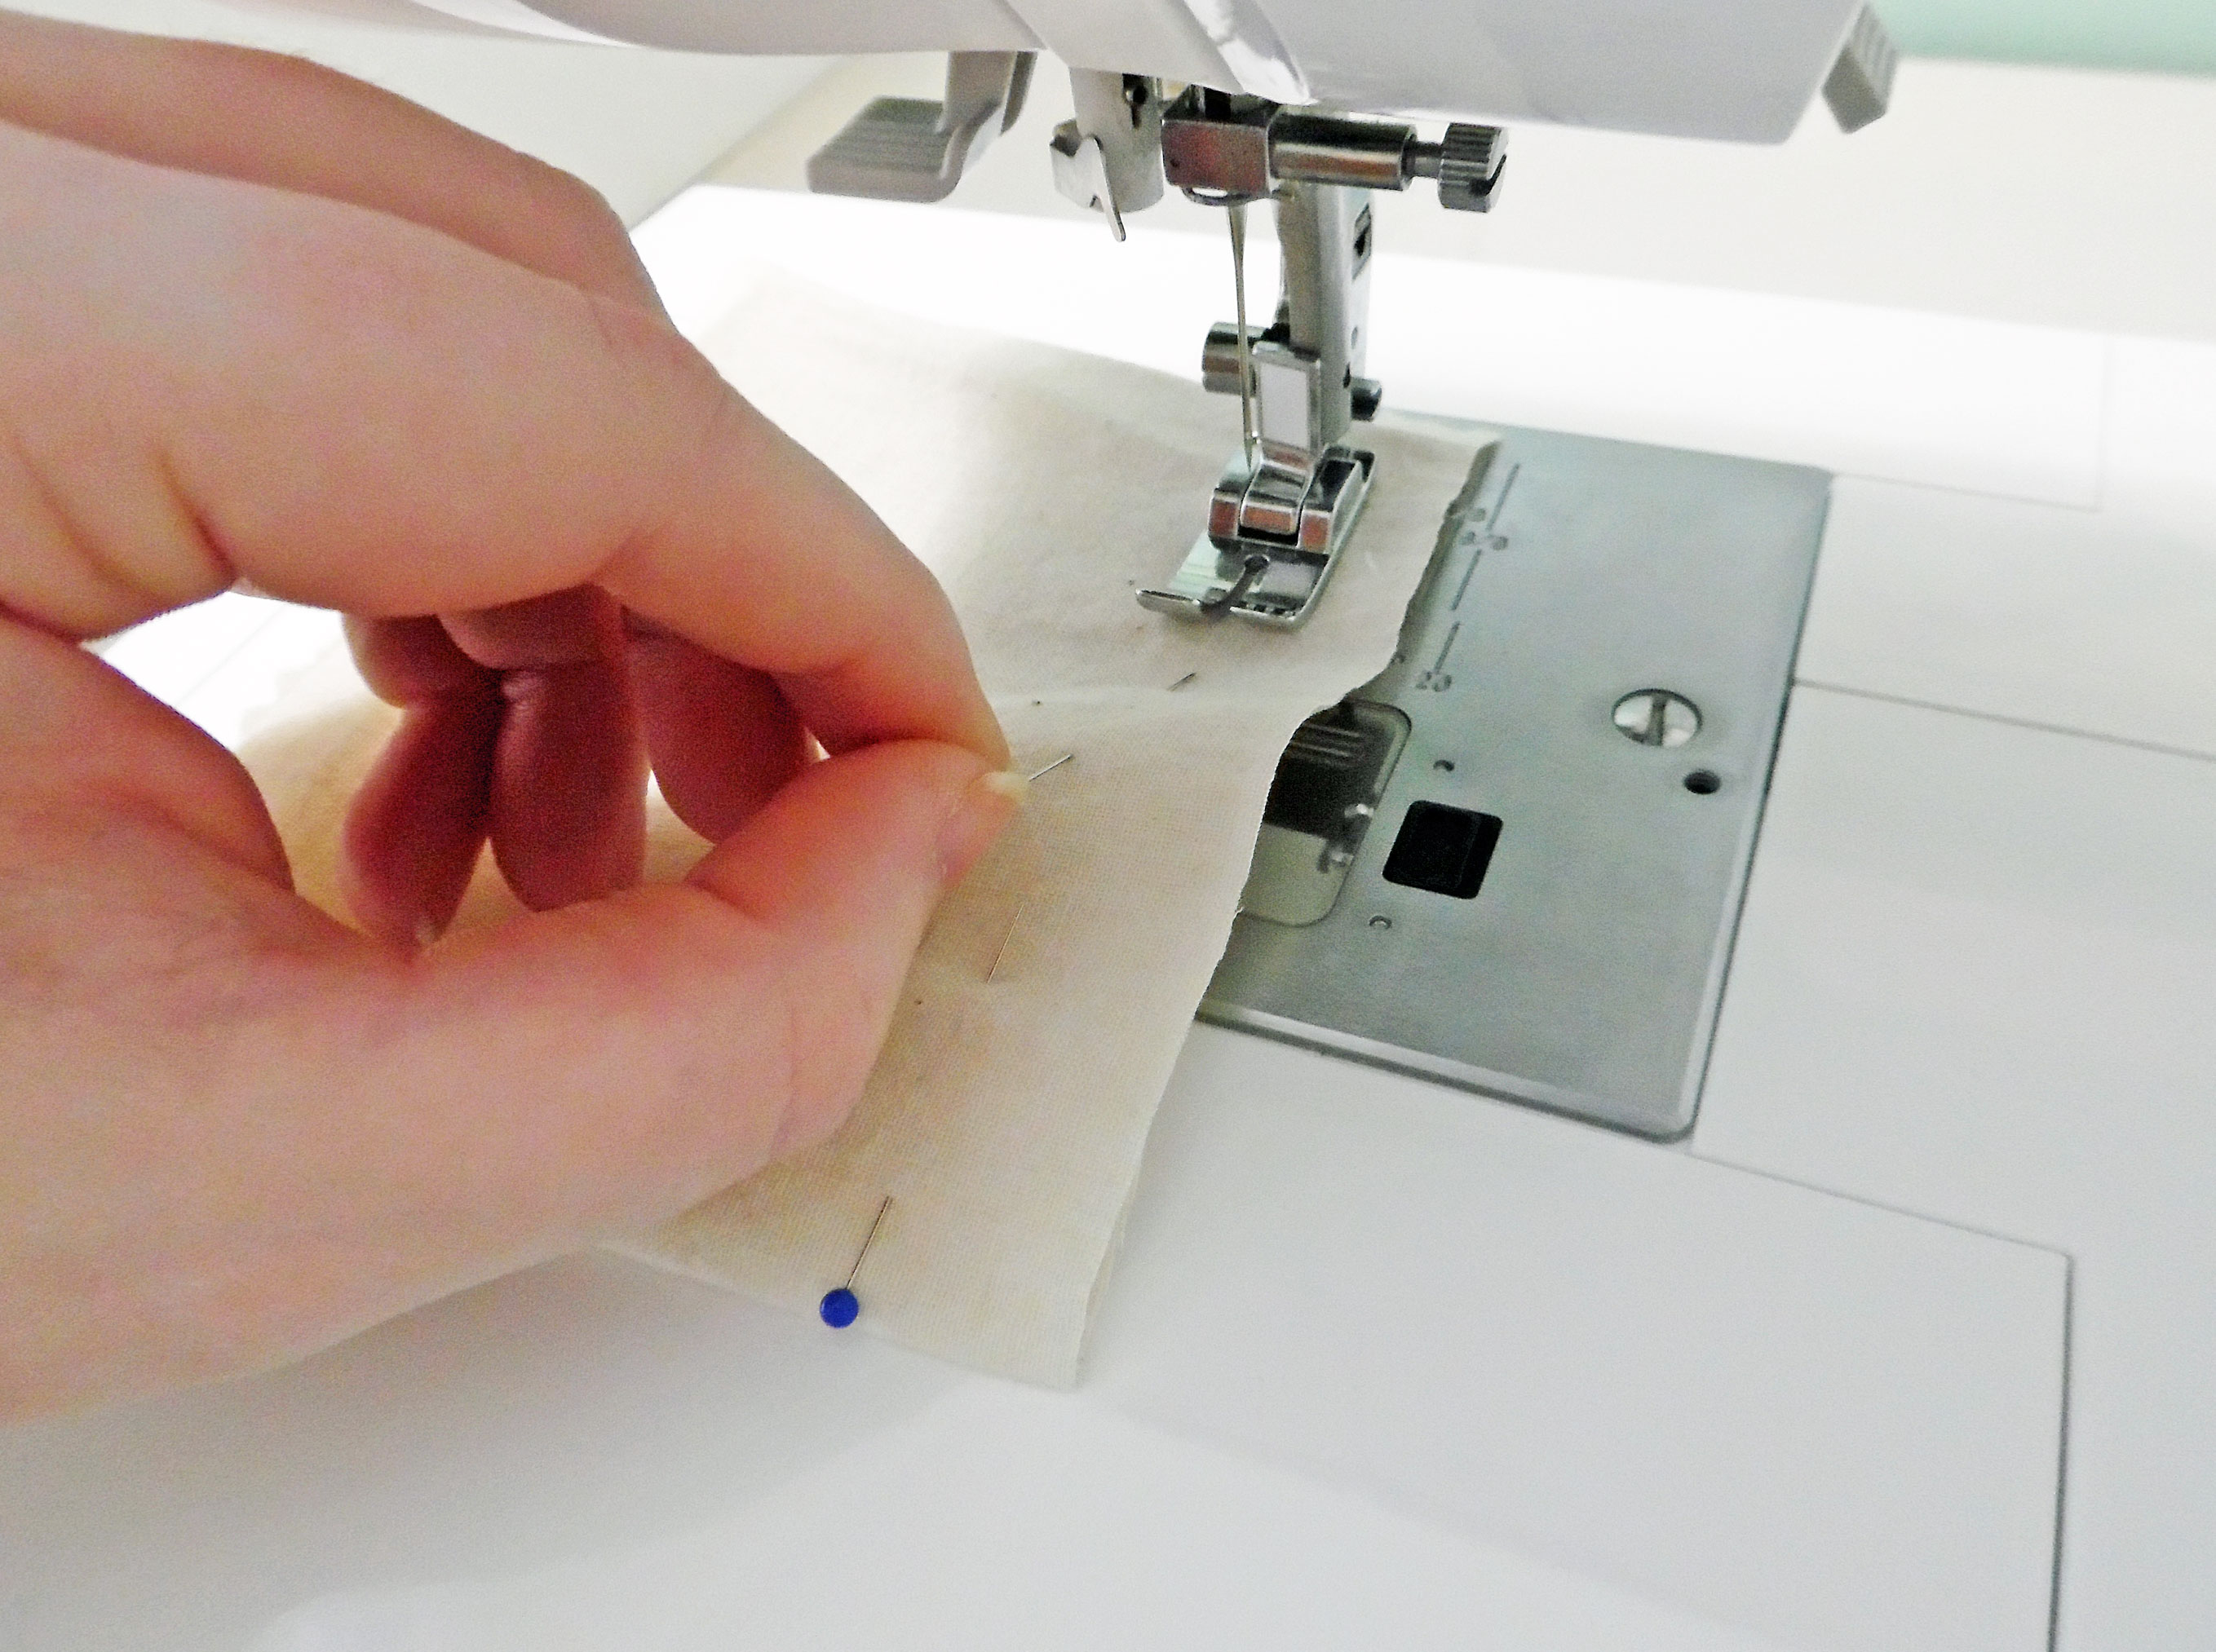
8. Don’t sew over your pins.
Goodness, those pesky pins have so many safety rules! Plenty of experienced sewers think nothing of stitching right over their pins. Doing so is a risk, however. If the needle hits a pin—and don’t delude yourself, sooner or later, it will happen!—the needle may break, flinging tiny shards of metal toward you. Even if the needle doesn’t break, the act of hitting a pin can damage your sewing machine, messing up the timing, which will require a trip to the repair shop and a minimum of $80 to repair. Computerized sewing machines may cost double or triple that to fix! Save yourself the hassle and remove your pins before they reach the needle.
And yes, this does mean you’ll need to sew more slowly—but you have more control that way, so it’s not a bad thing.
Remove Pins
9. Turn off your sewing machine before changing the needle.
Ever notice how your foot automatically reaches for the foot pedal when you sit down at your sewing machine? It’s all too easy to accidentally tap the foot pedal while changing the needle. The solution is simple: turn off the machine before removing the old needle and inserting a new one. If your sewing machine has a built-in safety feature, make sure the presser foot is up, so it won’t let you sew.
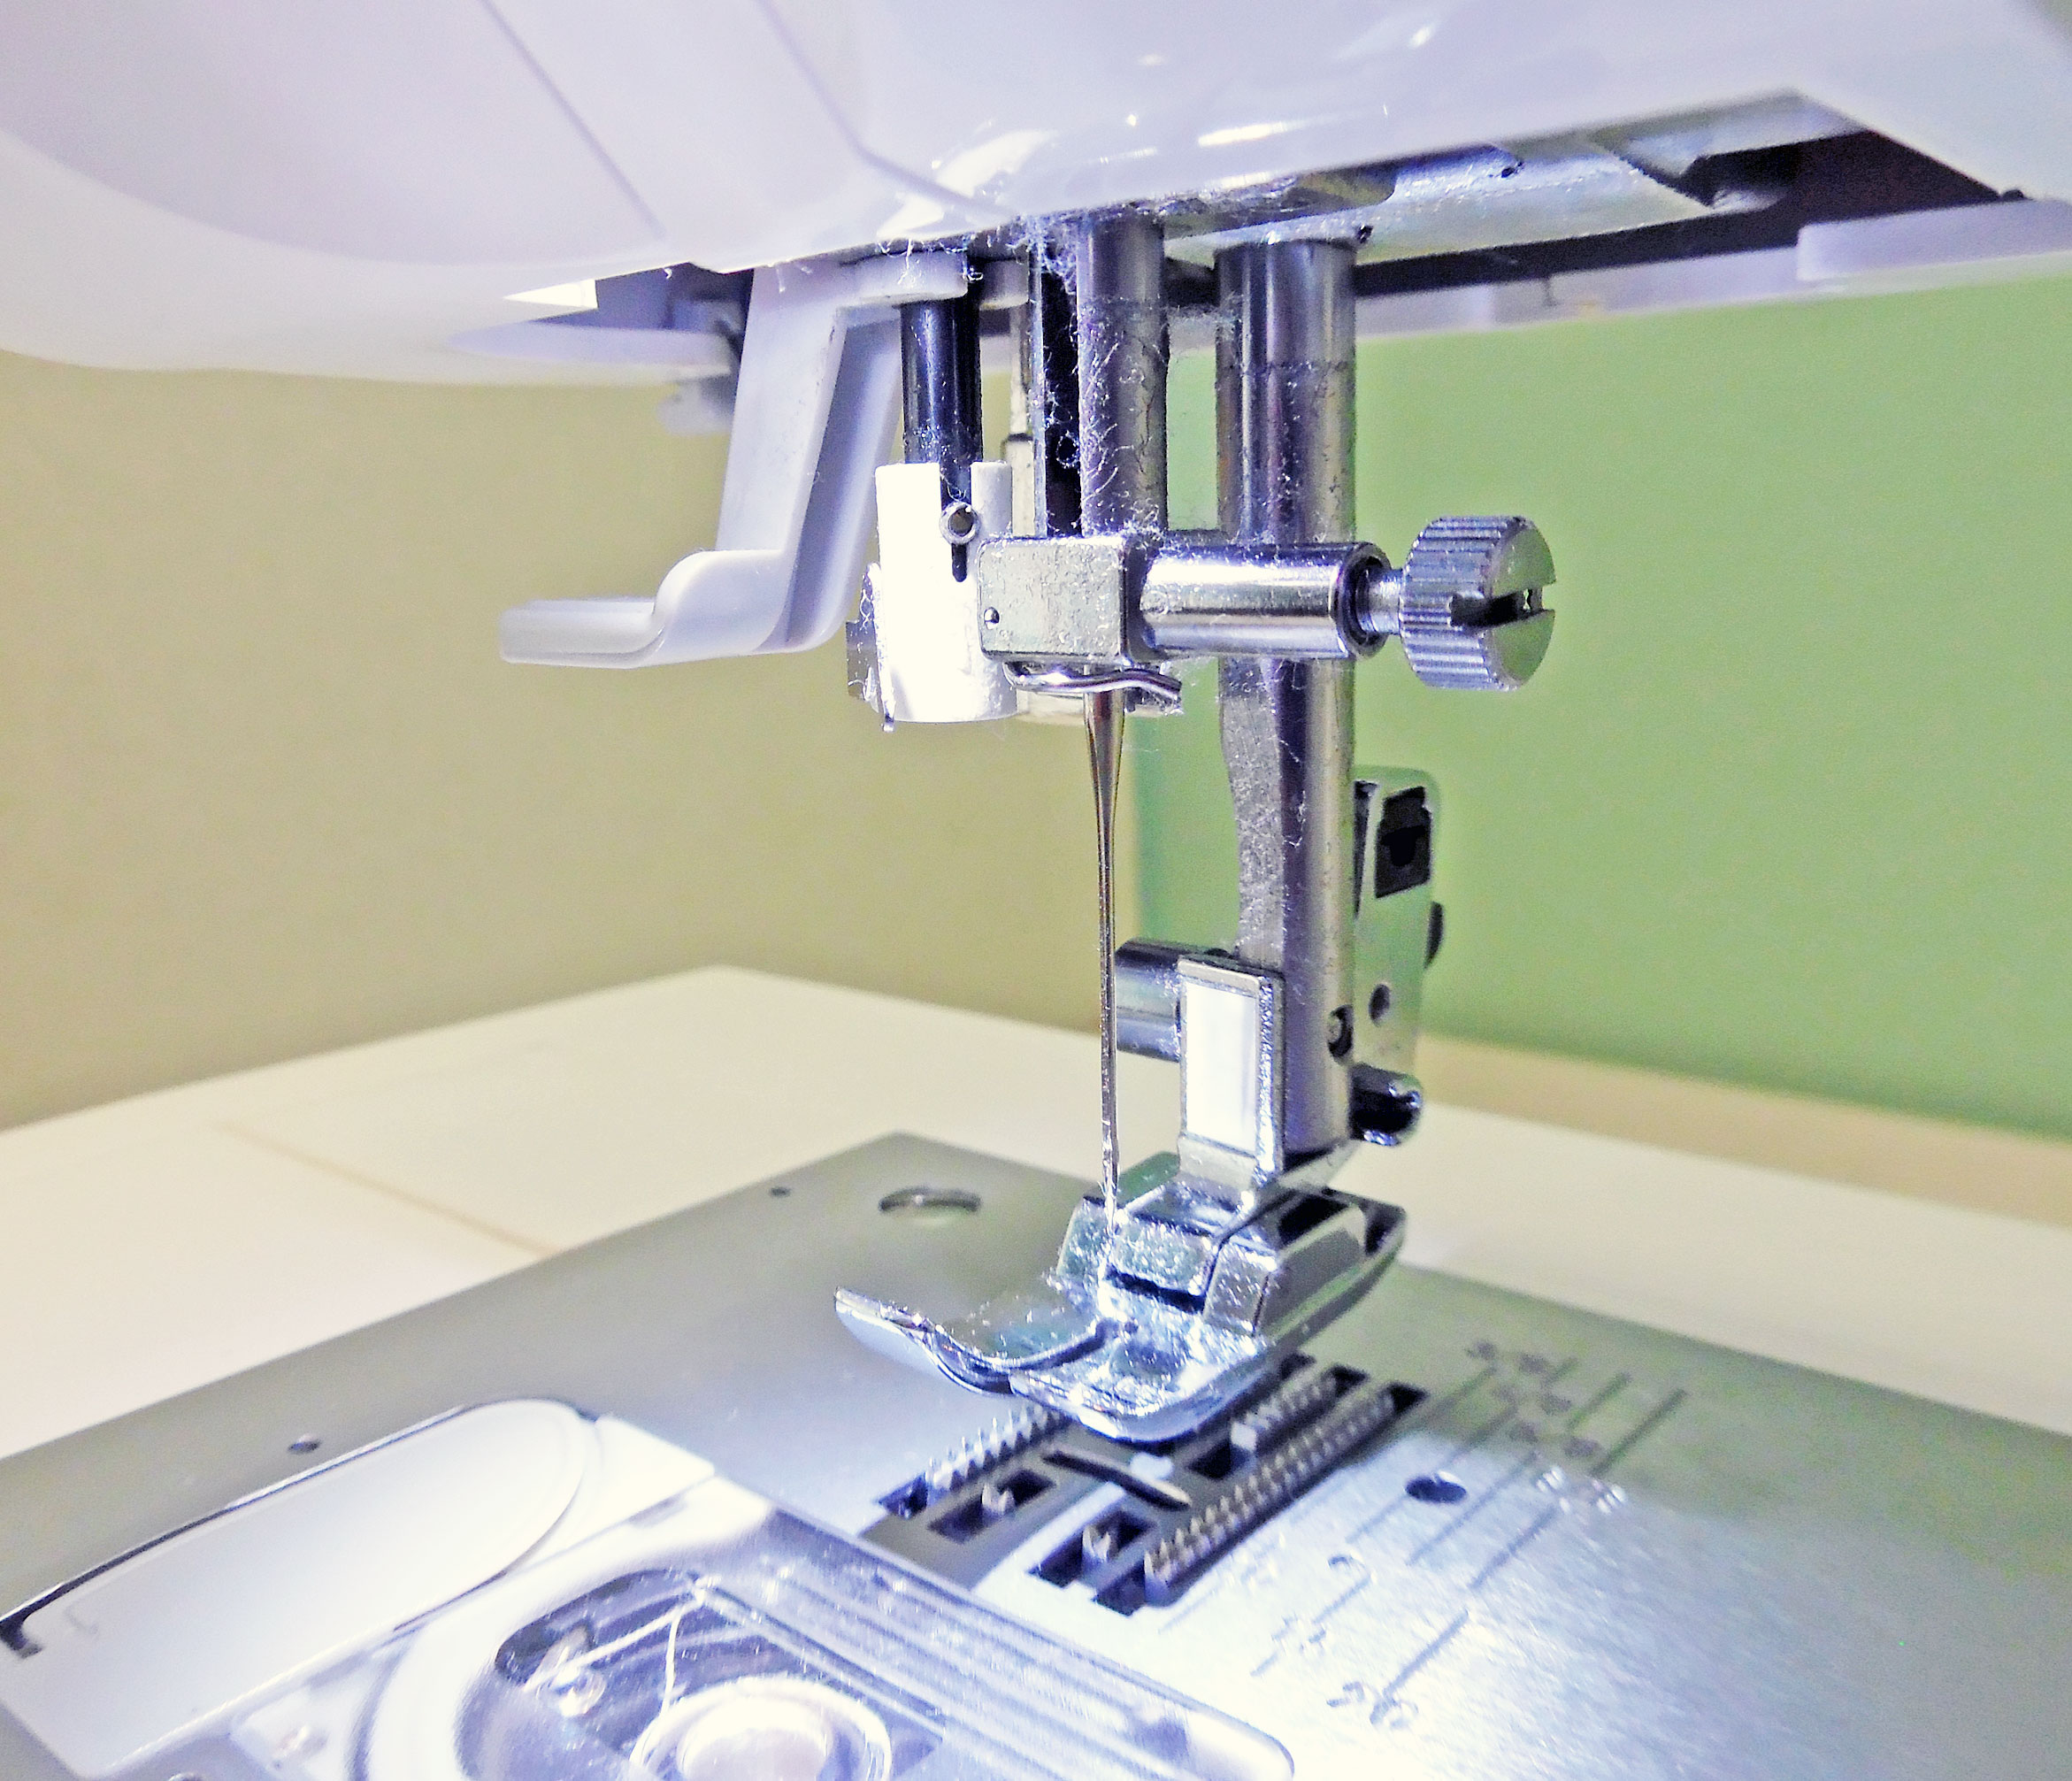
Sewing Machine Needle
10. Don’t stretch power cords across the floor.
If you need to use an extension cord, try to run it along the edges of the room, so it won’t get tripped on. The same goes for plugging in your iron or sewing machine, or anything with a long power cord. If the cables stretch across the floor, it’s a hazard—someone could stumble over them. This is dangerous, not only because of the risk of falling, but because it might rip the power cord out of the wall outlet, or knock scissors onto the floor, or tip a hot iron over.
11. Don’t plug too many things into one outlet.
I don’t know a lot about electricity and wiring, but I do know that each outlet in your house is certified to supply a certain amount of electricity. If you try to plug too many things into one outlet, it could cause your circuit breaker to trip, shutting your power off. Or it could cause an electrical fire. True story: My first iron caused brownouts every time it cycled on, because it was drawing too much electricity from the outlet!
While it’s tempting to use outlet extenders or power strips to plug everything in at one convenient spot, doing so could prove dangerous. Try to scatter your electrical items around the room, so they aren’t all using the same outlet.
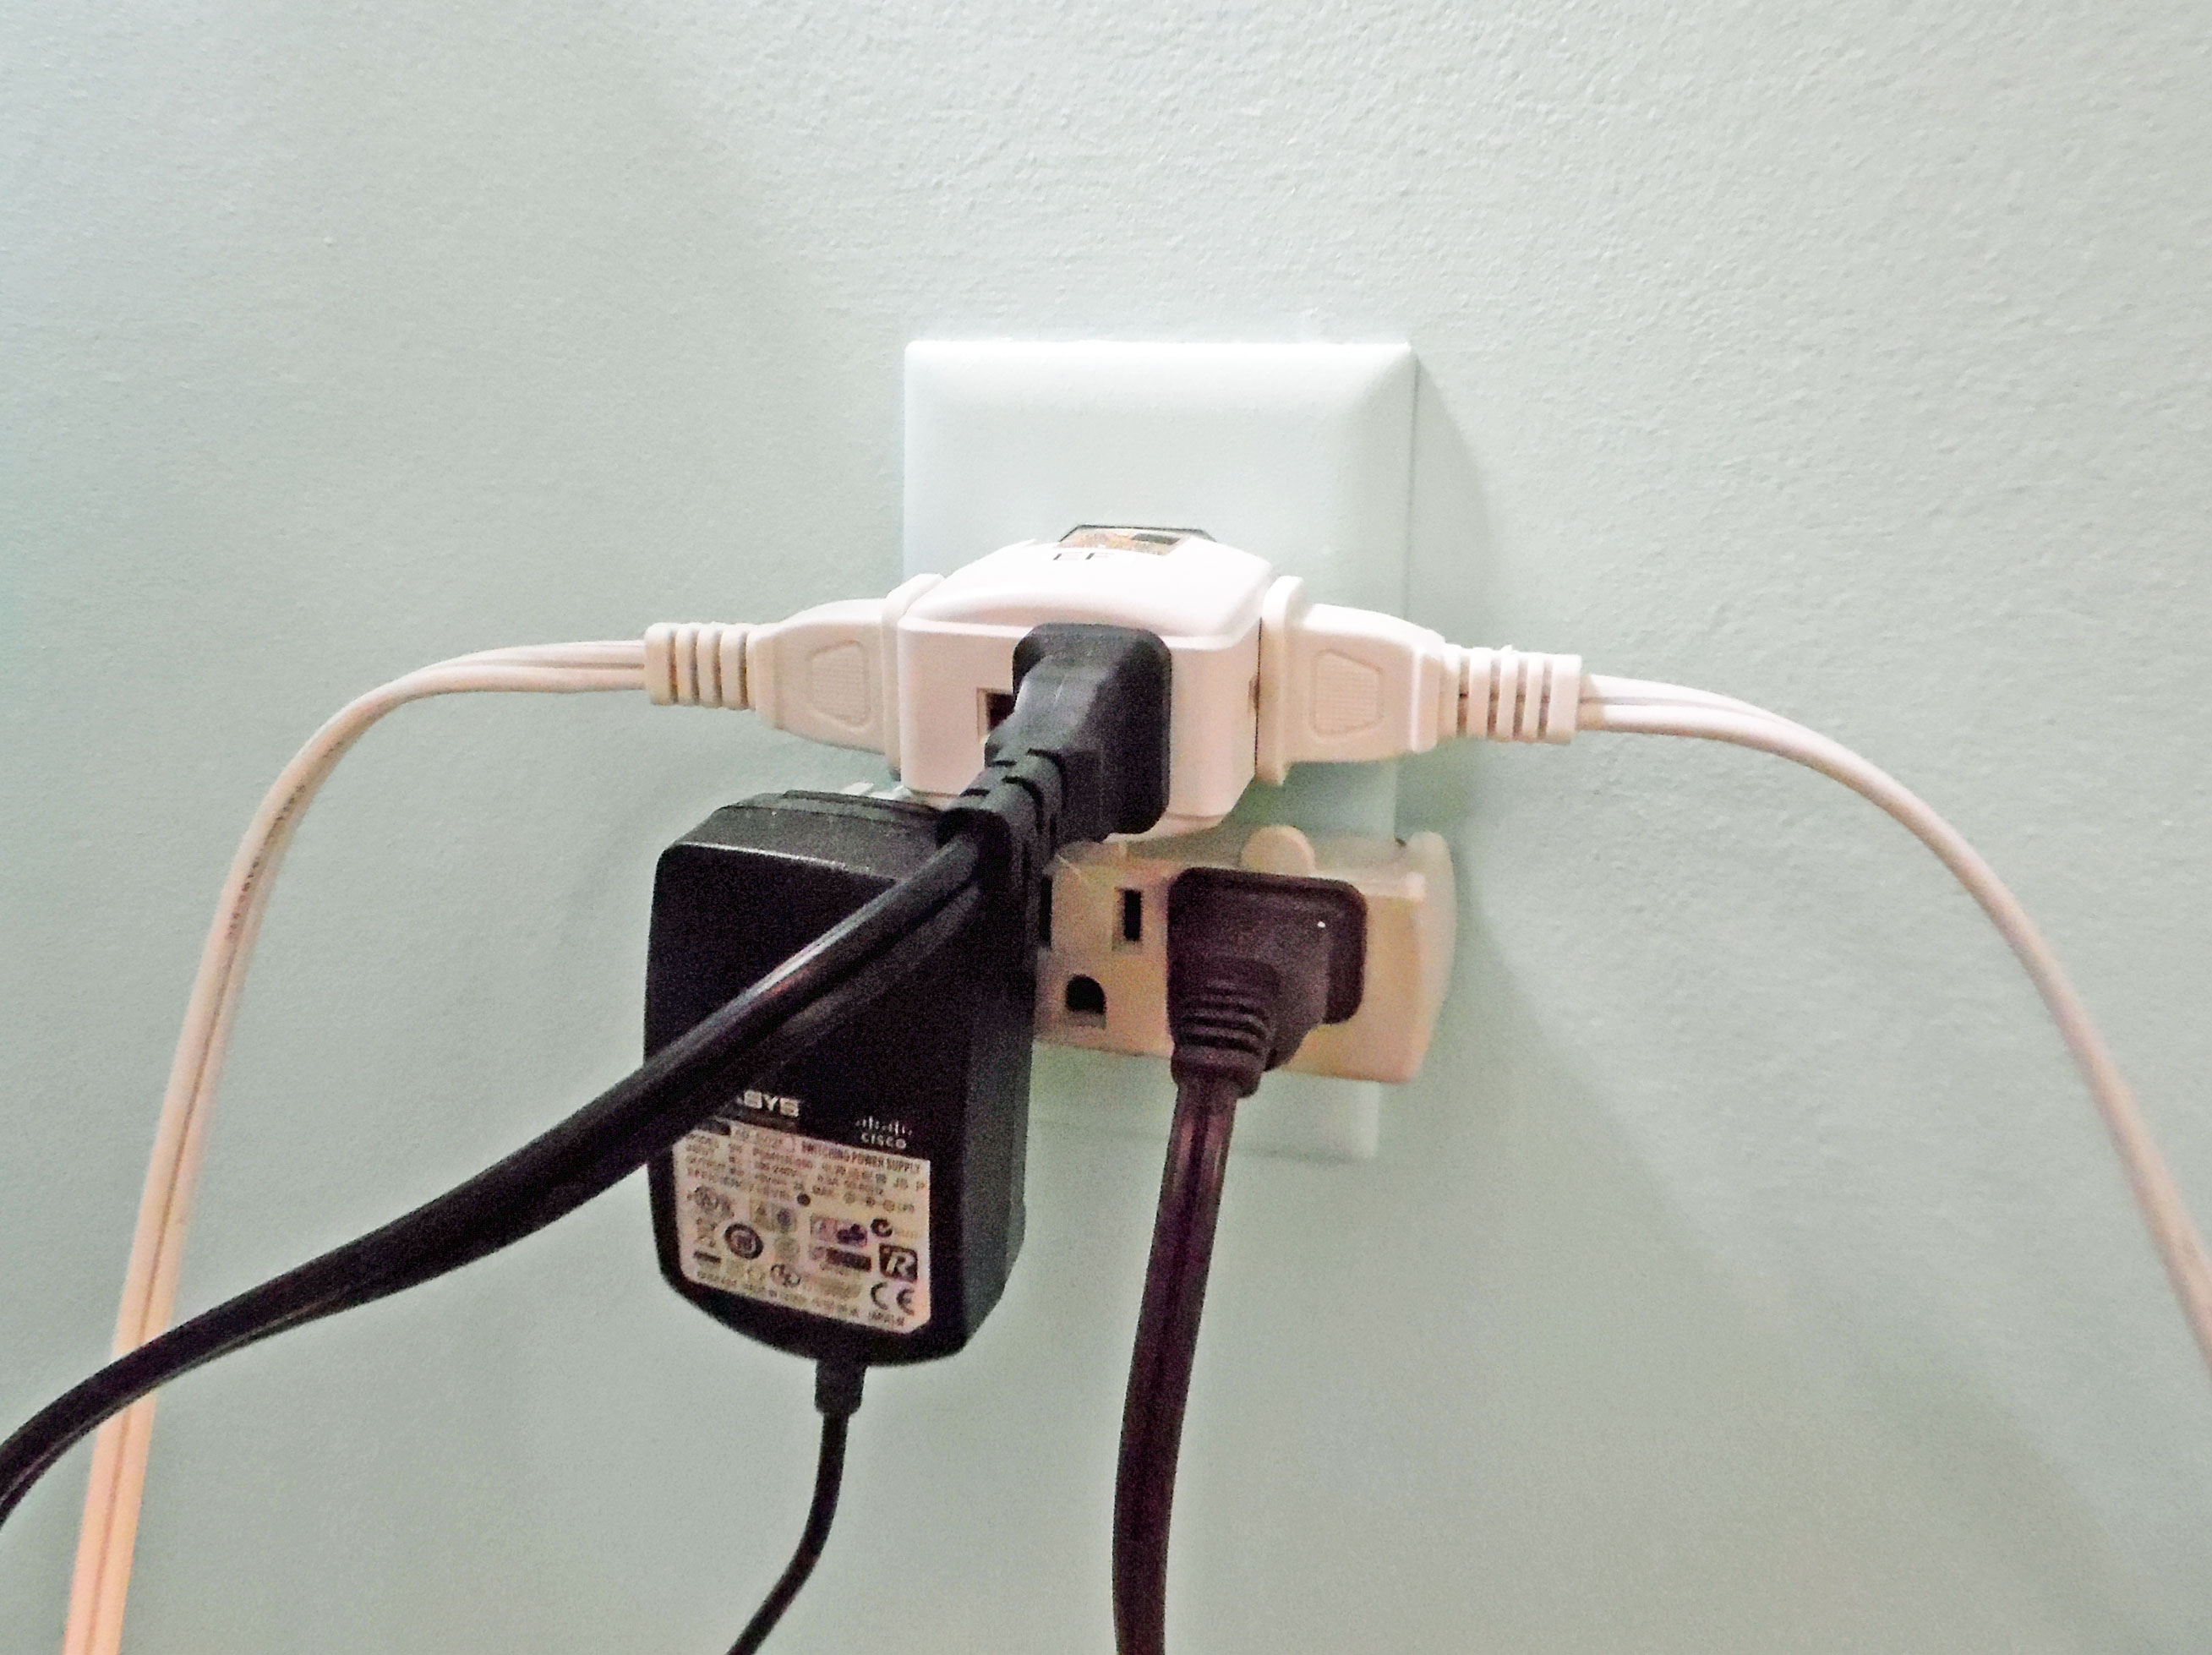
Too Many Plugs!
12. Dispose of broken pins and needles safely.
What do you do with a broken needle? Or a bent pin? Whatever you do, don’t just toss it in the trash! Why not? Suppose you drop something important into the trash and need to fish it out. Do you really want to be digging through a container that has loose pins floating in it? Or suppose you knock the wastebasket over. You may end up with broken needles or bent pins buried in your carpet. There’s also the risk that you’ll end up being responsible for someone else getting hurt, since there are people who make a living by rummaging through garbage dumps. Animals, too, are at risk.
The solution is to use a homemade “sharps” container. If you’re diabetic or require regular injections, you may already have a plastic container designed to safely hold used needles. If not, an empty prescription bottle works great! Soak off the label, then toss your bent or broken pins in the bottle. Make sure it has a childproof lid. When it’s full, you can safely throw it away. Another option is a travel-size shampoo bottle. These don’t have childproof lids, however, so use with caution, especially if you have kids.
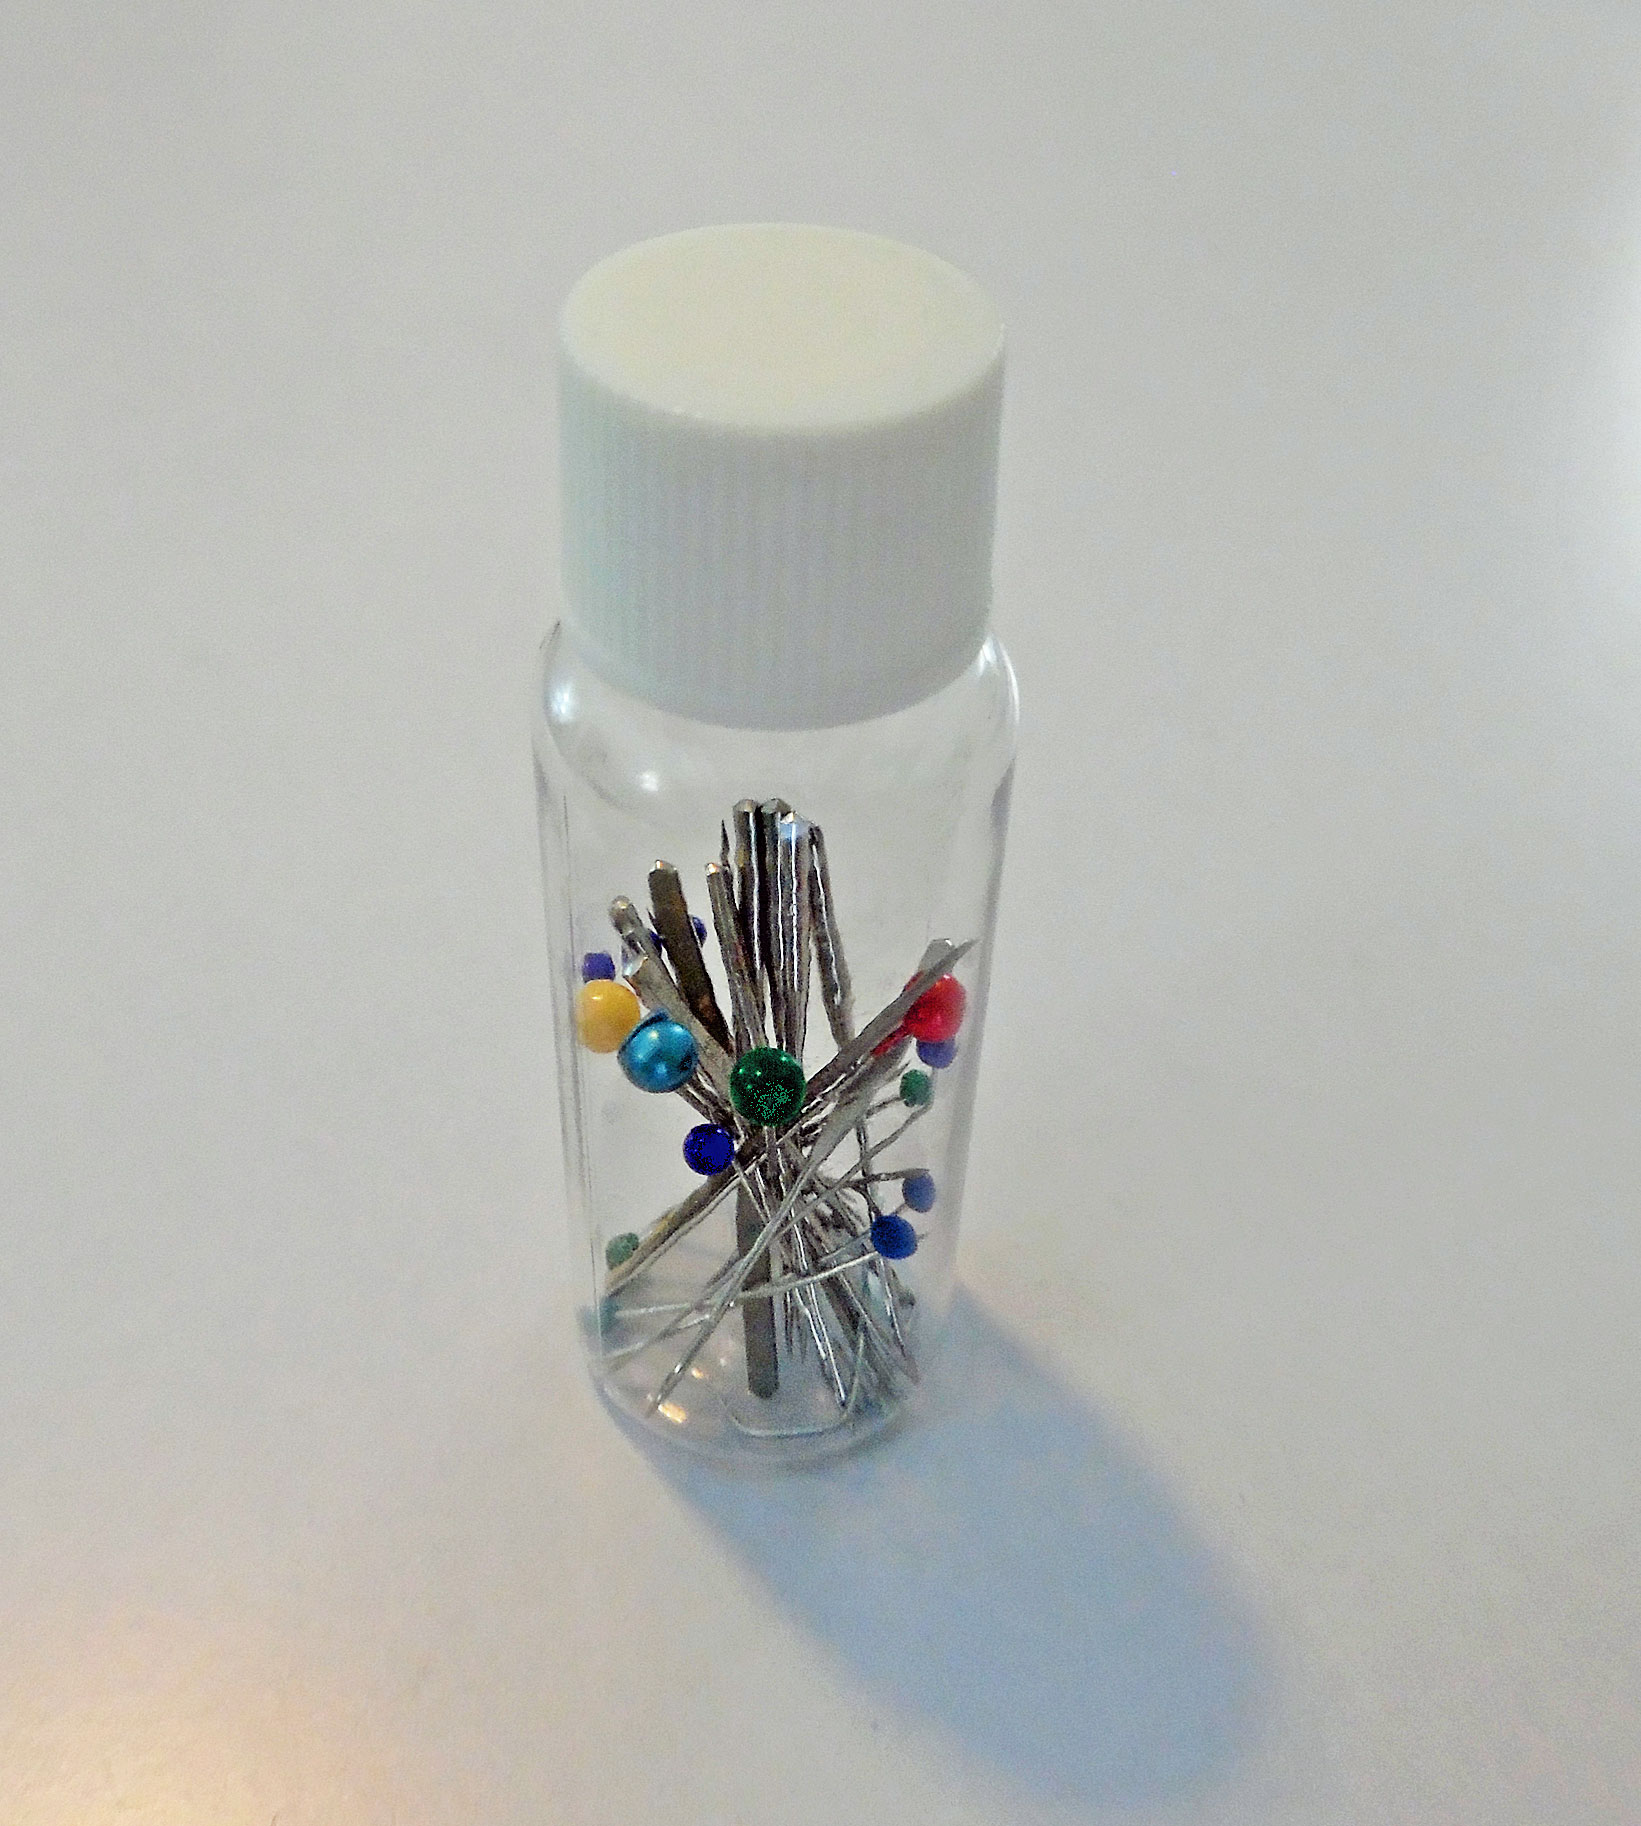
Safety Pin Disposal
13. Keep animals out of the sewing room.
Many dressmakers enjoy the company of their pets while they sew. But in addition to being pesky helpers, animals can get injured by things you might not expect. For example, some pets like to chew on power cords. One of our cats chewed up the power cables to a vintage sewing machine that my grandmother gave me. It wasn’t plugged in at the time, but if it had been, the cat could have been electrocuted.
Another time, the same cat swallowed a needle and thread. Fortunately, the needle lodged in the back of his throat, where it could be removed without surgery. But it was still traumatic—and expensive! If a pet swallows a ribbon or thread, they won’t necessarily pass it through. It can become tangled in their intestines, causing blockages and even necrosis. Without surgery, they’ll suffer a painful and gruesome death.
Keep your pets safe—and out of the sewing room!
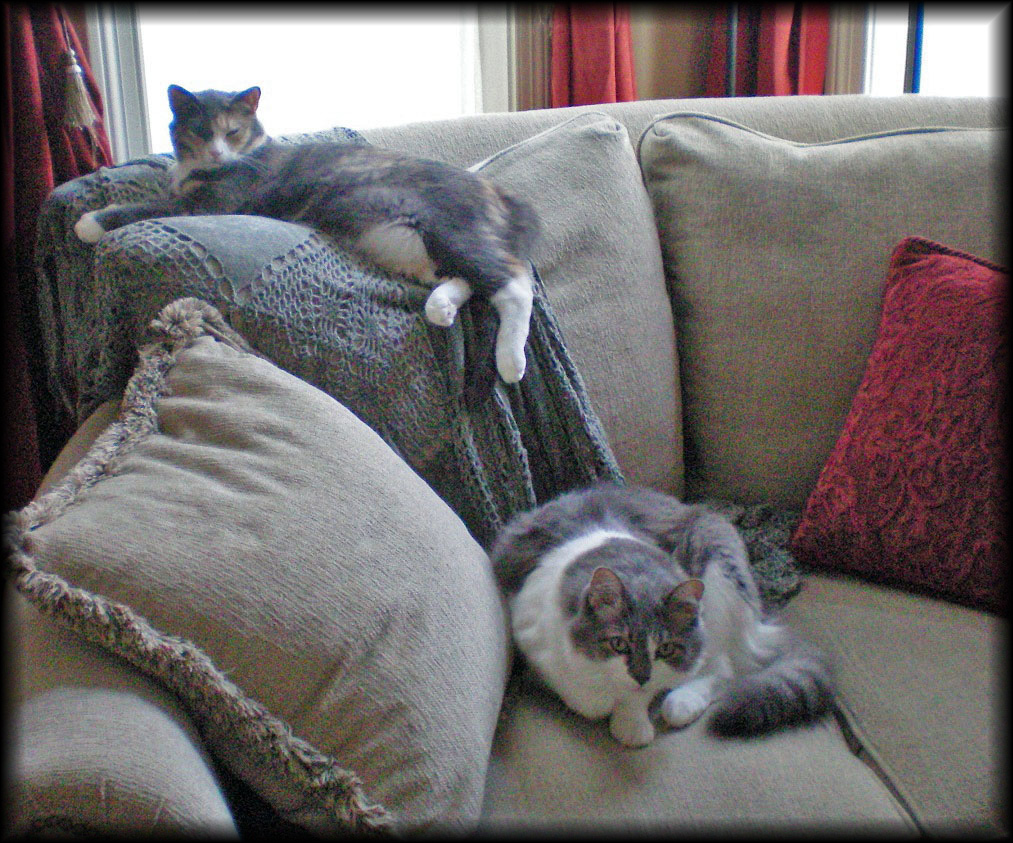
Buttons & Schitzy
14. Be careful.
This is pretty generic advice, but basically it means: Don’t make stupid mistakes. Like the time I picked up a piece of fabric and held it in my palm while cutting it with full-sized shears. I cut a little bit farther than I intended and ended up snipping into the base of my index finger. It was a small cut, but deep, and while it didn’t leave a scar, I was lucky. If I’d cut the nerve, I might’ve ended up with long-lasting damage.
Don’t let a foolish mistake ruin your enjoyment of sewing! With a healthy dose of caution and common sense, you’ll be able to sew safely.
~~*~~
Looking for more sewing advice? Check Sewing Basics for beginner-friendly tips. For more advanced help, search our Tutorials and Articles.
(Yesterday’s Thimble is a participant in the Amazon Services LLC Associates Program. Basically, this means if you click a link to an item that Amazon sells, and then buy it, I earn a small fee that helps support this website.)
Pingback: Dressmaking – health & safety – All Things Creative
Pingback: Safety Tips for Steampunk Crafting and DIY - Steam Punk Engine