
by Lisha Vidler
(This article was first published at Your Wardrobe Unlock’d.)
Note: There is an updated, more concise version of this article: 5 Rules for Organizing Your Sewing Room.
How much room do you have for sewing? Do you take over the kitchen table every weekend? Does your guest bedroom convert into a sewing area when the mood strikes? Or do you have an entire spare room put aside for sewing?
The good news is, your sewing area doesn’t need to be large! One of my students turned a guest room’s closet into a sewing nook, while my mother converted part of her formal dining room. Back when my husband and I lived in an apartment, we shared the spare room. He used one corner for his computer desk, while I took over the remaining space. These days, I’m fortunate enough to have a dedicated sewing room, but it isn’t easy to keep it organized.
In this two-part article, we’ll take a look at the two main elements you need to consider when setting up your sewing space: organizing your room’s furniture, and organizing your supplies.
Organizing Your Sewing Space
Organizing Your Sewing Area
Regardless of how much space you have, there are three features every sewing area must have.
- Cutting Table
- Sewing Table
- Pressing Station
Of course, it’s also useful to have a closet or bureau for storage, as well as a workstation where you can pin things together and do your hand sewing. But that’s optional. Without the three above-mentioned items, you simply can’t sew.
Specialized sewing furniture is wonderful, but it can be expensive. Fortunately, there are alternatives. Let’s take a closer look at what you need to turn any nook or corner into a proper sewing space.
Cutting Table
In order to cut out your fabric, you need a large, flat area. It must be big enough to spread out at least a yard of fabric, preferably two yards, and sturdy enough that it will let you pin your patterns and cut them out. What are your options?
Some people cut their fabric on the floor, but this is the least practical choice, as it will strain your back and bruise your knees. If you’ve ever accidentally pinned your pattern to the carpet, you’ll understand the other risks involved!
Cutting a Pattern On The Floor
A dining table is slightly better than the floor, but it’s still not ideal, unless you have a bar-height table. Most tables are too low, which means you’ll hunch forward as you work. This puts a dangerous strain on your back, neck, and shoulders, and what starts out as a minor discomfort can turn into a problematic issue, given time. There’s also the risk of scratching your dining table with pins or shears.
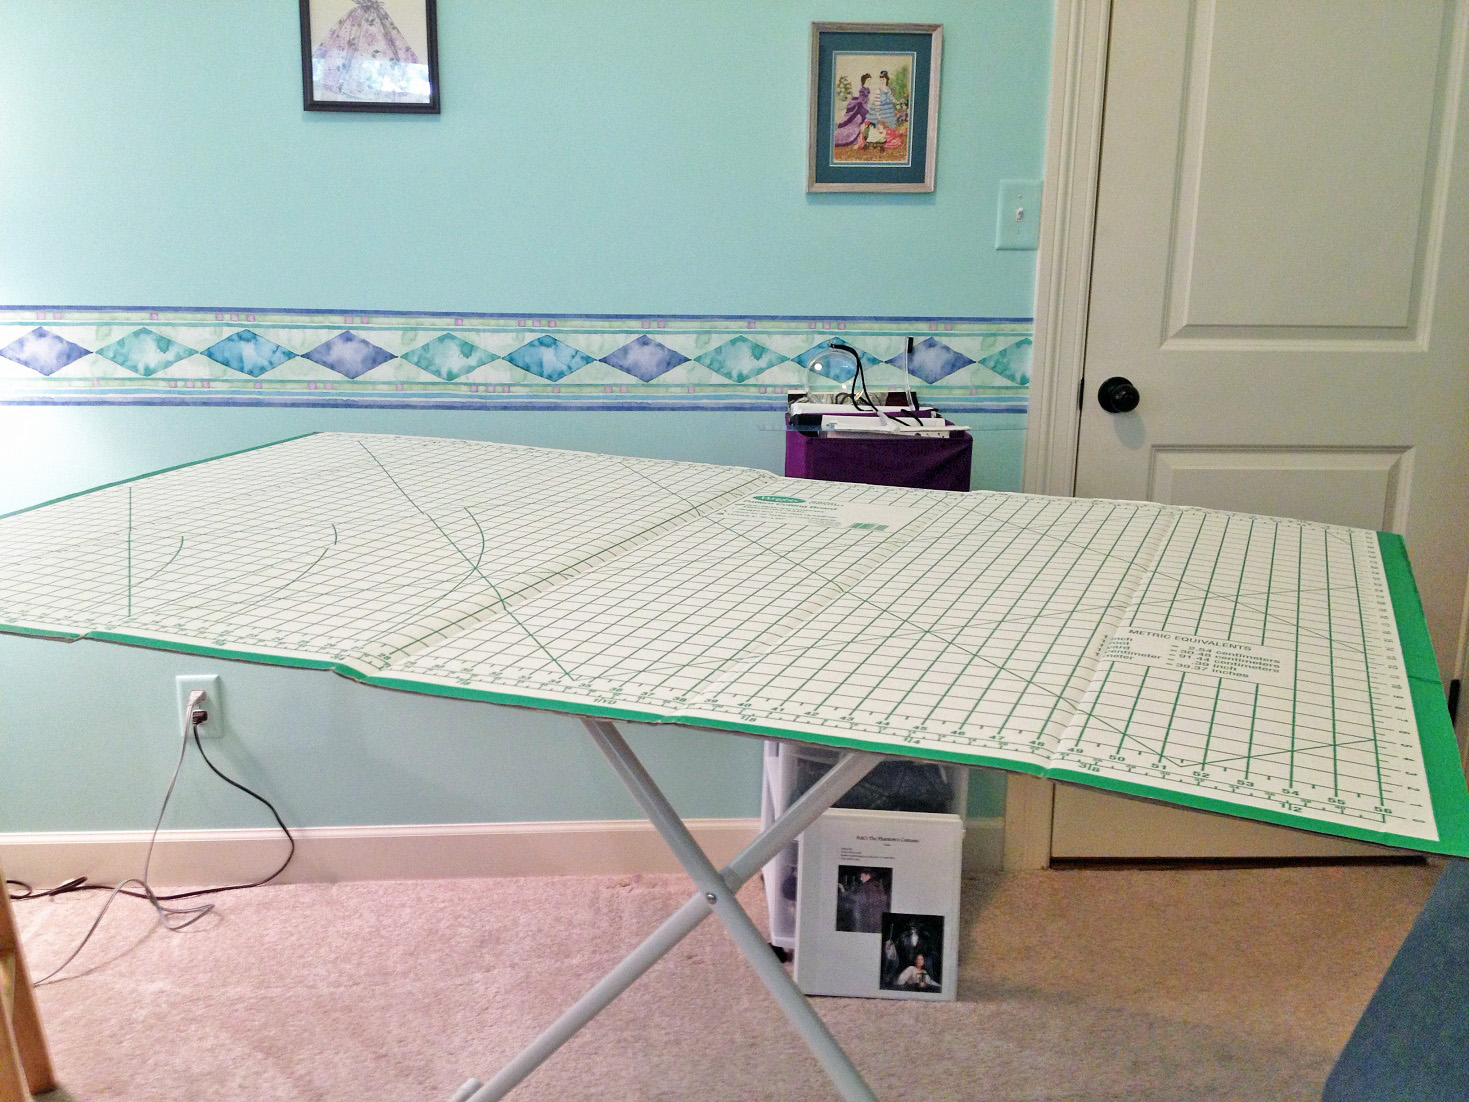
A cutting table is the best option, provided you have the space and can afford one. Look for a professional cutting table, which stands about 36″ high. Depending on your height, this should be the right level for you to work at without straining your back. The table needs to be large, too. Mine measures about 5′ x 3′, but the sides conveniently fold down, so it doesn’t take up as much space when I’m not using it. (The best thing about my cutting table is the storage space it has underneath! There’s plenty of room for notions, tools, boxes of lace, and even fabric.)
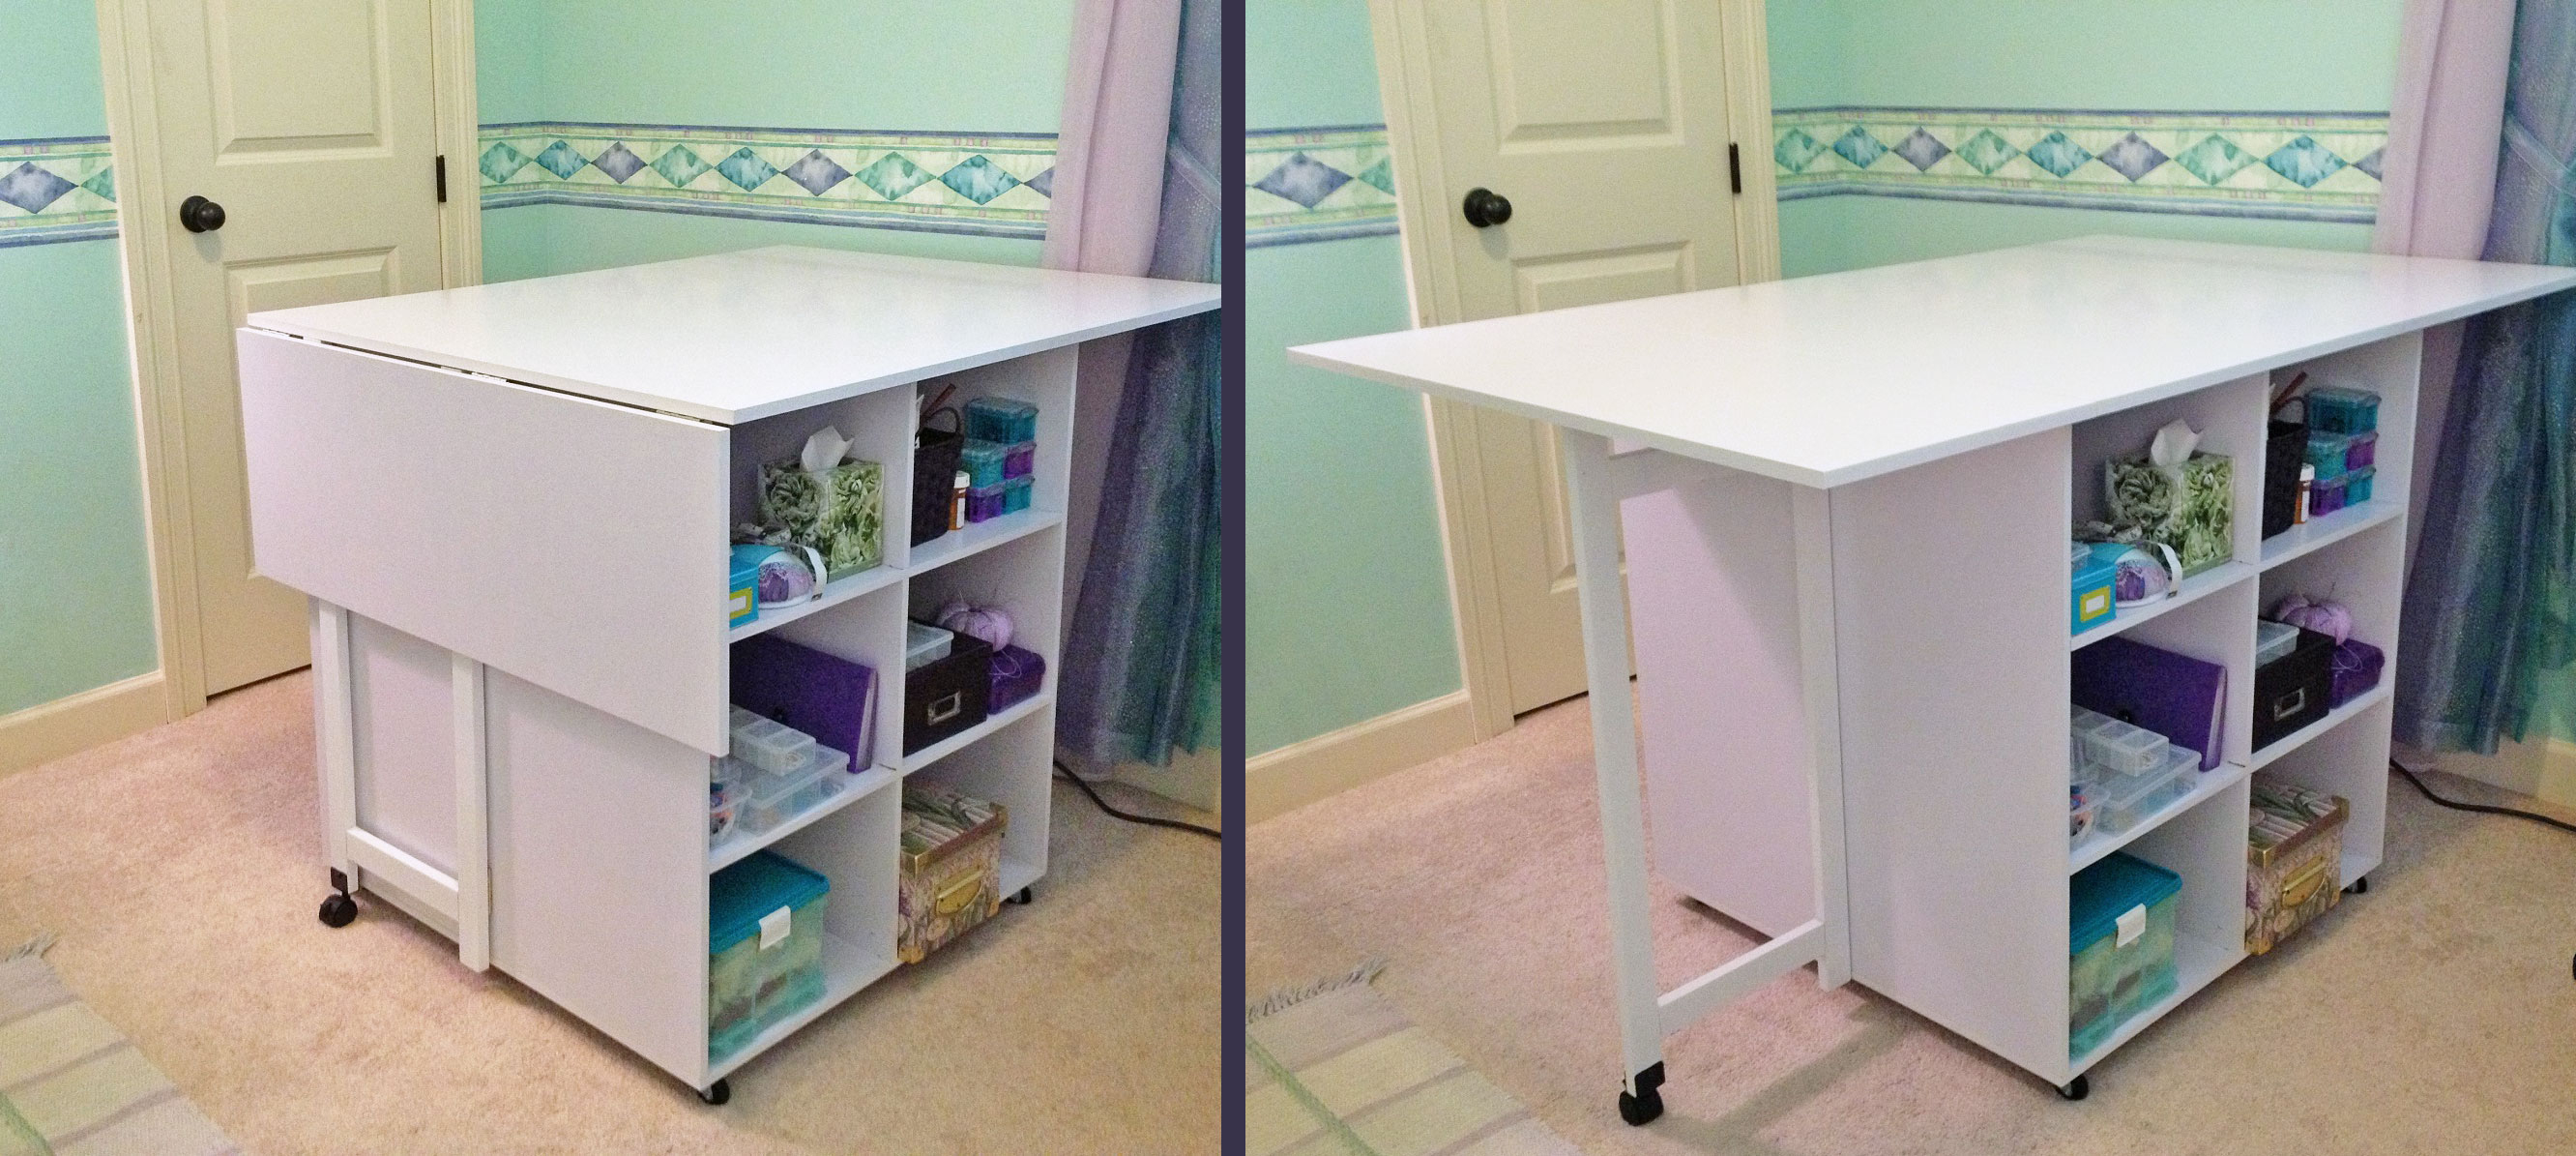
Professional Cutting Table, Open & Closed
Professional cutting tables can be expensive, so keep an eye out for sales. Most fabric stores don’t permit you to use your 40% or 50% coupons on furniture, but sometimes they’ll put their sewing furniture on clearance. When I finally bought my cutting table, I had been watching the store’s website for months, waiting for it to go on sale. As a result, I got a $350 table for just $150, plus shipping.
If you can’t afford a cutting table, there are other options. You could repurpose a kitchen island or counter, for example. They’re the right height and—bonus! You can use the cabinets underneath to hide extra fabric and supplies. Or, if you know someone who’s handy, you could have your own custom cutting table built. It might be as simple as a tall surface with supporting legs, or it could be fancy, with cabinets or shelves for storage.
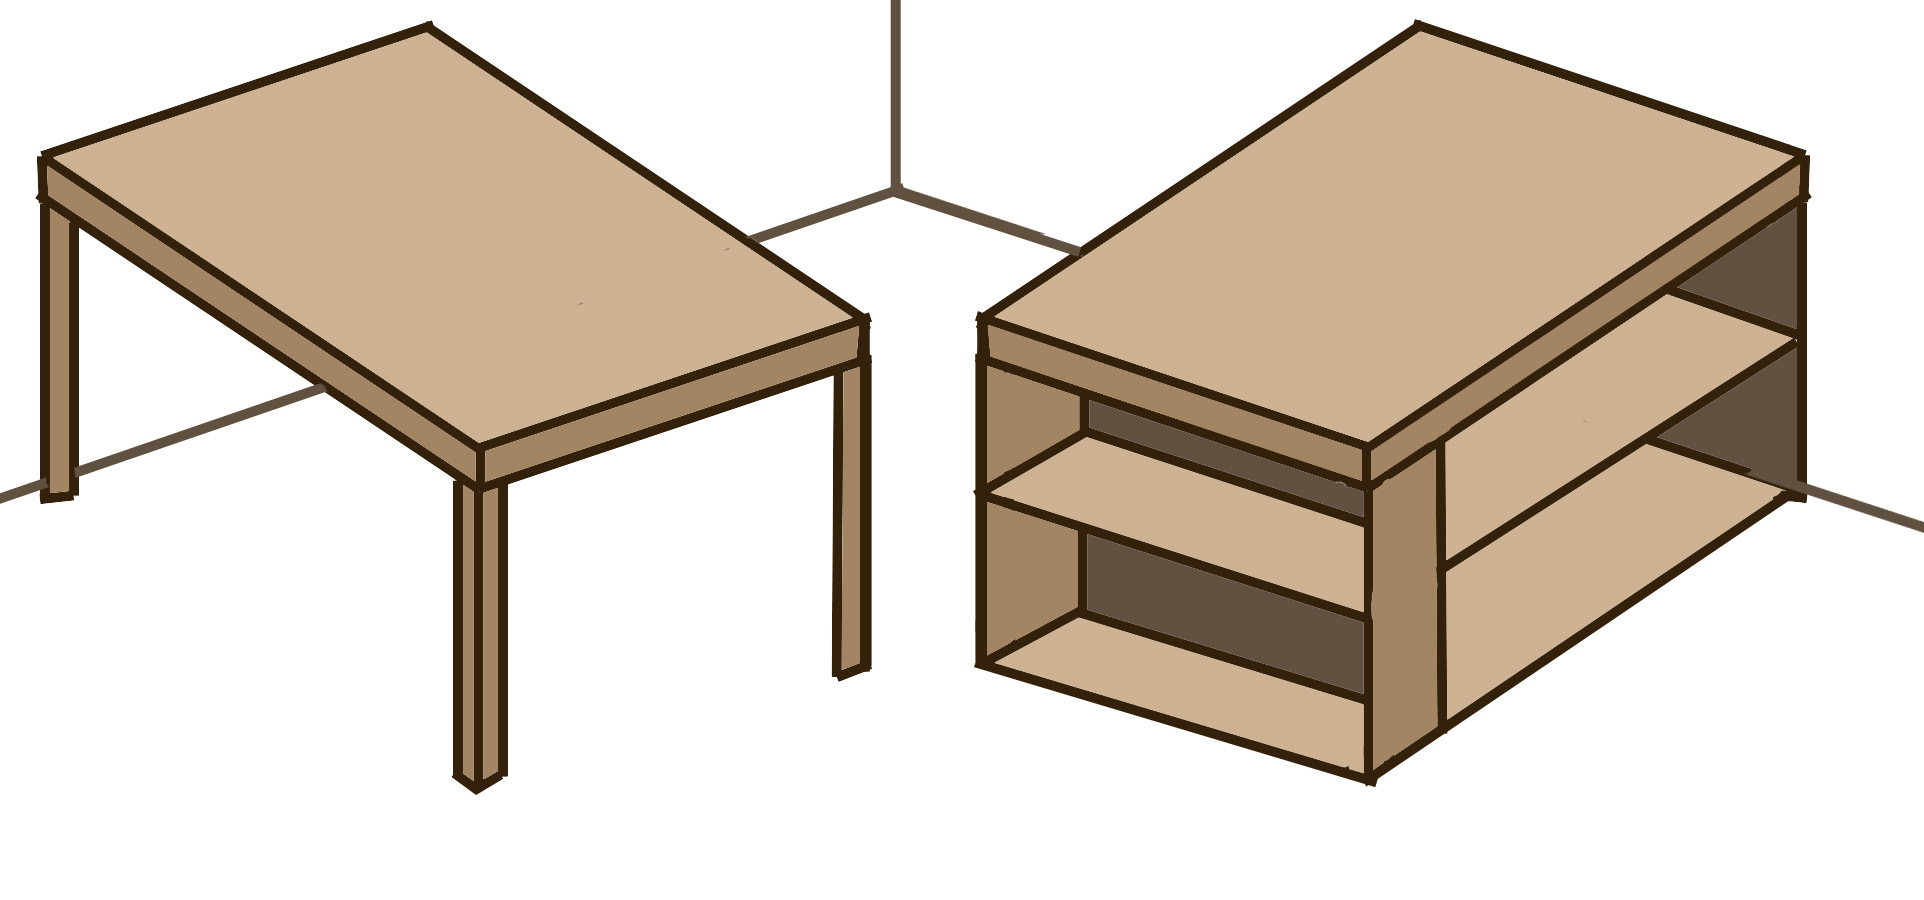
Custom Cutting Tables
A folding craft table might also work, but you’ll probably need to put it on risers to make it the right height. Make sure it’s sturdy enough! Stay away from card tables, which are flimsy and wobbly. Look for something heavy and well-built. You’ll have to pay a little more, but it will last longer and save you a lot of aggravation.
What if you don’t have room for a permanent cutting table? You might try a fold-out cardboard cutting board, which can be purchased at most fabric stores for around $10. When you’re ready to cut something, unfold the cutting board and place it on top of a bed, or table, or other surface. I used to put mine on top of my ironing board. This kept it at the right height and gave me a large work area. Be careful, though! If you lean against the edge of the board, it could flip over. Still, it’s better than trying to cut patterns on the floor.
Cardboard Cutting Board
When you’re not using it, the board folds up and fits behind a door, under the bed, in a closet, or even behind a dresser.
Cardboard Cutting Board, Folded Up
Sewing Table
The next piece of furniture you need is a table for your sewing machine. If your setup is temporary, you might place your sewing machine on the dining table. This has worked for many a dressmaker over the years.
If you want something a little more permanent, look for a sewing table. These are often smaller than a craft table. Sometimes they come with shelves or drawers, or a fold-out extension to provide more workspace. The best kind have a lowered shelf for the machine to rest on. This shelf is recessed into the table, so the feed dogs of your machine will be level with the table’s surface, which gives you a very large sewing surface—better than any quilter’s extension table. Before you buy this kind of sewing table, however, make sure your machine will fit in the lowered shelf.
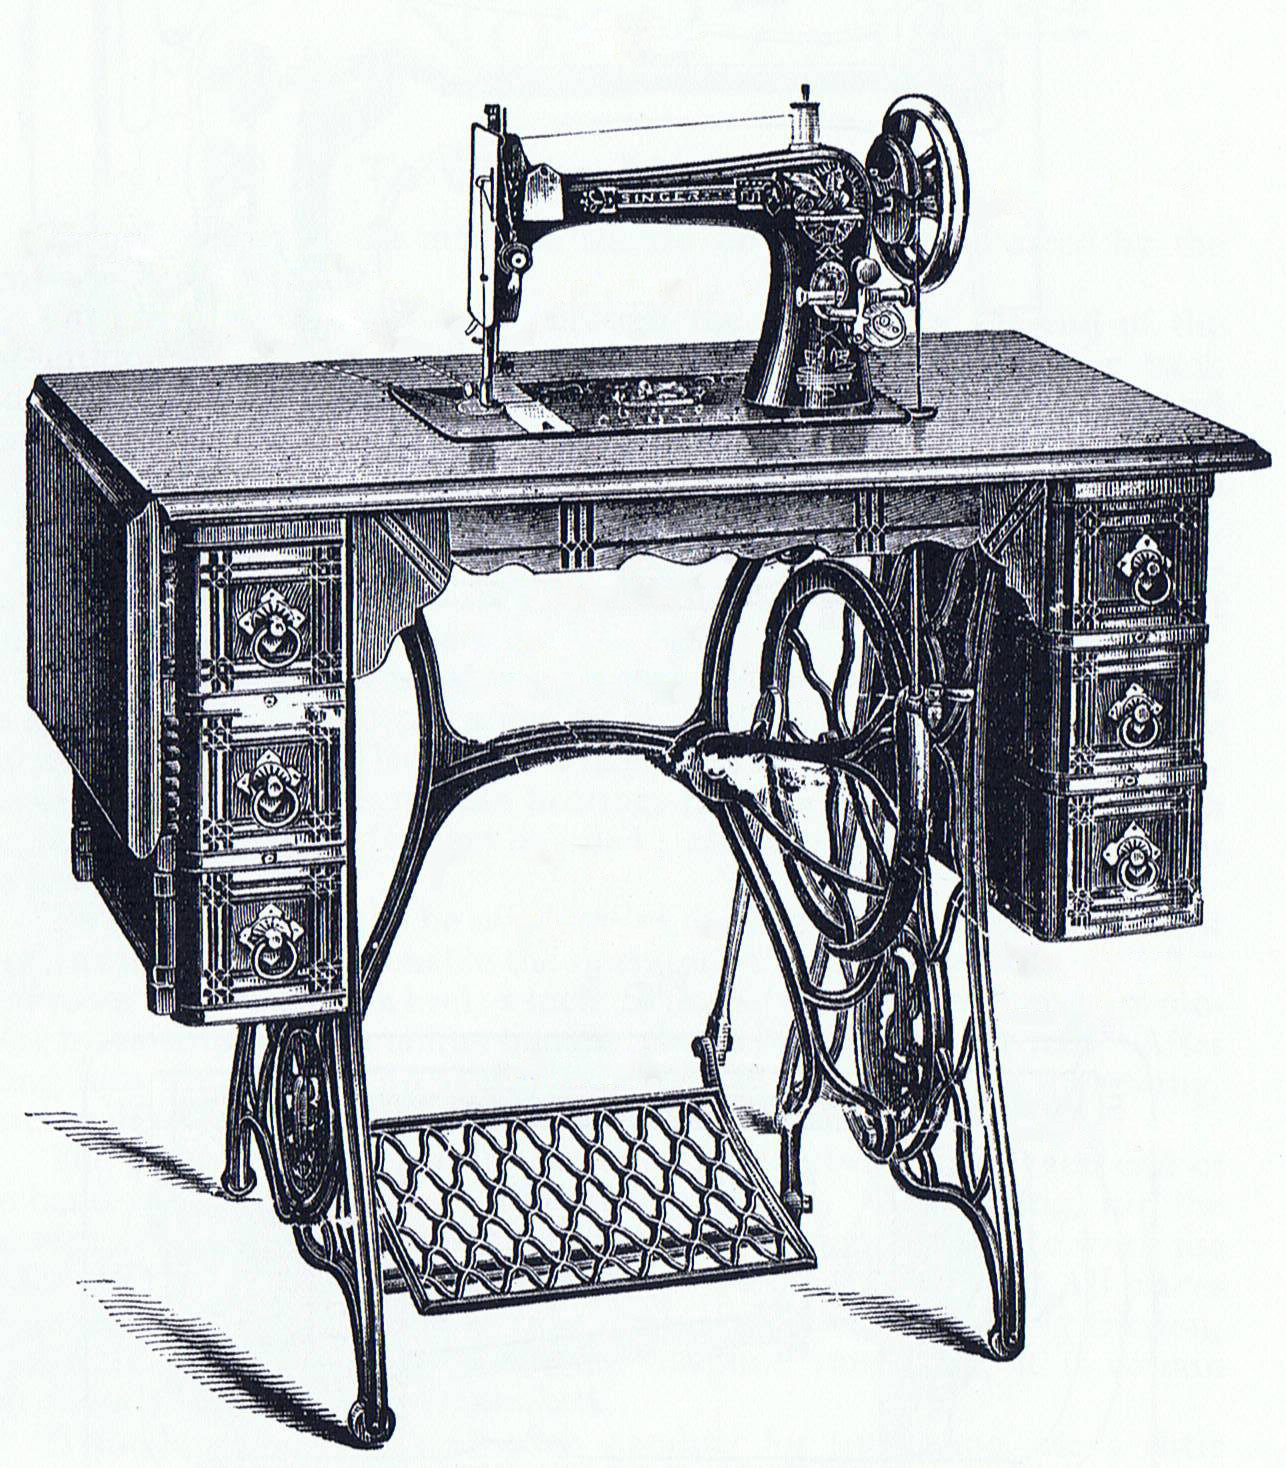
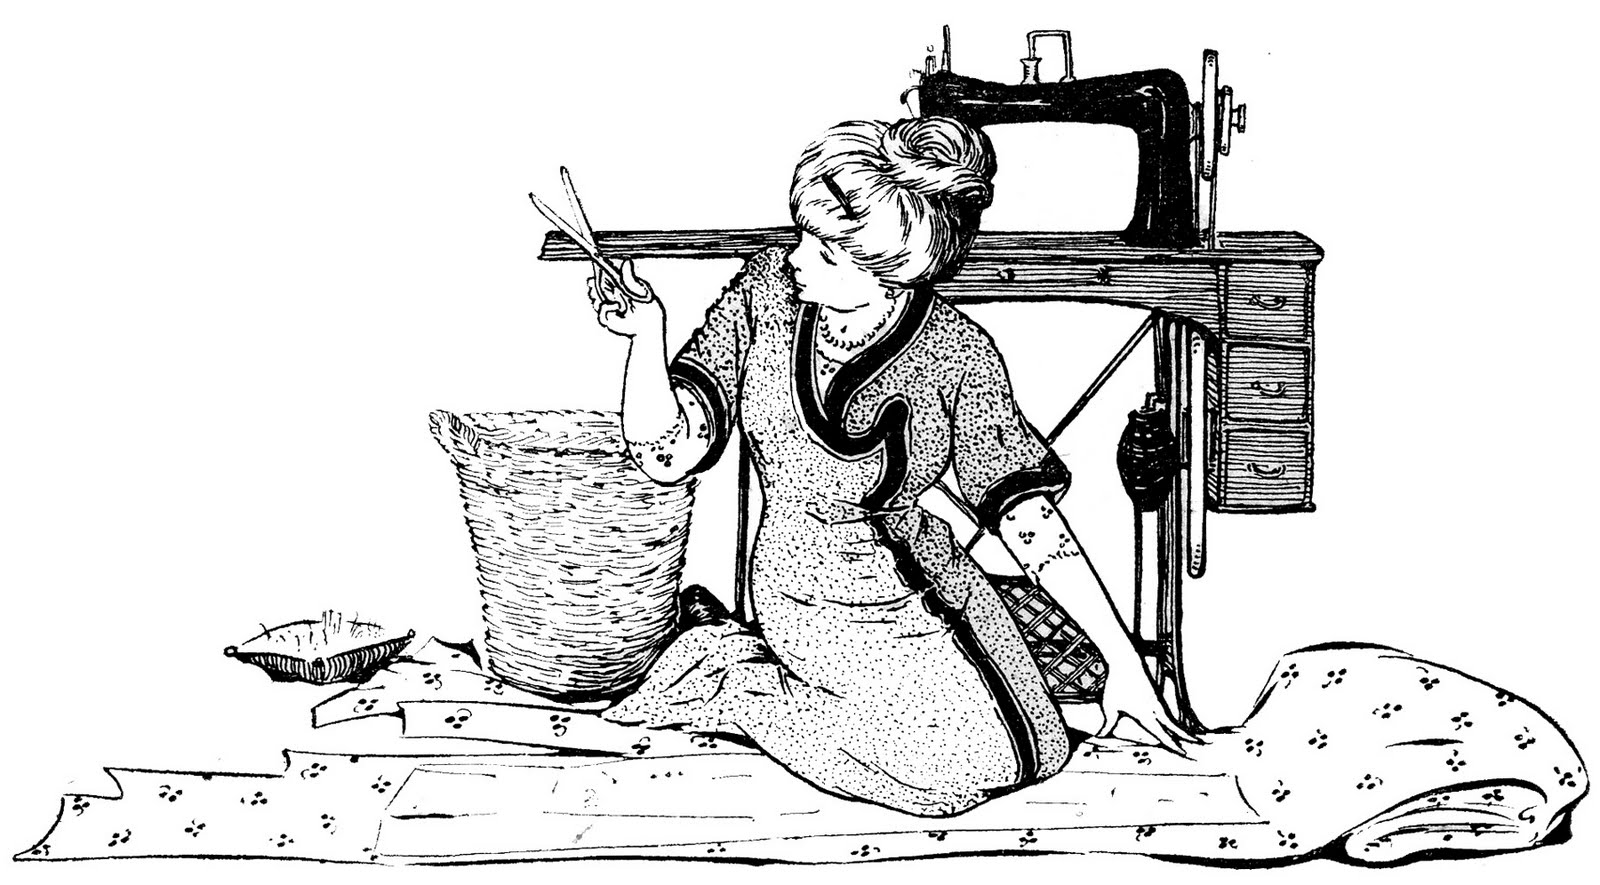
Treadle Sewing Machine ~ Singer Model 27
Alternatively, you can use a craft table, or even a desk. Regardless of what you choose, it’s important that it be sturdy. A card table, for instance, will not hold up under the heavy vibrations that occur when you run your sewing machine. It will wobble terribly, which may affect your sewing. Some folding craft tables are strong enough to remain steady, but this will vary depending on the strength of the table, as well as how much your sewing machine vibrates.
If you can, test the table before buying it. The store probably won’t like it if you bring your sewing machine in, but if they have one of the tables on display, you can try shaking it, just to see how sturdy it is. Grab the edge and shake gently, but rapidly, to imitate the vibrations of your sewing machine. If it seems unsteady or wobbles easily, keep looking.
Many vintage sewing machines were stored in cabinets that fold open. These are great space savers, as you can use the closed cabinet for other purposes when you’re not sewing. (My grandmother used hers as a TV stand.) Unfortunately, you cannot use these cabinets with just any sewing machine. The machine must be cabinet-mountable, otherwise it won’t fit.
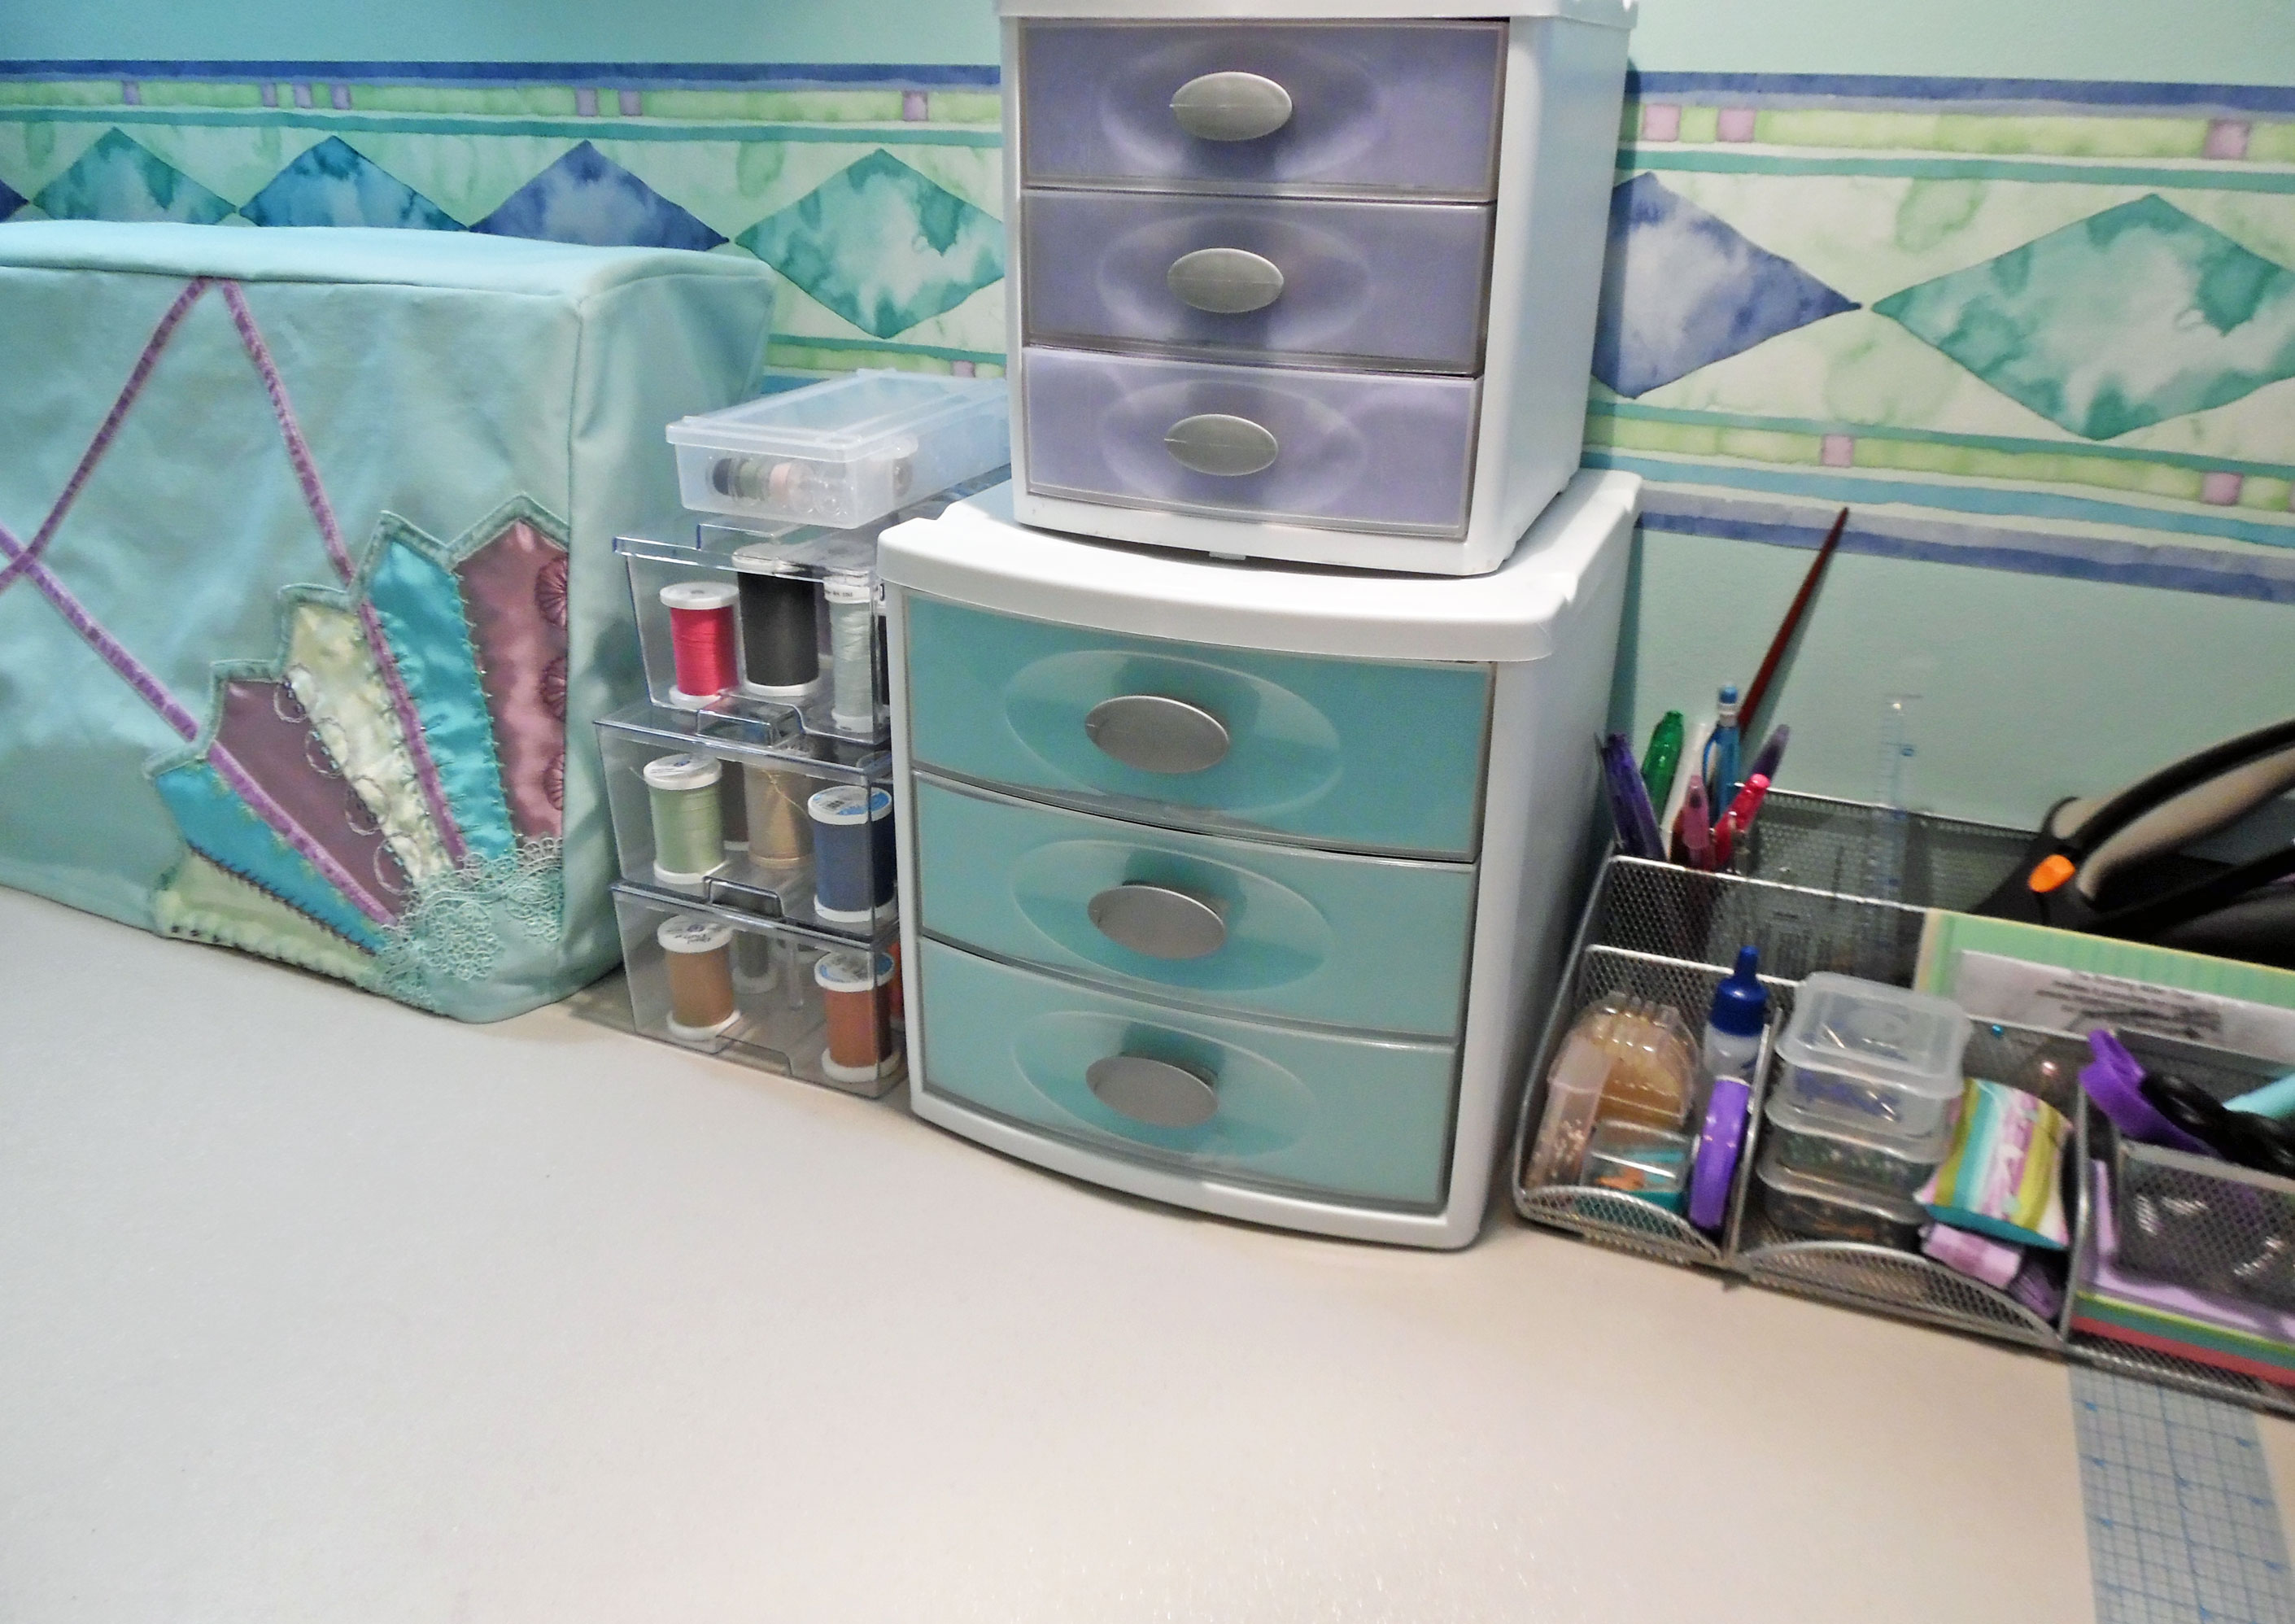
Whatever sort of table you use to hold your sewing machine, keep in mind the importance of covering your machine when it’s not in use. Make yourself a decorative cover, or use an old pillowcase to keep dust and pet hair out of your sewing machine’s motor. This is especially important if you have a computerized machine, as sensitive computer parts are easily damaged by dust and debris.
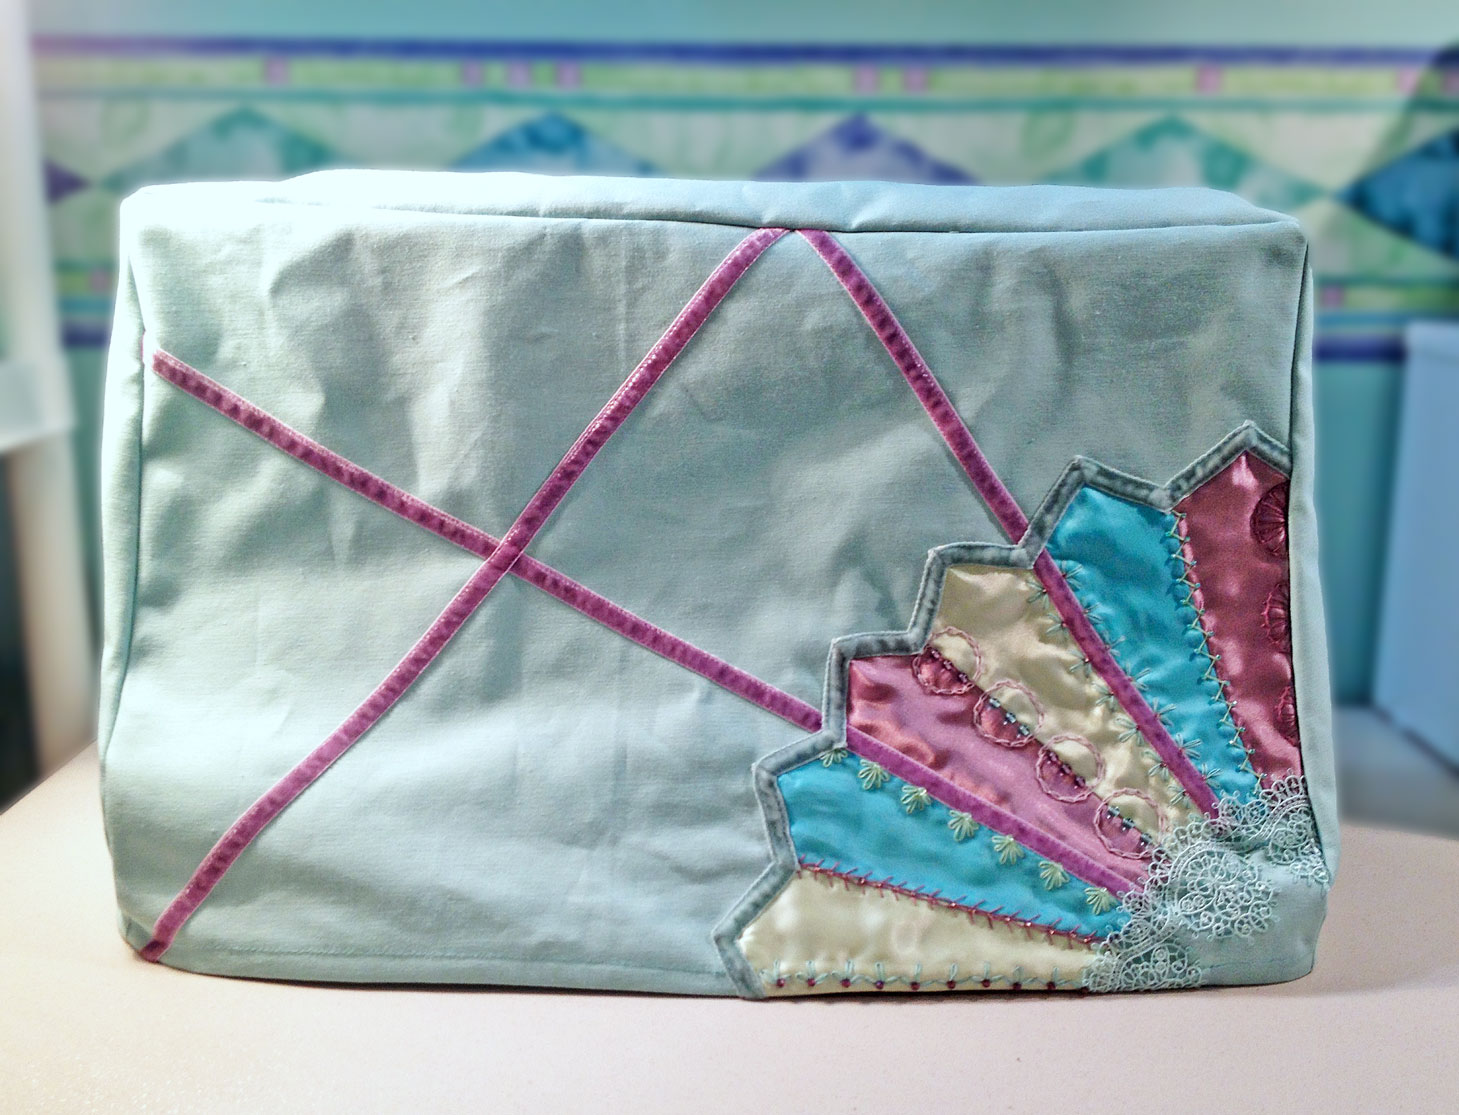
Crazy-Quilted Sewing Machine Cover
Pressing Station
The third necessity for your sewing space is a pressing station. Educated dressmakers know that to produce a quality garment, you must press as you sew. If your ironing board is in another room, or put away, you’re more likely to make the mistake of skipping this step. In the illustration below, you’ll see two identical pairs of doll pants. One was pressed during construction and its seams were clipped and graded. The other was simply sewn together, without regard for proper dressmaking techniques. The difference is remarkable, isn’t it? Make pressing as you sew as easy as possible for yourself.

Pressed (left) vs Not Pressed (left)
If you have the room, a regular ironing board is good to have. The legs fold up, so you can hang it from the back of a door and only set it up when it’s needed. If, however, you want to leave your ironing board up permanently, there’s no reason you can’t. I keep mine along one wall of my sewing room. It’s out of the way, but always ready to use.
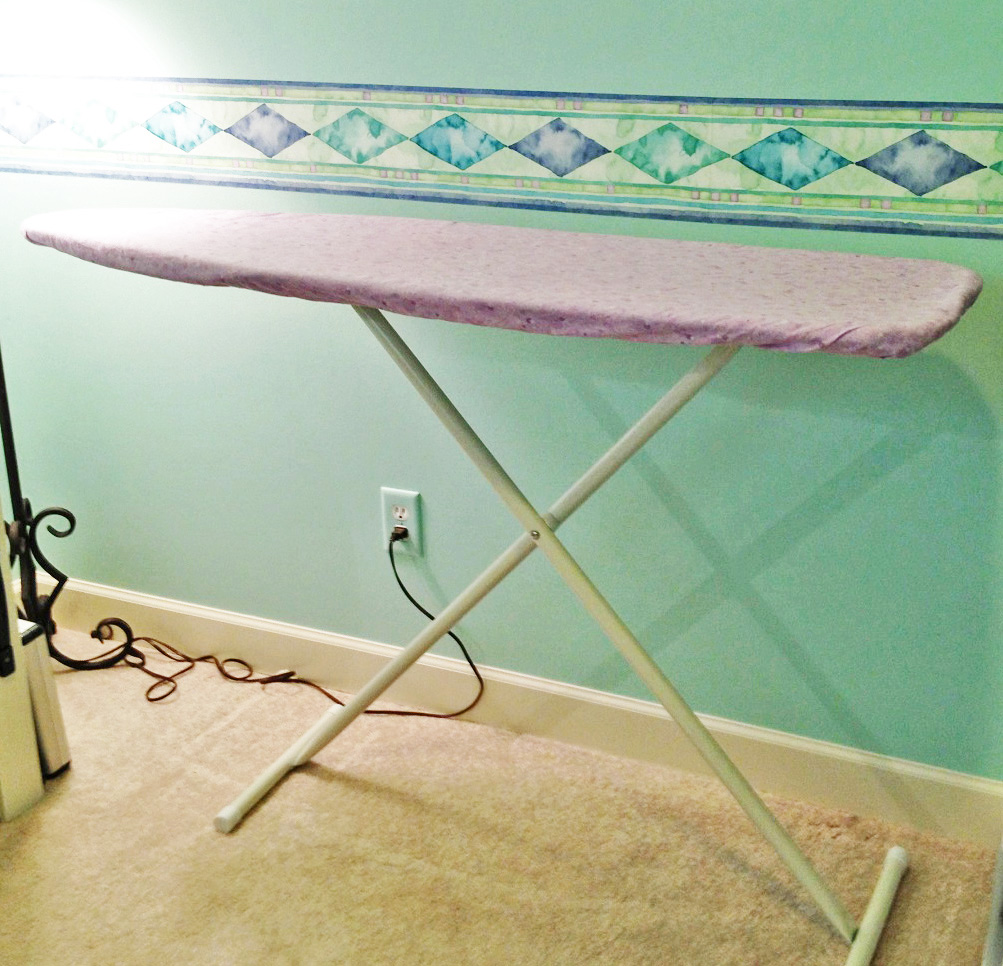
Full-Sized Ironing Board
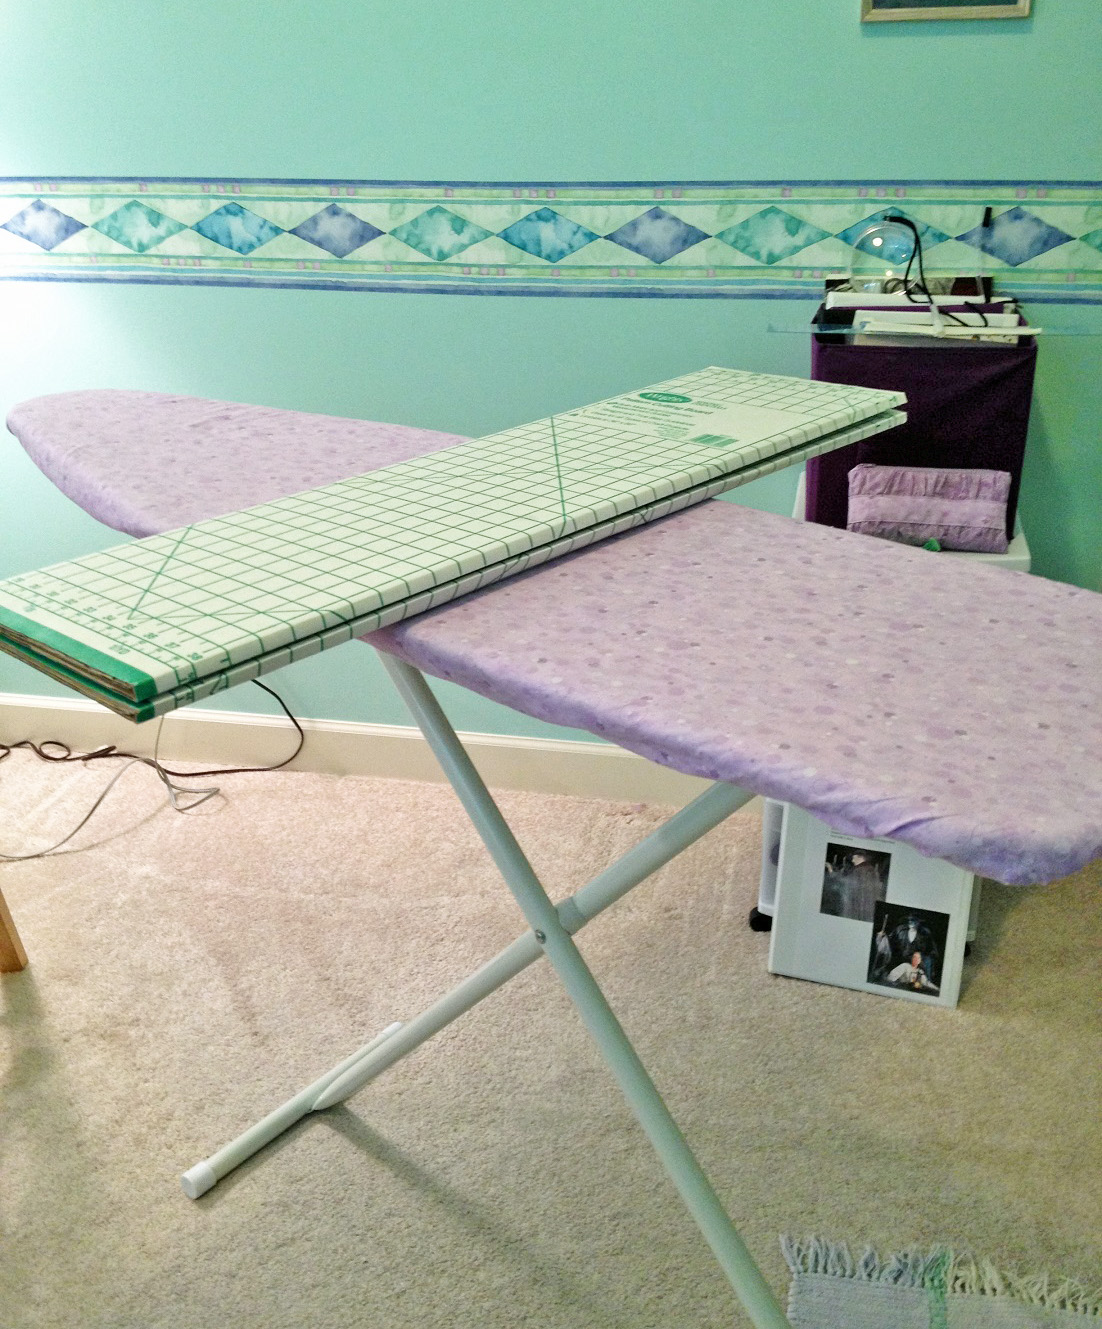
If you don’t have a lot of room, you might look at a traveling ironing board. These are half the size of a traditional ironing board and sit on a table or countertop. I used one for several years before I finally gave in and bought a full-sized ironing board. They’re perfect for small sewing nooks, or temporary setups, because they don’t take up much space and you can collapse them when you’re done.
There are other options for a temporary pressing station, too—such as an ironing pad. This is a thick, quilted, heat-proof pad you can lay on a table or counter, in lieu of an ironing board. Some are even magnetic, so you can attach them to your washing machine or dryer.
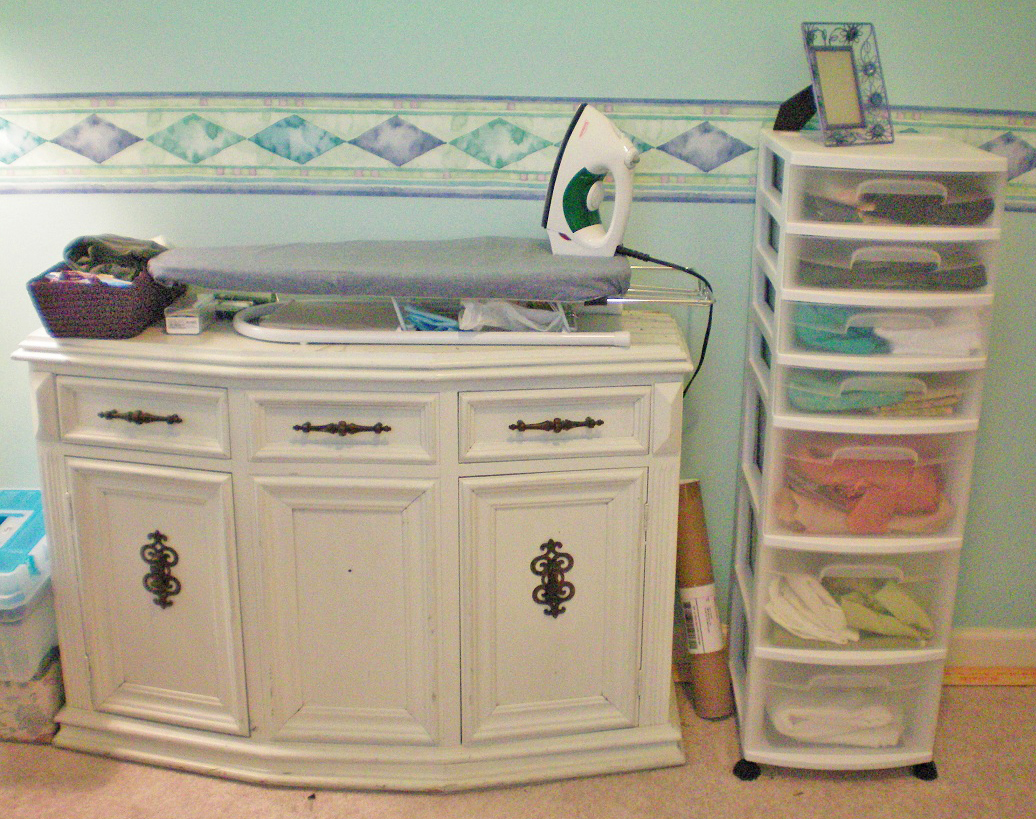
Traveling Ironing Board
Workstation
A workstation isn’t strictly necessary, but it’s great to have one when you need to make adjustments to your pattern, pin trims onto your garment, or hand-sew something. I used to stand at my ironing board to do this kind of fiddly work. It was a good height, so I didn’t have to hunch forward to see what I was doing. Now, I use my cutting table for the same purpose. It’s larger, so I can spread out my work, and it’s more stable. Plus, I don’t have the fear of knocking my iron over and accidentally burning or melting whatever I’m working on.
You might prefer to sit as you work. If you have the room, you can get an extra table and put it near your sewing area. If your space is very small, you might have to push your sewing machine out of the way and use your sewing table as a workstation.
~~*~~
Now that you know the basic “big ticket” items you need for your sewing room, how will you arrange them in your designated space? And what about storage and organization for all of your fabric and sewing supplies? In the second half of this article, we’ll draw a floor plan in order to figure out the best configuration for a sewing area, and we’ll discuss organization tactics.
Pingback: Organizing Your Sewing Space | Yesterday's Thimble