
Originally published by Your Wardrobe Unlock’d. This version has been edited for clarity.
(Click any illustration to view the full-sized image.)
You’ve probably heard that it’s important to press as you sew. But why? And what does it involve? Let’s take a look at the art of pressing.
Why Press?
Why should you bother pressing during the construction process? The easy answer is, because the finished garment will look a thousand times better! One of the major elements that separates homemade-looking garments from those that look couture is . . . you guessed it! Pressing as you sew.
Why does pressing have such a profound effect?
- It flattens each seam, so you have less bulk—especially at intersections. This can streamline your garment, so it looks sleek, instead of bumpy.
- It makes seams less visible. This means fewer signs that say, “Look! I made this.”
- It helps shape the garment, turning it into a three-dimensional shell, instead of a flat piece of fabric.
Take a look at these two pairs of doll pants. They were made using the exact same pattern, but one was simply sewn together, per the pattern directions, while the other had its curves notched or clipped and its seams pressed. See the difference? One actually has shape, and its edges are smooth. The other, besides looking wrinkled, is formless.
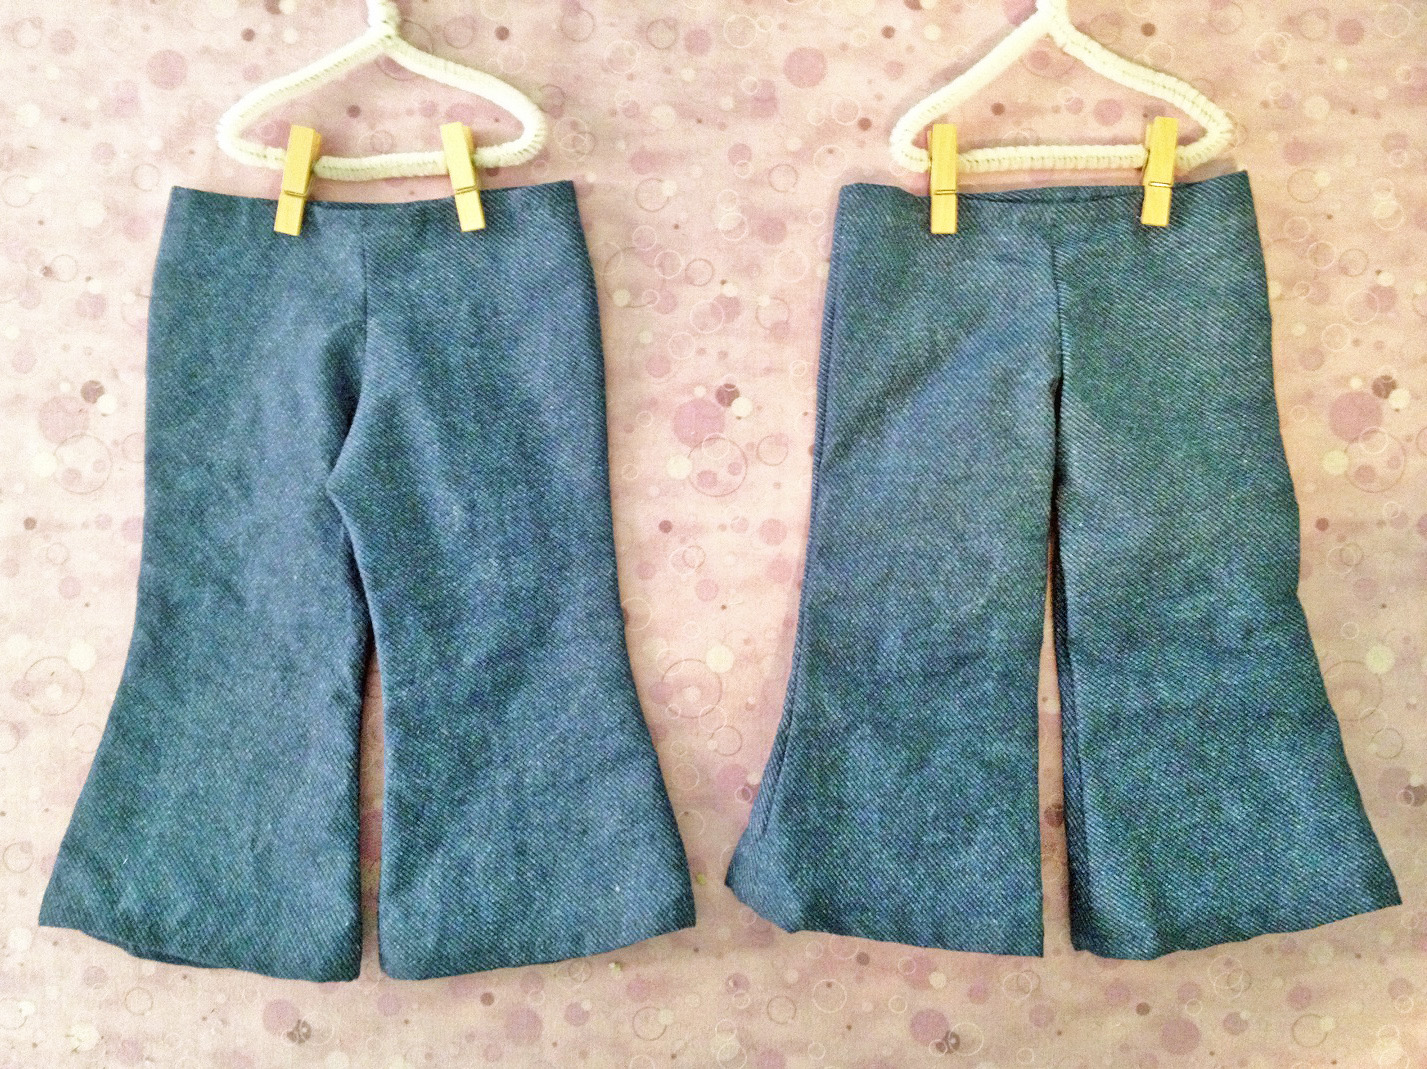
Pressing (left) vs Not Pressing (right)
As important as pressing is, it’s not always necessary to press each seam the moment you’ve finished sewing it. Often, you can wait until you’ve sewn several seams before taking the garment to the ironing board. The key is to press each seam before you sew anything that crosses it. Once you’ve sewn a seam that crosses another, you’ve lost the opportunity to press that first seam properly. To illustrate, you might sew all the panels of a skirt together, but you must stop and press the vertical seams before you hem the skirt or attach the waistband.
Pressing vs. Ironing
Did you know that pressing is not the same as ironing? There’s a distinct difference between the two techniques. Using the wrong one can ruin a garment that you’re making!
- Ironing is when you move the iron flat across the fabric, using a back-and-forth motion.
- Pressing is when you lift the iron and place it down on the fabric, moving it with an up-and-down motion.
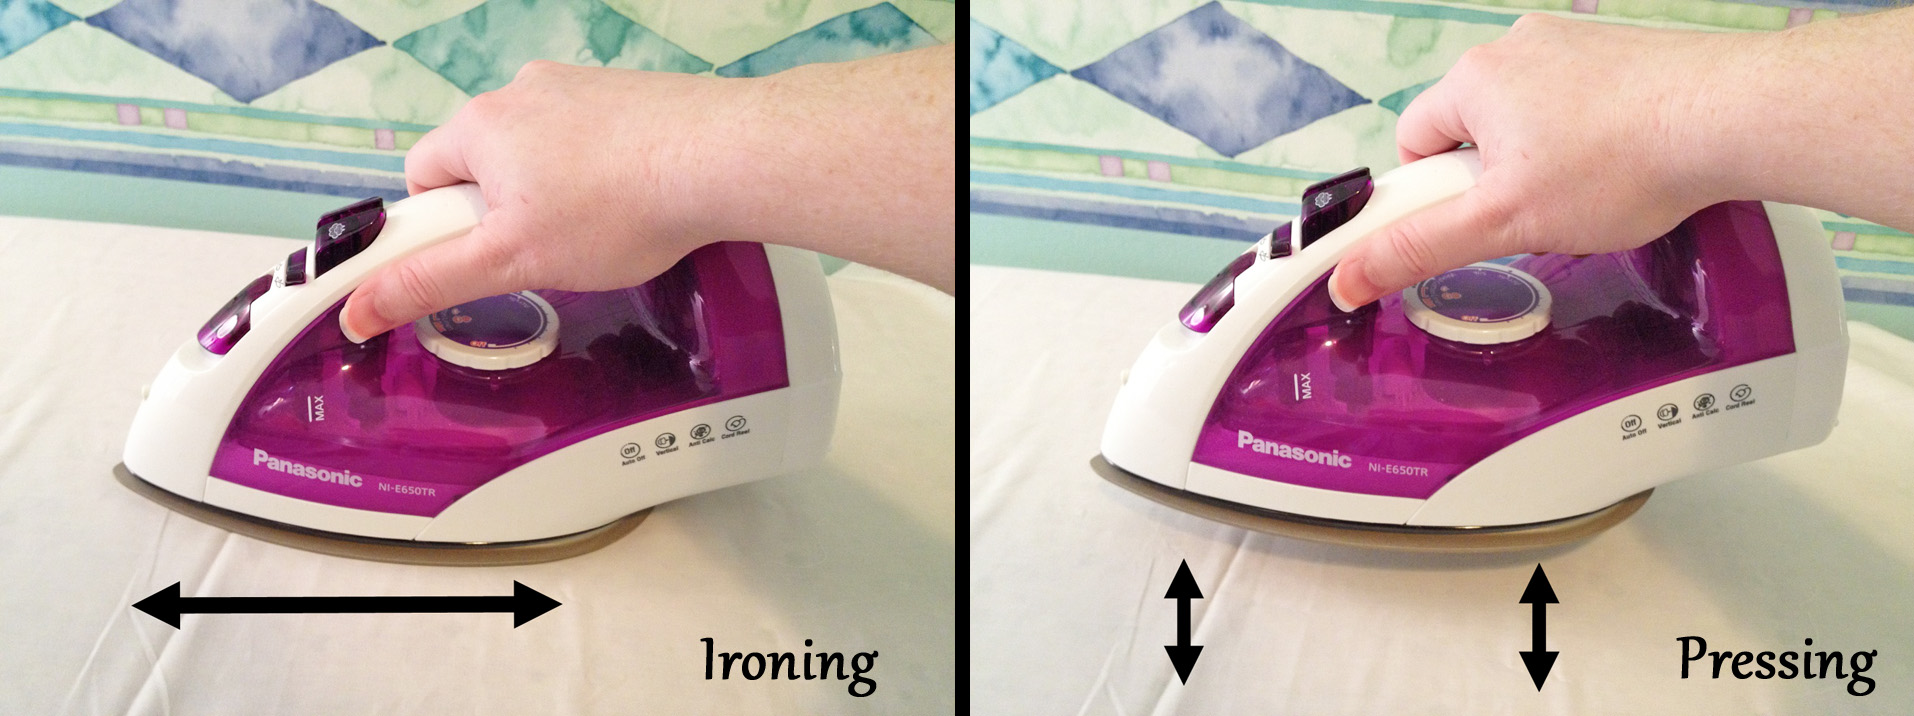
Ironing vs Pressing
Ironing can stretch the fabric, causing distortion, especially in an unfinished garment. Therefore, while a garment is under construction—press, don’t iron! Save the ironing for when your garment is done.
Three Steps of Pressing
There are three basic steps you’ll take when pressing your seams; each serves its own purpose. Some of the terms are similar, which can be confusing, but once you see the process illustrated, you’ll understand.
- Press Flat. The first step melds the stitching to the fabric, so the seam is less obtrusive.
- Press Open. The second step flattens the seam. Make sure to press from both sides of the fabric for a truly flat seam.
- Press to One Side. This step is optional, depending on what you’re doing with the seam. For example, if you’re flat-felling the seam, you’ll definitely need to press it to one side. But if you’re binding the edges separately for a Hong Kong finish, you’ll want to skip this step.
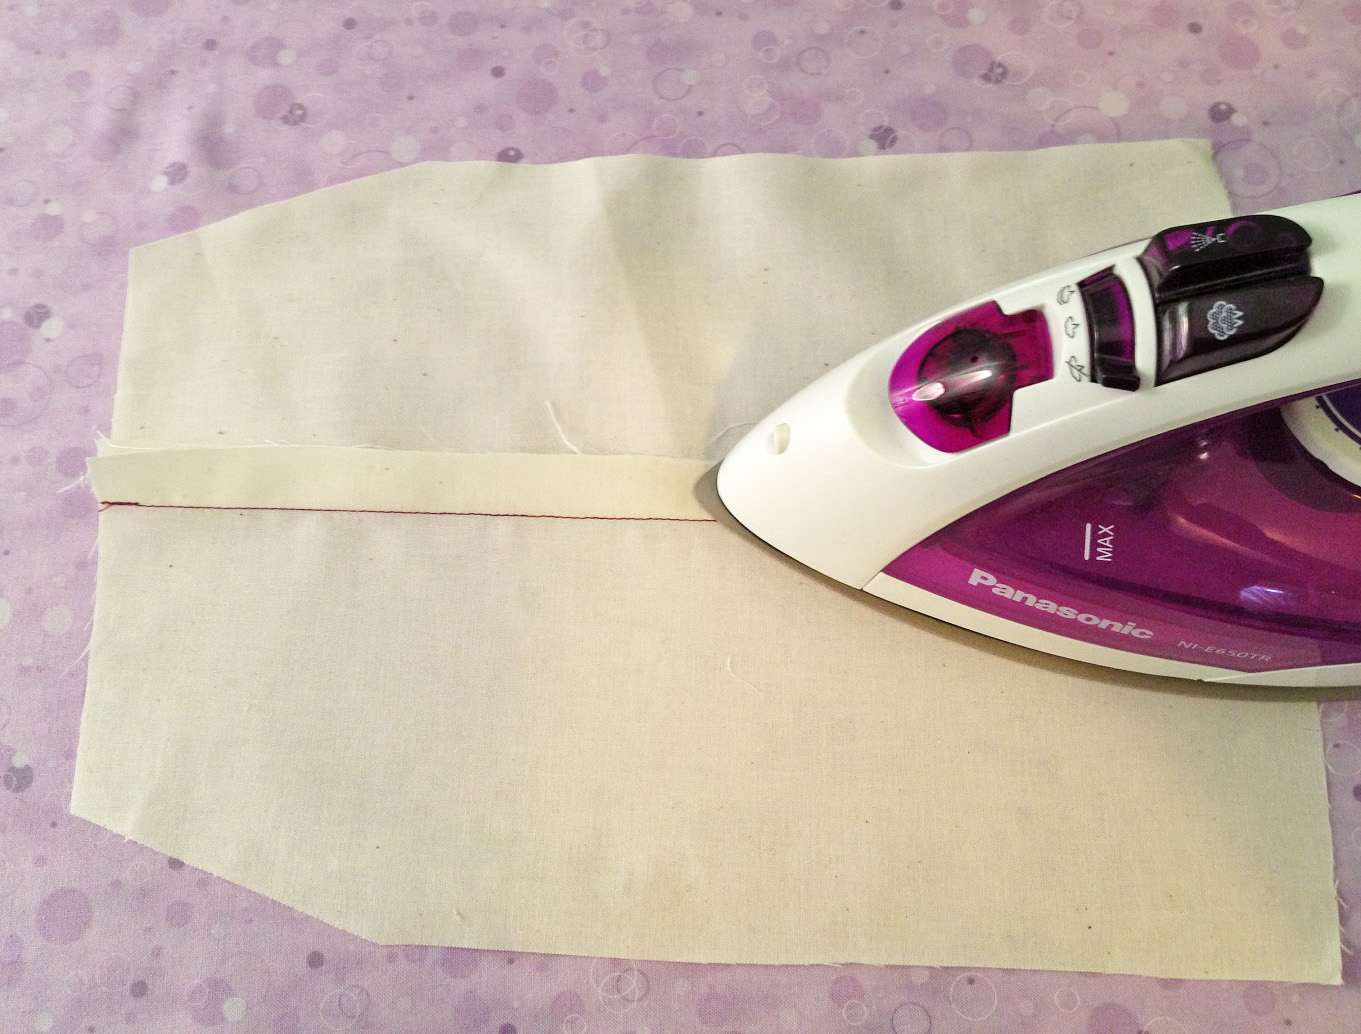
Step #1: Pressing Flat
In order to press the seam flat, you’re going to lay the garment on your ironing board just as you’ve sewn it. Don’t open the garment up—keep it exactly as it was when you finished sewing the seam. Make sure it’s as flat as possible, with no wrinkles. Press the seam across its entire length. If your fabric is medium-weight or heavy, flip the garment over and repeat the process, pressing the other side, too.
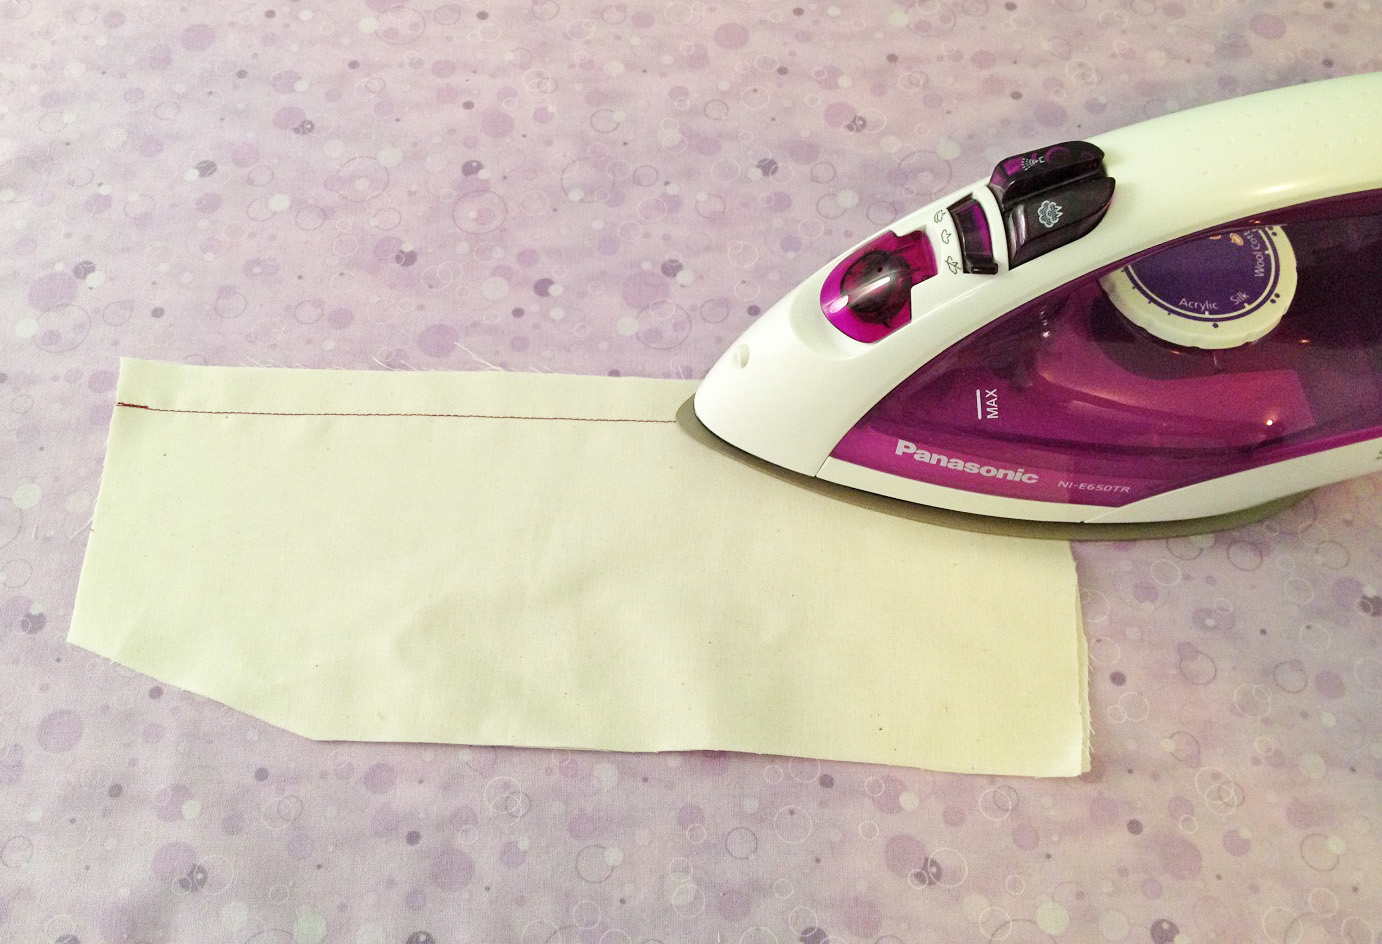
Pressing Flat
Step #2: Pressing Open
Open the garment so you can access the seam. It’s important to do this properly. You cannot simply fold the seam allowance open and press it. Rather, the garment must be opened up flat.
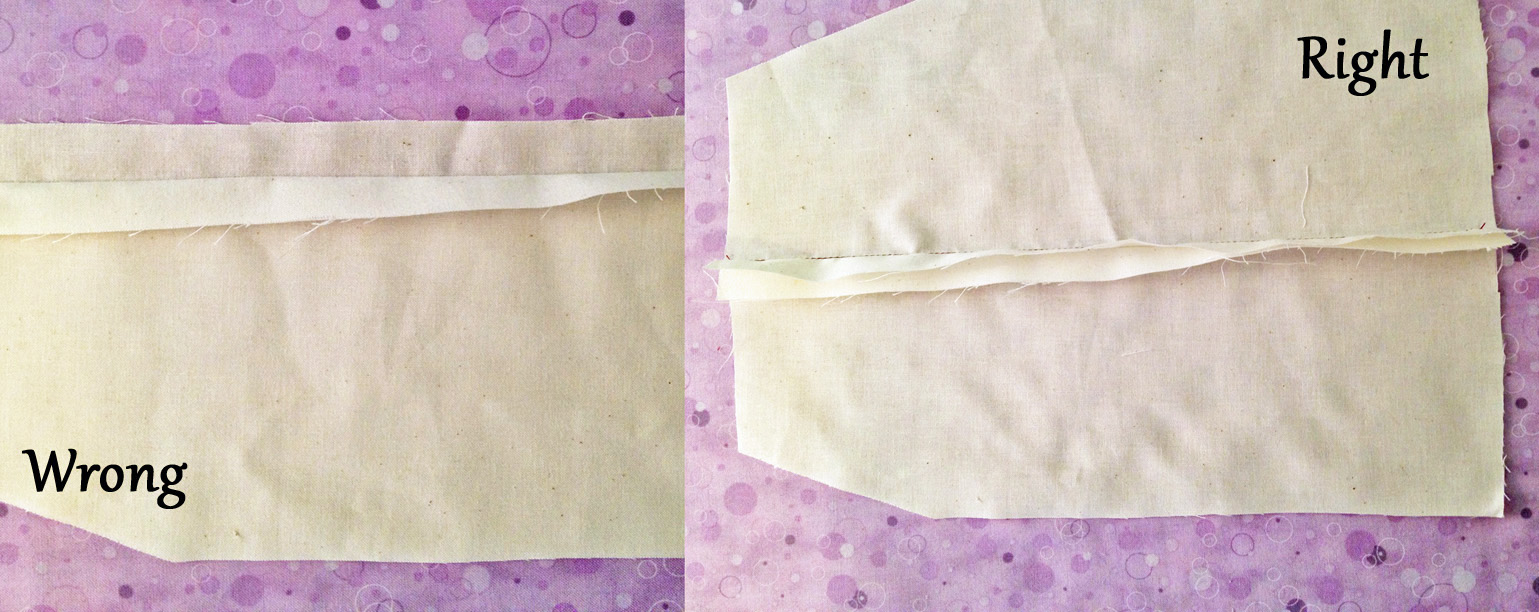
Opening the Garment: Wrong vs Right
Use your thumbnail or a seam creaser to open the seam.
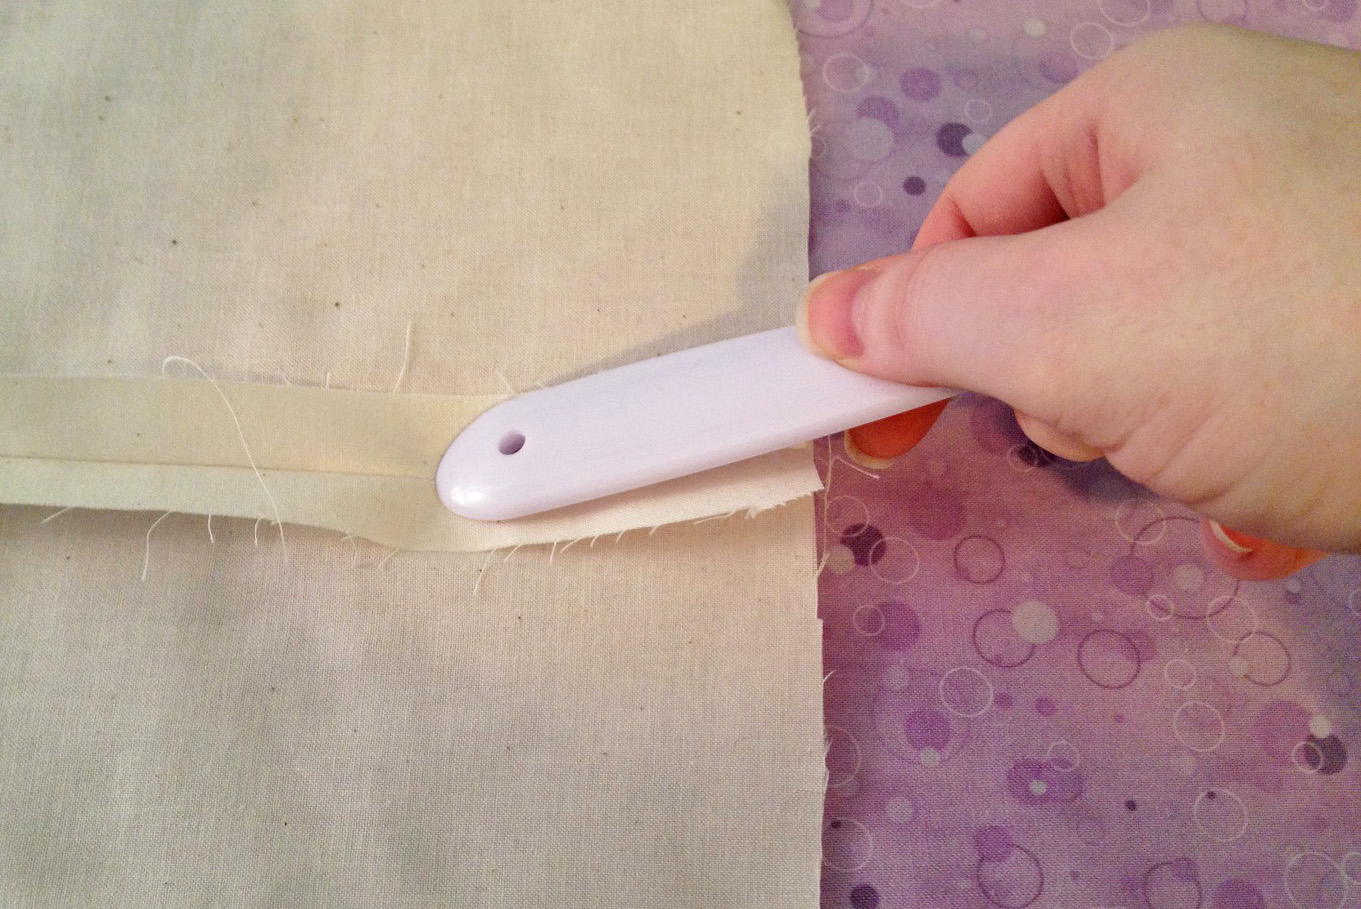
Opening the Seam
Press the seam open. Flip the garment over and press the seam again from the right side of the fabric. If you’re working with a heat-sensitive material, such as synthetic fabric, use a low temperature and a pressing cloth.
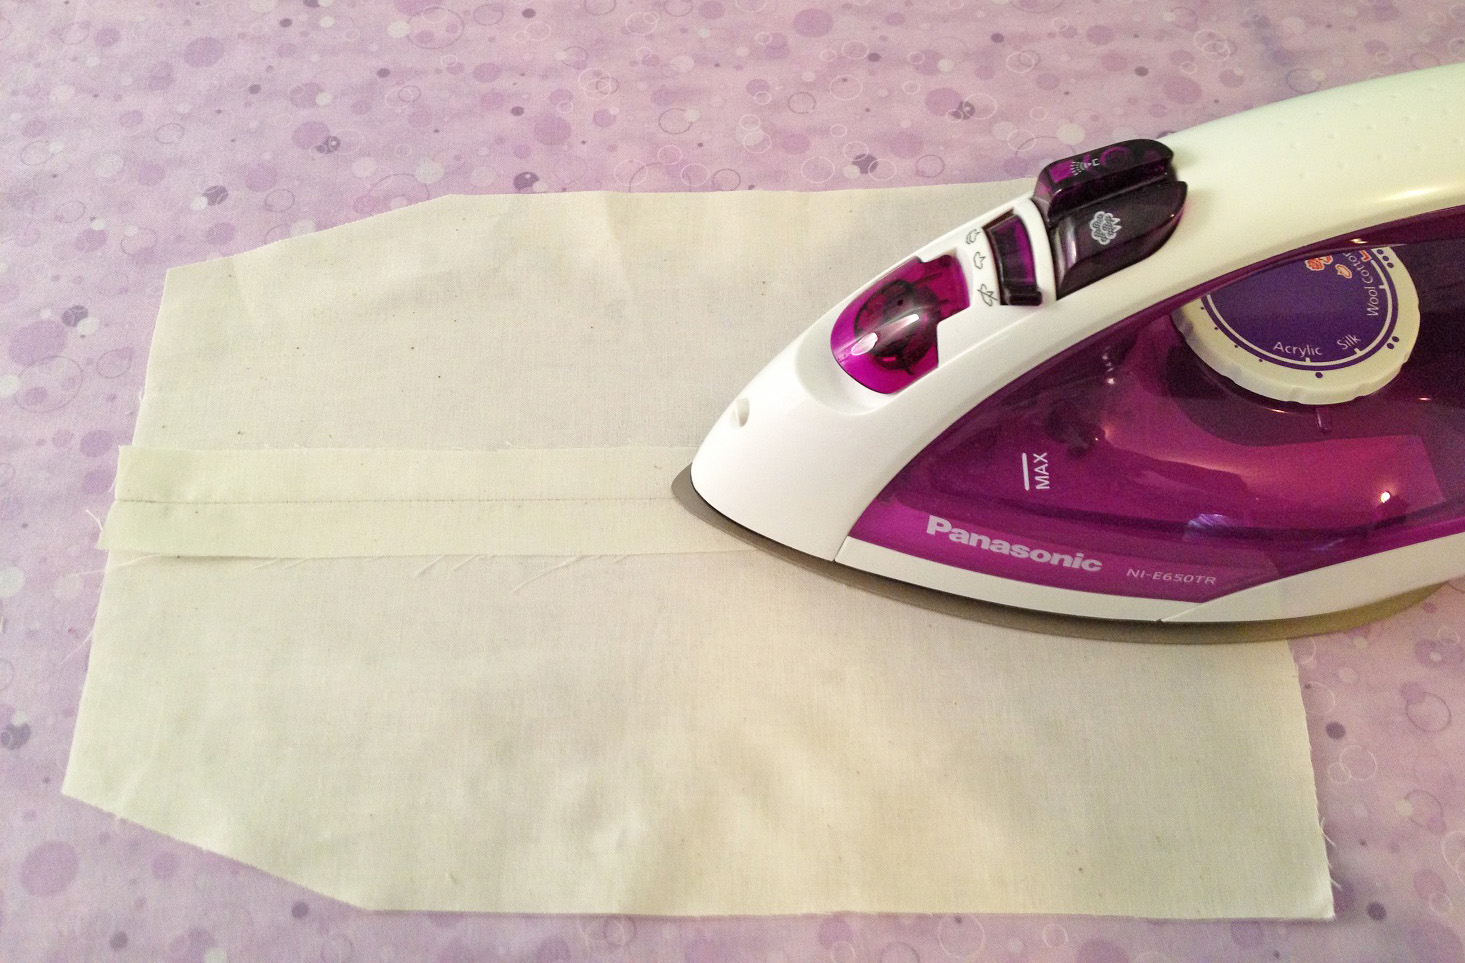
Pressing the Seam Open
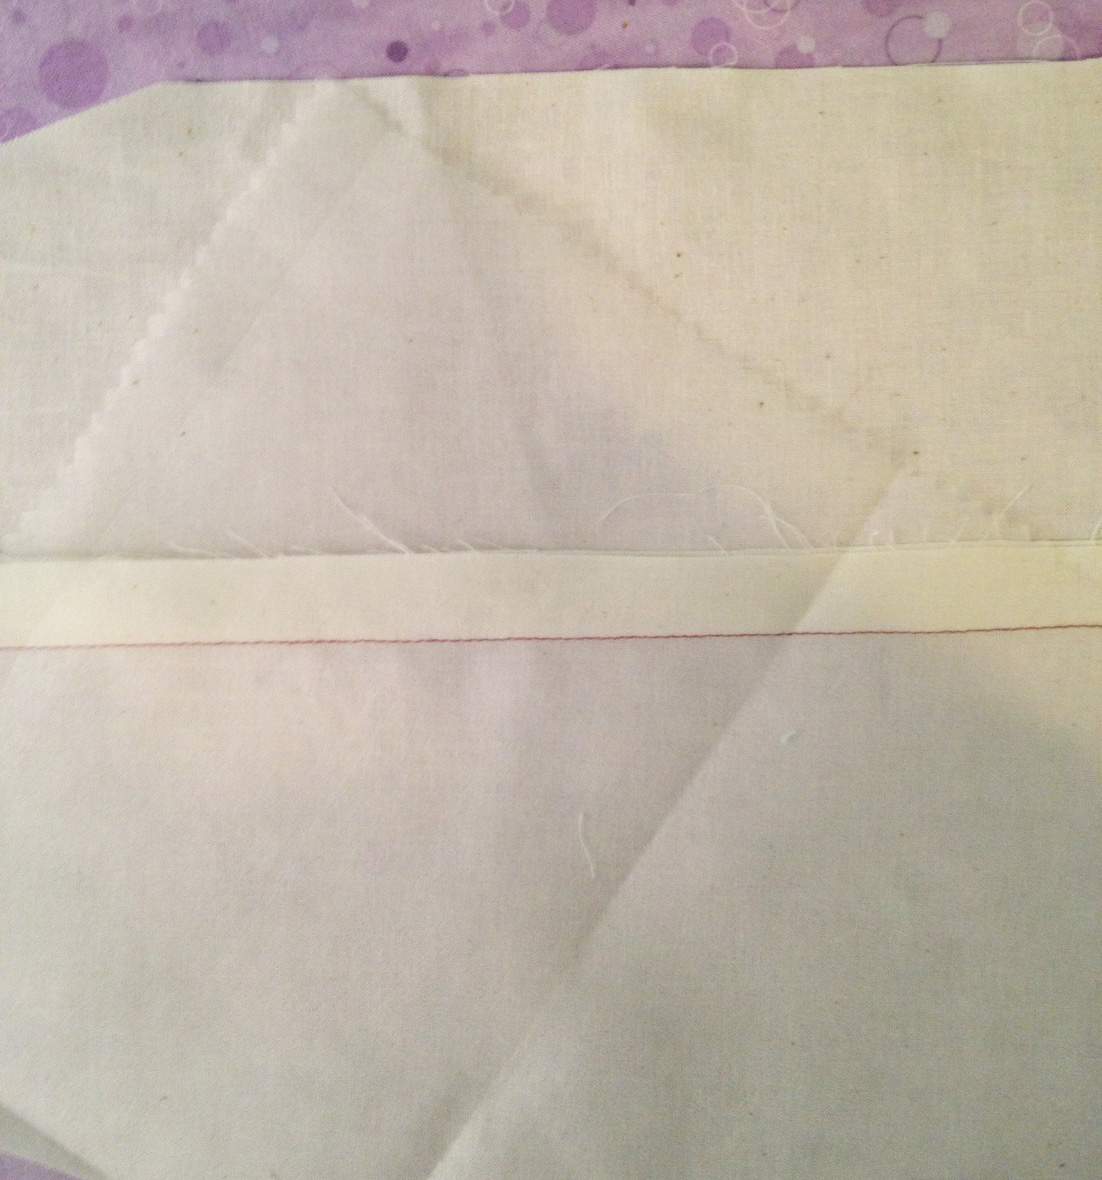
Just to emphasize the importance of pressing from both sides of the seam, take a look at this sateen doll skirt. The image on the left shows the seam from the outside of the garment, after it had been pressed flat, then open. However, I had only pressed the inside of the garment. The image on the right shows the seam after I pressed it from the outside of the garment. Notice how the seam flattens and becomes less noticeable?
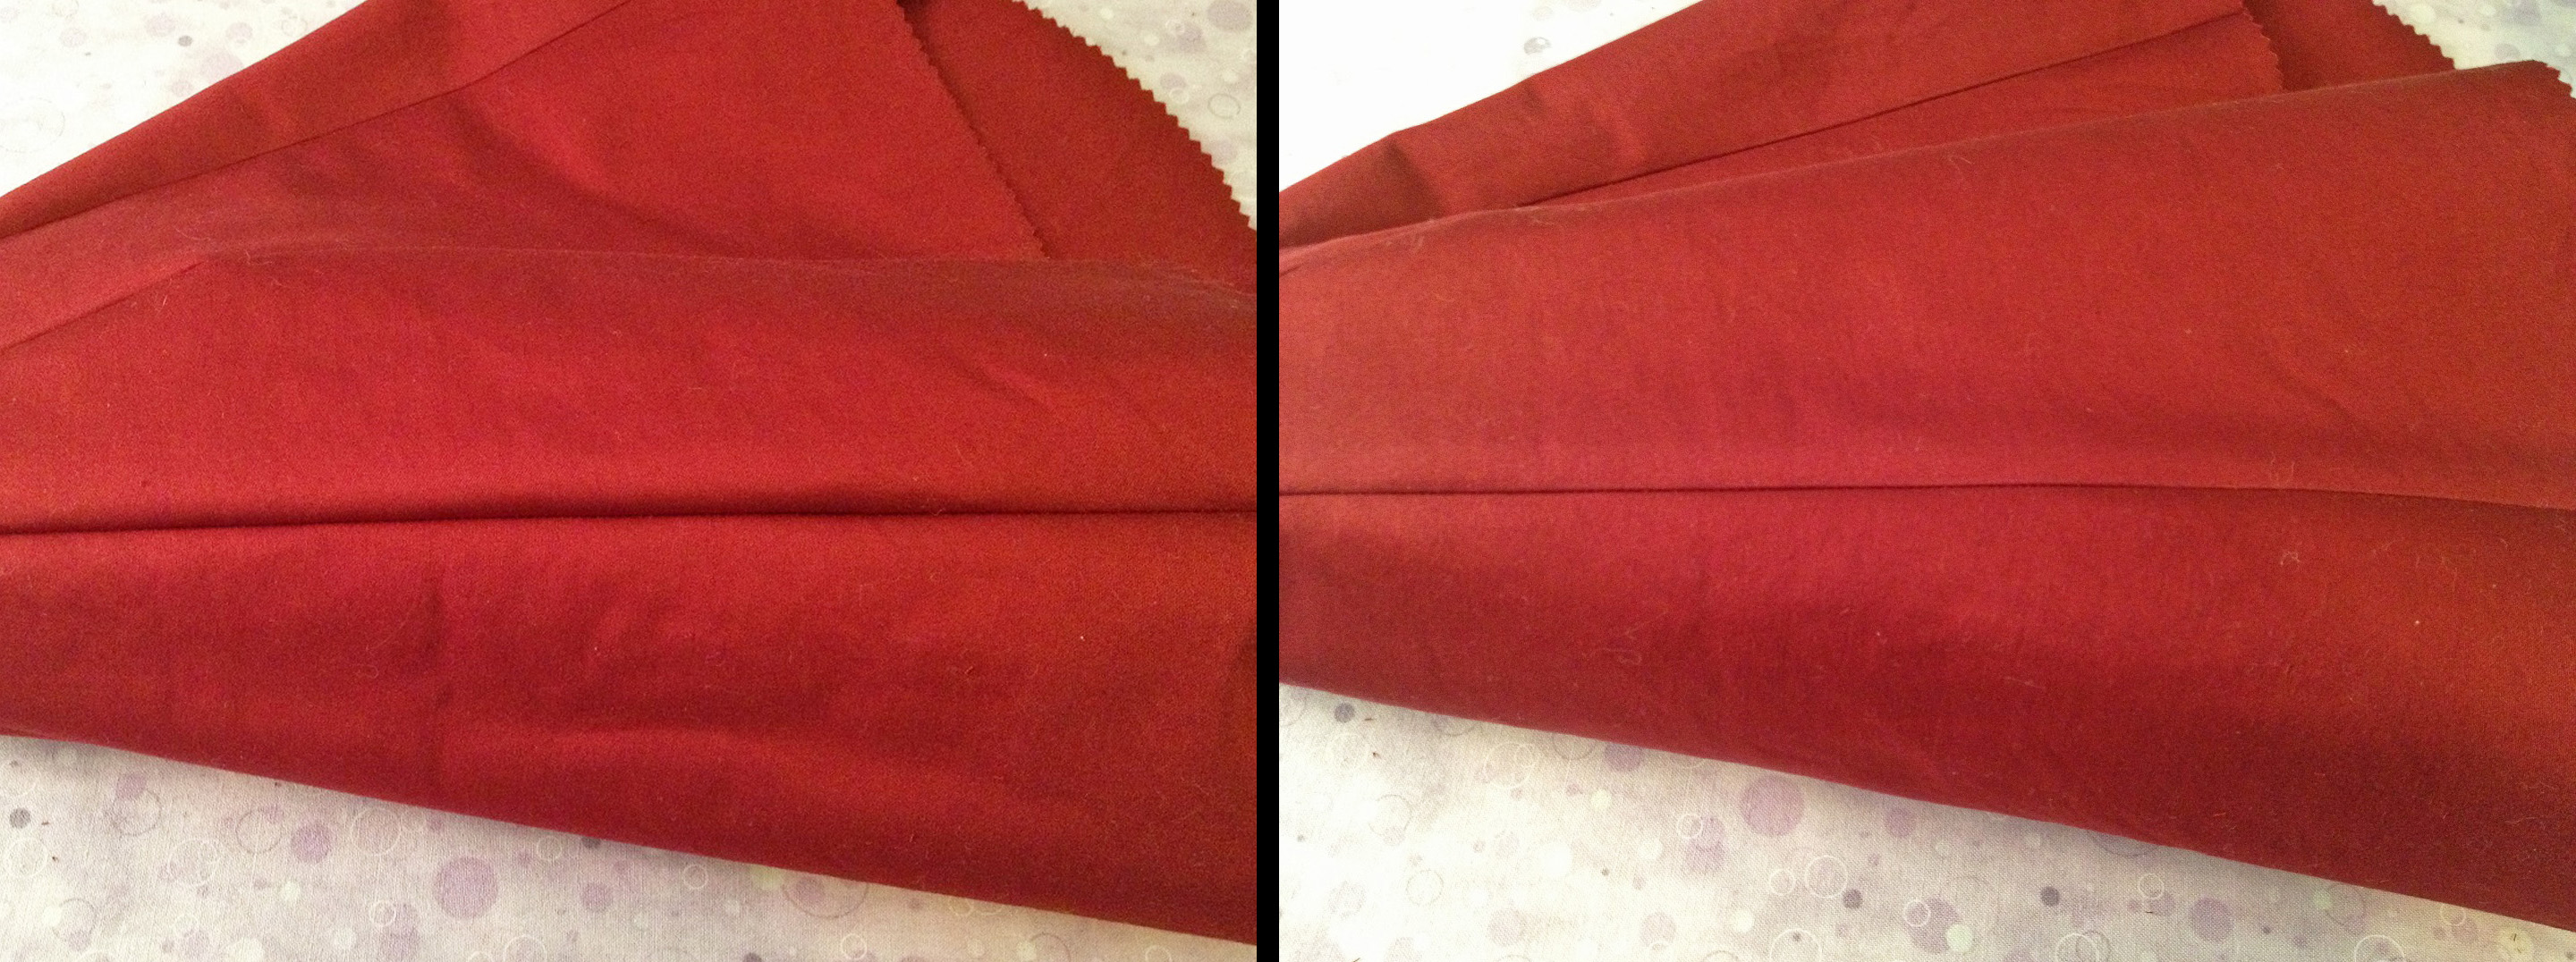
Pressed From the Inside Only (left) vs Pressed From the Outside (right)
Step #3: Pressing to One Side
If your seam finish requires you to press the seam to one side, do so by folding one side of the seam allowance over the other. Press along the seam, tugging the seam allowance flat as you go. Flip the garment over and press the seam again from the right side of the fabric.
Pressing To One Side
It’s important for the fabric to be completely flat beneath the iron. Otherwise, it’s all too easy to accidentally press a crease beneath the seam allowance. To make sure everything is flat, press the iron down on top of the seam allowance, then gently tug on the side of the garment that’s facing away from you, pulling it taut. This should even out any wrinkles.
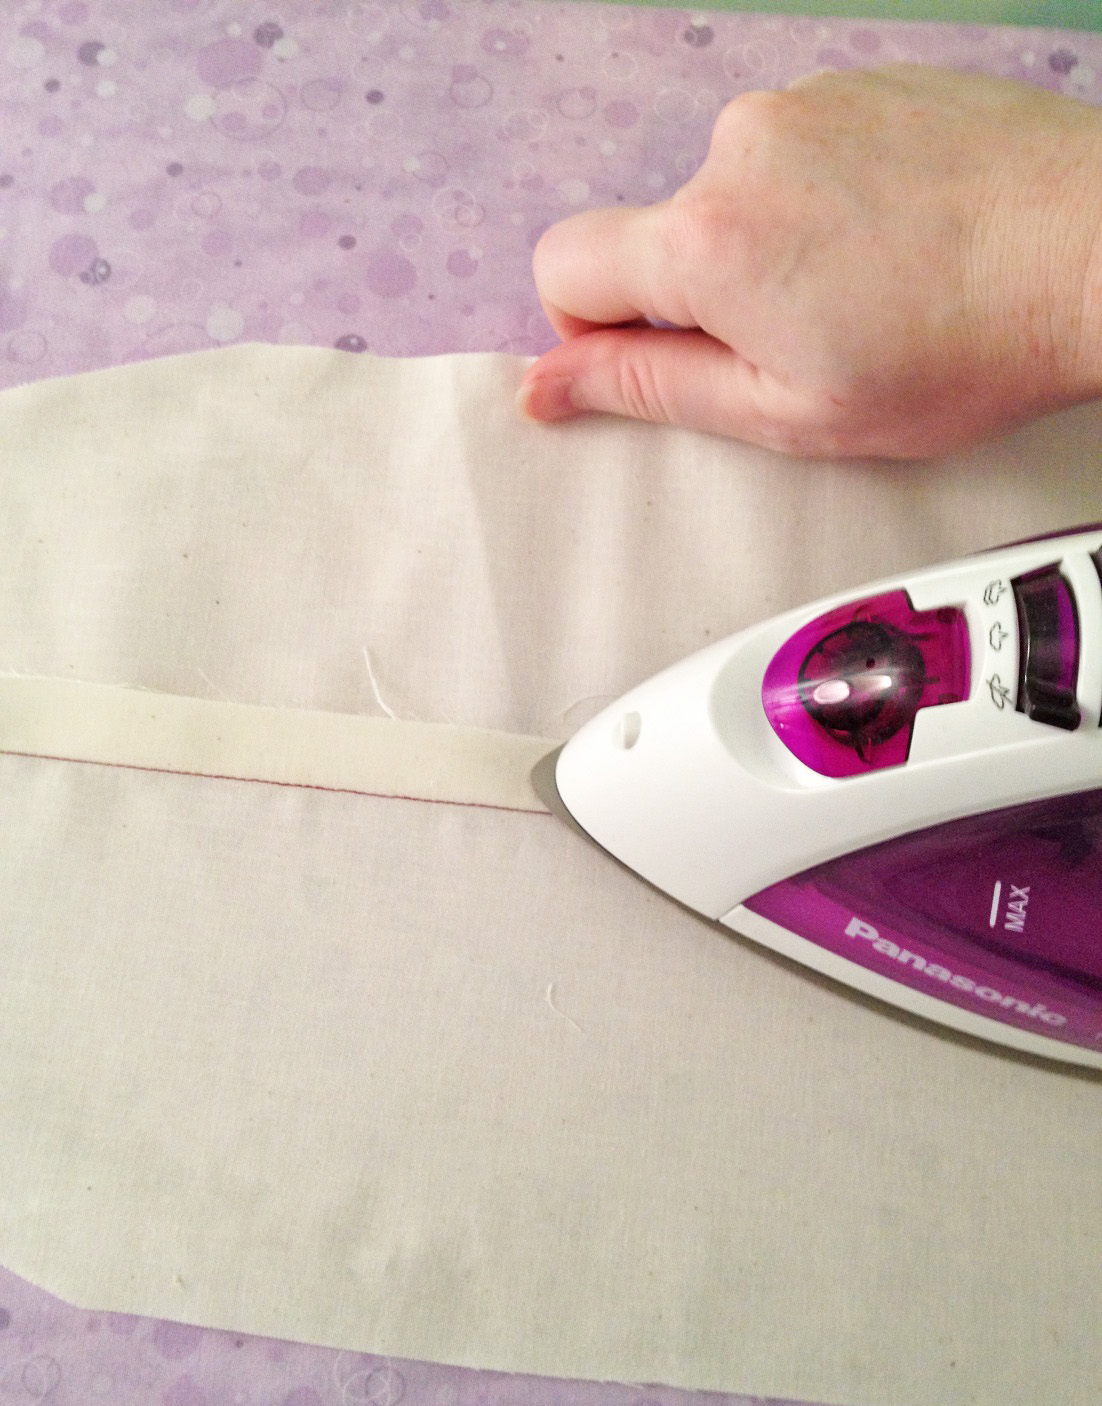
Pulling Taut
Tools for Pressing
There are a few essential tools for pressing. There are also those that simply make your job easier. Figure out which tools you’ll need for the kind of work you do and invest in them at your earliest opportunity.
- Ironing Board
Your ironing board needs to be about waist-high and large enough to support your garment while you press it. They make traveling ironing boards that can be used if you are short on space, but a full-sized board is easier to work with. Use a thick ironing pad underneath the cover, and if your cover becomes stained or ripped, replace it.
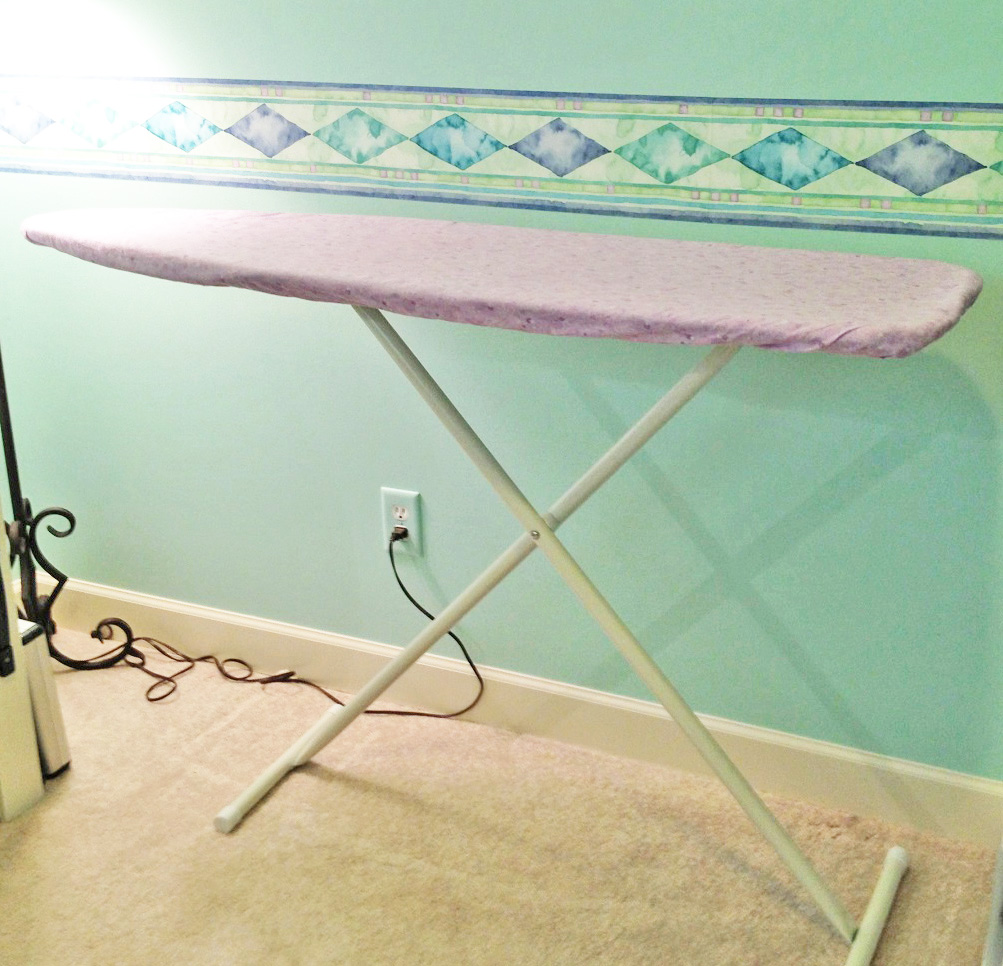
Ironing Board
- Iron
This needn’t be expensive or fancy. You must be able to adjust the temperature, so you can work with different fabrics. Additionally, you’ll probably want an iron that can produce steam. An auto-off feature is handy if you tend to forget to turn your iron off, as I frequently do. (Let’s not talk about the time I took a two-week vacation to the UK and returned to find my iron still on. . . .)
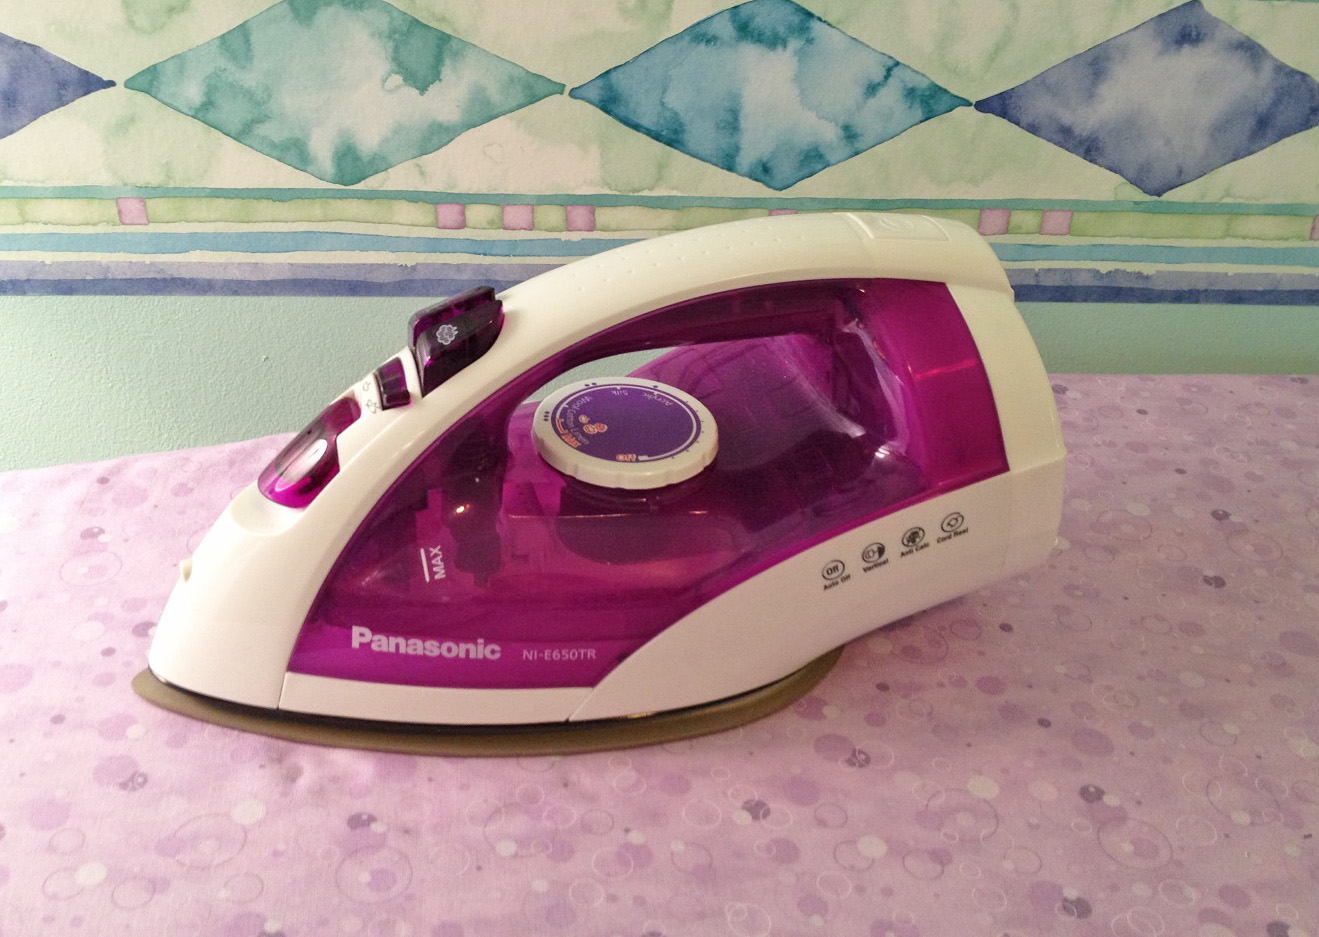
Iron
- Spray Bottle
Most irons have a reservoir that you can fill with water and a button to press to spray your fabric, but I prefer to use a separate spray bottle. It can be large or small, as you prefer. I set mine to produce a fine mist, rather than a stream of water.
- Pressing Cloth
This is vital, especially when pressing synthetic fabrics and wool. Without a pressing cloth, certain fabrics will turn shiny, as the fibers on the surface get heat-damaged. The cloth serves to dissipate the heat. You can make your own by cutting a large square of silk organza, or sheer cotton voile or batiste.
Using a Pressing Cloth
- Pressing Ham
If you want to press a curve into your garment, such as with a dart, neckline, or sleeve cap, you’ll need a pressing ham. It’s a firmly stuffed cushion that looks rather like a ham, with wool flannel on one side and cotton twill on the other. Use the wool side for pressing wool and other low-temperature fabrics; use the cotton side for pressing cottons and other high-temperature fabrics.
- Pressing Ham Holder
It can be tricky to position the pressing ham at the angle you need, while holding both your garment and the iron. You need an extra hand! That’s where a holder comes in. You can buy a wooden device that’s designed to hold the pressing ham at whatever angle you require. It’s expensive, though. An affordable alternative is a plastic football kicking tee. It’s the right size and shape and will do the same job, for just a few dollars. Just be careful not to touch the stand with your iron, as the plastic will melt.
- Sleeve Roll
This is similar to a pressing ham, but is shaped like a long, narrow roll. It allows you to press the seam on a narrow garment without creasing a fold into the edges of the fabric. Use it for sleeves, trouser legs, or even doll skirts.
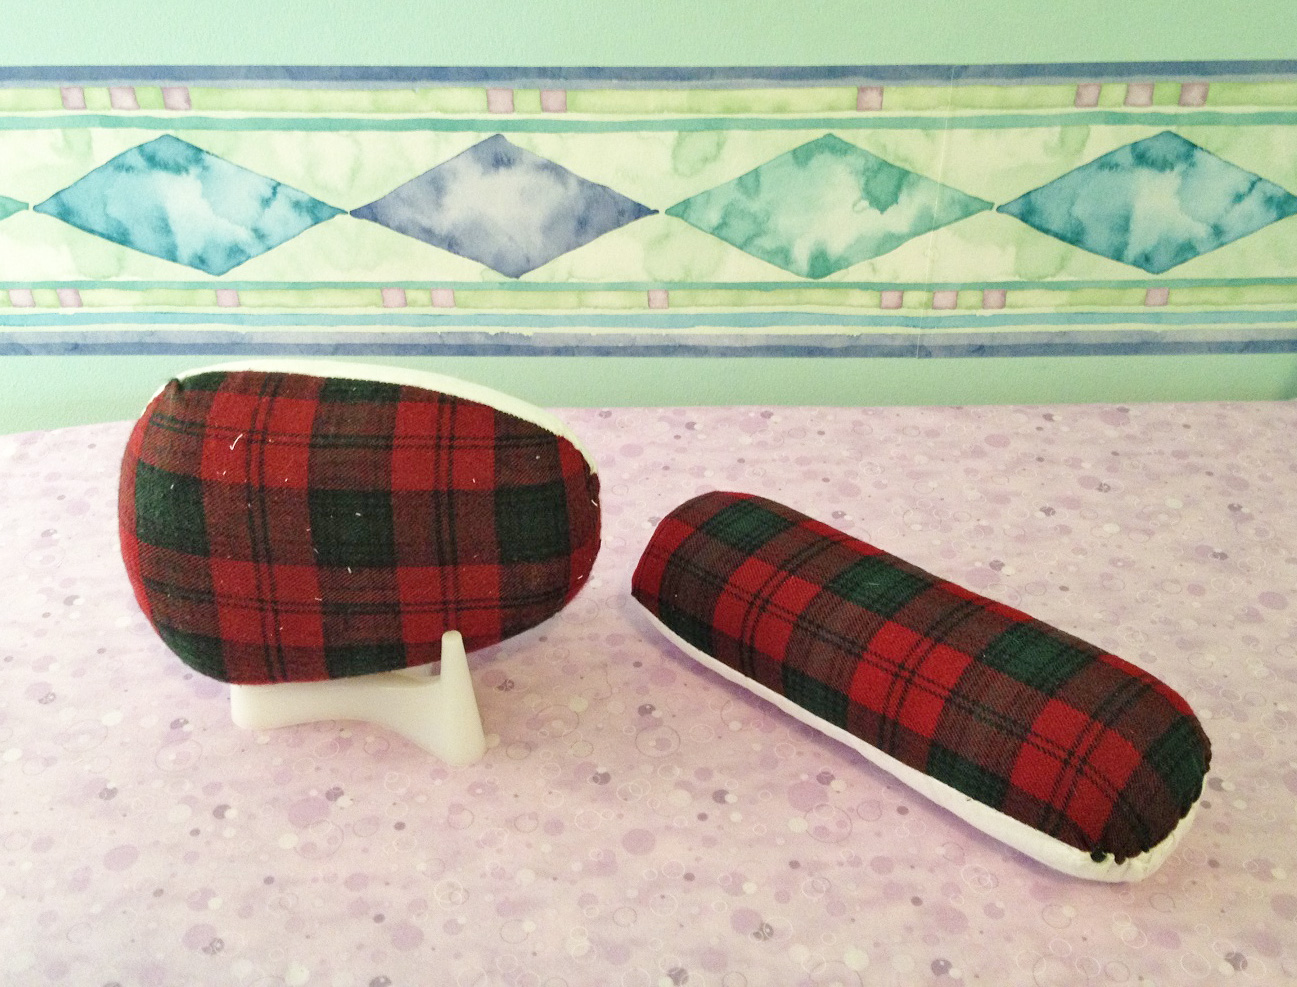
Seam Roll, Pressing Ham, & Holder
- Sleeve Board
This looks like a miniature ironing board. Like a sleeve roll, it’s designed to support narrow areas, such as sleeves or trouser legs. I often use mine when sewing doll clothes.
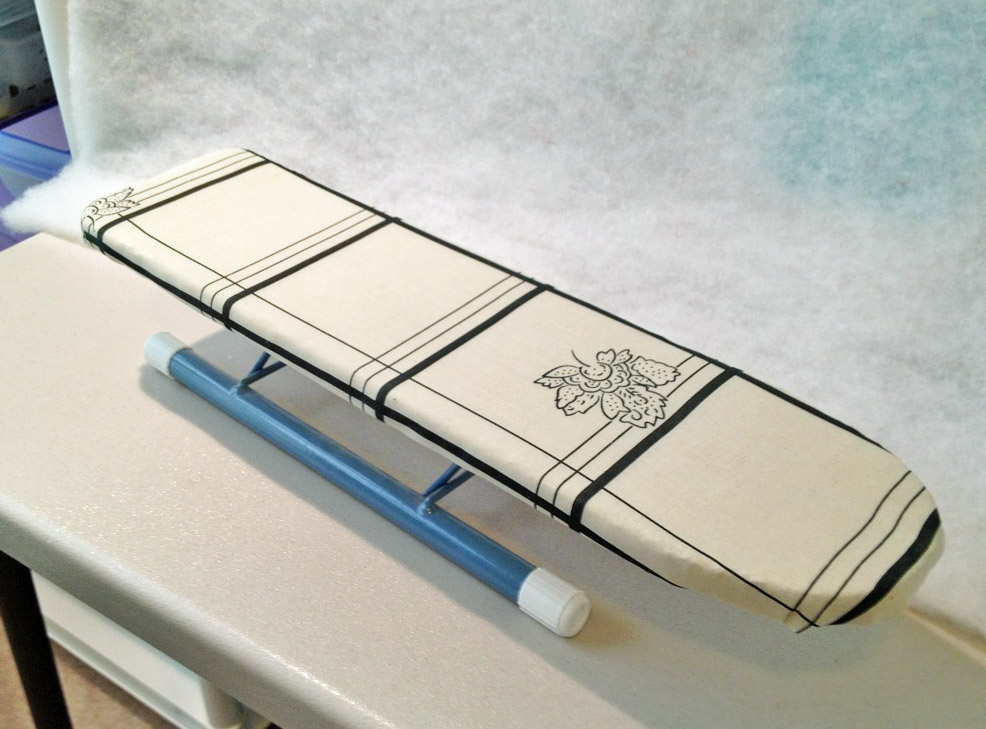
Sleeve Board
- Clapper/Point Presser
While not strictly necessary, this tool will save you some aggravation. The flat bottom is known as a clapper. It’s heavy and will help flatten thick seams if you steam them, then pound on them. Use it on heavy fabrics, like denim or flannel. The upper section is known as a point presser and is designed to help you press the seams on a pointed collar.
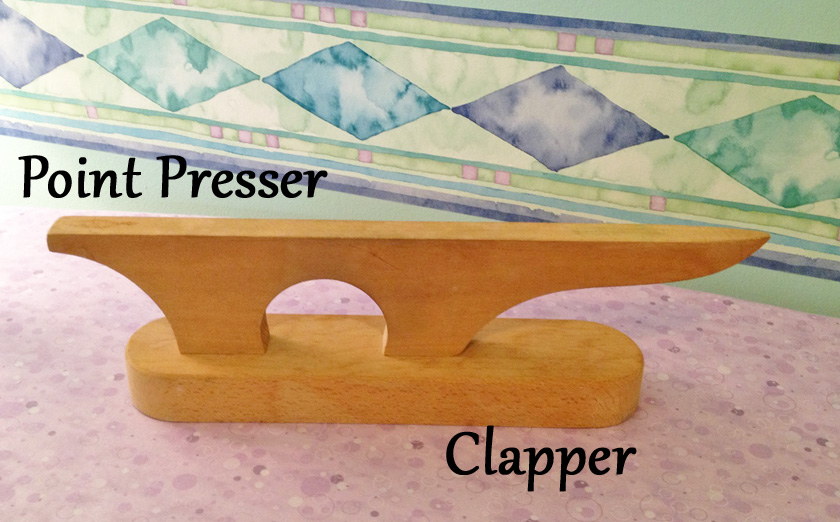
Clapper & Point Presser
- Seam Creaser
Usually combined with a point turner, this plastic or wooden device will help you open a seam allowance. Scrape the rounded end against the seam to flatten it. (If you don’t have one of these, you can use your thumbnail to do the same job, but only if your nail is long enough. It’s more difficult to crease a seam open with short fingernails.)
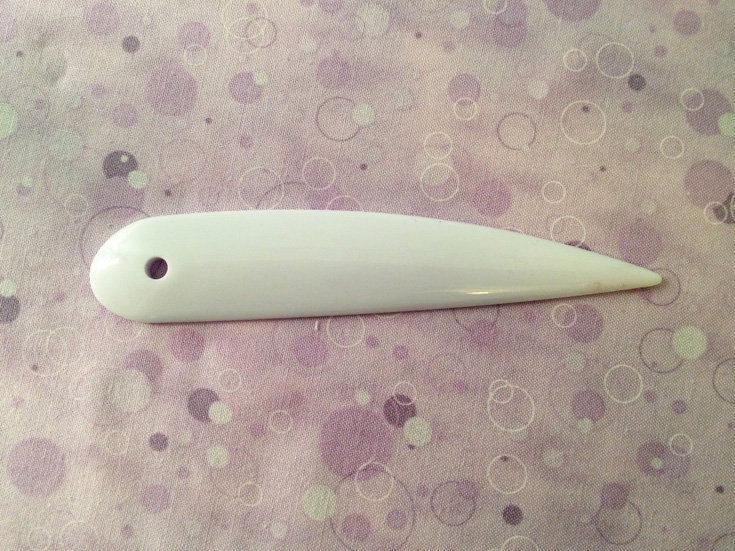
Seam Creaser
- Dauber
This is a tool commonly used by tailors. It’s simply a short length of wool or flannel that’s been tightly rolled and tied. Dip the end into a bowl of water, then dab it directly on your seam allowance before pressing. It dampens the seam for you, without getting water elsewhere on your garment.
- Water Pen
This tool is not a necessity, but it does serve a useful purpose. If you’ve marked notches or dots with an air- or water-soluble fabric pen, it’s important to remove the marks before pressing. Otherwise, the heat of the iron might cause the marks to permanently set. The water pen can erase these marks. Fill the reservoir with water, then click the button on the side to dampen the pen’s tip. Gently scrub the marks with the pen until they vanish.
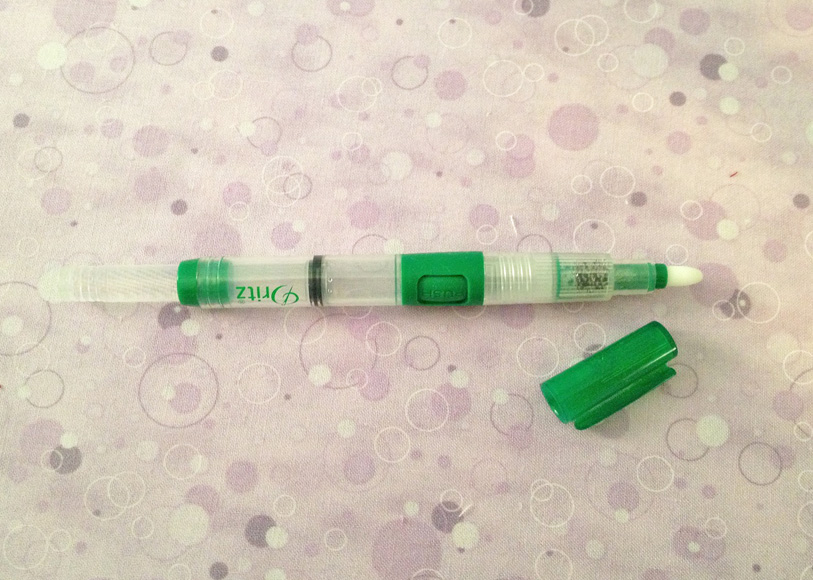
Water Pen
Tips For Pressing
- To prevent damage to your fabric, use the lowest heat setting that you can get away with. For synthetics, like nylon and polyester, use the absolute lowest setting. Otherwise, your fabric may melt. For silk, use either low or medium. Cotton and linen can handle a lot more heat, but I still prefer to use a medium setting, unless I have a very stubborn fabric. Start with the lowest setting and gradually increase the temperature as needed. (Be watchful for blended fabrics! One of my students accidentally melted part of a tote bag she was making when she pressed the seams, thinking it was all cotton. Turns out, it was a cotton/poly blend, so the fabric melted under the high-temperature iron. Oops!)
- If your fabric is dense, press the seam allowance with steam or dampen it with a spray bottle or dauber before pressing. For best results, make sure to press both sides of the seam.
- If you have difficulty opening a seam allowance, scrape the seam with your thumbnail (which is called finger-pressing) or use a seam creaser to flatten the seam before pressing.
- It’s important for the fabric beneath the iron to lie flat, so you don’t accidentally press creases into it. Position the garment, then smooth it with your fingers to ensure a perfectly flat pressing area.
- Always use the right tools for the job. A point presser is excellent for collars, while a pressing ham makes pressing sleeve heads and darts much easier. If you try and manage without the proper tools, you’ll get frustrated.
- If you accidentally burn your garment, don’t panic. If the fabric is linen, try throwing it in the washing machine. The scorch marks will often disappear! If not, perhaps you can add some trim or embellishment to hide the damage.
Pressing as you sew is absolutely vital, but it doesn’t have to be a chore if you know what you’re doing. Take the time to learn how to work with different fabrics. Invest in the proper tools. With a little effort, you’ll have garments that look professionally made!
~~*~~
Looking for more sewing advice? Try our Basics menu for a list of beginner-friendly articles. You might also enjoy our Articles and Tutorials.
3 Responses to Basics: Pressing As You Sew