
Over the years, some very talented students have visited my sewing room. Recently, it occurred to me that others might enjoy seeing what my students have made! Here’s a sampling.
Special thanks to those students who gave permission for their projects to be featured here!
(Click any illustration to view the full-sized image.)
- Flannel Robe—Claudia T.
One of the projects Claudia made in class was a short flannel robe. The great thing about robes is they’re meant to be loose, which means you don’t have to fuss with fitting! She chose a gray printed flannel with a tattoo-like design of black, white, and red. For contrast, she made the pockets and belt out of solid black flannel.
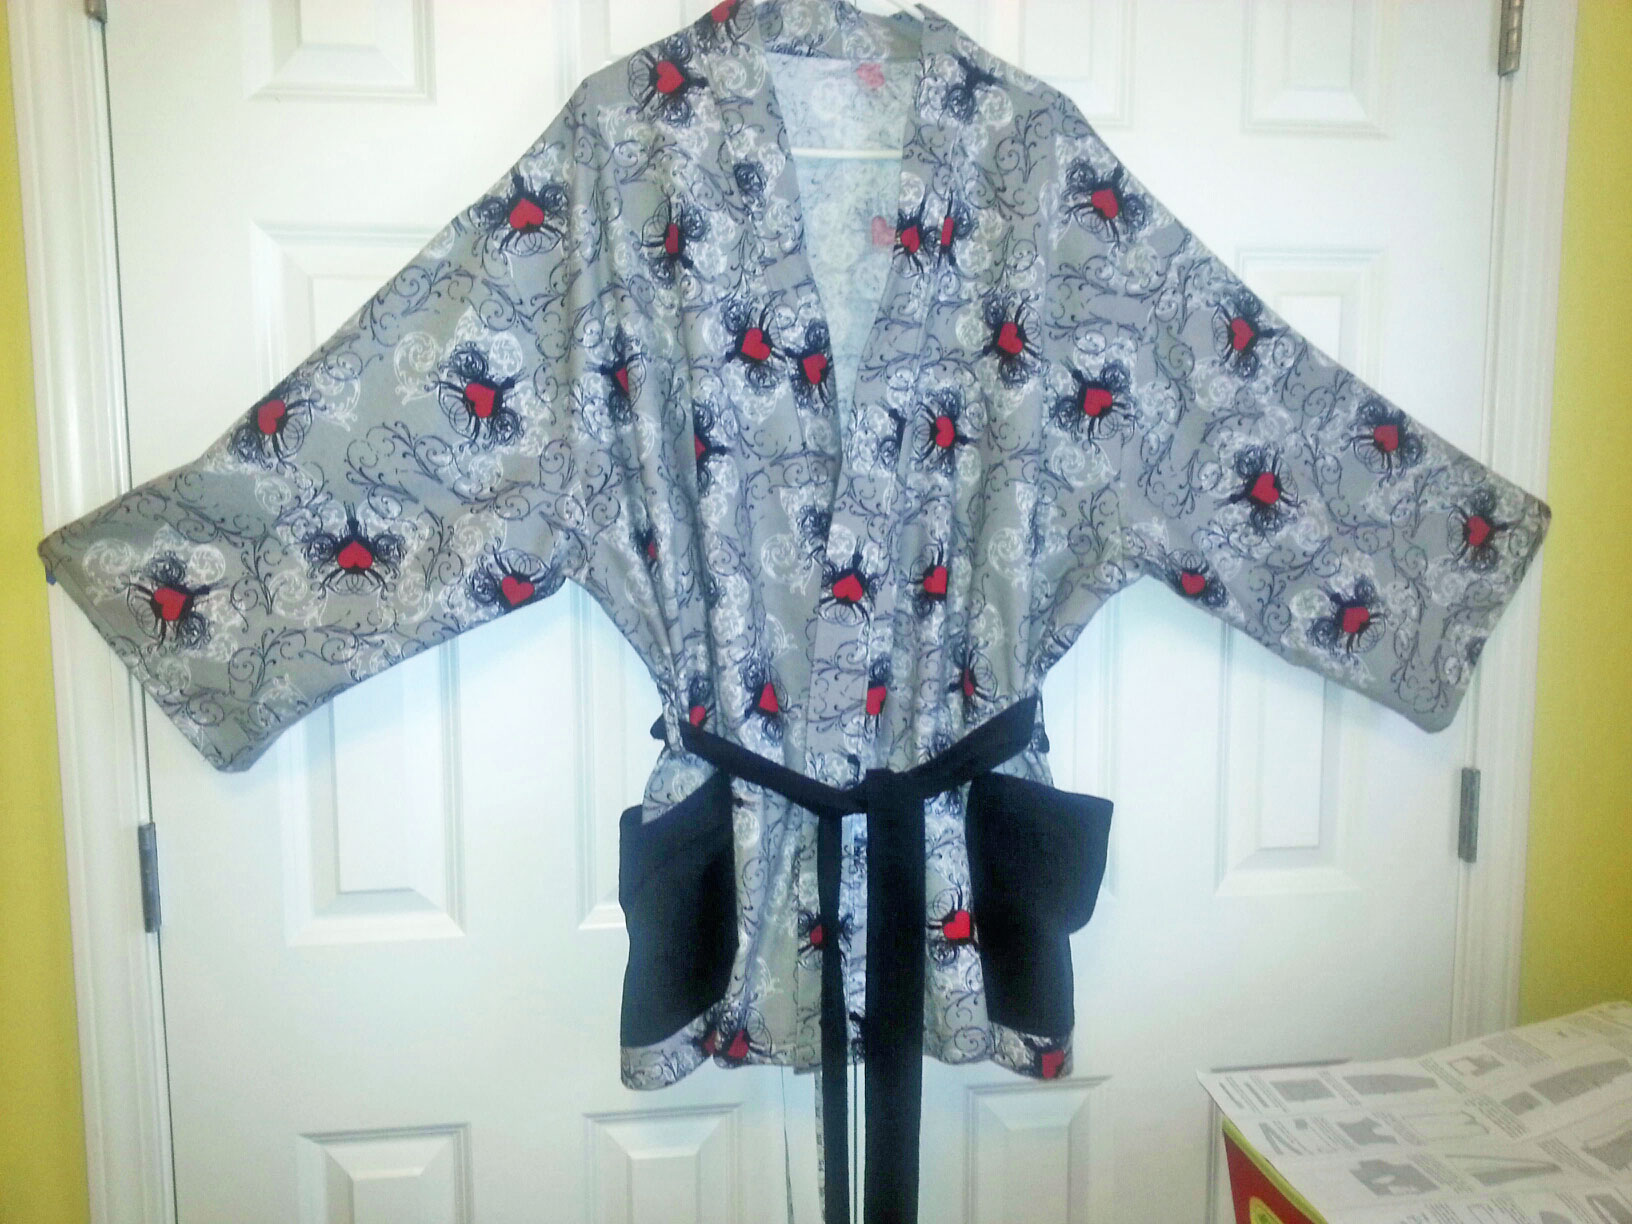
Flannel Robe by Claudia T.
- Gathered Clutch—Claudia T.
Claudia also made a zippered pouch (Noodlehead’s Gathered Clutch) in class, as a gift for her sister. This is an easy and fun pattern, great for testing your skills at fabric coordination! For the gathered outer shell, she chose a marroon cotton with a flamboyant coral and olive green floral print. The contrast band is a mottled green quilting cotton, the edges of which she embellished by stitching with a dark red decorative stitch (a leaf-and-vine motif).
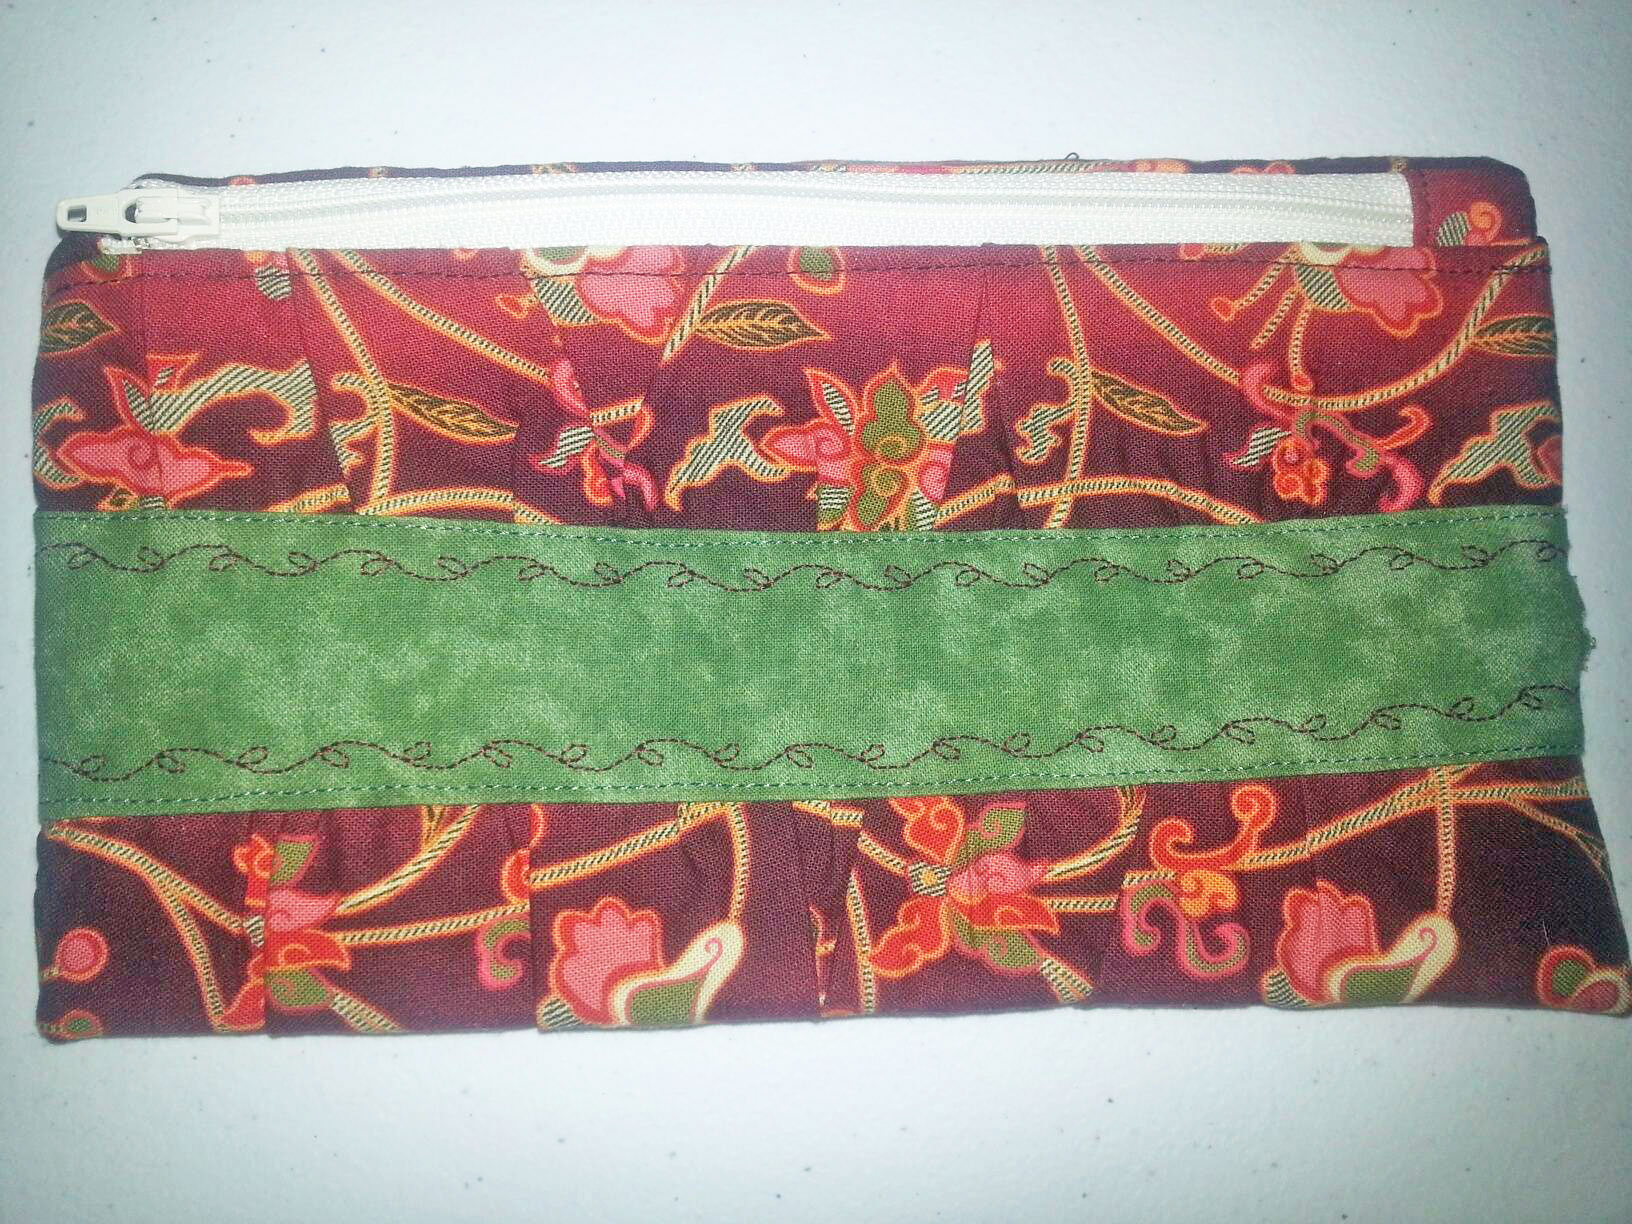
Gathered Clutch by Claudia T.
- Feathered Purse—Claudia T.
The whole time she was taking classes, Claudia swore that, one day, she was going to make an extravagant feathered purse! She ended up having to move out of town before we were able to work on it, but she completed the project on her own and sent me photos! It’s pewter and red, with black and white feathers floating down the outside. It’s lined with a coordinating black, white, and red paisley satin.
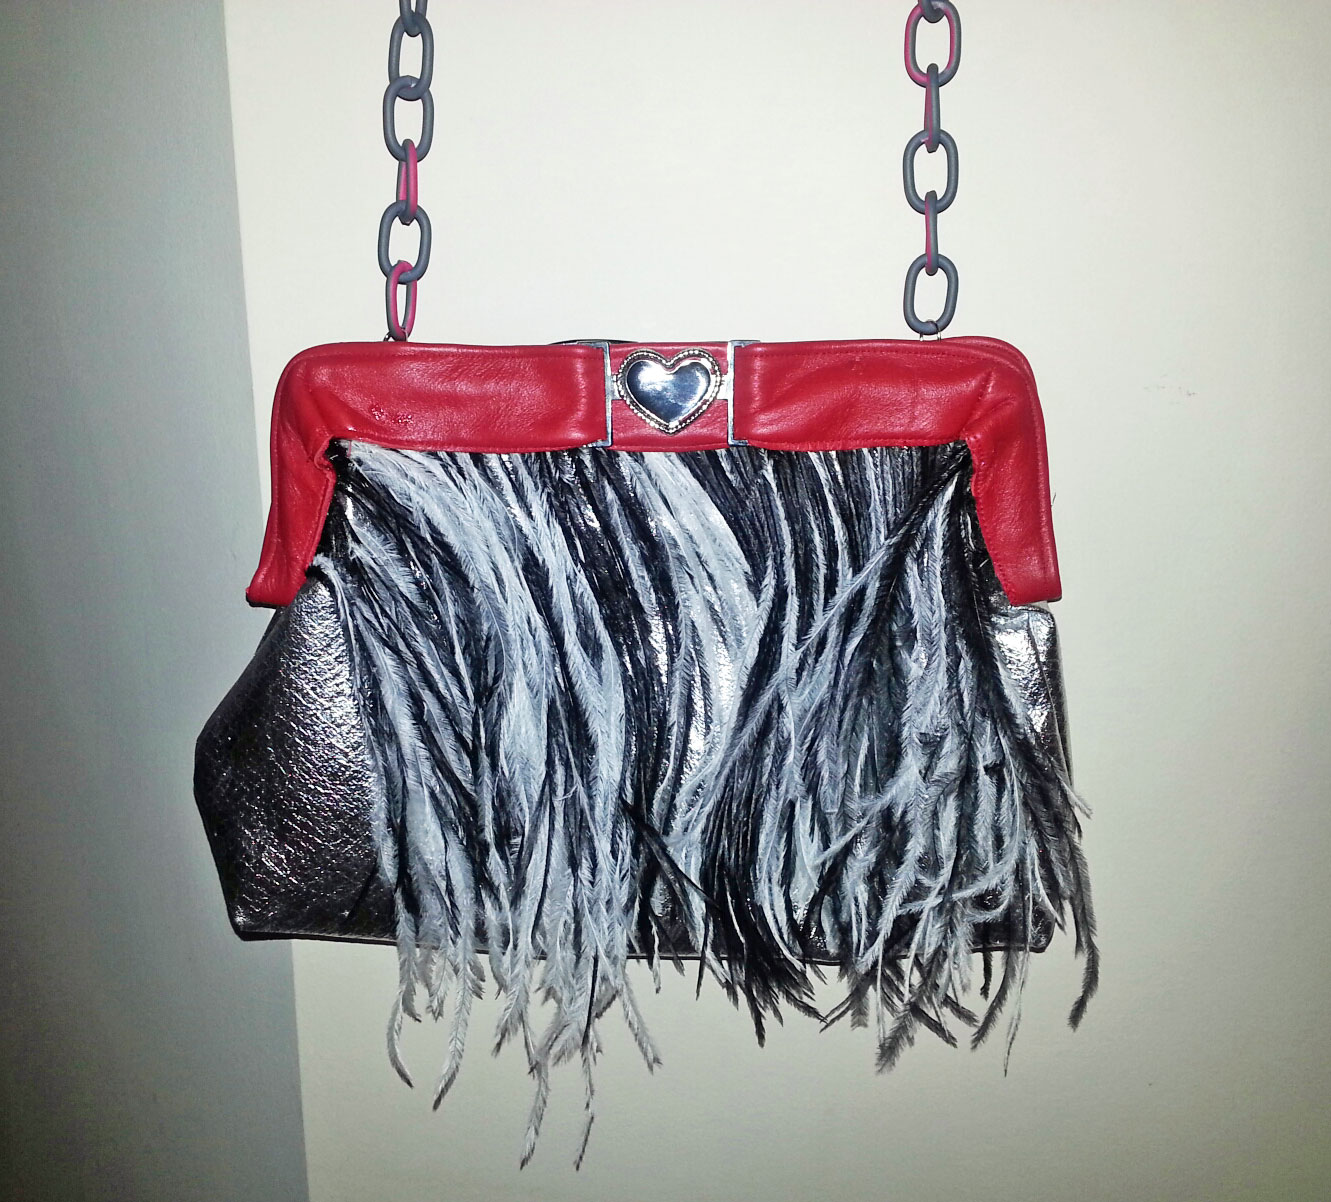
Feathered Purse by Claudia T.
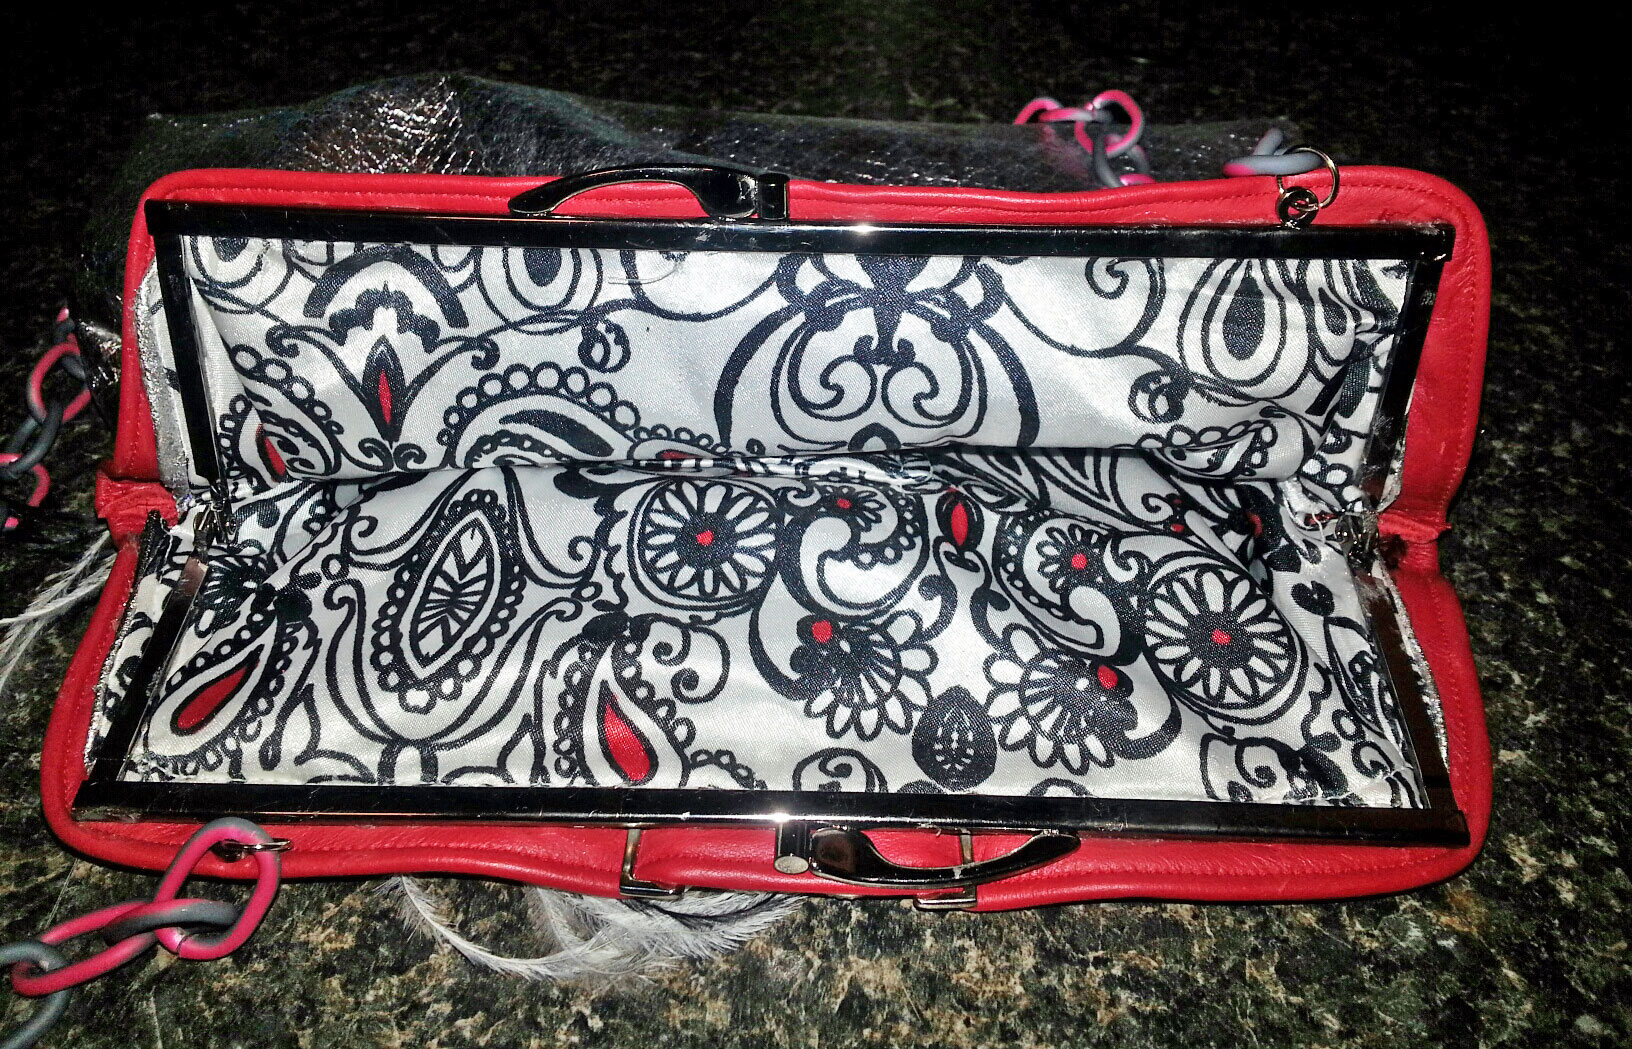
Inside View, Feathered Purse by Claudia T.
- Checkered Valance—Cat P.
Cat wanted a valance for her son’s room—something to match the three-dimensional Hot Wheels racing mural her husband had made. Specifically, she wanted a black-and-white checkered fabric to extend the mural above the window. It was a challenge, but eventually we found a lightweight twill with a perfect black-and-white checkered print!
This valance was a great project for a beginner. There’s no need for a pattern—it’s just a hemmed rectangle with a channel across the top for the curtain rod. The finished curtain looked as if it was made for that room. Which it was!
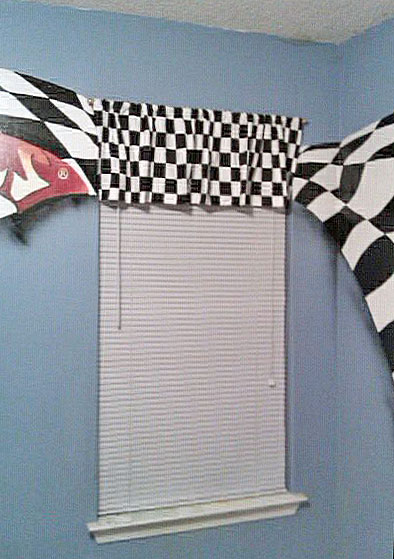
Checkered Valance by Cat P.
- Ruffled Pillow—Keshawndra C.
At eleven, Keshawndra is my youngest student! To kick things off, she chose a ruffled pillow. We didn’t need a pattern, but used a quilter’s ruler to measure and draw a square directly on the fabric. Her pillow has two parts—an inner pillow of unbleached muslin that holds the stuffing, and an outer shell of sky-blue floral cotton, which is bordered with a playful ruffle. After stuffing the inner pillow inside the outer shell, Keshawndra got to practice her hand sewing by closing the gap on the side of the pillow with slipstitching, a stitch designed to be invisible.
I hope this pillow gets a place of honor in her room!
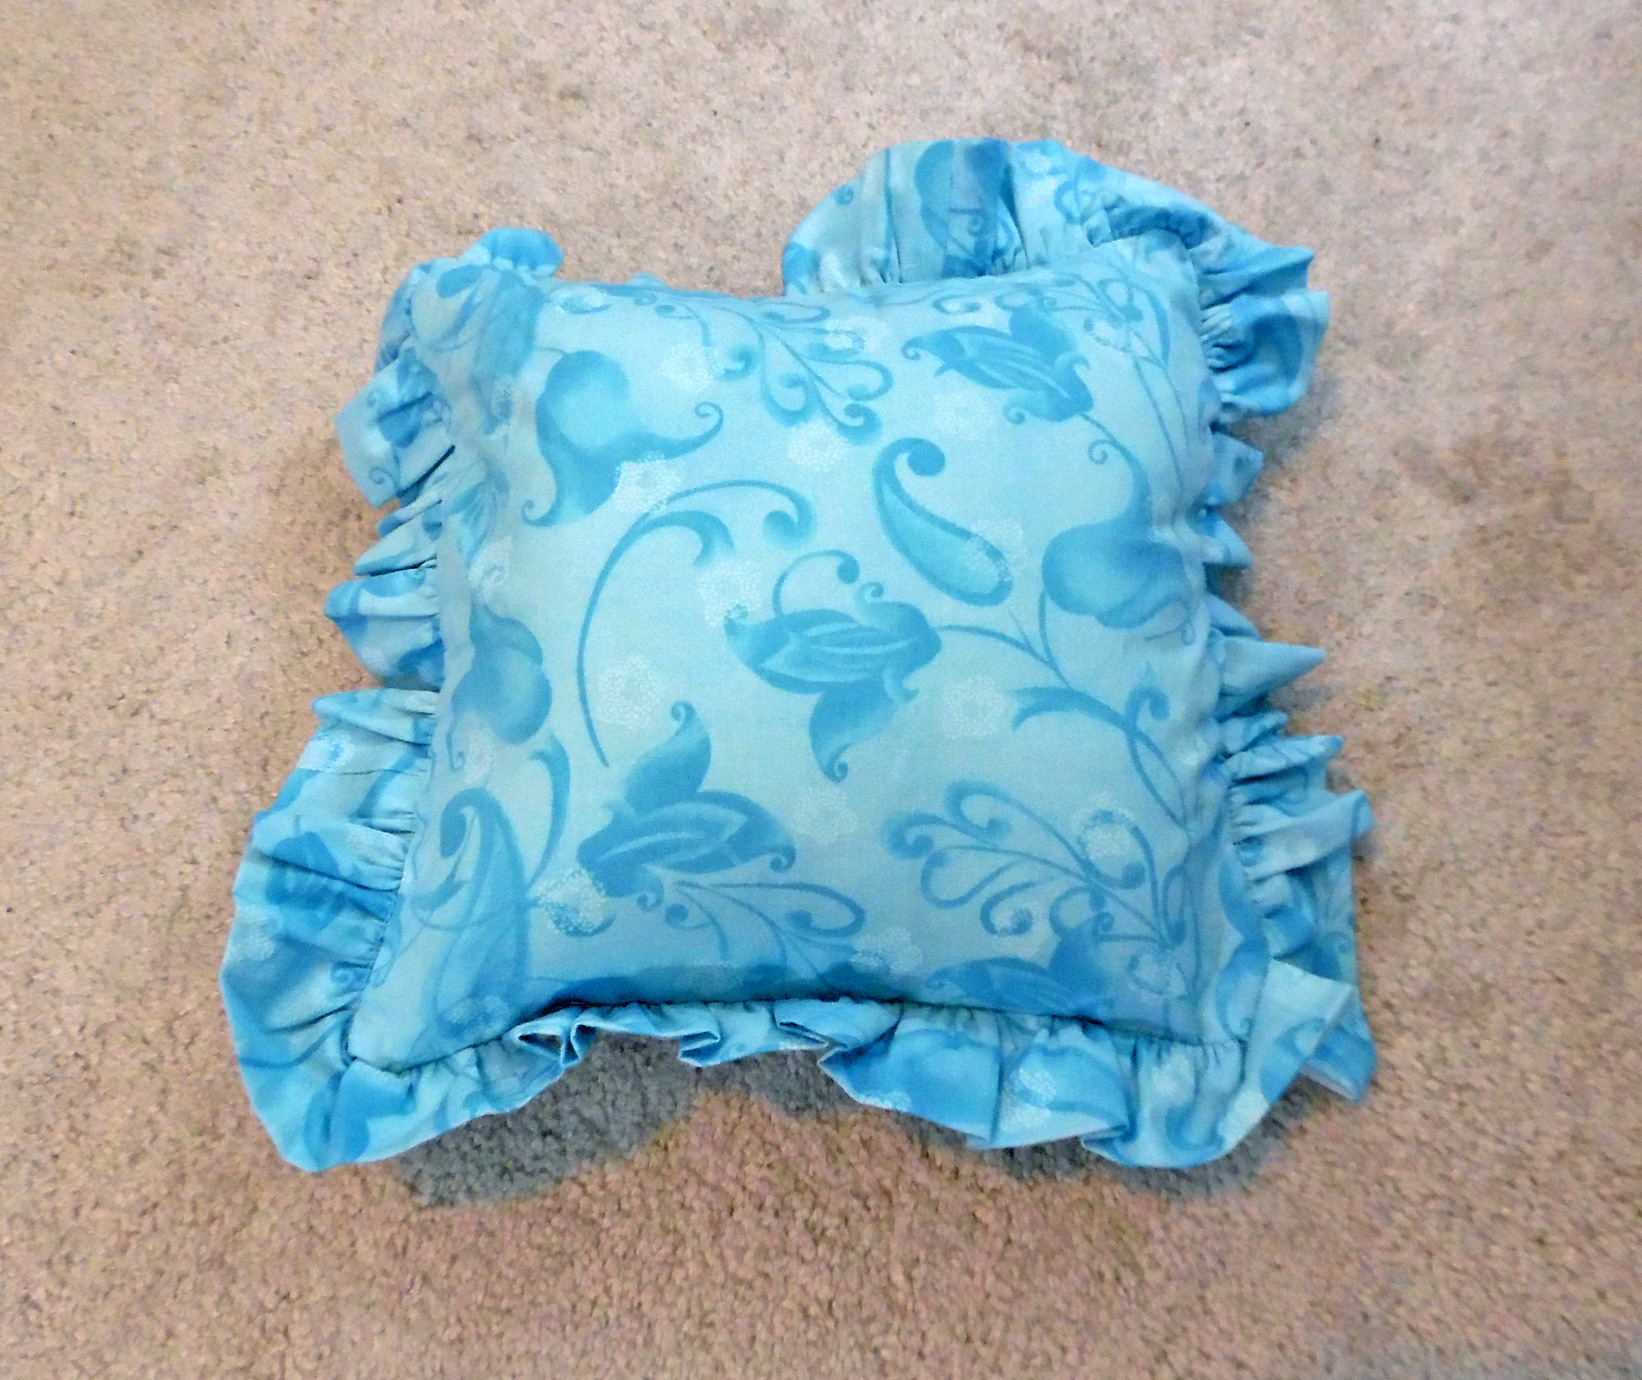
Ruffled Pillow by Keshawndra C.
- Infant Sundress (Pink)—Annie Kate W.
Since she had two young children and a third on the way, Annie Kate wanted to focus her classes on baby and toddler clothing, with the goal of eventually branching out into heirloom sewing. Her first project was a summer dress for one of her daughters. It’s a simple A-line shift with a wide drawstring neckline that ties at one shoulder. She picked a pink floral cotton for the dress, and white broadcloth for the shoulder tie. Using a separate pattern, she also made matching bloomers!
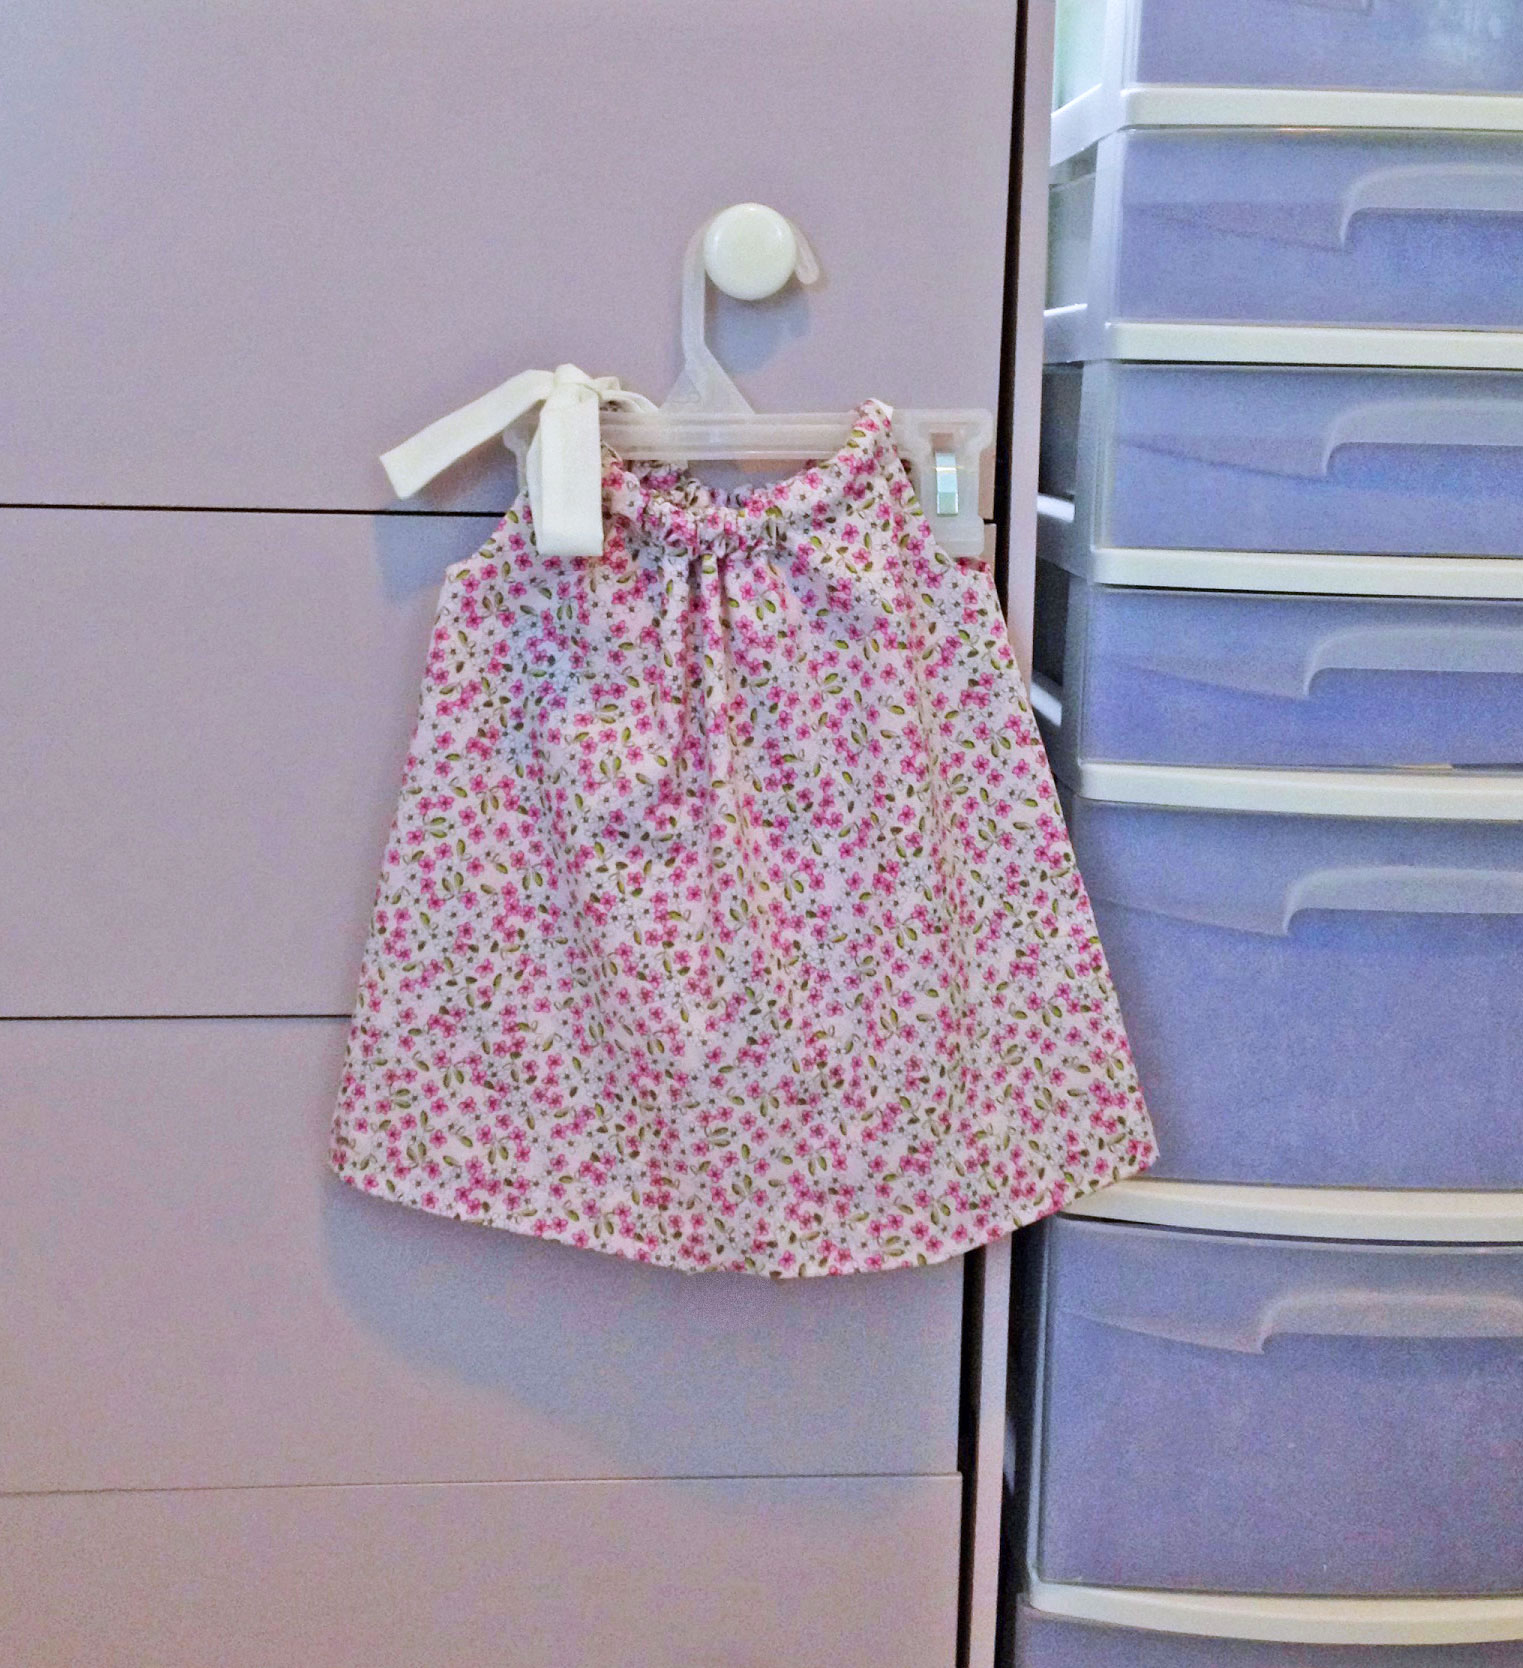
Pink Infant Dress by Annie Kate W.
- Infant Sundress (Green)—Annie Kate W.
For her second project, Annie Kate made a toddler’s shift dress from a lightweight green floral cotton. The collar is an off-white broadcloth, with a sweet green bow motif made using shadow embroidery. White rickrack provides a scalloped trim at the outer edge of the collar.

Green Infant Dress by Annie Kate W.
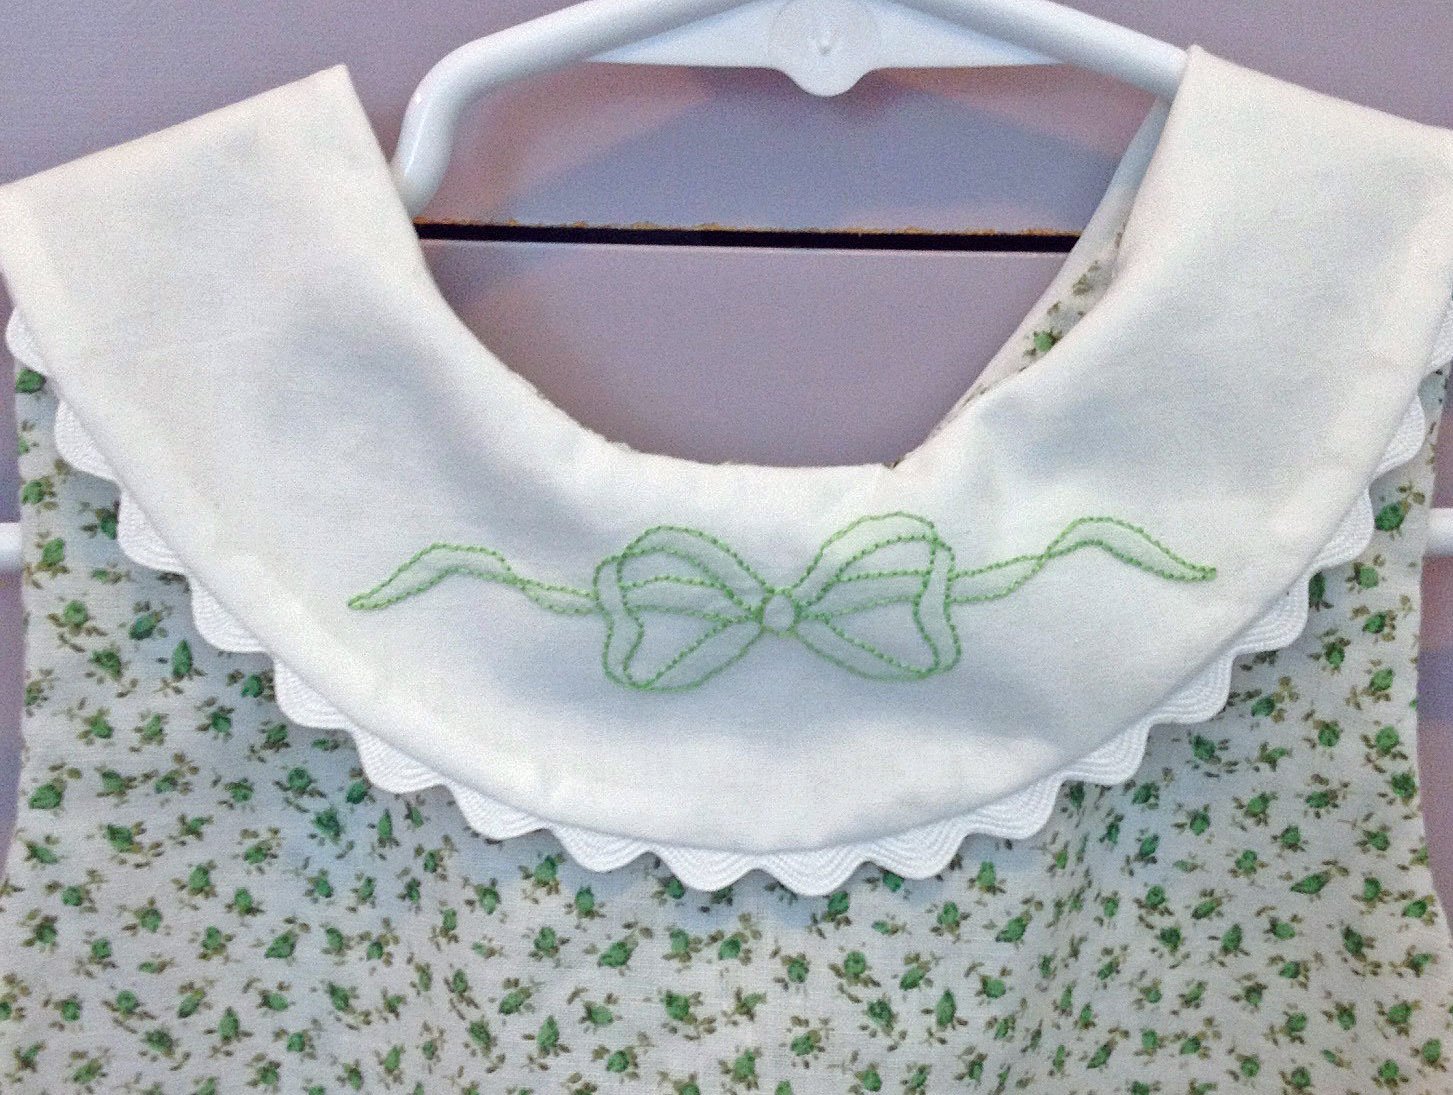
Collar Embroidery by Annie Kate W.
- Pajama Pants—Jane S.
For her very first project, Jane made a pair of pajama pants with an elastic waistband. She chose a periwinkle-blue cotton with a fun circle print, and for a bit of a challenge, made the pants with in-seam pockets. For a polished finish, she flat-felled the seams. Because the pants ended up on the short side, she didn’t hem them in the traditional way, but used bias-binding to finish the raw edges.

Pajama Pants by Jane S.
- Heart Pillows—Jane S.
Next, Jane made a pair of heart-shaped pillows out of a mustard-gold cotton with a teal, purple, and brown floral print. She decided to have fun with the design, so one of the pillows is divided in half diagonally, with the upper side being floral and the lower side being a solid teal. For the second pillow, she divided the front of the heart into five diagonal strips and alternated the two fabrics.

Heart Pillows by Jane S.
- Tote Bag—Jane S.
For her third project, Jane made a small tote bag. She chose a yellow and gray cotton for the outer pockets, solid gray twill for the main bag, and a pale yellow poly-cotton voile for the lining. Because her fabrics weren’t quite stiff enough for a proper tote bag, she flat-lined the main bag with heavy sew-in interfacing, sandwiching the interfacing between the twill and a lining fabric. The tote bag zips shut with a recessed zipper.
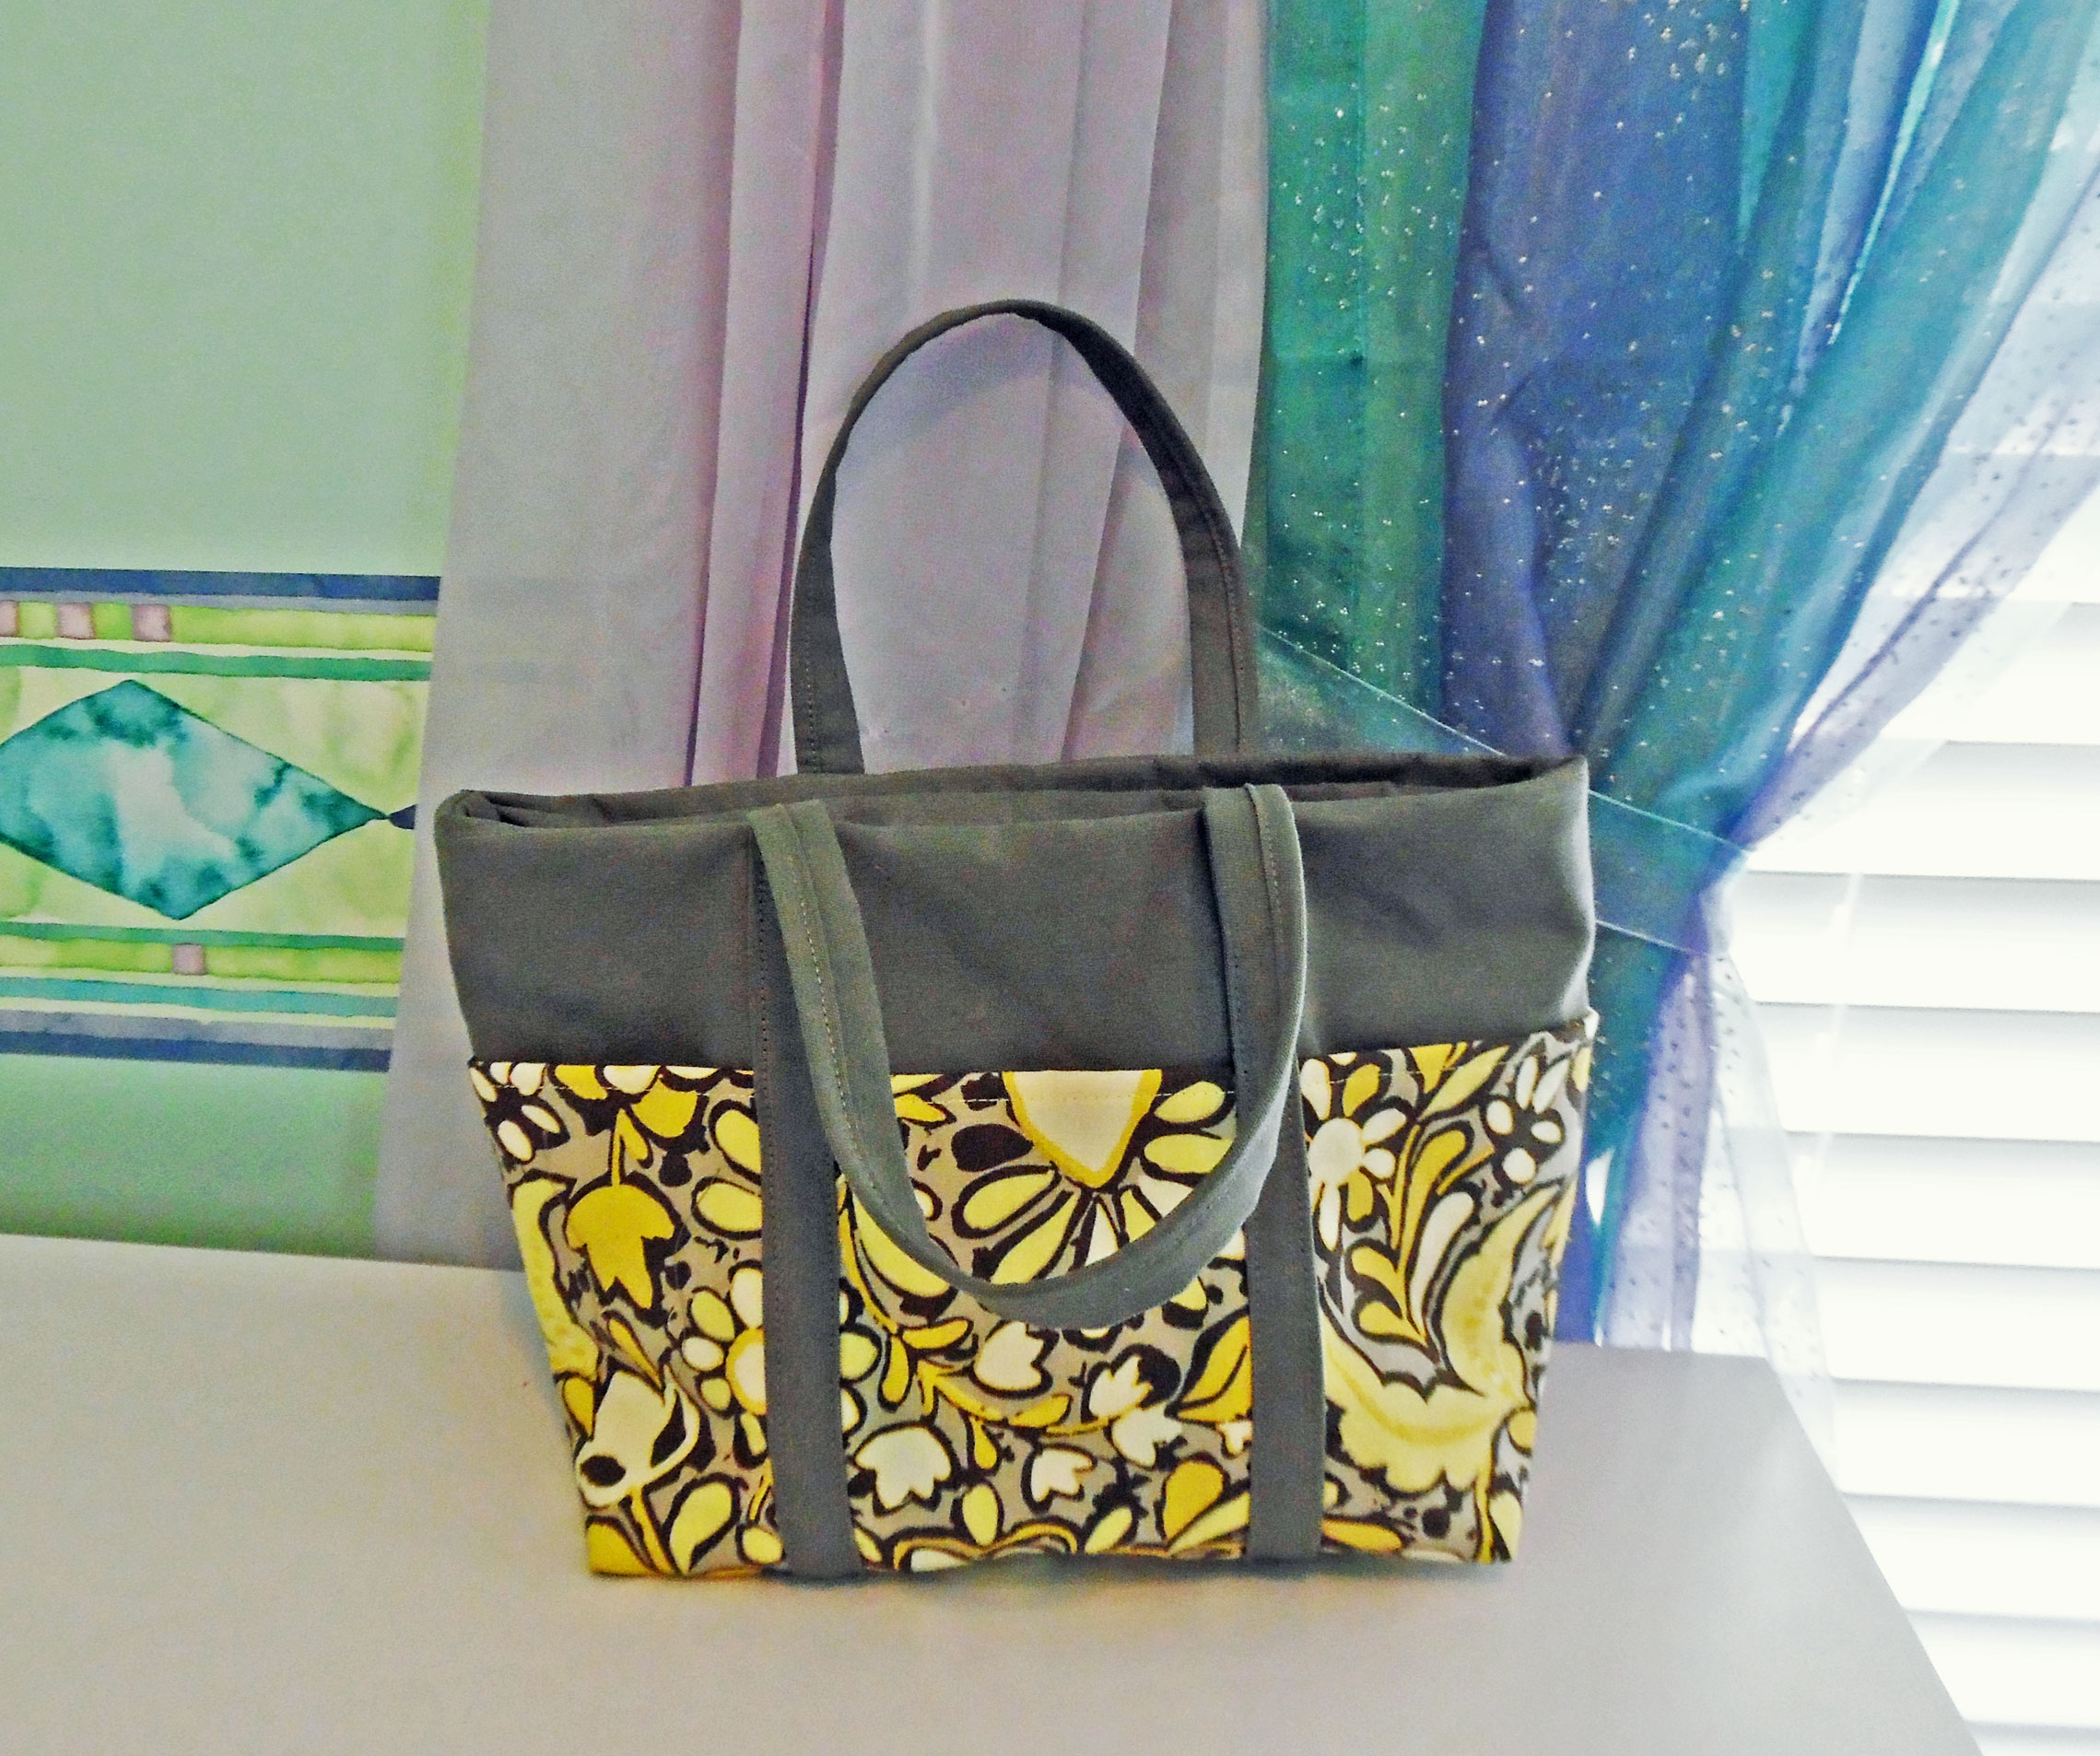
Tote Bag by Jane S.
- Trapeze Blouse—Jane S.
Jane’s next project was a sleeveless trapeze blouse. She picked a linen-look fabric in a vibrant purple and turquoise watercolor print. As you can see, the back of the blouse is longer than the front. Also, the back is split—the two layers overlap asymmetrically. She used topstitched bias facings to finish the armscyes and neckline.

Trapeze Blouse by Jane S.
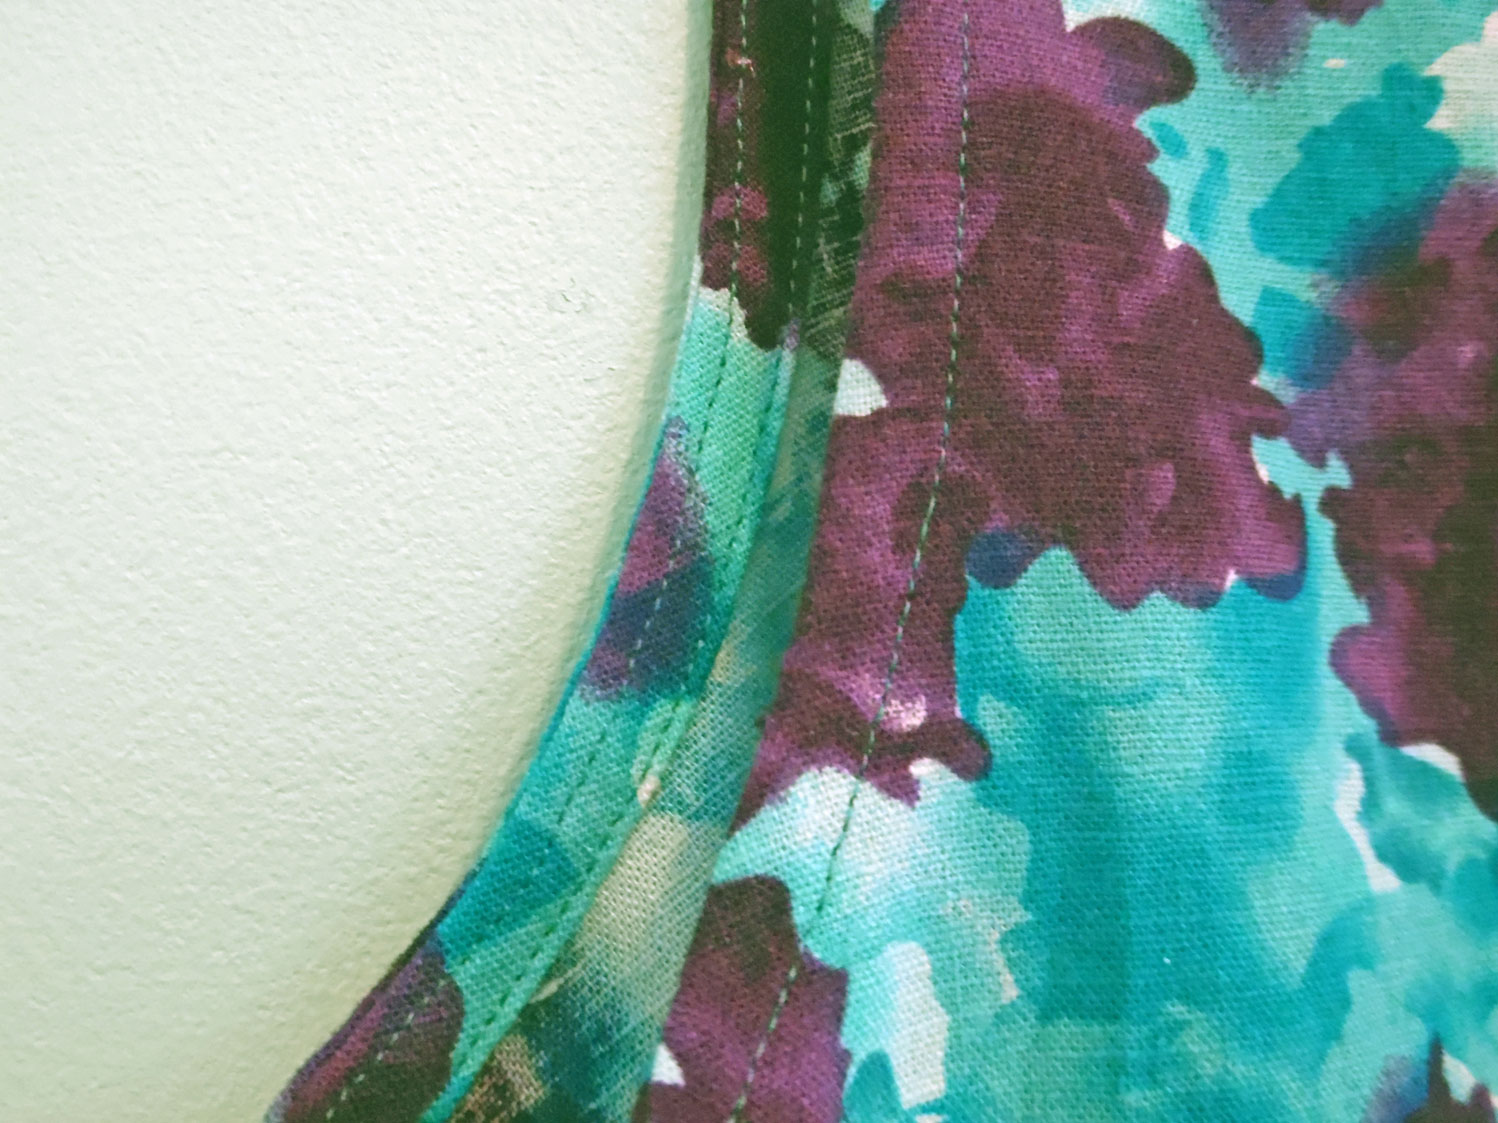
Closeup of Bias Facing on Trapeze Blouse by Jane S.
- Vintage Apron—Jane S.
For her fifth project, Jane chose an apron with a full skirt, so she could learn gathering techniques. For the main part of the apron, she picked a burnished gold batik with touches of aqua, green, and yellow. For the straps, pocket, and edgings, she went with a mottled turquoise calico.
The apron ties at the neck and waist with long straps. Its seams are either finished with overlocking or flat-felling. Because the side edges of the apron’s top were curved, it would have been impossible to hem them per the directions—the result would have been distorted and rippled. So, Jane bound the edges with turquoise bias binding, which provided a very clean finish.
The pocket is a square turned diagonally, with the top point folded down and topstitched. It’s accented with a beige mother-of-pearl button that’s carved with a delicate filigree design.
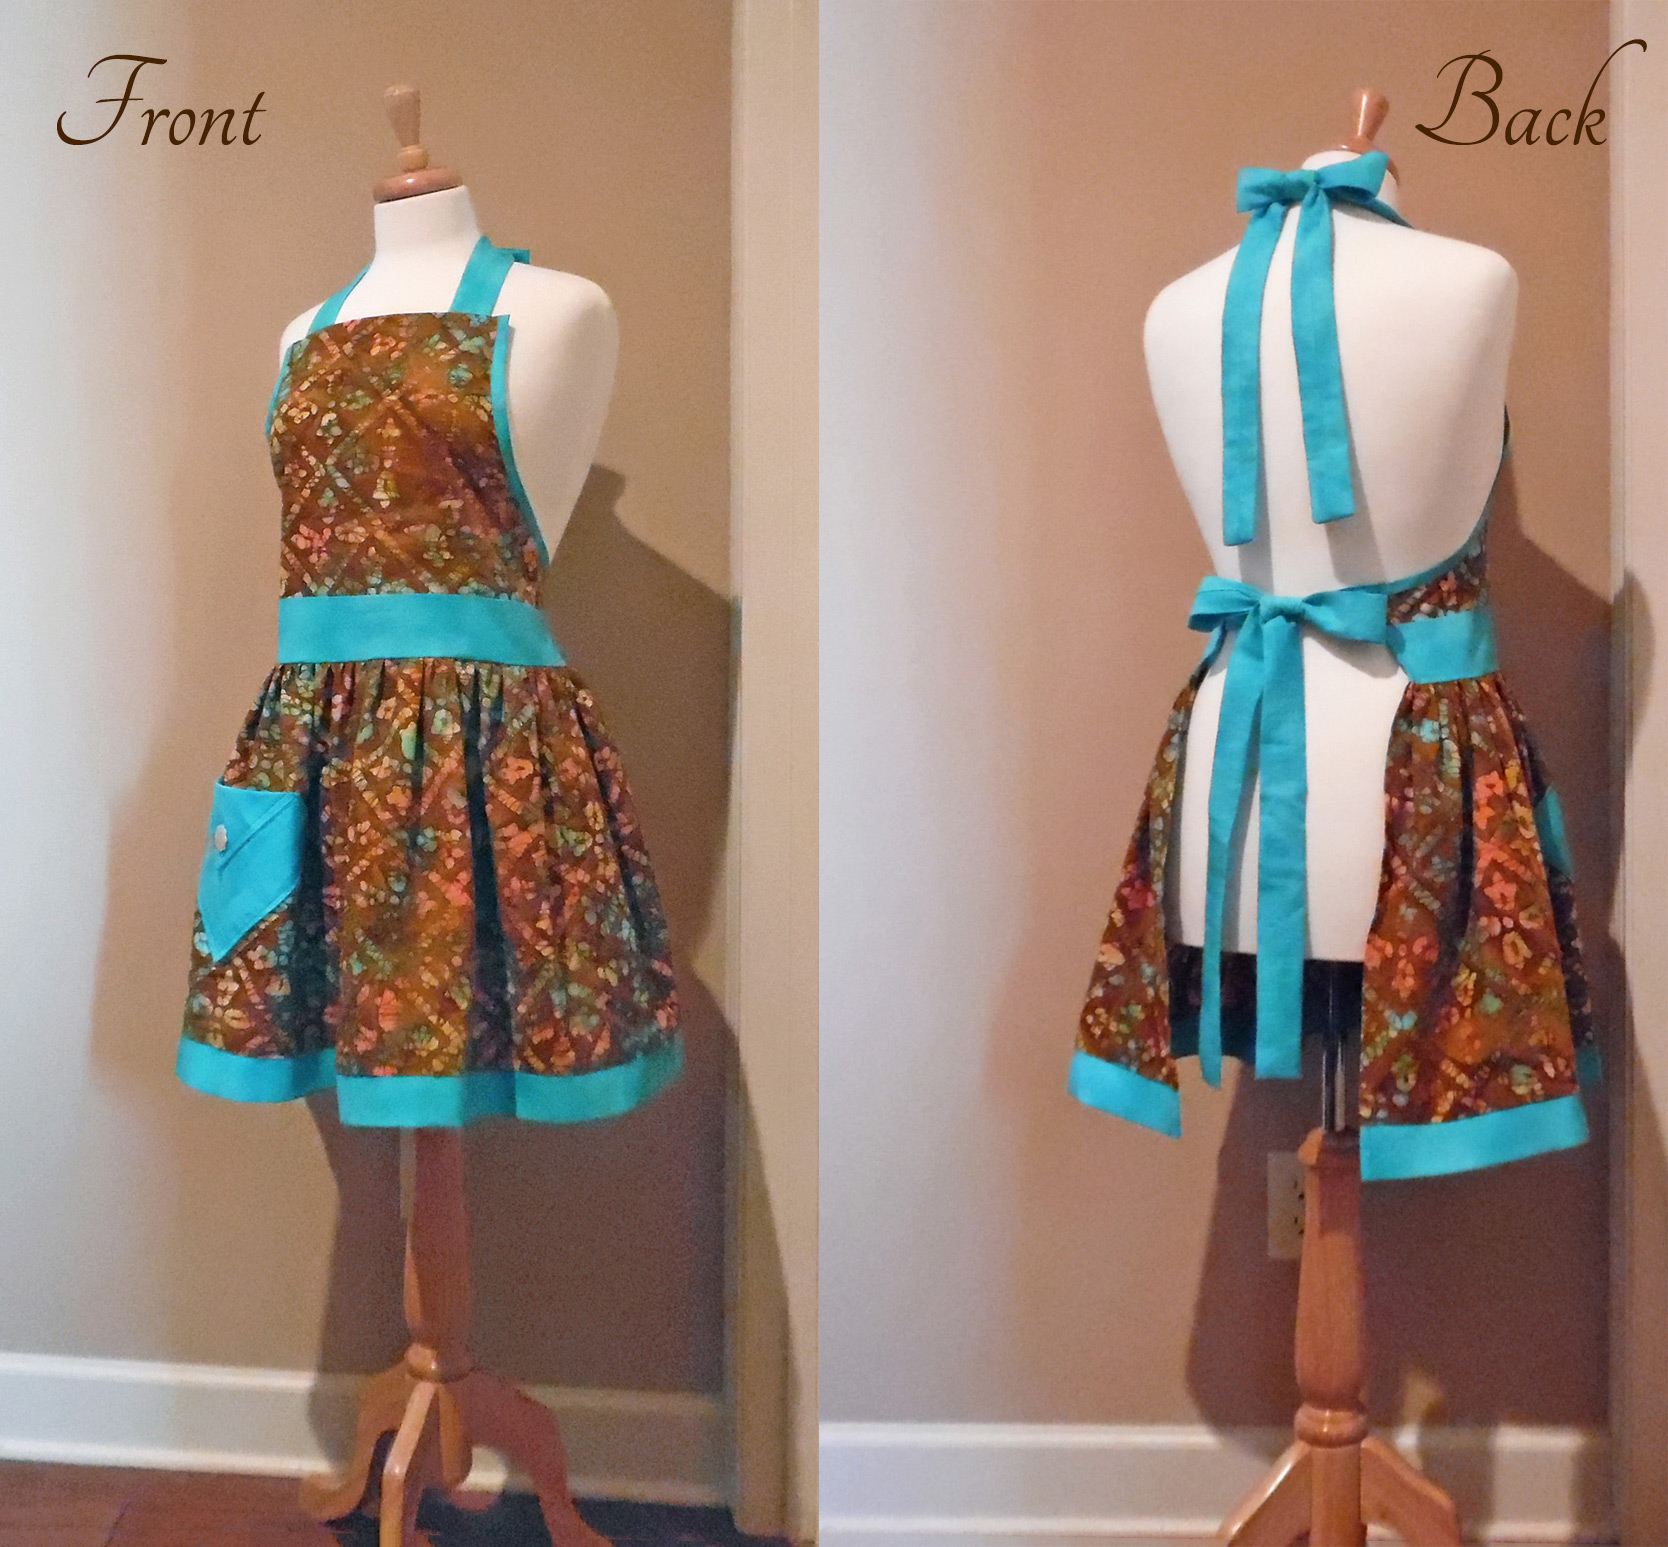
Vintage Apron by Jane S.
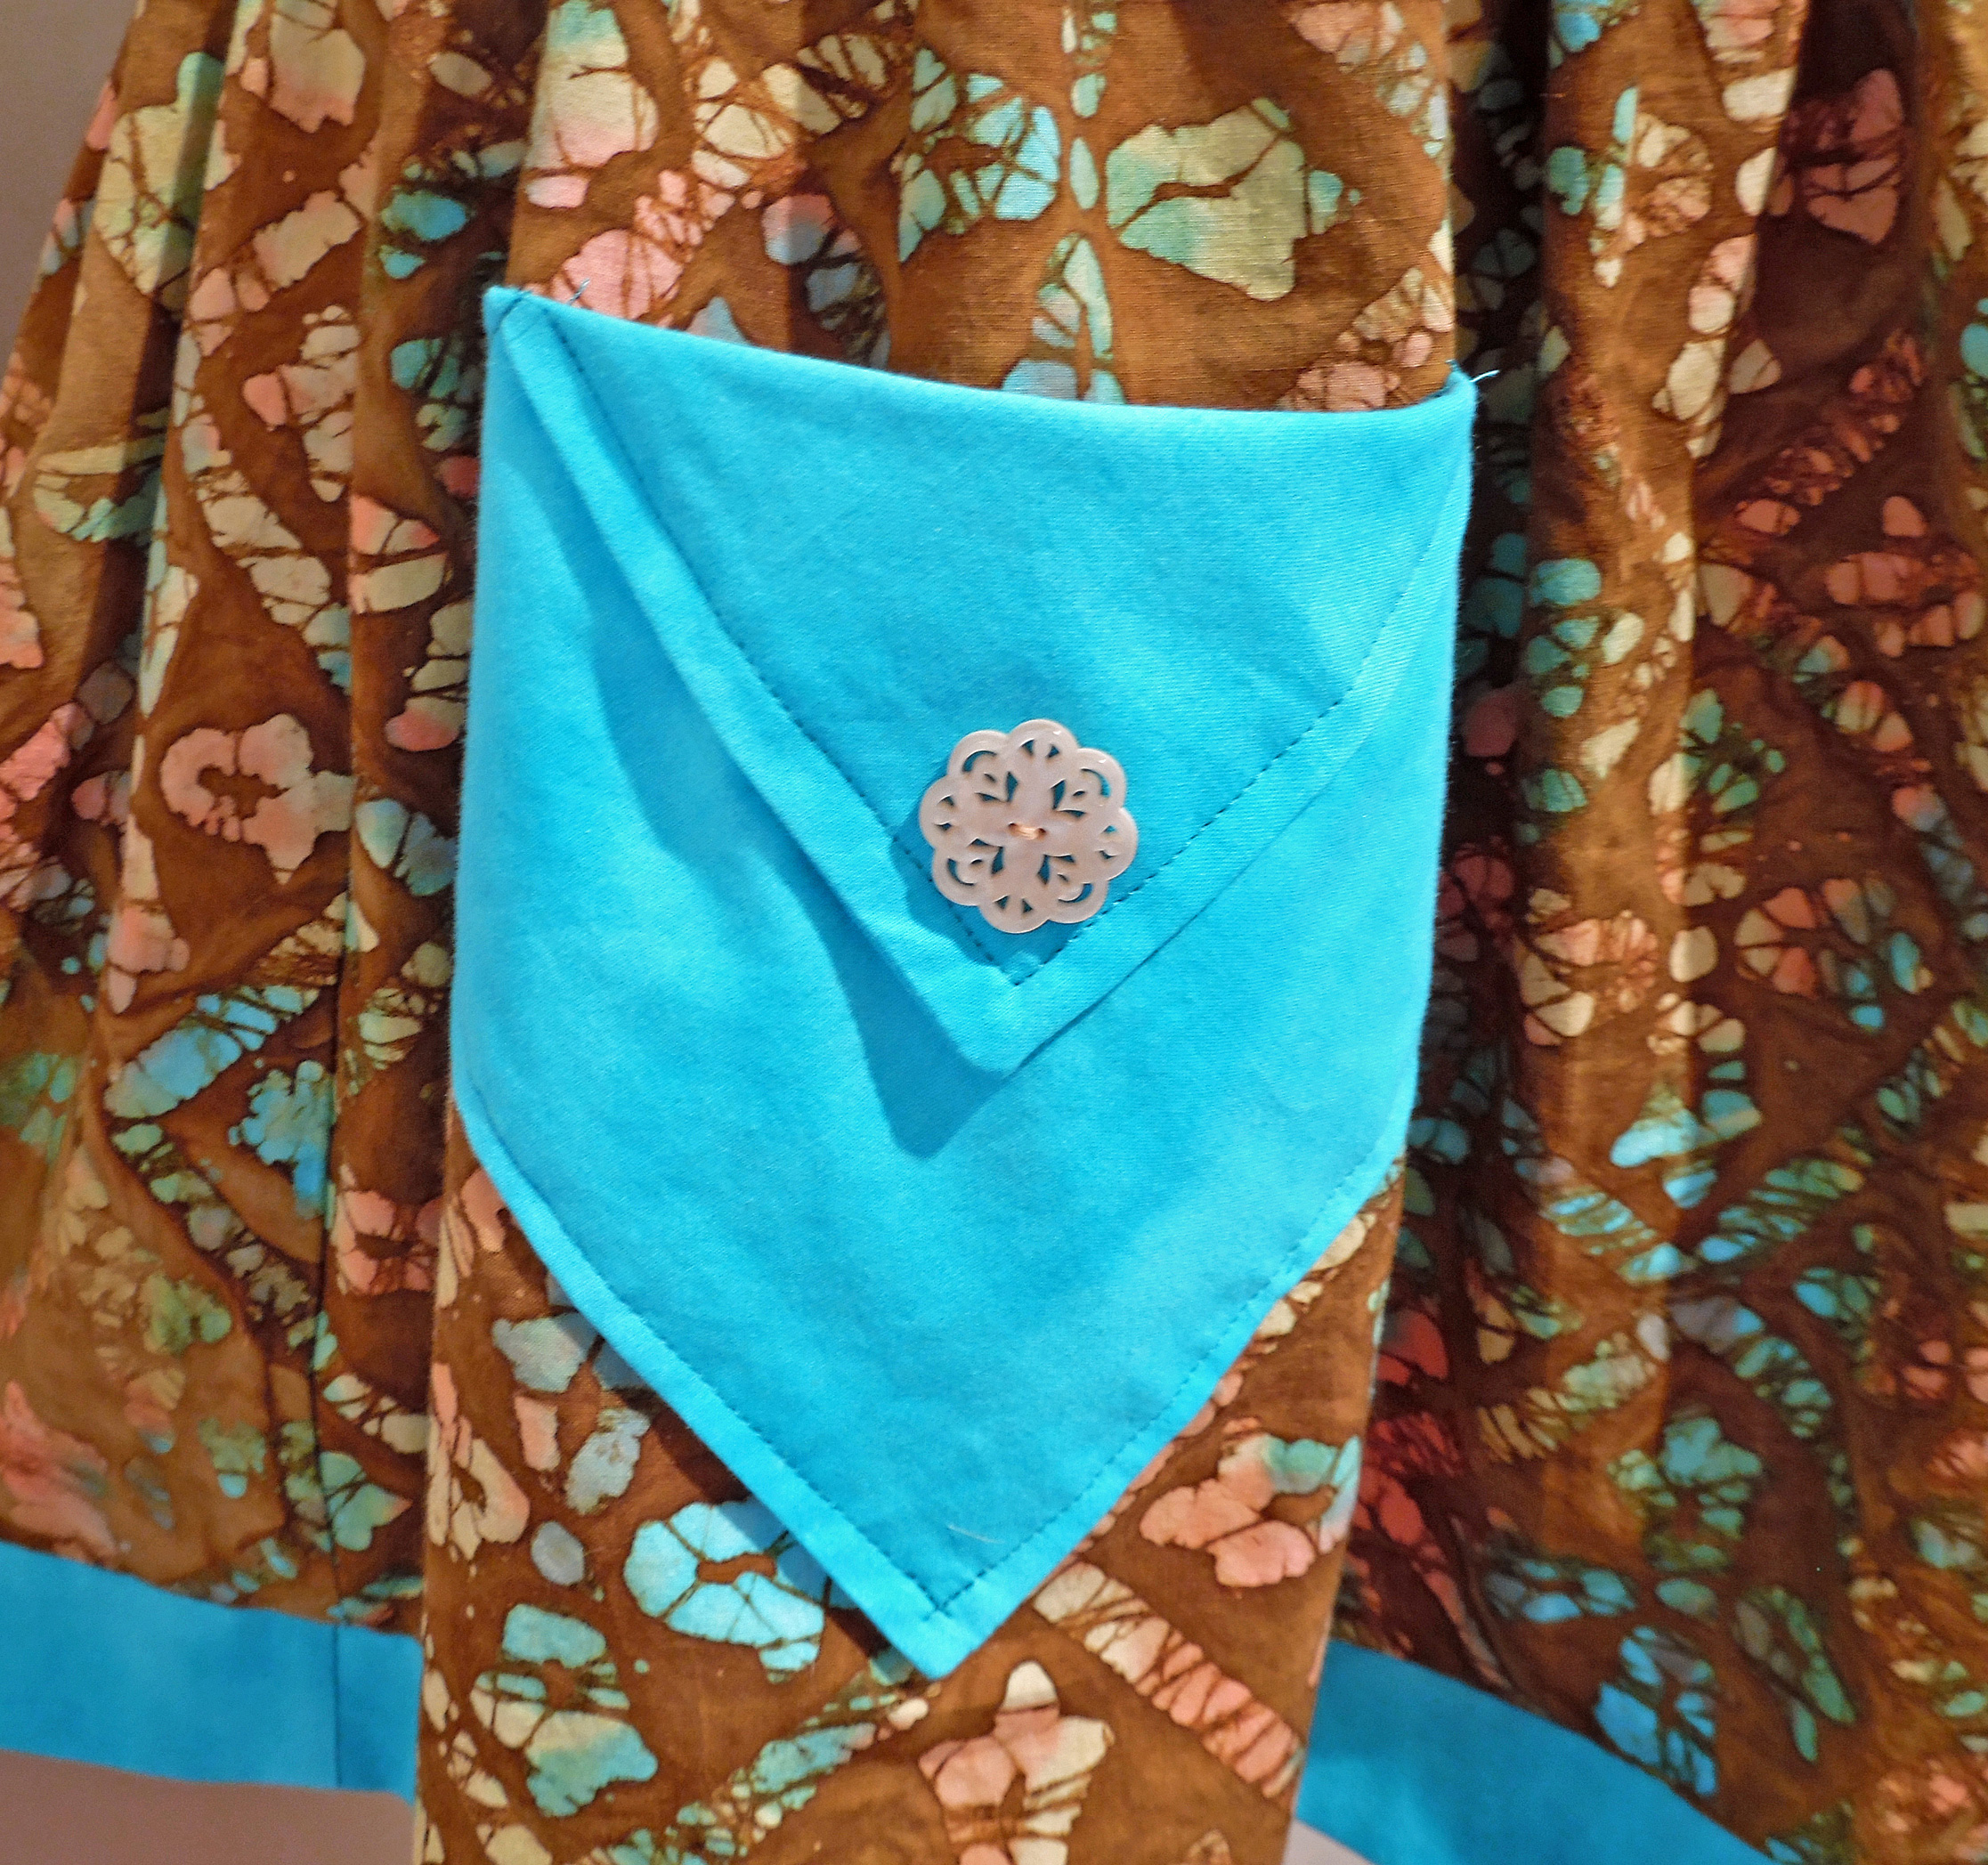
Closeup of Pocket on Vintage Apron by Jane S.
- Toddler’s Apron—Jane S.
One day, Jane brought a finished toddler’s apron to class—a gift she’d made for a relative’s daughter. The main fabric is sky-blue calico with a cloud-like background and bright pink dots, while the accent fabric is candy-pink with a darker pink fish-scale print. Such fun colors! It has topstitched patch pockets, a gathered skirt, and adjustable tie-straps. All edges are finished, so it looks as good on the inside as the outside.
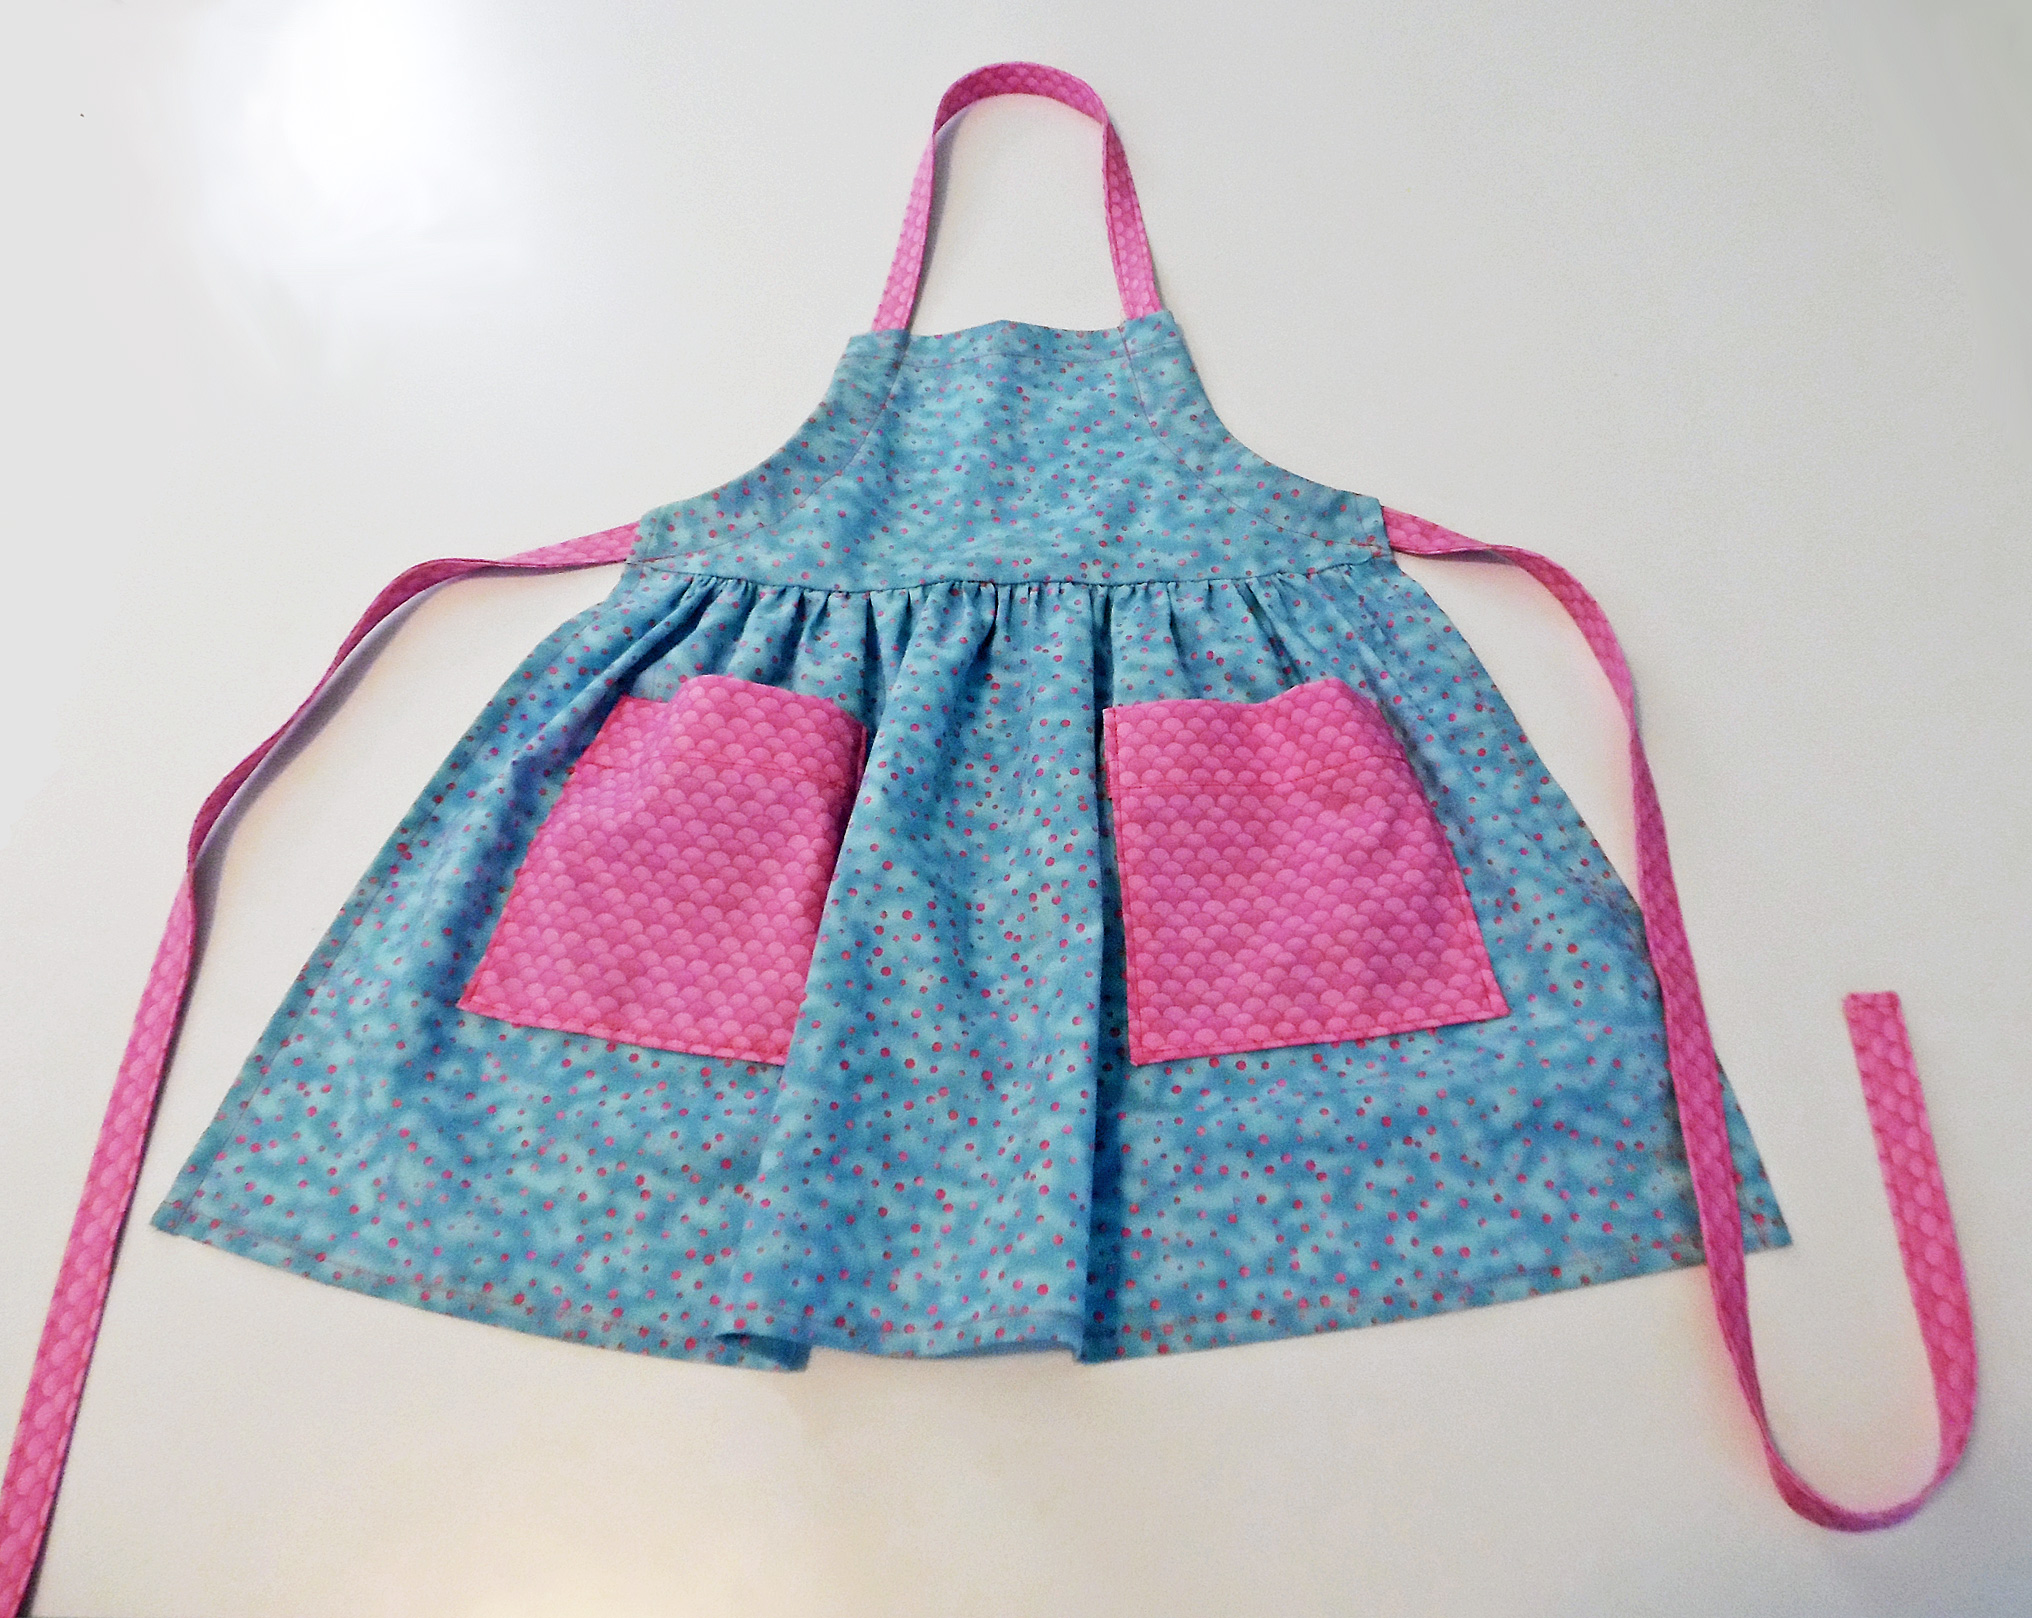
Toddler’s Apron by Jane S.
- Wrist Pincushion—Jane S.
Using the same fabrics as the toddler’s apron (above), Jane made herself a wrist pincushion in class. The rectangular pincushion uses the sky-blue-and-pink fabric, while the strap is from the pink fish-scale fabric. She embellished the strap with a bias strip of hot pink broadcloth layered with pale pink rayon braid. It fastens with patches of light pink Velcro, and the pincushion has a cardboard insert to prevent pins from poking through.
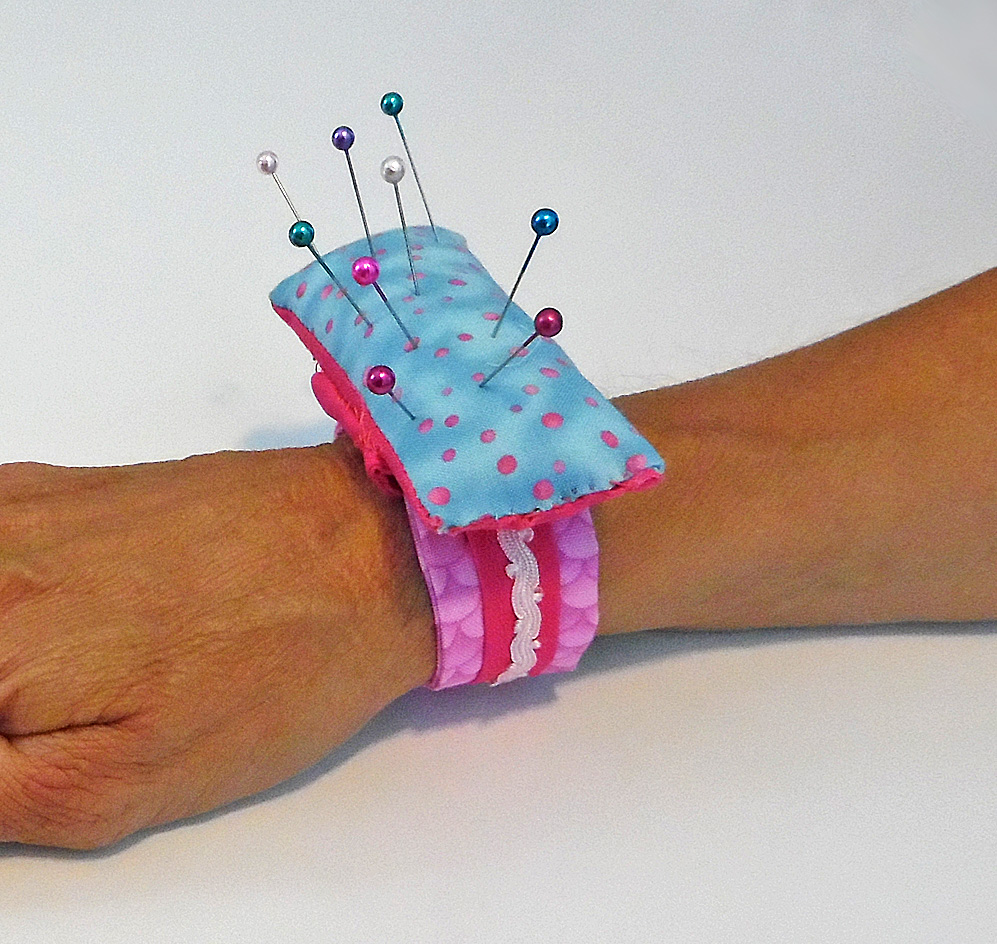
Wrist Pincushion by Jane S.
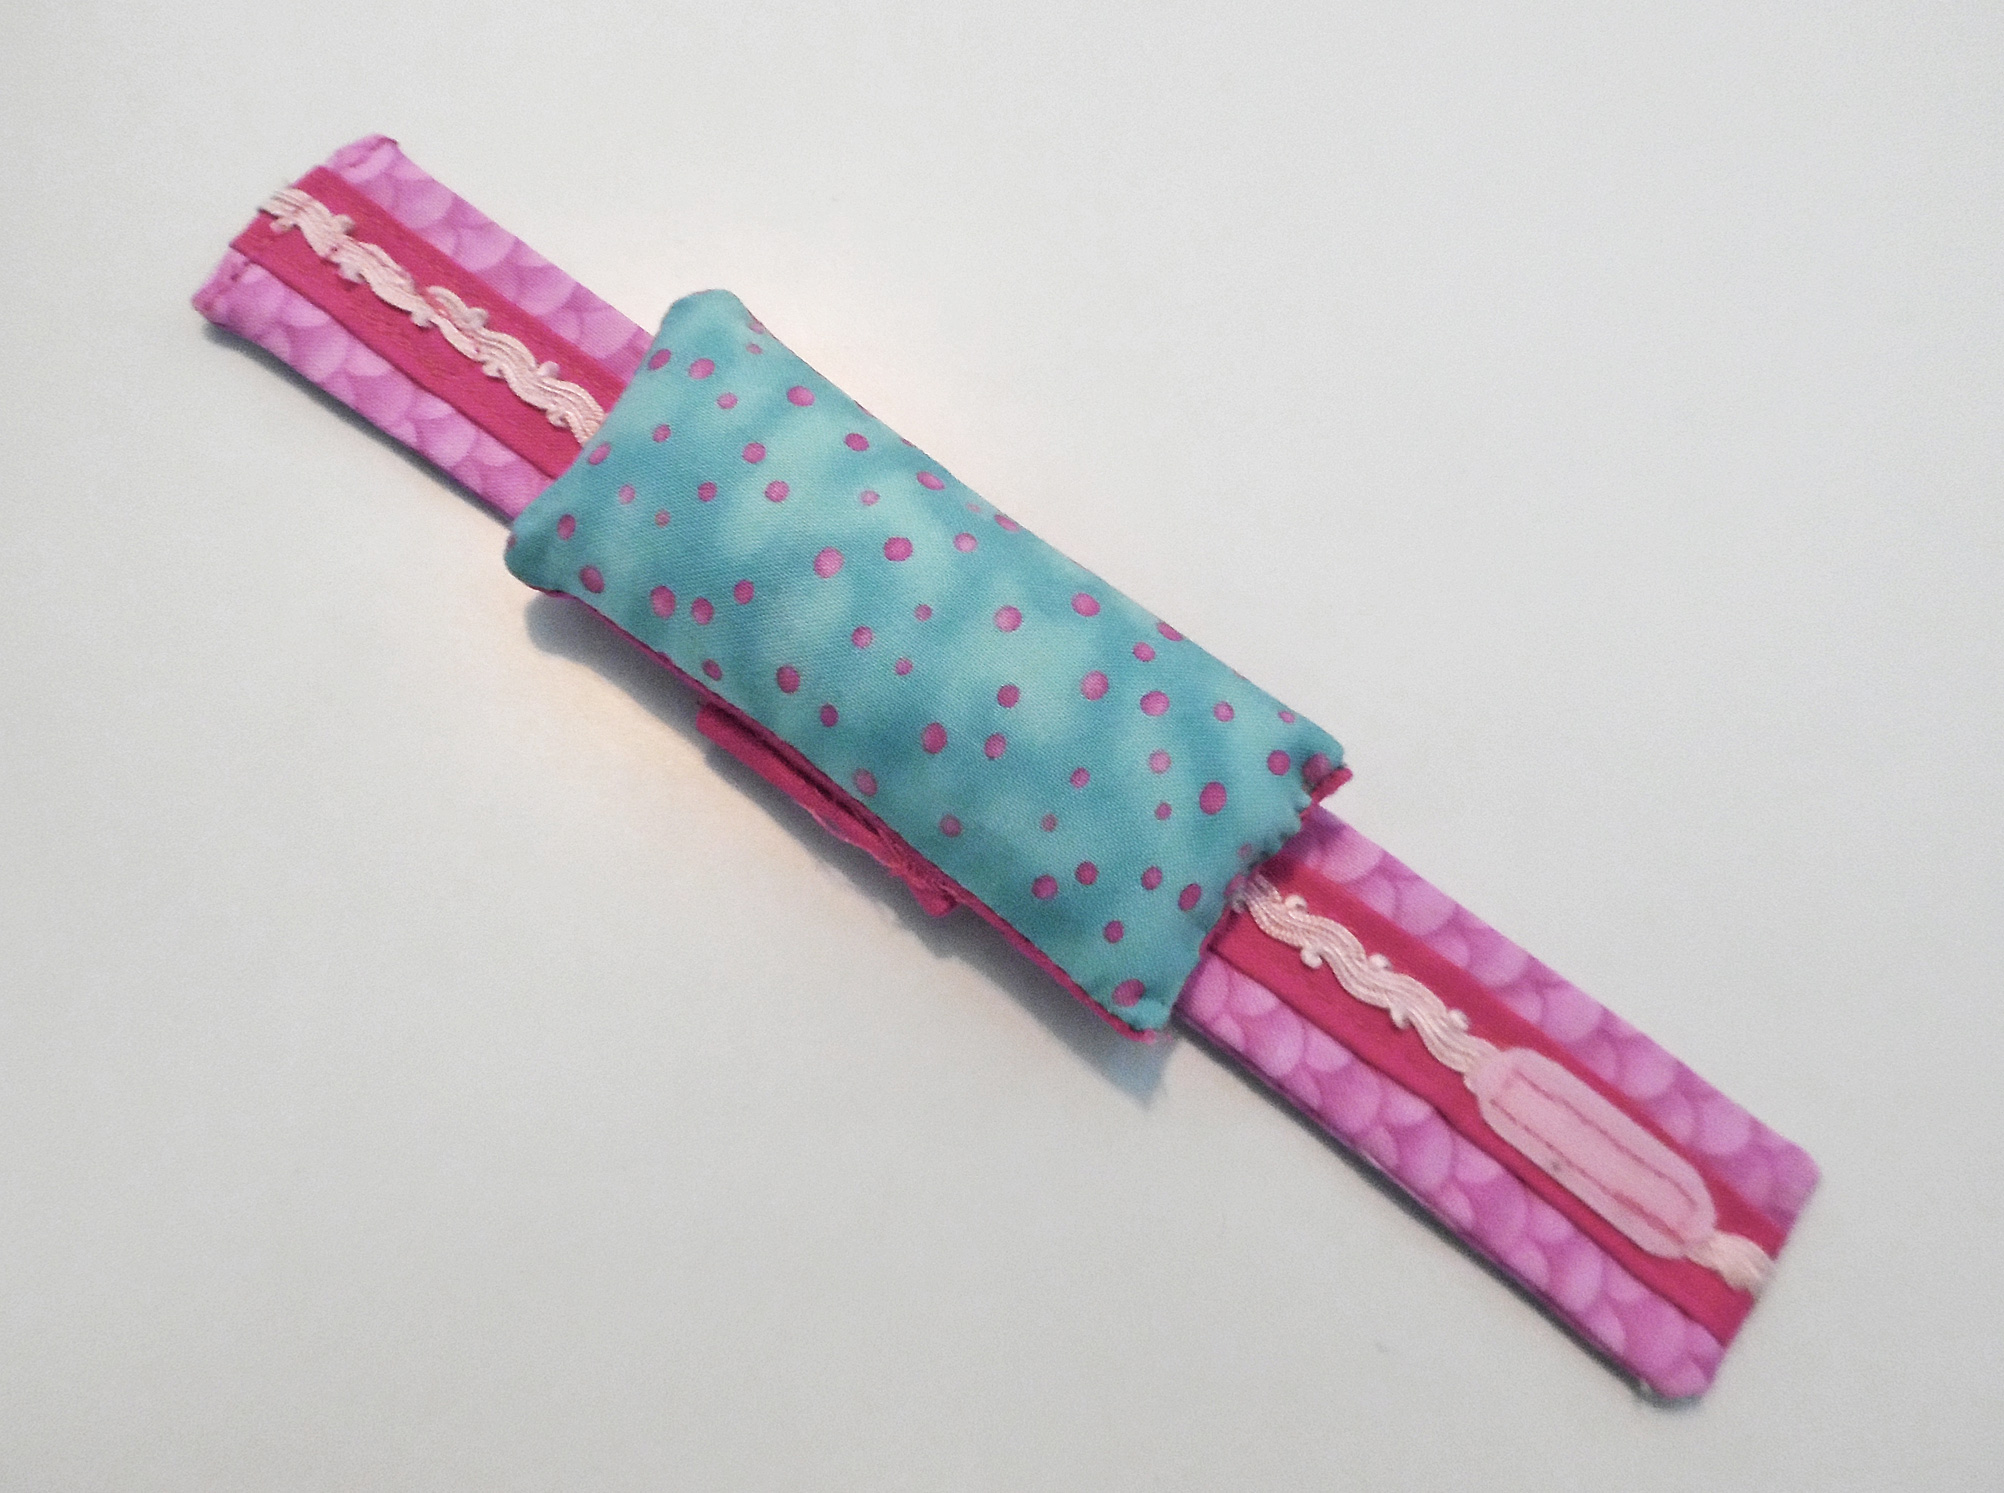
Wrist Pincushion by Jane S.
- Infant Toy—Jane S.
The next project Jane finished was a delightful baby’s toy, which she crafted using fat-quarters in coordinating prints of gray, mint-green, and orange.
The square consists of alternating bands of printed fabrics and narrower bands of solid fabric. She borrowed a crazy-quilting technique and topstitched with gray thread across each horizontal seam—using a different decorative stitch for each seam! All around the edges, she inserted loops of grosgrain ribbon, which she varied in size. She stitched the ribbons multiple times to ensure that none would pull loose.
To make it extra tempting for her friend’s baby, the toy makes a loud crinkle sound when touched. Jane’s secret? The waxed paper from a cereal liner bag! This toy has much to endear it to an infant—bright colors, bold prints, different textures, and fun sounds!
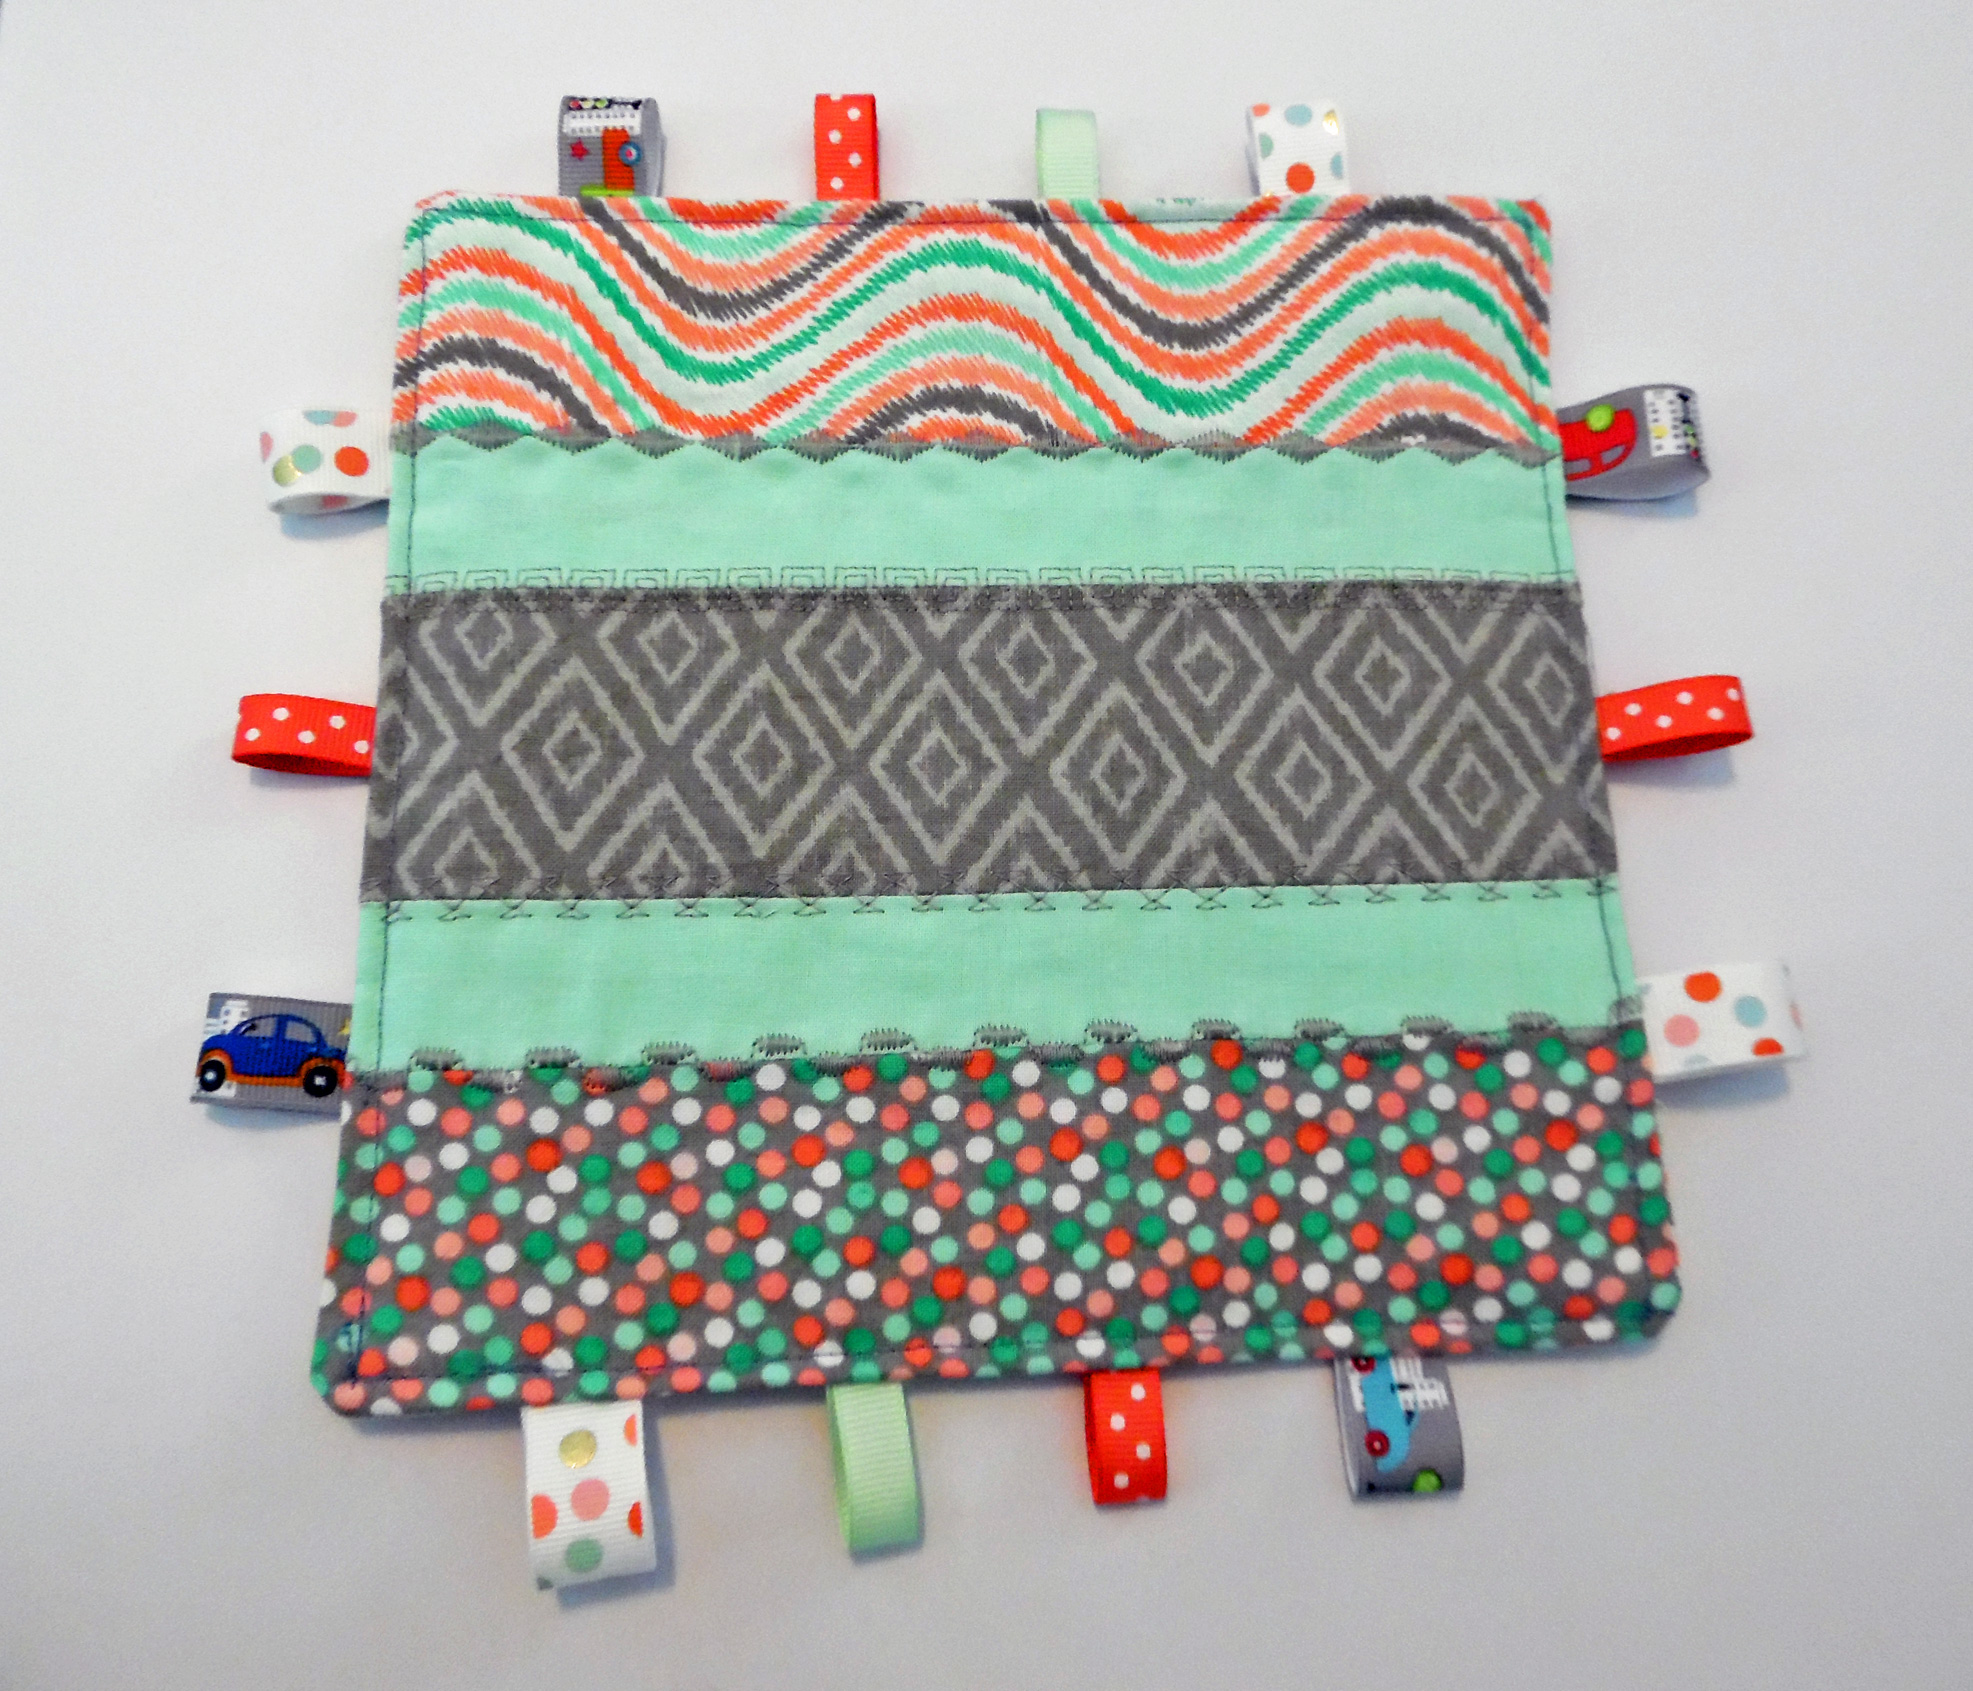
Baby Toy by Jane S.
- Another Apron—Jane S.
One day, Jane showed up at class with another apron she’d made as a gift for a relative. She used a cotton geometric print of turquoise, lime green, blue, and black, with a turquoise cotton for the accent fabric. The apron is simple, having a gathered skirt, oversized pockets, and an adjustable tie that passes around the neck, down through channels on either side, and then fastens in back.
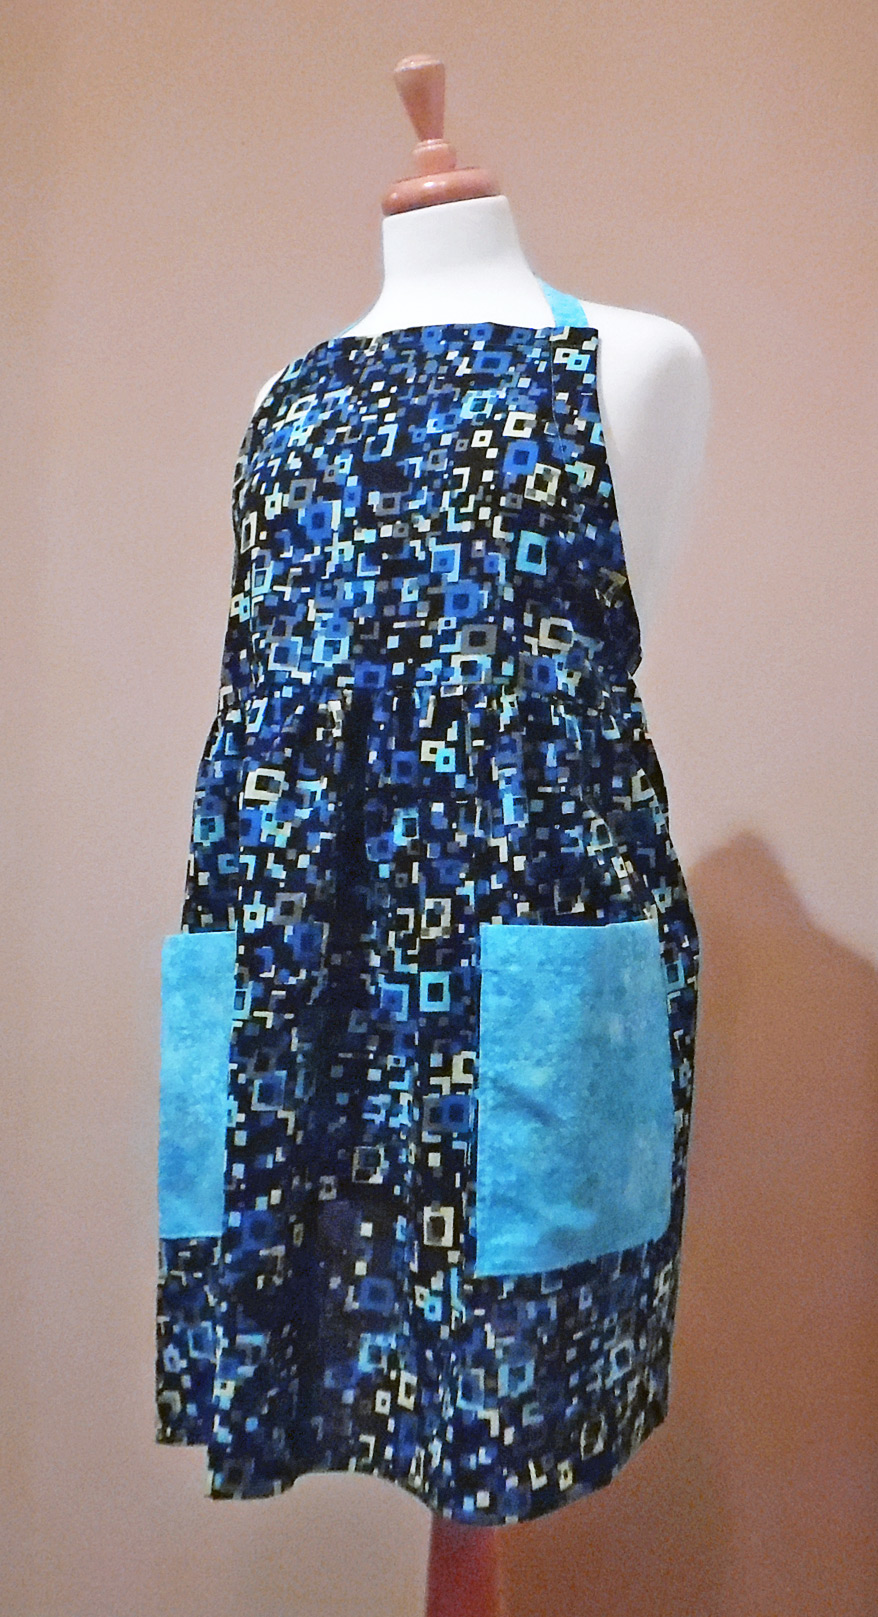
Another Apron by Jane S.
In the photo (above), the neck strap was pulled too tight, which changed the whole silhouette of the apron. With the strap loosened, the gathered waist dropped to just below the natural waist, giving it a more traditional shape. I rather like it how it is in the picture, though! It’s more of an empire waist—very retro, yet modern at the same time.
- Gathered Clutch—Jane S.
I wanted Jane to work on some new sewing techniques, so I asked her to make a zippered pouch. We used Noodlehead’s gathered clutch tutorial—a familiar project, since I’ve made two myself and helped another student make one.
The front panel has a double row of gathering down the middle, so Jane was able to try a new gathering method. The pouch zips closed, so she worked on her zipper skills. It’s fully lined—another new technique for her. And, since the clutch’s lining must be sewn shut with an invisible slipstitch, it was a great opportunity for her to practice hand-sewing.
For the main pouch, Jane chose a vibrant cotton batik with a zigzag pattern that blends shades of lavender, purple, blue, and turquoise. A coordinating solid turquoise worked well for the accent strip. For the lining, we dug into my stash for a piece of lavender Ultresse. She chose a dark turquoise zipper that matches perfectly. To attach the accent panel to the front of the clutch, she decided to use decorative topstitching, both pretty and functional. She picked a dark grayish-purple thread and an ornamental stitch that echoes the zigzag design of the fabric.
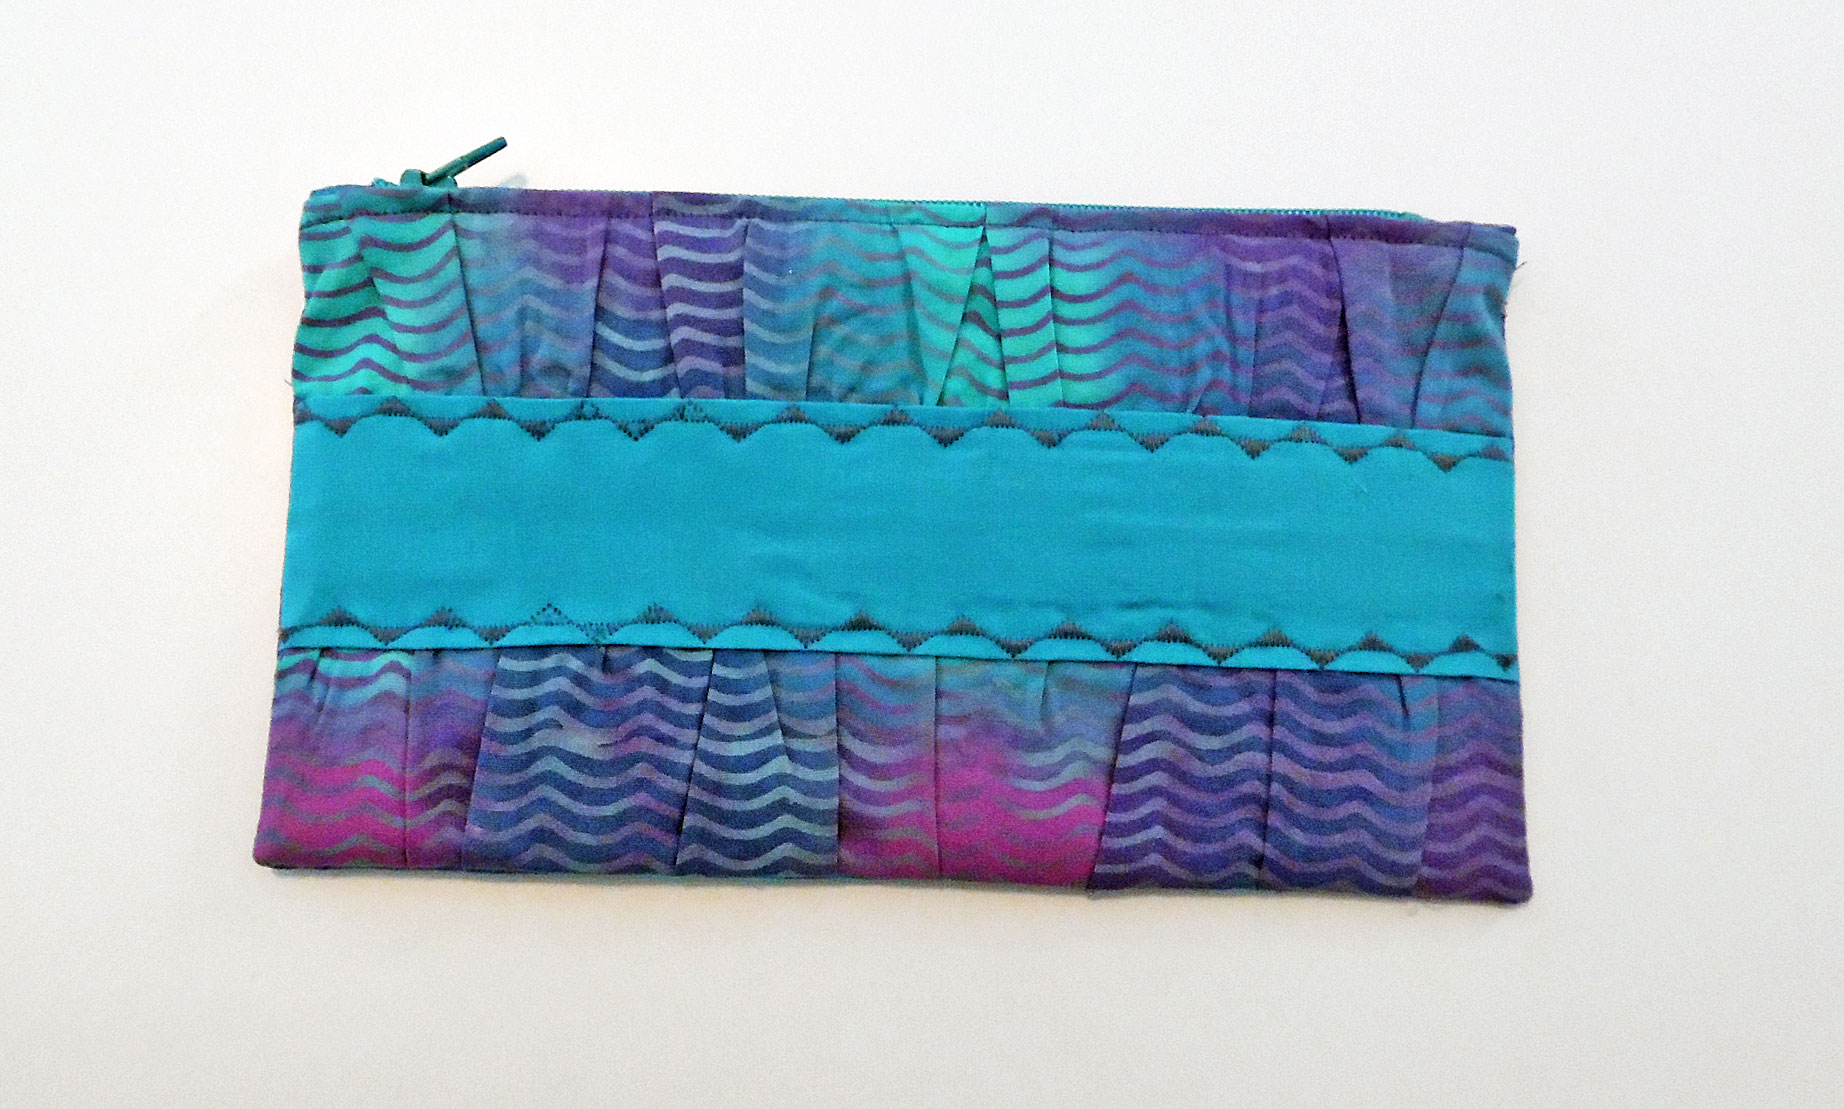
Gathered Clutch by Jane S.
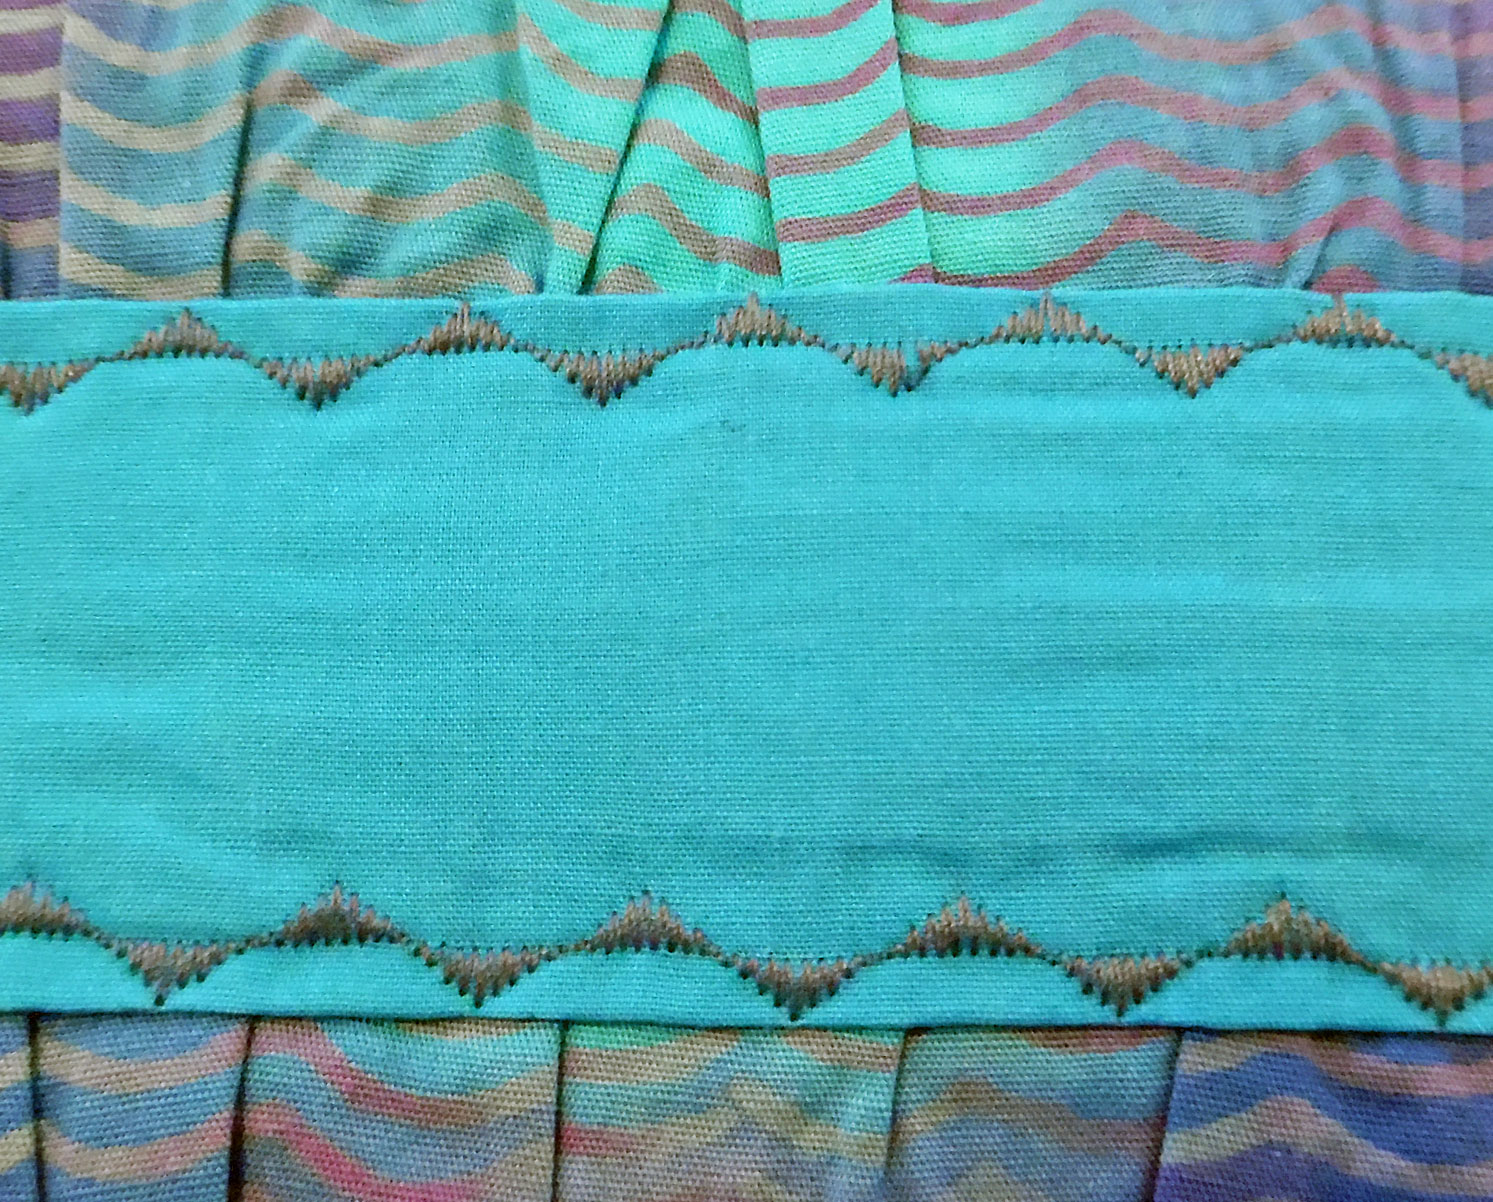
Closeup of Gathered Clutch by Jane S.
One thing’s for sure—Jane isn’t afraid of bold color combinations!
~~*~~
Interested in starting your own sewing project? Contact me to arrange for private classes.