
by Lisha Vidler
This article was first published at Your Wardrobe Unlock’d.
(Click any illustration to view the full-sized image.)
So, you’re enjoying an evening at the movies, or perhaps the theater—when suddenly you see it. A costume that steals your breath . . . and ignites your dressmaking passion.
Perhaps it’s Danielle’s winged ballgown from Ever After, or Rose’s coral and black dinner dress from Titanic. Maybe it’s Kaylee’s pink ruffled ballgown from Firefly, or Buttercup’s crimson riding habit from The Princess Bride. Whatever the costume, it’s gorgeous! You can hardly wait to make it for yourself . . . but where to begin?

Rose’s Dinner Dress (Titanic)
The Five Steps
Copying a costume in detail is a monumental task. It’s important to break down the process, so you don’t get overwhelmed and give up before you’ve begun. There are five basic steps to creating a costume replica:
- Research and Documentation
- Design
- Finding Materials
- Construction
- Embellishment
- Step 1: Research and Documentation
First, you need to find out everything you can about the original costume. What fabrics were used? What trims? What sort of closures? Are there support garments? What era is it meant to be from? These are just a few of the questions you need to ask.
It can be difficult to research a costume from a stage performance, or a movie that hasn’t been released on DVD yet, but it’s not impossible. Photography is usually forbidden at the theater or movies, but consider bringing a sketchpad, so you can draw a quick sketch of the costume. Check the official website for photos or trailers. And don’t forget to Google it! There are plenty of websites devoted to the examination of costumes—quite valuable for research purposes.
-
A Few Costume Websites
Once a movie has been released on DVD, watch the relevant scenes as often as necessary, studying the costume frame-by-frame. Some DVDs include a costume documentary or slide show, which can be helpful, too.
The best option, of course, is examining a costume in person before trying to reproduce it. If you’re obsessed with a particular costume, seeing it up close can be a dream-come-true!
Each year, the FIDM in Los Angeles hosts the “Art of Motion Picture Costume Design Exhibit,” a display of costumes from recently released movies. If you’re not able to attend, you can usually find photos posted online by those who’ve been.
Occasionally, there are traveling exhibits of movie costumes, such as the late-1990s exhibit that toured the Titanic costumes around the country. Additionally, some touring Broadway shows will display their costumes in a local theater’s lobby, or somewhere nearby. When The Phantom of the Opera came to my city, six of the costumes were displayed at a nearby mall! I was able to take photos of all them, including close-up shots of details that aren’t usually visible.
An oft-overlooked resource is dolls. Franklin Mint produced many of the costumes from Gone With the Wind for their Scarlett O’Hara doll. Likewise, they sold an entire wardrobe for Rose from Titanic. They’ve also made dolls of celebrities known for their iconic fashions, such as Marilyn Monroe, Jackie Kennedy, and Princess Diana. Similarly, Tonner has created fashion dolls from various films and TV shows, including: Gone With the Wind, Doctor Who, Torchwood, Twilight, and Avatar. Mattel has produced Barbie dolls from films such as My Fair Lady, Gone With the Wind, Titanic, The Wizard of Oz, Pirates of the Caribbean, and The Lord of the Rings.
Doll costumes are never 100% accurate, but they can give you a basic understanding of the costume.
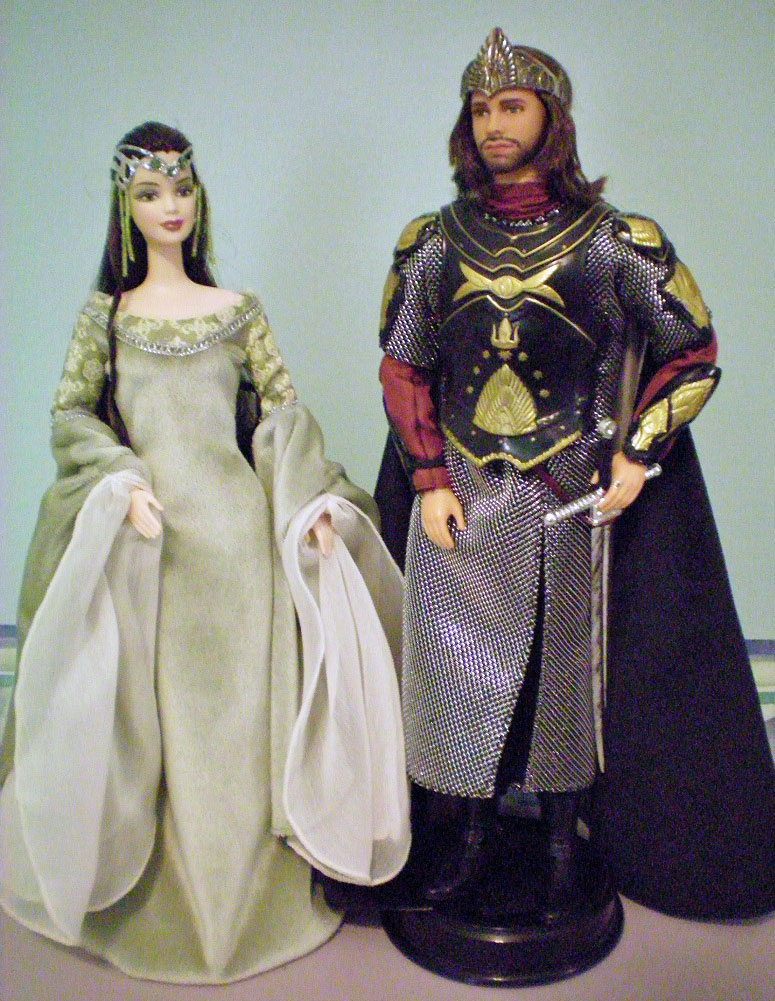
Arwen & Aragorn from The Lord of the Rings (Barbie & Ken Dolls, by Mattel)
This may seem obvious, but don’t forget a Google image search. Unless your costume is obscure or brand-new, you should be able to find photographs, screencaps, behind-the-scenes images, and fan-made replicas. These can be a great help when researching the costume you’ve fallen in love with. (Just keep in mind that each of these photographs is copyrighted to someone, so don’t post them on your blog or website without permission.)
Once you have plenty of photographs to work with, begin documentation. This means taking notes on the construction of the costume, along with any details that seem important. Ask the following questions:
- Which era is the costume from? Medieval? Renaissance? Victorian?
- Is it an accurate representation of a costume from that time period? Or is it more of a fantasy costume?
- What fabrics were used?
- What trims and embellishments were used? Lace? Embroidery? Beading?
- What undergarments give the costume its shape? Or is the support built in?
- What accessories complete the look? Jewelry? Shoes? Wig?
Being organized from the start will save you time and frustration. You might find it useful to create a folder to hold your notes, both on the computer and using an old-fashioned binder. For a binder, print your favorite photos of the costume, along with detailed descriptions of every element. Take it with you when you go fabric shopping, so you can refer to it when deciding whether a particular fabric or trim will work.
On the computer, keep all of your photos, sketches, and research together, along with any leads you might have on fabrics and trims. If you write a sewing diary, keep it here as well.
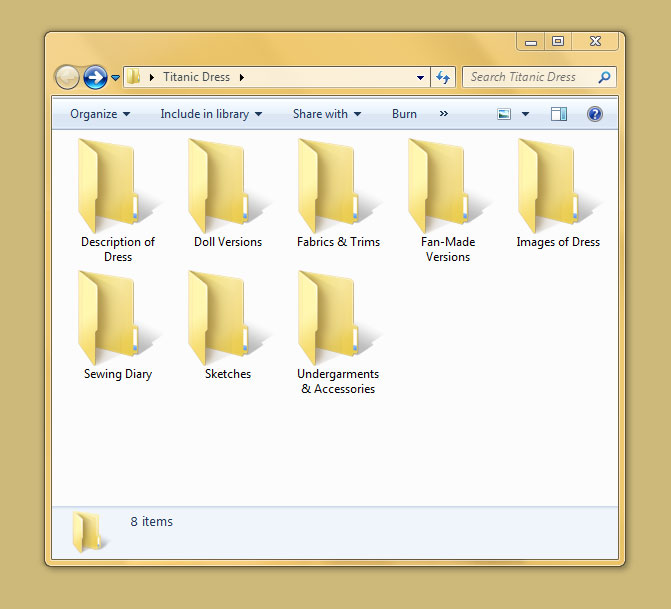
Organizing Your Research
- Step 2: Design
It’s time to start sketching! Drawing the costume will help cement the design in your mind and might even bring certain details to your attention. Many times, I’ve learned more from creating my sketches than I did from hours of study!
Study the pictures you’ve collected, and if possible, watch the relevant scenes in slow-motion. Refer to these images as you draw a large fashion sketch of the costume. (The bigger your sketch, the easier it is to include details.) You’ll need a minimum of two sketches, front and back, and possibly a third, showing the side view. Make sure to draw closeups of any detailed sections you want to copy accurately.
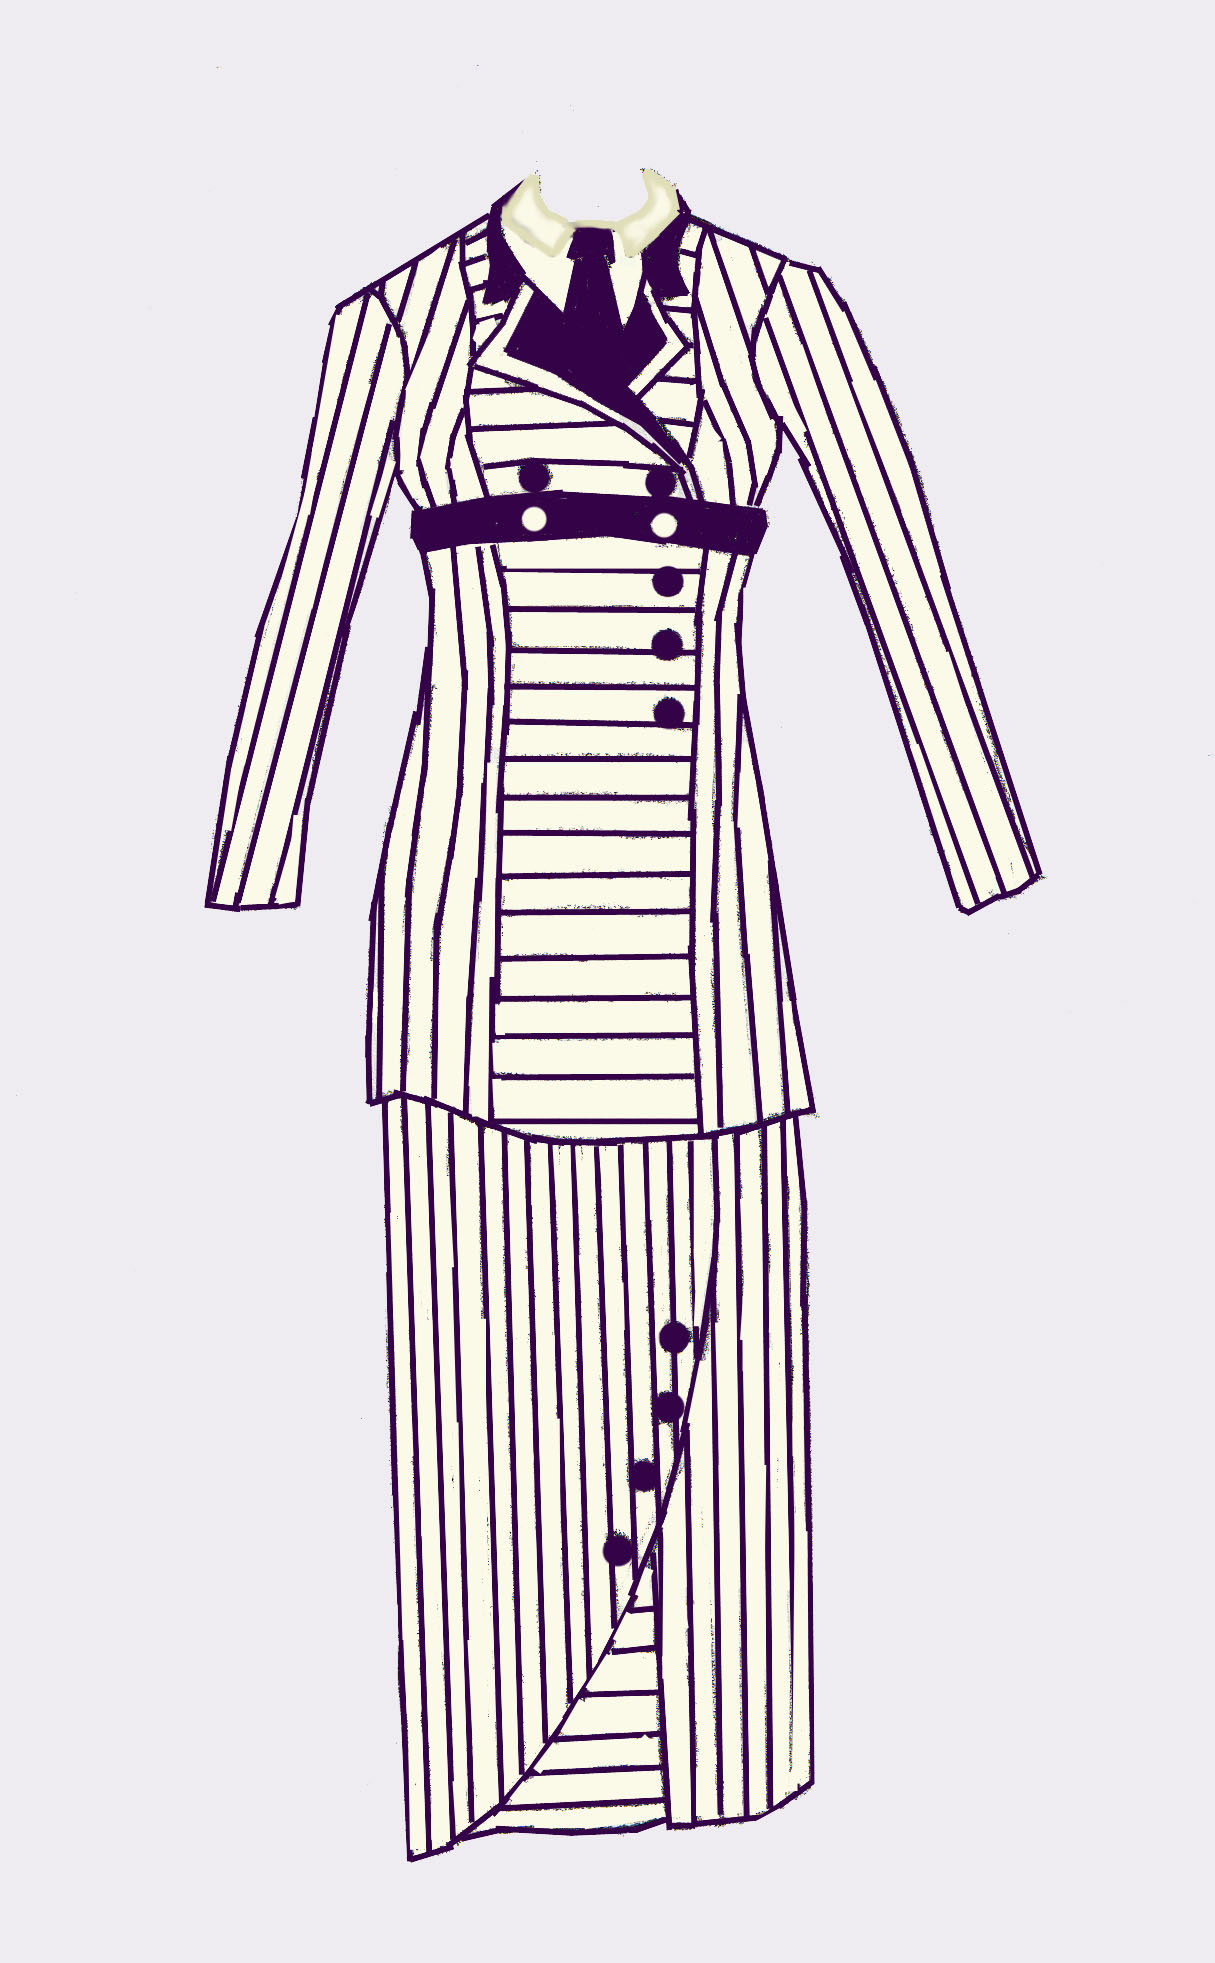
Quick Sketch of Rose’s Boarding Suit From Titanic (© 2012)
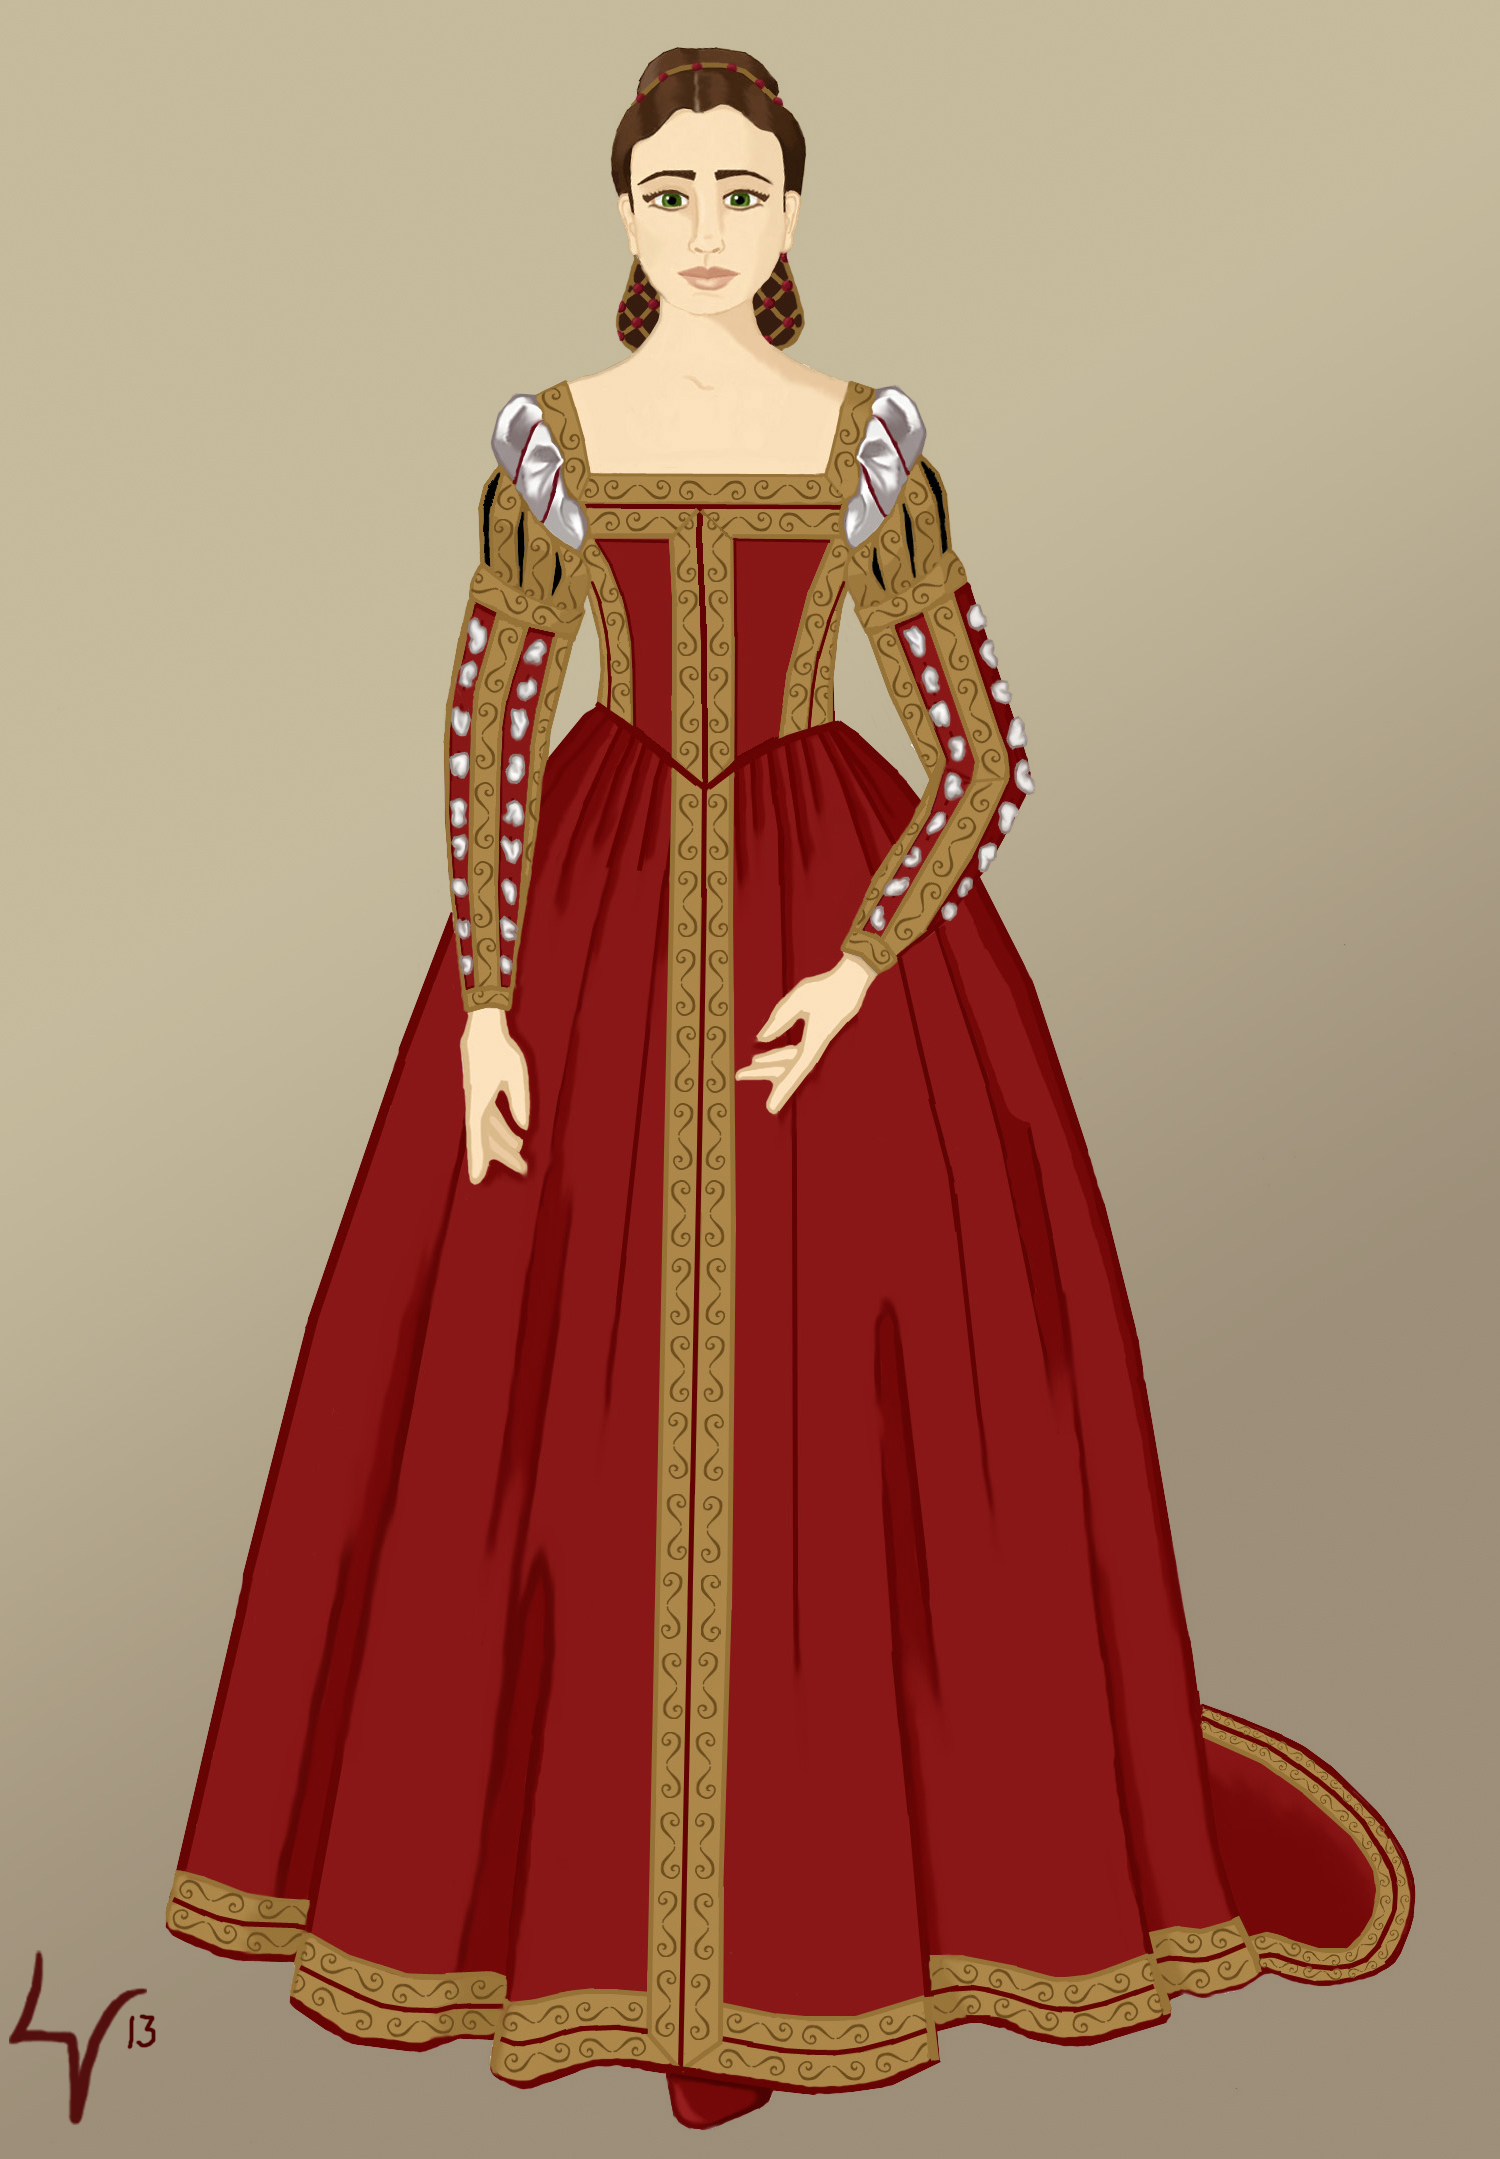
Sketch of 1560 Crimson Pisa Gown (© 2013)
Your sketches don’t have to be great works of art. They just need to convey enough detail that you can figure out how to sew the costume. For tips on drawing your own fashion sketches, see the following articles:
- Croquis: Fashion Sketches, Part I
- Croquis: Fashion Sketches, Part II
- Digital Color: Coloring Your Croquis, Part I
- Digital Color: Coloring Your Croquis, Part II
- Improve Your Fashion Sketches
Once you have a decent set of sketches, decide how accurate you want your replica to be. This will help you determine how much time and money you need to spend on your costume. Is it going to be a quick and easy “budget” version that’s merely reminiscent of the original? A deluxe replica that’s identical in every aspect? Or something in between?
If you’re making a historical costume, consider whether you want a full set of period undergarments, such as a Victorian chemise, drawers, corset, bustle, and petticoats. Having the correct foundation garments will ensure that your costume looks its best, but it can be time-consuming to sew so many layers. An alternative is to build the support structure directly into the garment itself, as is often done with theater costumes. It’s not historically correct, but it’s an option that may save time.
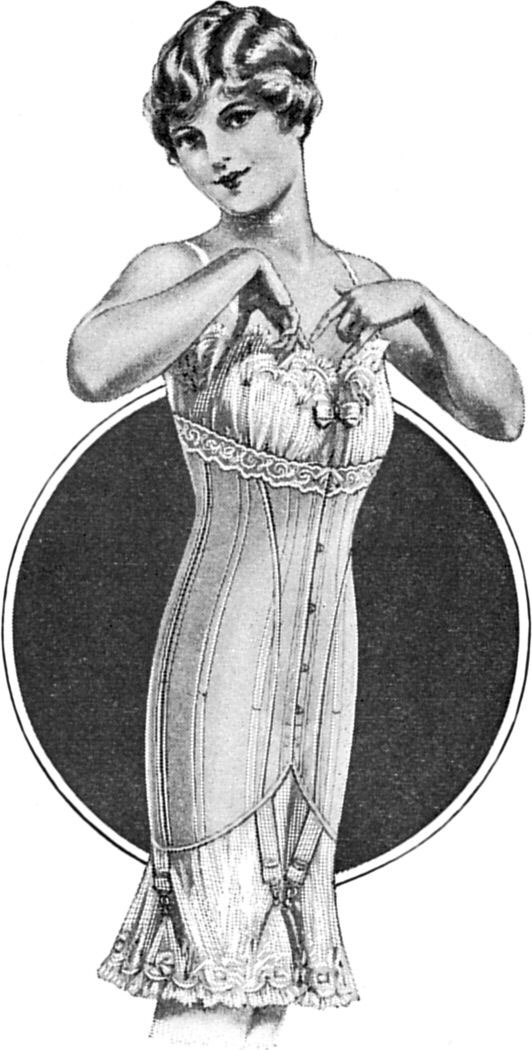
Period Undergarments — Spirella Corset, 1917
It’s important to remember that not all movie costumes are historically accurate, especially in fantasy films. Similarly, many theater costumes are stylized rather than historically correct. Theater costumes probably won’t have period undergarments, and they might have easy-access fastenings, such as Velcro, large snaps, hooks, or zippers, so the actors can change quickly between scenes. In such cases, you must decide whether you want to be true to the original costume, or true to history.
When I made a replica of Christine’s Wishing dress from Andrew Lloyd Webber’s The Phantom of the Opera, I chose to make it as close to the original as possible, while remaining historically correct. So, while the stage costume had a zipper down the center back, I made mine with a front hook & eye closure. I also created a proper corset, wire bustle, and petticoats to give my dress the correct silhouette.
My Wishing Dress
Theater costumes may vary between productions. This can be seen in The Phantom of the Opera, since each production around the world makes their own costumes. They refer to the original design sketches and costume bible, but they’re free to change minor details and embellish as they see fit. So, for example, Australia’s Wishing dress has a pleated skirt, while the others use gored skirts. Canada’s has frothy lace sleeve cuffs, while others are more frugal with their ruffles. Germany’s has elaborate beading down the front, while the UK’s version features white floral appliques, and the American version uses etched velvet. Each one is different, yet they’re clearly the same dress.
When I made my replica, rather than duplicating one version in particular, I chose to mix and match the features I liked best. I used the Canadian sleeves, the British bustle, the American skirt, and so forth. The result was a unique dress that drew from all variations.
If your version of the costume will be different in any way, finalize the details by creating one last sketch, which includes your alterations and deviations.
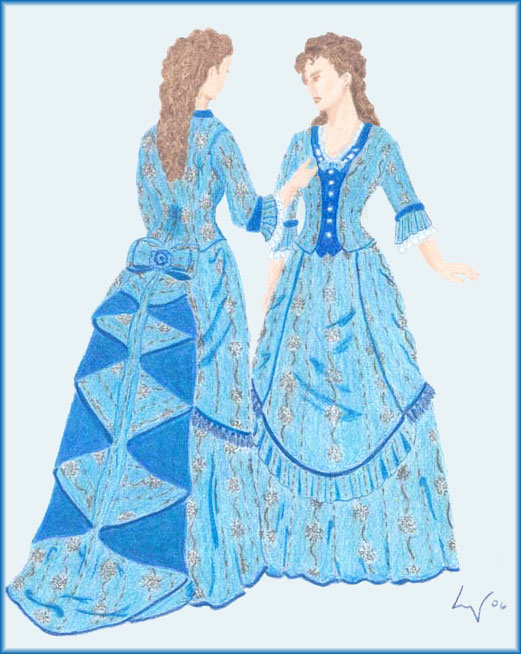
Wishing Dress Sketch (© 2006)
- Step 3: Finding Materials
Finding appropriate fabrics and trims can be the hardest part of making a replica costume, especially if you don’t live in a large city. Locating the original fabric will not be easy—or cheap. If you’re comfortable with compromising, look for something that evokes the spirit of the original, rather than being identical.
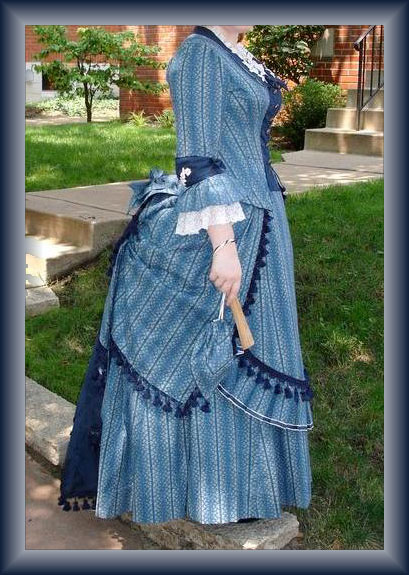
That’s exactly what I did with my Wishing dress. The original fabric is a hand-printed blue silk with a black and white striped floral pattern. Finding something even remotely similar was quite a challenge. I found it especially hard to match the color, since the original silk shifts with the lighting, appearing rich turquoise in one photo, blue-gray in another, and cobalt blue in another. In the end, I settled for an 1860s reproduction cotton which has stippling that forms stripes. It certainly isn’t identical, but it does evoke a similar feeling, especially from a distance.

Original Wishing Fabric (Courtesy of Anéa)
My Wishing Fabric
Where can you find suitable fabric? There are a number of online fabric shops, as well as sites that specialize in trims. Check local stores as well—and don’t forget the upholstery and home decorating departments. Sometimes the right materials can be lurking where you least expect them! If it comes down to it, you can design your own custom fabric through a site like Spoonflower, but this can be prohibitively expensive, especially if you need a lot of yardage.
Be patient and remember that it takes time to find the perfect fabric and trims. If you’re not obsessed with accuracy, it will be much easier to find what you’re looking for. But whatever you decide, make sure that you’ll be happy with the finished result, otherwise what’s the point?
-
A Few Online Sources
-
Tip
If you want to get adventurous, you might be able to dye a suitable fabric to the color you need. Also consider the possibility of hand painting or stamping your fabric to achieve a printed effect.
It can be challenging to find suitable patterns. Simplicity, Butterick, and McCall’s occasionally make movie-inspired costume patterns, but they aren’t always faithful to the original. These brands also produce historical patterns, but these are rarely accurate. As an alternative, consider independent pattern companies that specialize in historical costumes. You might be able to alter one of these to suit your needs.
-
A Few Pattern Sources
- Medieval, Renaissance, and Tudor: Reconstructing History
- Baroque/Rococo/Georgian: J.P. Ryan
- Regency: Sense and Sensibility
- Victorian and Edwardian: Truly Victorian
Don’t forget about accessories! The right shoes are vital to the look of a costume. There are a few shops and websites that sell historical shoes, but they can be expensive. However, it may be possible to find modern shoes that have a historical feel, giving you the right look for the right price. Below, you can see a modern white shoe that has a pretty good shape for the 18th century. With the addition of a bow or some sort of embellishment on the toe box, it would work quite well for a rococo costume.
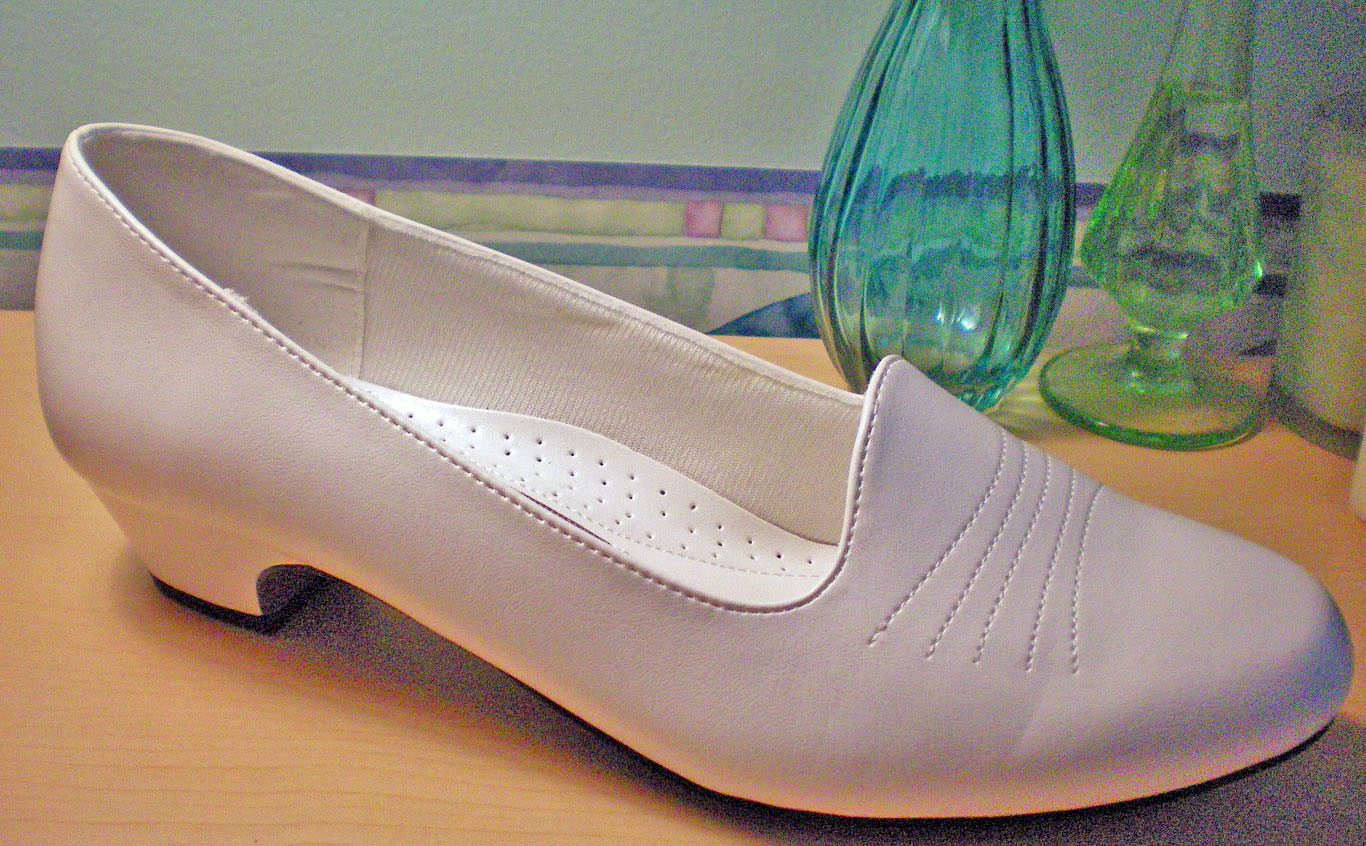
Historically Inspired Shoes
- Step 4: Construction
Once you have your design, your fabrics, and your pattern, you’re ready to begin assembling your costume. But wait! Don’t cut your beautiful fabric just yet.
First, start with the undergarments. A costume should always be fitted over the undergarments that will be worn with it, so it’s a good idea to make them first. If you’re new to sewing, beginning with undergarments that won’t be seen is a good way to build skills and confidence.
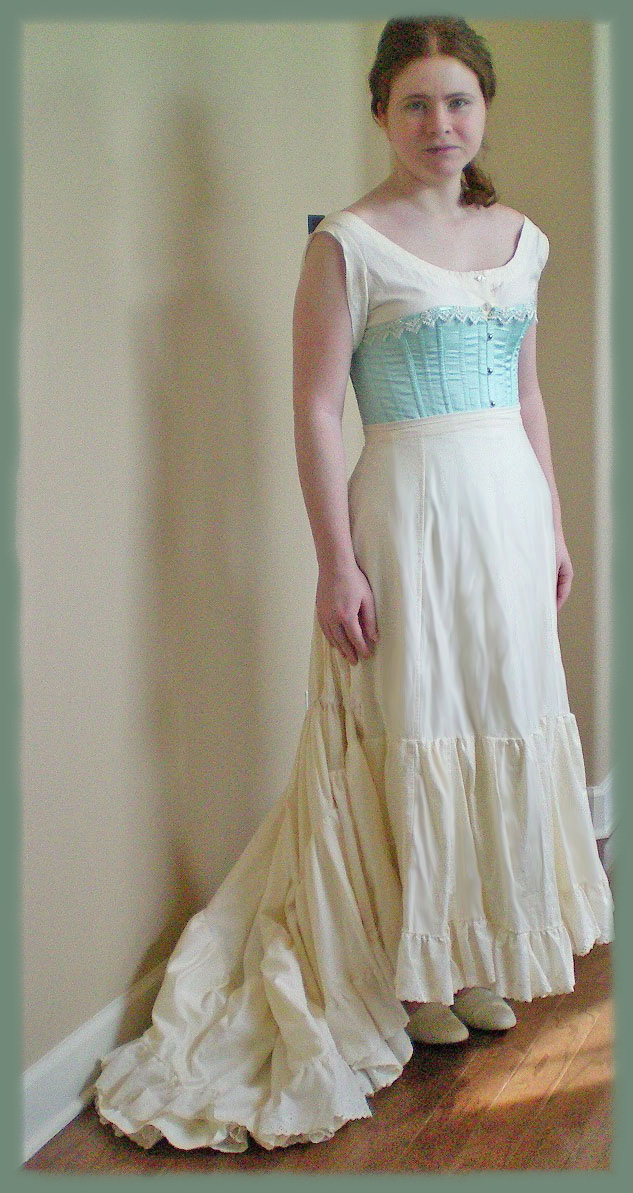
Victorian Underpinnings
Once you have your undergarments, proceed to a mockup of the main costume. But what’s a mockup, you ask? Also known as a muslin or toile, a mockup is a practice garment made from inexpensive muslin. It allows you to perfect the fit and figure out any changes you want to make to the pattern—without risking your expensive fabric! It’s also a good opportunity to get familiar with your pattern, so you don’t make any mistakes in the final costume.
Fit is key. A garment that’s ill-fitting will look sloppy and cheap, even if the most costly materials were used. Learn how to fit your body, so your costume looks as though it was custom-made for you. Sew multiple mockups of any section you’re unsure about, especially if your fabric was costly or hard to find.
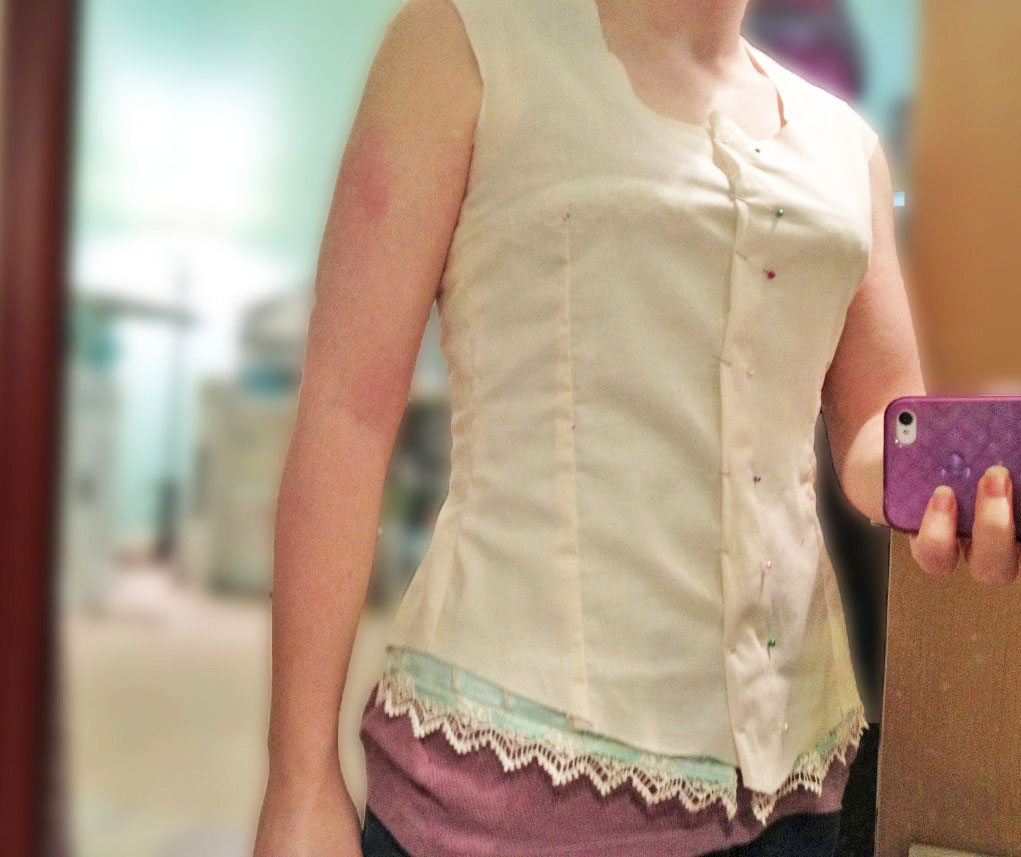
Fitting a Mockup
If you want to use theatrical sewing techniques, add wide seam allowances that will allow you to adjust the size of the costume. This is especially useful if your size often changes due to weight gain or loss. You might sew a wide hem, as well, in case you ever sell the costume to someone who needs to lengthen the skirt.
Take your time and go slow. Rushing leads to mistakes, which can be frustrating. If you have a deadline, start sewing as early as possible, so you’re not rushing at the last minute. When I wore my Wishing dress to a performance of The Phantom of the Opera, it didn’t get finished in time and a friend literally had to sew me into the bodice as we drove to the theater! Let’s just say that was an experience I don’t care to repeat.
- Step 5: Embellishment
Once you’ve assembled your costume, the fun begins—embellishing! Many costumes are dripping with embroidery, beads, and trims. You can simplify the embellishment for a less-expensive replica, or you can copy every detail. The choices you make at this stage will cement the garment as being uniquely yours.
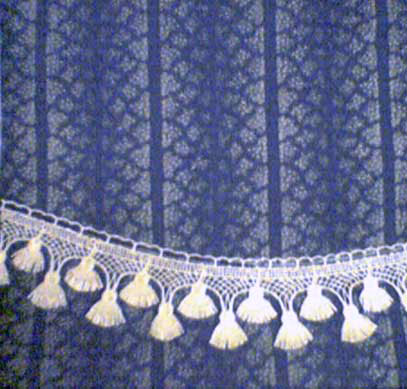
Consider layering trims. Stitch two different ribbons over each other, or place a narrow braid over a wider trim. For my Wishing dress, I took blue grosgrain ribbon and sewed it down the middle of ivory galloon lace. This gave me an original trim that no other replica had.

Layered Trim on the Overskirt of My Wishing Dress
For a truly custom embellishment, try hand dyed lace or appliques. You can even take lace appliques and cut them up, arranging them into something that better suits your costume. For the collar of my Wishing dress, I took a strip of white floral Venetian lace and cut apart the individual motifs, rearranging them for a more organic look.

Custom Floral Lace Appliques on the Collar of My Wishing Dress
Silk ribbon embroidery is something you might consider instead of traditional embroidery. It’s much faster to complete, so may be a good option if you’re pressed for time. Just keep in mind that it looks different from regular embroidery, because the ribbon produces more of a three-dimensional effect.
Here is a closeup of the stomacher I made for Christine’s “Point of No Return” costume, from The Phantom of the Opera. I haven’t yet made the entire costume, but I wanted to see if I could successfully embroider the floral effect on the sides of the stomacher.

Silk Ribbon Embroidery
Consider whether you want to sew your trims by hand or by machine. Some trims, such as satin, velvet, or grosgrain ribbon, are easy to sew by machine and doing so will save a lot of time. Other trims may prove more difficult. Beaded or sequined trims require a special presser foot, and there’s a risk of breaking your needle. If the trim is delicate, or if it loops or curves, you’re better off sewing it by hand.
Keep in mind that you don’t always have to stitch your trims with tiny, even stitches. Often, a quick tacking is all that’s required. However, if the trims are heavy or expensive, you might want to sew them on more securely, so there’s no risk of them coming loose while you’re wearing the costume.
~~*~~
Now that we’ve covered the five basic steps of replicating a costume, let’s examine the process firsthand. Follow along in the second half of this article, as I create a doll-sized replica of a costume from Andrew Lloyd Webber’s The Phantom of the Opera.