
(Click on any illustration to view the full-sized image.)
Shopping for a sewing machine can be overwhelming. There are so many brands and models to pick from—how do you know which one’s right for you? All too often, I see students go out and buy a sewing machine before they know what to look for. As a result, they end up with expensive features they’ll never use, or they don’t get the features they actually need.
This can be avoided by asking a few key questions before you go shopping. Let’s take a look at how to choose the right sewing machine.
Entry-Level vs More Advanced
First, how much experience do you have? If you’re an absolute beginner, there’s no reason to spend extra money on a machine with 400+ stitches and automatic-everything. If, however, you enjoy sewing and plan to stick with it for awhile, think about getting a machine with more features.
For basic sewing, you only need two stitches: straight and zigzag. This will get you by for a while. My current sewing machine has more than 900 different stitches, most of which I never use. The ones I use most often are straight (for regular seams), zigzag (for gathering), triple stretch stitch (for knit fabrics), and overlock (for seam finishing). On occasion, I’ll use a decorative stitch or the eyelet stitch, but I could survive without them.
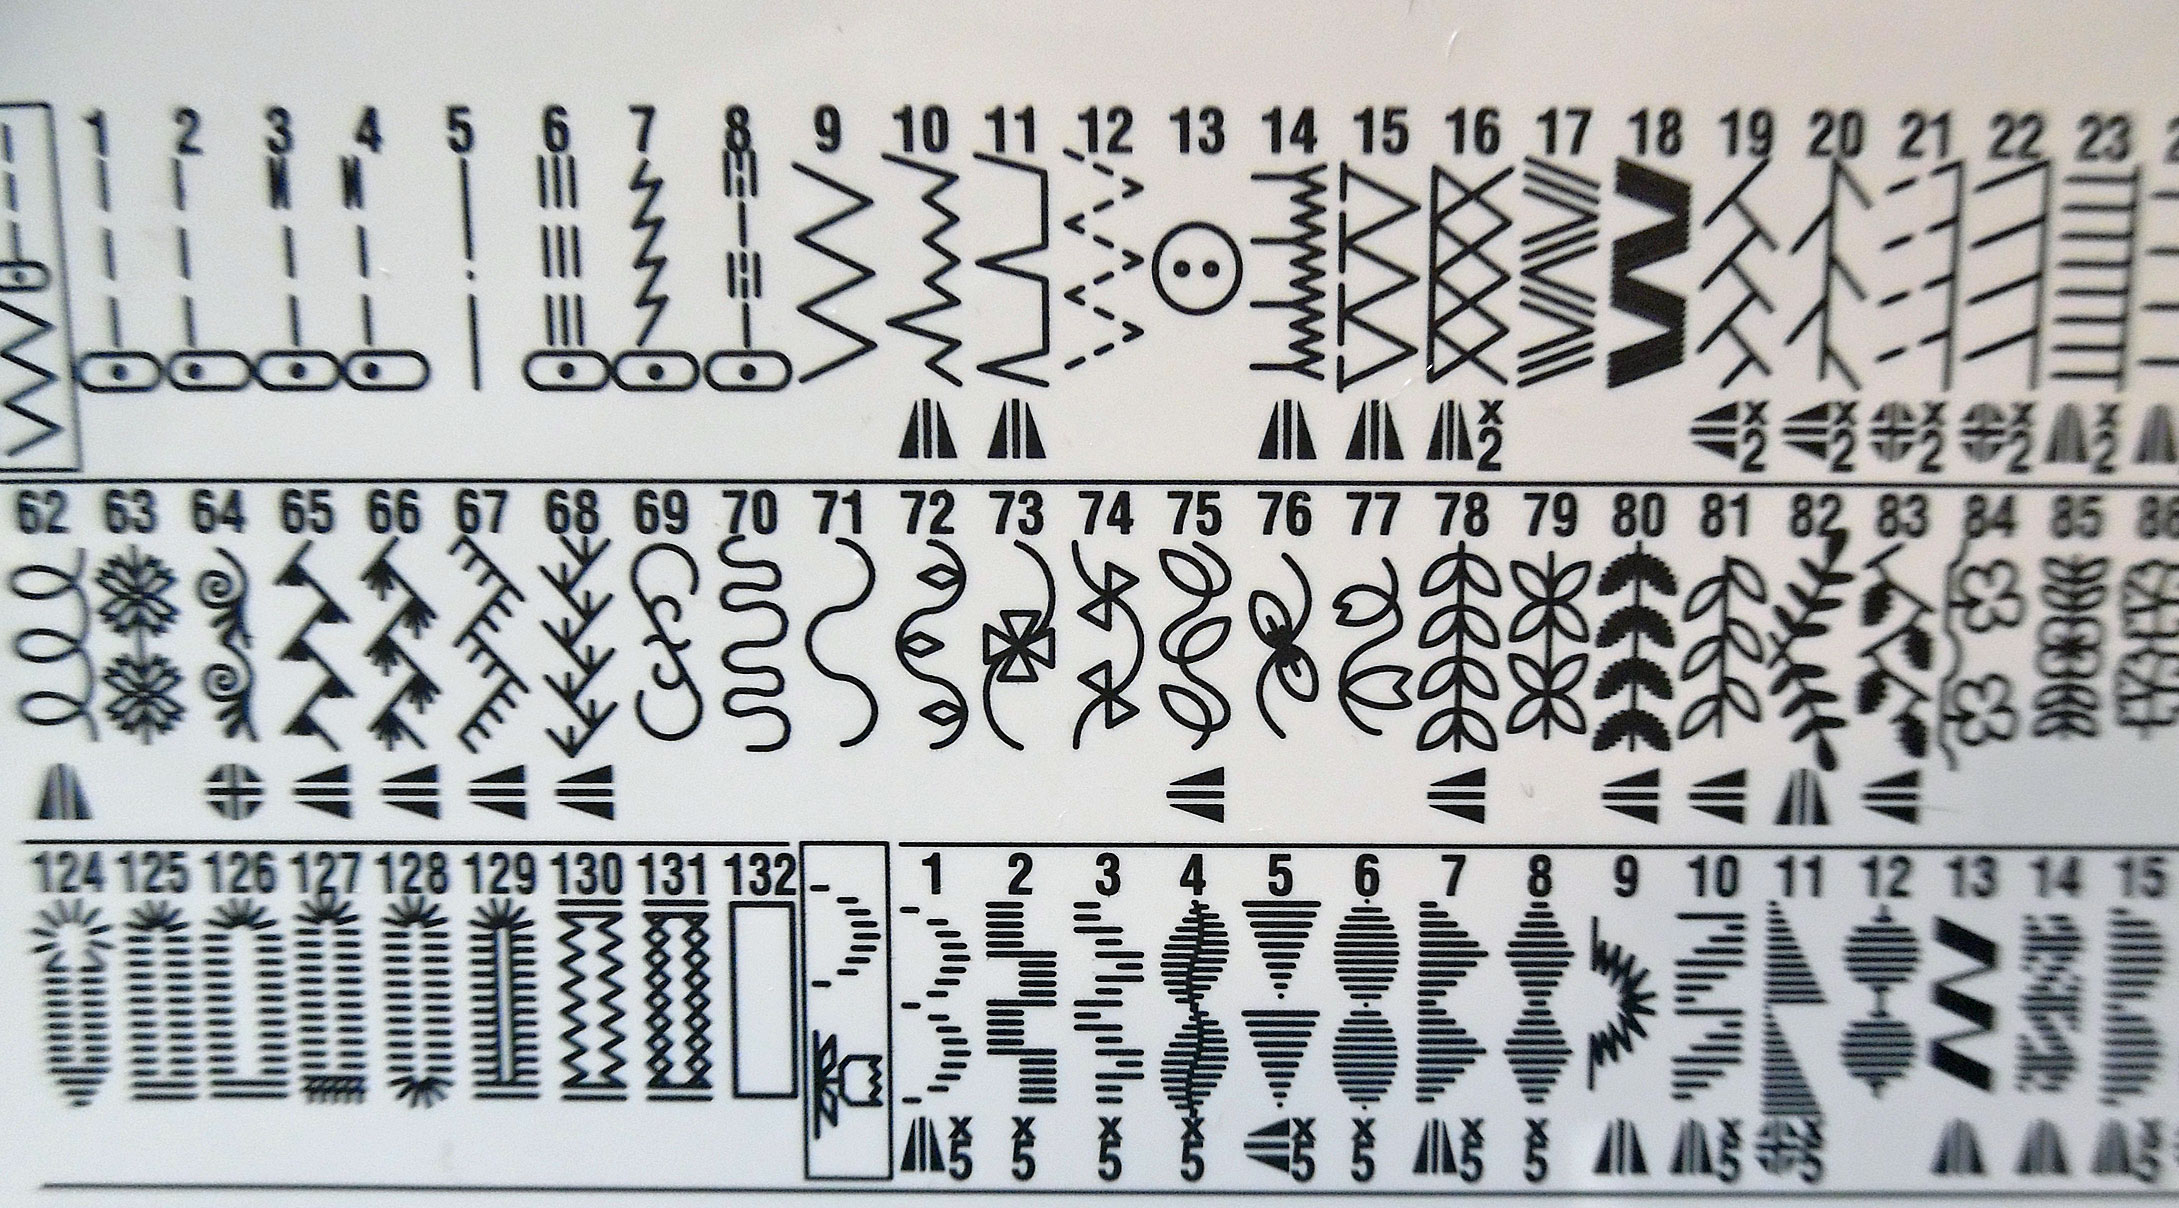
Various Stitches
Aside from stitches, there are special features that more advanced sewing machines come with. You might find some of them useful. Just make sure you actually need them, so you aren’t wasting money! To narrow down the kind of sewing machine you need, ask yourself the following questions:
- Do you plan on sewing commercially? Look for a machine that’s sturdy enough to stand up to the rigors of daily sewing.
- Are you making corsets? You’ll need a powerful machine that’s capable of stitching through multiple layers of coutil or twill.
- The same goes for home decorating—if you’re working with heavy fabrics, you’ll need a stronger sewing machine.
- Do you plan on doing embroidery? Consider a hybrid model that allows both traditional sewing and embroidery.
- Will you be quilting? Get a machine with a wide frame.
- Are you sewing casually, just for fun? Think about a less-expensive model, with fewer features.
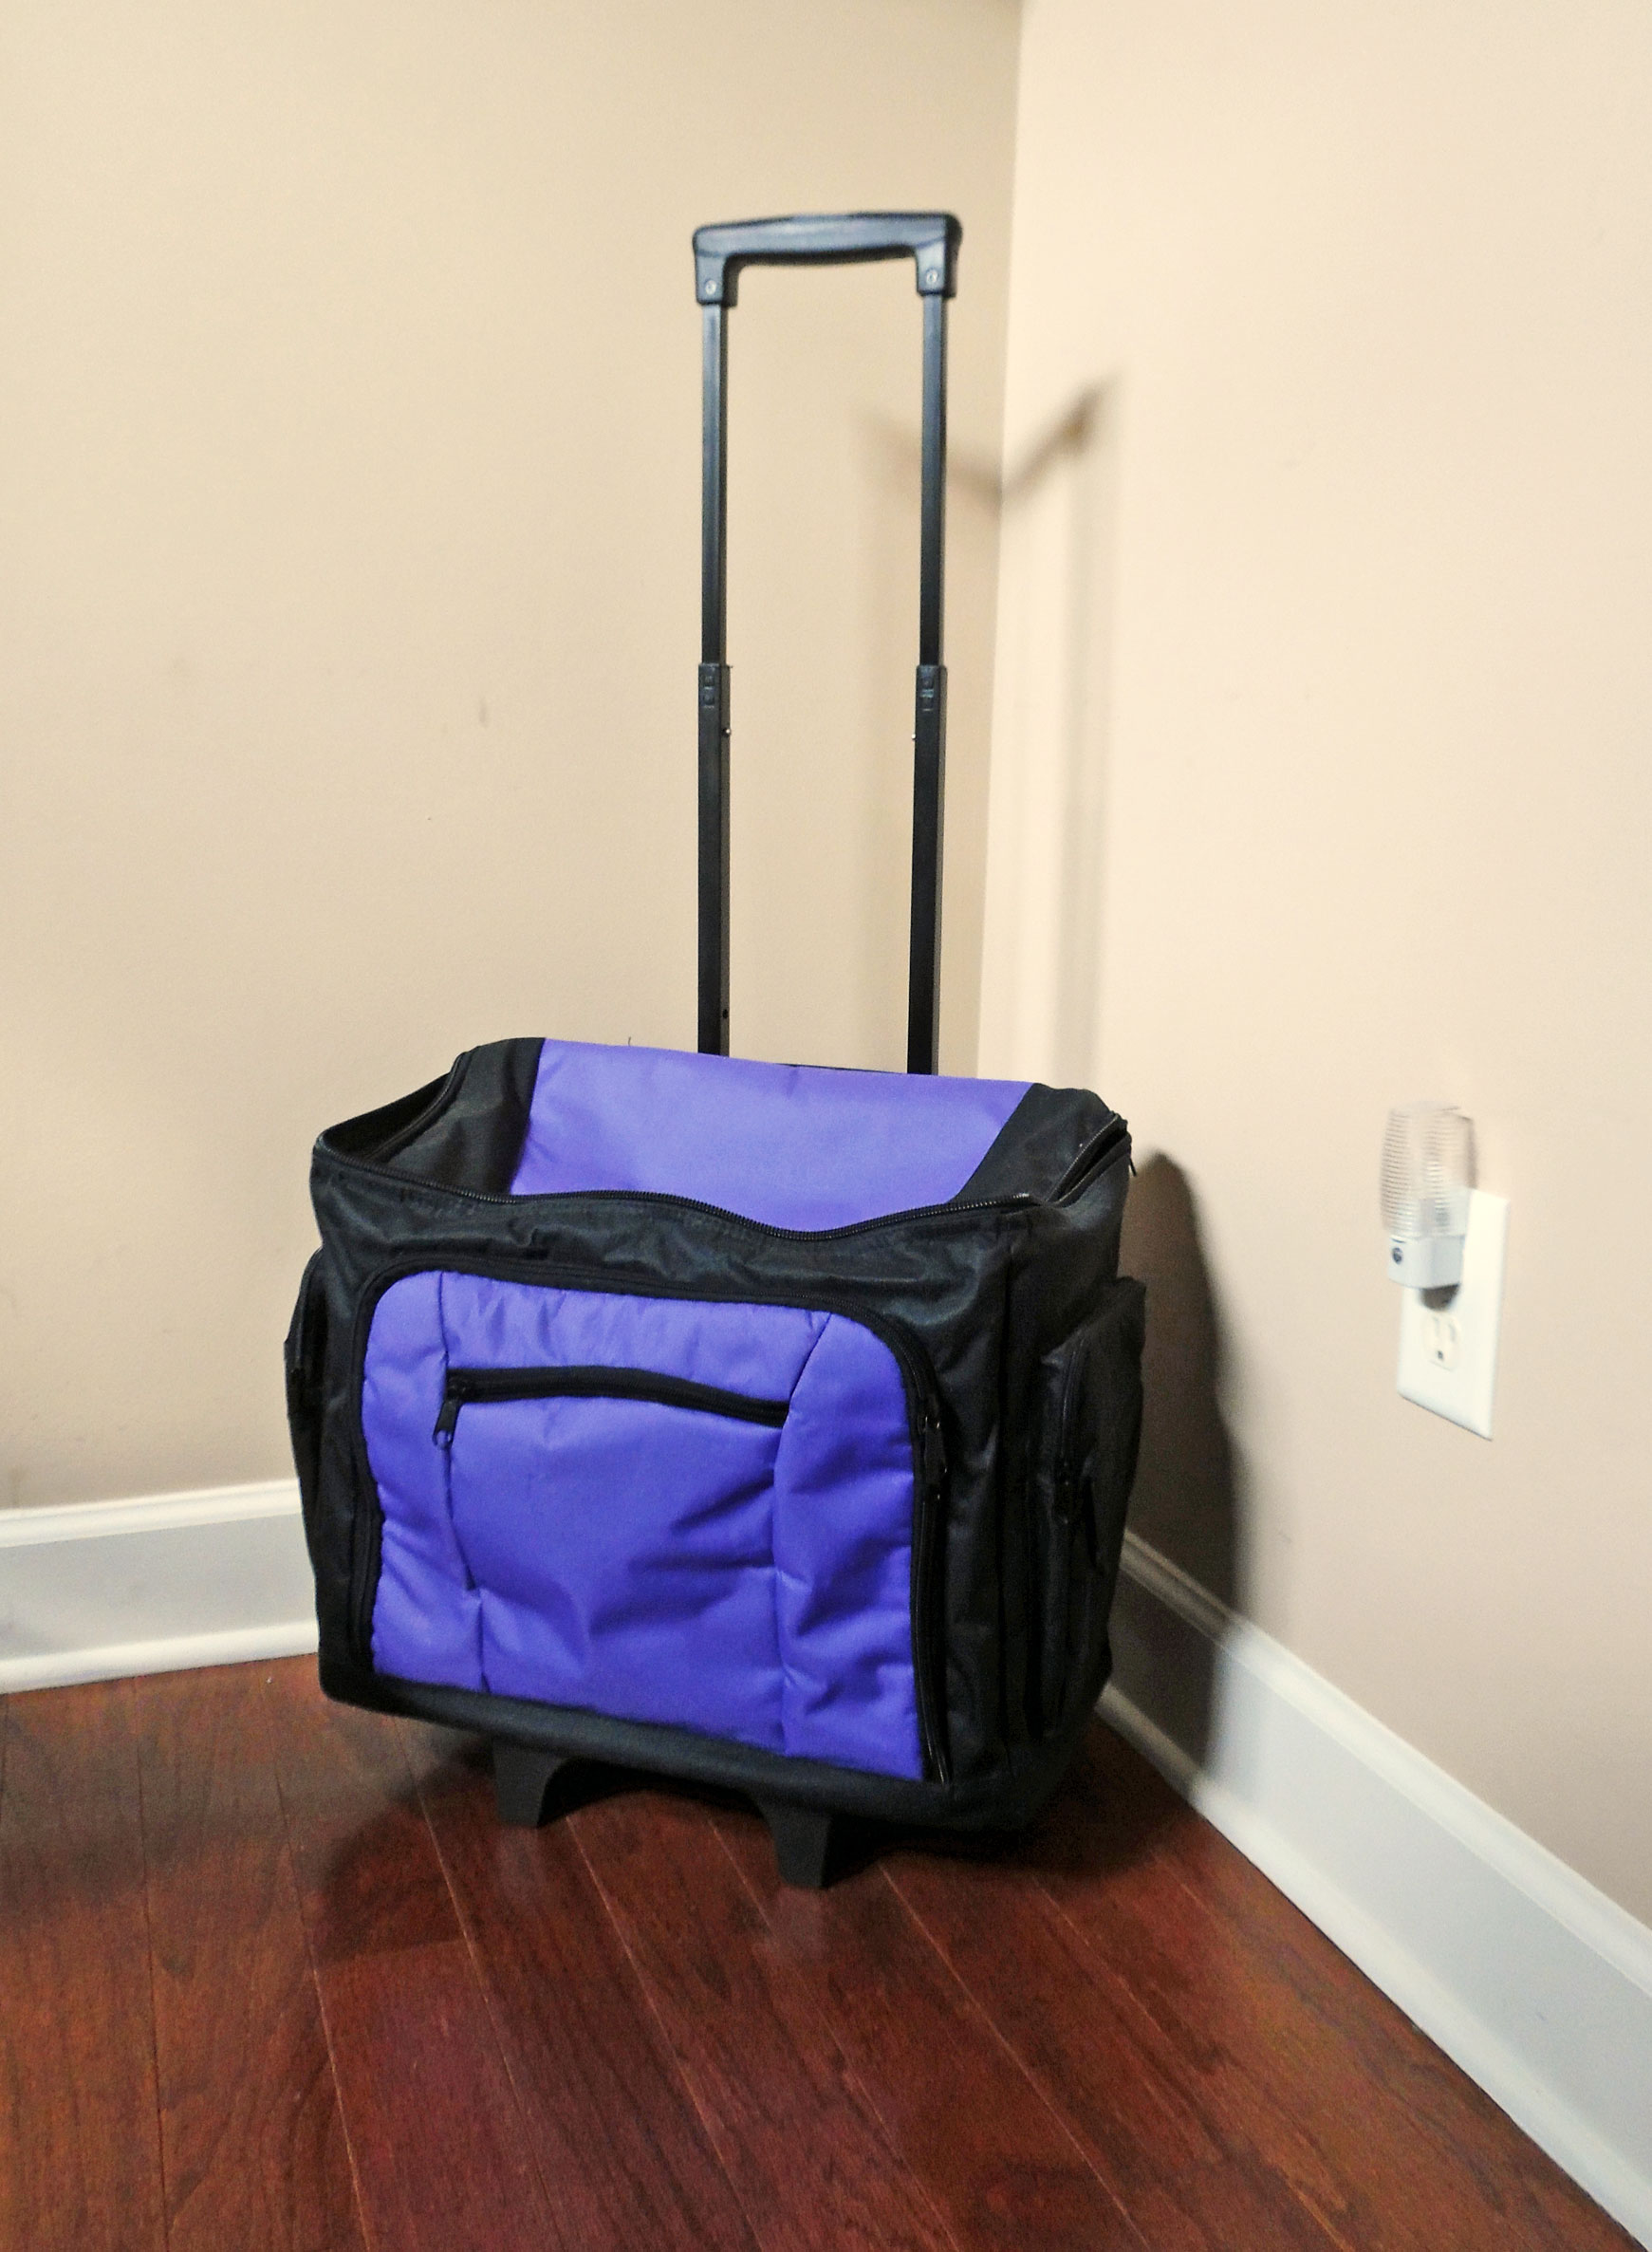
- Will you be attending sewing classes? Get a lightweight model that can be transported easily. (Don’t forget a sewing machine trolley! A trolley will protect your machine from getting banged around, while making it easier to lug to class. It’s basically a padded carry-on suitcase for sewing machines, sergers, or embroidery machine. Just make sure you get the right kind!)
Sewing Machine Trolley
Mechanical vs Computerized
Essentially, there are two types of modern sewing machines: mechanical and computerized. A mechanical machine is very basic. It needs electricity to run, but the controls and settings are all adjusted manually via knobs and switches. In contrast, a computerized machine has digital controls, so you can adjust your settings with the tap of your finger. There are also a few hybrid machines that have both kinds of controls.
How do you choose? It comes down to the features you need. Computerized sewing machines are more expensive and more delicate, but they can do things a mechanical machine can’t. Certain auto-features are reliant upon a computer, for example. If you can’t find the features you want in a mechanical model, you’ll have to upgrade.
Singer Quantum Stylist Touch
Bobbin Types
Every sewing machine uses a spool of thread that’s threaded from above, plus a smaller bobbin wound with thread, which goes below. These two threads meet under the needle and interlock, forming each stitch.
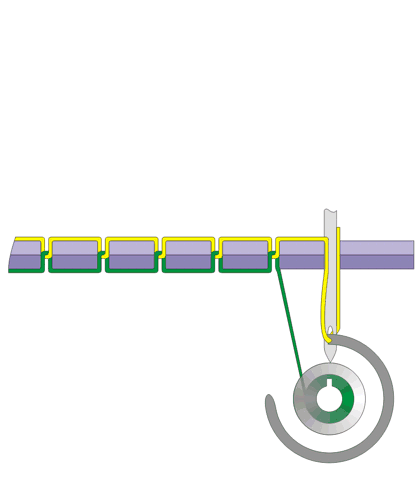
How a Bobbin Works (Courtesy of NikolayS)
There are two common types of bobbins: front-loading and drop-in. Front-loading bobbins are found on vintage sewing machines, as well as some modern mechanical machines. They’re harder to use, because the bobbin must be inserted into a metal casing, which is then placed into a special compartment in the sewing machine. You must draw the thread up through the feed dogs before you start sewing. It isn’t difficult, but it is time-consuming.
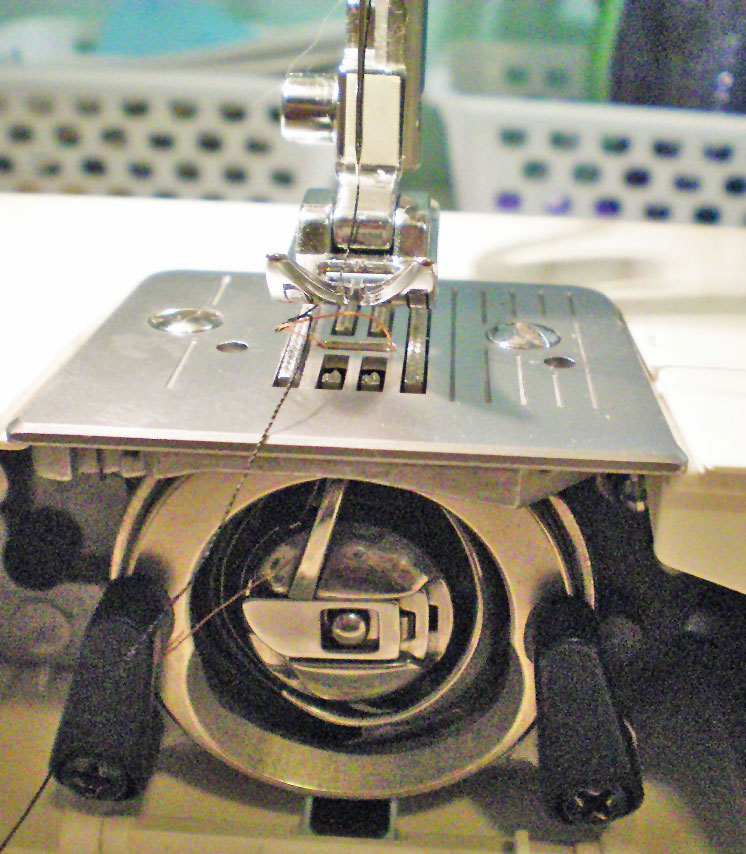
Front Loading Bobbin
A drop-in bobbin is much simpler to use. The metal casing has been eliminated, and the bobbin compartment is on top, right in front of the feed dogs. You remove the compartment’s cover—which is often clear, so you can see how much bobbin thread you have left—and simply drop the bobbin in and hook the thread around a catch. With some models, you still need to draw the thread up through the feed dogs, but others will do this for you automatically.
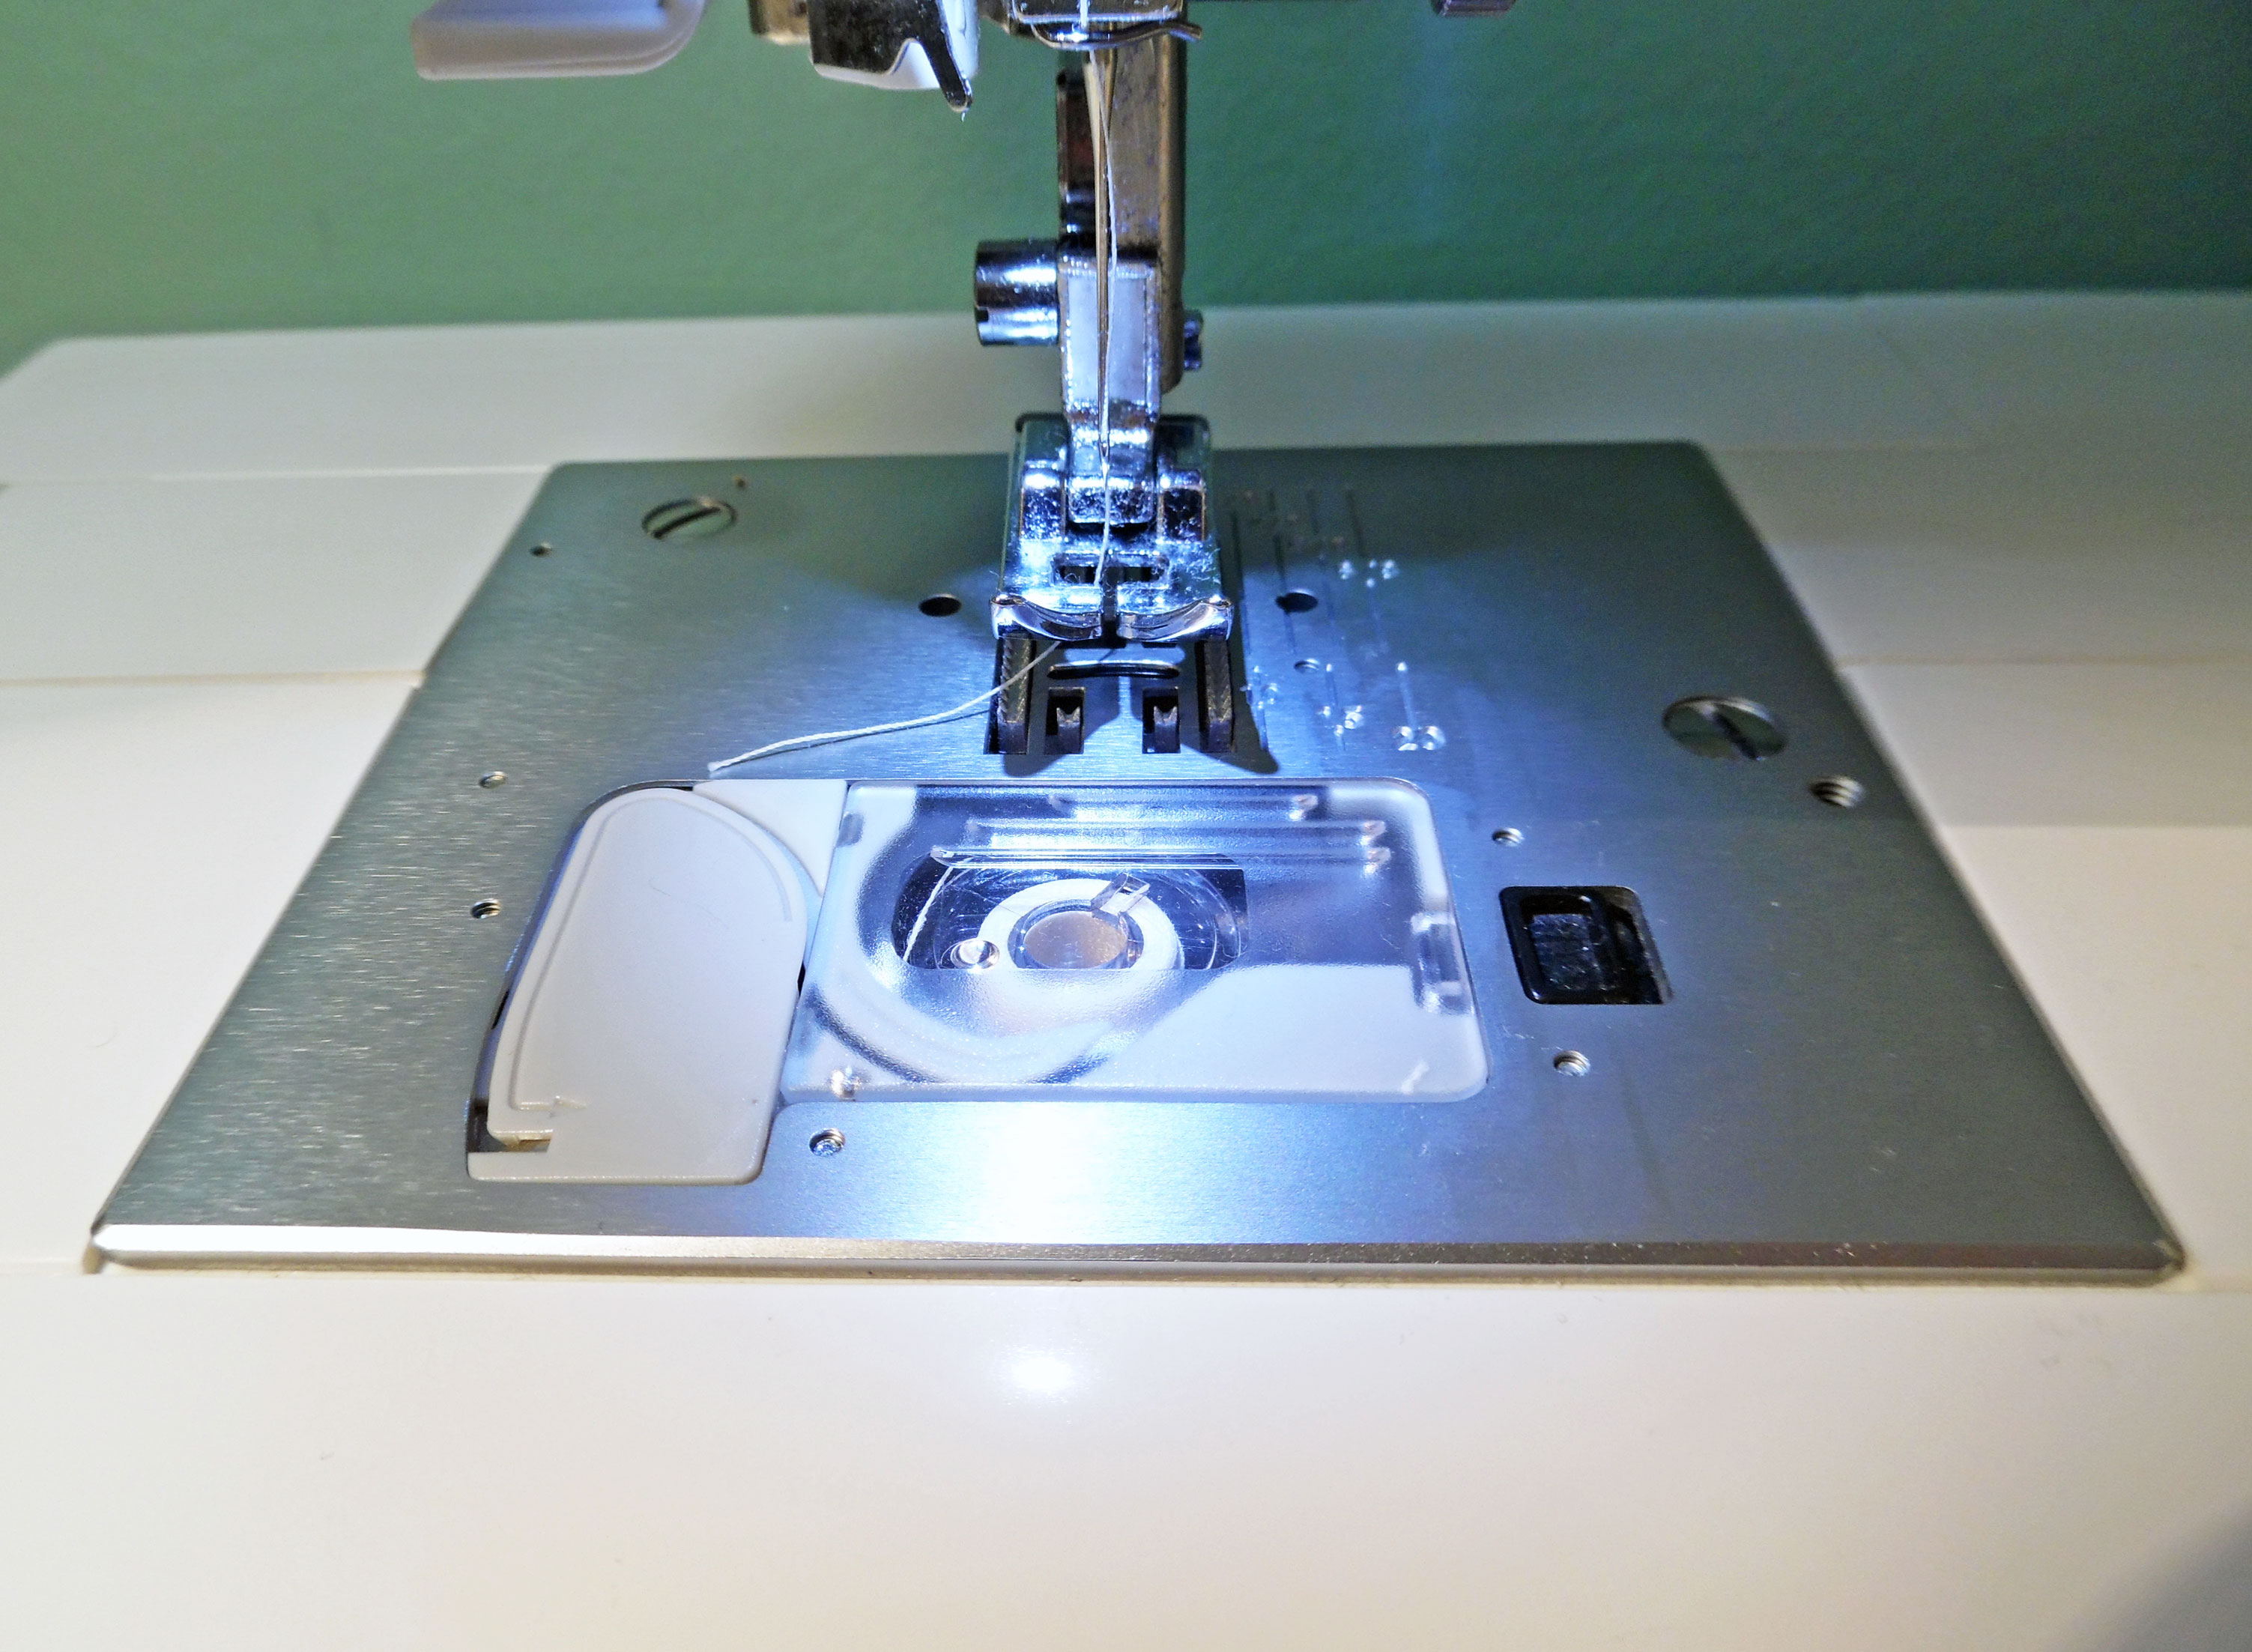
Top Drop-In Bobbin
As for the bobbins themselves, there are several different kinds. Each sewing machine takes a specific type of bobbin, so check your manual to be sure you’re buying the right one. Some bobbins look very similar—for example, Class 15 and Class 15J. The difference is hard to see, but your sewing machine knows! (Some experts don’t even realize there is a difference.) At best, using the wrong bobbin will cause the thread to loop and tangle. At worst, it can wreck the inside of your sewing machine.
-
Learn From My Mistake!
When I bought my last sewing machine, I misread the product description and thought it took the same bobbins as my old machine. When it arrived, I popped in one of my old bobbins and started sewing. Except, it didn’t work. The thread came out as loose loops on top, and snarls on the bottom. I tried everything to fix it, but to no avail. Eventually, I traded the bobbin for one that came with the sewing machine—and what do you know! Problem solved.
There’s also the quandary of plastic bobbins versus metal bobbins. Some machines are only meant to use one or the other, so check your manual to be sure, especially if you’re planning to stock up on bobbins when you buy your new sewing machine.
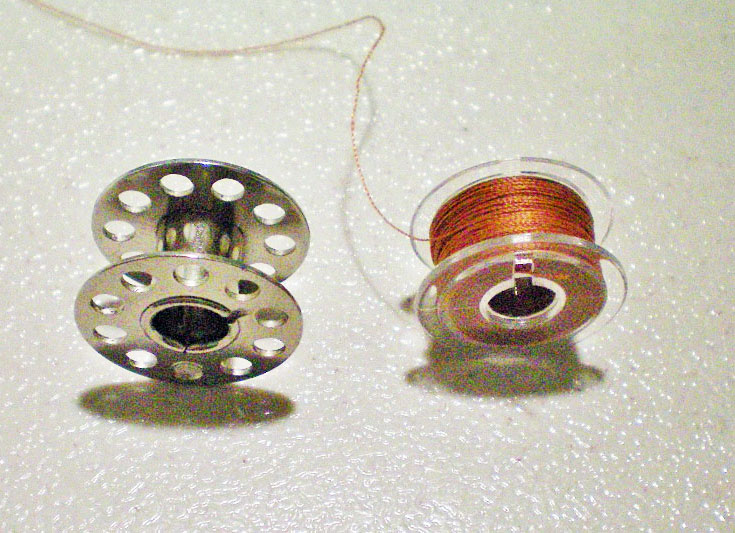
Bobbins: Metal vs Plastic
Other Features
Mechanical sewing machines aren’t very versatile. You can change the stitch length and width, choose between a limited variety of stitches, and adjust the thread tension. That’s about it. A few include a one-step buttonhole stitch, which is a vast improvement over the four-step buttonhole. And some newer mechanical sewing machines come with an auto-needle threader and a top drop-in bobbin. Even expensive commercial models don’t come with many additional features.
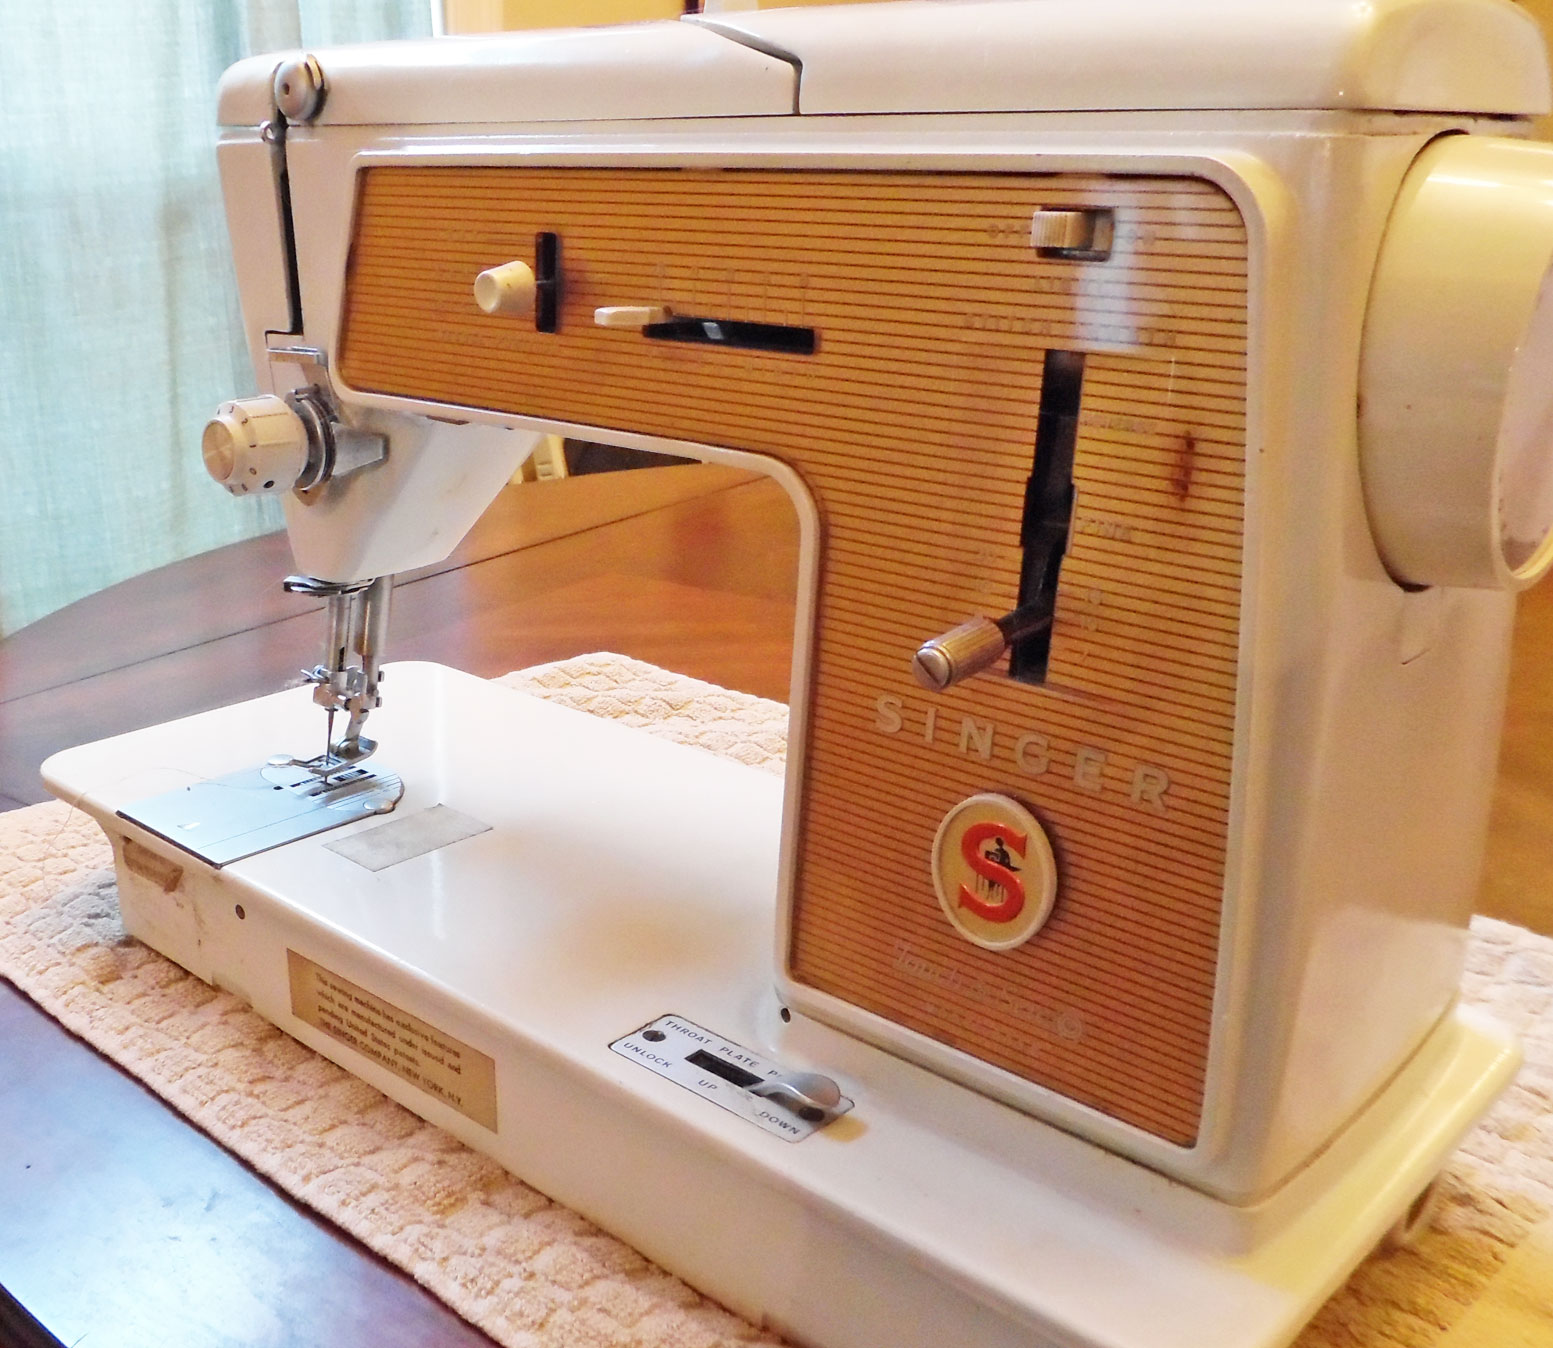
Vintage Singer—Mechanical
A computerized sewing machine has a wider variety of stitches to choose from, including traditional stitches, stretch stitches, heirloom stitches, and decorative stitches. Many have auto-features, which are extremely convenient. Here’s a few you might look for:
- Auto Needle Threader
This is a small gadget that helps you thread the needle quickly and easily. It’s attached to the machine, but stays out of the way until you need it.
- Auto Needle Positioning
This feature ensures that the needle automatically raises, or goes down into the fabric, whenever you stop sewing. It’s especially helpful when you’re sewing a tight curve and need to pivot frequently. If you choose to stop with the needle down, there’s usually a button to raise the needle when you’re ready, instead of having to manually turn the hand-wheel.
- Auto Thread Cutter
Most sewing machines have a tiny safety blade on the left, so you can cut your thread when you’re done sewing. Newer machines are taking this idea to a whole new level! With the tap of a button, the sewing machine will automatically cut both threads, then raise the needle. All you have to do is lift the presser foot and remove your fabric! Easy peasy.
- Speed Control
Great for beginners or anyone who’s intimidated by a fast sewing machine, the speed control lets you adjust how fast you sew. If it’s on a low setting, no matter how hard you stomp on the food pedal, it won’t sew any faster than a crawl. If it’s on a fast setting, you can zip through your seams as if there’s no tomorrow. It’s your call.
Speed Control Option
- Start/Stop Button
With this feature, you can unplug the foot pedal and press a button to start and stop sewing. This is handy if you’re sewing a long, straight seam that doesn’t require finesse.
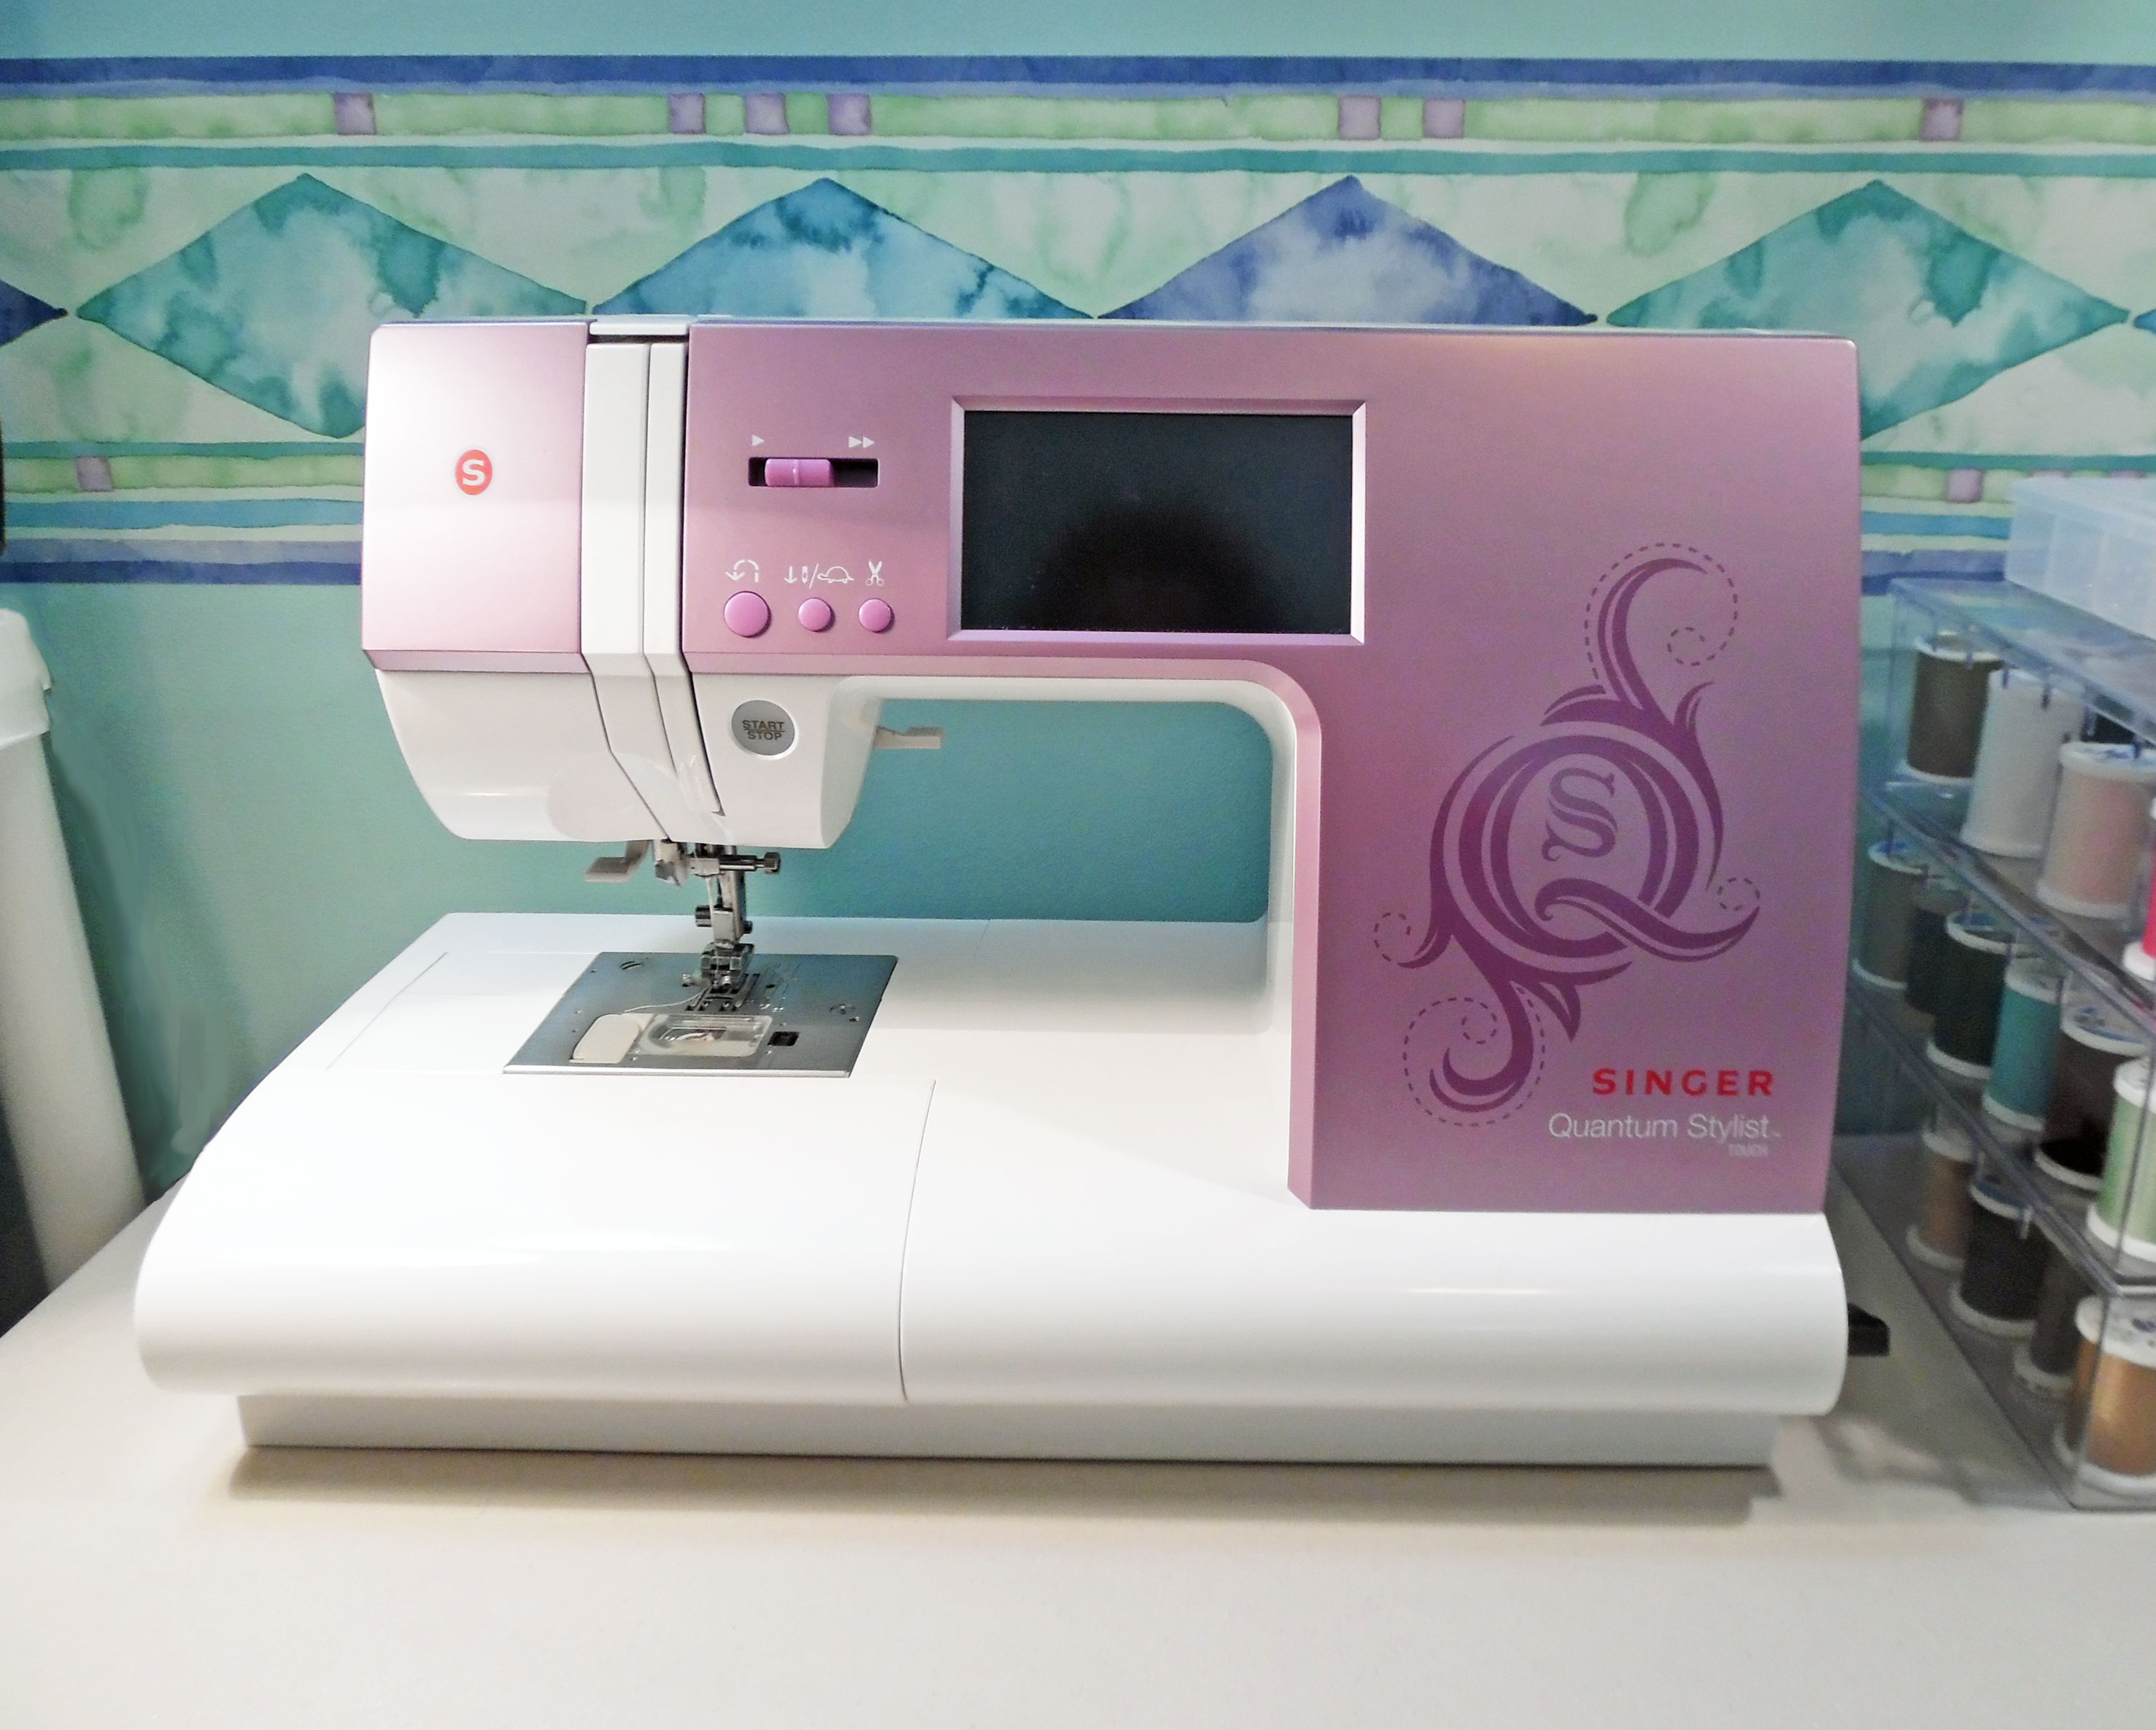
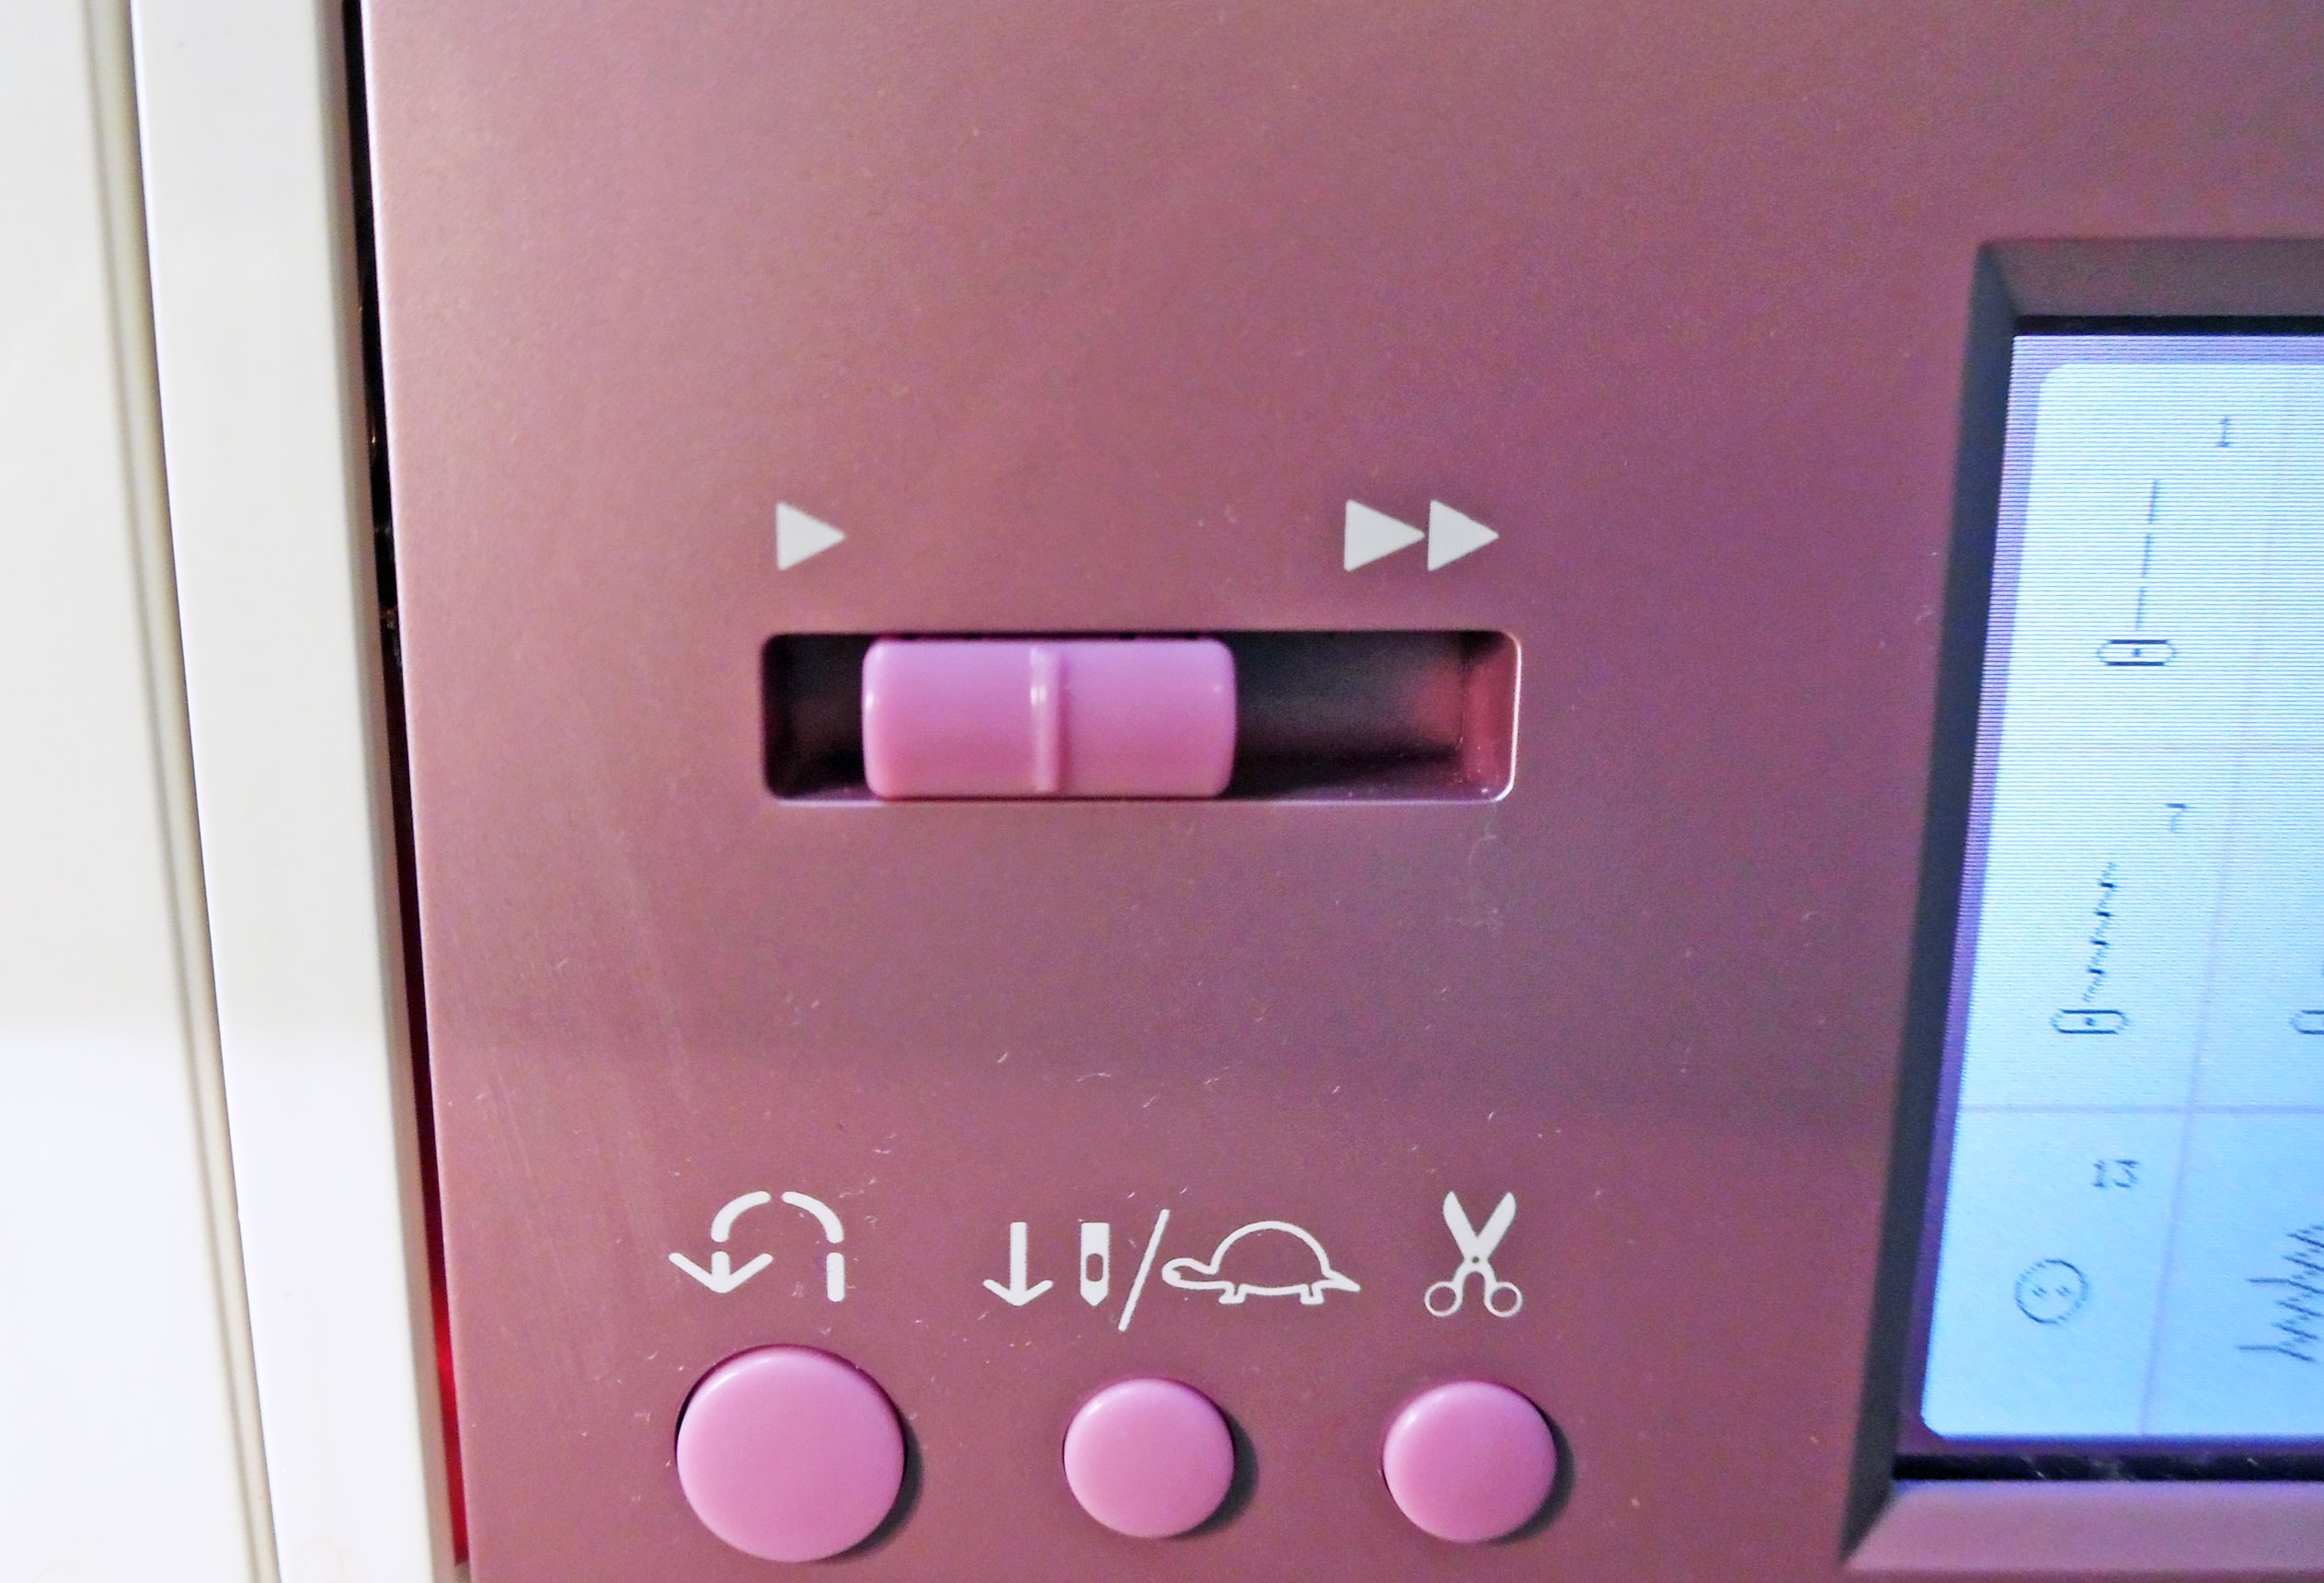
- Touch-Screen
Some higher-end sewing machines have a touch-screen, instead of buttons. These allow you to tap the selection you want, instead of having to click through your options one at a time.
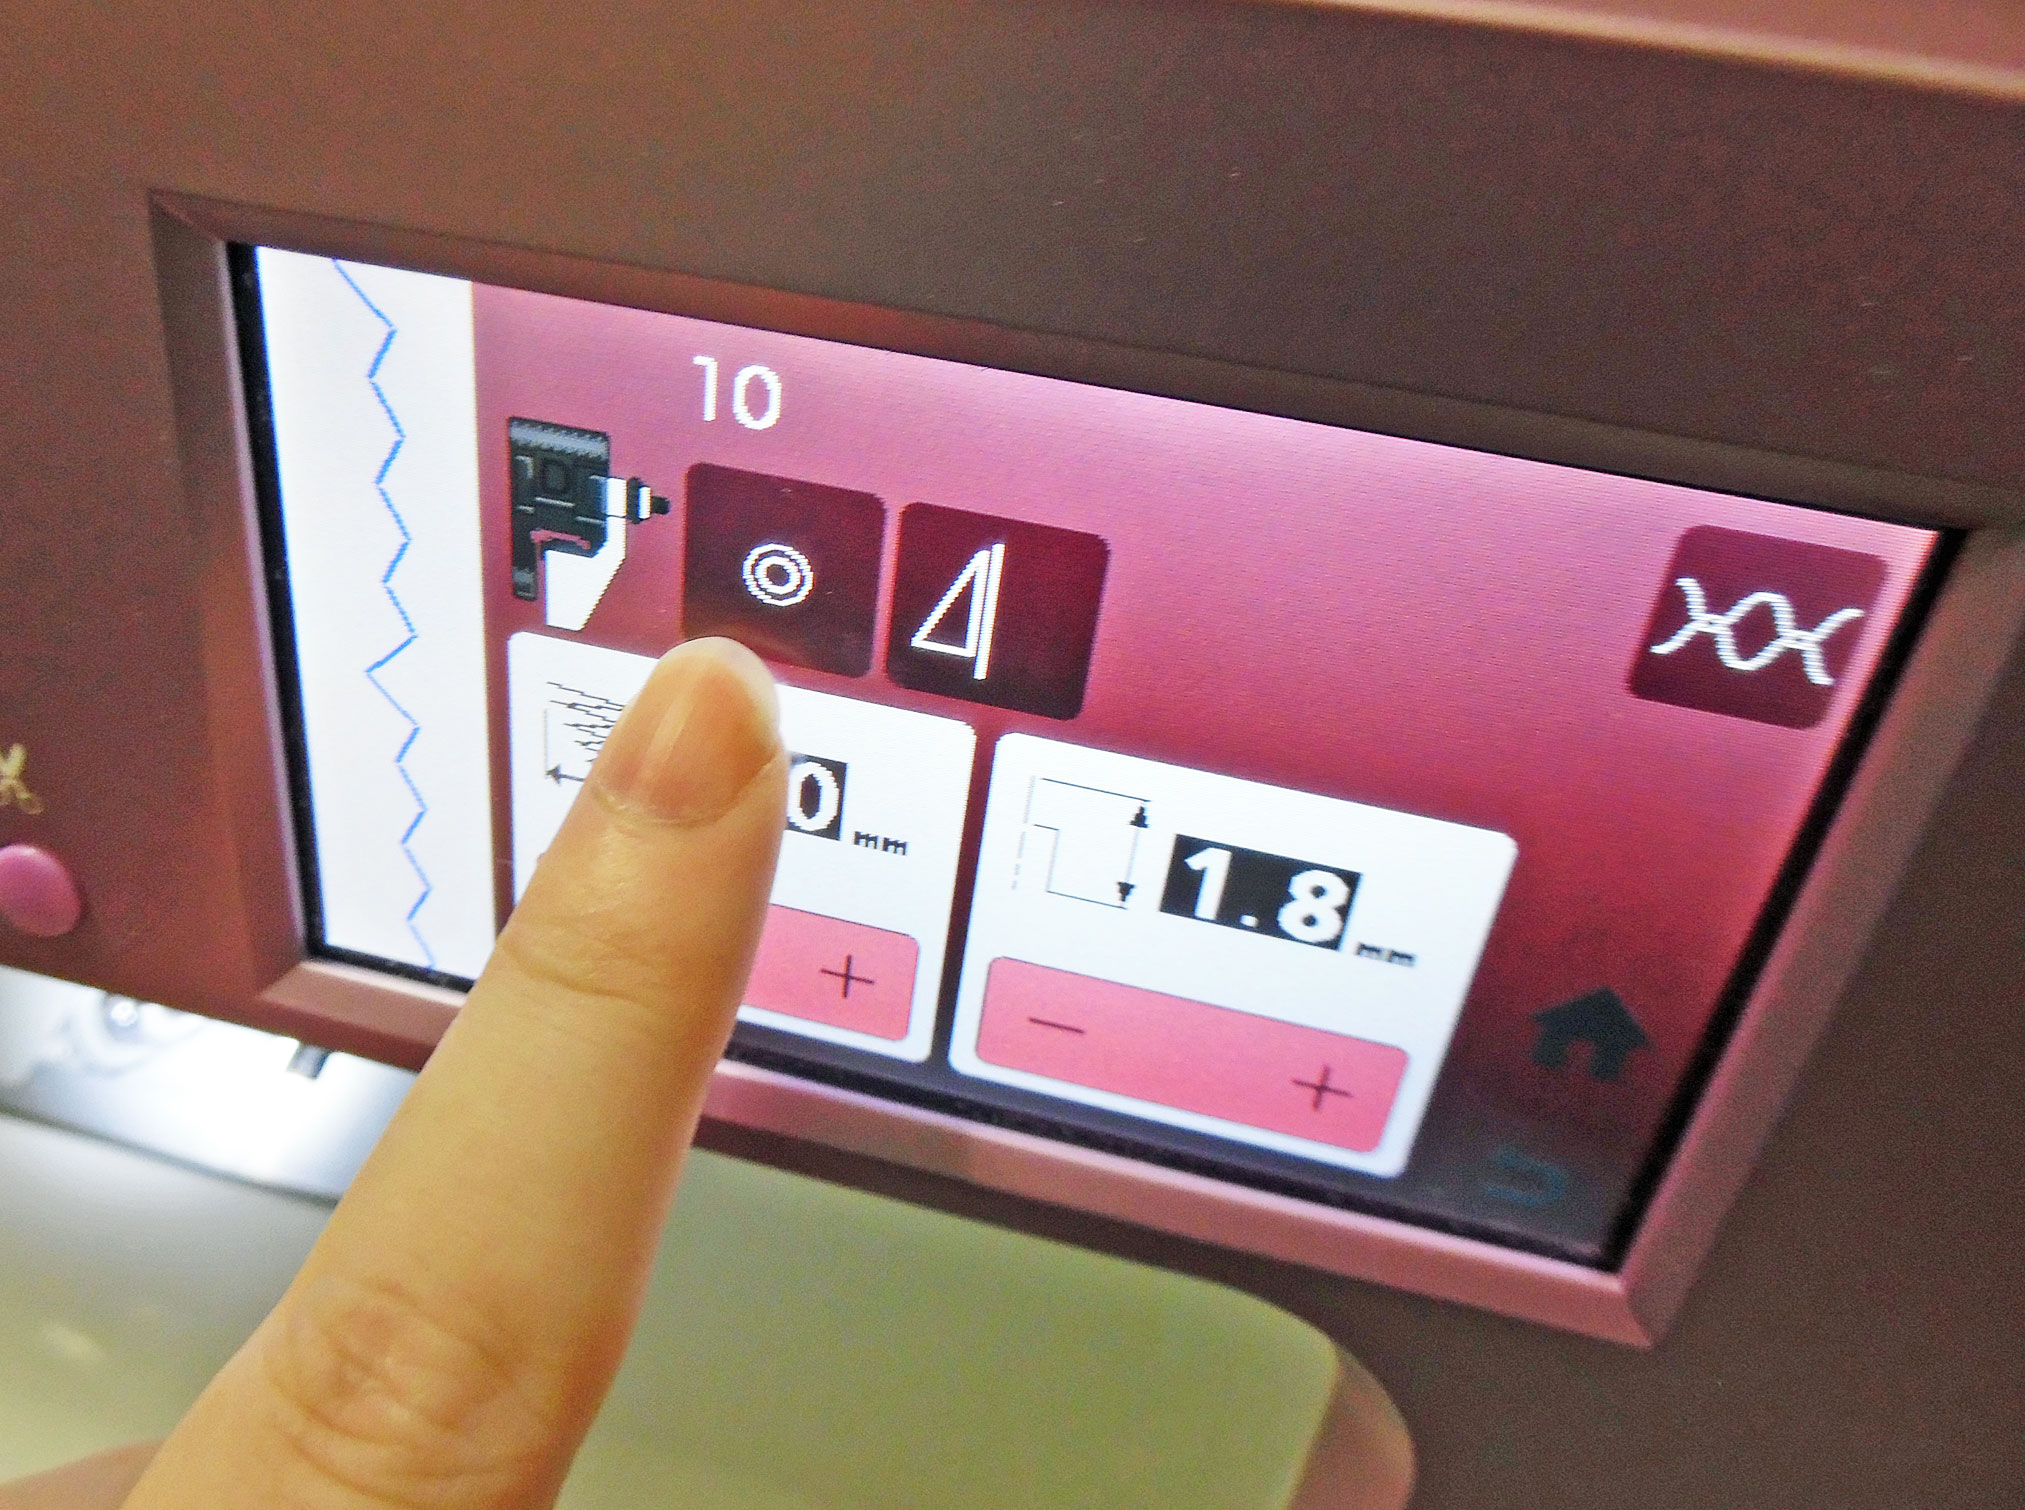
Singer Quantum Stylist Touch
- Adjustable Presser Foot Tension
This allows you to change how snugly the presser foot rests against your fabric. For thicker fabrics, you want less tension, and for thinner fabrics, more tension.
- Locking Stitch
This is an uncommon feature, but extremely useful. Instead of backstitching, which adds unwanted bulk to a seam, you can use the locking stitch to sew in place several times, thereby securing the seam. Some sewing machines even have an auto-locking stitch, which will automatically sew in place at the beginning and end of every seam.
- Drop Feed
This allows you to lower the feed dogs, so you can control the fabric yourself. It’s useful for free-stitching (embroidery) and darning, among other things.
Presser Feet
There are a lot of different presser feet that can be included with your sewing machine. Some machines come with just a few basic feet, like a zigzag foot and a zipper foot. Others come with a dozen feet or more. These presser feet will help you perform different tasks, like overlocking, narrow hemming, blind hemming, sewing on trims, and so forth.
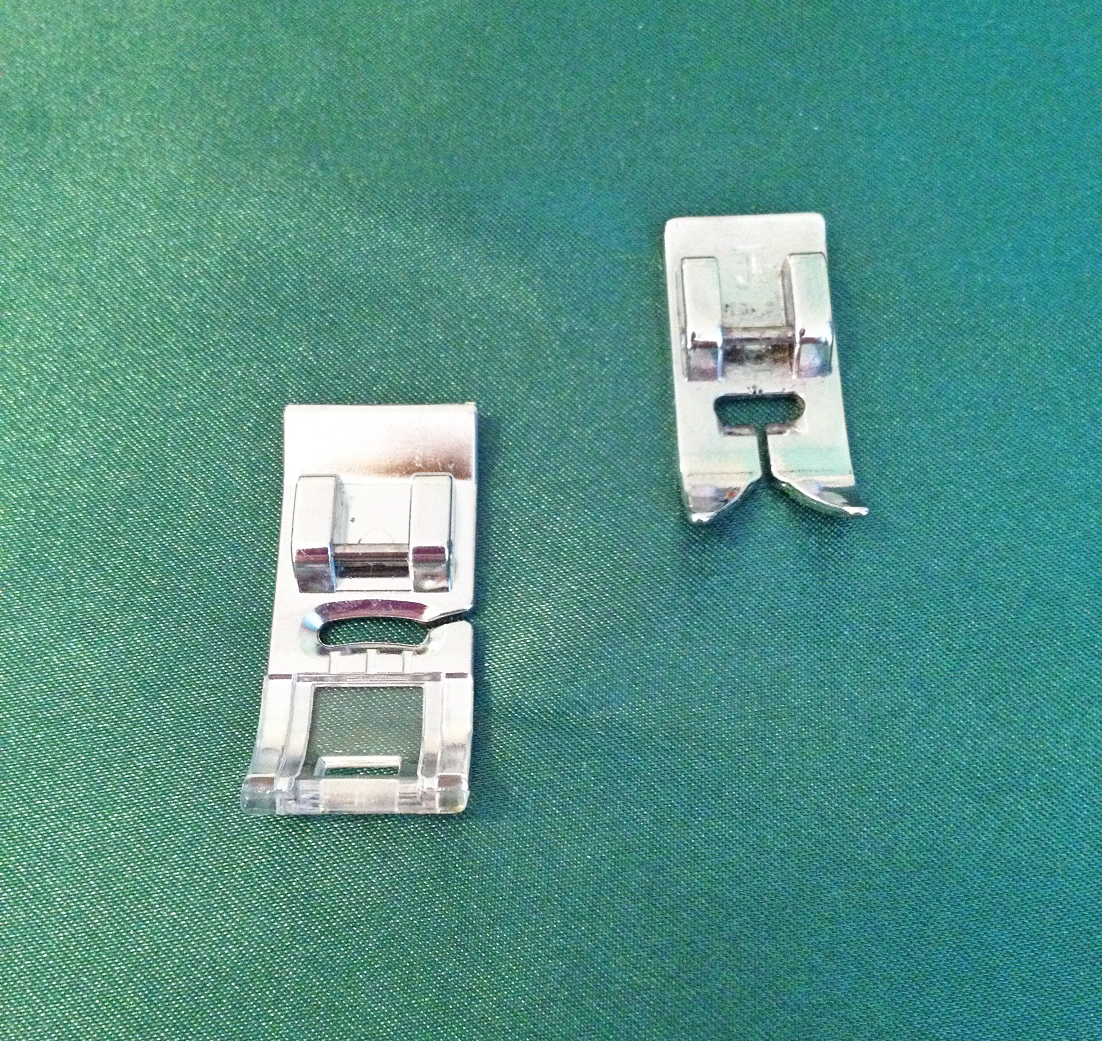
Presser Feet
If your new sewing machine doesn’t come with a presser foot you want, you can always buy it separately. Most are inexpensive and available at places like eBay or Amazon.
Here’s a list of some common presser feet.
- Standard (aka Zigzag) Foot
- Straight Stitch Foot
- Zipper Foot
- Buttonhole Foot
- Gathering (aka Shirring) Foot
- Darning (aka Free Motion Embroidery) Foot
- Walking Foot (aka Even Feed) Foot
- ¼” Quilting Foot
- Open Toe Foot
- Cording Foot
- Button Foot
- Rolled Hem Foot
- Overcasting (aka Overlocking) Foot
- Satin Stitch Foot
- Blind Hem Foot
- Teflon Foot
- Roller Foot
- Ruffler Attachment Foot
(How to use different kinds of presser feet: Basics: Presser Feet.)
Narrowing It Down
It’s best to research different sewing machines before you pick one. Go to the manufacturers’ websites (Brother, Singer, Janome, etc.) and look at the specifications for each model. Some websites even have an interactive feature that helps you choose the right sewing machine for your needs. Once you find two or three that you like, go to Amazon and read the reviews for those sewing machines.
Don’t be disheartened if you find a few bad reviews! Every so often, someone gets a dud out of the box, or they do something wrong and blame it on the sewing machine. Don’t worry about these kinds of reviews. If there’s a great many one-star reviews, however, you should read them carefully, because it could mean the quality control for that particular sewing machine isn’t up to standard.
When you’re narrowing down your choices, be aware that certain brands are more expensive than others—with them, you’re paying for quality, not features. A $300 Pfaff, for instance, will not have as many features as a $300 Singer or Brother, but it will likely be stronger, smoother, and longer-lived. This is not to say that other brands are lousy, but their quality might be more hit-and-miss. Or they might be hardworking, long-lasting machines!
To illustrate, I had a mechanical Brother sewing machine that I bought brand-new for $100. It didn’t have a lot of features, but it was extremely reliable. I’ll be honest—I never took it in for maintenance, although I did make sure to clean and oil it regularly. That machine lasted ten years before it finally started having timing issues. In contrast, my second sewing machine was a computerized Singer, which I bought on sale for $150. It was a lot more advanced than the Brother, but it only lasted two years before it started having problems.
The moral of the story is—don’t dismiss a cheaper model, just because you think its quality might be compromised. This isn’t necessarily the case.
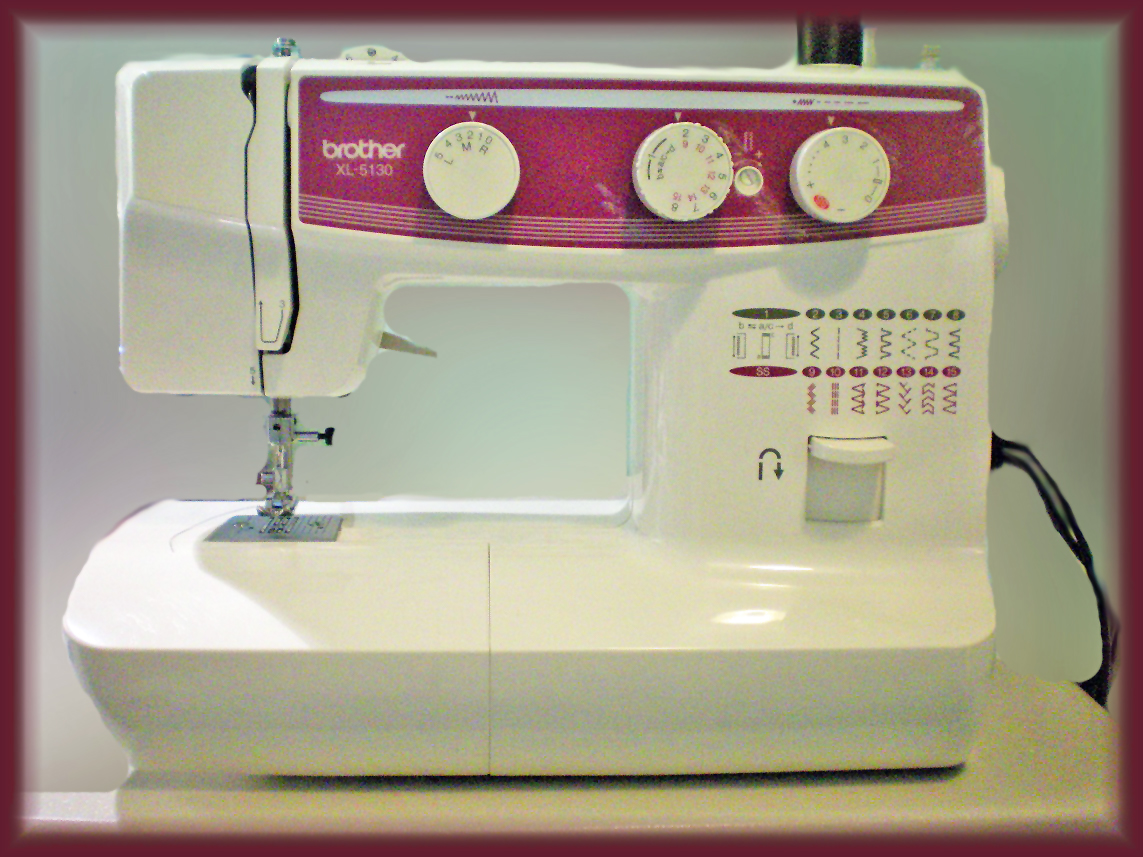
Brother XL-5130
Once you’ve decided on a sewing machine, search for the best deal. I prefer to order from Amazon, because they have a great returns policy, should your sewing machine be defective. Others prefer to buy from a dealer, even though their prices are higher, because they’ll often throw in a free class, and they’re always available to answer questions.
Whatever you do, always compare prices before you commit. Buying from a fabric store might seem convenient, but their prices aren’t always competitive. Three years ago, I paid $150 for my Singer Stylist at Amazon. A few days later, I found the exact same machine for $300 at a local fabric chain! Definitely shop around before you buy, especially if you’re going for a more expensive sewing machine.
Conclusion
Choosing a sewing machine can be confusing, but if you take it slowly and consider which features you actually need, it doesn’t have to be overwhelming. To help you in your research, here’s a short list of some of the more popular brands of sewing machines. There are others, of course, but these seven are very well-known.
- Singer
- Brother
- Pfaff
- Juki
- Janome
- Babylock
- Viking
Have fun choosing your new sewing machine!