
by Lisha Vidler
(This article was first published at Your Wardrobe Unlock’d.)
Note: There is an updated, more concise version of this article: 5 Rules for Organizing Your Sewing Room.
In the first half of this article, we looked at the three basic pieces of furniture that you need for your sewing room: a cutting table, a sewing table, and a pressing station. Now, let’s look at how to arrange the furniture in your sewing room, as well as storage and organization.
Planning Your Sewing Room
Before you set up your sewing space, it’s a good idea to sit down and figure out your plan of attack. You don’t want to start moving furniture around and then discover, too late, that your sewing table won’t fit in the corner you’ve designated for its use. Or what if you decide you’d rather have your cutting table under the window, instead of beside the door? Save yourself a headache and plan things out first.
An easy way to do this is to draw a floor plan. There are kits that can help you with this, or you can do it on your own. You’ll either need graph paper (or regular paper, although it’s more difficult), or a graphics program, such as Photoshop Elements.
First, measure your sewing area and write down the numbers. If you’re using graph paper, designate a certain number of squares per foot and use a ruler to draw an outline of your room.
If you’re using a graphics program, open a new file and scale it proportionally to the size of your room. For example, if your room is 12′ x 12′, make the file 12″ x 12″. Use the paint bucket tool to fill in the background with a light, neutral color, such as white or beige. The carpet in my sewing room is off-white, so I filled my background with ivory. Next, turn on the “grid” feature. (In Photoshop Elements, this can be found under View > Grid.) The grid divides the image into ¼” squares, with thicker lines showing 1″ squares. This will be a big help as you move your furniture around.
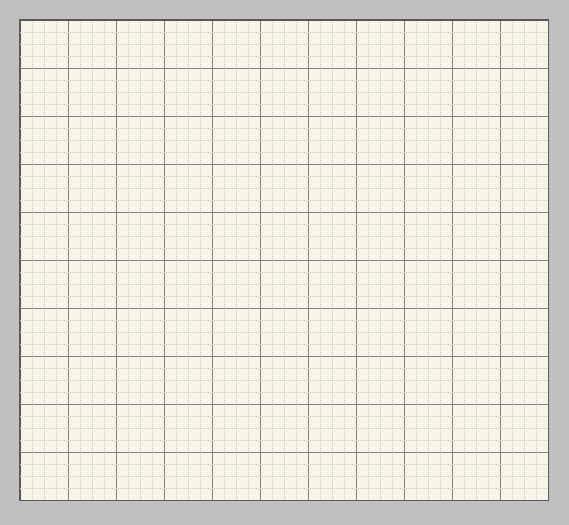
Empty Room
Next, draw hatch marks or thick lines to indicate where any doors are, along with a curved, dashed line to indicate how much room each door needs to open. Draw a thicker line where your windows are, since you may need to plan around them—for instance, not placing a bookcase in front of the window. Add in any architectural details that you need to work around, such as slanted attic walls, fireplaces, and so forth.

Room With Windows & Doors
Next, measure the width and length of each of your main pieces of furniture. This includes your sewing table, cutting table, and ironing board, along with any bookcases, dressers, cabinets, and floor lamps you want to use. Don’t forget about your chair! If you’re using paper, draw these on a separate piece, making sure you use the same scale as the room’s drawing. When you’re done, label each piece and cut them out. You can place these cutouts onto the drawing of your room and move them around until you find a configuration you like.
If you’re using a graphics program, open a new file that’s proportional to the piece of furniture you want to draw. In other words, if your cutting table is 3′ x 5′, make the file 3″ x 5″. Use either the line tool or the custom shapes tool to draw a black rectangle around the edges of the image. Fill in the background with whatever color best represents that piece of furniture, then use the text tool to label the image. Flatten the layers, if necessary.
-
Note
Don’t worry about getting the shapes exactly the same. An ironing board, for example, is usually tapered, so it’s narrower at one end. But it isn’t necessary to draw your furniture with such detail. A rectangle representing the object’s footprint is good enough.

Furniture: Ironing Board
Repeat this process for every piece of furniture you wish to place in your sewing area, starting a new file for each one. When you’re done, open one of the images and select all, then hit CTRL-C to copy it. Go back to your empty sewing room drawing and hit CTRL-V to paste the image into the drawing. It should create a new layer, which is exactly what you want. Repeat, until you have all your pieces of furniture in the room. Save the image under a new name.
Now you can move your furniture around, and even rotate individual pieces, as you see fit. If you aren’t sure you want a specific item in your sewing space, click the eye box beside that layer to make it invisible.
Once you have the layout the way you want it, save the file. You can even print it out, so you’ll have a visual reference while you’re moving your furniture around.
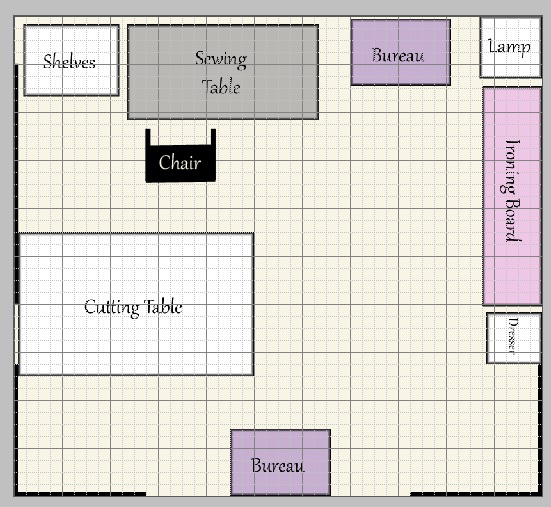
Sewing Room Layout
-
Tips
- Make sure you leave enough floor space, so you have room to walk around the larger pieces of furniture. You don’t want your sewing area too crowded.
- Experiment with different configurations for your work space. Efficient variations include L-shaped and U-shaped layouts.
- If you frequently move between two areas, such as from the sewing machine to the ironing board, make your life easier by keeping them close together, without any obstacles in the way.
- Keep your lighting situation in mind. Do you need more lamps near your workstation than by your ironing board? If so, plan for it.
Storage
Once you have your basic pieces of furniture in place, you’ll need to consider how to store all of your fabric, notions, and supplies. If you’re able to only buy the fabric you need for your current project, consider yourself lucky! Most of us have large stashes of fabric, lace, ribbon, trims, buttons, and other notions that we’ve purchased over the years. It’s hard to resist something beautiful, especially if you think you might use it someday. Before I reorganized my sewing room, I had three tall dressers filled with fabric, along with a couple of small plastic dressers, and three large storage bins. My sewing room was getting rather crowded, so I finally packed up all the fabric I didn’t want to use this year and put it into storage.
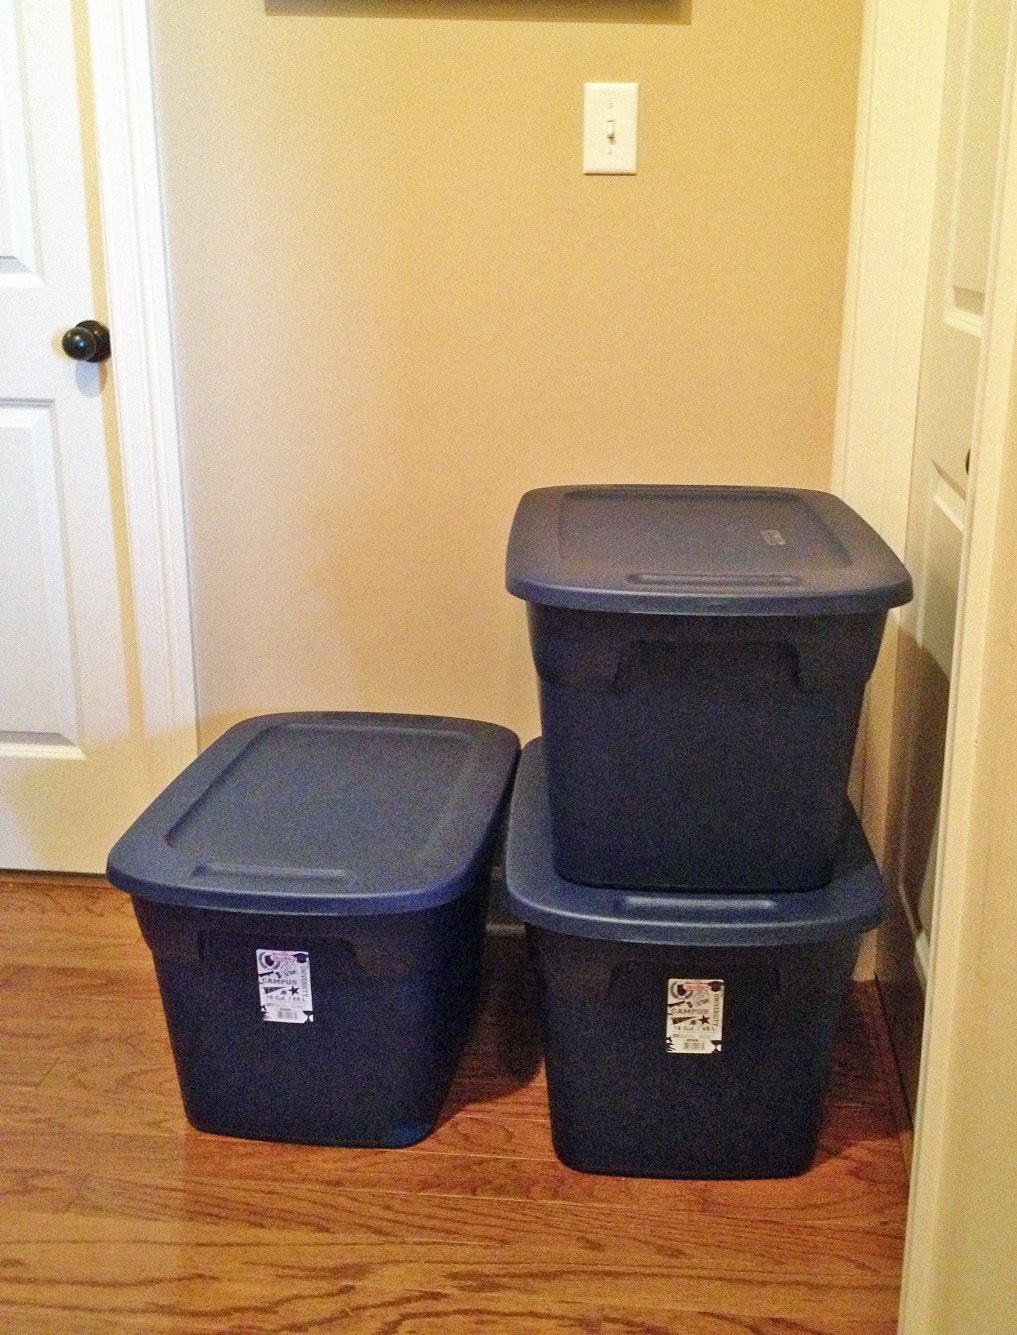
Storage Bins of Fabric
Keeping your stash manageable is quite a task. Some drape their yards of fabric on hangers and put them in the closet. Others keep their fabrics in boxes or bins. Choose a method that works for you.
If you have easy access to your fabric, you’ll be able to browse through it to remind yourself of what you have. That way, you won’t end up buying things you already have.
If you have a great deal of fabric, it may be more practical to put some of it into storage. If it’s going to be kept somewhere you can’t easily get to it, cut a swatch of each fabric and glue or staple the top edge to a note card or sheet of cardstock. Write down what the fabric is made of, how many yards you have, and where it’s being stored. Keep this information in a notebook or binder, so you can easily flip through and see what fabrics you have. You can organize your binder by color, fiber content, yardage amount, or the intended purpose of the fabric. Decide ahead of time which method you’ll use, so you’ll know which swatches to attach together on the same page.

Fabric Swatches
There are ways of creating more storage space. For example, you might add shelves inside your closet. I didn’t need much space in my sewing room’s closet for hanging garments, so I asked my father to build me a set of wooden shelves. I didn’t want the shelves to go all the way across the closet, in case we sold the house and the new owners needed closet space. Instead, I had him put the shelves in the recessed areas on either side of the not-quite-walk-in closet, leaving room in the middle for hanging clothes.
Together, we did a proper job—beveling the edges, sanding the wood for a smooth finish, and painting the shelves to match my sewing room.
Someday, I might add additional shelving above the hanger rack, as the ceiling is extremely tall and there’s a lot of wasted space up there.

Closet Shelves
If you need more storage in your sewing area, take a good look around and see what might be possible. You can add shelves in closets, above windows, and in unused corners. You could even add a ledge a foot or two below the ceiling, all the way around the room. If you’re renting and unable to install permanent shelving, you can still add bookcases or cabinets to hold your stash.
Organization
Even if you have plenty of storage space, how can you keep everything organized?
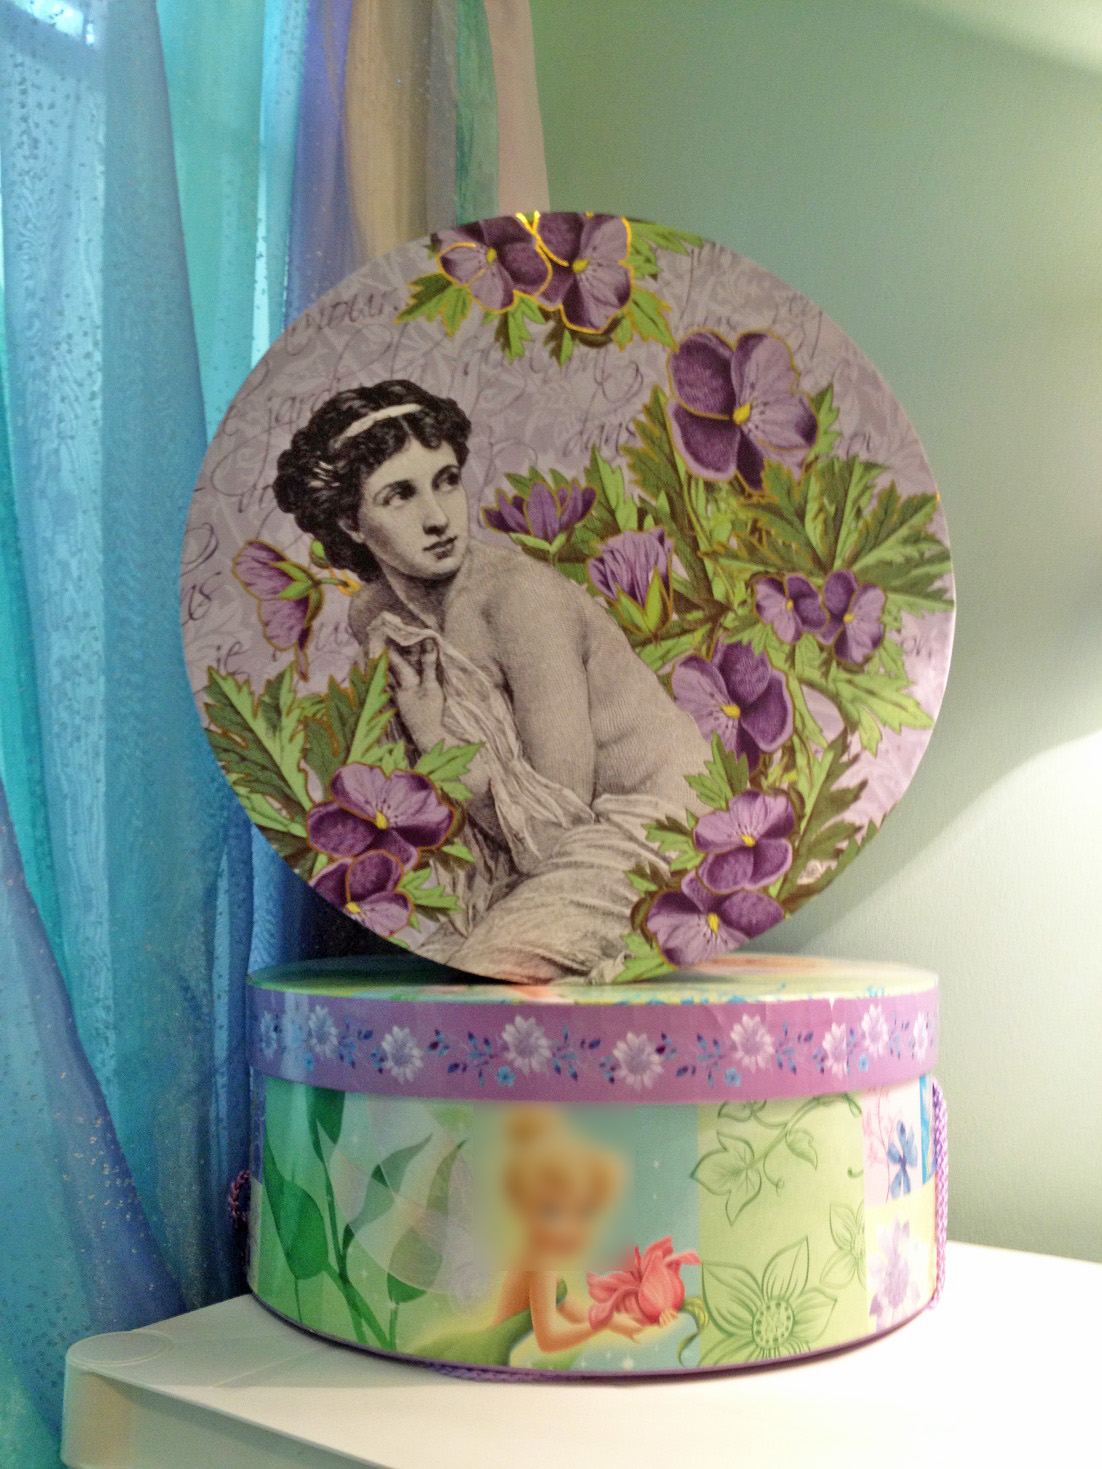
One answer is decorative bins. Photo storage boxes come in different colors, so you can choose ones that coordinate with your sewing room. Fill them with patterns, thread, spools of ribbon, lace, trims, and any other notions or supplies you want to keep organized. Stack them on your shelves for a neat and tidy look.
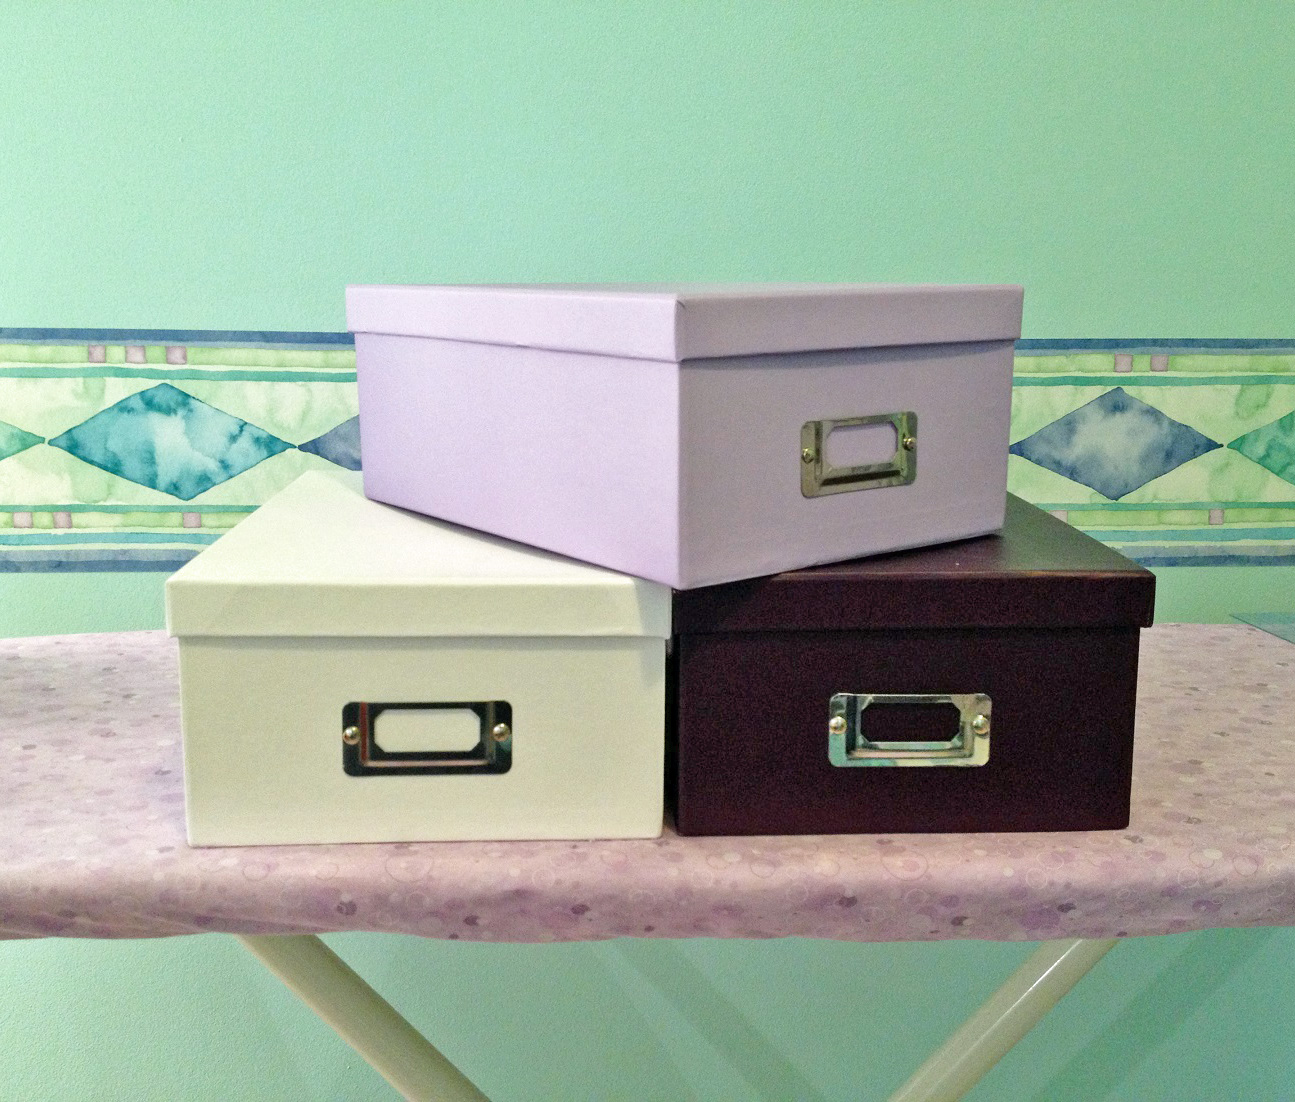
Decorative Boxes
Hat boxes are also useful for storage. They’re large, so they’ll hold a lot of stuff. Just be careful—the lids don’t lock in place, so don’t stuff them too full, especially if you plan to store them vertically. I use hatboxes to hold projects that I’ve put on hold temporarily, such as an 18th century pair of stays that I intend to finish someday. They’re easily accessible, but out of sight.
Hat Boxes For Storage
I also use small baskets to hold items that I need collected into one place. One holds my fabric markers, another holds my jewelry-making tools, and another holds scraps of fabric that I give my students to practice stitching on. Baskets are quite useful! So long as you take care not to fill them to overflowing, they’ll enhance the décor of your sewing room, too. Look for them at dollar stores, fabric and hobby shops, or any place that sells home decorating and organizational items.

Baskets For Storage
What about oversized patterns that don’t fit in a small box? Try magazine holders! I bought a set of five inexpensive magazine holders from Amazon. They’re cardboard, so they’re not extremely sturdy, but since I only use them to store patterns, this isn’t a problem. You can also use them to store back issues of sewing magazines and crochet or knitting pattern books.
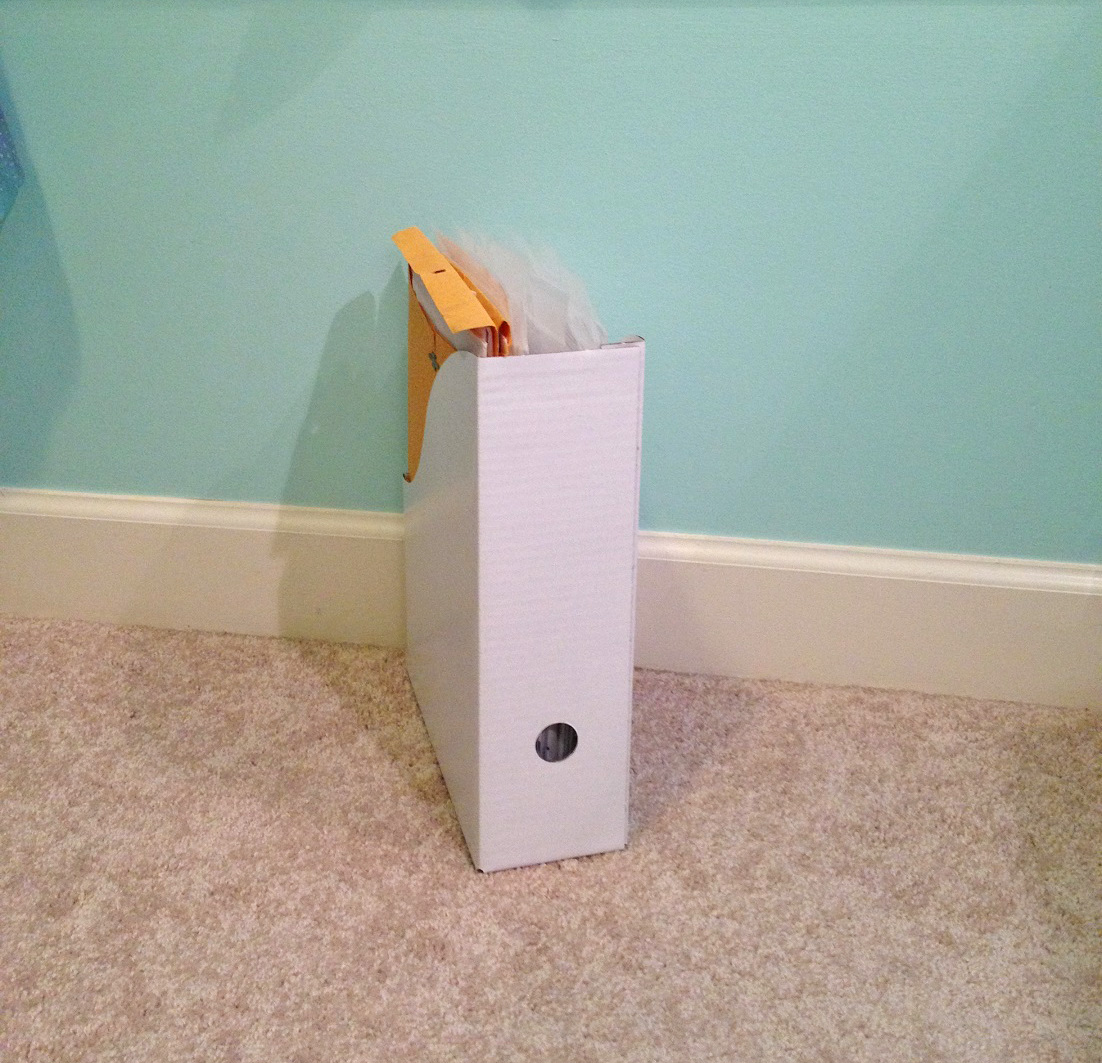
Pattern Storage
To organize your notions, look for miniature dressers, which will hold spools of thread, needles, hooks, snaps, elastic, etc. Put little items, such as buttons, into small containers, first, to keep them together.
To give the dressers a unifying look, cut a sheet of colored paper or cardstock to fit the front of each drawer.
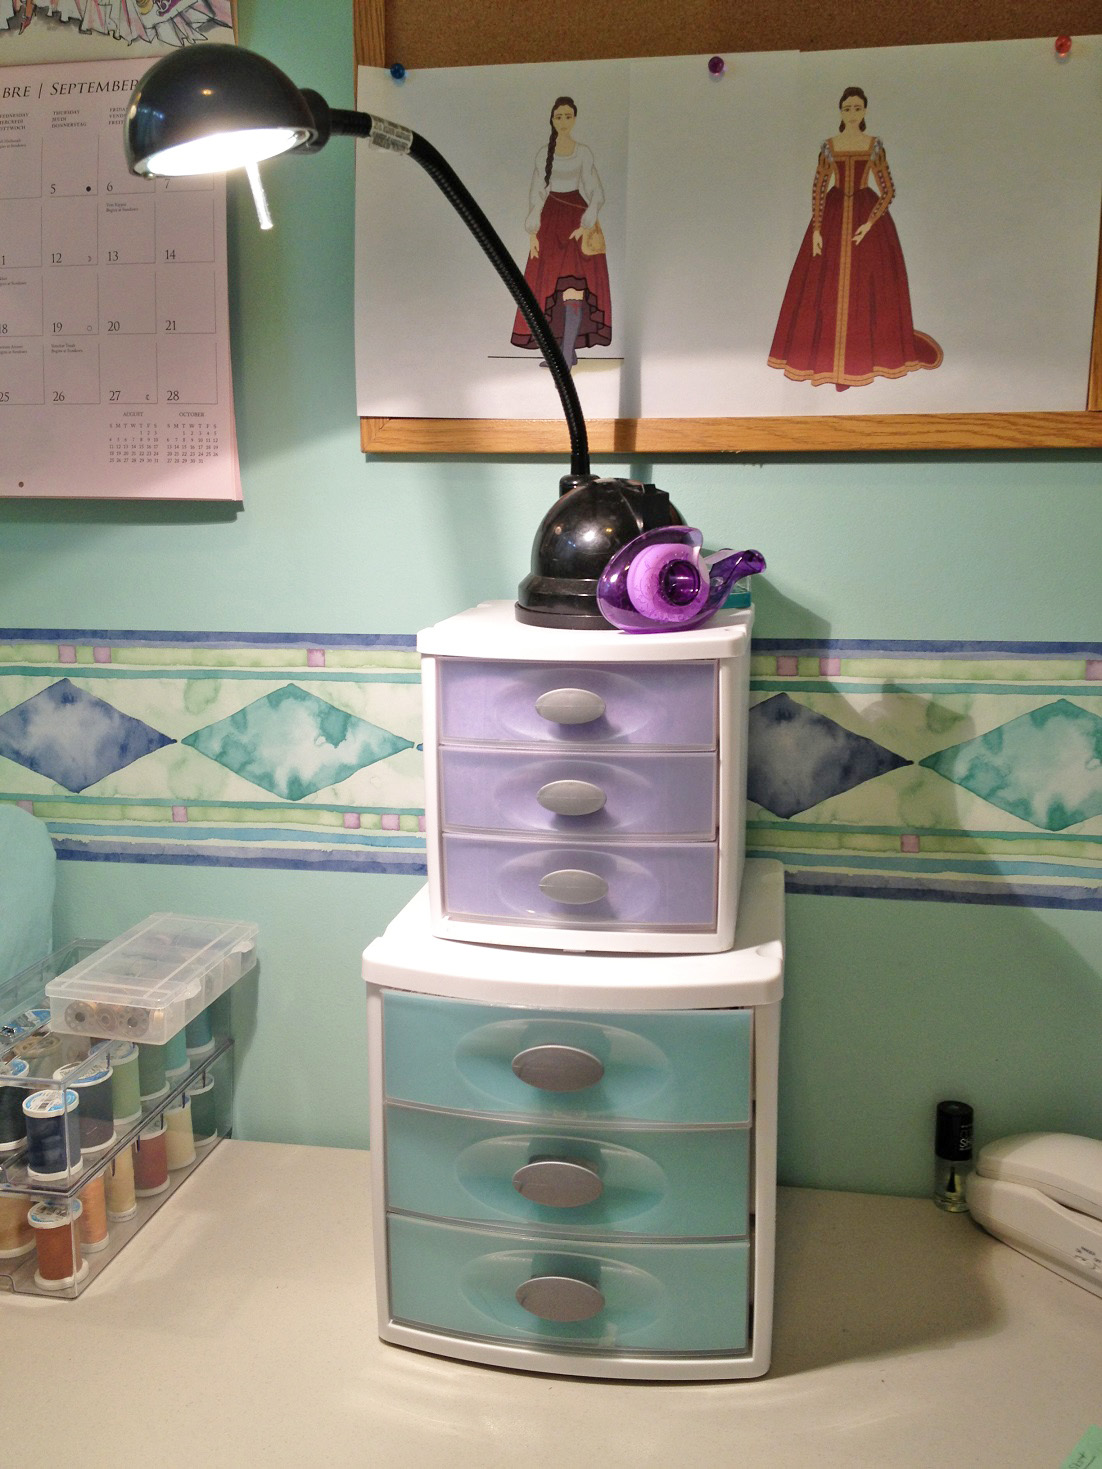
Mini Dressers for Storage
Plastic organizers with small compartments work great for keeping your presser feet organized, so you don’t have to dig through a box or bag to find the one you want. (Look for organizers that are made for storing beads or jewelry-making supplies.)
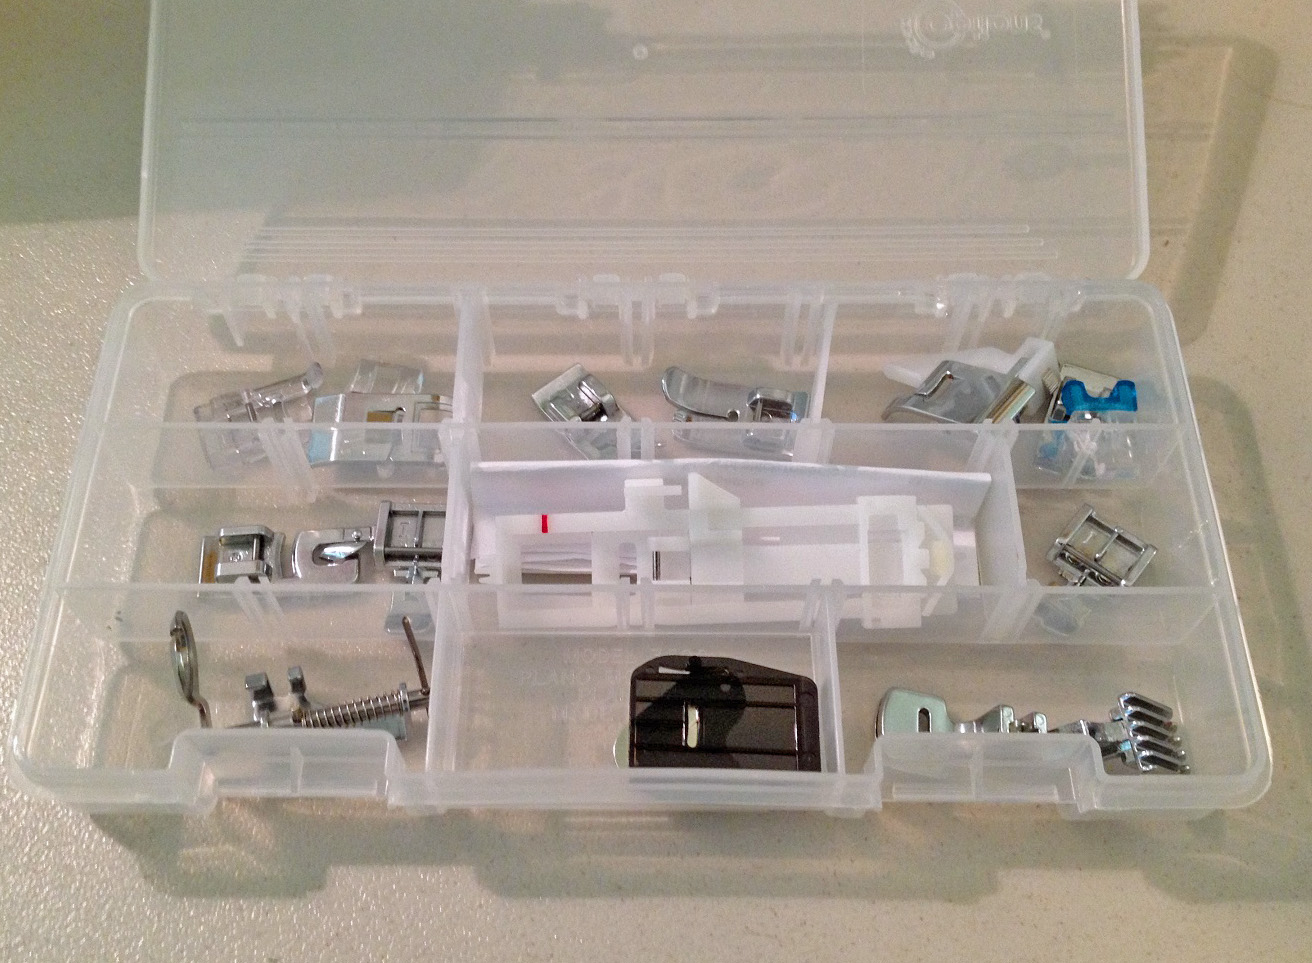
Organizer For Presser Feet
Similarly, you can organize your seed beads and other tiny items with plastic containers that are divided into small sections. Make sure the lids to each compartment fasten securely and open separately, reducing the likelihood of a catastrophic spill. For beads, I prefer round snap-top organizers.

Round Bead Organizer
You can even buy needle organizers for storing hand needles. Pincushions work for this, too, but there’s always the risk of a needle getting pressed all the way into the cushion, where it will vanish forever.
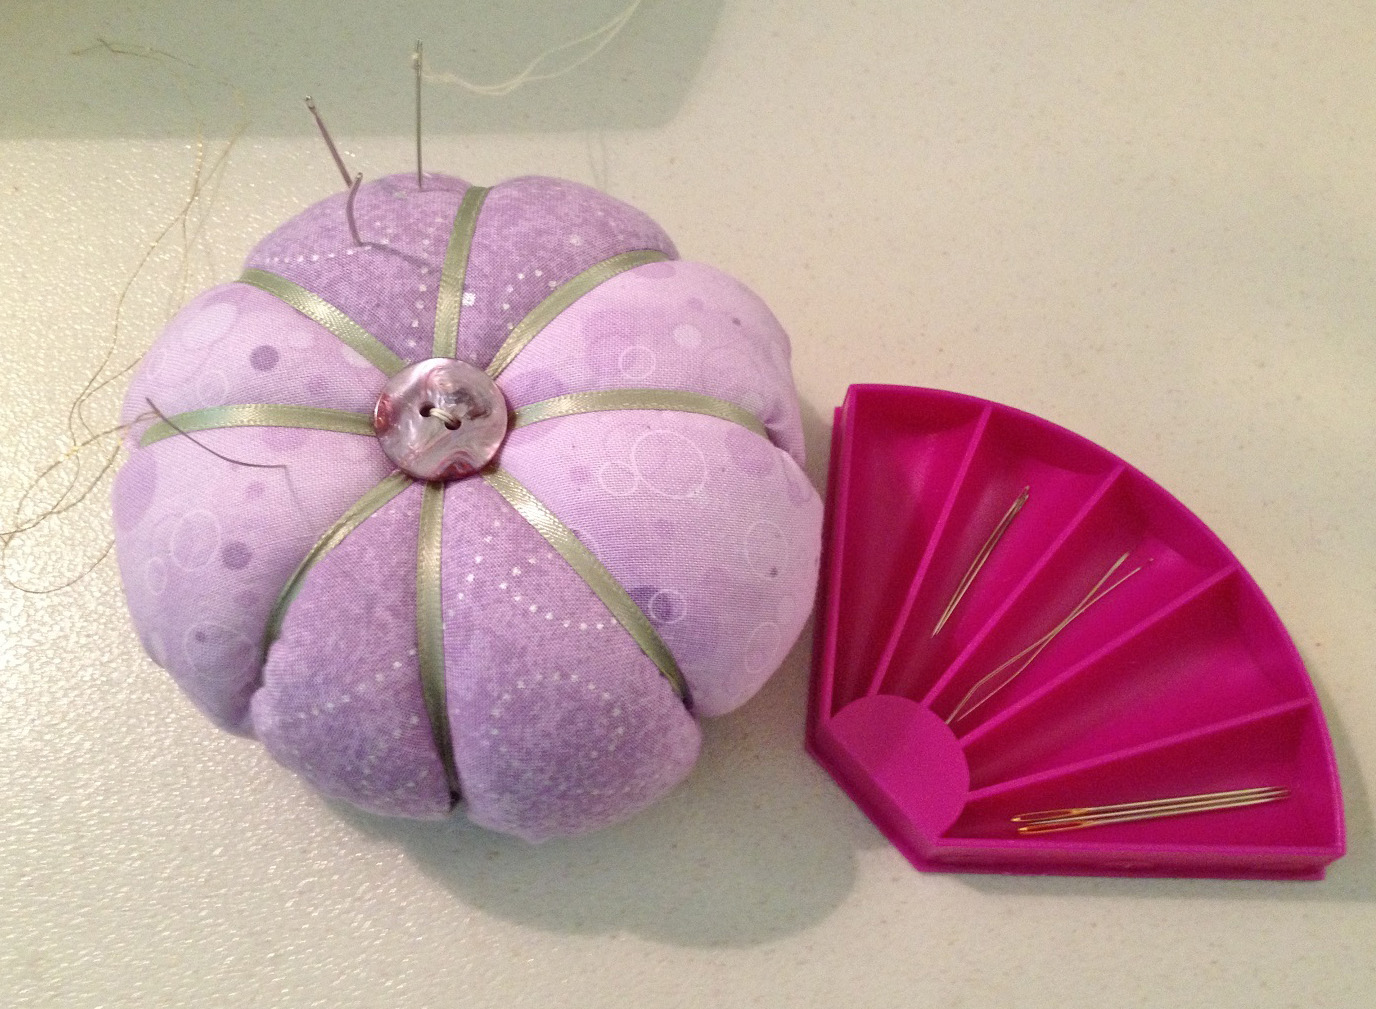
Pincushion & Needle Organizer
You might also put up a bulletin board. I have a combination corkboard/whiteboard, which I use to display sketches of my current projects. You can use it to hold your pattern instructions, or pin up fashion sketches to keep you inspired. A calendar can be useful, too, especially if you have clients or students.
Binders can be extremely handy for organizing paperwork. I keep several binders in my sewing room—one containing my students’ registration papers, one with copies of sewing articles I found useful, one with fashion sketches of costumes I intend to make, and so forth. If you’re keeping the binders in a box, try alternating the binders, facing every other one in the opposite direction. This will keep allow you to fit more in the space you have. Binders also fit nicely on bookshelves.
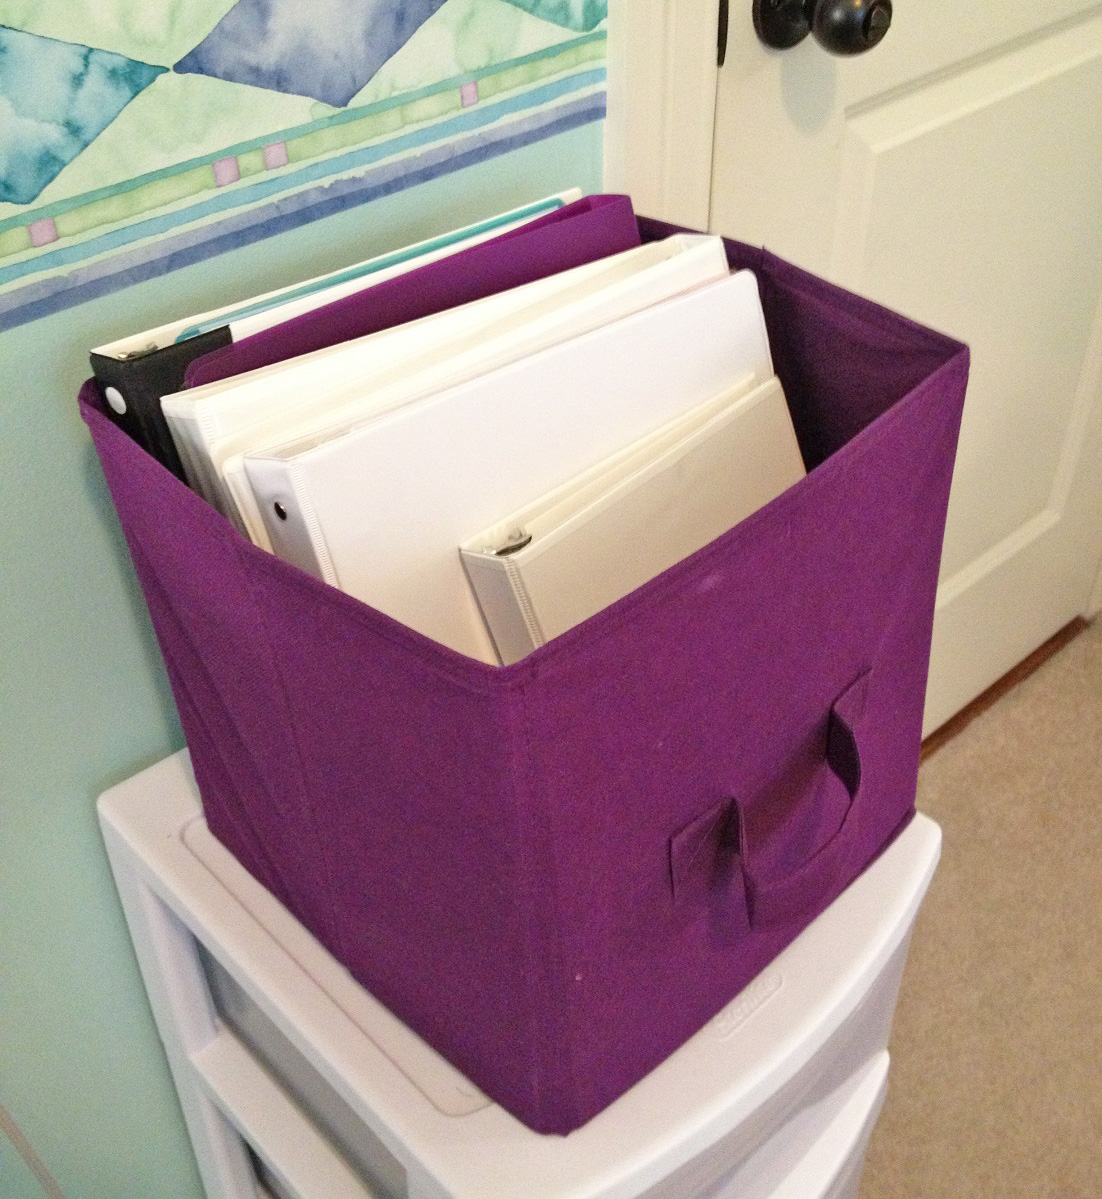
Binders In a Box
Seating
You’ll need a chair, since it’s quite difficult to use a sewing machine while standing. You’ll be spending a lot of time in this seat, so pick something comfortable!
A regular kitchen chair might work, but you could find your bottom going numb if you sit for too long. I prefer an office or desk chair that’s padded and comfortable. Plus, they’re usually adjustable, so you can raise or lower it, as needed. (This is especially important if you have students of varying heights who use your sewing table.)
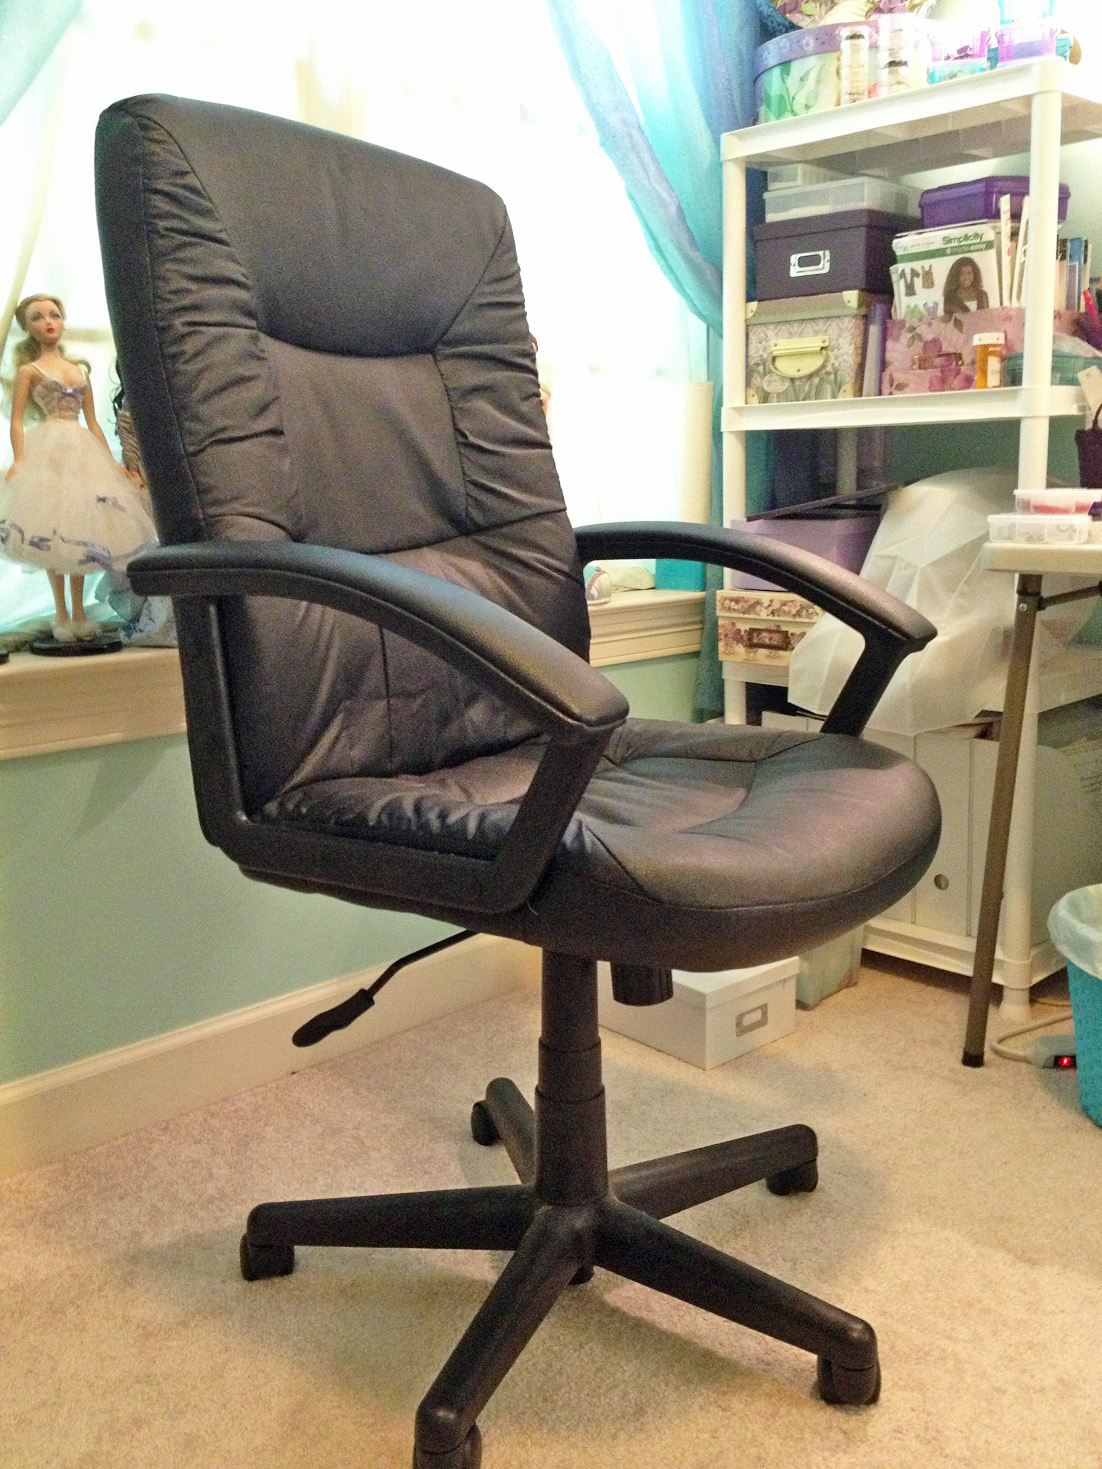
Office Chair
If your chair isn’t quite comfortable, consider whether it requires more back support. I always need a small pillow to support my lower back. You can make the pillow yourself and match your sewing room’s colors.
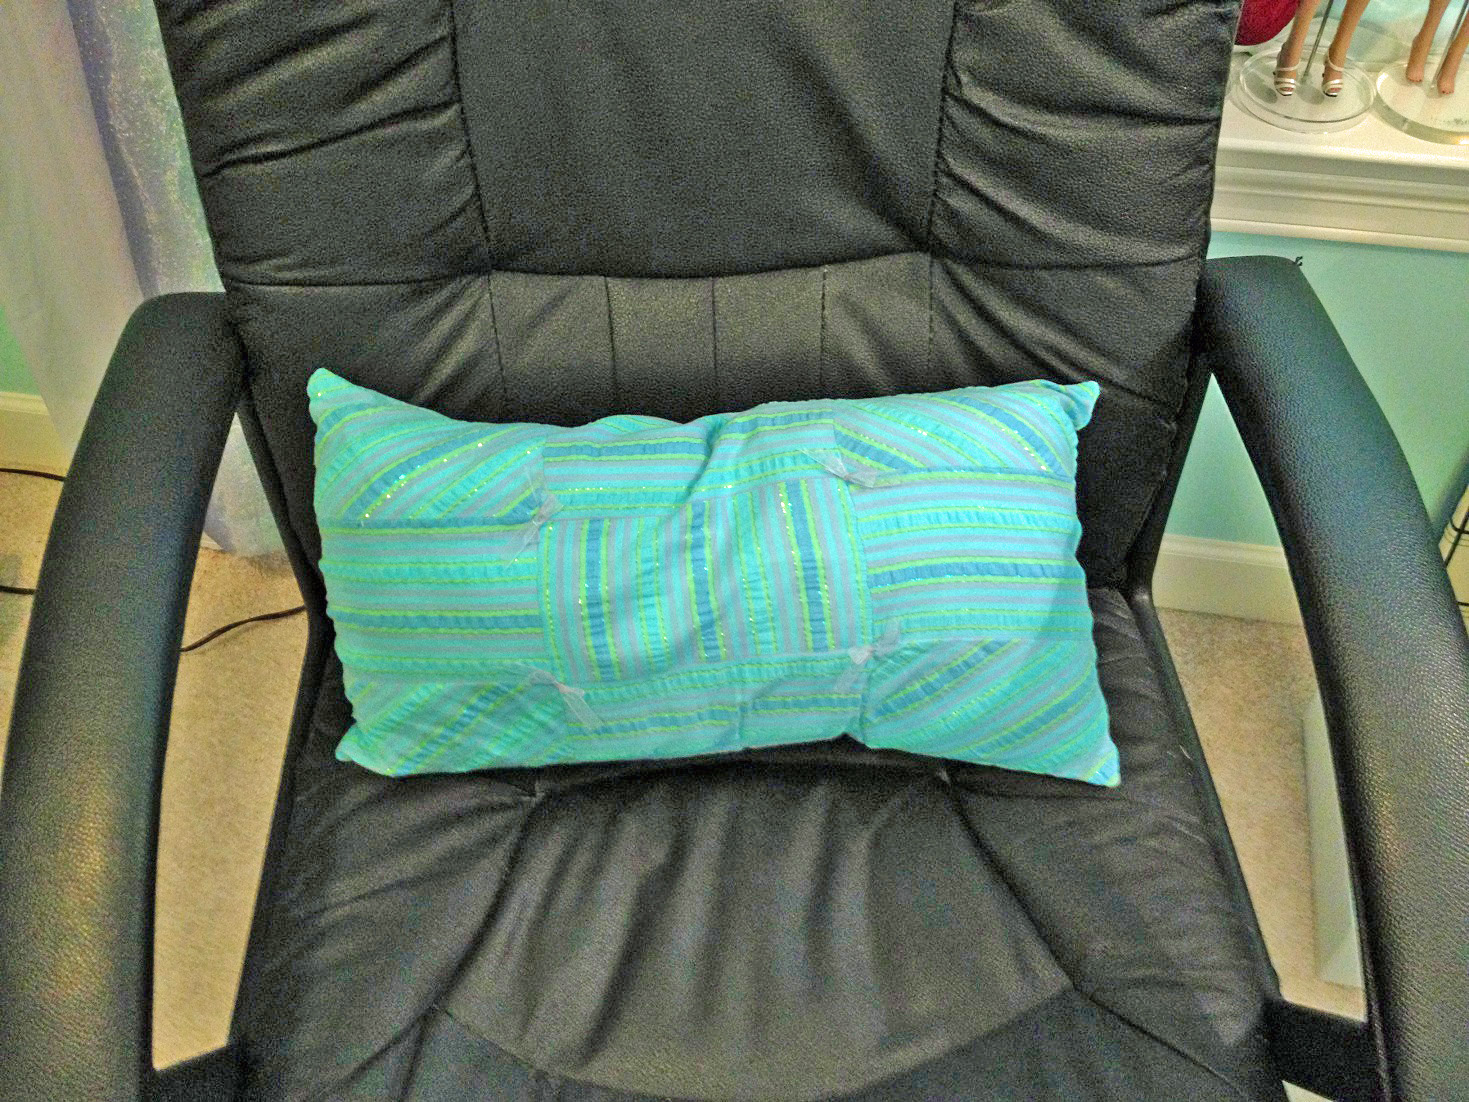
Back Pillow
Bonus: Decorating Tips
Your sewing room should be a retreat, a space that inspires you to be creative and productive. To that end, it should be decorated in a way that makes you both calm and happy.
One trick is to make sure that everything coordinates. Things don’t have to match, since that can look a little too artificial, but try to buy furniture that’s in the same color family, like white, or maple, or cherry. Even if the pieces are from different sources, it will lend cohesion to your room.
Another tip is to paint the room with colors that make you happy. There are plenty of books that can help you choose color combinations, if you’re not confident in your color-matching abilities.
Visit a paint store to look at the paint chips. Pick up any that appeal to you. Lay them out in your sewing room to see how the colors look under your lighting, and with your existing flooring. Hold a paint chip up and squint at it to see how it might look on the wall. If you can’t decide between two or three colors, buy a small sample can and paint a section of one wall with each color you’re debating. Whatever you do, don’t rush the selection process. Painting is a lot of work and you don’t want to have to redo the entire room if you aren’t happy with the results!
Choose one main color and two or three accent colors. Paint the walls with the main color and choose furniture and accessories in the accent colors.

Color Swatches
|
Tip Don’t forget to prime the walls first. This will help the paint go on smoother, and you’ll need fewer coats to finish the job. |
For my sewing room, I chose aqua with lavender and green accents, a color combination that makes me feel relaxed and creative. I painted my walls with the light aqua and put up a wallpaper border that contains the other colors. I found aqua and lavender ombré curtains. When I bought my storage bins, baskets, and other items for the sewing room, I looked for colors that matched. And when I sewed covers for my sewing machine and ironing board, I used coordinating aqua and lavender fabrics. Note that some of my accessories are a darker purple, rather than pastel tones, because having everything too matchy-matchy can get annoying after awhile.
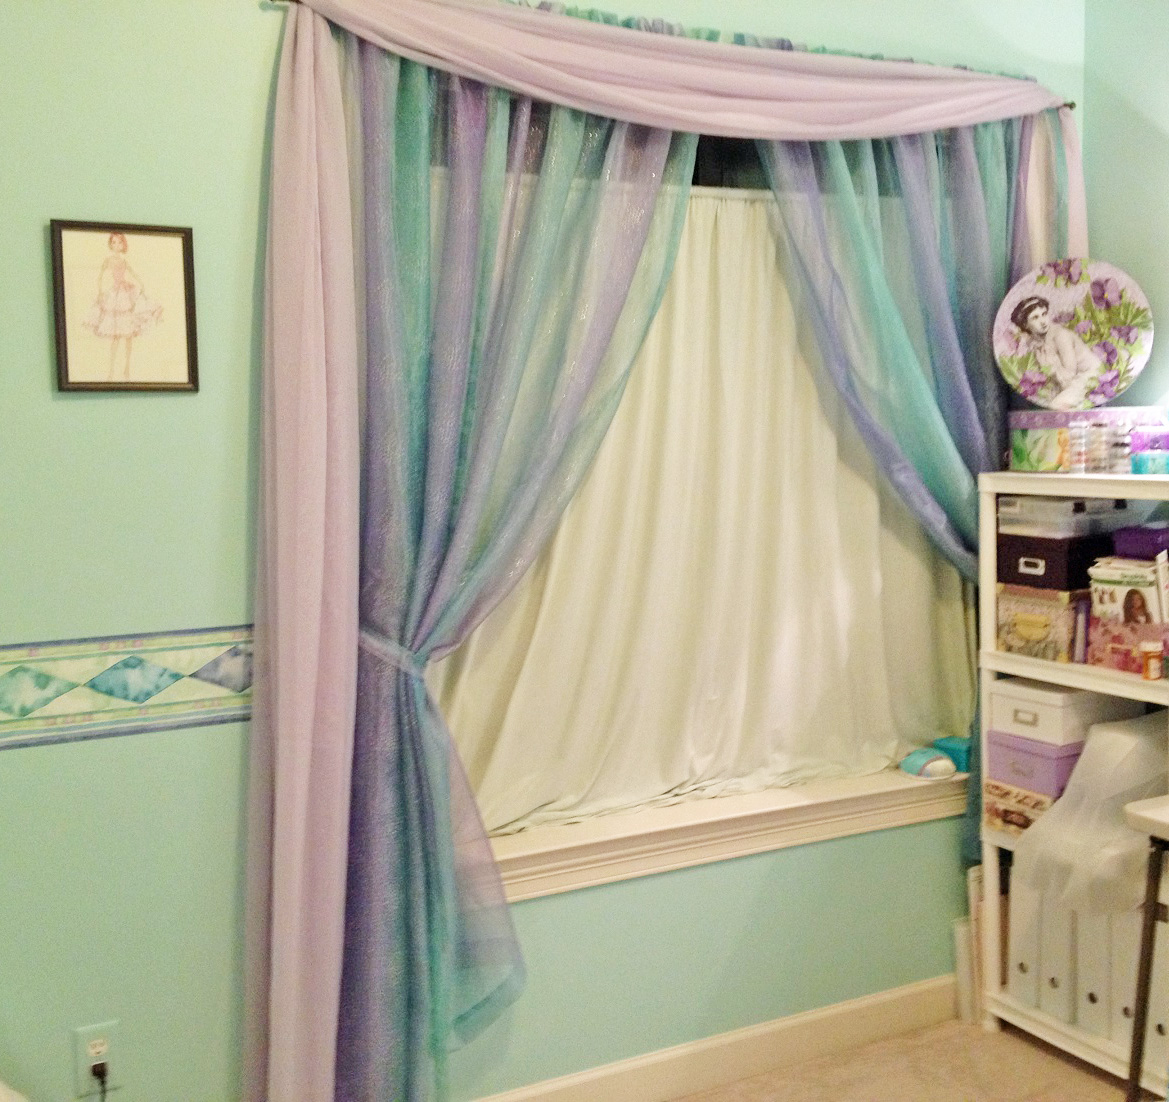
Color-Coordinated Sewing Room
What about artwork? You want your room to be inspiring, so don’t leave the walls bare! Look for sewing or fashion-related paintings that you can frame. Hobby Lobby often has sewing-themed artwork. You can also search online shops, such as AllPosters.com and Art.com.
Keep an open mind and look for unconventional sources of art. What about antique fashion plates? Since they’re no longer copyrighted, you can do a Google search and save the images to your computer, then print them out and frame them. Calendars are another potential source of artwork. When I decorated my sewing room, I cut out and framed the pages from a calendar of Barbie doll fashion sketches. I only chose the images I really liked and whose colors coordinated with my sewing room.
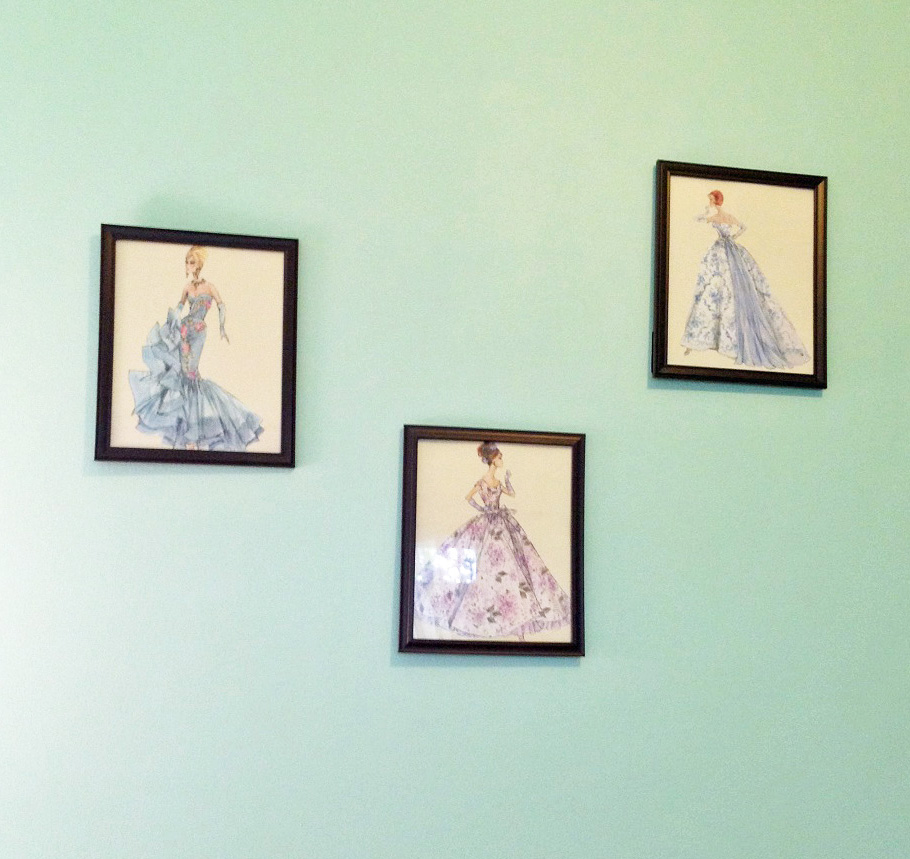
Calendar Fashion Sketches
~~*~~
Whether your sewing room is large or small, if you take the time to organize both your space and your supplies, you’ll have a much easier time when you’re ready to sew.
Pingback: Organizing Your Sewing Space | Yesterday's Thimble
Pingback: The Best Ideas for Room Design Layouts
Pingback: Room Layout – Fresh home decoration