
(Click any illustration to view the full-sized image.)
When a friend of mine heard about the slipcover I’d made for my Kindle case, she asked if I wouldn’t make her one, too. Since we both had the exact same Kindle and case, it wasn’t difficult to make a second one, using fabrics of her choice.
Design
I used my previous Kindle cover as the inspiration, with a gathered panel down the front and pockets that slip over the case’s front and back covers. Like mine, it has buttonholes on the inside that permit the clips that secure the Kindle to poke through.
Pattern
- Kindle Cover—Self-Drafted
While there are patterns out there for Kindle covers, they tend to be padded bags that you carry your Kindle in. I wanted an actual cover, one that could stay on the Kindle permanently, even while it’s in use. I used the same pattern as for my own Kindle cover: essentially, a bunch of rectangles that are sewn together in layers to create a slipcover.
Materials
- 1/2 yd Quilting Cotton—Hello Kitty Print
- 1/2 yd Cotton Broadcloth—Black
- 1/8 yd Cotton Broadcloth—Hot Pink
- Satin Ribbon—Black (2“ wide)
- Jumbo Rickrack—Hot Pink
- Satin “Rat-tail” Cord—Red
- Various Crystals, Buttons, & Beads—Black, Red, & White
For her main fabric, my friend picked a “Hello Kitty” print that’s mostly white with black, hot pink, and red accents. For the lining, she chose a solid black broadcloth, and for the front gathered panel, a hot pink broadcloth. For embellishments, she picked out a fuchsia glitter ribbon, hot pink jumbo rickrack, and black floral rhinestone buttons. However, I ended up only using the rickrack, along with a wide black satin ribbon and red rat-tail cord from my stash, plus some red hot-fix crystals, black sew-on crystals, and freshwater pearls.
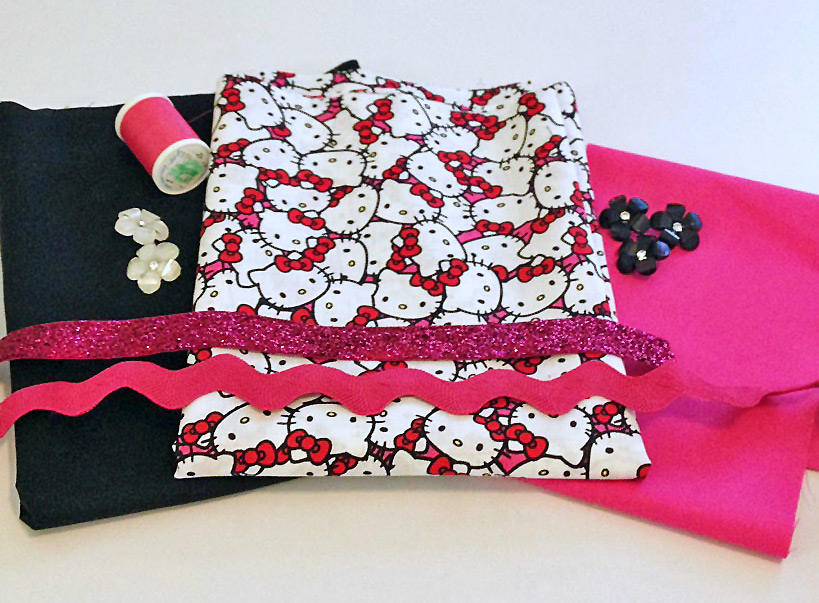
Fabrics & Trims
Mockup
Since the Kindle case was identical to my own, I already knew the slipcover would fit and function as designed, so I didn’t bother with a mockup.
Construction
After pre-washing the fabrics, I cut eight rectangles:
- Hello Kitty Print—Front, Back, & Closure Tab
- Solid Hot Pink—Gathered Front Panel
- Solid Black—Inner Lining, Two Pockets, & Tab Lining
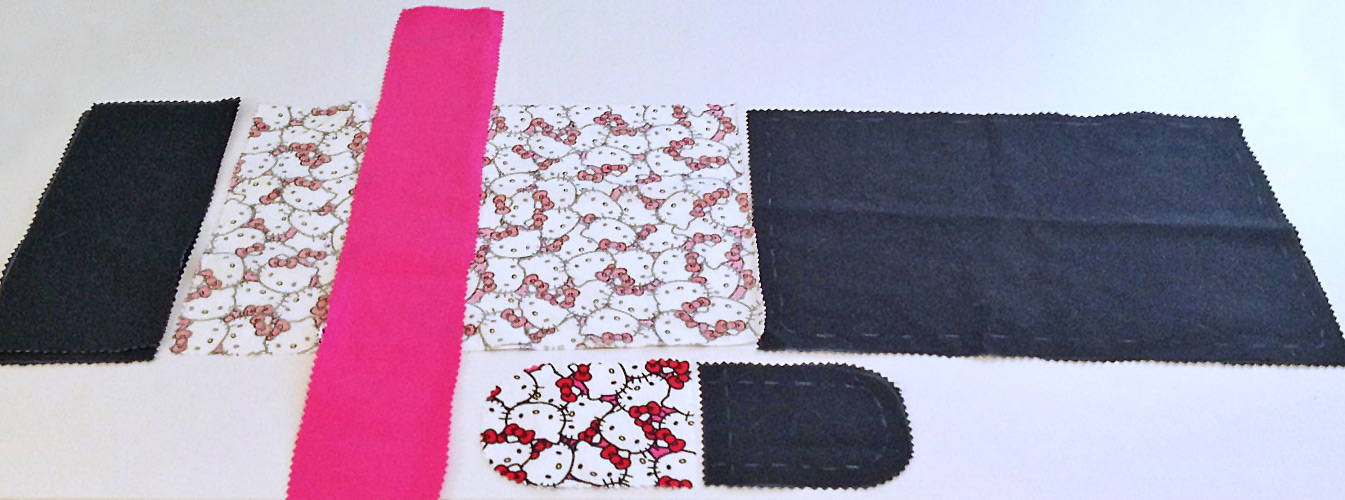
Pattern Pieces
The first thing I did was sew the closing tab, which is a small rectangle with a rounded end. I stitched the lining to the main fabric with right sides together, then notched the curve—making sure to alternate the notches on each side of the seam allowance, so as not to create any weak points in the seam. I pressed it flat, flipped it right-side out, and pressed it again.
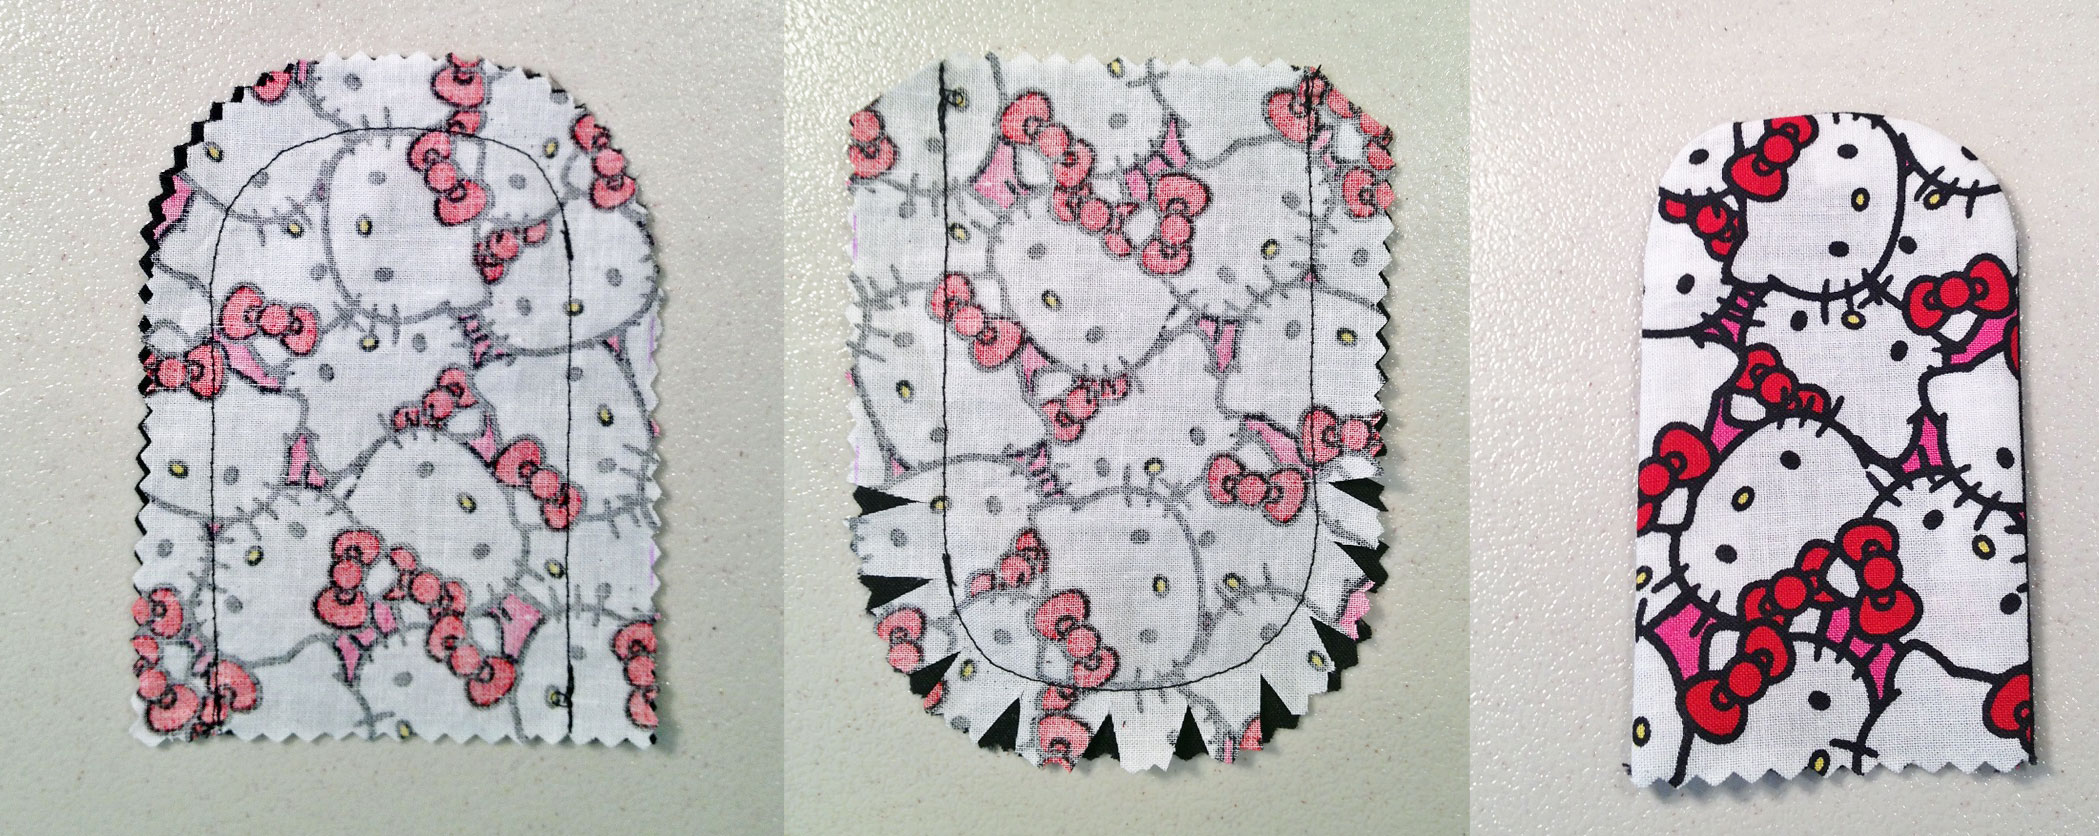
Sewn Tab (left); Notched Curves (center); Flipped & Pressed (right)
The tab looked rather plain, so I took some red satin cord (rat-tail) and hand stitched it around the edges, like faux-piping. This added quite a bit of sophistication to the tab.
Faux Piping
Next, I gathered the hot pink panel for the front of the cover. With the my own Kindle cover, I gathered both sides of the panel, pressed it flat, then sewed it to the rest of the cover. This time, I thought I might get more accurate gathering if I only gathered one side at a time.
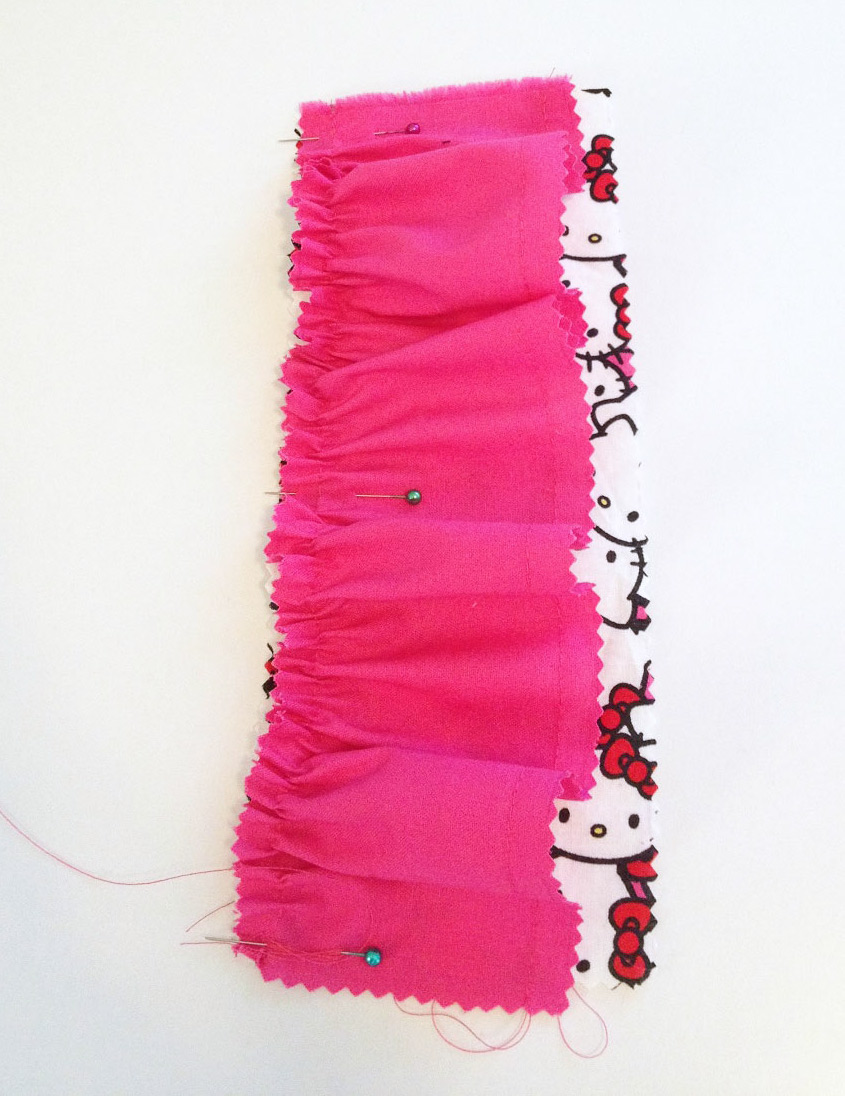
Gathered Panel, First Edge
After sewing the first gathered edge, I pinned the second edge and pulled the gathers to fit, then stitched it. I pressed both seams away from the gathered panel, so it would lay flat.
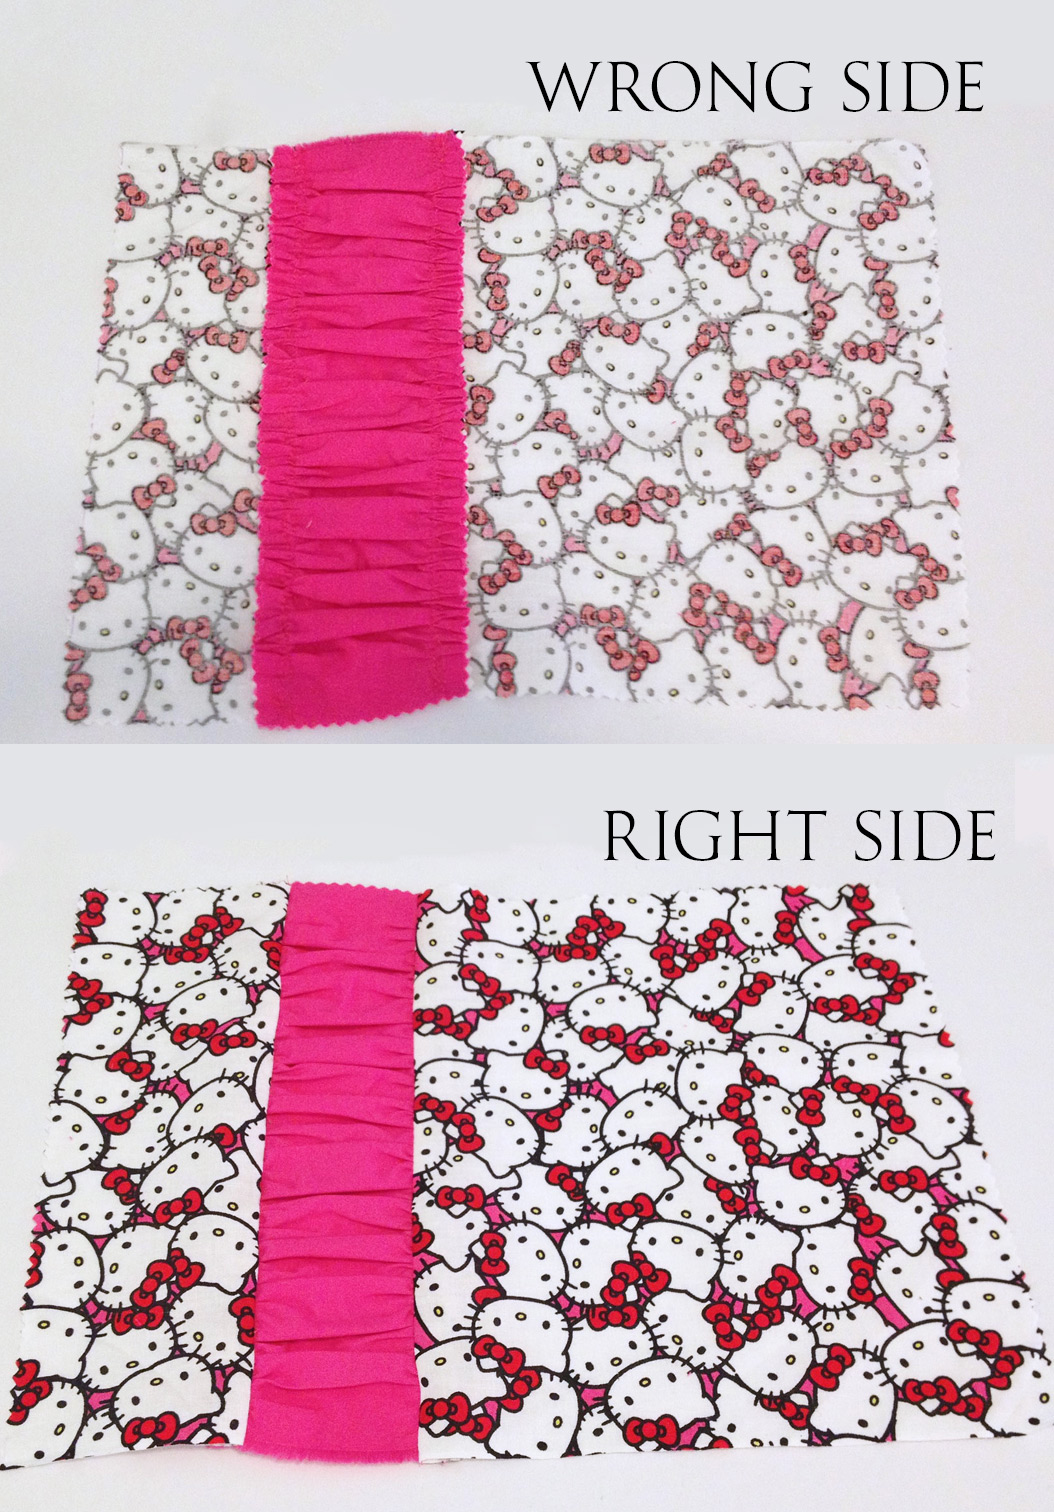
Gathered Panel, Second Edge
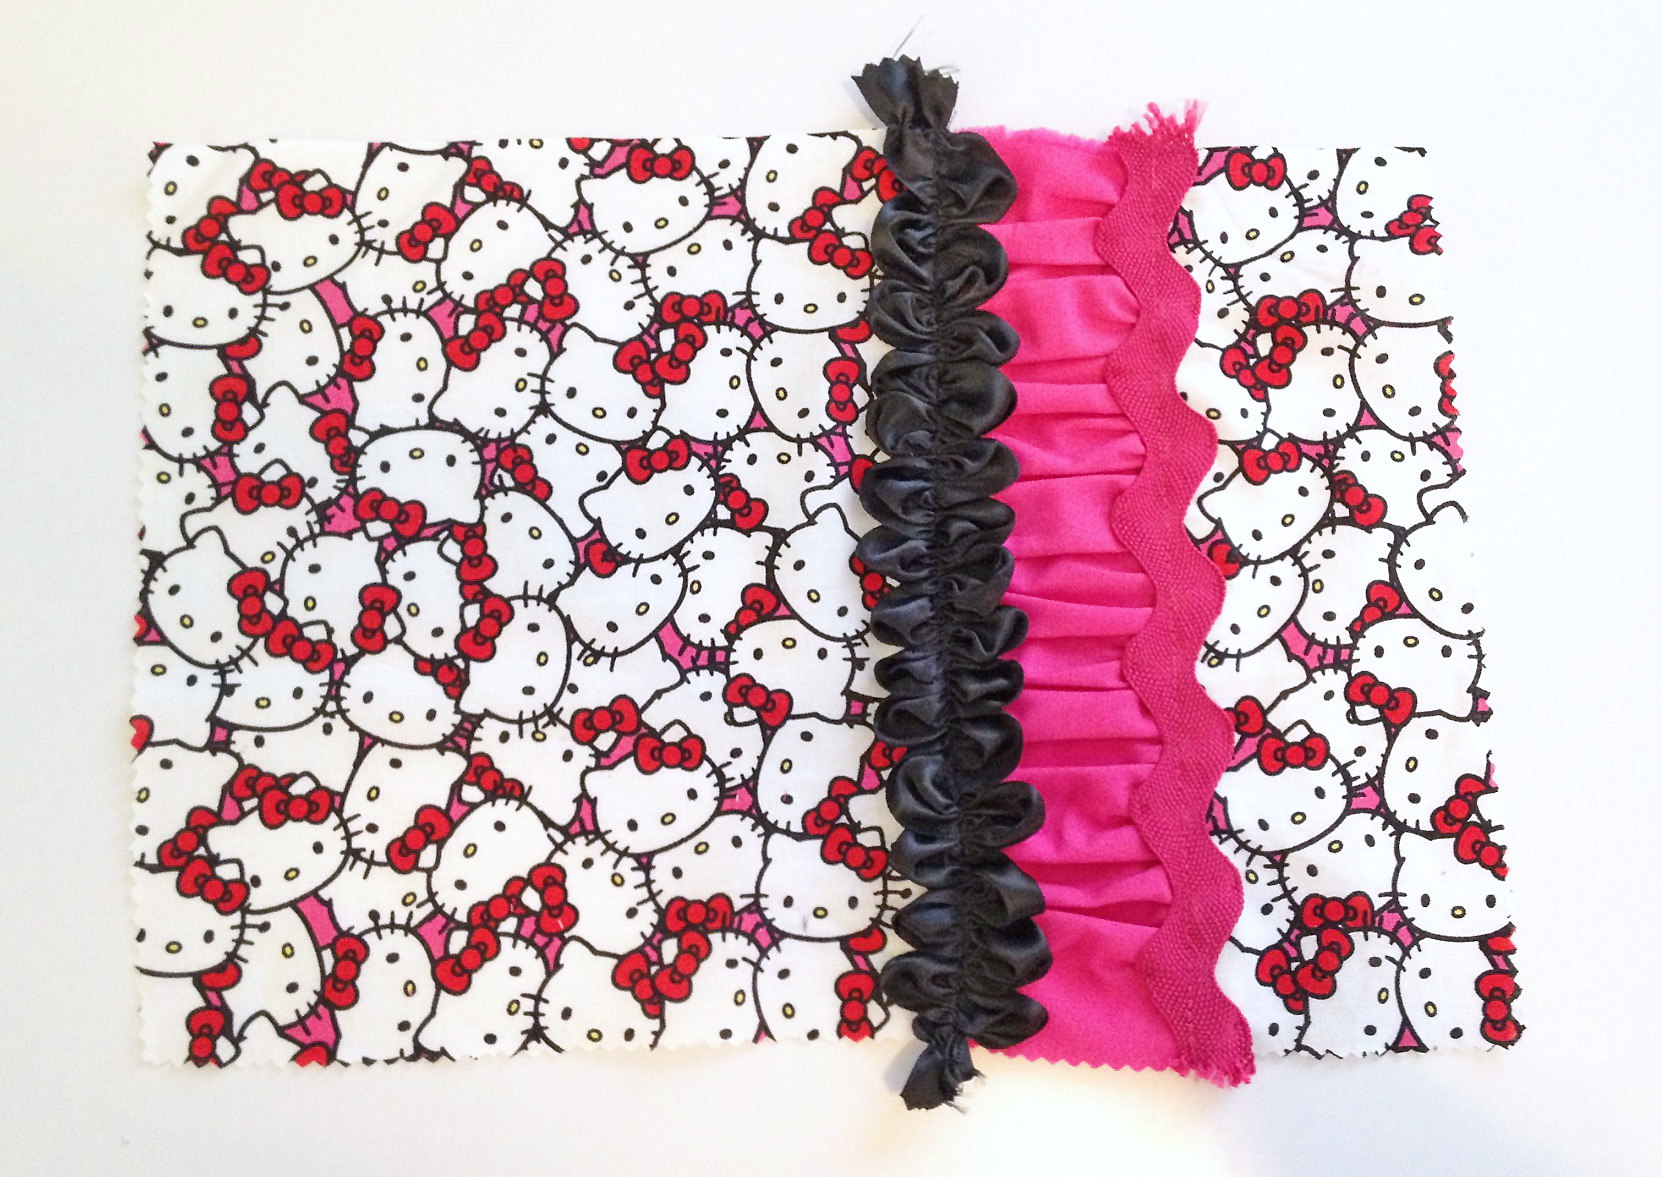
At this point, I needed to go ahead and add the trims, so I laid out a couple different options. My friend had requested that I surprise her with the final look, so I was able to pick the combination that I liked best.

Embellishment Options
I preferred the black ribbon instead of the sparkly fuchsia ribbon, but something still didn’t look right. Even though the colors matched, it lacked drama, as well as cohesion. So, I used serpentine ruching to gather the black ribbon. That way, its shape mirrored the jumbo rickrack. Much better, don’t you think?
Embellishment
Still, the trim needed something more. I played around with different narrow braids, but none looked right. Then I remembered the red hot-fix crystals I had left over from a previous project. I attached a row of them down the middle of the black serpentine ruched ribbon.
Afterwards, the pink rickrack looked too plain, so I pulled out some black and red bugle beads, along with matte black crystals and experimented with several different designs.
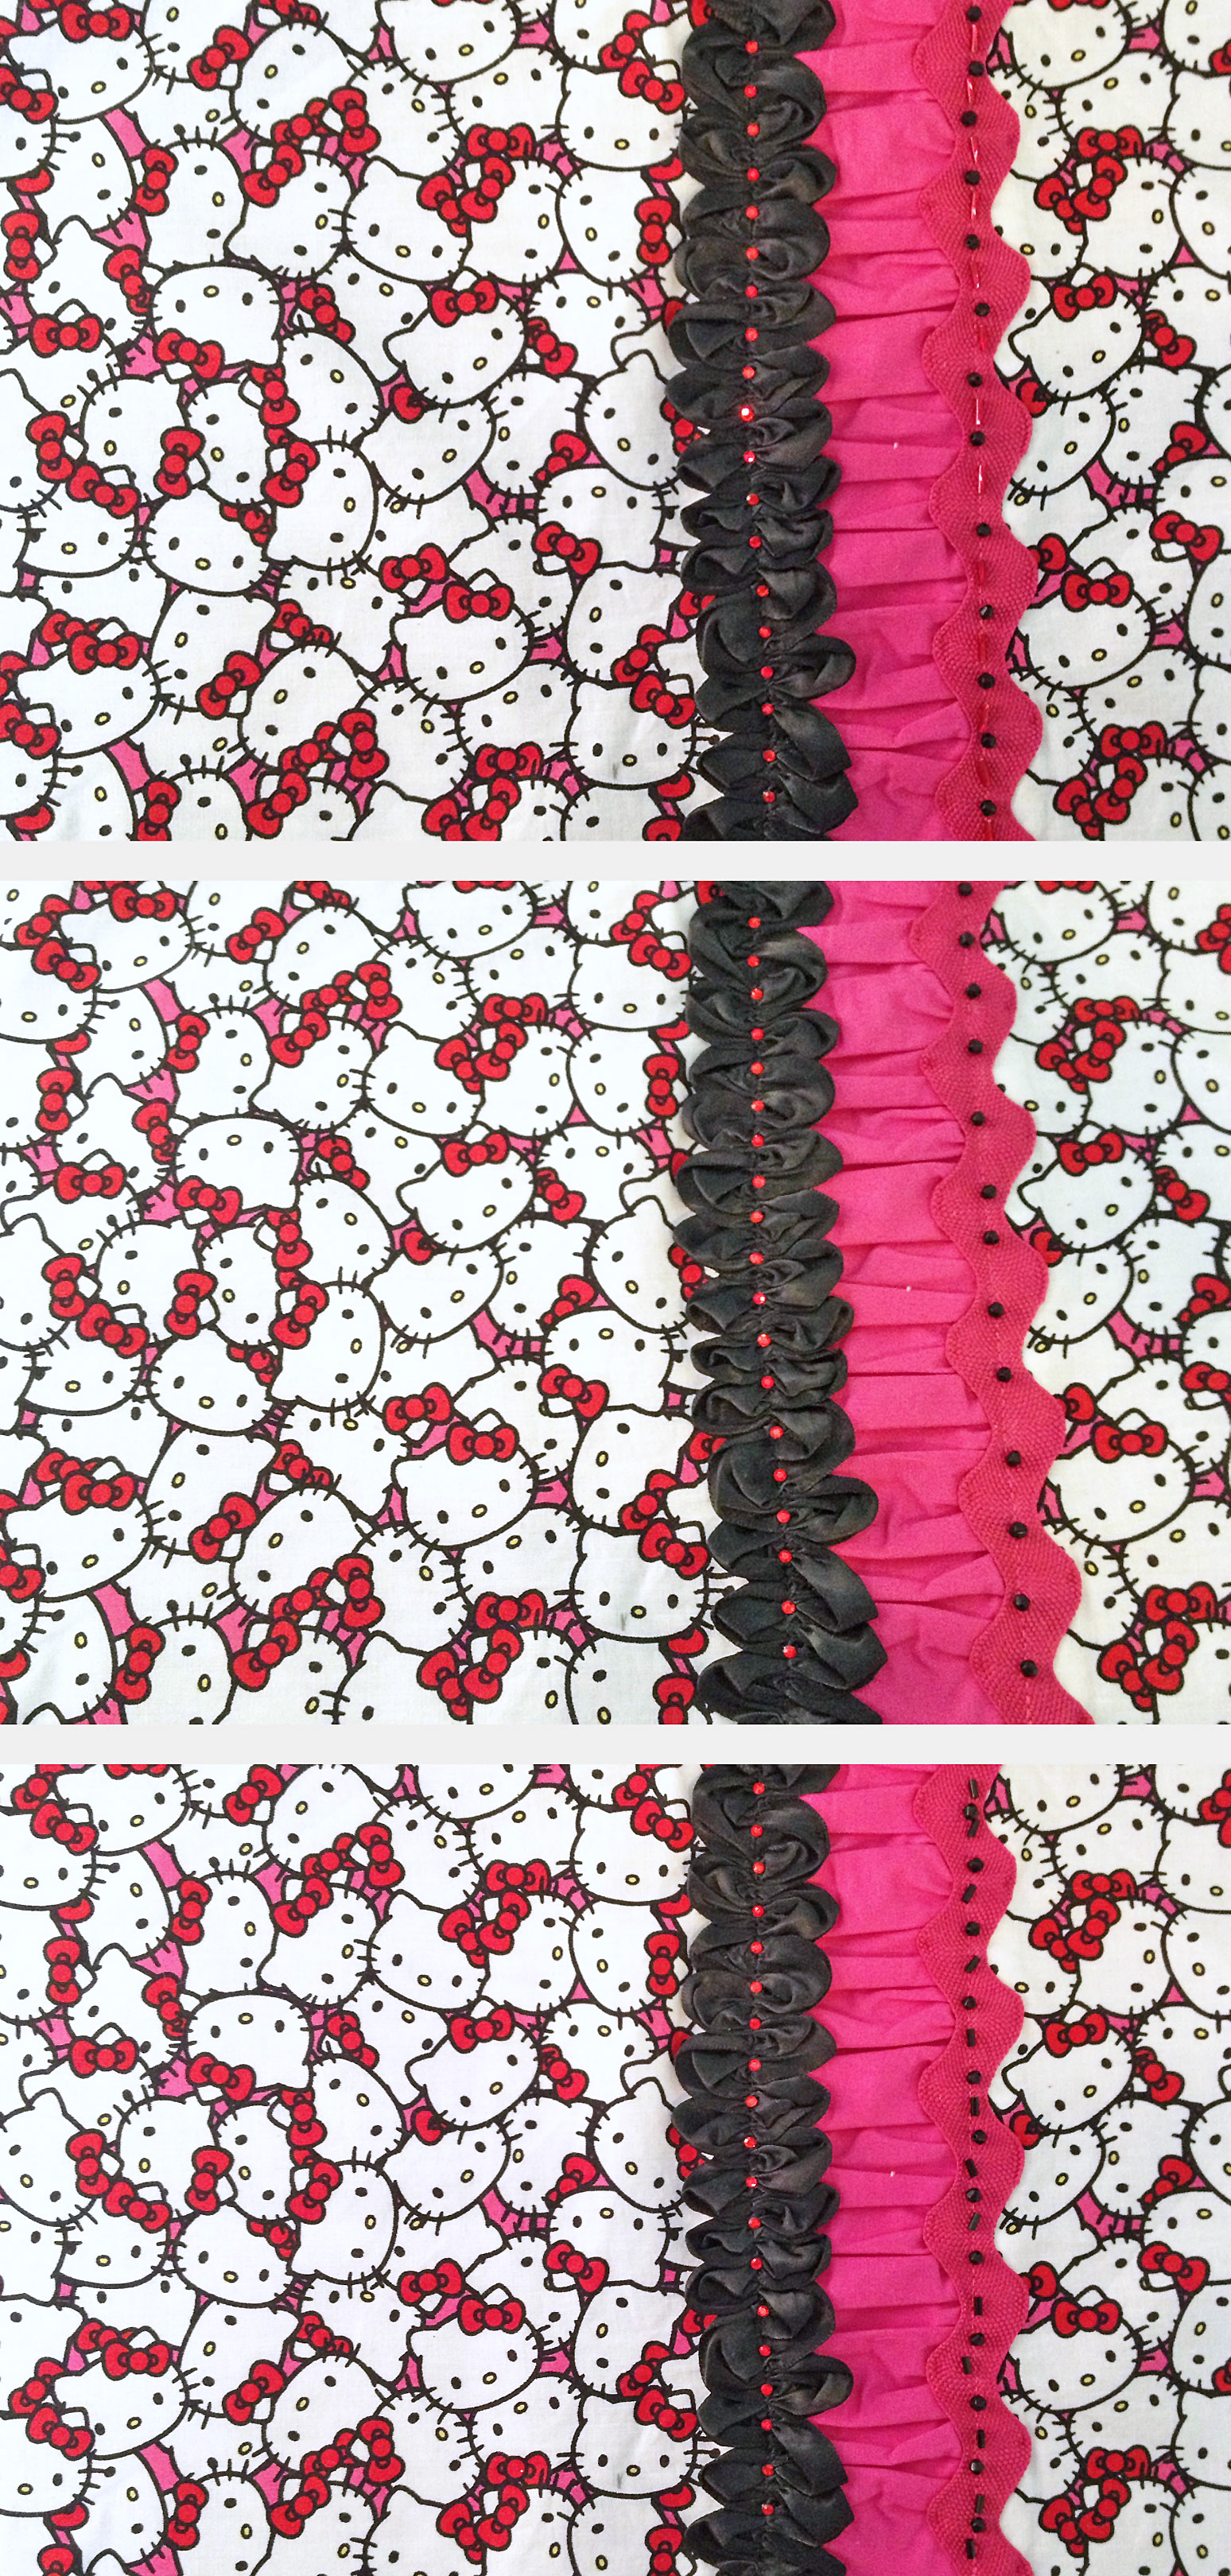
Beading Options
I wasn’t happy with any of the solid black layouts. In the end, I chose to take a subtler approach, alternating the black crystals with some freshwater pearls I’d discovered in my box of jewelry supplies. The pearls picked up the white from the Hello Kitty print, and they served as the perfect counterbalance to the black crystals.
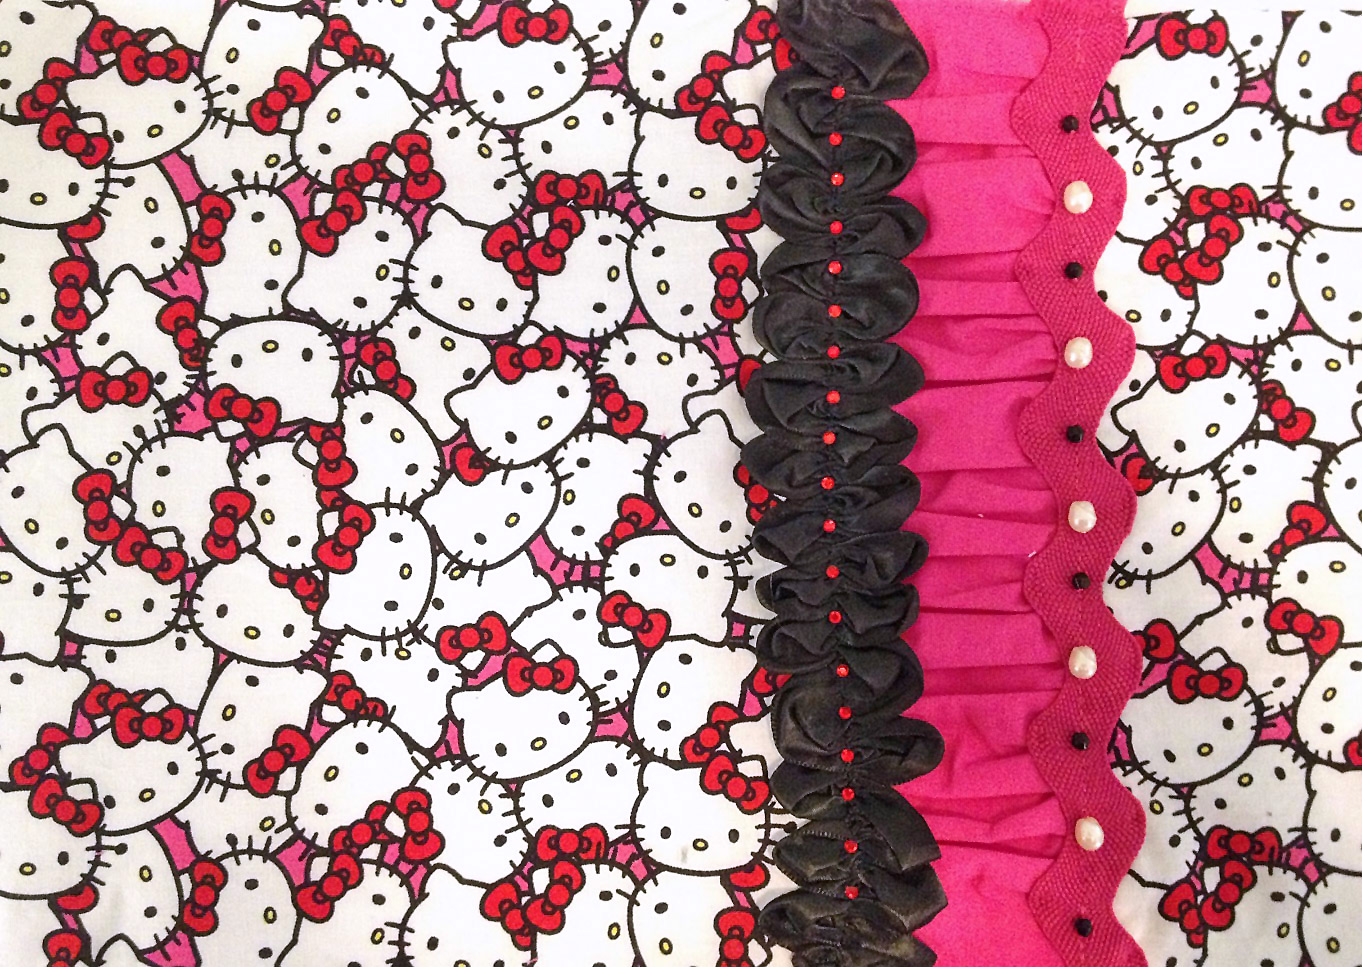
Finished Embellishment
Next, I hemmed the inner pockets using a decorative stitch my sewing machine happened to have. It’s a column of bows, which coordinated with the bows on the Hello Kitty fabric. I especially like how the pink thread pops against the black fabric.
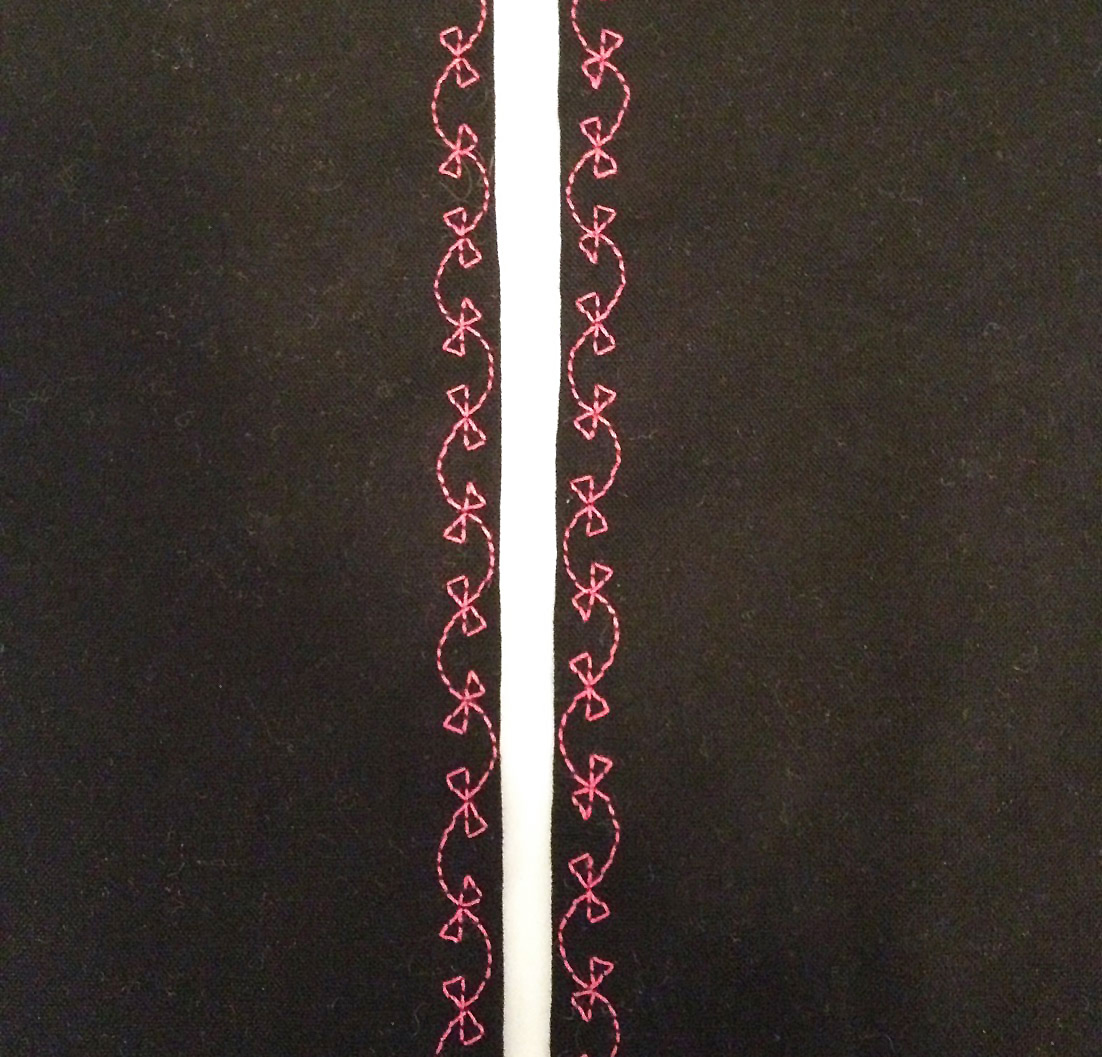
Hemmed Pockets
With my own cover, it was tricky to figure out how to assemble the layers of the cover. They have to go in the right order, otherwise it won’t work when you flip it right-side out. Fortunately, it hadn’t been that long since I’d made mine, so I was able to remember how it went.
- The front panel is placed right-side up, with the back to the left and the front to the right.
- The tab goes halfway down the back edge, pointed inward, wrong-side up.
Layers 1 & 2: Outer Fabric & Tab
- Next go the pockets, right-sides down.

Layer 3: Pockets
- The final layer is the lining, which goes right-side down.
- All layers are pinned together around the edges, leaving a gap at the bottom through which to flip the finished cover right-side out. I always mark such gaps with perpendicular pins, so I know where to start and stop sewing.

Layer 4: Lining
I used a ½” seam allowance and made sure to round the corners, rather than pivoting, which would produce squared corners. After it was sewn, I trimmed and notched the rounded corners, then flipped it right-side out, poked the corners out, and pressed it—being careful to avoid the embellishments, which could have melted. To close the gap at the bottom edge, I pressed the seam allowance in, and then hand-sewed it with an invisible slipstitch.
Next came the part I’d been dreading: hand-bound buttonholes for the clips that hold the Kindle in place. I debated between using pink thread, for a pretty contrast, or black thread, to hide my incompetency with buttonholes. My friend liked the idea of pink buttonholes, so I bit the bullet and used the same hot-pink thread that I’d used for the embroidery stitches on the pockets. Of course, every tiny error shows!
Strangely, I made the same mistake as I’d done with my own Kindle, accidentally making the first buttonhole 1/8″ too short. I had to redo it, since the clip wouldn’t fit through the buttonhole.
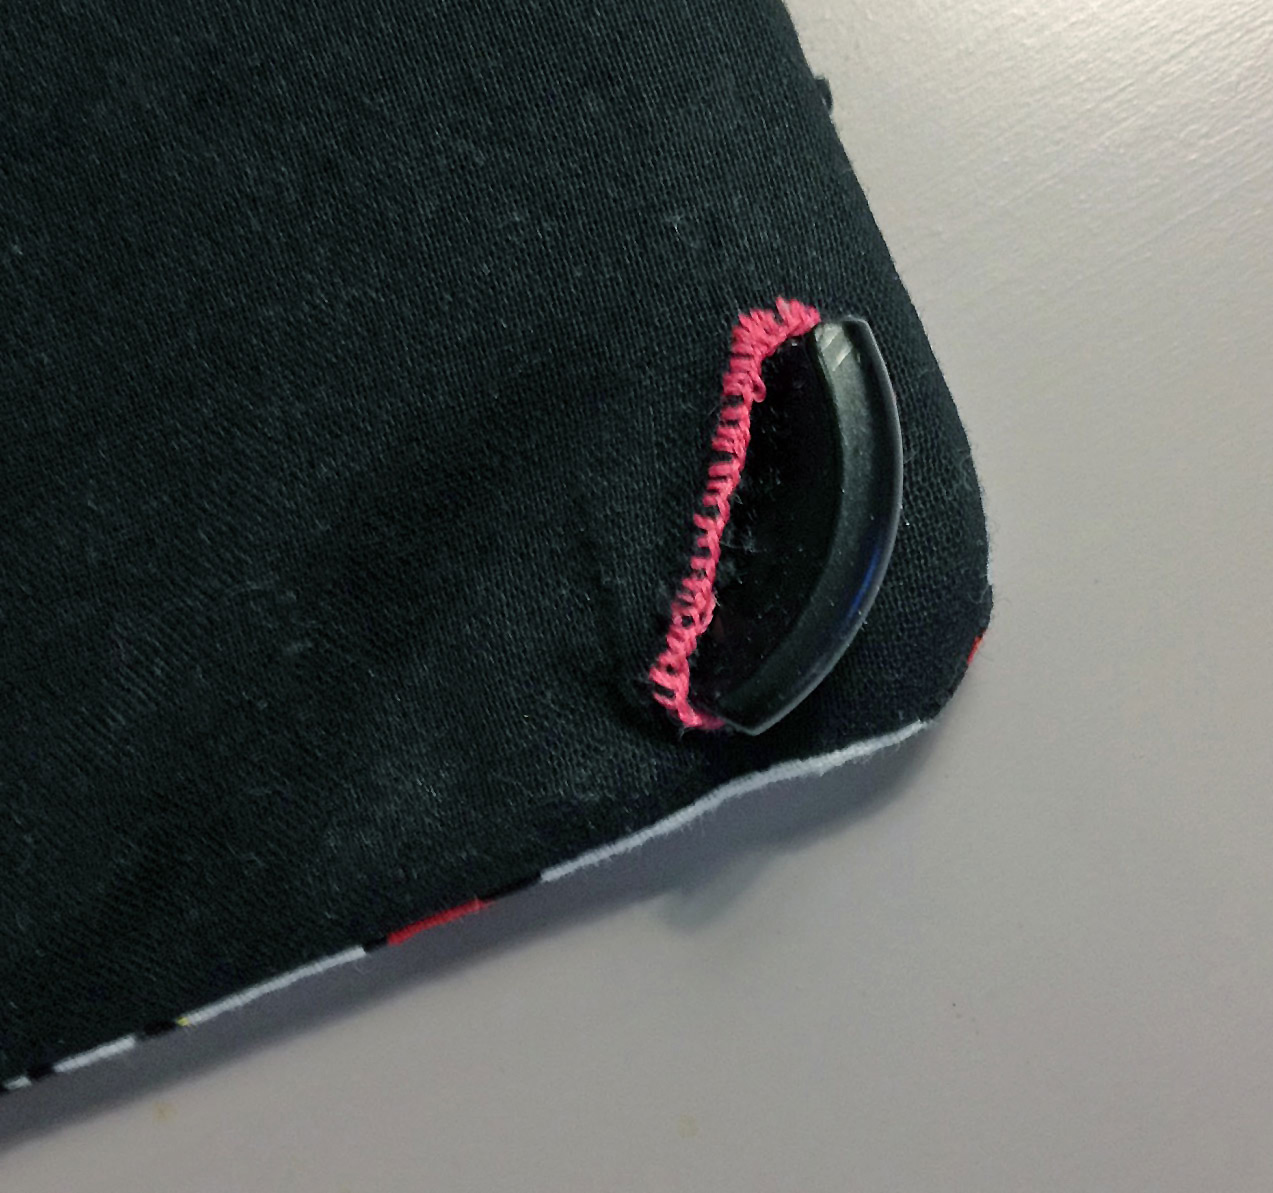
Buttonhole
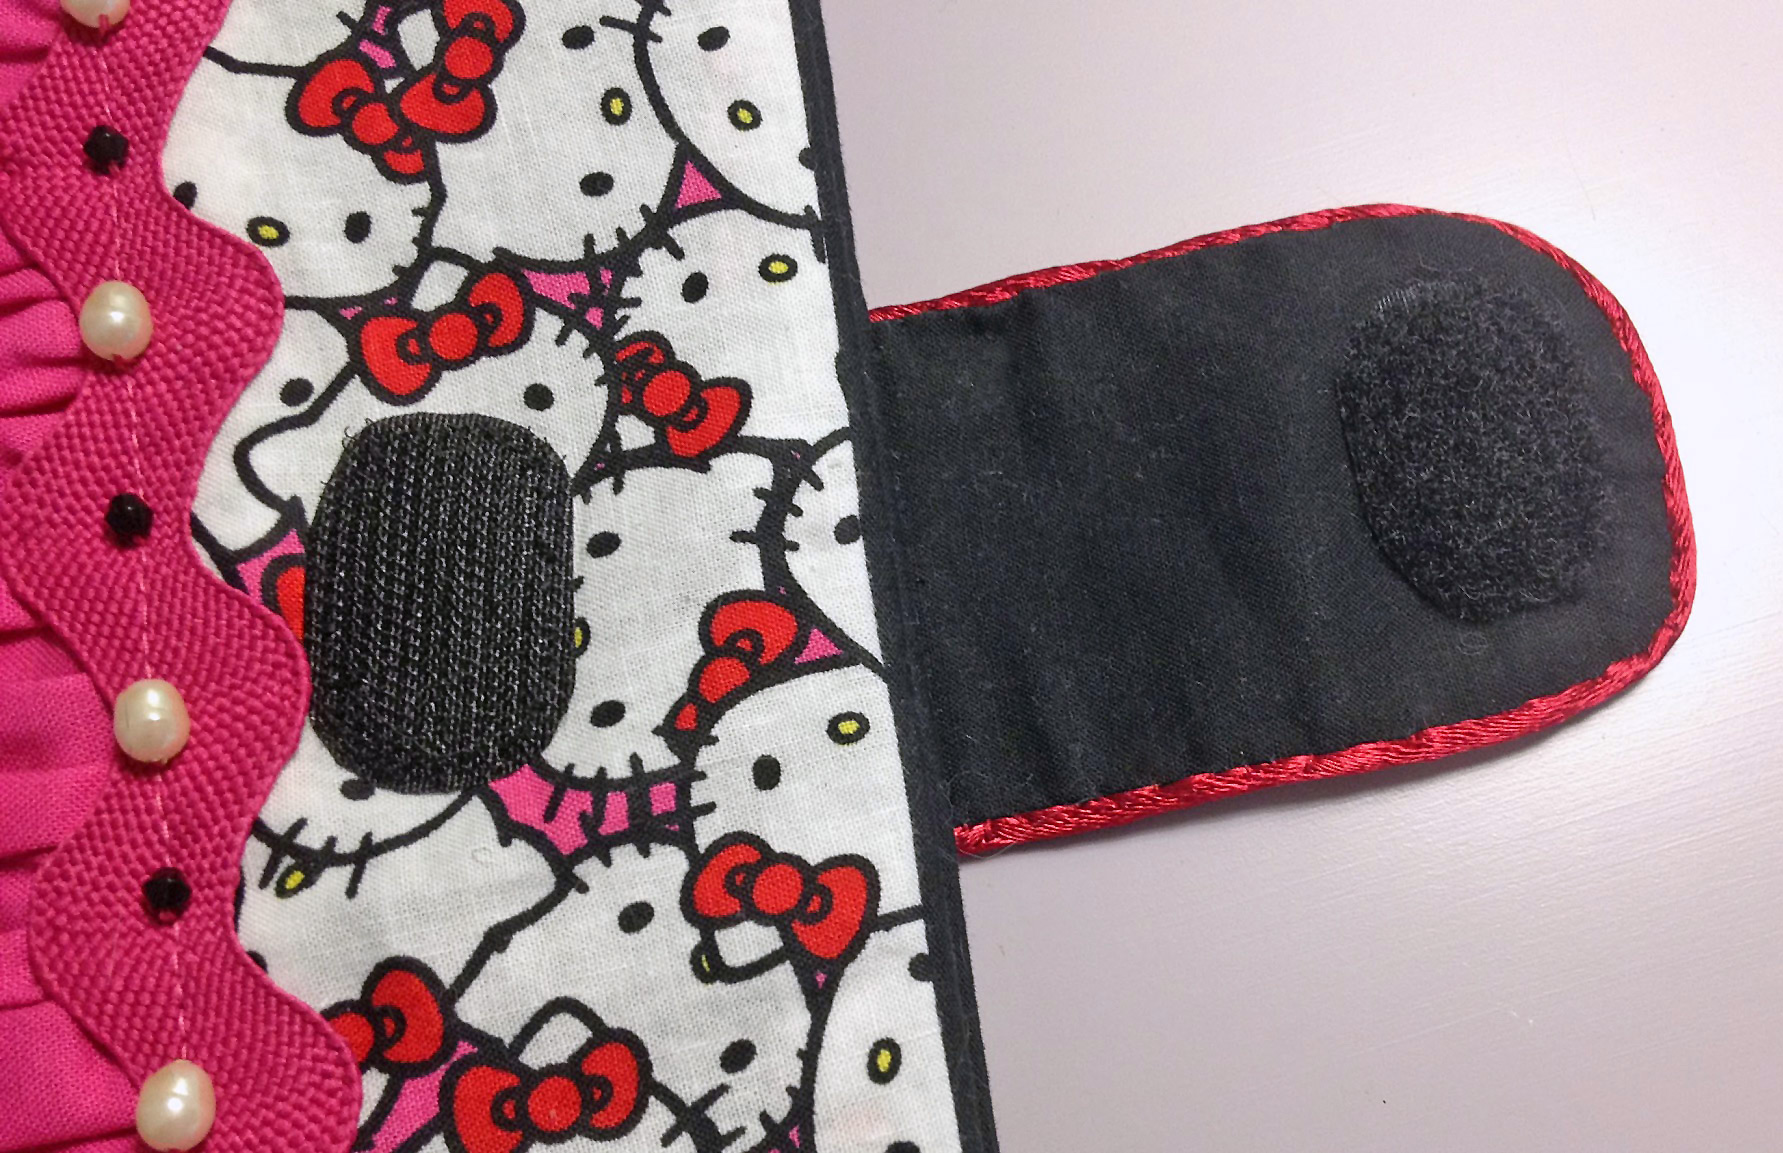
The final step was to sew Velcro ovals to the cover and the tab, with which to fasten the cover. I happened to have some black Velcro leftover from when I altered my husband’s hockey socks, so that’s what I used. I didn’t want to machine-sew these, mainly because I wanted the stitches to be hidden within the lining. Also, the last time I’d machine sewed Velcro, the sewing machine’s needle fell off! So this time, I hand-sewed the Velcro. One ended up slightly crooked, but it was too much work to rip it off and do it over.
Conclusion
Hot pink and black isn’t my favorite color scheme, but I enjoyed using fabrics and trims that I don’t usually work with. It was challenging enough to hold my interest, but wasn’t too difficult, since I’d already made a similar slipcover for my own Kindle. As always, I loved the embellishing!
Another friend of mine suggested that I make a bunch of these Kindle covers to sell on Etsy. The problem is, they aren’t one-size-fits-all. Because every Kindle case is different, they would have to be custom-made to fit each case. Plus, it’s a lot of work and I am not a fast sewer. I’m something of a perfectionist, so I sew slowly, with a lot of attention to detail, which means I would have to charge more for the Kindle covers than they’re worth, in order to make a decent hourly wage.
Also, I despise sewing the same thing more than once. It’s why I hate sleeves—they always come in pairs! Therefore, while I greatly enjoyed this project, it will probably be my last Kindle slipcover.
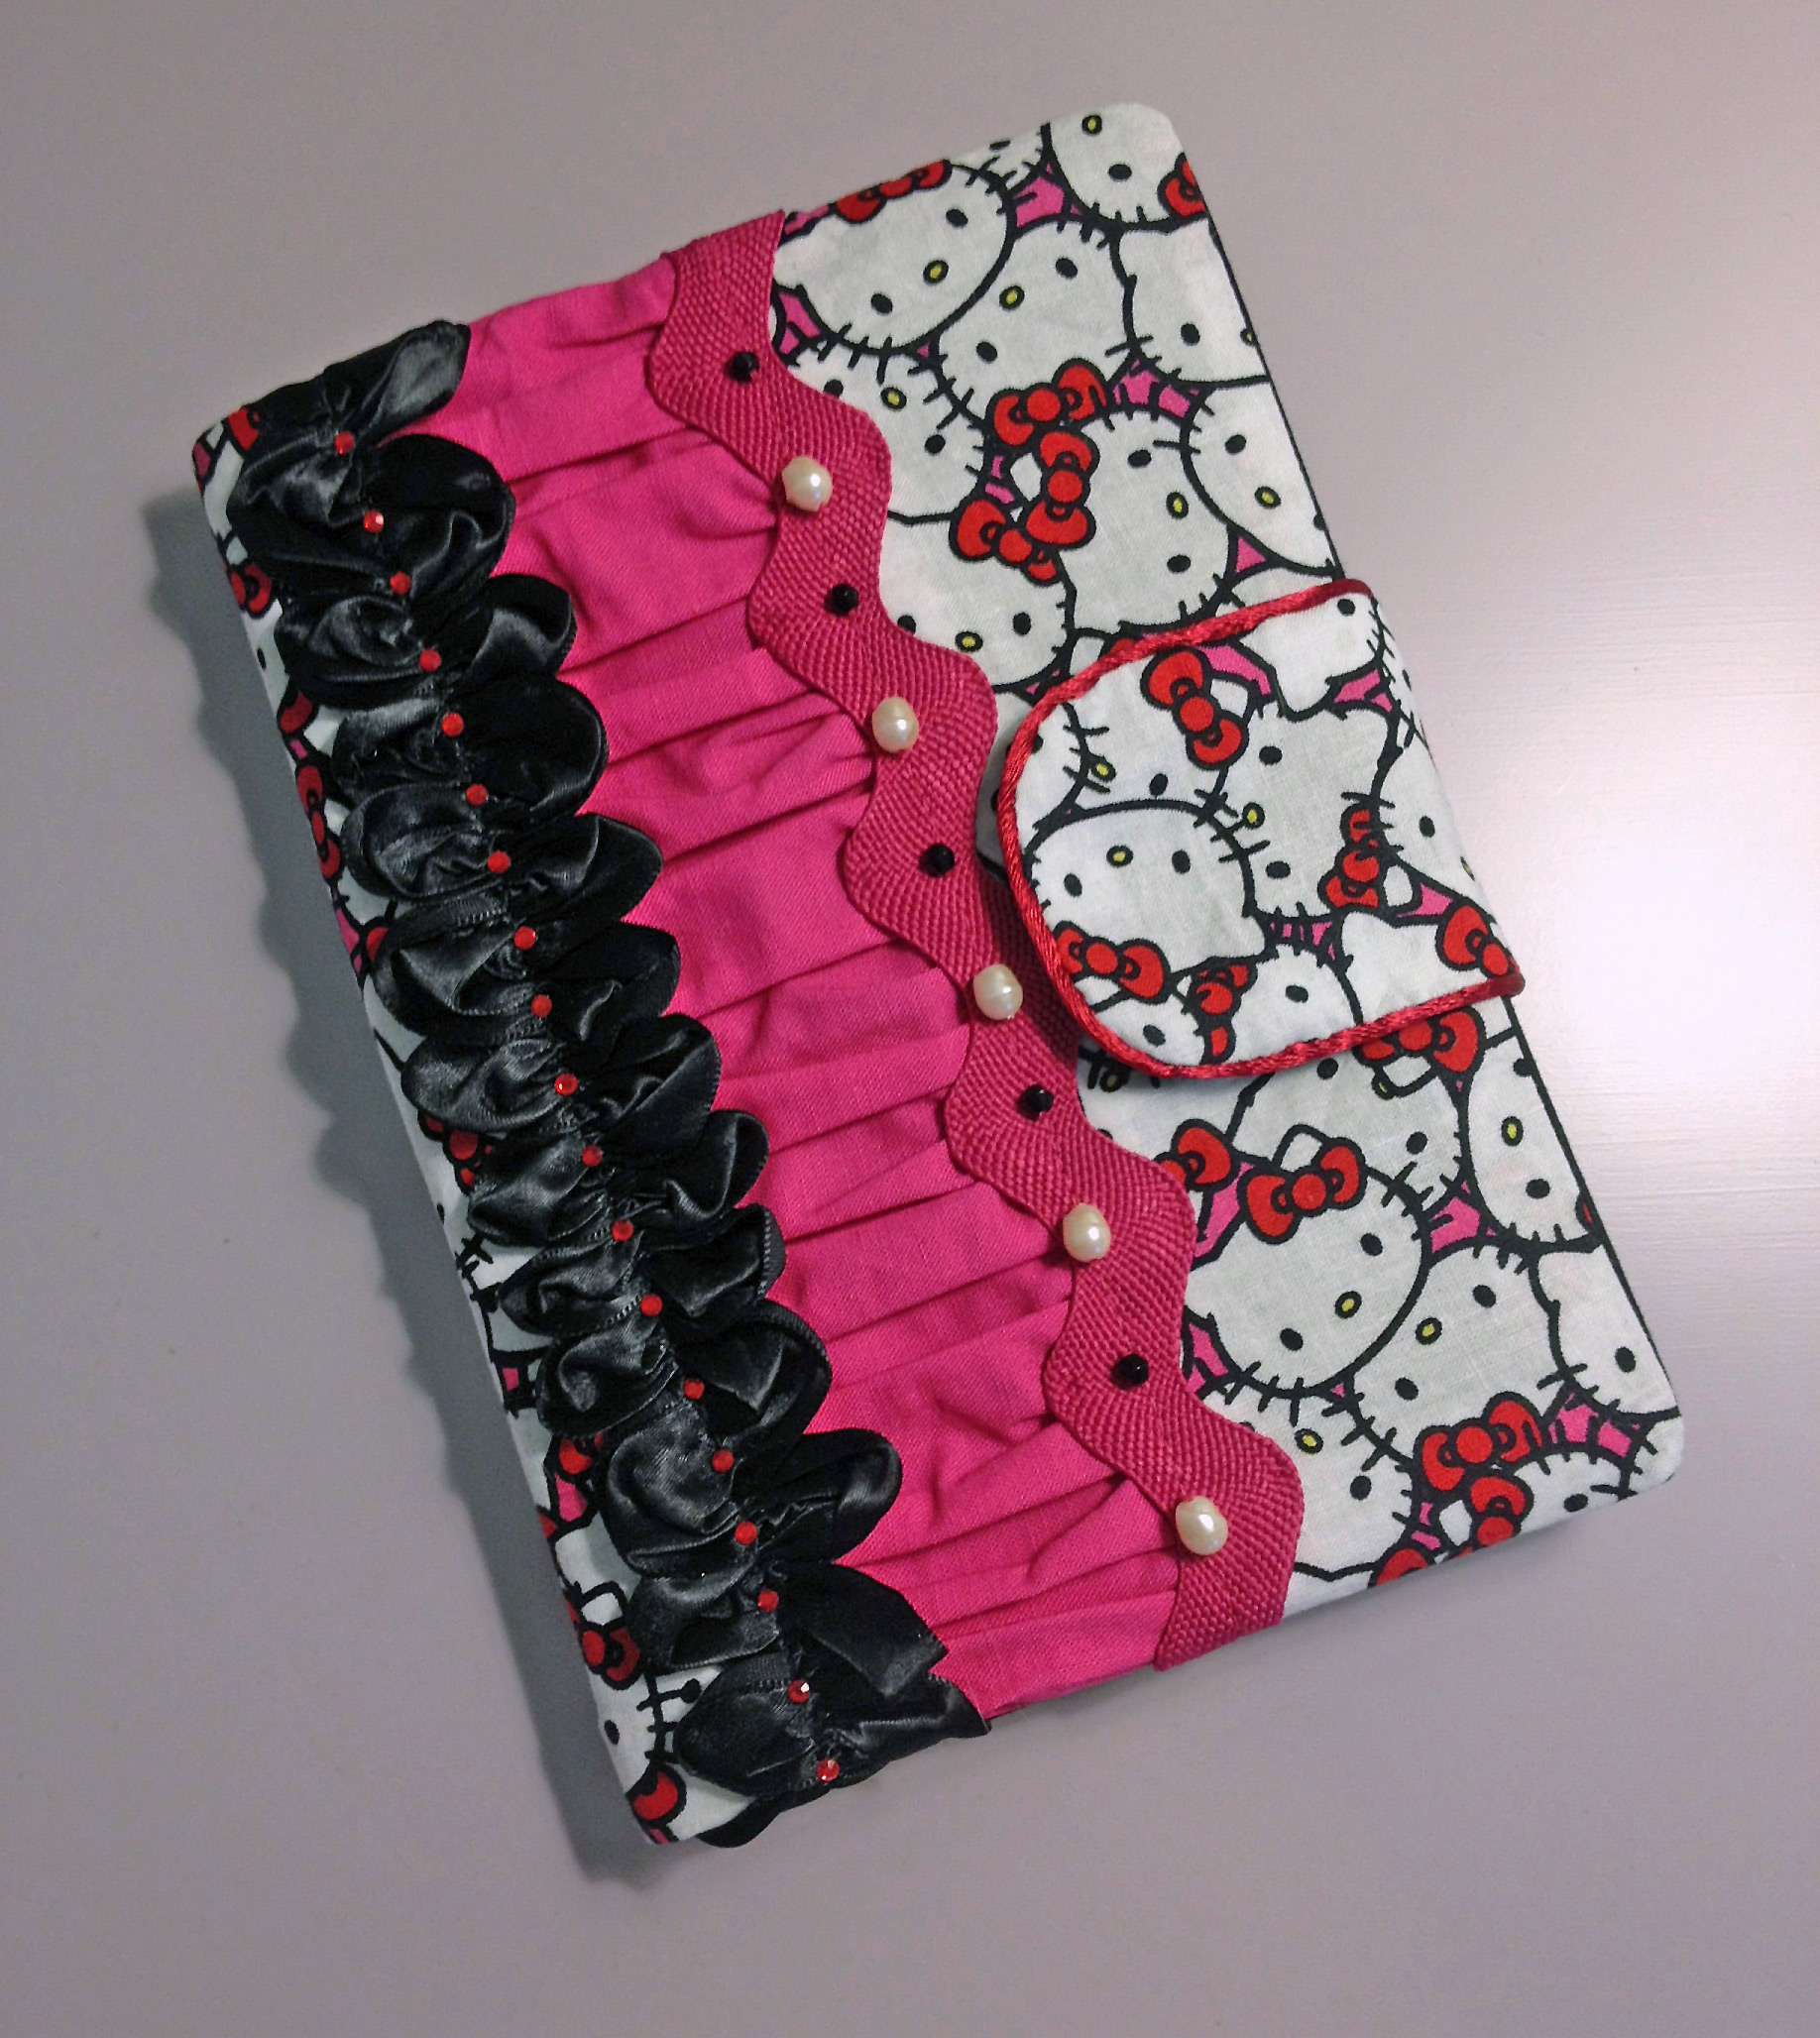
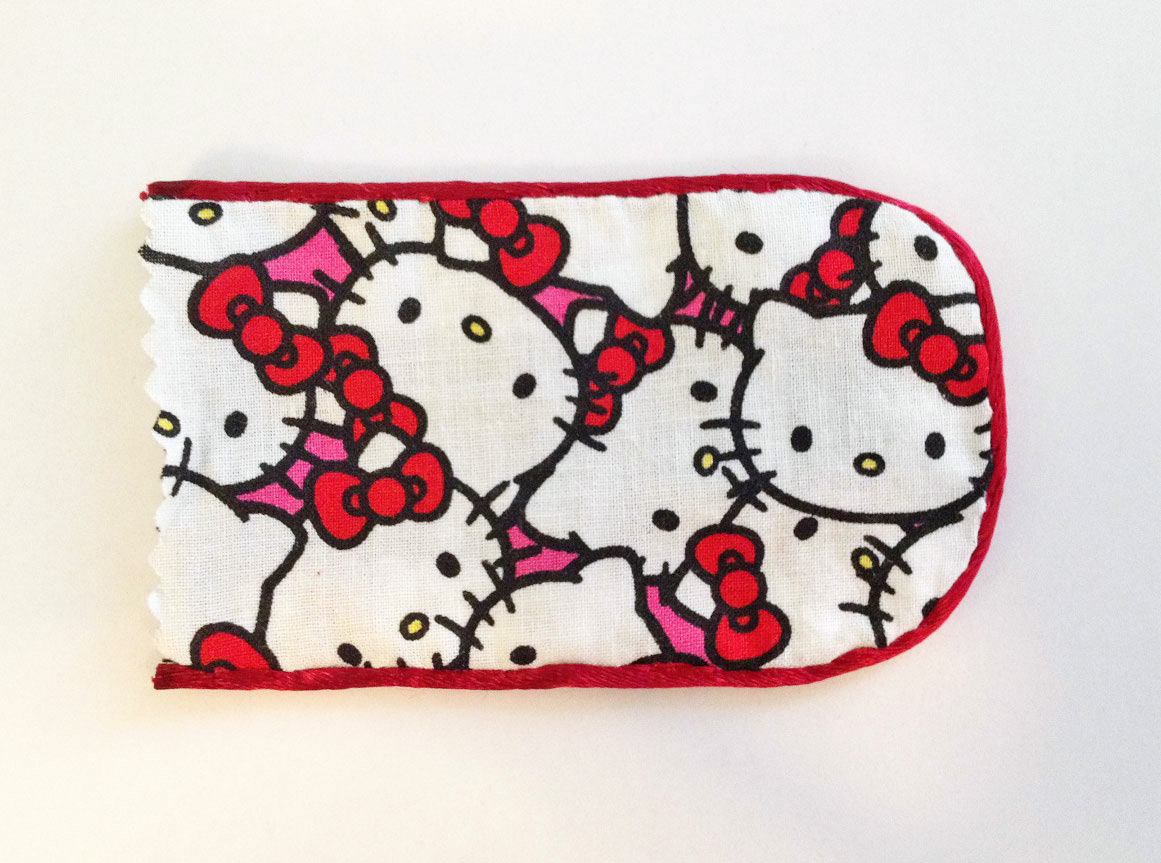
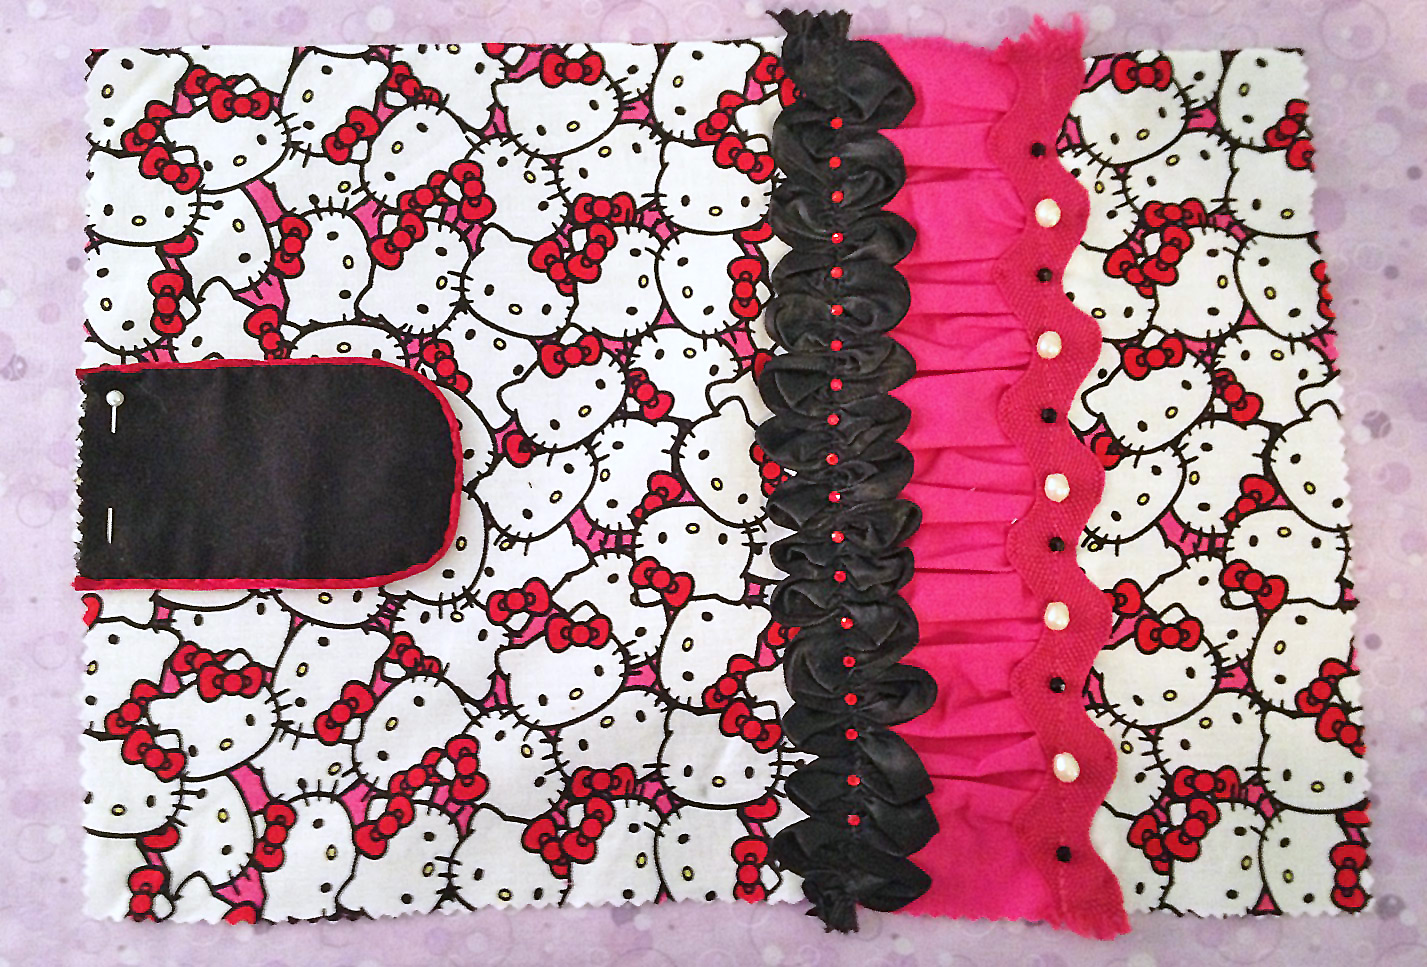
Finished Kindle Cover
~~*~~
For more chronicles of the interesting things I’ve sewn, browse our Sewing Diaries. You might also enjoy our Tutorials and Articles. For beginner-friendly advice, try our series of Sewing Basics.