
by Lisha Vidler
(Click any image to view it full-size.)
Not long ago, I made a custom cover for my Kindle. I also made a crazy-quilted pincushion, inspired by the lovely work of Lisa Boni at Ivory Blush Roses. It occurred to me that it might be possible to combine the two techniques to make a crazy-quilted book cover. The resulting project turned out lovelier than I could have imagined!
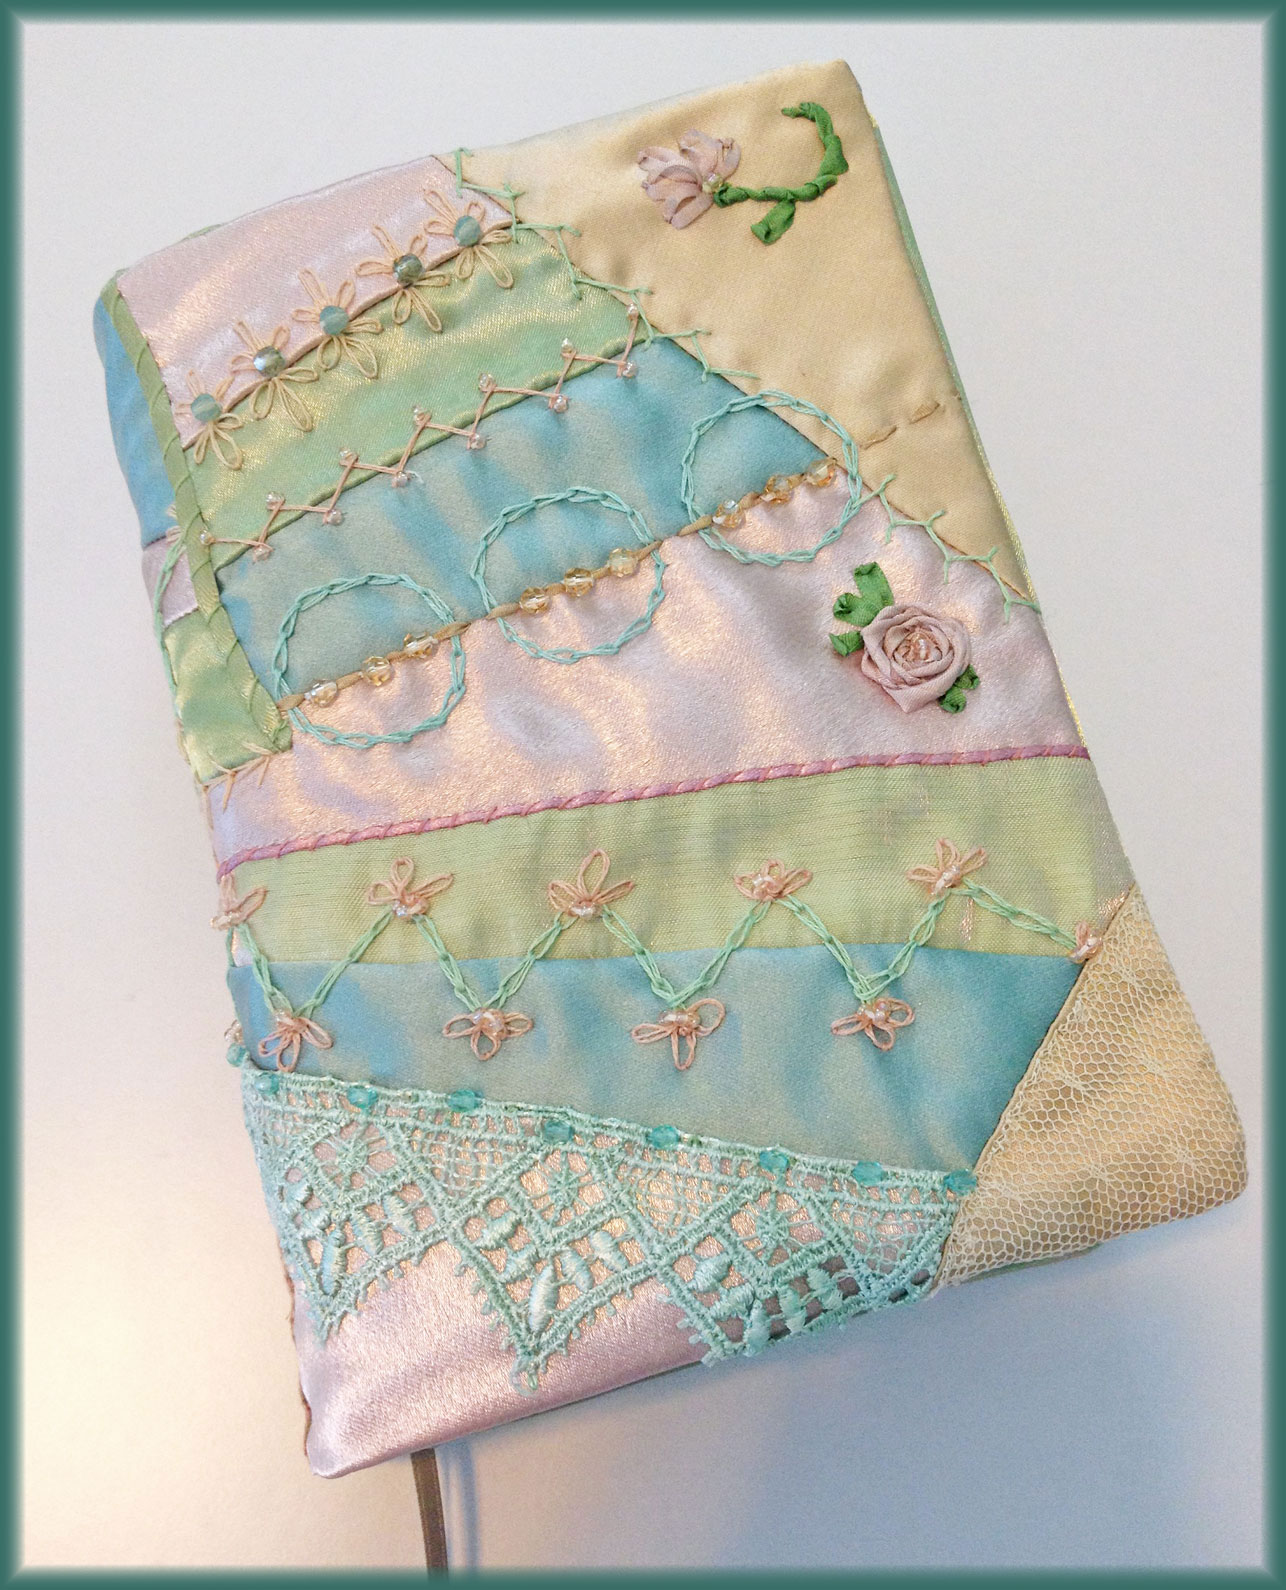
Crazy-Quilted Book Cover
Would you like to make your own? Scrounge up some fabric scraps, rummage through your ribbon box, and follow along, step-by-step, as we make a custom crazy-quilted book cover!
Materials
- Book to Cover
- Pinking Shears
- Measuring Tape
- Transparent Ruler
- Chalk Pencil or Fabric Pen
- Pattern Drafting Material
- Fabric #1: Unbleached Muslin (½ yard)
- Fabric #2: Scraps
- Fabric #3: Lining & Pockets (½ yard)
- Hand Sewing Needle & Embroidery Needles
- Embroidery Floss
- Variety of Embellishments
You might choose to make a cover for your favorite novel, journal, sketchpad, or even an address book. It’s easier if the book has a stiff or hardback cover, but this isn’t a requirement. I chose to cover a Bible, making it a gift for a dear friend.
You’ll need a measuring tape, as well as a transparent quilter’s ruler, and a fabric pen or chalk pencil to help you trace the shape of the cover. Pinking shears may come in handy, especially if your fabrics tend to fray.
If you plan to sew more than one book cover, use pattern drafting material to draw your pattern pieces. That way, you have a reusable template. If this is a one-shot deal, you can save time by drawing your pattern directly on the unbleached muslin you’ll be using for the mockup. Either way, you’ll need about half a yard of muslin. Make sure to save a piece of muslin as the base for your crazy-quilting. (Don’t worry, it won’t show!)
-
Pattern Drafting Options
- Swedish Tracing Paper
- Regular Tracing Paper
- Cardstock or Oak Tag
- Gift-Wrapping Paper
- Sew-In Interfacing
- Paper Towels
Gather a selection of scraps to use for the outer crazy-quilt. I’d recommend a minimum of three different fabrics, but no more than five. (For a discussion of how to pair fabrics according to color, texture, and print, check out: Crazy Quilt Pincushions, Part I.)
Our cover is fully lined, with pockets that slip over the front and back of your book. You’ll need about half a yard of fabric. Use a solid color that coordinates with your scraps, avoiding bold prints, bright colors, and any textures that might distract from the beauty of the outer cover.
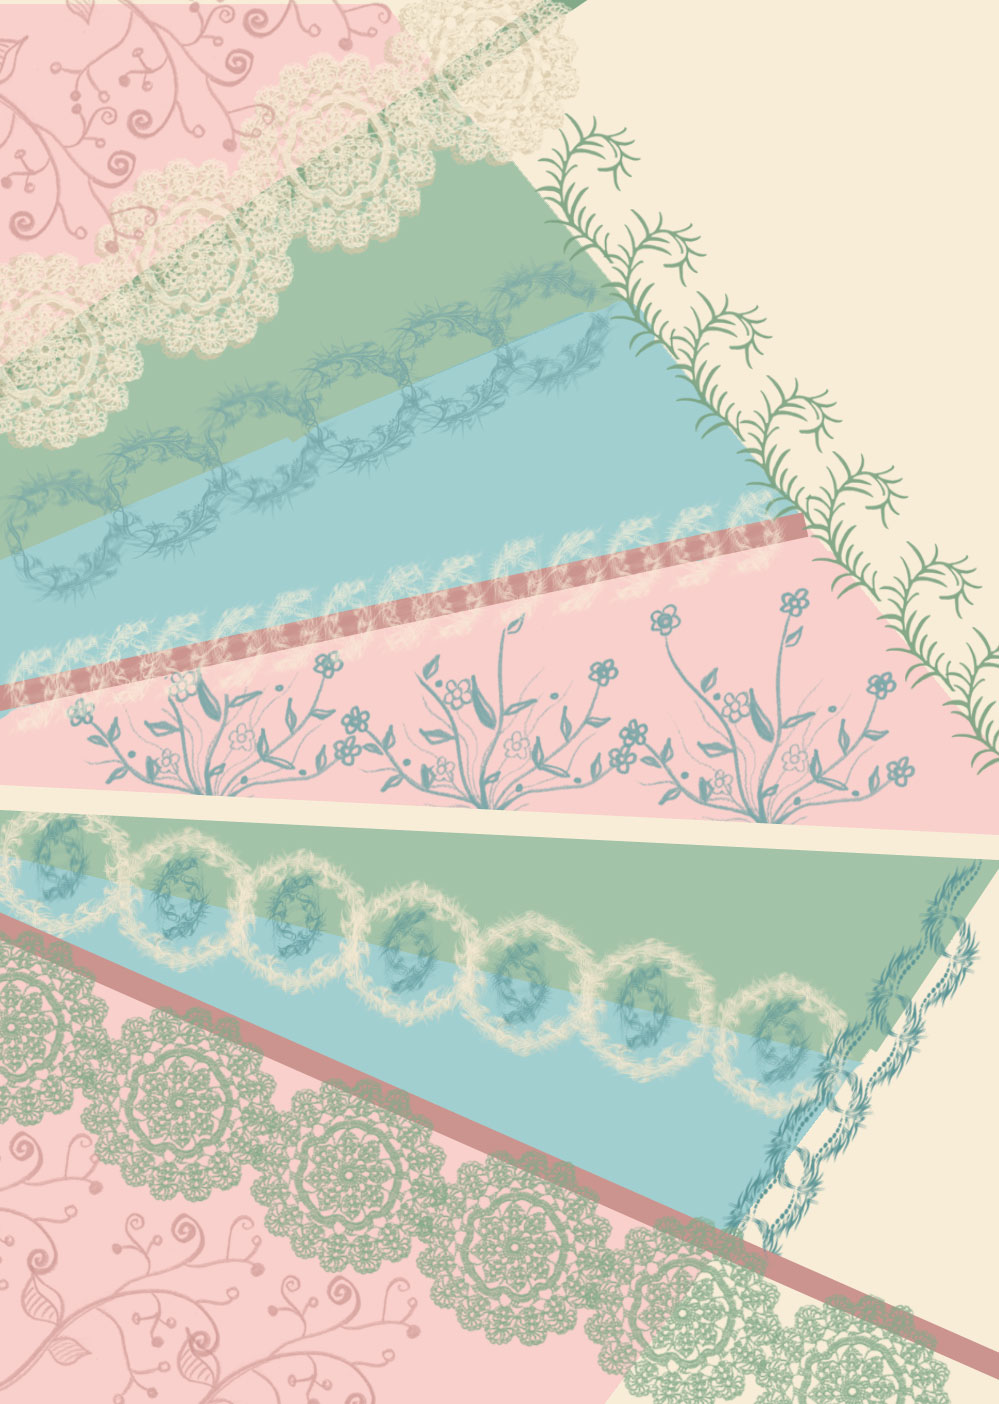
For my book cover, I chose a color palette of muted pastels: light green, baby pink, mint green shot with pink, and dusty aqua-blue, with a neutral dark cream to balance things out. It’s extremely feminine, but more on the sophisticated end of the spectrum, rather than girly.
All of the fabrics are types of satin, but you’ll notice that their sheen varies—the matte satin is lusterless, while the charmeuse is extremely shiny, and the others fall somewhere in between. This keeps the quilted cover from looking too uniform. You’ll also notice that I layered ivory point d’esprit over the dark cream satin, which adds texture and visual interest.
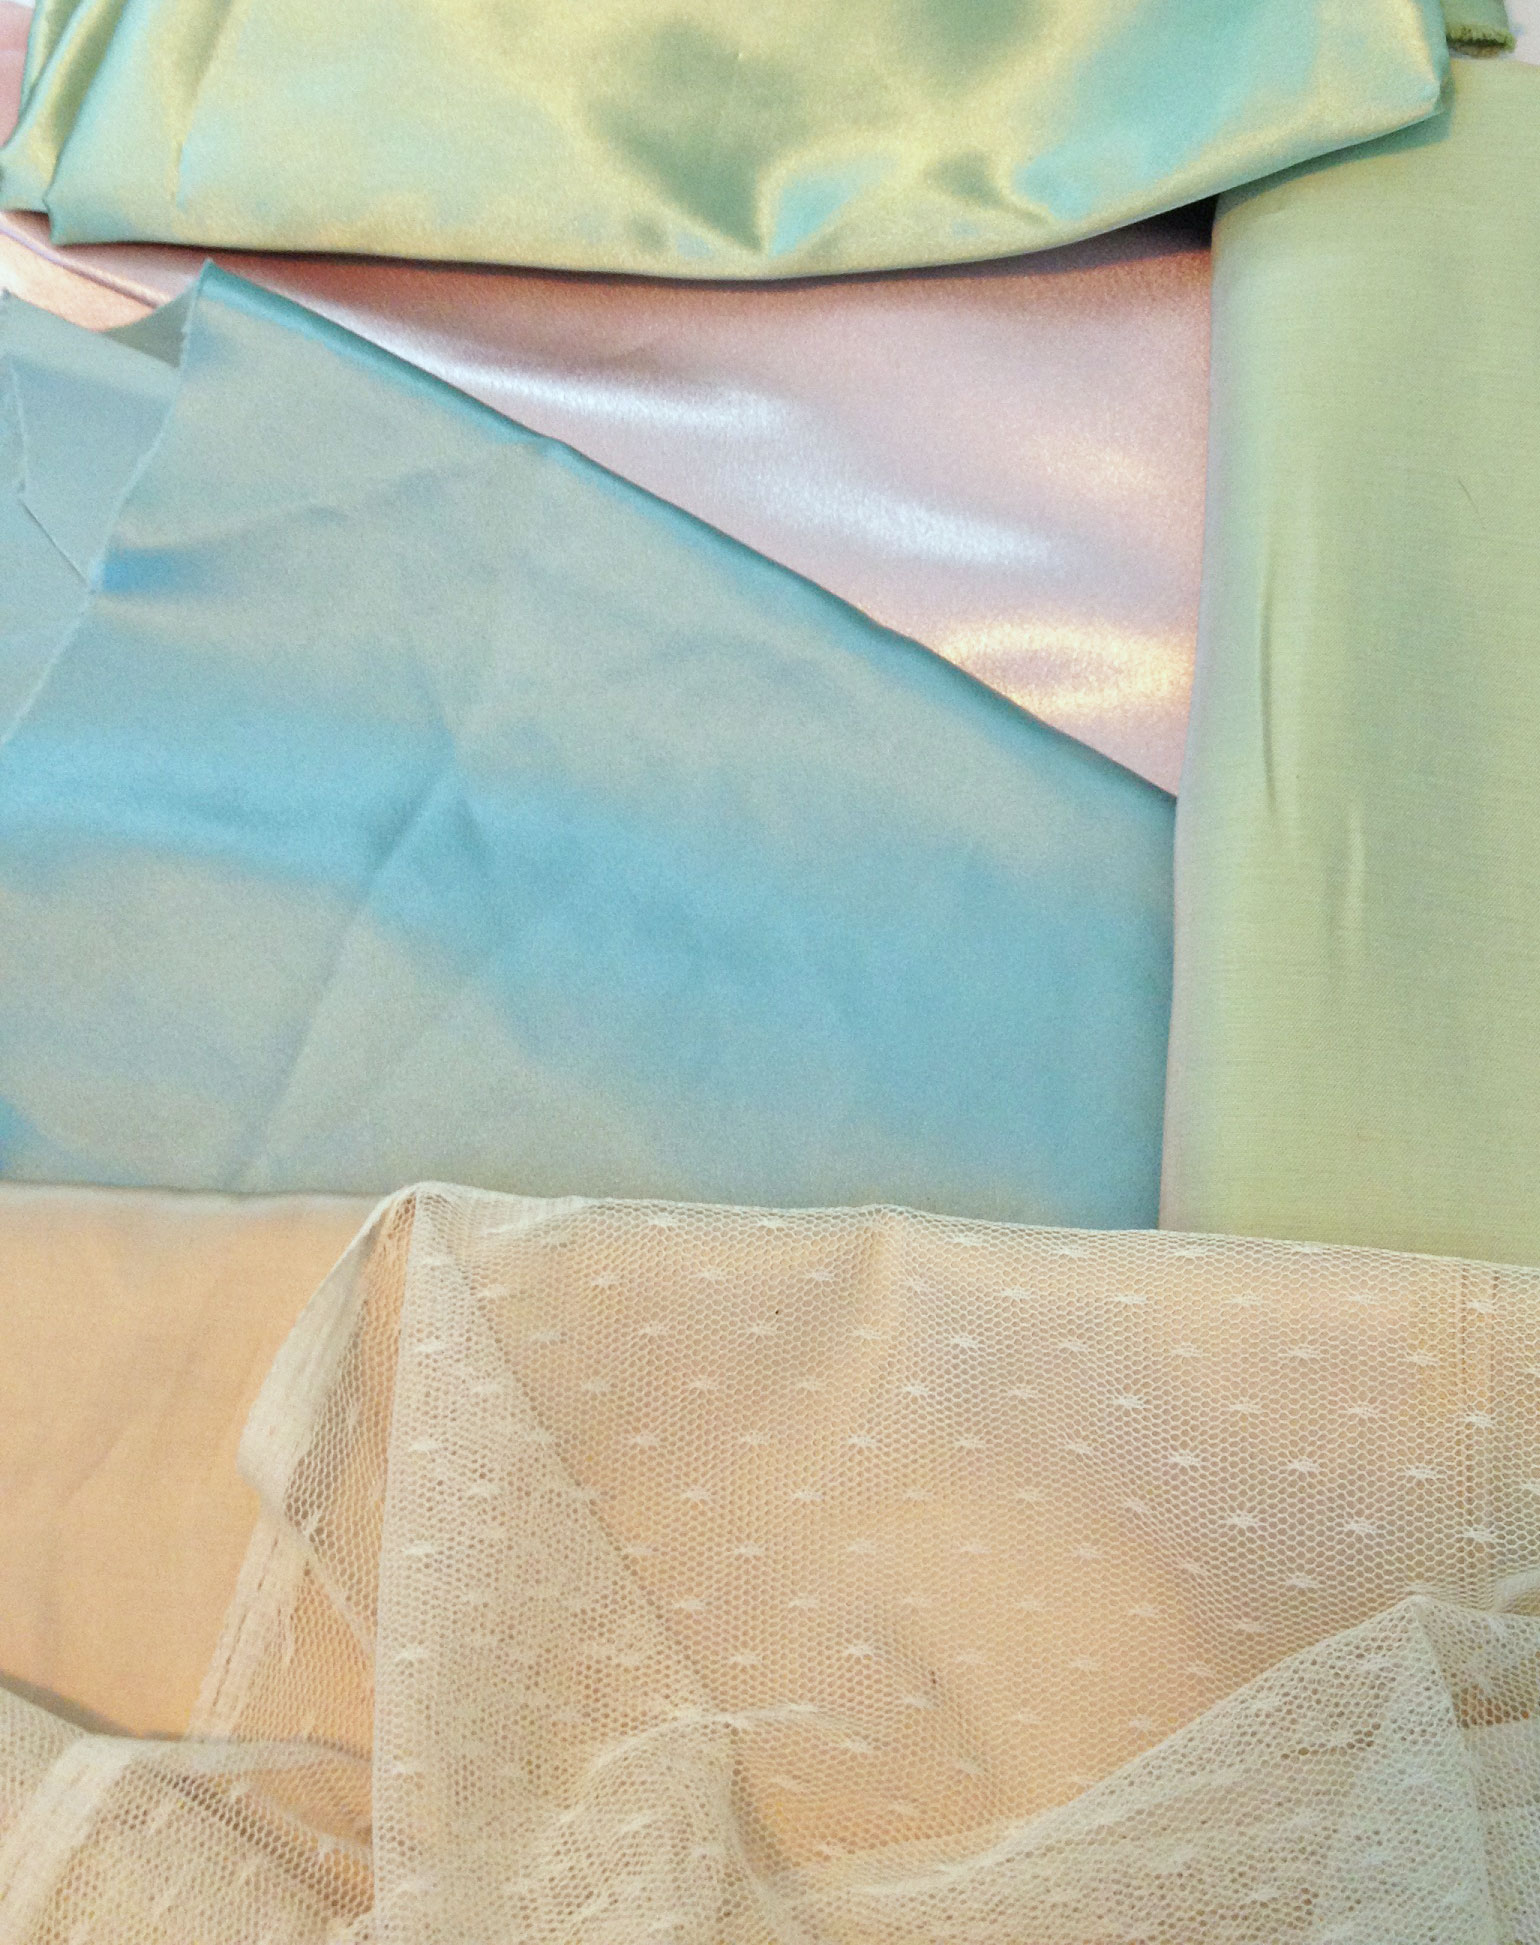
Selection of Fabrics
Embellishment is where you can really go wild! Ribbon, braid, lace, buttons, seed beads, embroidery floss, and silk embroidery ribbon are all suitable to use to decorate your crazy-quilt. Choose colors that harmonize with your fabric scraps, and gather everything together. Seeing all the possibilities in one place can be inspiring. It can also help you eliminate certain items that don’t match as well.
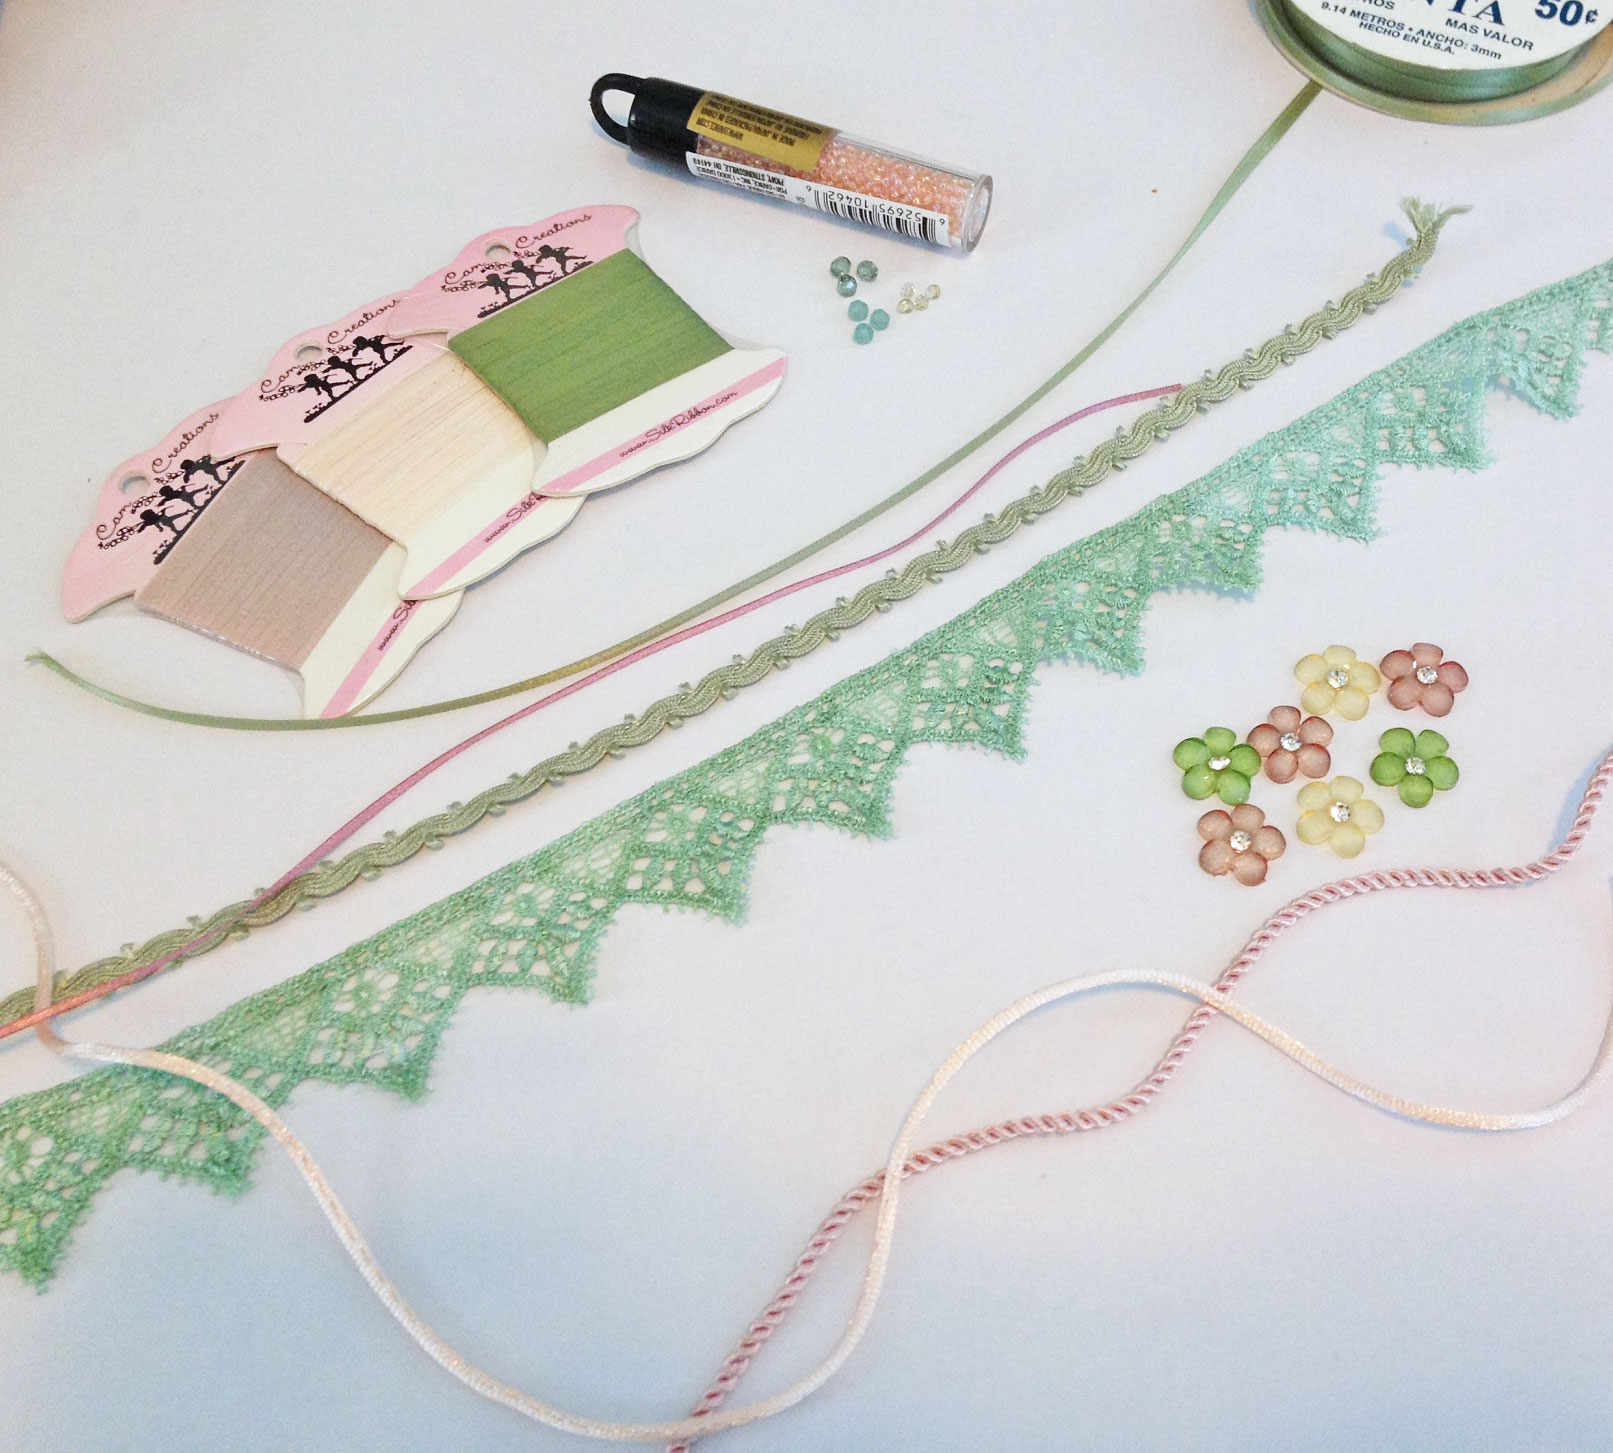
Selection of Trims
Now that you have your materials, let’s make a custom pattern!
Step #1: Creating a Pattern
1A. Measure Your Book
There are three sections: the outer cover, the lining, and the pockets. (Optionally, you can also sew a button flap, carry-straps, or ties.) Each of these pieces must be custom-sized to fit your book, so you’re going to need several measurements. Grab your book and a measuring tape.
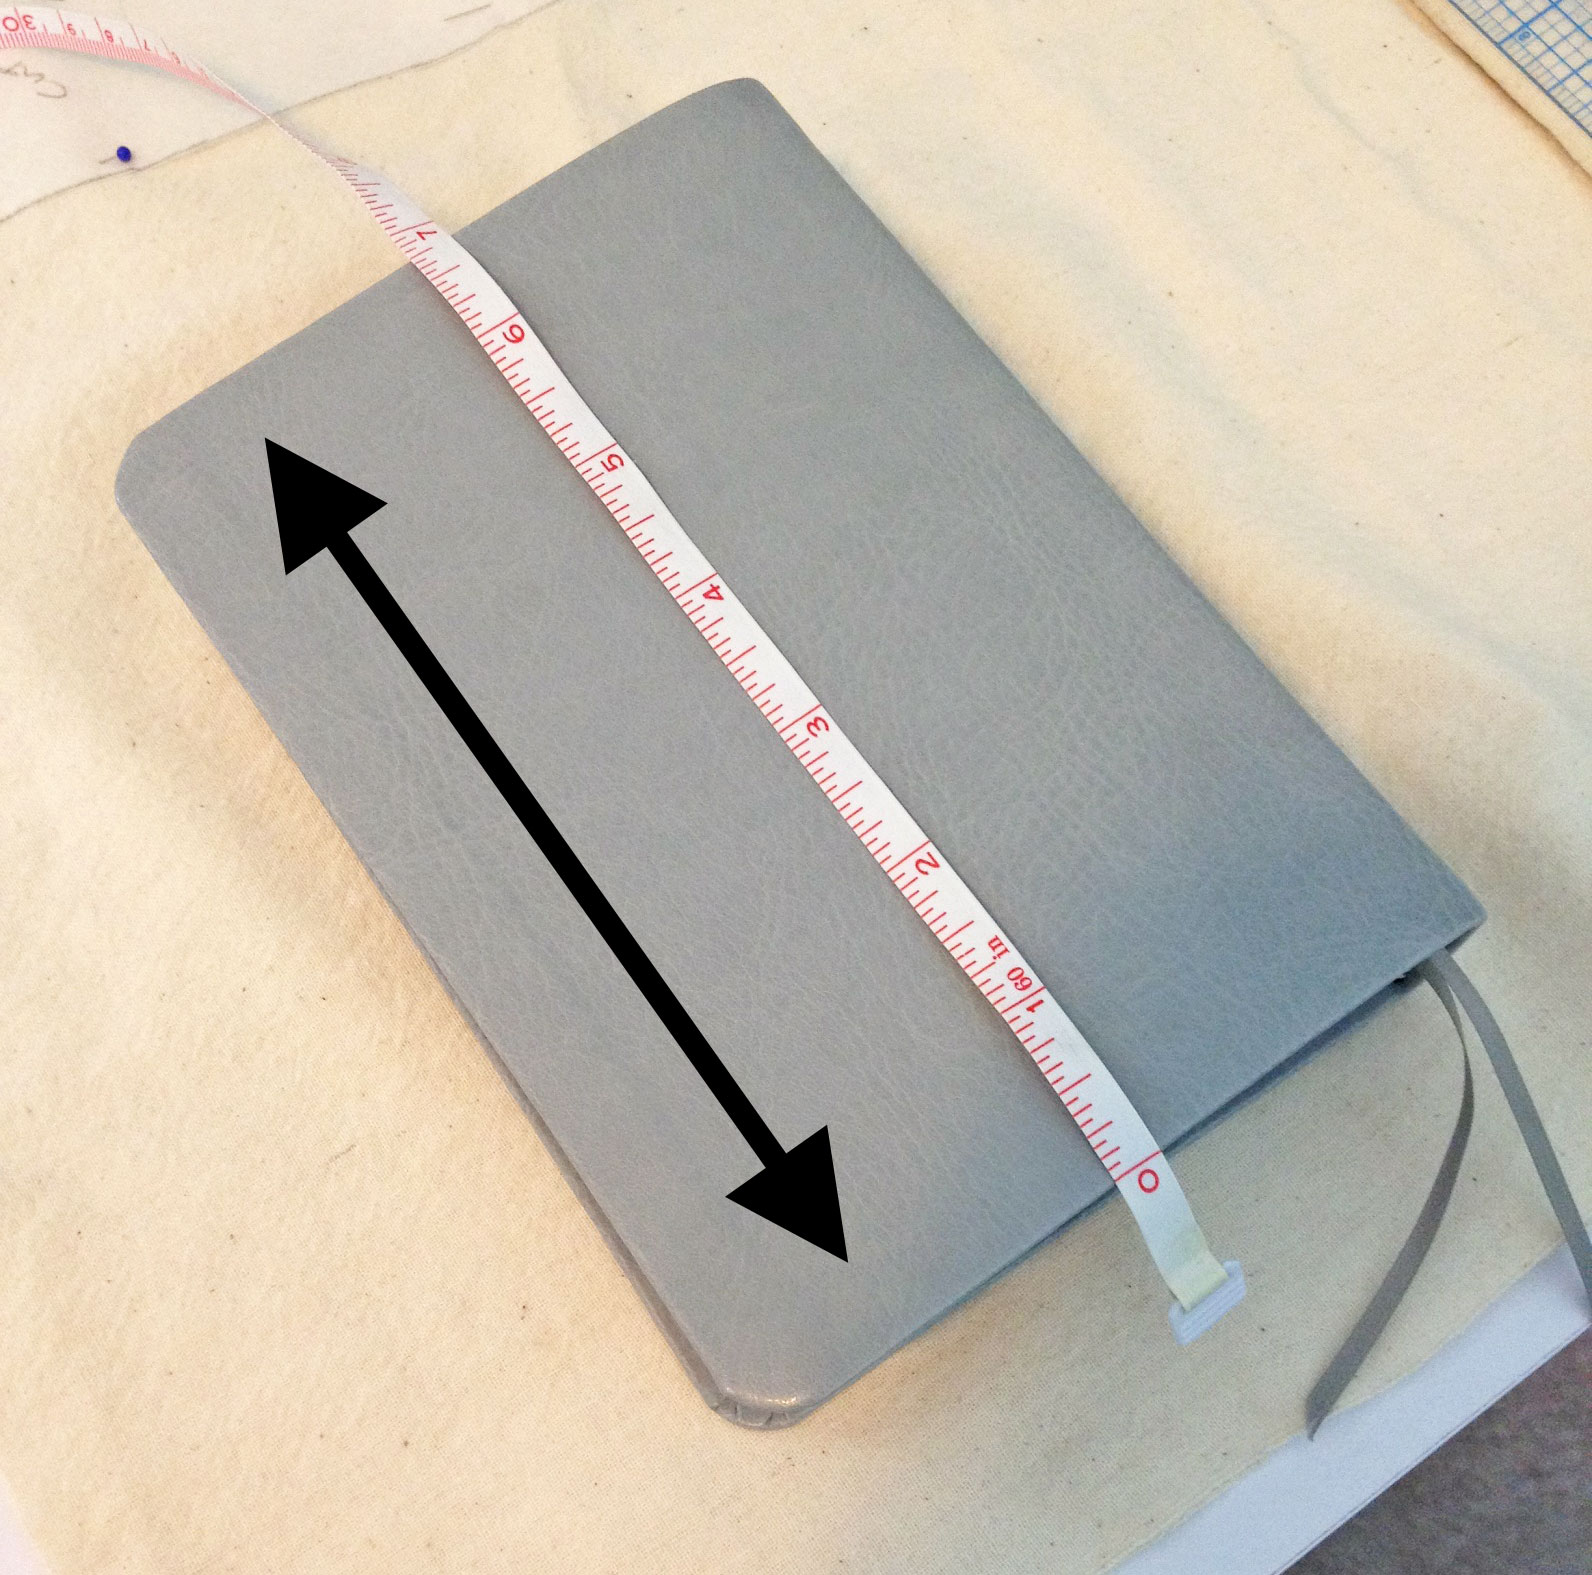
For the outer cover and lining, first measure the entire depth of the book. Starting at the front edge, wrap the tape measure across the front of the book, around the spine, and across the back of the book, stopping at the back edge. Write this number down.
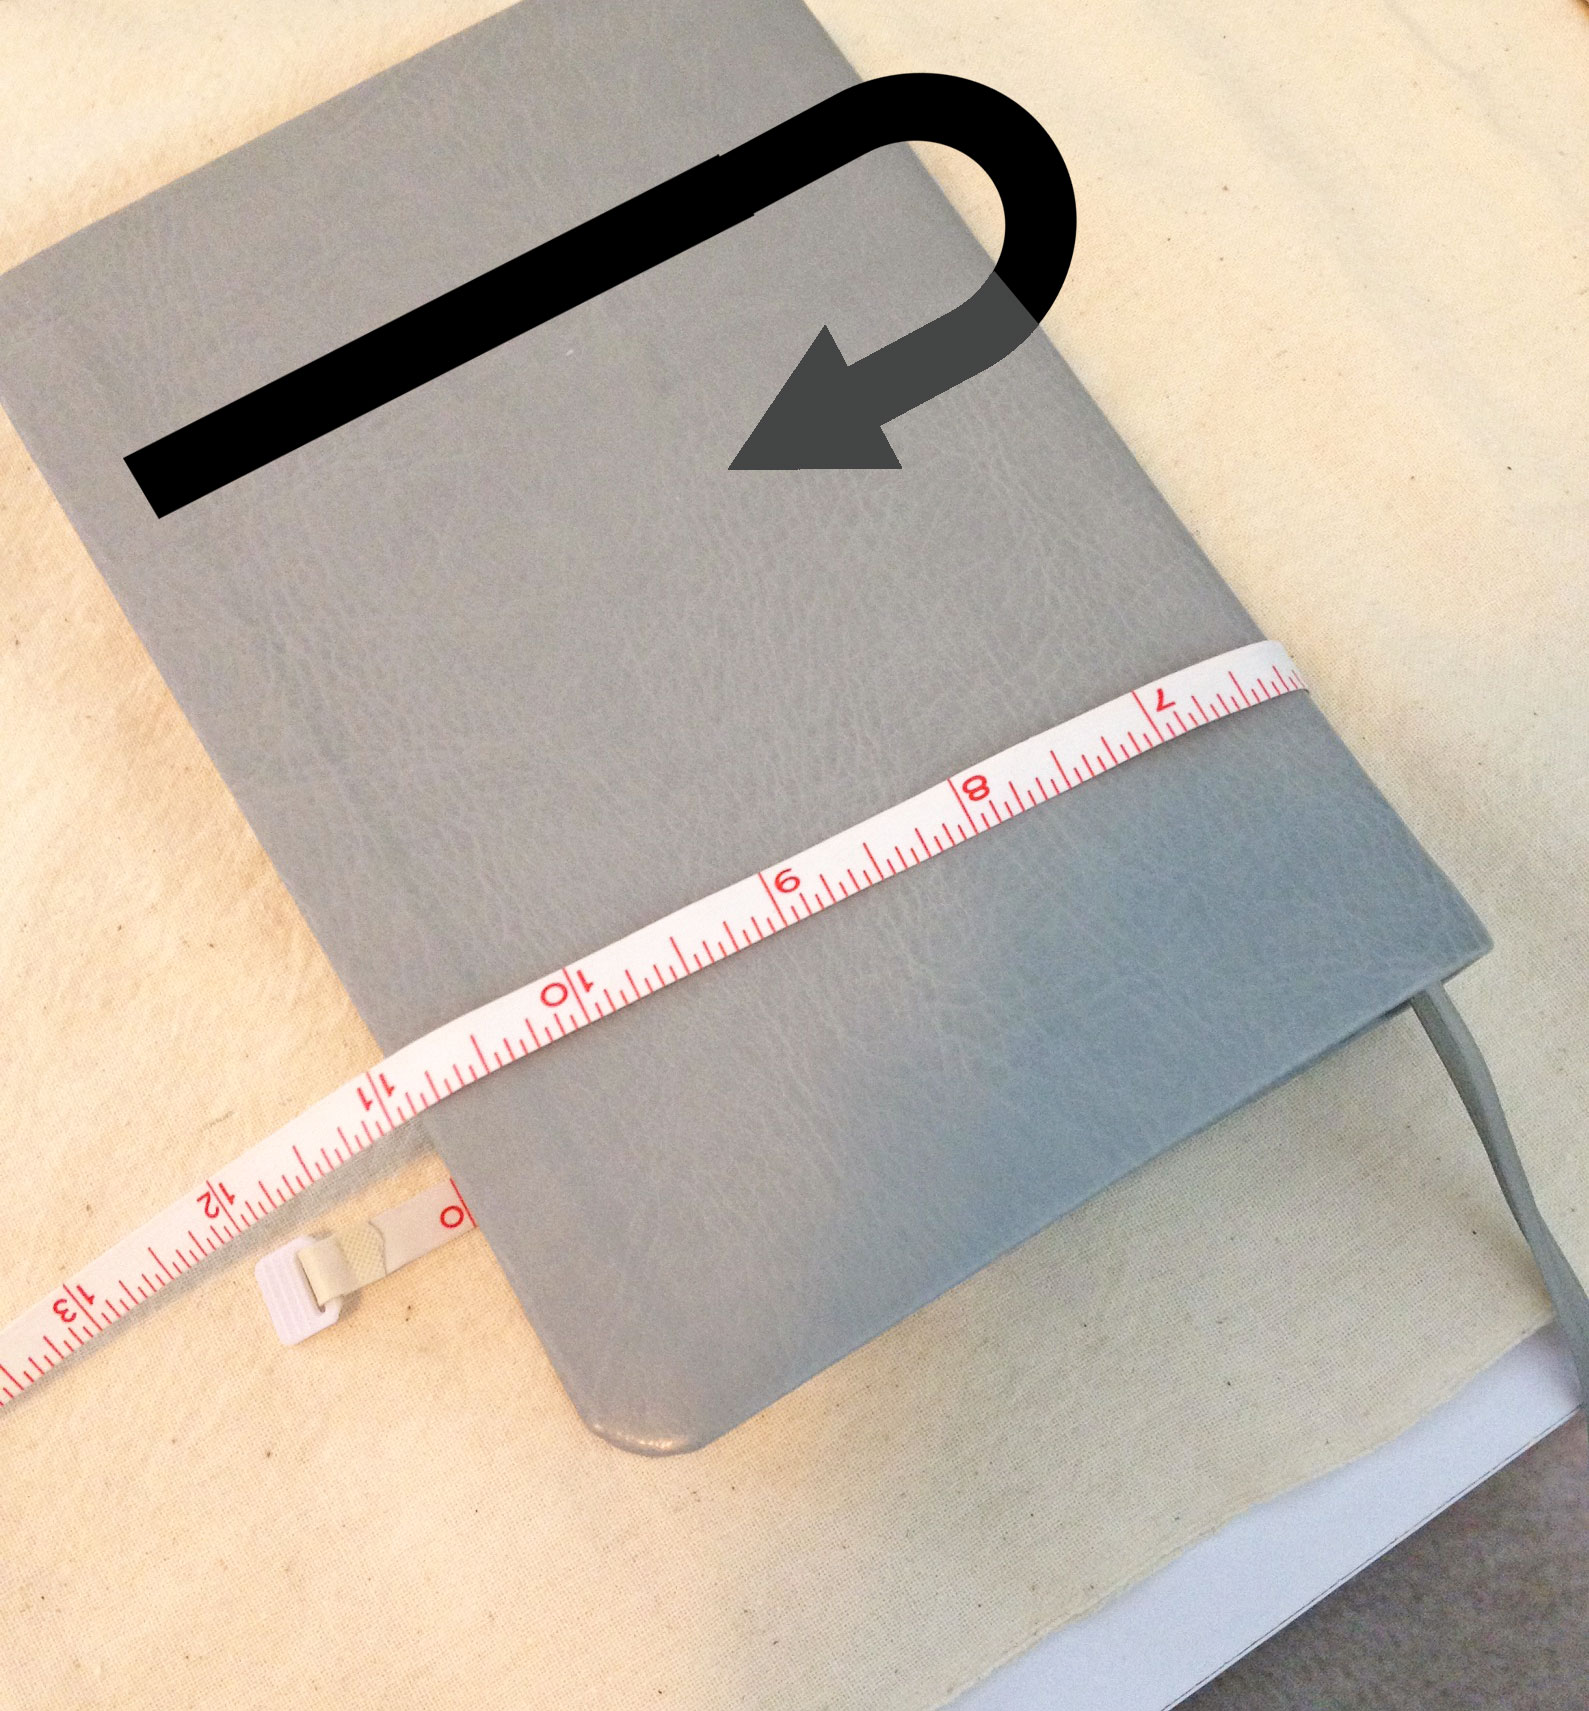
1A: Measuring the Depth
Next, measure the height of the book, from the top edge to the bottom edge. Write this number down.
1A: Measuring the Height
1B. Draft the Outer Cover & Lining Pattern
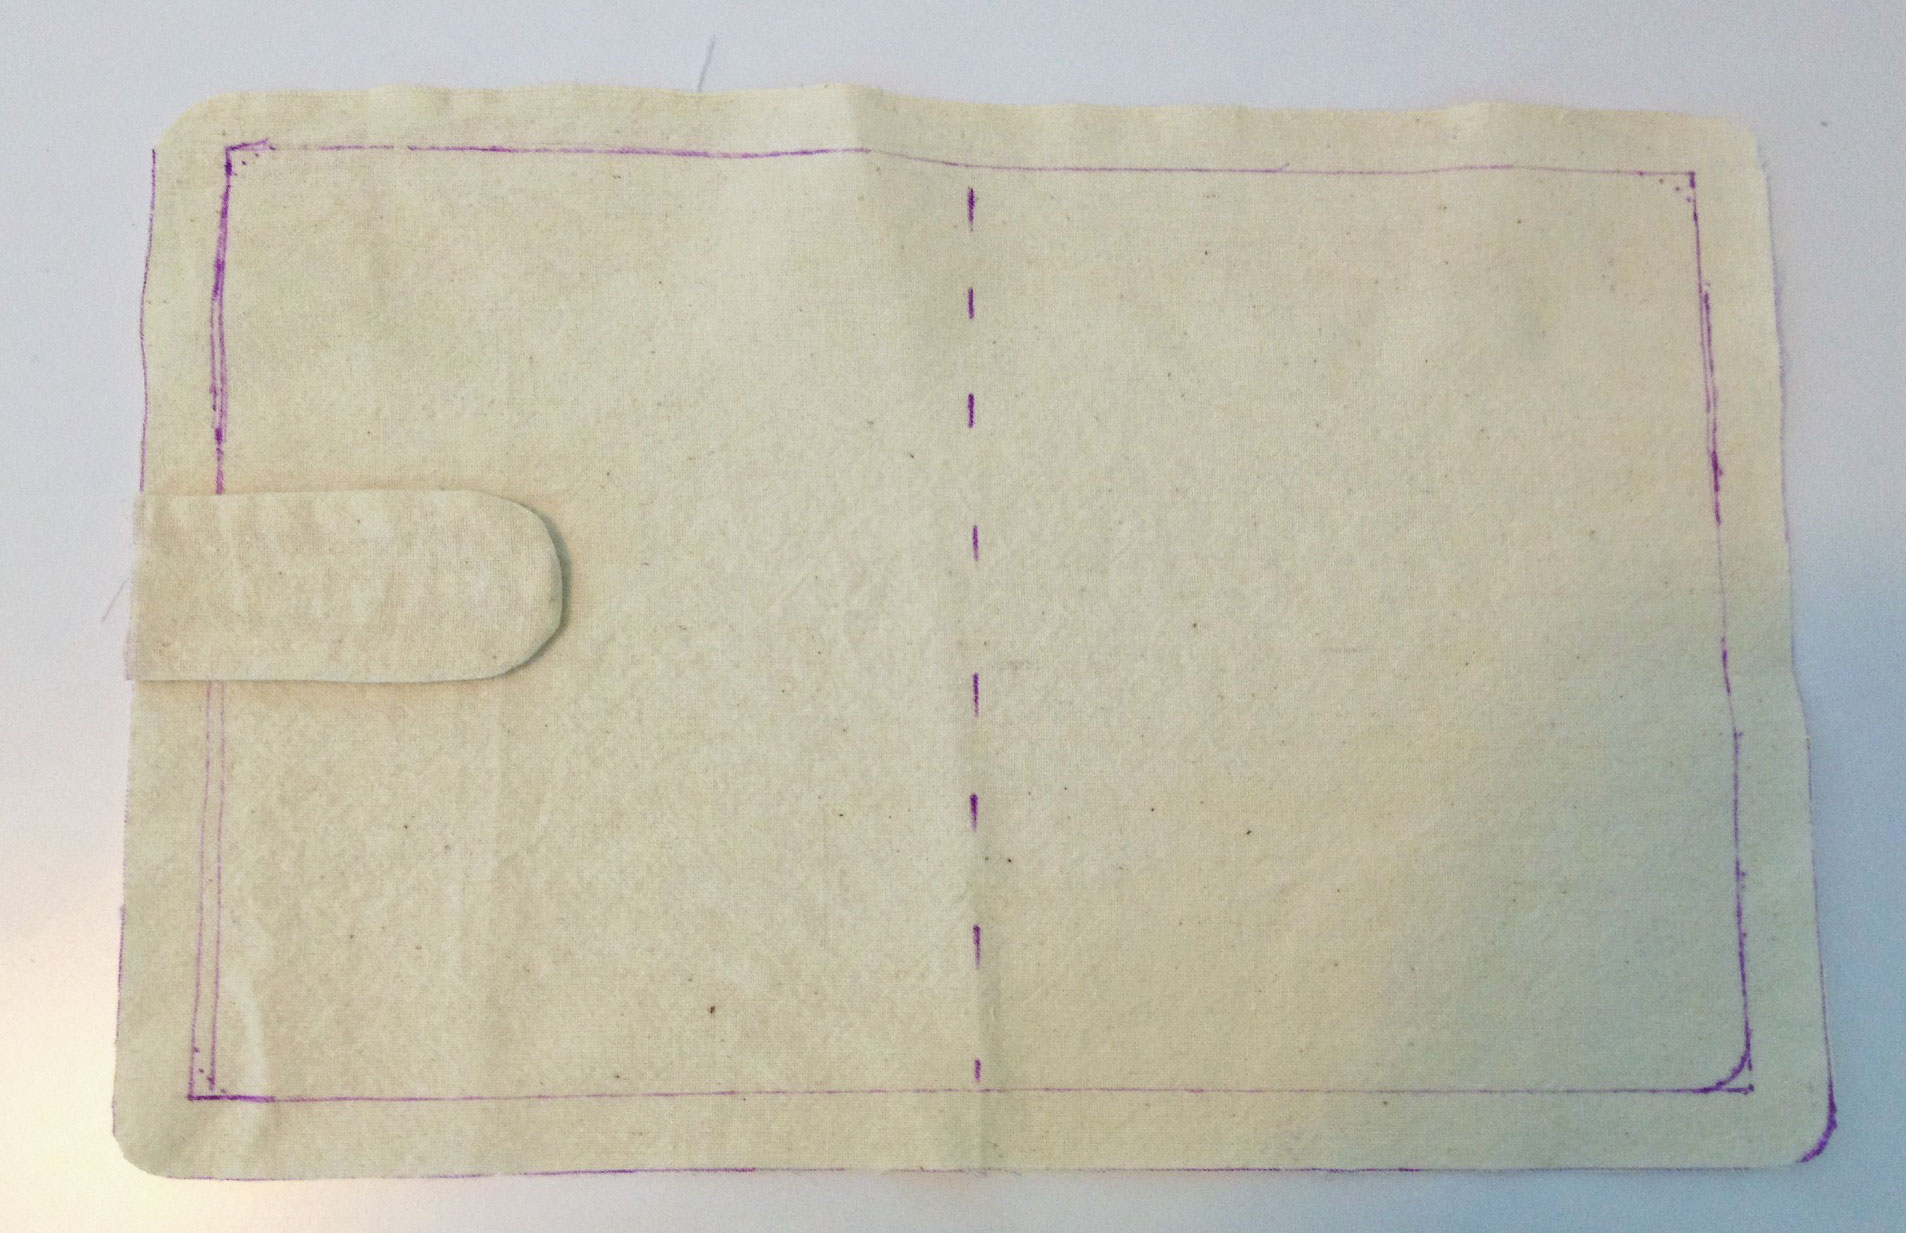
Using a chalk pencil or fabric pen, draw a rectangle on your pattern-drafting material that’s equal to the two measurements you just took. Make sure to leave some space around the edges, so you can add a seam allowance later. Divide the rectangle in half with a dashed line where the center of the book’s spine will lie.
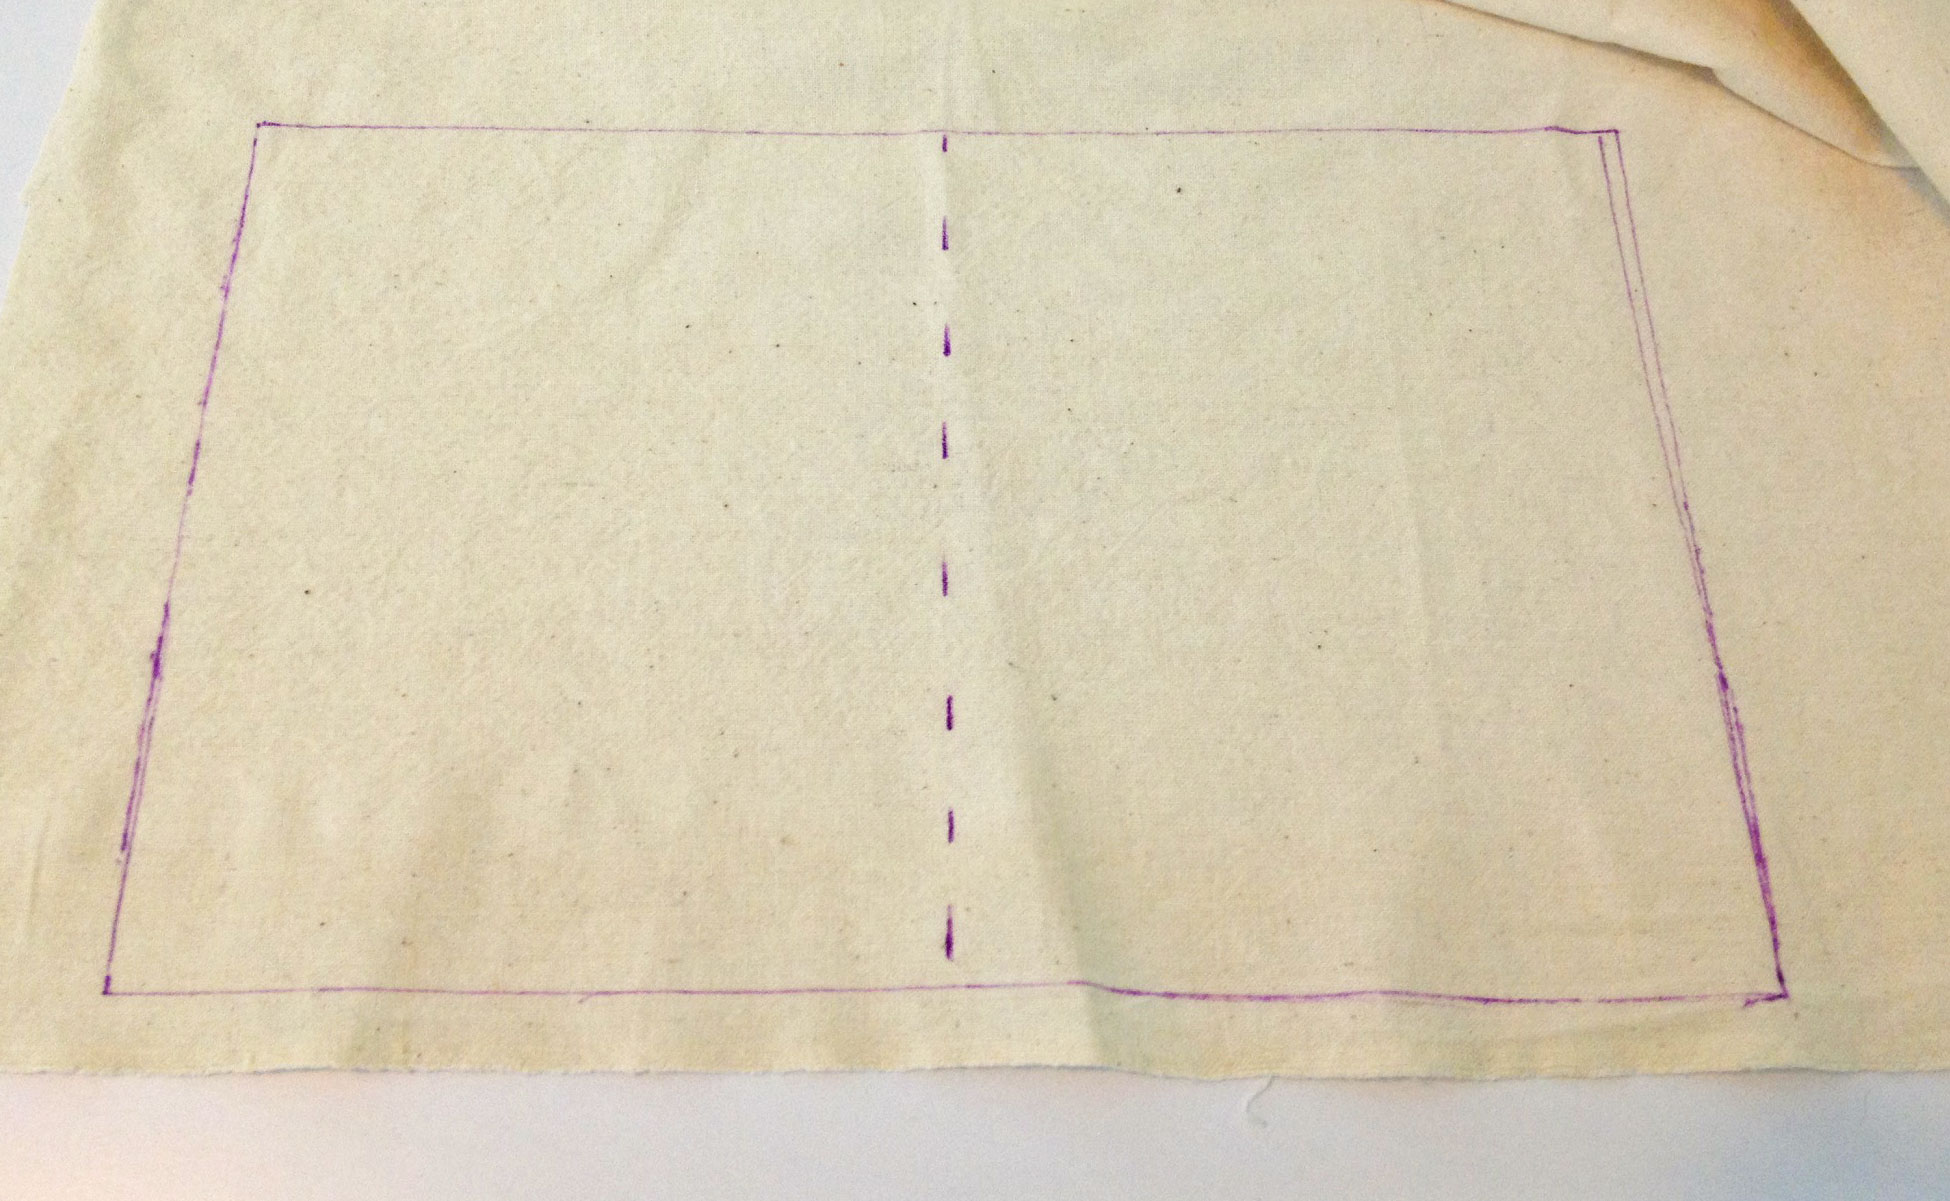
1B: Drawing the Measurements
Open the book as flat as possible and place it inside the rectangle, lining up the center of the spine with the dashed line. Check to be sure the edges of the book are just within the edges of the rectangle. If the rectangle is too large or too small, measure again and redraw it.
For the seam allowance, draw a new outer line that’s ½” outside the original rectangle. The actual seam allowance is ¼”, but you’ll need some ease or wiggle room, so the cover will fit onto your book without being too snug.

1B: Adding a Seam Allowance
If your book has curved corners, trace them onto the rectangle. This will allow your cover to fit precisely.
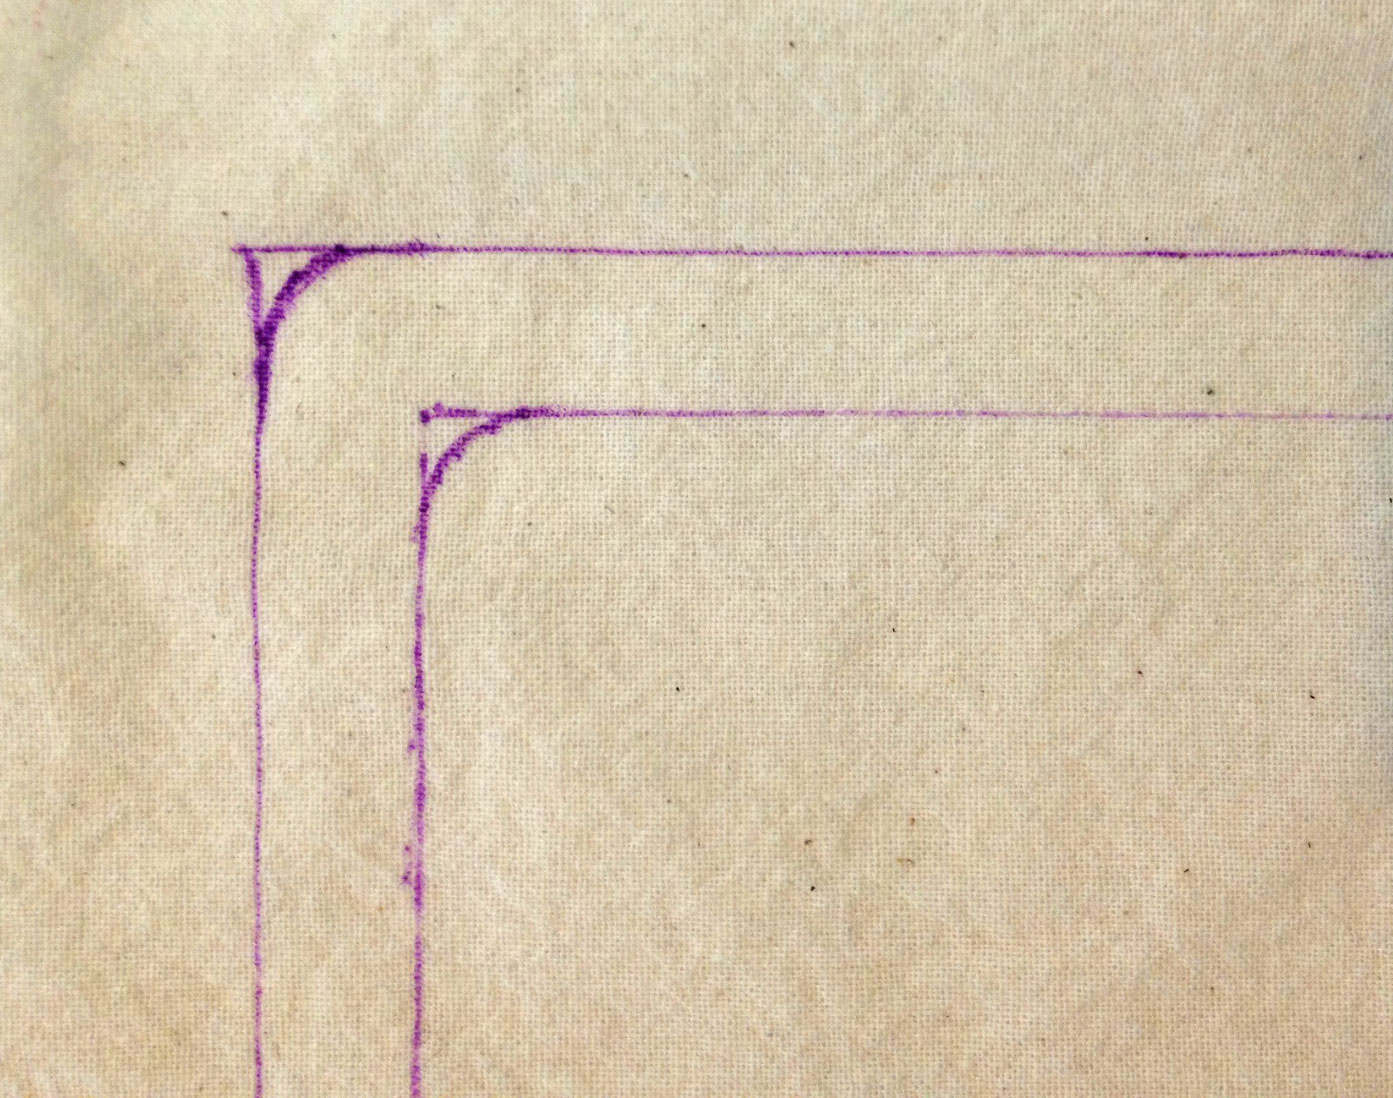
1B: Tracing Curved Corners
Label the rectangular pattern piece, “Outer Cover & Lining—Cut 2.” (For the mockup, you’ll cut two pieces from muslin. For the final version, you’ll cut one from muslin and one from your lining fabric.)
1C. Draft the Pocket Pattern
For the pockets, measure two rectangles. The length must be identical to the length of your outer cover pattern piece. The width should be about half the width of the actual book’s cover, plus ¾” for a seam allowance and hem. If your book has rounded corners, then round the corners—but only on one side of your pattern piece!
Label this pattern piece, “Pockets—Cut 2.”
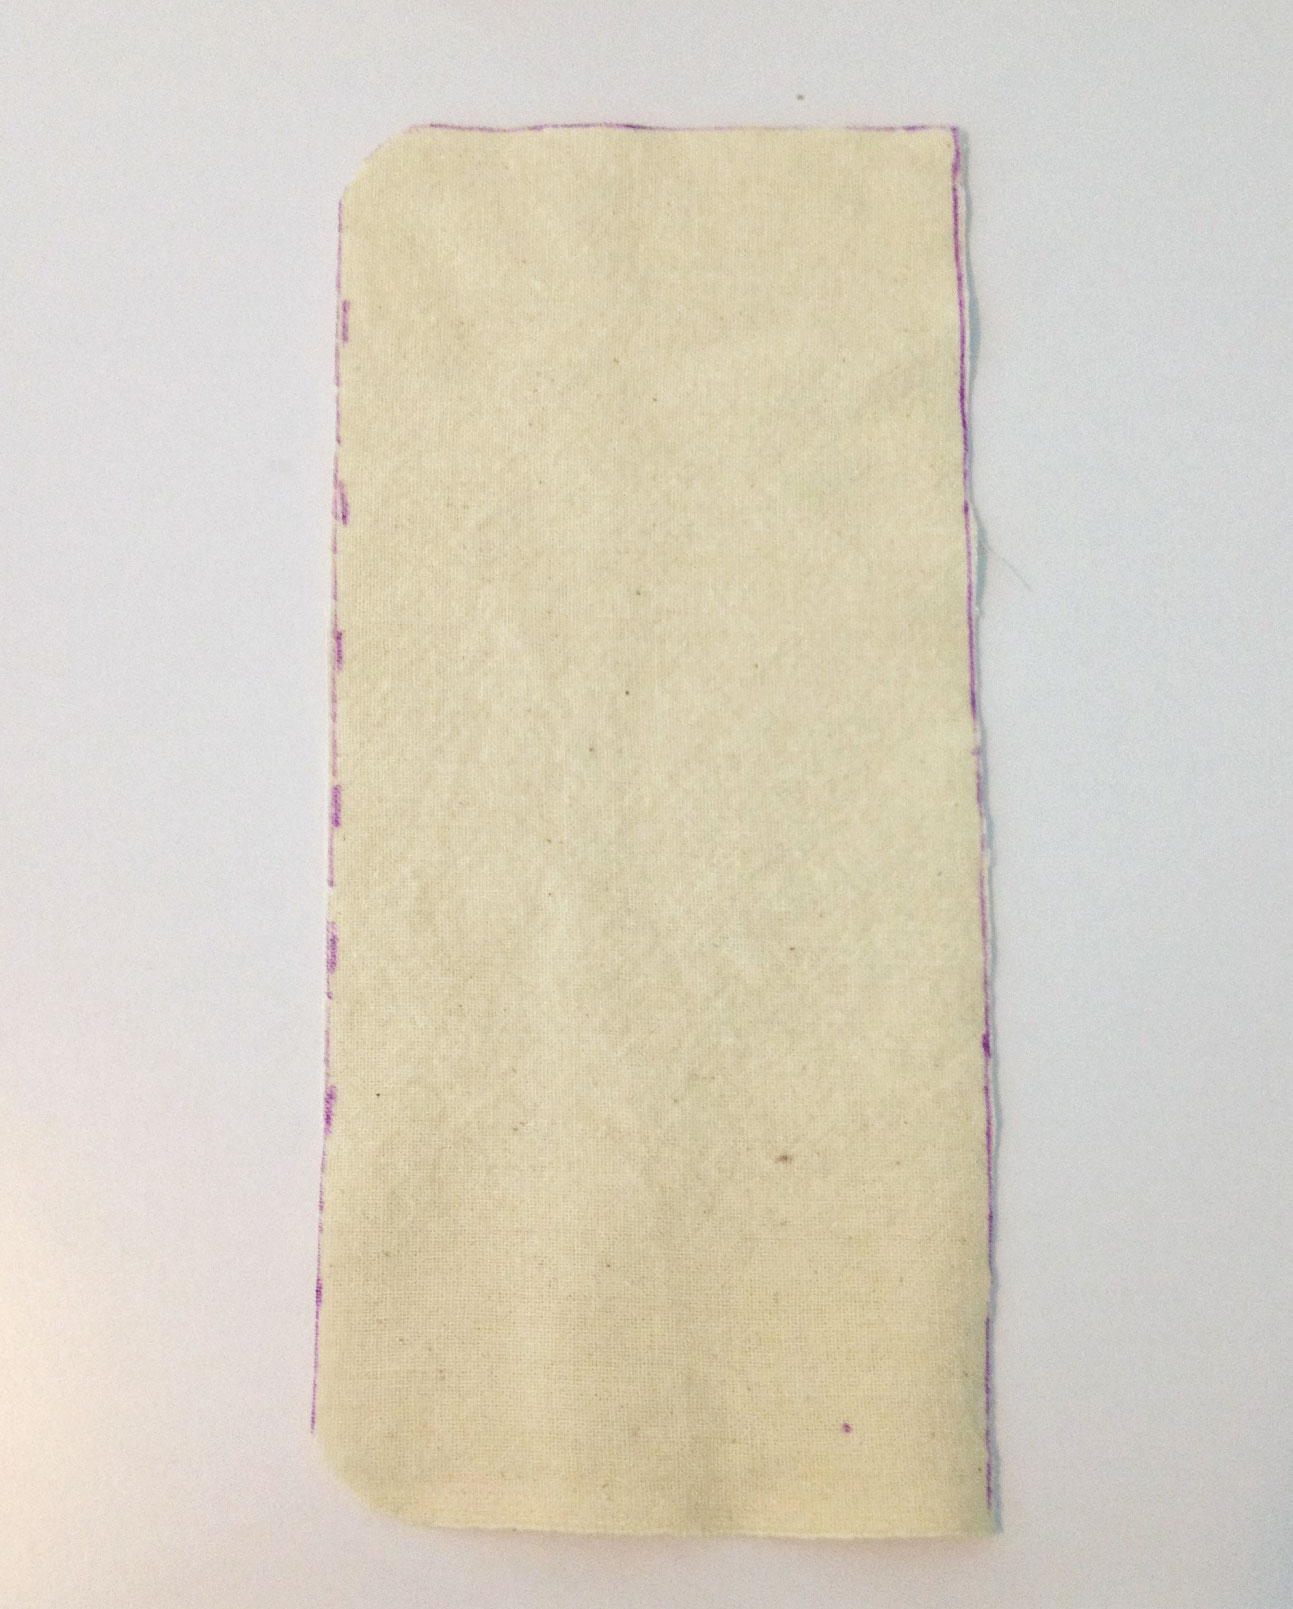
1C: Pocket Pattern
1D. Draft the Button Tab Pattern (Optional)
As mentioned earlier, you can add carry-straps, a button tab, or ties to your book cover. Directions will only be given for a button tab, but the others shouldn’t be difficult to figure out on your own.
To make the pattern for the button tab, cut two rectangles. The width should be proportional to the size of your book—the larger the book, the wider the tabs should be. For my Bible cover, I made them about 2″. The length should be long enough to wrap from the back edge of the book to the front, with some overlap. Don’t forget to add ¼” seam allowances.
For a rounded tab, draw a half-circle at one end of the tab and trim the excess fabric.
Label this pattern piece, “Button Tab—Cut 2.”
1D: Button Tab Pattern
Now that you have your pattern, it’s a good idea to make a quick mockup, just to be sure the finished cover will fit your book. After all, wouldn’t it be awful if you spent all that time and effort crazy-quilting your book cover, only to find that it’s too small for your book?
Step #2: Sewing a Mockup
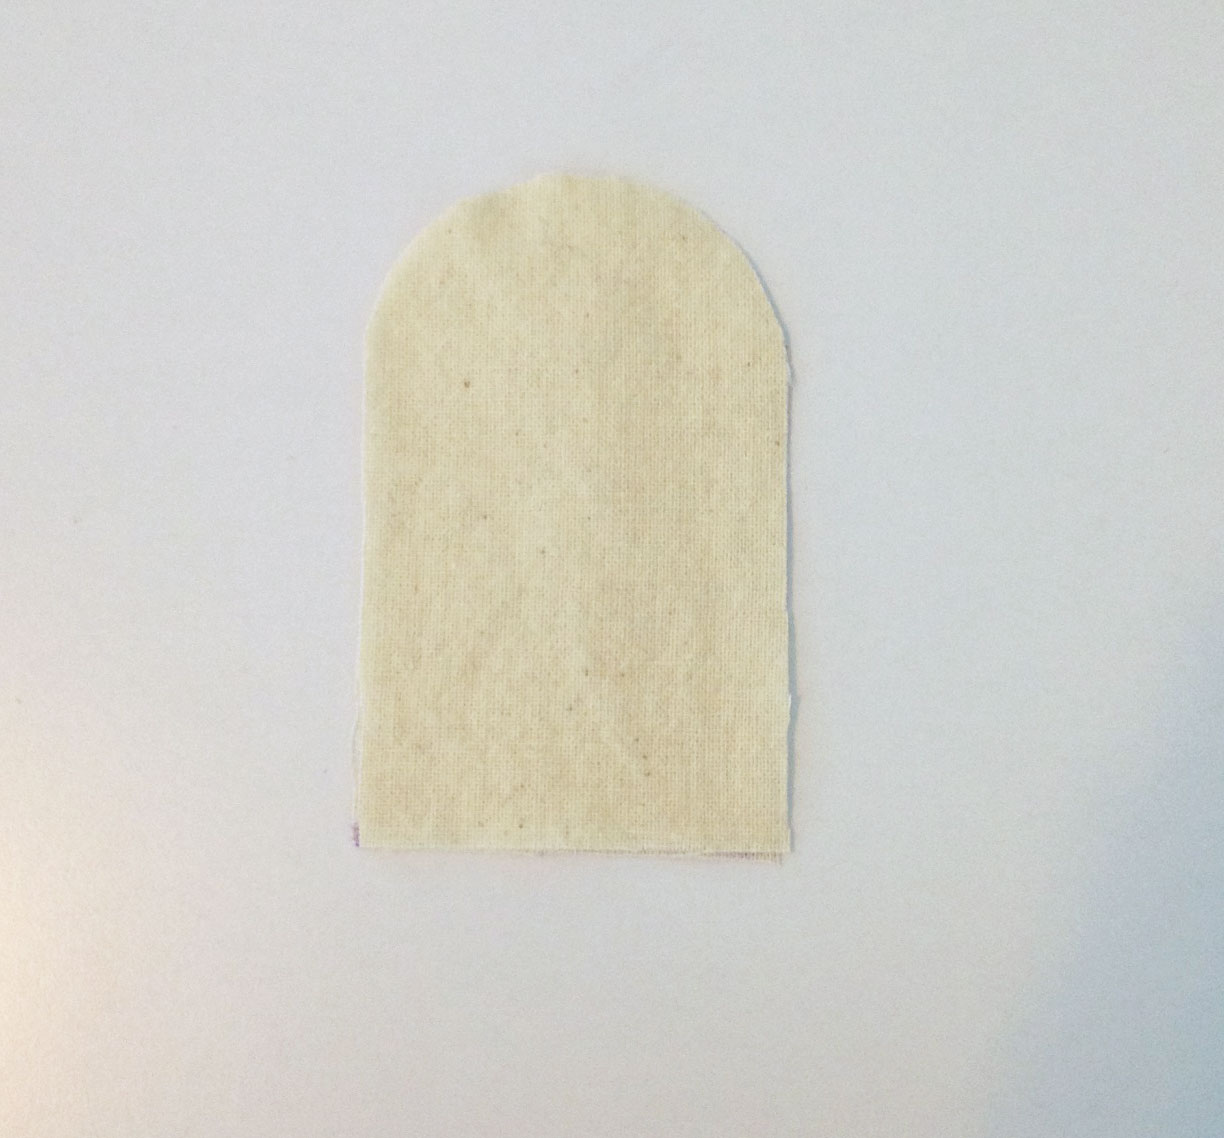
2A. Cut the Pattern Pieces
Using the pattern you just made, cut the front, lining, and pockets from unbleached muslin.
2B. Hem the Pockets
Hem the straight edge of the pockets. Press the long edge under by ¼” twice, then sew along the folded edge. Keep in mind that if you want to use a decorative stitch, it will need to be topstitched from the right side of the pocket, otherwise the wrong side of the stitching will face outwards. (Tips for topstitching the hem will be given when we assemble the finished book cover.)
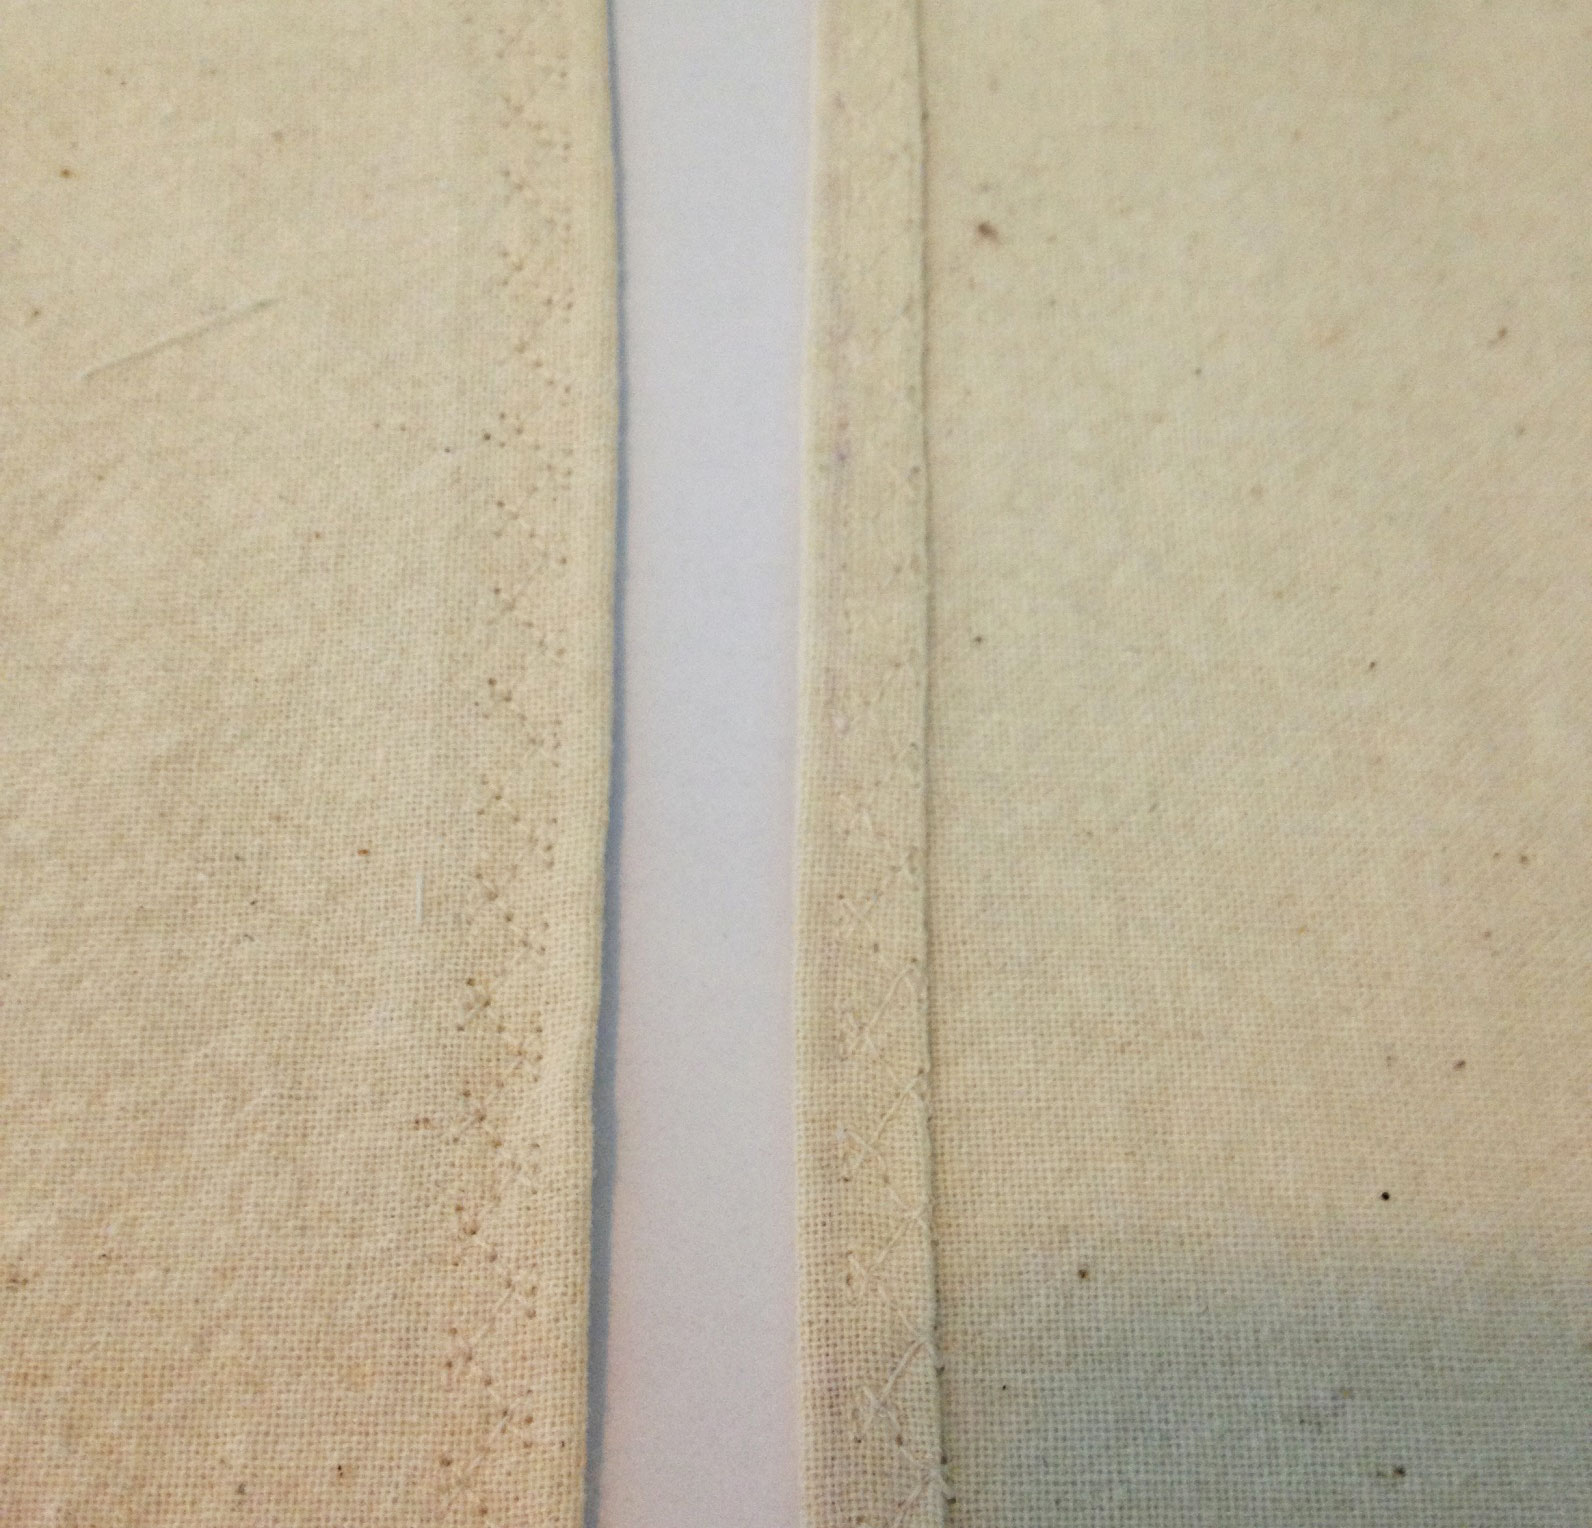
2B: Hemming the Pockets
2C. Sew the Button Tab
If you’re adding a button tab, go ahead and sew it together. Place the pieces right-sides together and stitch around the edges, leaving the bottom edge open. Press flat, then notch the curved edges.
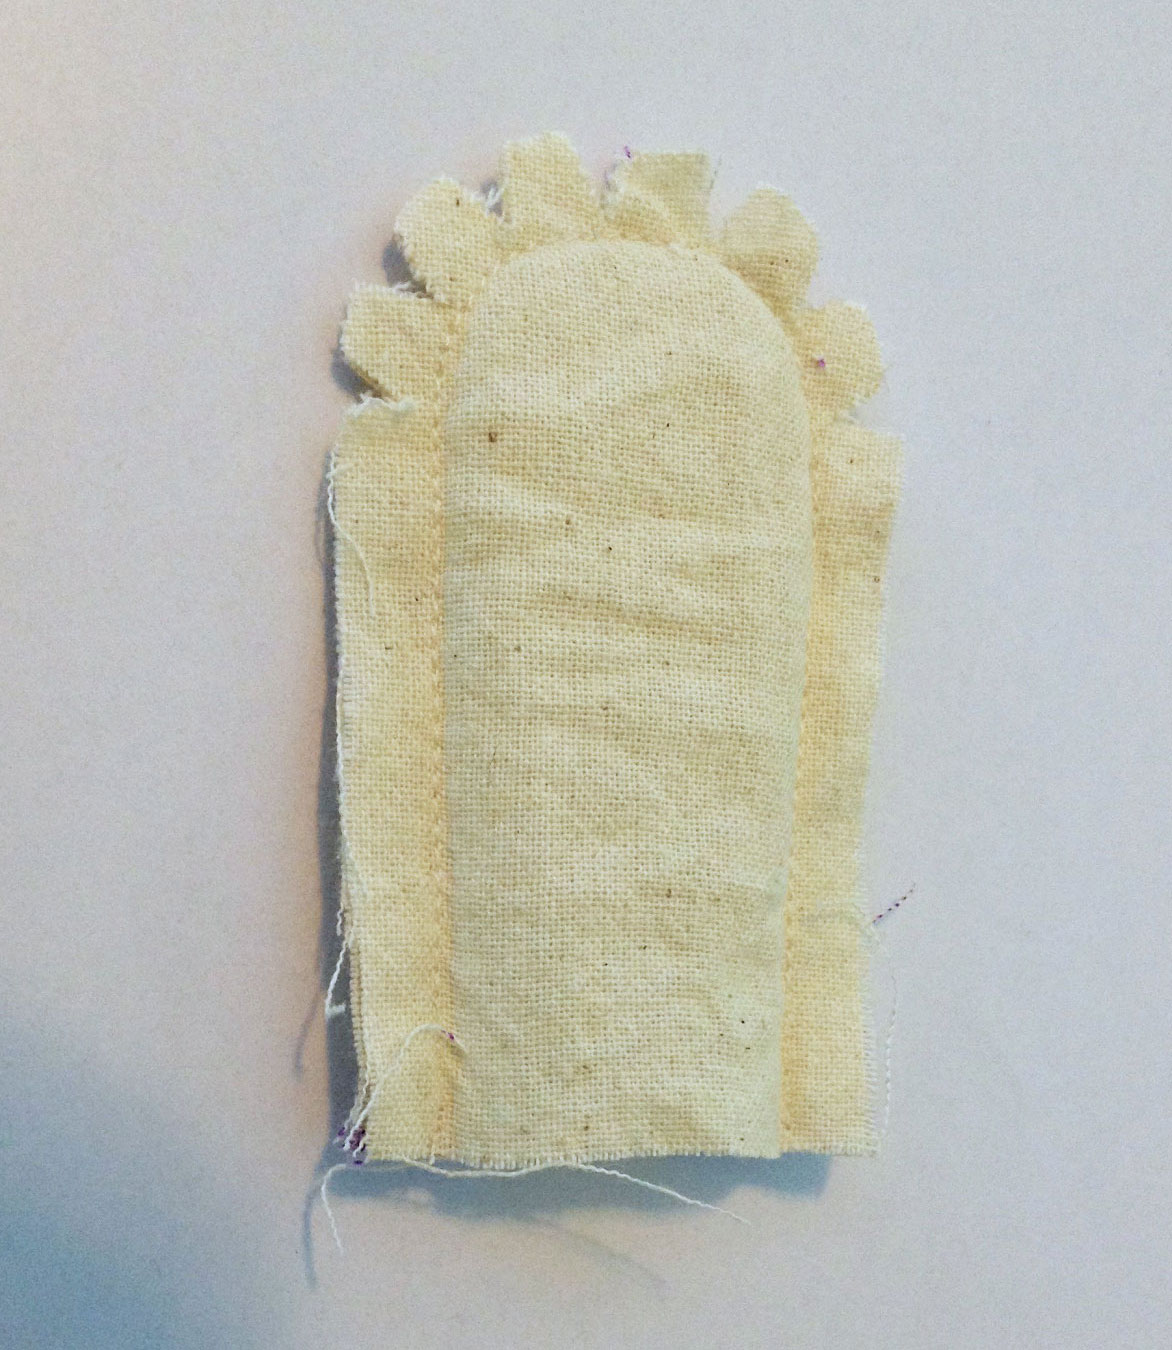
2C: Sewing the Button Tab
Flip the button tab right-side out and press flat, making sure it looks good.
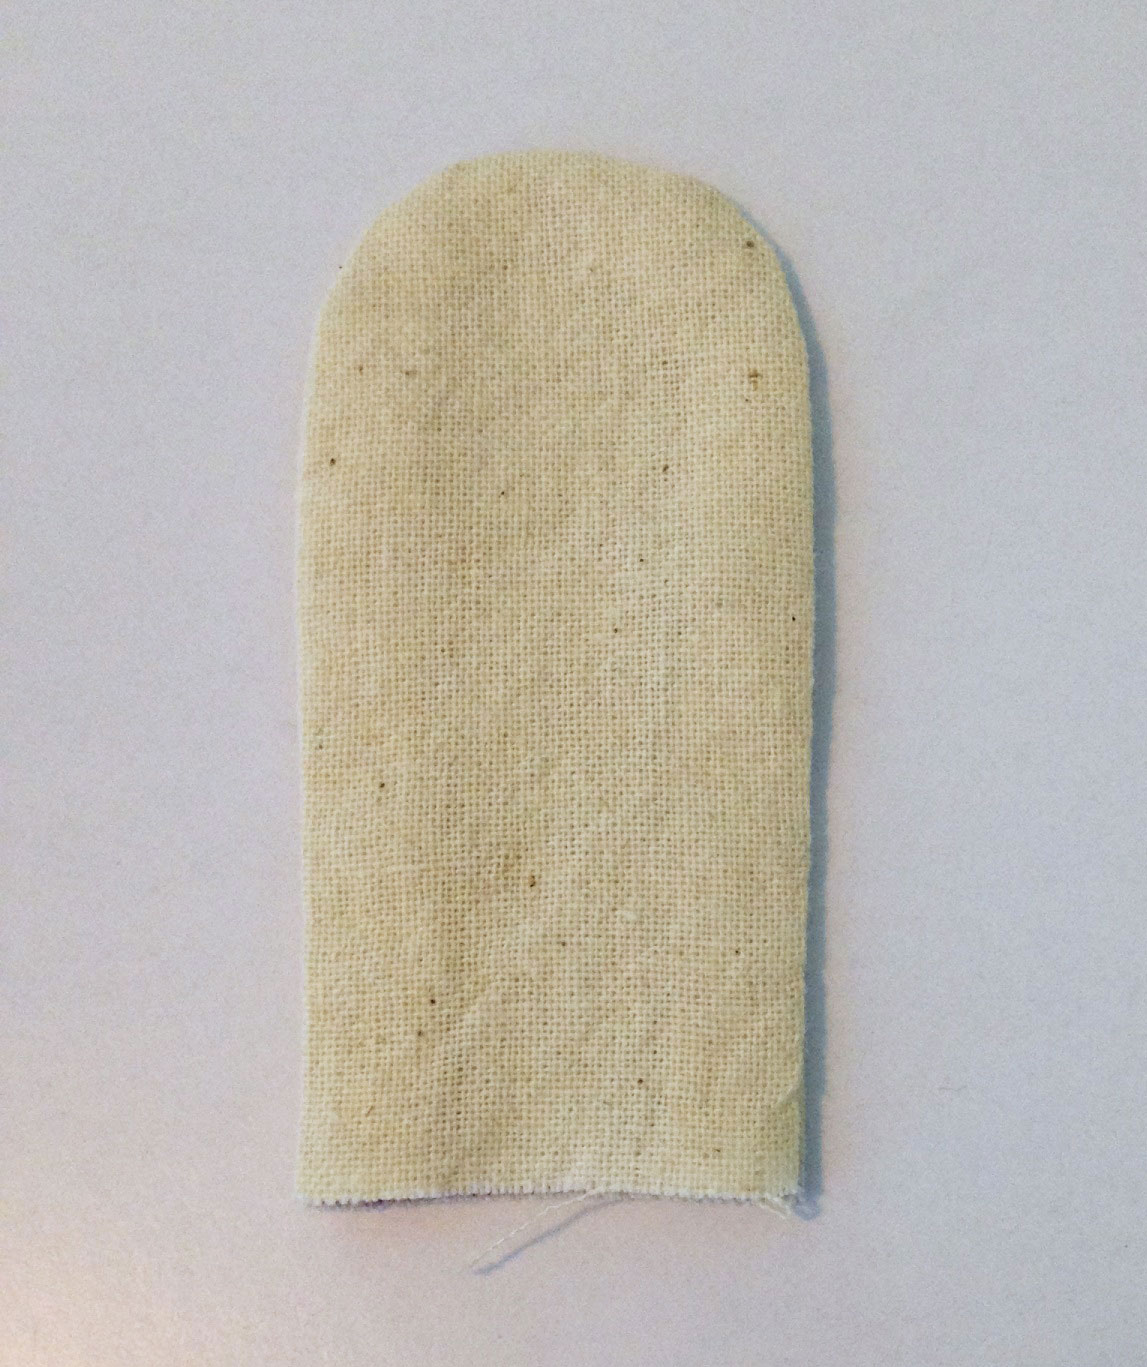
2C: Button Tab, Right-Side Out
Step #3: Assembling the Cover
3A. Layer the Pieces
Layering the pieces in the right order and facing the right direction can be tricky. Here’s how it should go:
- Place the outer cover right-side up.
- If you have a button tab, center it right-side down, facing inwards, on the left.
3A: First & Second Layers
- Place the pockets next, right-side down, with the hemmed edges facing inwards. The left pocket will cover the button tab.

3A: Third Layer (Pockets)
- Place the lining last, right-side down, covering all the layers.
3B. Sew the Layers Together
Pin or baste around the edges, leaving a 3″ gap at the bottom edge. I like to place my pins parallel to the edges, except for the ones marking the gap, which I insert perpendicularly, so I know where to start and stop sewing.

3B: Pinning the Layers
Sew all the way around with a ¼” seam allowance, backstitching at the beginning and end. Press the seam allowance flat.
If your corners are curved, notch them. If they are squared, trim the corners diagonally. In either case, it will ensure that the corners lie smooth and flat once the book cover is flipped right-side out.

3B: Notched Corners
3C. Flip the Cover
Turn the cover right-side out, gently working it through the gap you left in the stitching. Fold the pocket flaps toward the lining and use a corner turner (or something like the blunt point of a chopstick) to carefully poke the corners out. Press all the edges flat.

3C: Flipped & Pressed Cover
Slipstitch the gap closed, using waxed thread. For best results, keep the stitches small and close together.
3D. Test the Mockup
Try the finished mockup on your book, sliding the front and back covers into the pocket flaps. Sometimes it’s easier if you open the book and work both flaps on at the same time, rather than inserting them one at a time.
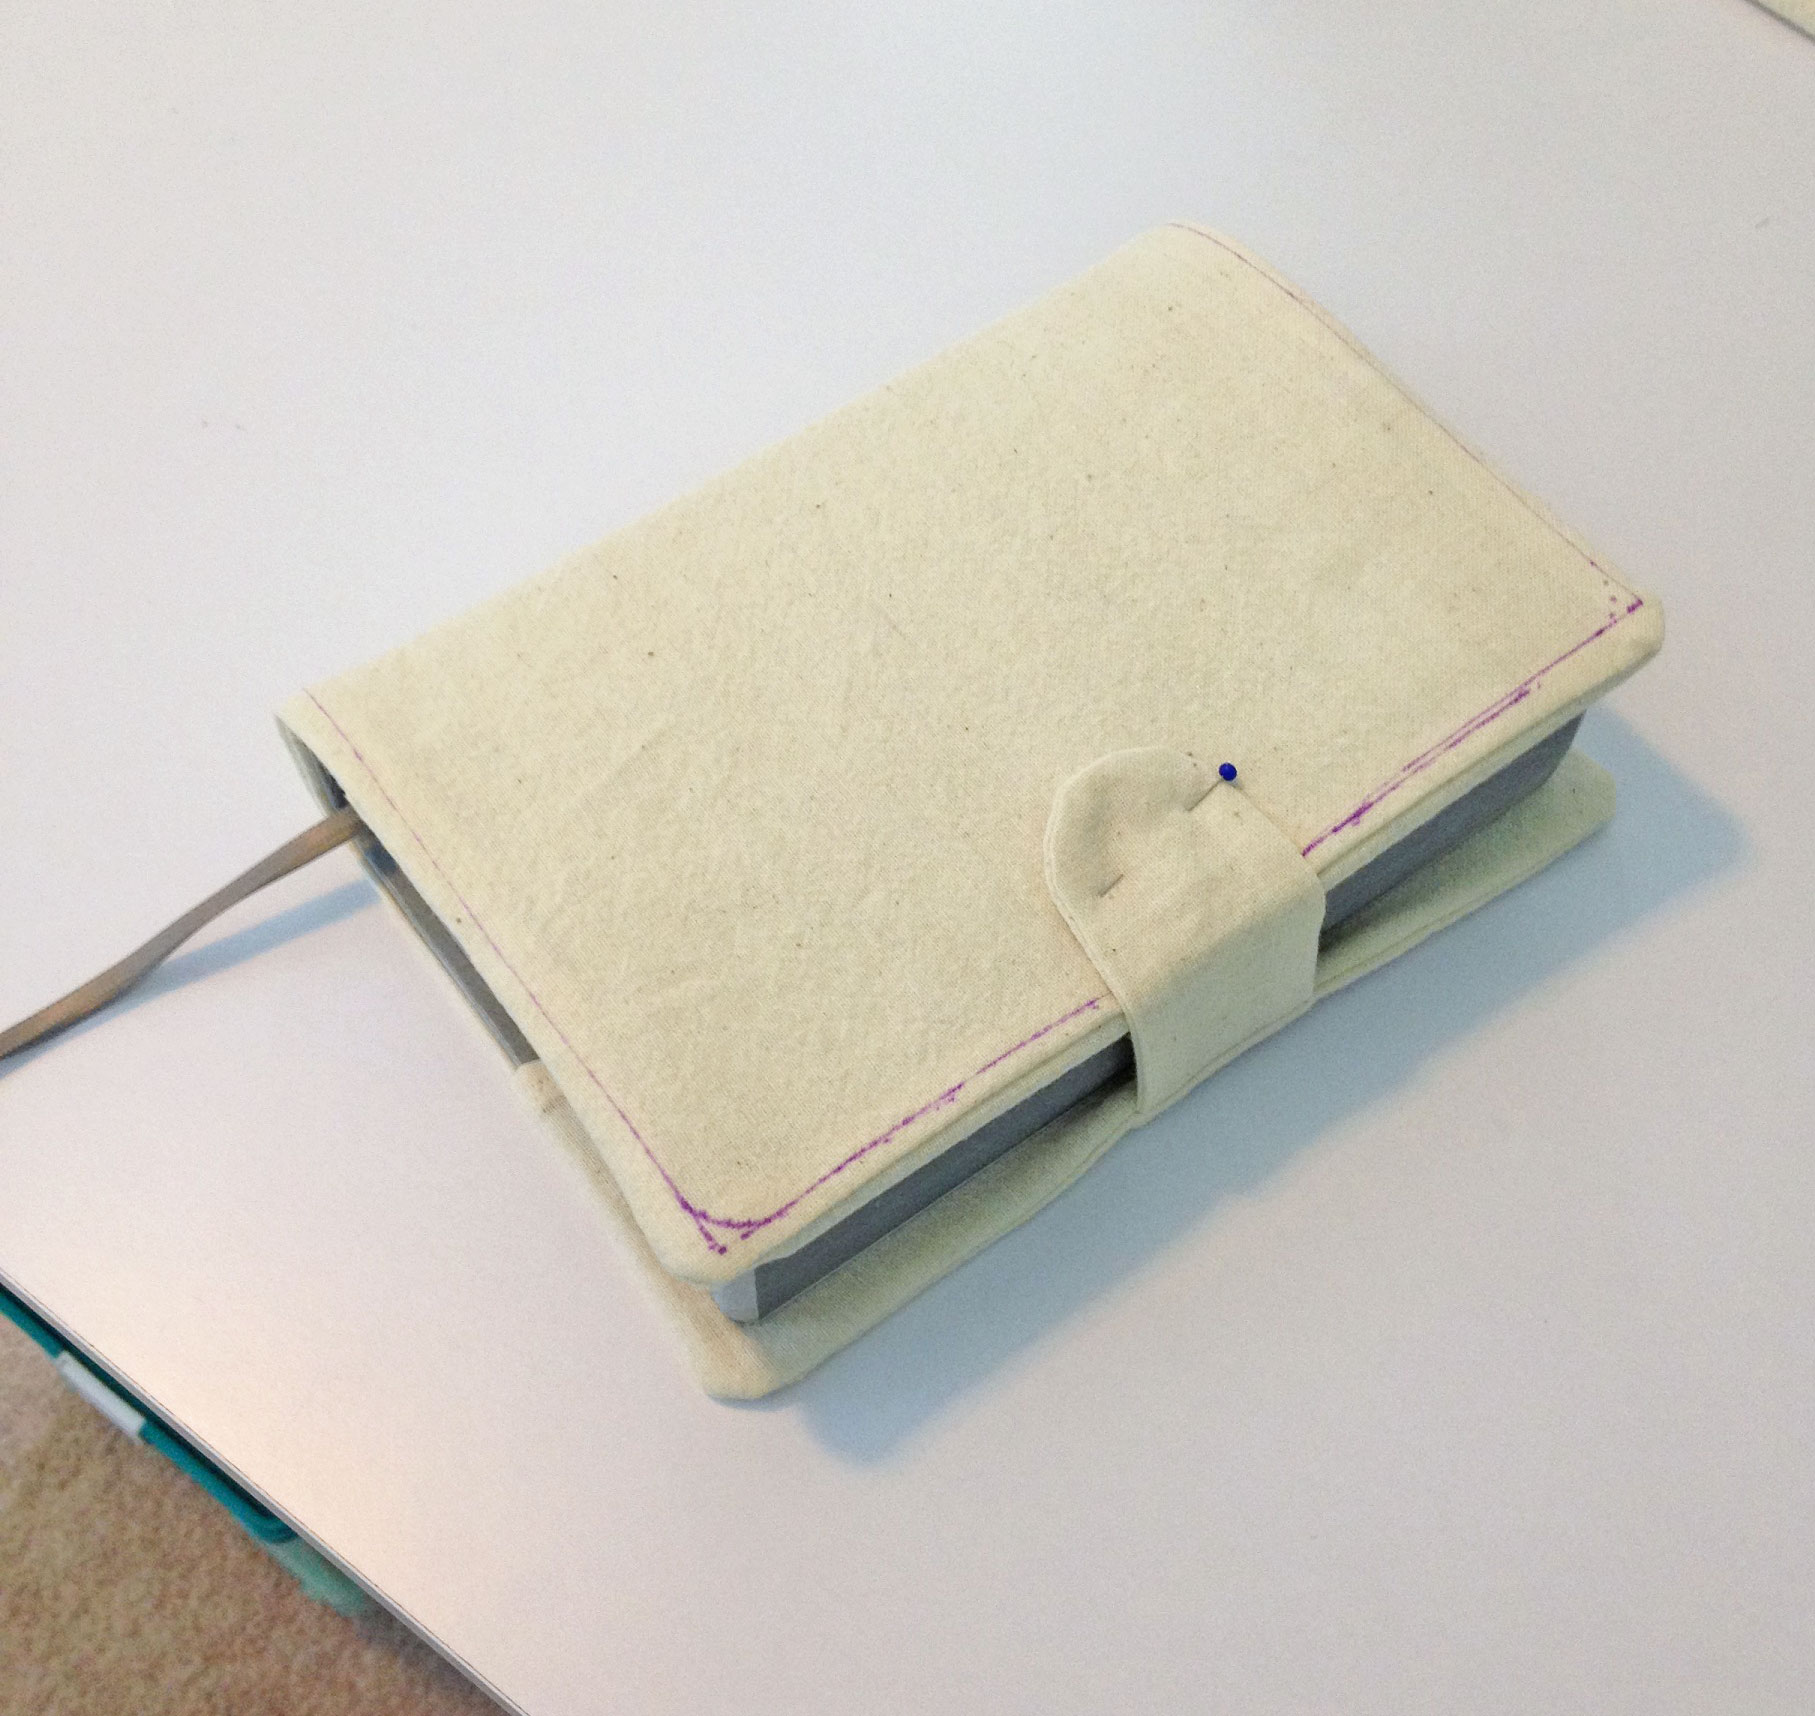
3D: Fitted Mockup
If the mockup doesn’t fit, make note of what changes you’ll need to make. If they’re minor, such as reducing the length or width by 1/8″, you won’t need a second mockup. If, however, you need to make several major adjustments, it’s best to sew a second mockup, just to be sure your alterations work as planned.
Now that you know the pattern fits, it’s time to start crazy-quilting!
Step #4: Designing Your Crazy-Quilt
First things first—you need to design the layout of the crazy-quilting. Some prefer to work organically, applying the patchwork pieces randomly, but I recommend drawing a basic sketch to guide you.
If you don’t feel artistic enough to come up with your own design, look online for inspiration. Pinterest has hundreds, if not thousands, of examples of crazy-quilt blocks that you can use as a starting point for your own.
-
Plan Ahead!
Take care when planning your crazy-quilt. When designing mine, I drew the front and back as if they were separate pieces, when I should have envisioned the cover as a whole. As a result, there are several sections that end in the same place, creating an out-of-place straight seam along the spine of the book cover. Although not necessarily a fatal mistake, it’s still a noticeable flaw.
I’ve found that it’s easiest to design a crazy-quilt on the computer, using graphics software like Photoshop Elements, or even Paint. If you aren’t comfortable drawing on the computer, you can sketch your design on paper and color the blocks with colored pencils, markers, watercolor pencils, or watercolor paints. For the purpose of this demonstration, however, we’ll assume you’re using a graphics program.
Open a new file and choose a color palette that matches your fabric choices. You can draw several squares, one in each color, or you can use the paintbrush tool to draw rough circles of different colors. Once you’re happy with your color choices, save the file.
Open a new file and draw a rectangle to represent your book cover. Fill in the color with something neutral. Using the line tool, draw the different patches of your crazy-quilt. (Often, the best designs are irregular and off-center, meaning the blocks are not equal in size or shape.) Move the lines around until you’re happy with the configuration. Use the paint bucket tool to fill in the colors.

Example of Drawn Quilt Block
If you want, take it a step further and sketch your embellishment ideas. This should only be considered a rough guide, just so you have an idea of where to embroider and what colors to use. If you want to use lace, ribbon, buttons, or other decorations, add them to the sketch, too.
In planning your embellishments, consider the functionality of your book cover. Will the book be read often? Or is it more of a decorative piece? If you’ll be using it regularly, consider whether you might inadvertently damage the embroidery and beading on the back cover and spine. Since my book cover is for a Bible that will be read often, I decided to limit the heavy embellishment to the front.
Example of Drawn Embellishments
~~*~~
Are you ready to start quilting? In the second half of this tutorial, we’ll crazy-quilt the outer layer of the book cover, and then we’ll embellish it with embroidery, ribbon, and beads.
Pingback: Crazy-Quilted Book Cover | Yesterday's Thimble