by Lisha Vidler
Inspiration
For years, I’ve wanted a cover for my sewing machine, but to be honest, I didn’t realize it was a vital need. Then I read an article at Threads magazine’s website that said dust and cat hair can get into a sewing machine and clog the insides—especially if it has a circuit board. Since my current sewing machine is computerized, I decided it was high time I got busy and made myself a cover.
Pattern
- Butterick 5636
I purchased this pattern awhile back because it included a sewing machine cover, an ironing board cover, and a pincushion, all of which sounded useful. Little did I know what a nightmare it would turn out to be.
Materials
- 1 yd Aqua Twill
- ½ yd Lavender Twill
- 1 yd Sew-in Interfacing
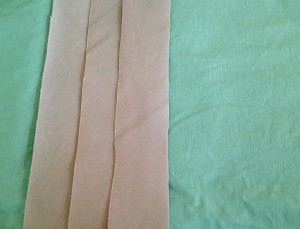
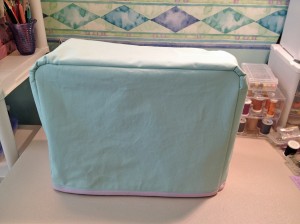
I had in my stash several yards of heavy twill, in both aqua and lavender. These colors coordinate with my sewing room, so I decided to make the main cover out of aqua and the bias binding out of lavender. The pattern calls for low-loft batting to reinforce the cover, but since the twill is pretty stiff already, I decided to simply interline the cover with heavy sew-in interfacing.
Construction
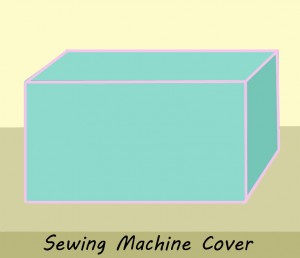
The cover is made with a rectangular panel at front and back, and a long, narrow panel that goes up one side, over the top, and down the other side. It’s fully lined, so the batting (or interfacing) doesn’t show, even on the inside.
The first step was to baste the interfacing to the main pieces. Once I finished basting, I trimmed the edges of the interfacing close to the stitching, per the directions, to reduce bulk.
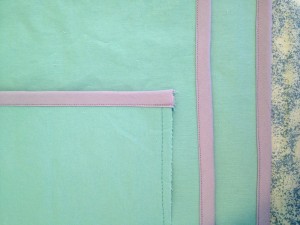
Next, I basted the lining to the outer layer, sandwiching the interfacing between them, where it won’t show. The edges are bound with bias tape, which I made myself. According to the directions, you attach it to the bottom edges first, which I did.
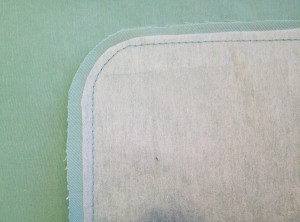
The next step was to sew the long center piece to the side panels. This is what gives it a three-dimensional shape. Since the fabric was so bulky, I had a great deal of trouble with the rounded corners. I can only imagine how much worse it would have been with batting! In the end, I gathered the corners, hand basted them with a very large needle, then machine stitched the layers together. The seams turned out quite wonky, because the fabric was too thick for the presser foot to hold down. Despite my best efforts, it slid all over the place as I stitched.
The final step was to attach bias tape to the edges. Basically, you’ve sewn the cover with wrong sides together. To hide the raw edges, you add bias tape. The problem was, I would’ve had to sew through EIGHT layers of twill to attach the bias tape. Not gonna happen! Admittedly, this might not have been an issue if I’d used store-bought bias tape instead of twill.
Since the cover is fully lined, I decided to simply turn the stupid thing inside out and pretend it was done. Instead of contrasting bias tape edging, I have normal seams, which looks just fine.
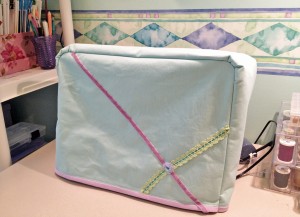
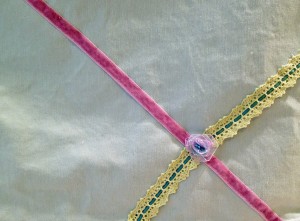
Since it was rather plain, I attached a lavender velvet ribbon and a green crocheted lace beaded with teal ribbon. At the intersection where the two meet, I added a flower I made of aqua and lavender organza ribbon. Its center is highlighted with turquoise seed beads. It’s nothing fancy, but I’m happy with it.
I hand-sewed the ribbon and lace through two layers of heavy twill. It won’t fall off anytime soon, but I did notice that the lace ended up slightly crooked. It’s hardly noticeable in person, so I’m not going to bother fixing it.
Conclusion
This pattern was poorly designed. Despite being labeled as one of Butterick’s easy “See & Sew” patterns, it was ridiculously hard to make. I nearly gave up several times while trying to ease the rounded corners and I finally quit without sewing the outer bias binding. Perhaps it would have been easier if I’d used a thin fabric instead of twill, but I believe the pattern itself is flawed.
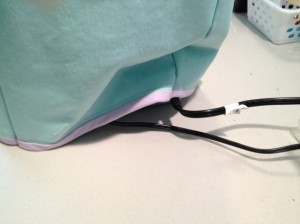
It fits over my machine, looks decorative, and keeps the dust off, so it does its job. But it was poorly designed. There’s no gap in the cover for the electric cords. As a result, the fabric bunches up over the cord, looking messy. A simple slit or vent would have solved this problem. Making the bottom of the cover wider would have done the trick, as well.
In any case, I will not be making this cover again, nor will I recommend it to my students. It’s far from easy, especially for a beginner. Thankfully, I used a very sturdy fabric, so it should last awhile.

Pingback: Sewing Machine Cover | Yesterday's Thimble