
by Lisha Vidler
(Click on any illustration to view the full-sized image.)
Here are ten tips to help you improve your fashion sketches!
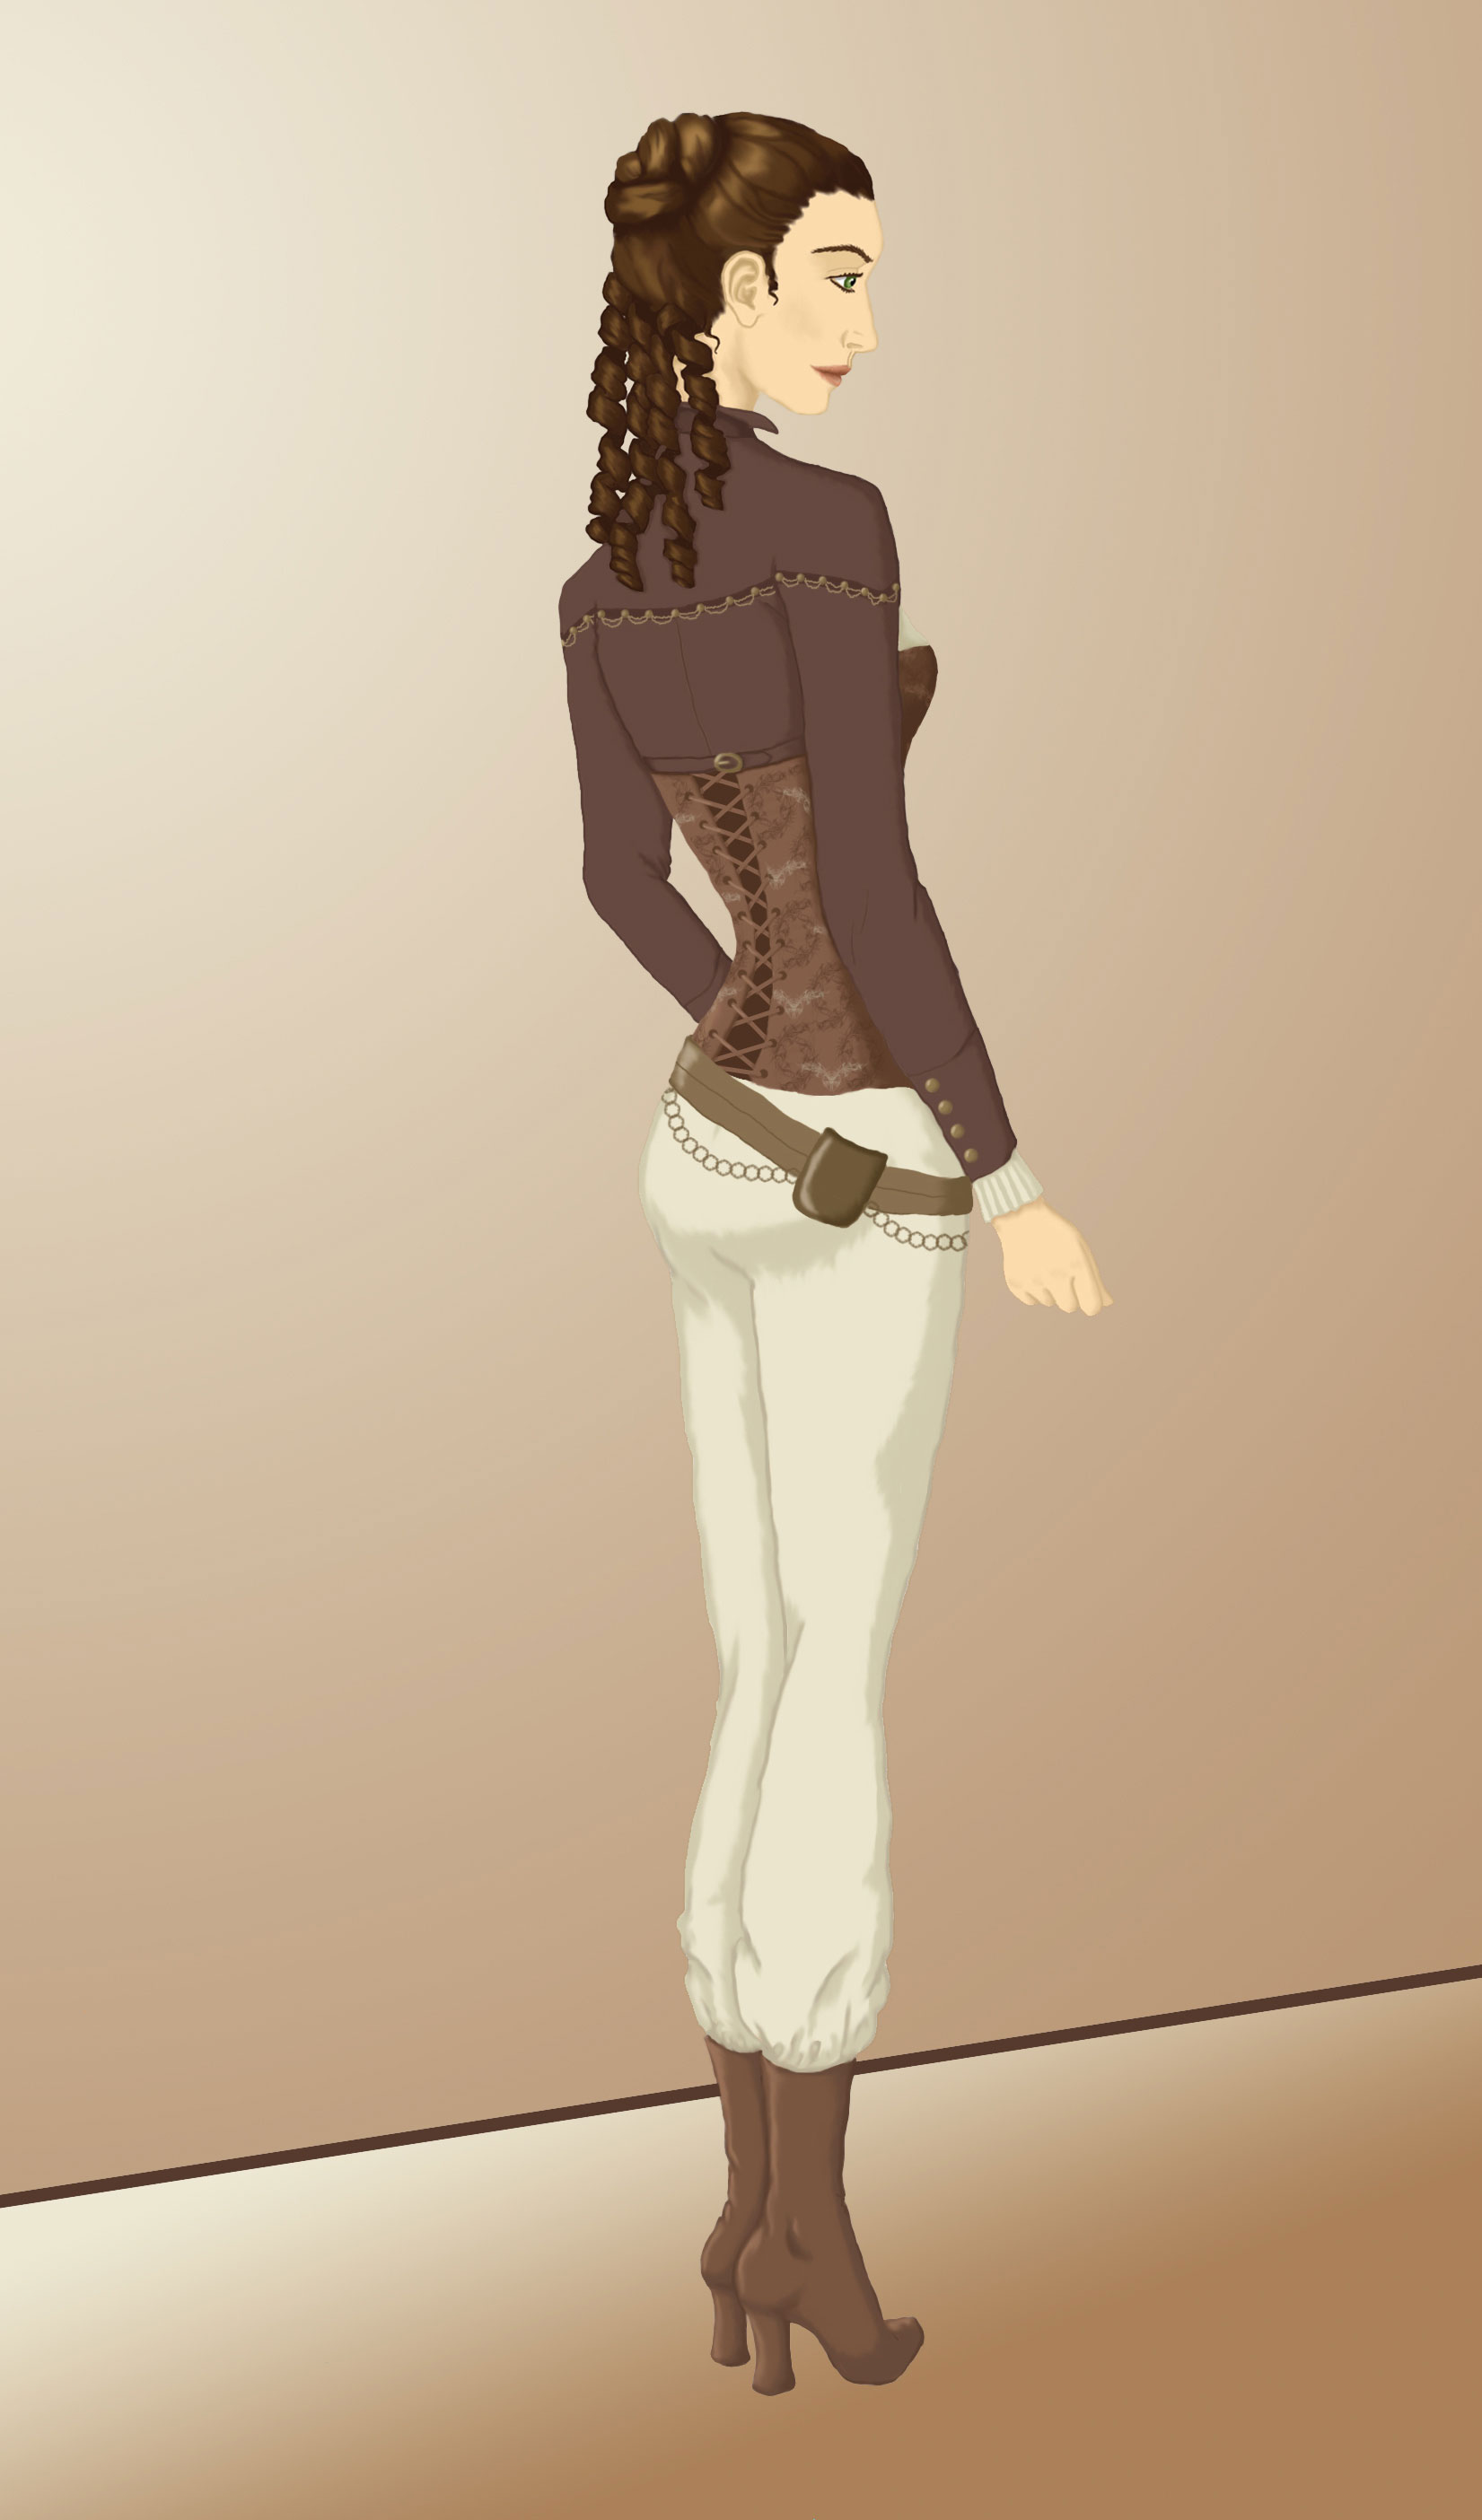
Steampunk Fashion Sketch
#1. Layering
You probably know that in order to build a house, you complete one step at a time. First, you pour the foundation, then you put up the framework, and then the drywall, and so on. Imagine if someone finished the construction, put in the fixtures, and painted the walls—but only in the bedroom. The rest of the house doesn’t exist yet. Sounds crazy, right?
The same principle applies to drawing. You don’t want to focus on just one section, while neglecting the rest of your sketch. Say you’re outlining the hair. You like the way it’s turning out, so you go ahead and finish it, adding texture, and shadows, and highlights. The hair looks amazing! But then you realize your model’s head is tilted at the wrong angle. It needs to be repositioned, which means all that work you did on the hair is for naught.
Save yourself the frustration by working in layers, gradually building up the whole sketch. That way, you can make any necessary changes before you’ve invested time and energy on the details.
Start with your pose. Get the height and proportions right, then flesh out the limbs. Once the basic shapes are outlined, start adding shadows and highlights. When you’re sure the drawing is turning out the way you want, start incorporating details, like facial features, fabric textures, jewelry, and so forth.
By the way, this technique also makes it easier to draw matching features! When you’re drawing eyes, don’t finish one and then start on the other. The second eye will be much harder to draw, especially if you want your eyes to match. Instead, work in layers, drawing each section of both eyes at the same time.
Eyes, Layer by Layer
#2. Mirror Image
When your sketch is good as you think it’s going to get, look at it in reverse. This is an old trick, but extremely effective! If you’re working with a traditional drawing, hold the image up to the mirror. If you’re working digitally, use the “horizontal flip” feature to mirror-image the drawing. Any proportional errors, or problems with the shapes or shading, will be immediately obvious.
In the example below, something seemed off, but I couldn’t tell exactly what was wrong. As soon as I flipped the image, it became clear that one eye wasn’t shaped correctly, and the bridge of her nose was too wide.
Mirror, Mirror
Don’t forget to flip the image back to normal when you’re done checking it!
#3. Dynamics
Motionless drawings are boring. Especially fashion sketches! Is your model facing forward and standing at attention? Are her clothes falling straight, with no movement to them? Add some zing! Breathe some life into your sketch by posing your model dynamically.
Dont–Flat Sketch
Add instant drama, just by tilting your model’s hips and shoulders in opposite directions. Shift her weight, so she’s standing on one leg, with the other one extended forward or to the side. Turn her feet in different directions. Put her hand on her hip, or raise her arm, so she’s striking a pose. Have the wind catch her hair, or give it some volume with curls. Angle her head, so she’s looking up or down.
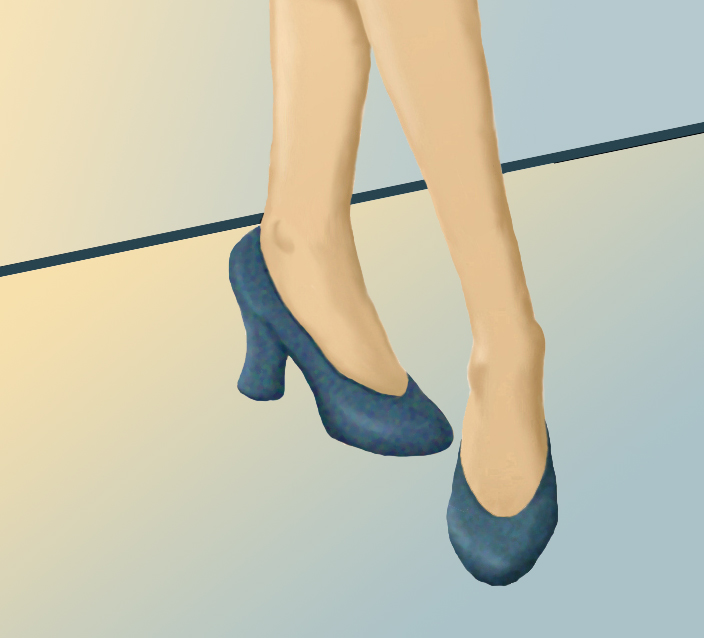
Dynamically Posed Feet
Unless her clothing is skintight, let the fabric move. Imagine the wind is catching her skirt. (It doesn’t have to be a violent gale—a gentle breeze will do.) Add wrinkles anywhere the body changes position or strains against the fabric (e.g.: elbows, shoulders, waist, knees, ankles). Little details like these add visual interest, which is exactly what you need.
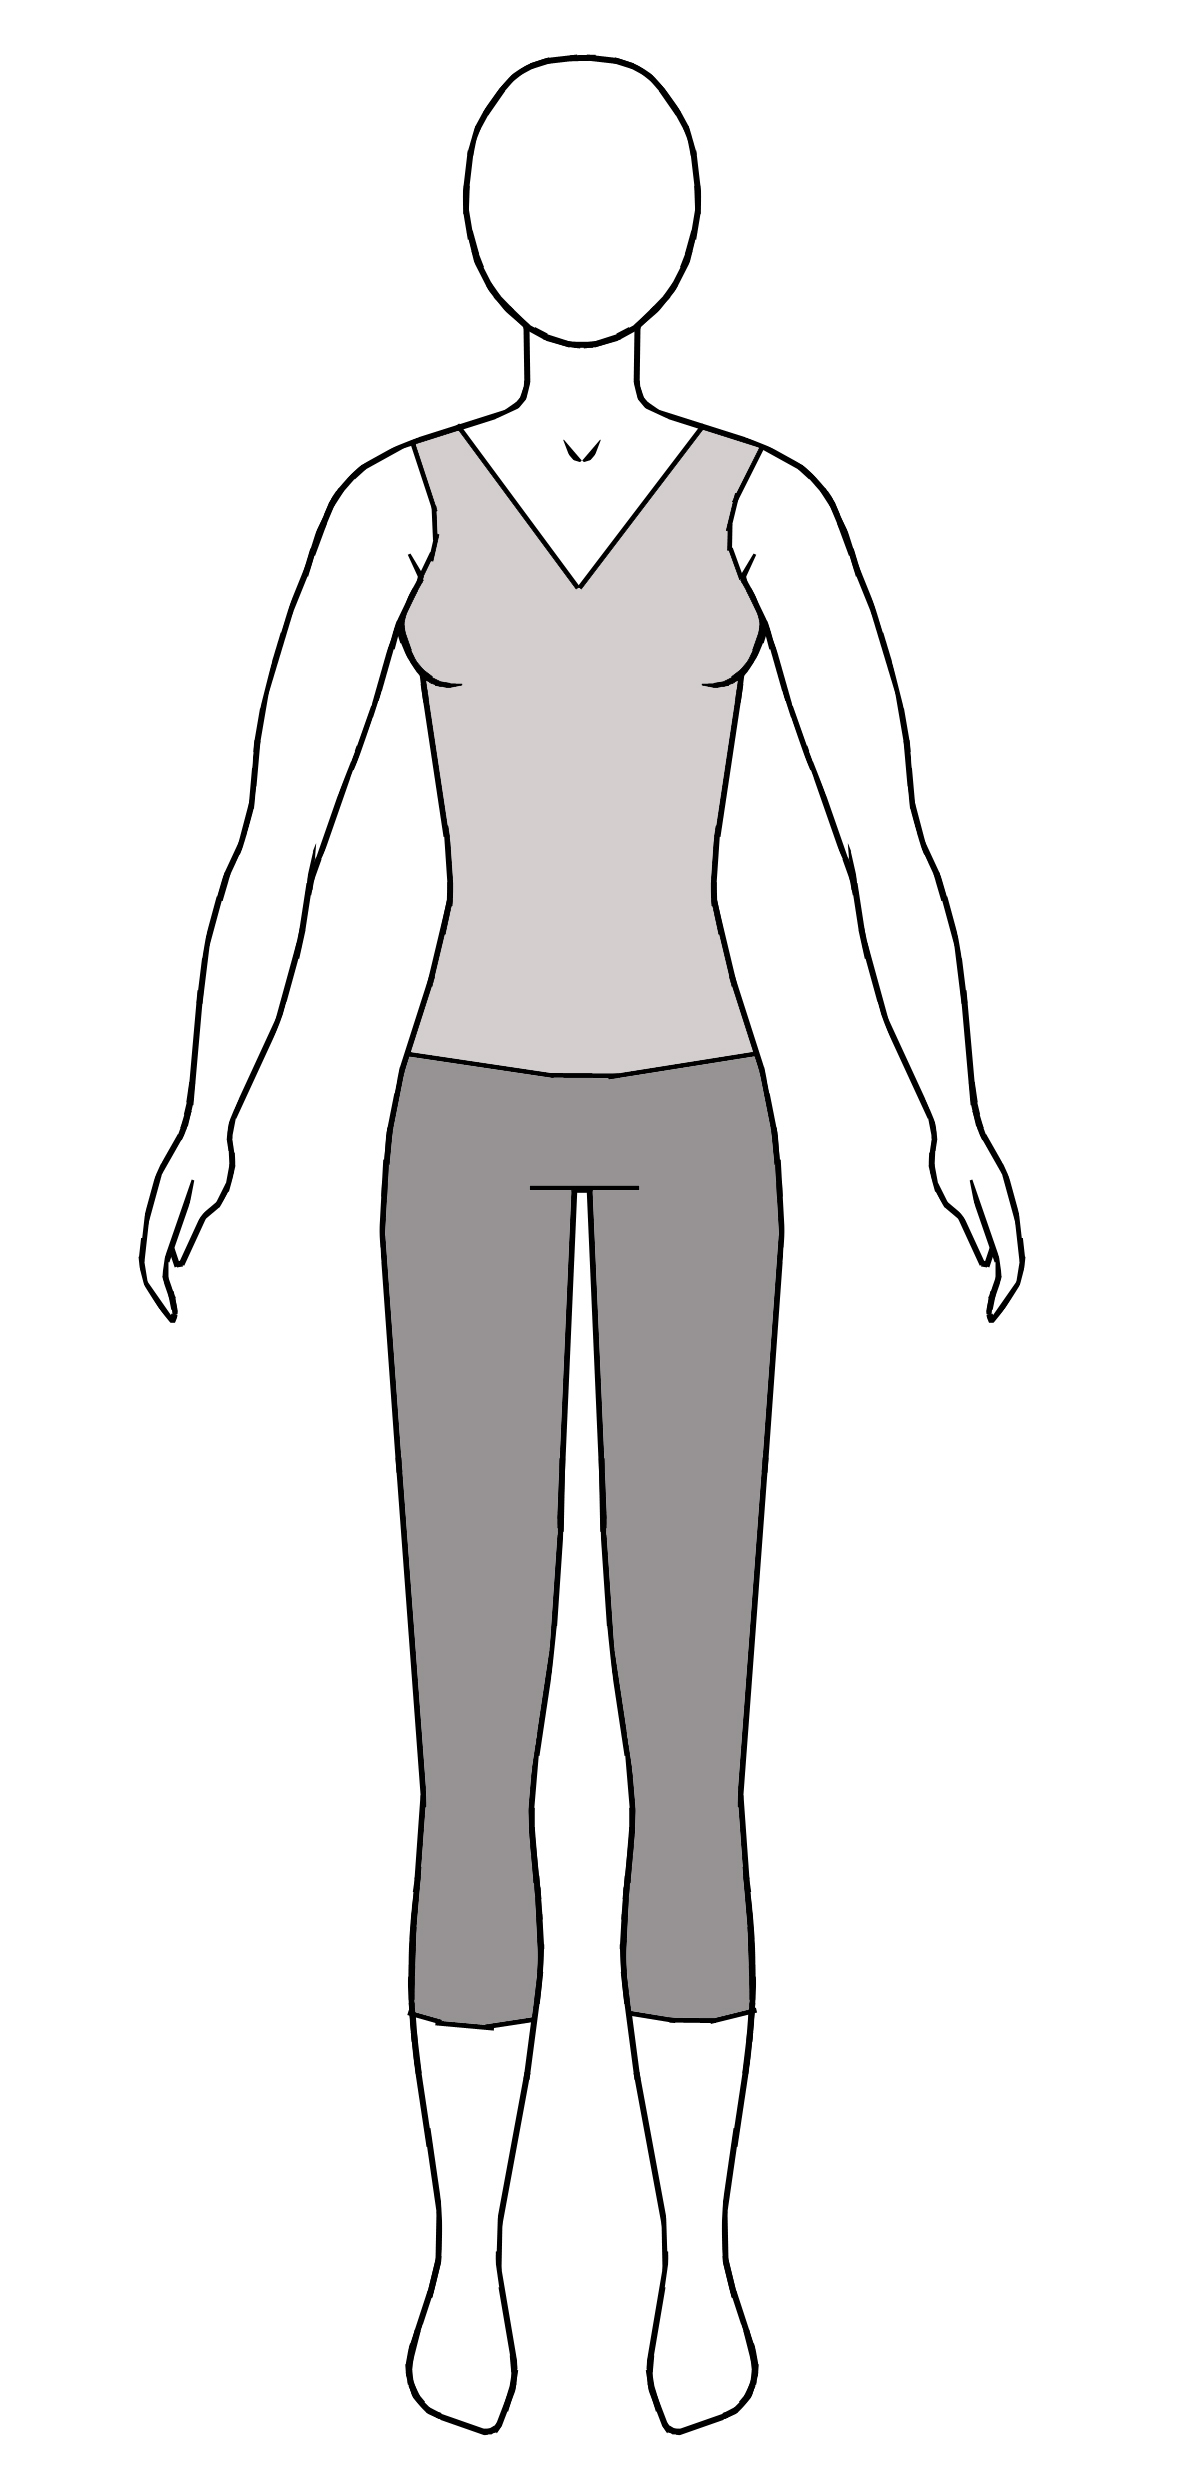
#4. Backgrounds
Sometimes, all that’s missing from your fashion sketch (or portrait) is a background. It doesn’t have to be elaborate, with detailed scenery. A simple grounding line and gradient will go a long way towards making your sketch look finished.
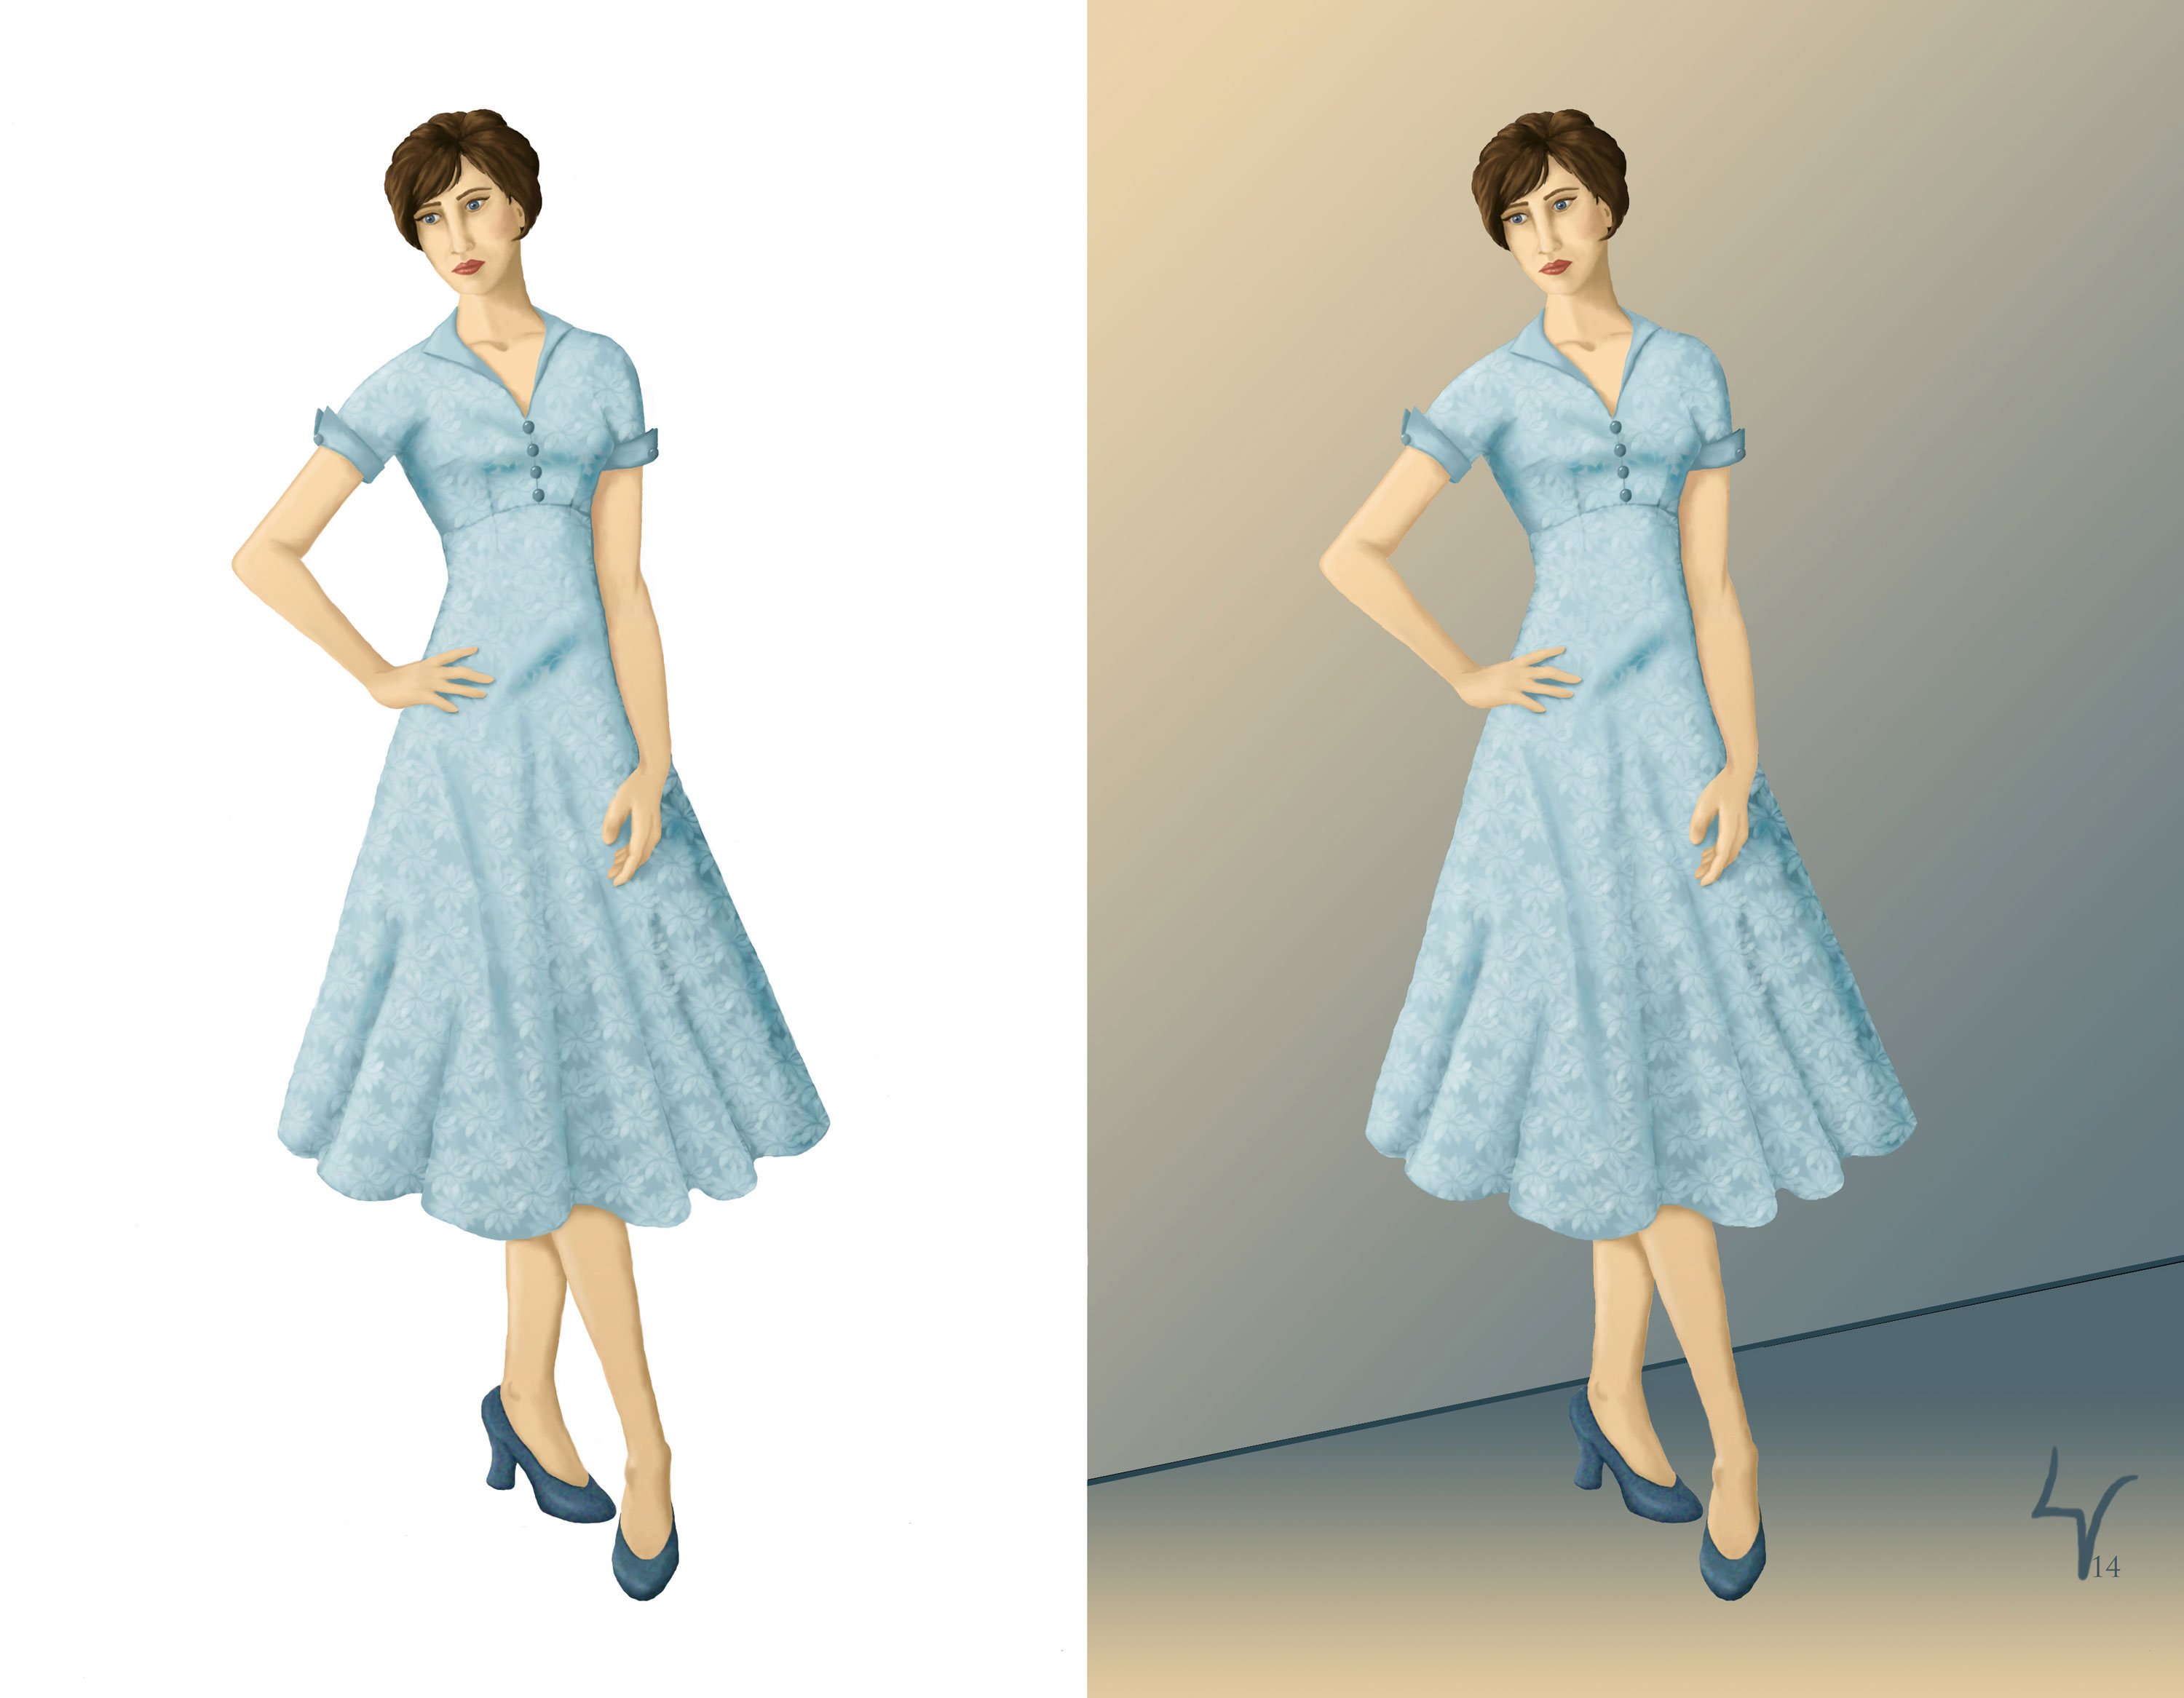
Adding a Gradient Background
#5. Evolution
It can take years to find your signature style. Even after you settle into a style, you’ll keep growing and changing. This is natural.
Don’t be afraid to experiment with new techniques. If your normal media is watercolors, try working with pastels, markers, or colored pencils. If your drawings tend to be hyper-realistic, try a more relaxed style. If you prefer tightly controlled pencil strokes, loosen things up a little. You might discover a new favorite way of drawing!
As your style evolves, so will your skill level. The more you observe, and learn, and practice, the better you’ll get.
The sketches I drew a year ago are significantly different from the art I currently produce. In a short amount of time, I learned a great deal about color relationships and contrast, anatomy and proportion, and how to use shading and highlighting for a more realistic effect. I still have plenty to learn, but I’m proud of the progress I’ve made.
As an example, here are two sketches I drew based on Christine’s “Think of Me” costume from Andrew Lloyd Webber’s The Phantom of the Opera. The one on the left is from early 2012, while the one on the right is from late 2013, almost two years later. What a difference, right?
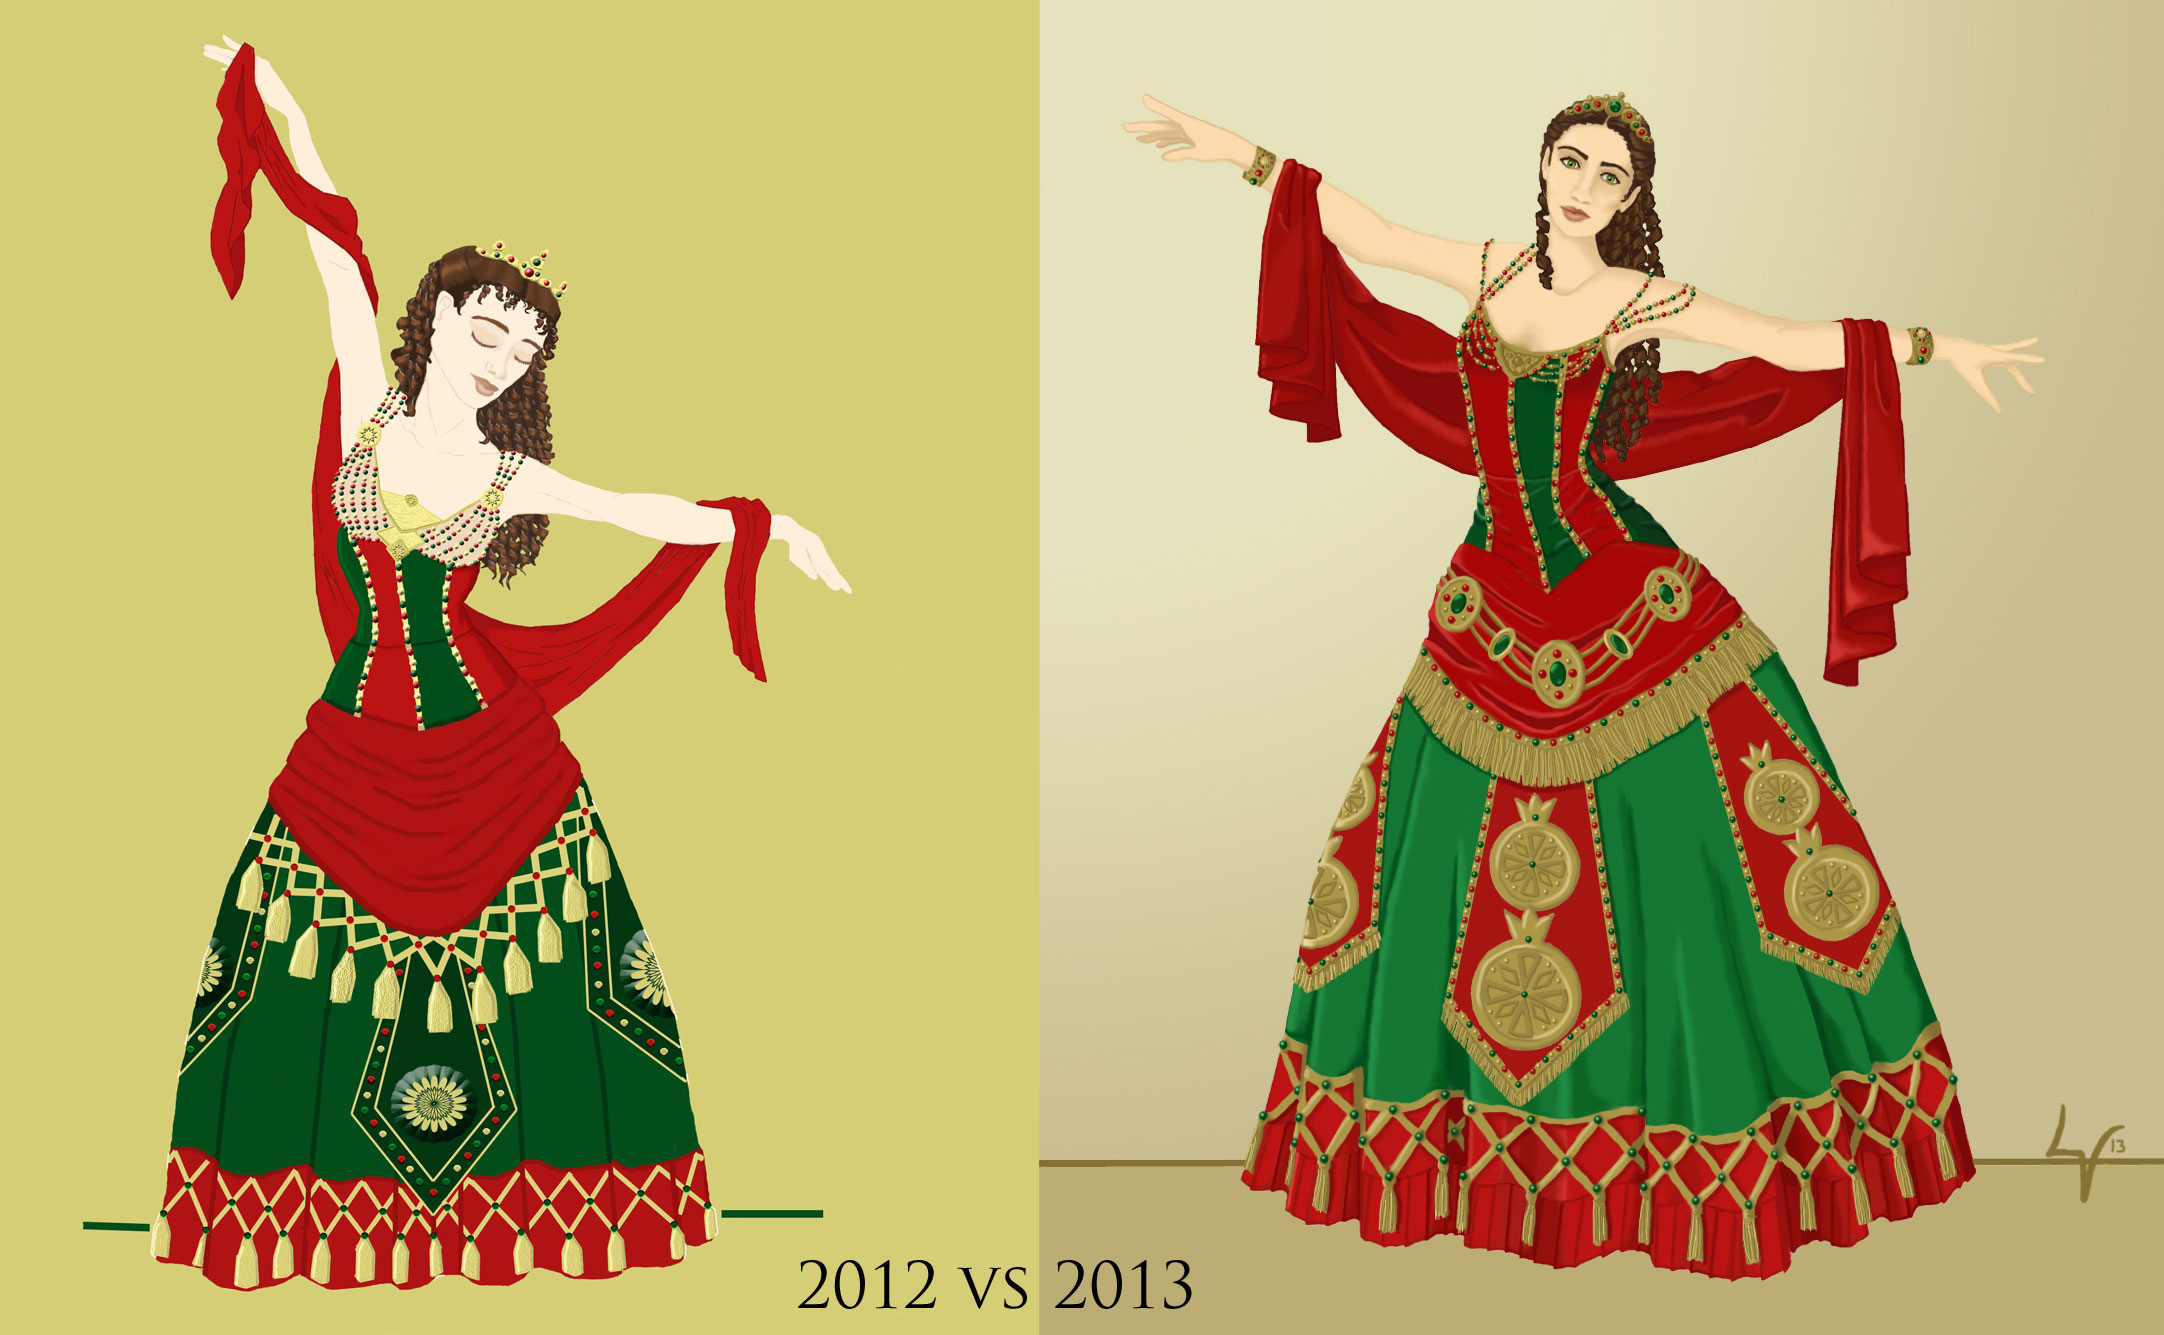
2012 (left) vs 2013 (right)
#6. Selfies
Artists are not born knowing what the human body looks like in every possible pose. Even professional artists use references. There’s no shame in it.
It’s a good idea to build a portfolio of poses that you can use when drawing fashion sketches. The easiest way is to take pictures of yourself. Stand in front of the mirror and try different positions for your feet, hands, and head. If you like how a particular pose looks, take a picture. Save these photos on your computer, so you’ll always have a library of images at your disposal.

Posing in Victorian Boots
#7. Perfectionism
Some of us have obsessive streaks that won’t let us quit drawing. Just when you think it’s done, you realize the model’s hair could be a little more textured . . . or the shadows on her face need to be softened . . . or her legs are too long.
A light dose of perfectionism is fine. It’s what stops us from publishing our first drafts and rough sketches. Too much perfectionism, however, can keep us at the drawing board long past the “pencils down” stage.
One trick is to put your drawing away for awhile. When you work on something non-stop, you start to lose your objectivity. You can’t tell whether it’s good or not, and that’s when you start fixing flaws that don’t exist. So, take a break. Close Photoshop, or tuck your sketchpad under the bed. Resist the urge to peek at your drawing for at least twenty-four hours—or longer, if you can stand it. When you do finally come back to your work, you’ll see it through fresh eyes. Any problems you missed before will be obvious, and certain things you thought were wrong, won’t look so bad.
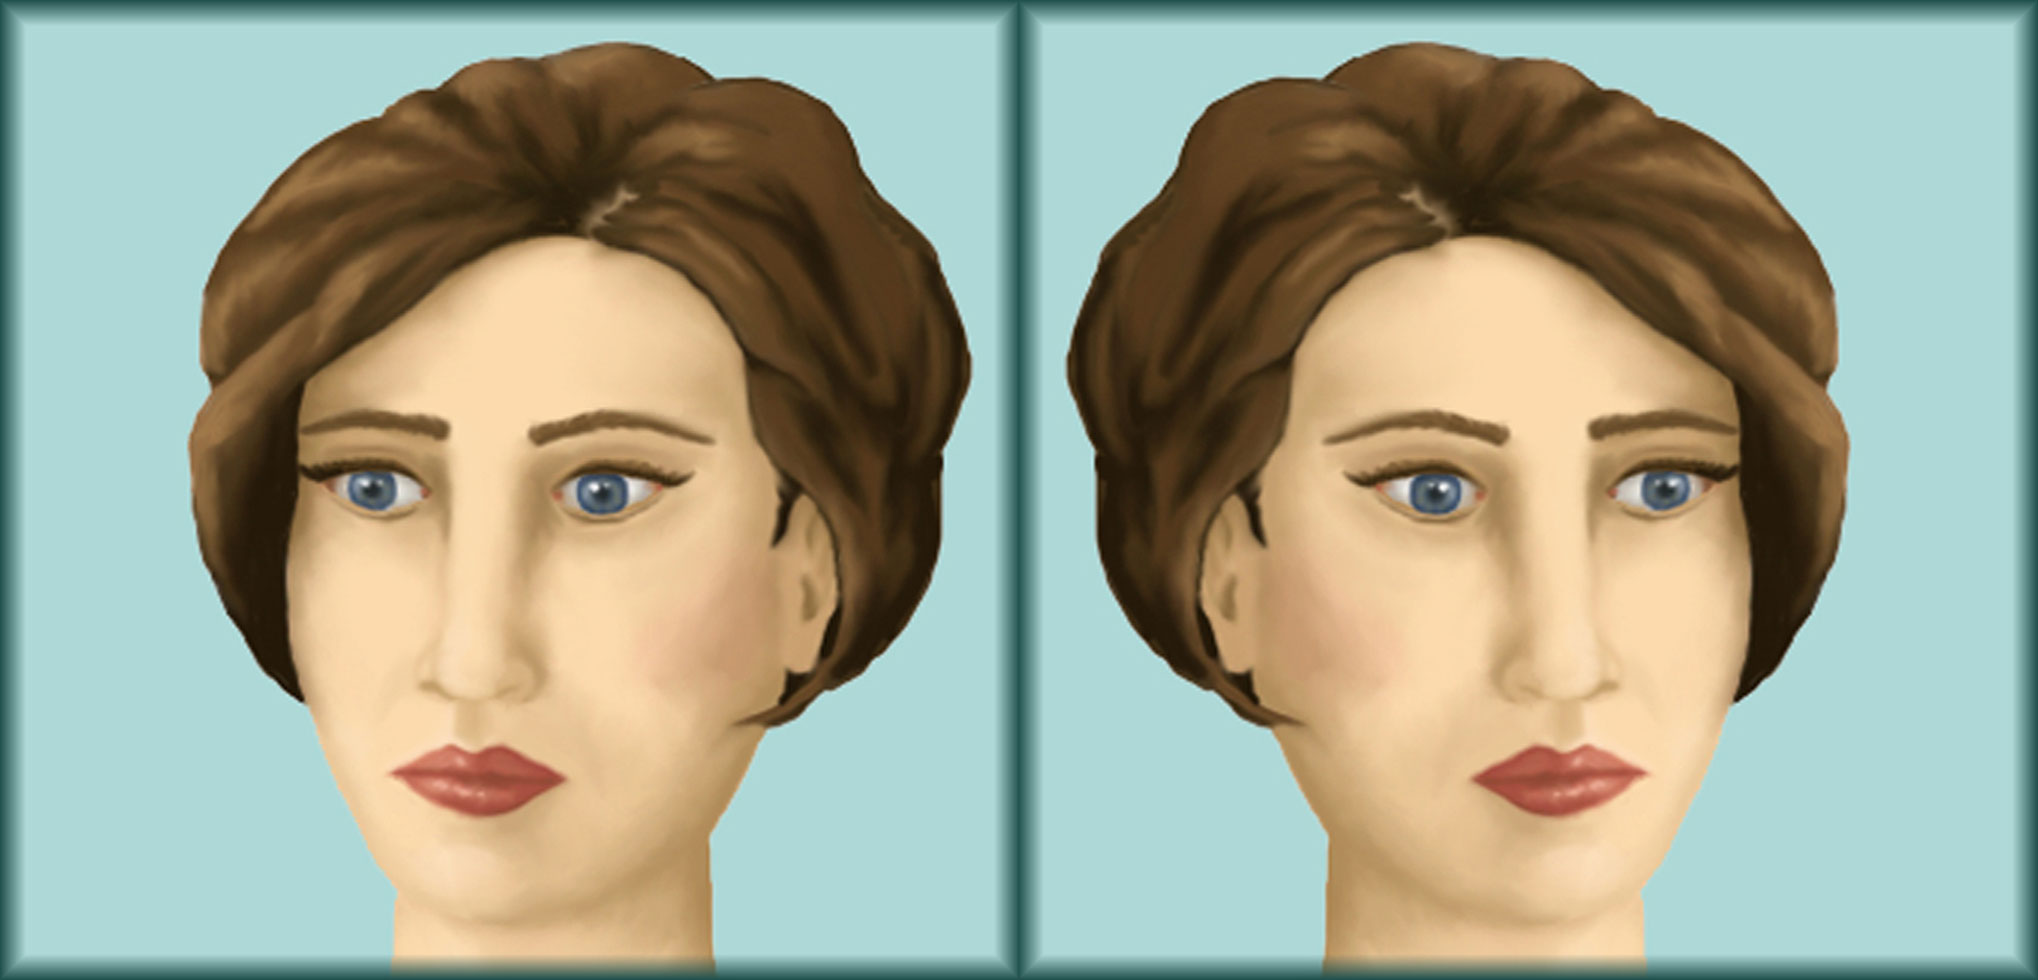
#8. Asymmetry
This may seem like a strange tip, but don’t make things too symmetrical, too beautiful, too perfect. While beauty and symmetry have their place in the world, your fashion sketches (or portraits) will be much more interesting if you liven things up. Instead of a straight-on head-shot, try a three-quarters angle, or tilt the head a little.
Whatever you do, don’t copy and paste (or trace) the features from one side of the face onto the other side! You might think it’s a valuable time saver—after all, you only have to draw half a face—but it will give your drawing a surreal, artificial look.
Also, be sure you’re using enough range of value for a three-dimensional look. It can be intimidating to add darker shadows, but doing so will make your sketches look more real.
In the example below, I did everything wrong with the princess drawing (on the left). Not only is the model looking straight ahead, but her features have been drawn mirror-image. She’s pretty, but extremely boring! Plus, I didn’t provide nearly enough contrast, so she looks washed out and flat.
The second drawing (on the right), looks more natural. Her face is turned slightly and her features are asymmetrical, which looks more realistic. The additional shading and highlighting helps, too. Also, I gave her an apple to hold, which makes her a little more interesting than our stoic princess.
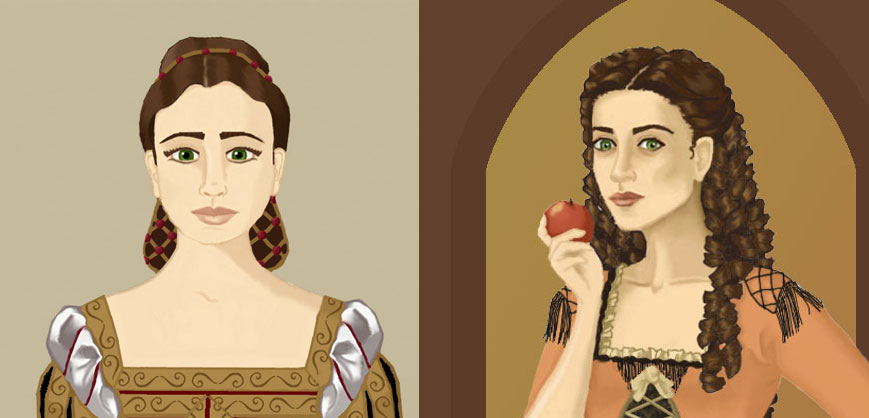
Symmetrical vs Asymmetrical
Try a little asymmetry in your next drawing and see for yourself what a difference it makes.
#9. Redo
If some aspect of your artwork bothers you, don’t be afraid to fix it. To clarify—don’t try to change the original, especially if it’s an older piece. Save it for posterity, so you can see how your work has changed over the years! But if there’s a piece you’ve always been unhappy with, there’s nothing wrong with drawing a new interpretation, an upgraded “2.0” version.
Just as a challenge, go through some of your old pieces and pick one to redo. Choose something dreadful—something you know you can remake successfully. Draw it again, modifying it, cleaning it up, raising it to your current standards. When you’re done, compare the new version with the original. This exercise helps underscore how much you’ve grown as an artist.
Below, you can see two sketches I did of Christine’s “Point of No Return” costume from The Phantom of the Opera. The first sketch is from late 2011, while the second is from two years later. My style changed considerably! The first has a certain looseness that I wish I’d held onto, but the later version is much more detailed and realistic.
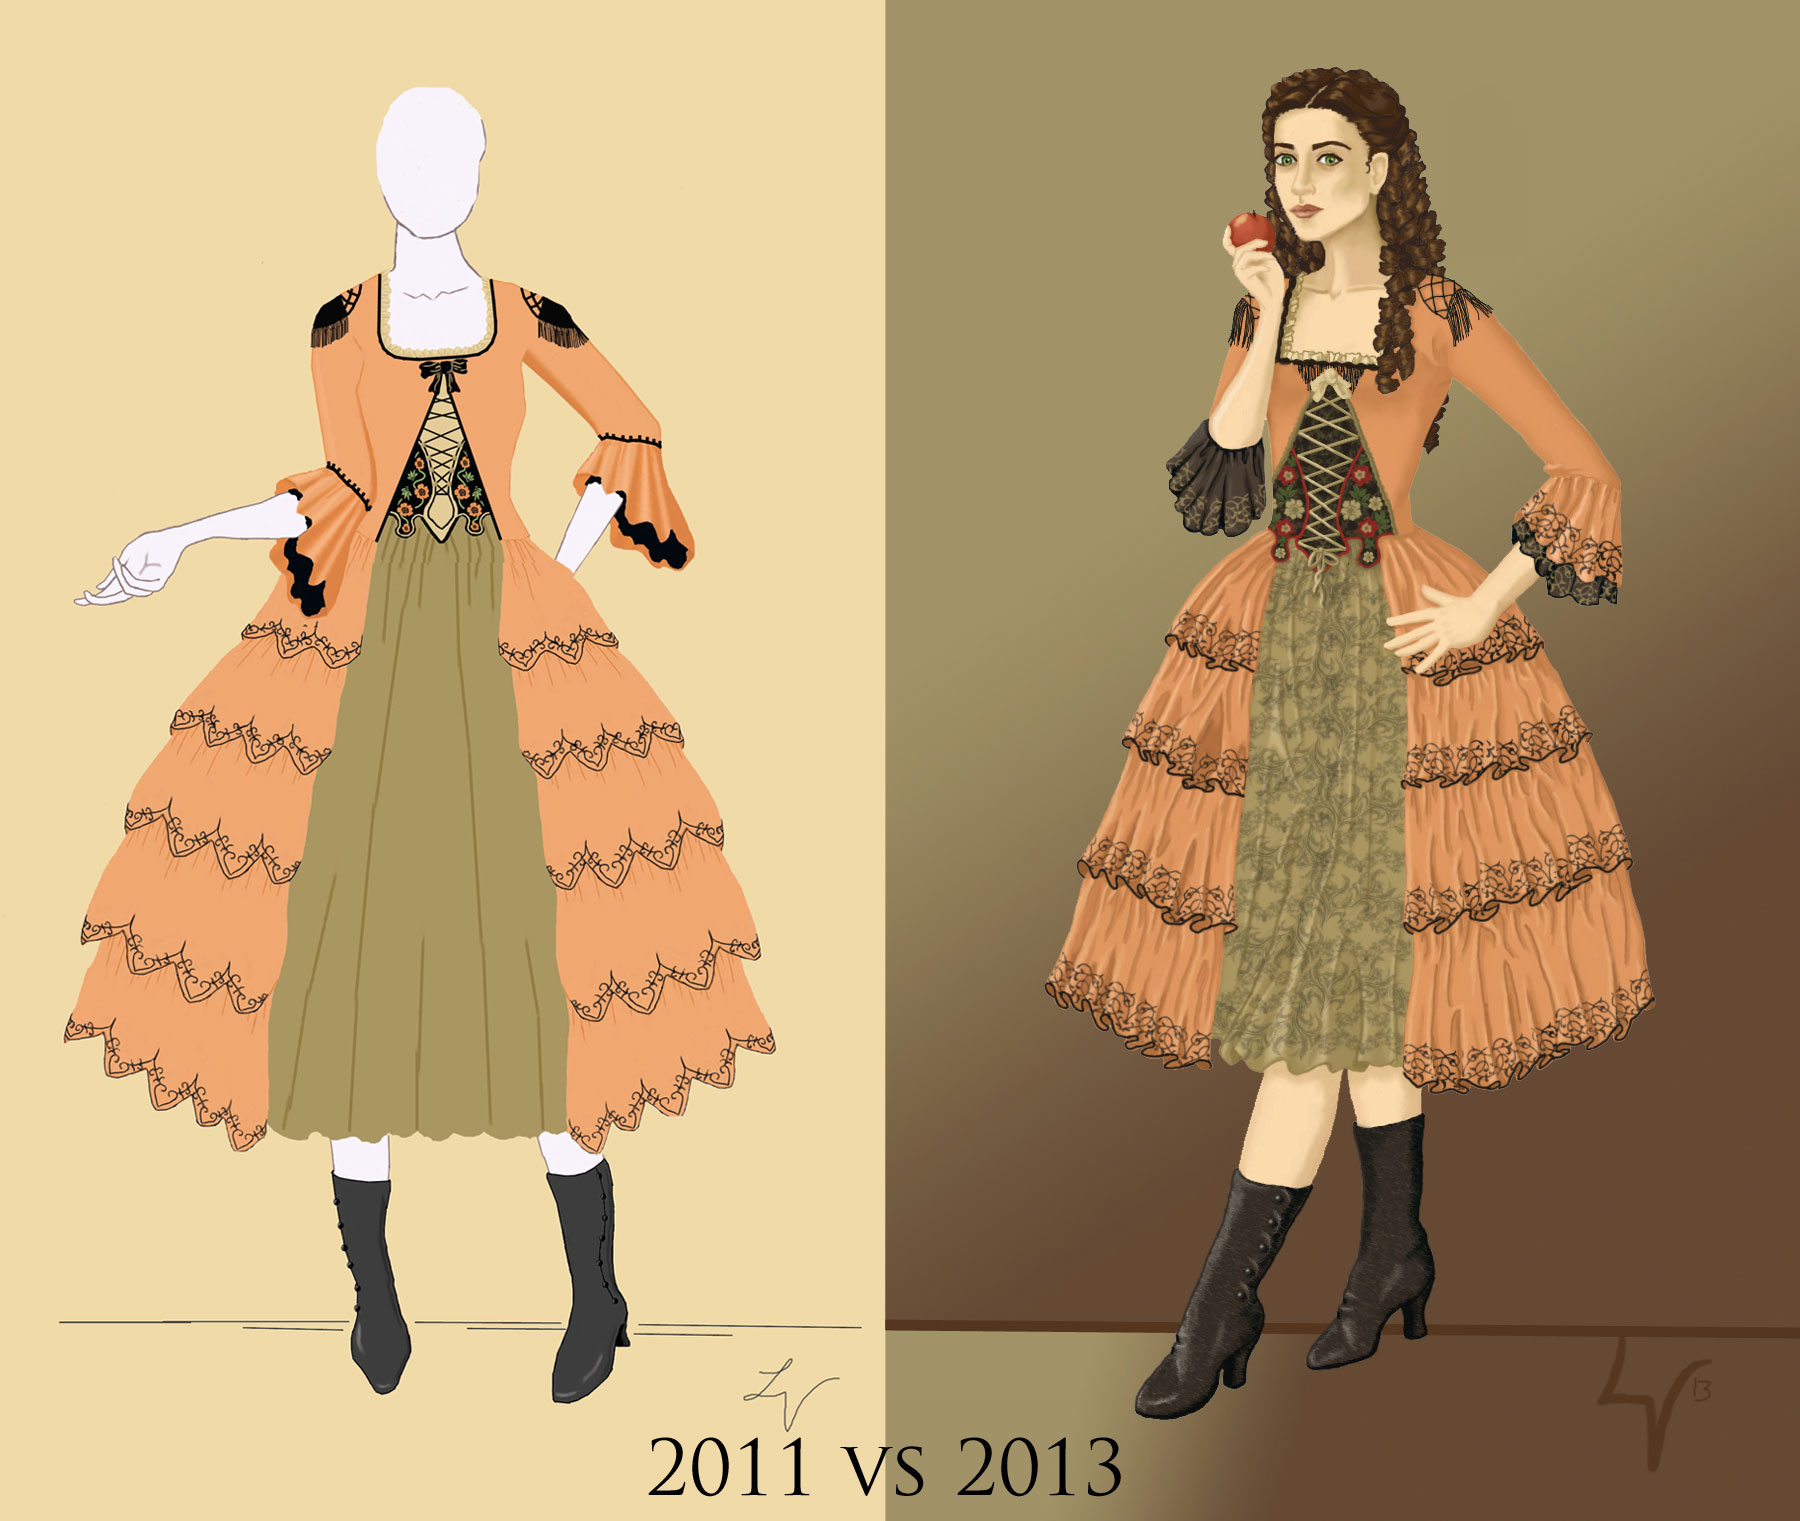
2011 (left) vs 2013 (right)
#10. Keep Learning
This is, perhaps, the most important tip of all! Don’t grow stagnant. Never be content with your current skill level. A tiny amount of knowledge, when applied, can have dramatic results, so keep learning and trying new things.
~~*~~
If you’d like to learn more about drawing your own fashion sketches, check out: Croquis: Fashion Sketches, Part I & Part II. You might also enjoy: Digital Color: Coloring Your Croquis, Part I & Part II. Tutorials on specific subjects (like how to draw eyes, or ringlets, or corset lacing) can be found at my deviantART account.
Pingback: Improve Your Fashion Sketches | Yesterday's Thimble