
by Lisha Vidler
(Click on any image to view the full-sized illustration.)
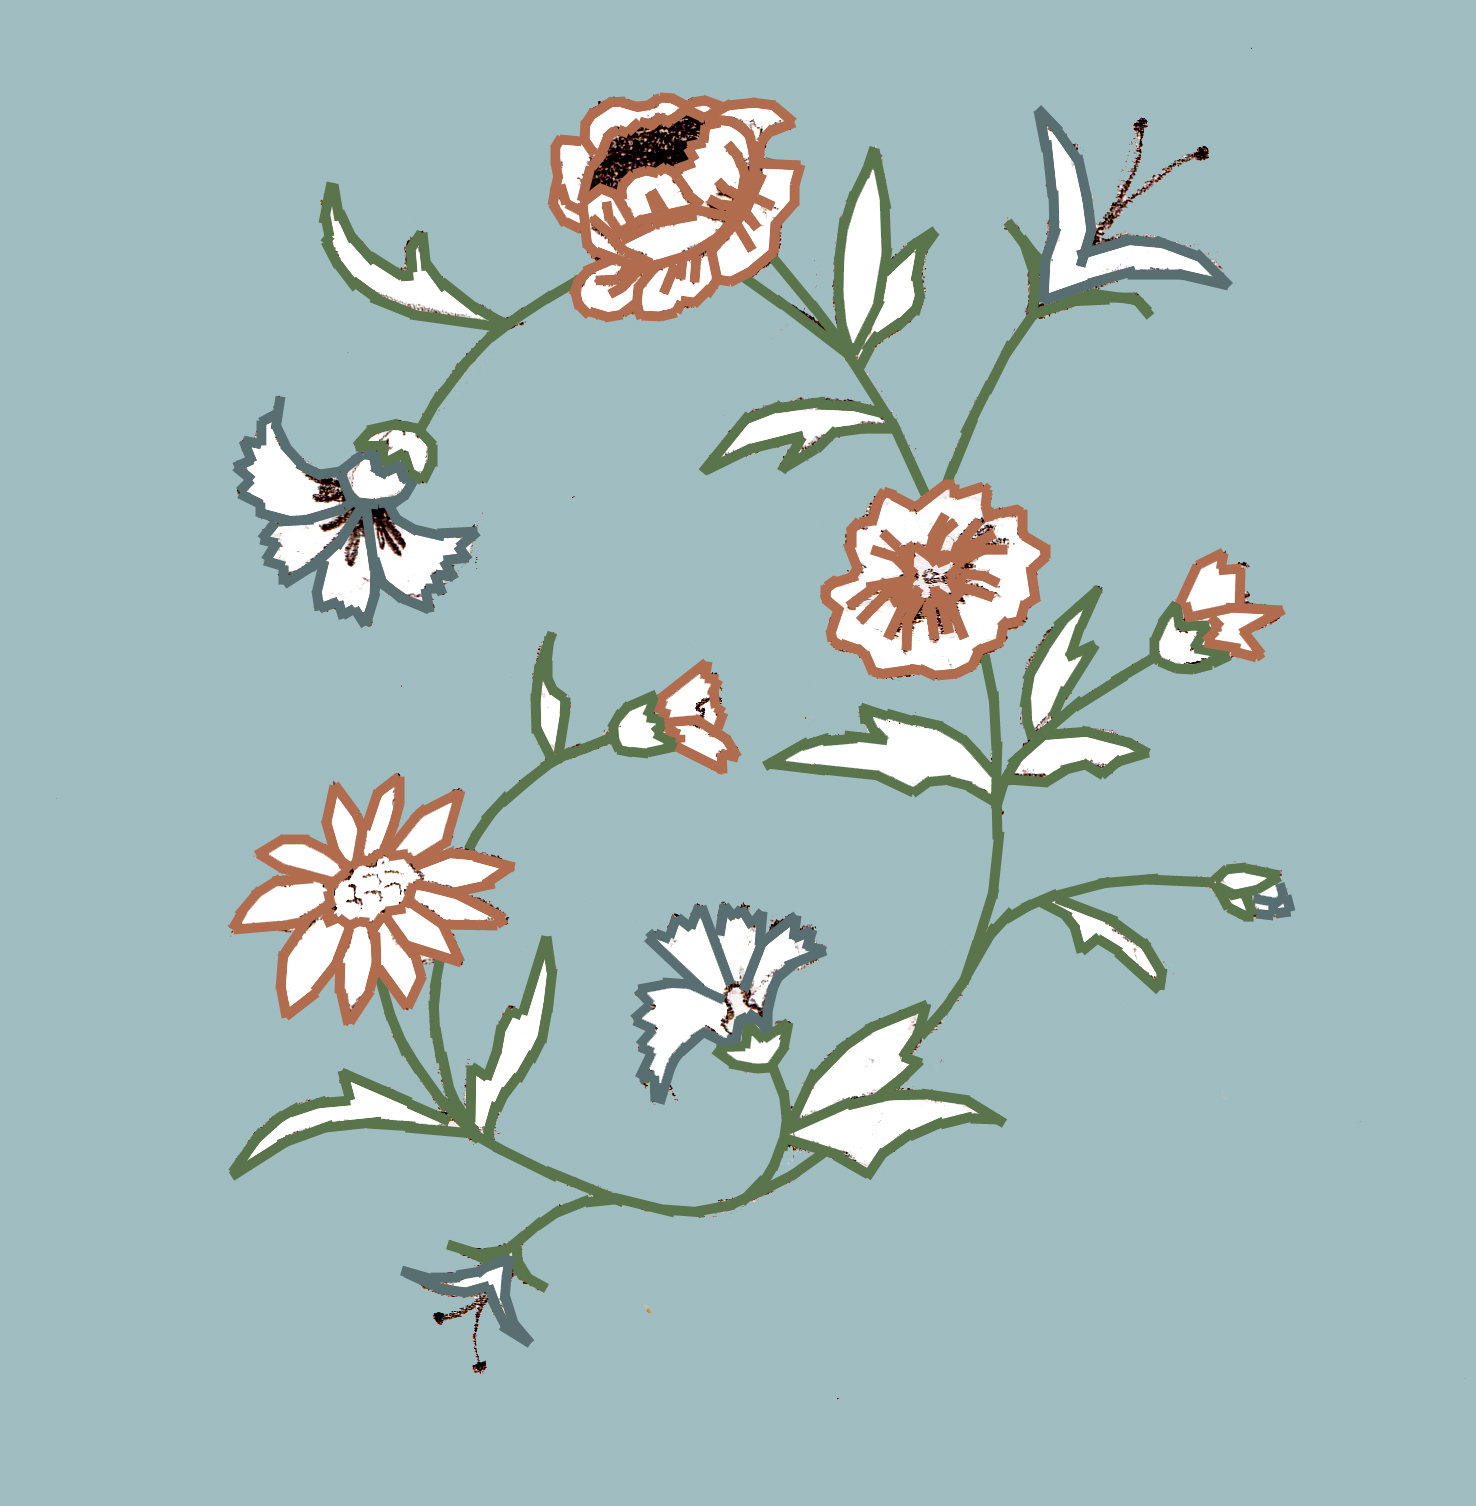
Have you ever pictured the perfect fabric in your mind, only to despair when you couldn’t find anything similar in the stores? Or have you wanted to recreate a film or theater costume that required very specific fabric? No doubt, you had to settle for something “close enough.”
When I created a replica of the Wishing dress from Andrew Lloyd Webber’s The Phantom of the Opera, I spent months searching for the right fabric. The original is a blue silk that’s custom-printed with a black and white floral-stripe design. Floral-striped fabrics abound, but not in the right scale and color. In the end, I went with a Civil War reproduction cotton that had a stippled pattern forming stripes. I’ve known others who’ve hand-stamped fabric to get the right look, or even dyed the wrong color fabric to get something close to the original design.
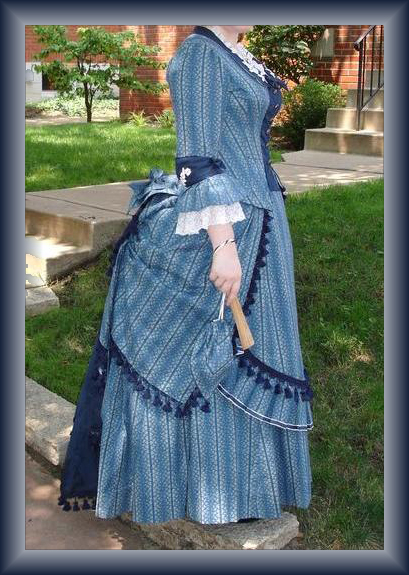
The Author’s Wishing Dress
The days of despairing are over. Technology now permits you to have fabric custom-printed! No more searching in vain, and agonizing over what compromises to make in choosing the right fabric. Now you can create whatever design you want and have it printed by online companies like Spoonflower and Fabric On Demand.
Imagine the possibilities! You could design your own authentic 18th century floral print. Or you could have green-sprigged silk made for Scarlett’s BBQ dress from Gone With the Wind. You’re not limited to prints, either. Suppose you’ve had your eye on Padmé’s sheer ombré gown from Star Wars: Episode II—Attack of the Clones. Instead of hand-dyeing yards of silk chiffon, you could order fabric printed with a pink and yellow ombré design. Whatever fabric design you can come up with, they can print for you!
But how do you design your own fabric? Let’s look at the process, step by step.
-
A Word on Copyright
Most companies don’t police copyright violations, so it’s your responsibility to make sure that whatever you have printed doesn’t infringe upon anyone else’s trademarked image or copyrighted designs. Such a topic is an entire article in and of itself, but basically: Don’t use a design you haven’t created yourself, especially if you plan to sell the fabric or the finished product. The exception is copying fabric made prior to 1920, because it would be in the public domain. If you have any doubts, it’s best to consult with a lawyer who specializes in trademark/copyright law.
What if you’re creating a replica of a dress and you want your fabric to be as close as possible to the original? This is tricky, to be sure. It’s best to make something that looks similar, but doesn’t explicitly copy the original.
Necessary Tools
- Artists’ Supplies (Paper, Pencil, Eraser)
- Graphics Software
- Graphics Tablet
- Scanner
There are two ways of producing a graphic design. You can draw the image the old-fashioned way, using paper and pencil, and then scan it into your computer. Or you can create it digitally, using graphics software. Either way, you’ll need a drawing program of some sophistication. I use Photoshop Elements for most of my artwork, but you can use Corel Draw or Painter, Paint Shop Pro, or even one of the free advanced graphics programs that are out there. The most important requirements are:
- The ability to save your finished drawing as a file type the fabric company can work with. Common file types include .jpg, .tif, and .png.
- The ability to work in layers. This makes it easier to create intricate graphics.
- The ability to use custom brushes. This isn’t strictly necessary, but it will make your job much easier.
If you’re going to do a lot of fabric designing, a graphics tablet is essential. Trying to draw with a mouse or a laptop’s touch pad can be awkward or even painful. But with a tablet, you use a natural motion for drawing, which helps prevent muscle strain in your shoulders, neck, and wrist.
You don’t need a large or expensive tablet. An entry-level device works quite well and can be purchased for less than $100. In addition to the tablet, which has a small built-in drawing surface, you’ll receive a stylus or “pen” with a removable plastic nib that you use to draw with. It’s important to replace the nib when it gets worn down, or when it develops sharp edges that might scratch the surface of your tablet.
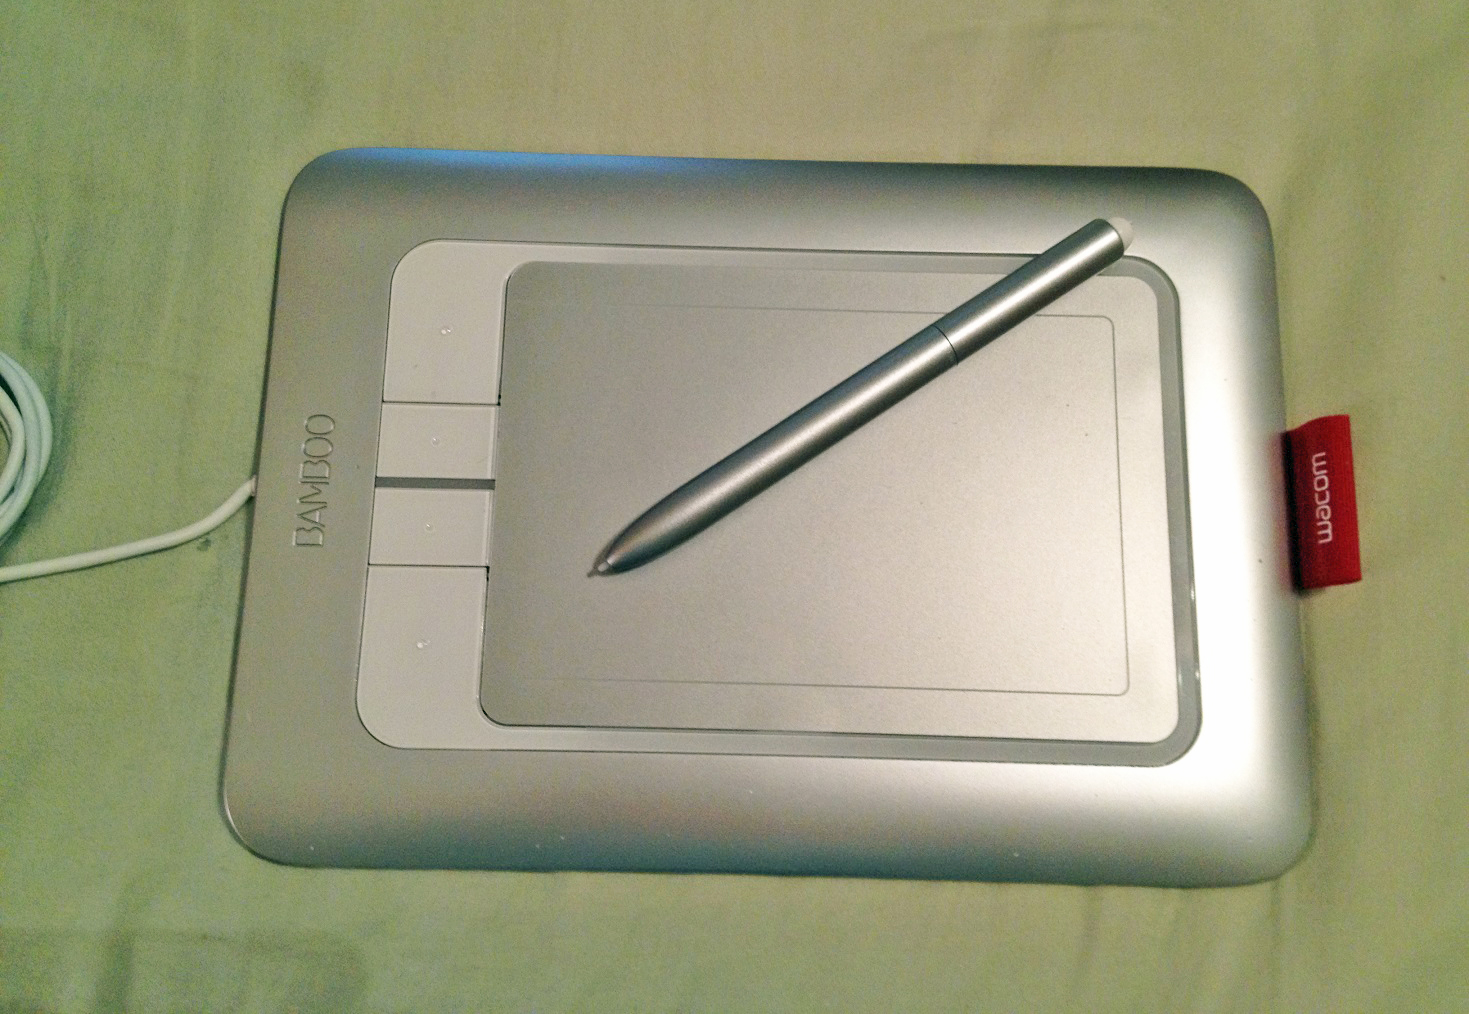
Graphics Tablet–Wacom Bamboo Fun
If you’ve drawn your fabric design on paper, you’ll need to digitize it. For this, a scanner is essential. These days, many ink-jet printers come with a built-in scanner and can be purchased for as low as $50.

Canon Printer/Scanner/Copier/Fax
Designing Your Fabric
Custom fabric can be anywhere between 42″ and 60″ wide, depending on the company you use and the type of fabric you order. Your design shouldn’t be that large, however—not unless you specifically want a single large motif in the center of your fabric. More likely, you want a design that repeats across the width of the fabric.
When a motif is repeated, it’s called “tiling.” They take your image and copy it over and over, until it fills up the entire width of fabric, much like ceramic tiles covering your kitchen floor. Each tile is identical, which means you must pay special attention to be sure it creates a cohesive image when the tiles are lined up.
This isn’t a problem if your design is an isolated motif in the center of the tile. But if your design is complex, you’ll need to make sure the edges of your motif line up precisely. We’ll go into more detail about this in the second half of the article. For now, let’s look at simple designs.
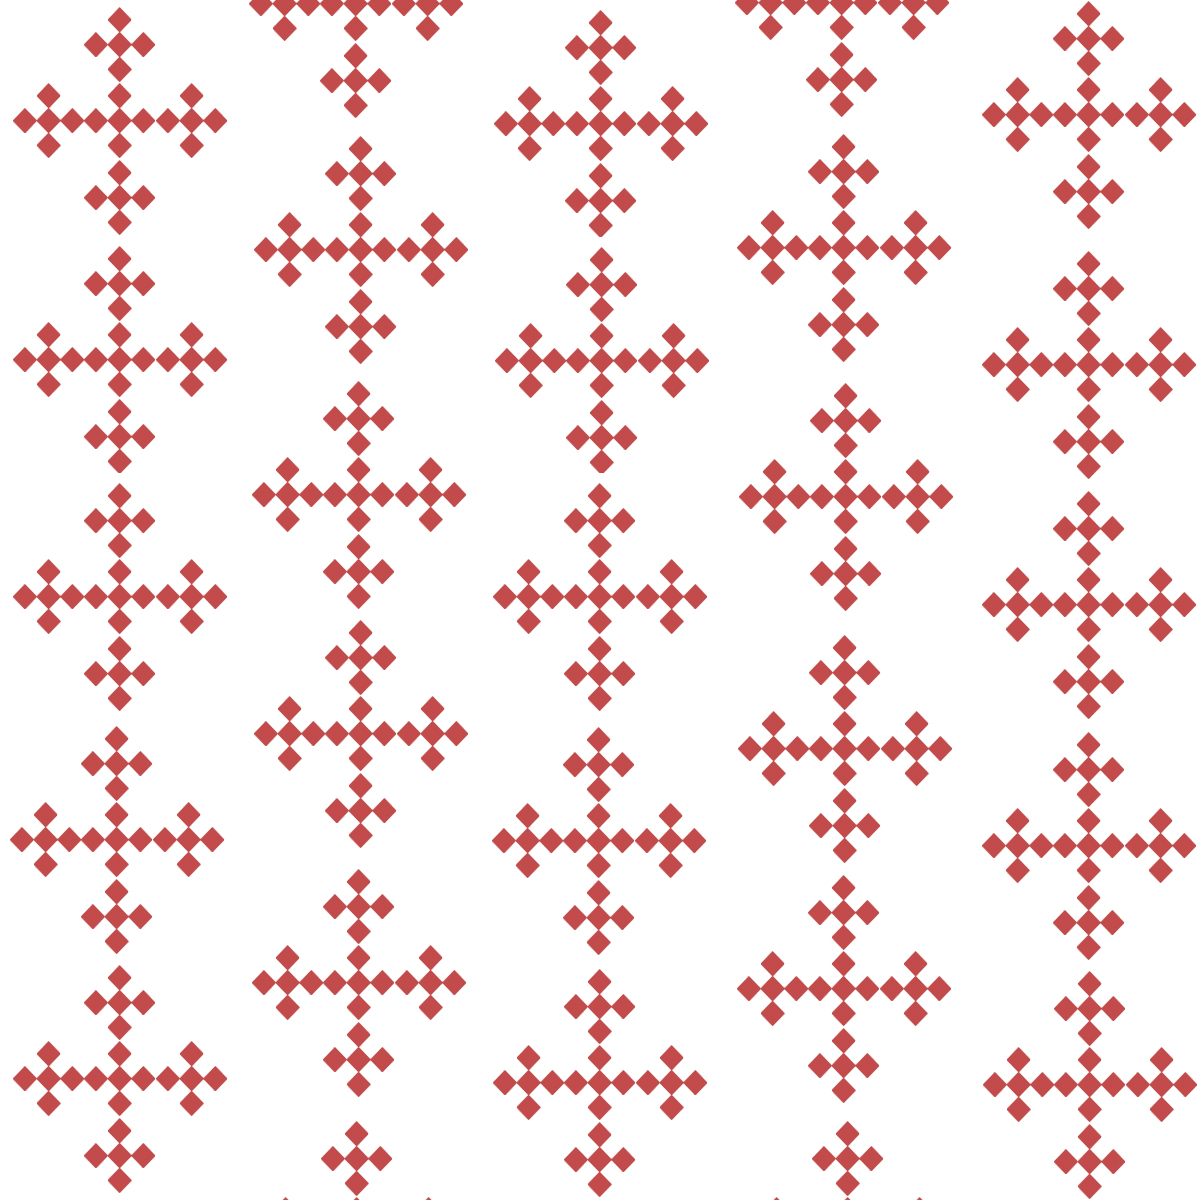
Take this diamond cross motif. What happens when you tile something like this?

Diamond Cross Motif
Here’s what the diamond cross motif looks like when tiled straight across. As you can see, the images line up both vertically and horizontally, creating evenly spaced rows and columns.
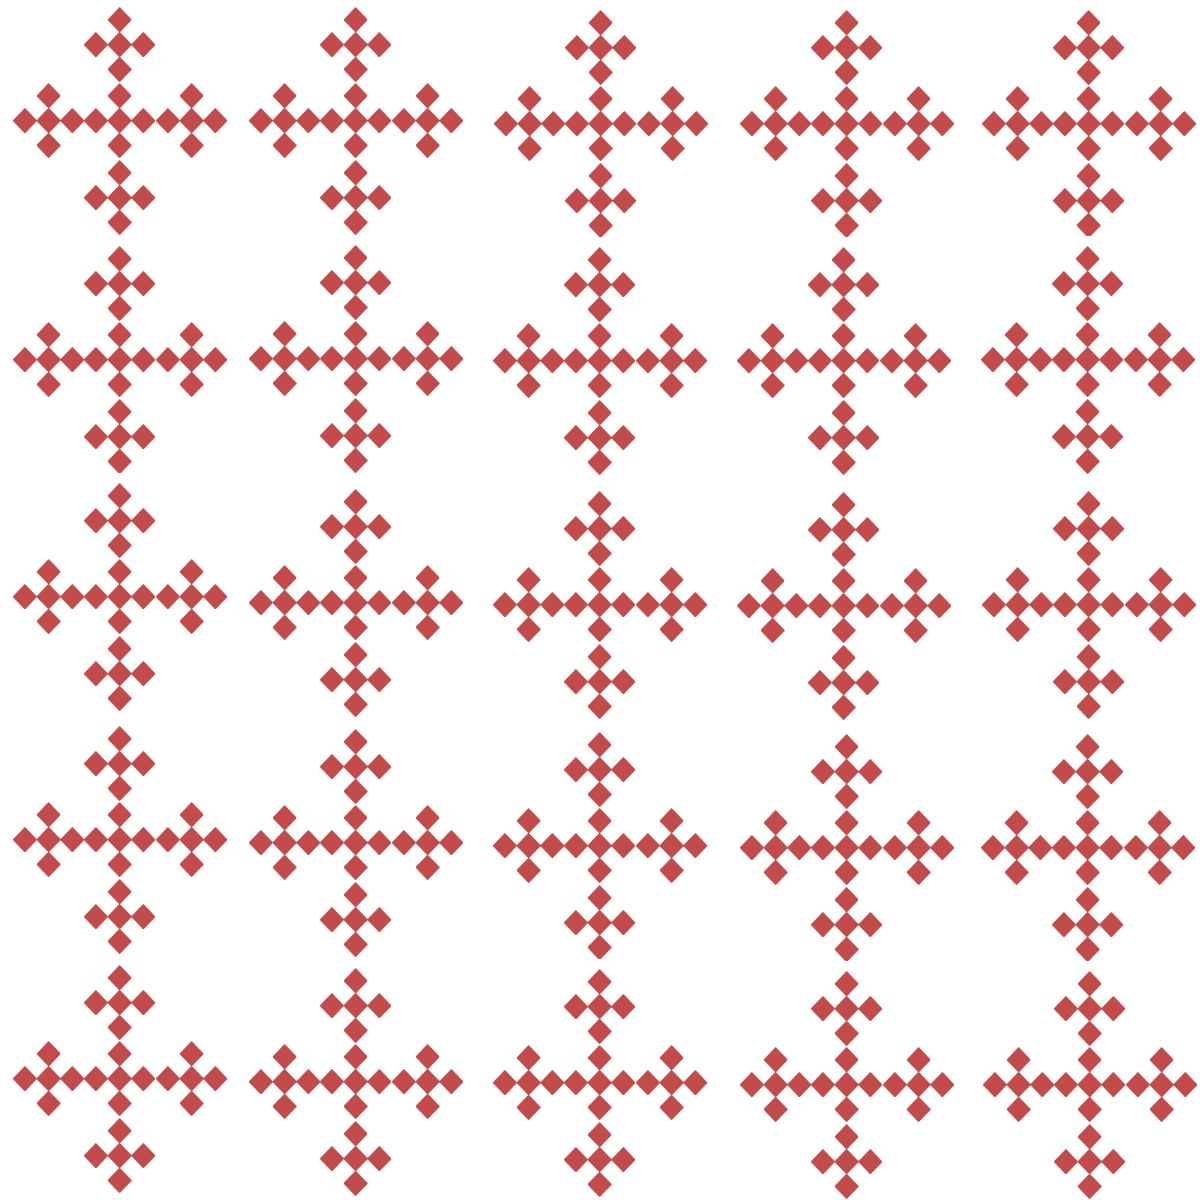
Basic Tiled Design
There are other options for tiling, too. In the example below, the motif has been “half-bricked.” That is, it’s been tiled with every other row shifted horizontally, much like bricks are staggered. Doing this provides some visual interest.
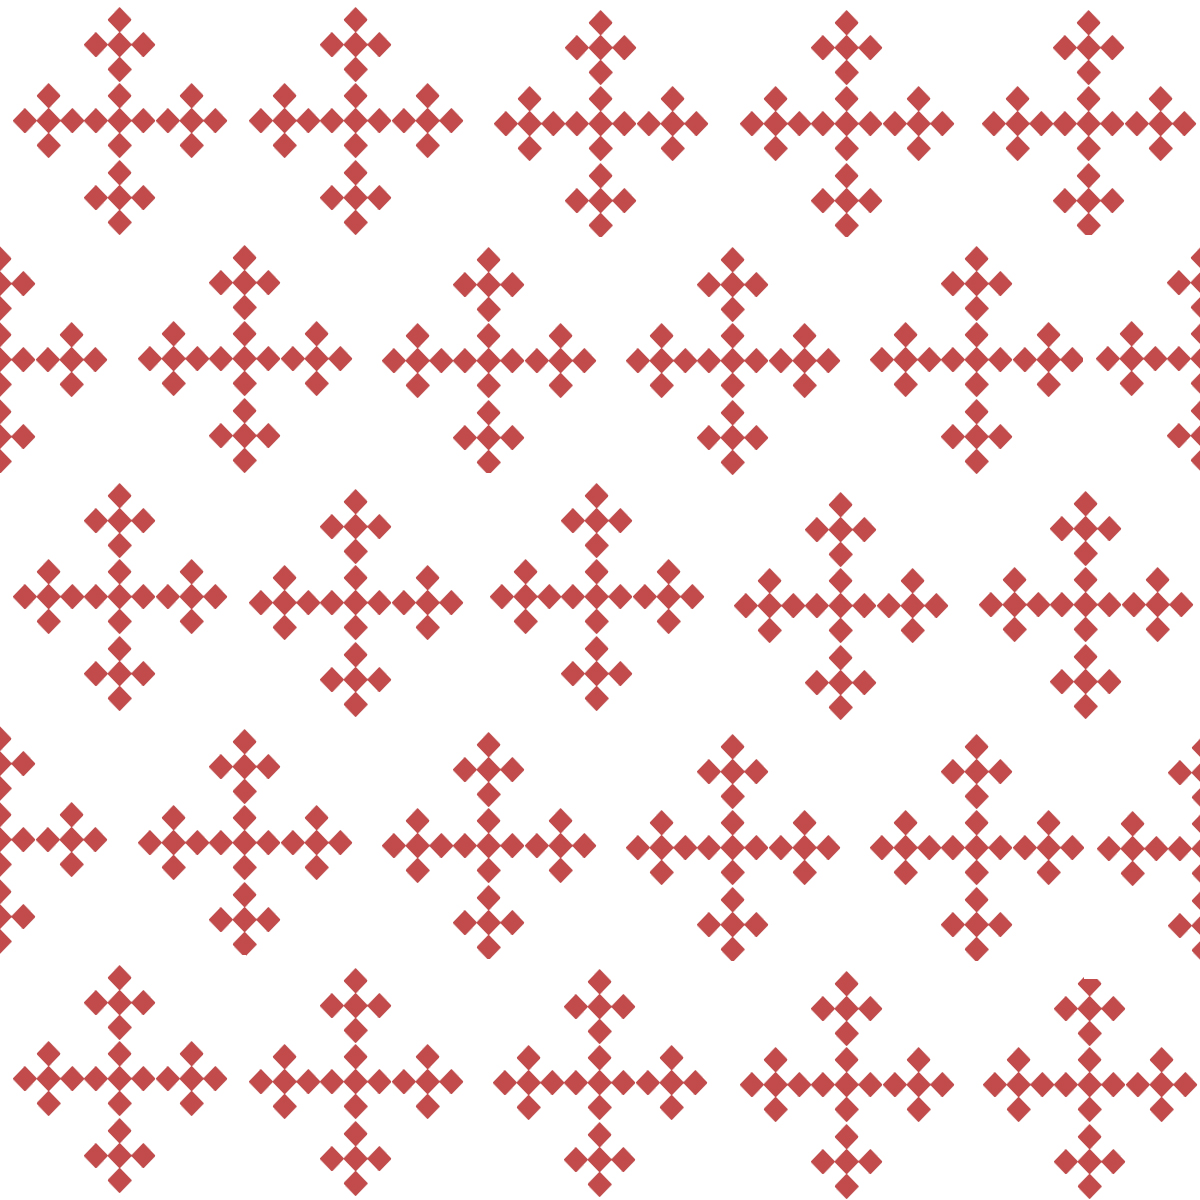
Half-Bricked Tiled Design
You can stagger the tiles the other direction, too. In the image below, the diamond cross motif has been “half-dropped” or tiled with every other column shifted vertically. Again, this provides visual interest.
Half-Dropped Tiled Design
Another option is to mirror the tiles. When you do this, the tiles above and below are flipped upside down, while the tiles to either side are flipped sideways. Let’s begin with a simple line drawing of a ladybug (available in Photoshop Elements as a custom shape).

Ladybug Motif
Now let’s tile the design in a mirror pattern.

Mirrored Tile Design
Hopefully, these examples give you an idea of what will happen when you tile your image. It gets more complicated when you add detail to the design. But before we look at how to deal with complex designs, let’s take a step back and create a simple custom motif to use in your fabric design.
Creating Your Motif
First of all, keep in mind that you don’t usually want photographic or three-dimensional drawings for your fabric. There are exceptions, of course, but it’s often better to aim for elegant simplicity, rather than hyper-realism.
You’ll be grateful you chose a simplistic design when you’re working with it in your graphics program! The larger and more detailed a drawing is, the more work it is to clean it up and colorize it.
For this demonstration, we’re going to create a simple line drawing, then scan it, and colorize it digitally. Why can’t you color it first, before scanning? You can, but there are several reasons why you shouldn’t.
- A hand-colored drawing often has visible streaks and pencil marks, which will give your fabric a cheap appearance.
- The colors may appear washed out, once scanned.
- You’ll have more control over the colors when choosing them in your graphics program.
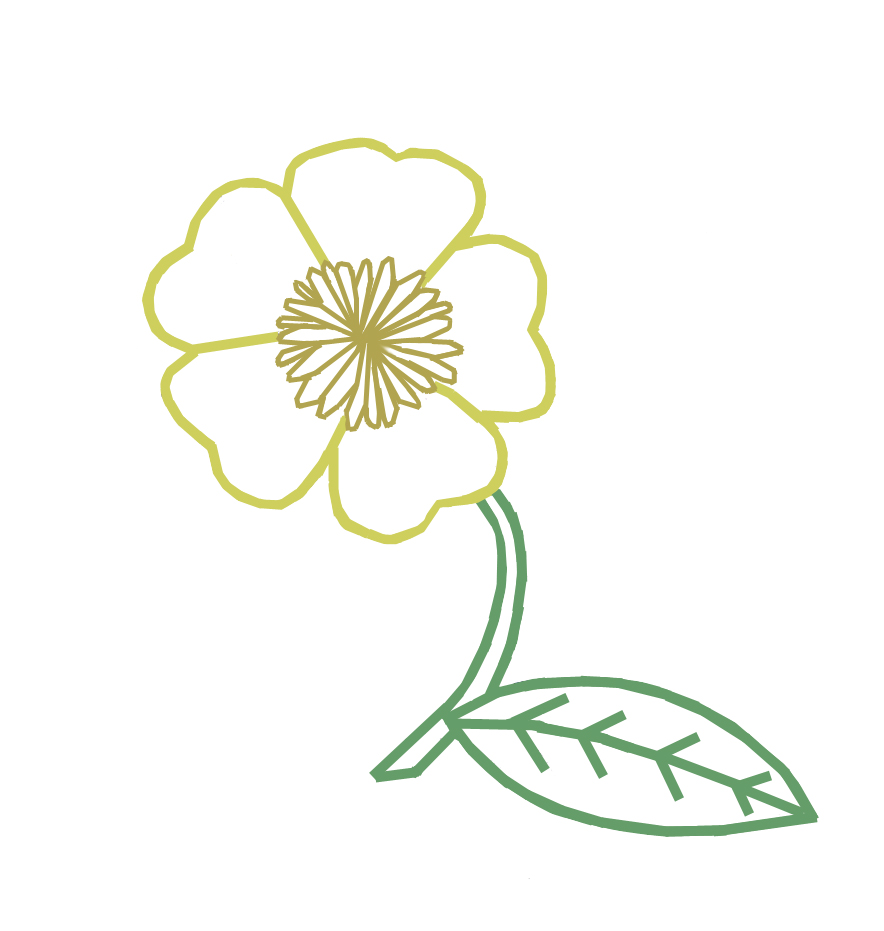
Simple Colored Pencil Sketch
Go ahead and draw something. (If you utterly lack artistic ability, you can create your own fabric using pre-made brushes, which we’ll look at in the second half of this article.) I prefer to draw with a 2B pencil on sketch paper, but you can just as easily draw on copier paper with a mechanical pencil. Use whatever you have on hand.
You want a basic line drawing, so keep it simple, without shading or form. Have fun with this and fill your paper with doodles. You never know which one will strike you as perfect. If you’re planning to replicate a specific fabric, practice making similar designs and see which one you like best. Remember to make your design different, so you’re not violating the designer’s copyright.
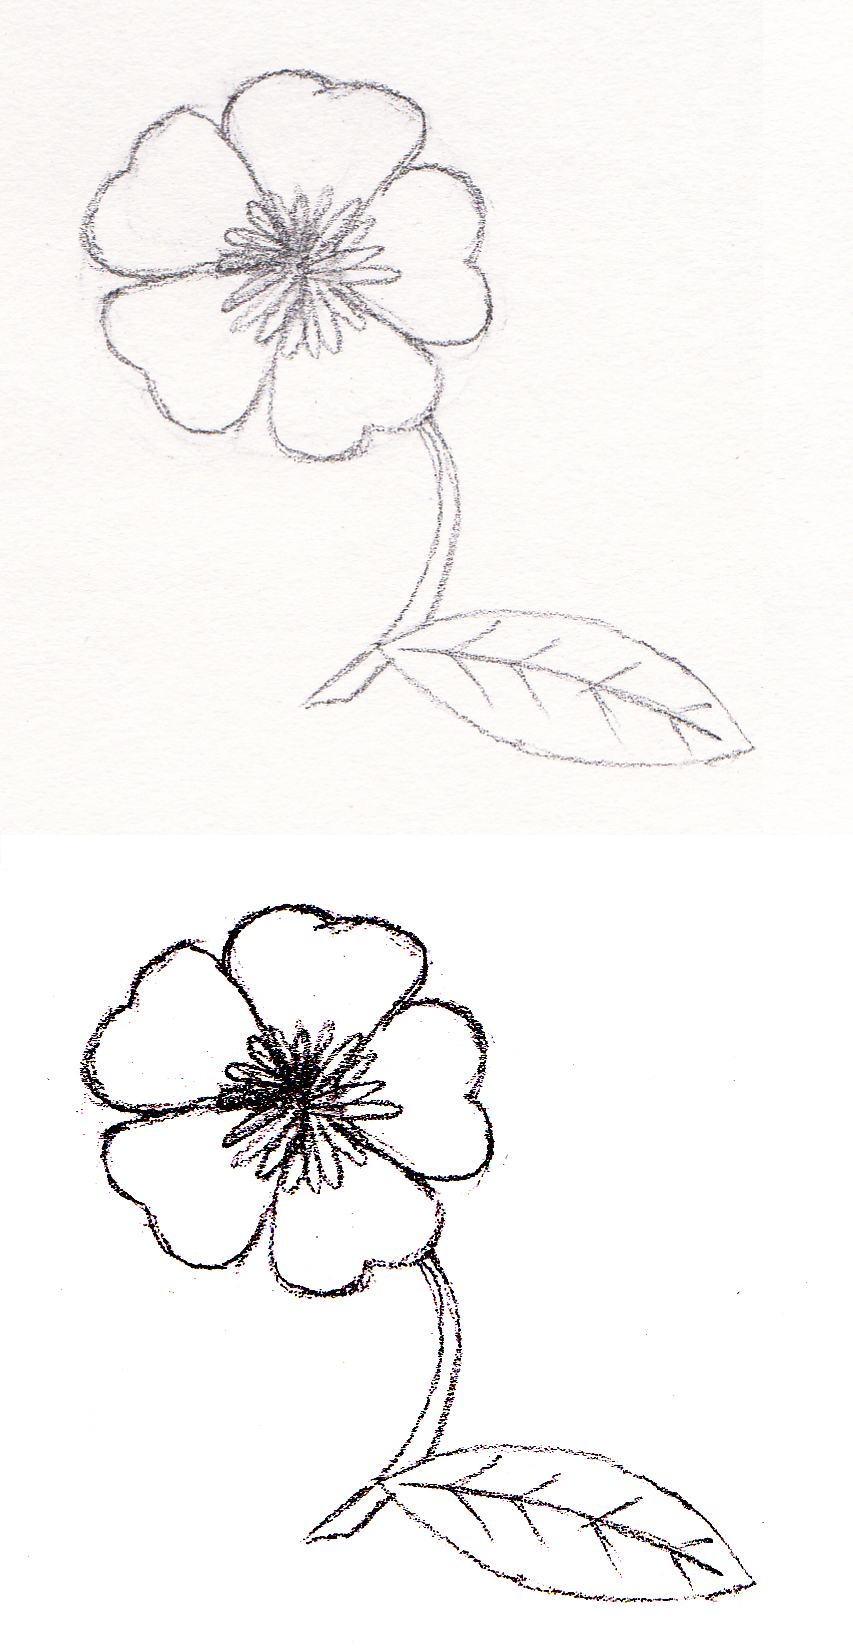
You’ll get better results if you outline the drawing with a pen before scanning it. Pencil lines can be difficult for the scanner to see, so your scanned image may look faded. Some scanners can compensate for this, but inking also helps define the image, making it easier to manipulate in your graphics program.

Pencil vs Ink
When you’re satisfied with your drawing, scan it. If your sketch is the exact size you want your fabric motif to be, scan it at 100% scale, without enlarging or shrinking it. Set the resolution to a minimum of 150 dpi (300 dpi is even better) and save the file under a name that makes it clear it’s your original, unaltered scan. (For example: “Fabric_Scan_1.jpg”) If you’re saving the file as a .jpg, make sure you use the highest quality it will permit. Lesser quality images don’t require as much memory, but they look terrible.
Open the file using your graphics software. Click File > Save As and save the file under a new name. When you start editing the image, use the second file, not the original. That way, if you hate your finished image, you still have the original scan to go back to.
-
Tip
Save your work after every major edit, changing the file name each time. This protects you, in case your file glitches, or you make a mistake that would require too much effort to undo. You can open your previously saved file and start over from that point.

18th Century Floral Motif, Original Sketch
If you’re not comfortable using layers, now’s the time to learn. Basically, layers are like sheets of tracing paper. They help you keep different elements of your drawing separate for easy editing. For example, you might outline the image on one layer, fill in the color on a second layer, and add details to a third layer. If you dislike how one layer turned out, you can simply delete it and start over with a fresh layer, instead of having to erase or undo all your work. When you’re done, you can merge the layers for a solid image.
-
Tip
Always make sure you’re editing the correct layer! It’s easy to accidentally make changes to the wrong layer, which can cause problems when you go to merge or delete layers.
Cleaning Up Your Image
You probably don’t want the textured appearance of your paper to show up as the background of your fabric. You have three options, so choose the one that works best for you:
1. Use the paintbrush tool to paint over the background with a solid color. Reduce the size of the paintbrush when you get close to your drawing, so you can paint right up to the edges of the pencil lines. Cover up any ghost lines, stray sketch lines, or random pixels that you don’t want in the finished image.

Painting the Background
2. In Photoshop Elements, adjusting the levels will allow you to alter the black and white elements of the image. Go to Enhance > Adjust Lighting > Levels. A window will pop up that gives you control over the whites, blacks, and grays. Move the black arrow to the right to darken the black lines, and move the white arrow to the left to lighten the whites.
Note, however, that this can result in a stark image and it doesn’t always get rid of all ghost lines.
Before & After Levels Adjustment
3. Using the magic wand tool works especially well for more complex drawings, where it would be difficult for you to paint the background by hand. Select the magic wand and set the tolerance to a number that allows it to highlight the entire background, instead of picking up on the minute color changes of the textured paper. You might be able to use a number as low as 15, or you might need it as high as 50. Experiment and adjust it as necessary.
Choose which color you want for the background and make that your secondary color. White is usually best at this stage, but if you know your fabric will be a specific color, you can use that. Be sure the entire background is selected, then hit Delete. This will erase the background, filling it in with your secondary color. If the background turns to a checkerboard instead of a solid color, this means it’s now transparent. You’ll need to use the paint bucket tool to fill in the color.
18th Century Floral, Deleted Background
Once the background is colored in, use the magic wand to select the inside spaces of your drawing (such as your flower petals and leaves) and delete them, filling in the spaces with white. This will make it easier to color in the design later.
Outlining & Coloring Your Image
The next step is to outline your image. You’re going to pick a color and use the line tool to outline the drawing. It usually looks better if your outline is slightly darker than the main color. (i.e.: If your flowers will be yellow, use a darker yellow for the outline.)
18th Century Floral, Outlined
The line tool can be a bit clunky. Often, you’ll end up with a series of jagged lines, instead of a smooth outline. The trick to getting smooth lines is to overlap each line with the one before it and to keep the lines short, especially when outlining a curve. No matter how careful you are, you’ll probably end up with some jagged edges, or thick lines that you’d prefer to taper. Use the eraser tool to smooth the edges.

Cleaning the Edges, Before & After
After all your lines are drawn, merge them into one layer, making sure to keep your background layer separate. In Photoshop Elements, you can do this by clicking the eye symbol beside your background layer, rendering it invisible, then clicking Layers > Merge Visible. This will merge all the layers, except your background. Click on the eye symbol to make it visible again. Another way of doing this is to shift-click, highlighting all the layers you want to merge, then clicking Layers > Merge Layers.
At this point, you should have two layers: your background and the layer containing your outlines.
Now you need to go in and finish cleaning up your original sketch. Make sure the outlined layer is on top, but work within the background layer. Use the eraser tool or paintbrush to get rid of the original sketch lines, along with anything else you don’t want to be part of the finished image.
Simple Floral, Outlined
It’s time to color your drawing in! You can use the paintbrush or the paint bucket for this, depending on how large your image is and how detailed it is. The paint bucket does best with wide open spaces, so if you have areas that are too narrow for it to fill, you’ll need to go in with a small paintbrush.
Fill the image in completely, leaving no uncolored pixels. If you smudge some of the lines, don’t worry. You can always go back and outline it again when you’re done.
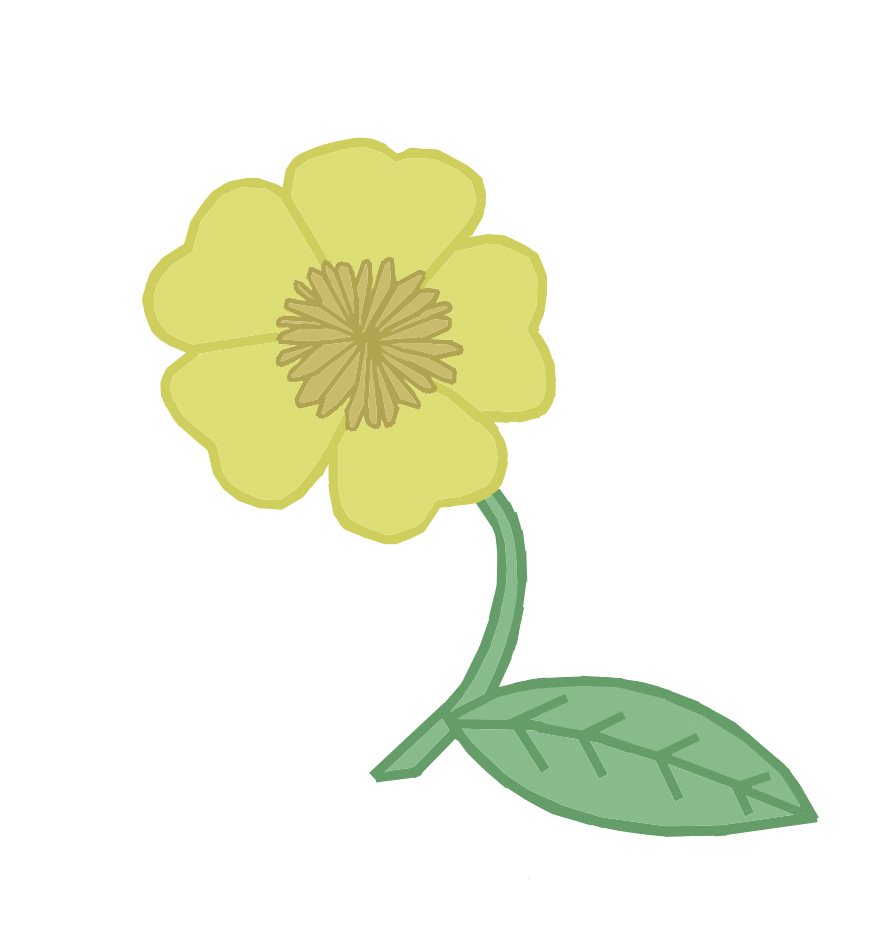
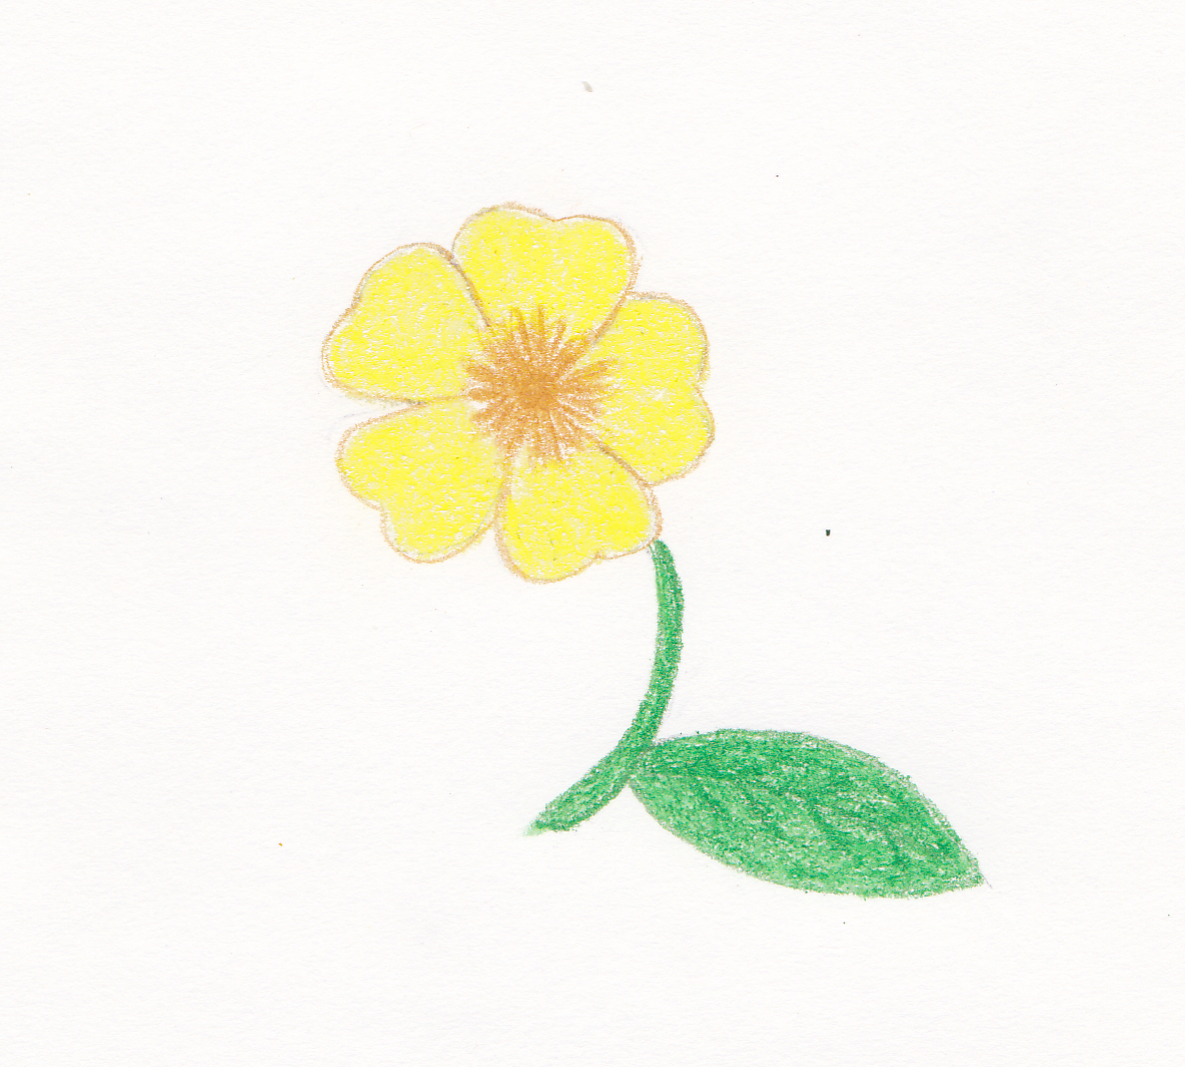
Simple Floral, Colored

18th Century Floral, Colored
When you’re completely satisfied with your design, save the image, then merge all the layers and save the image one final time, perhaps with a name like, “Fabric_Motif_Done.jpg.” You can now take this image and submit it to a fabric design website and use their editing software to choose the type of tiling that will be done.

Simple Floral, Half-Dropped Tiling

18th Century Floral, Half-Dropped Tiling
~~*~~
Suppose you want a more complex fabric design? In the second half of this article, we’ll study how to make more complicated designs, and then we’ll order some custom fabric!
Designing Custom Fabric, Part II
(This article was previously published at Your Wardrobe Unlock’d.)
One Response to Designing Custom Fabric, Part I