
by Lisha Vidler
(Click on any illustration to view the full-sized image.)
When I teach, I often perch on a wooden stool, just to take the pressure off my lower back. My stool is fairly nice—just the right height, and it only cost me $2 at a neighbor’s garage sale! The problem is, it isn’t very pretty. Nor is the seat padded. I decided to tackle both problems by sewing a padded cover. It turned out great, so I’m sharing it with you!
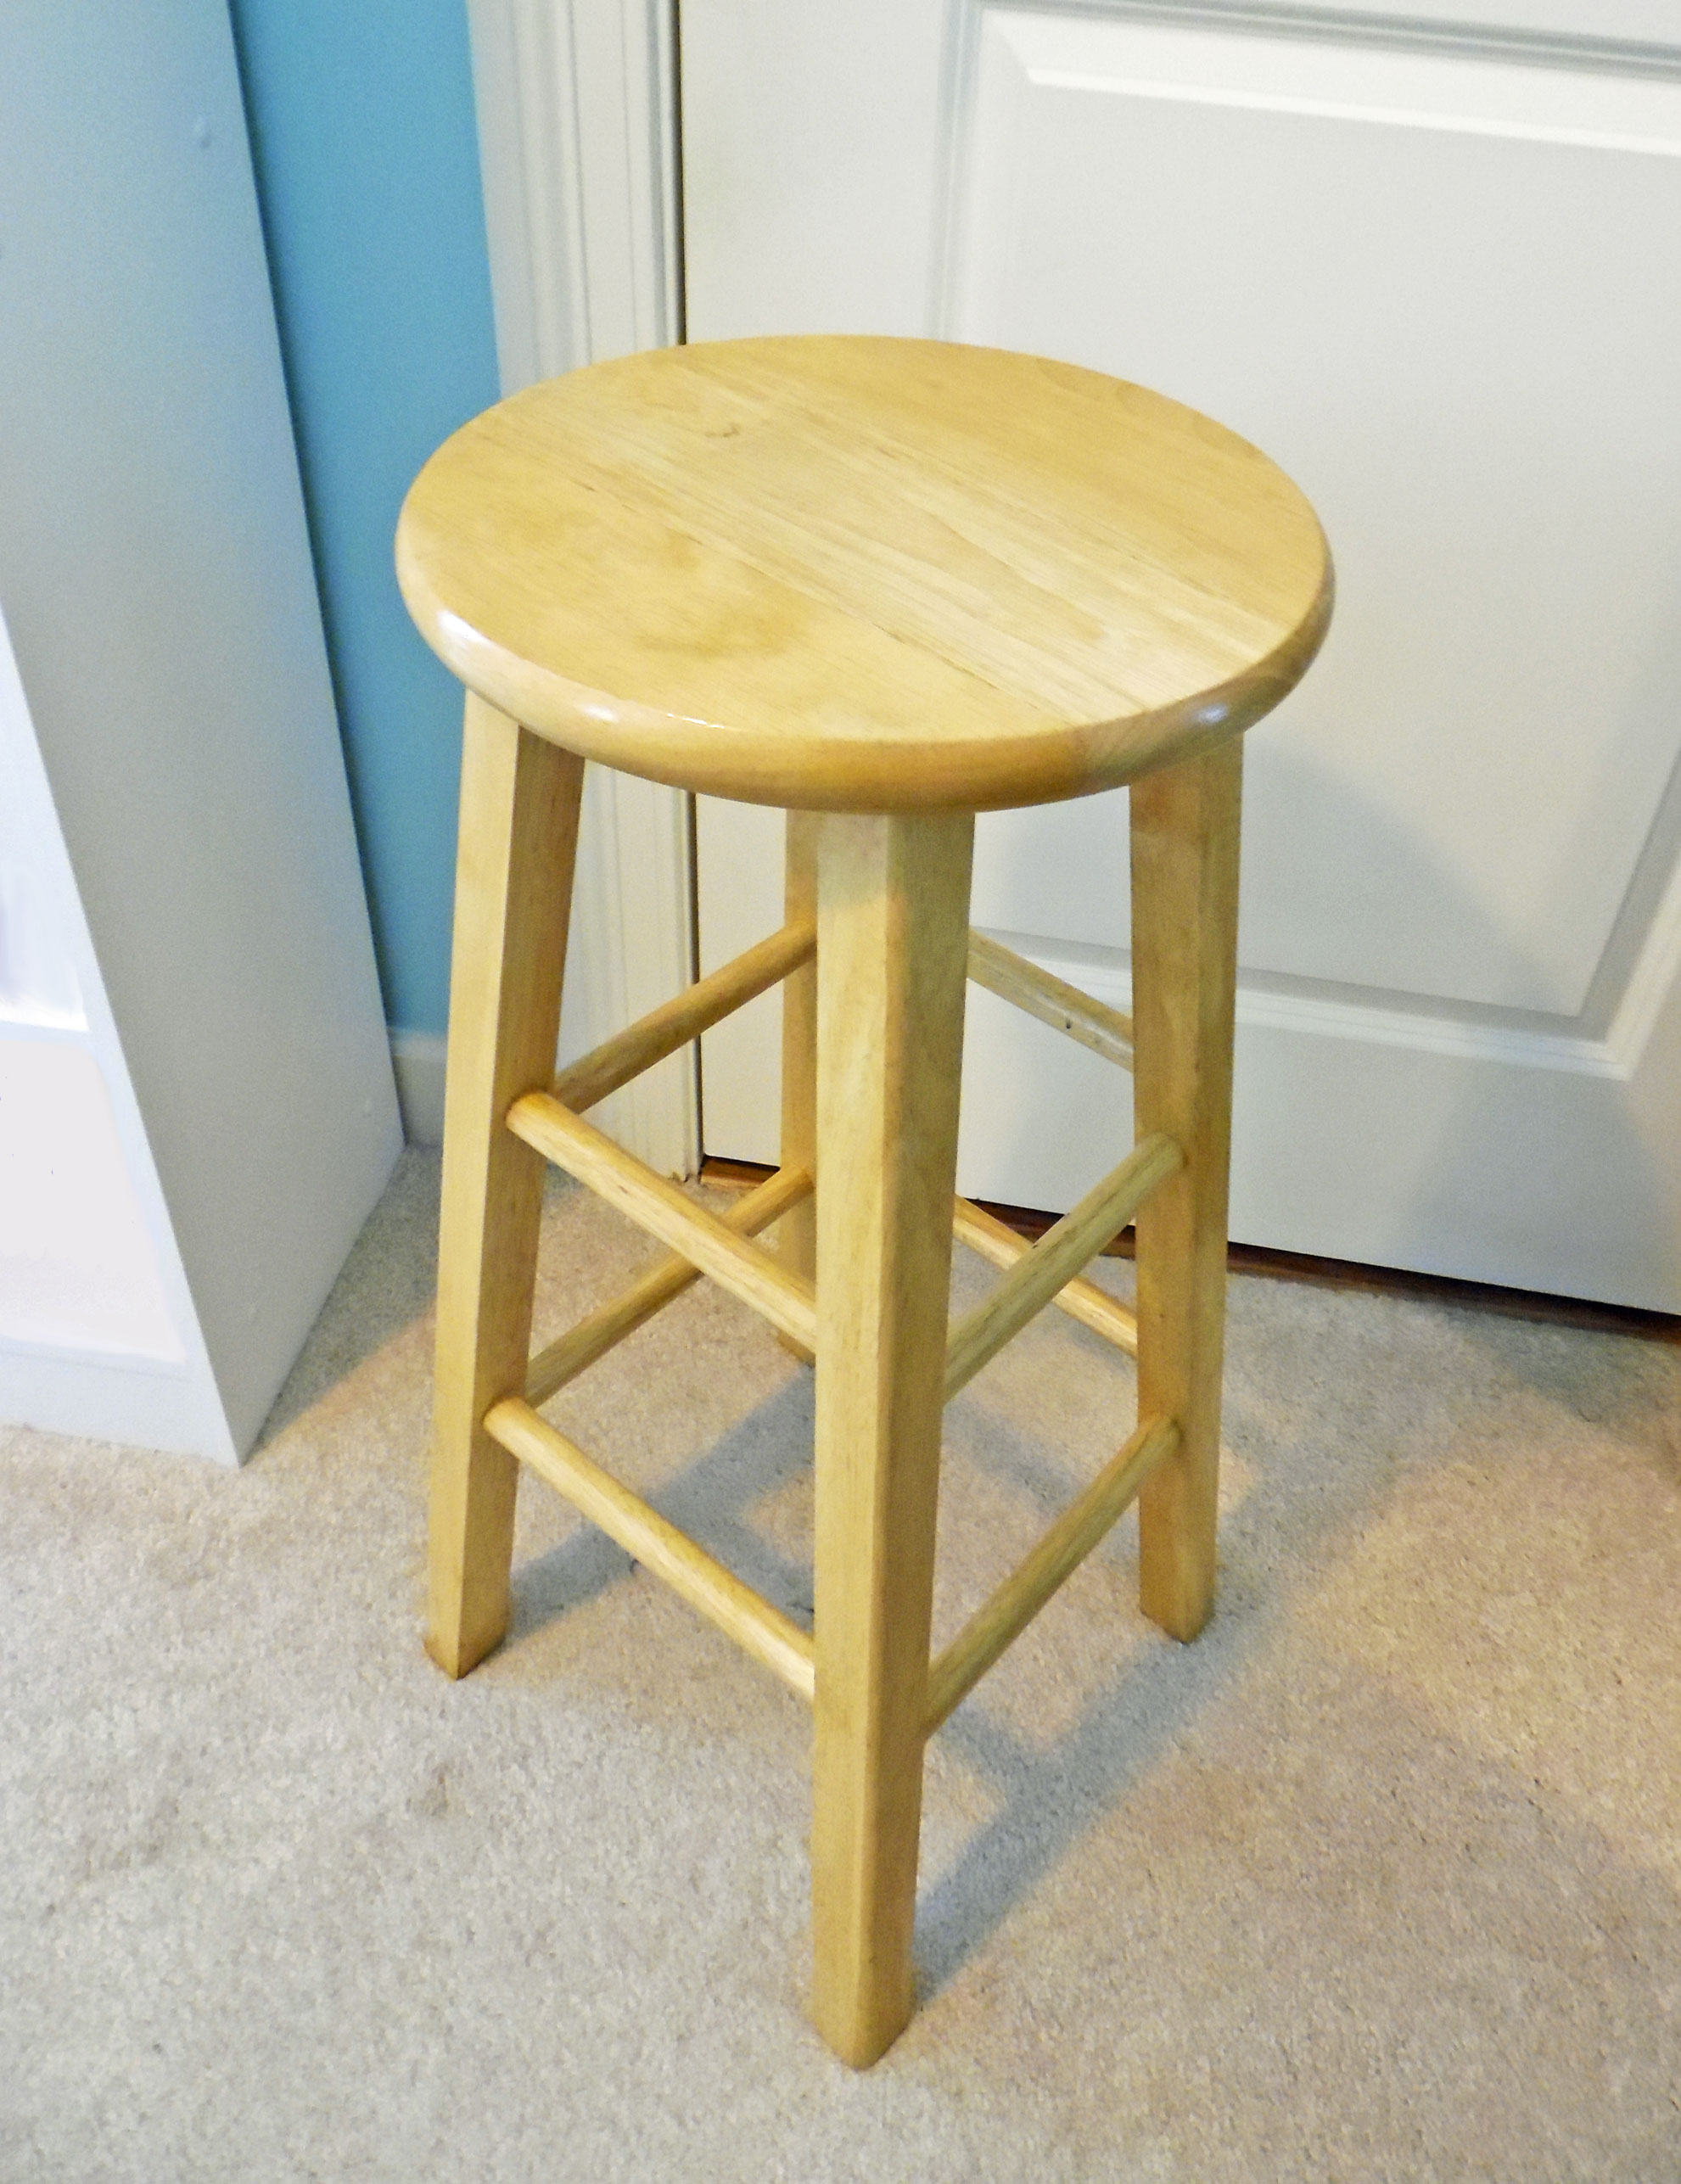
Uncovered Stool
|
Materials
|
Tools
|
You can use any fabric you like, although it works better if it’s lightweight. Quilting cotton is perfect and, depending on the size of your stool, a fat quarter should be just enough for the main cover. If you’re buying yardage, you’ll need half a yard, but you’ll have leftovers.
If you’re making your own bias tape, you’ll need about half a yard of coordinating fabric. You won’t use all of it, but a half-yard allows you to make longer bias strips, so you won’t have to piece a bunch of short strips together.
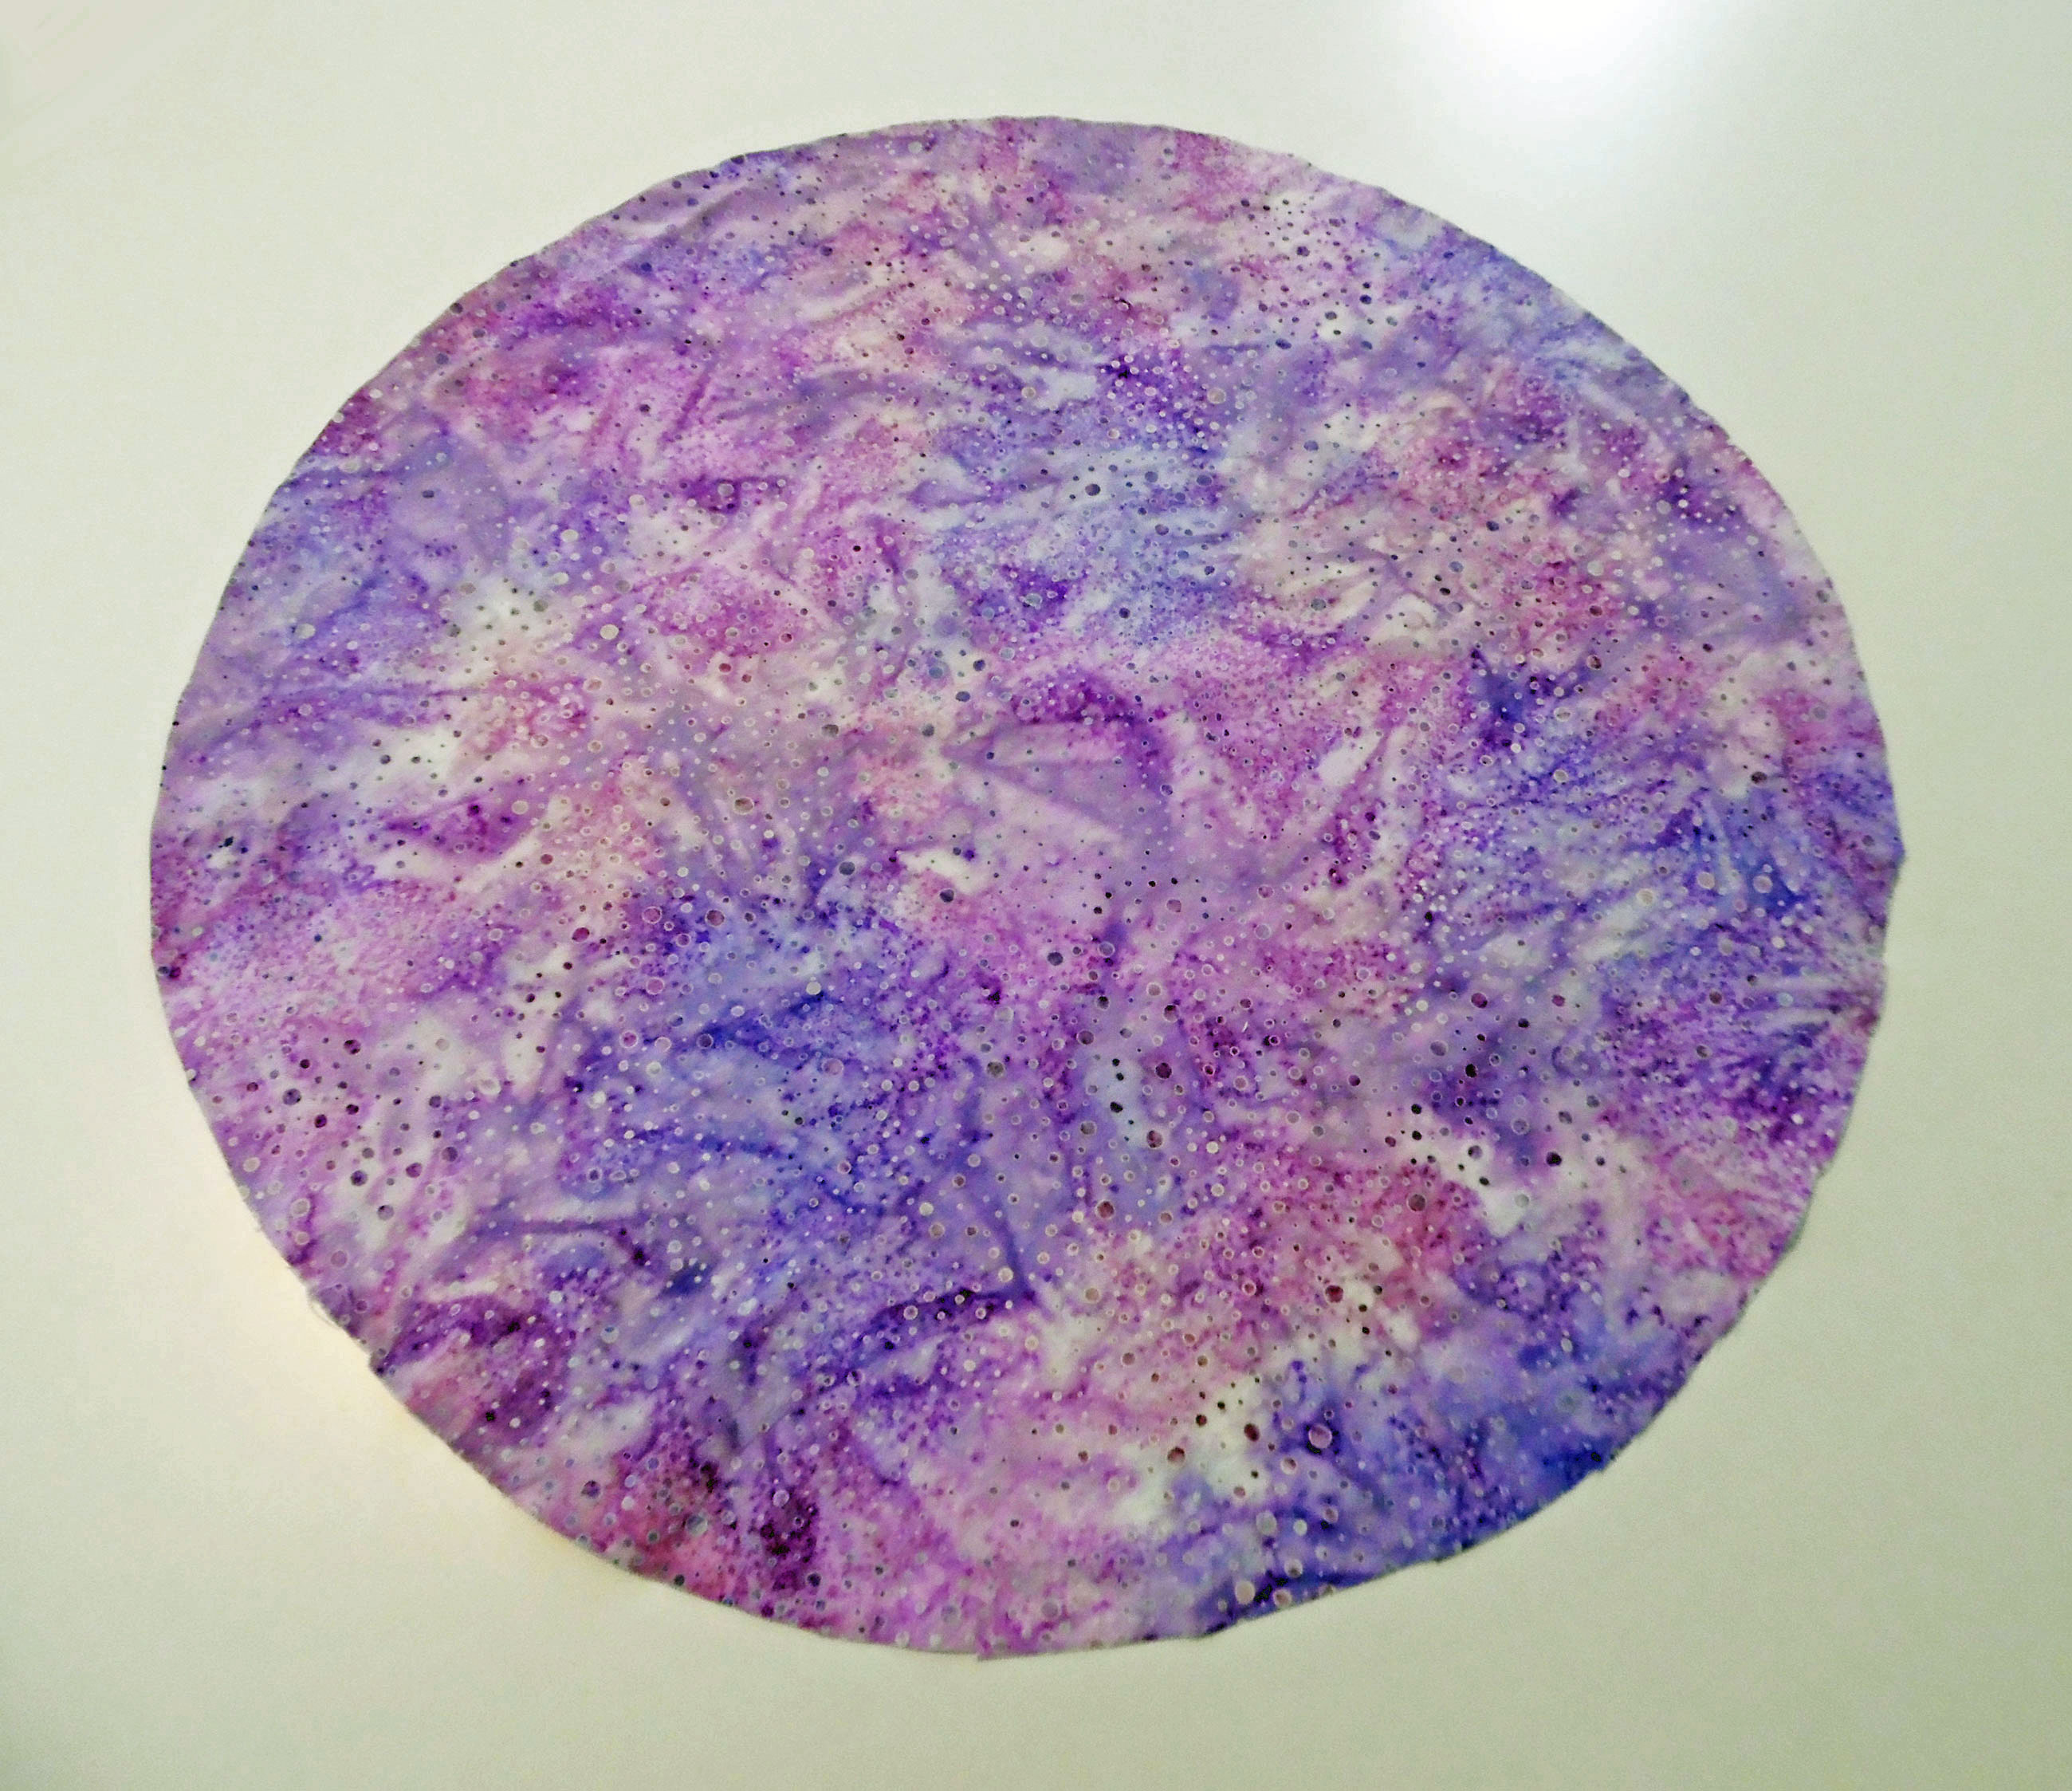
I used a lavender batik, plus some stippled lavender quilting cotton.
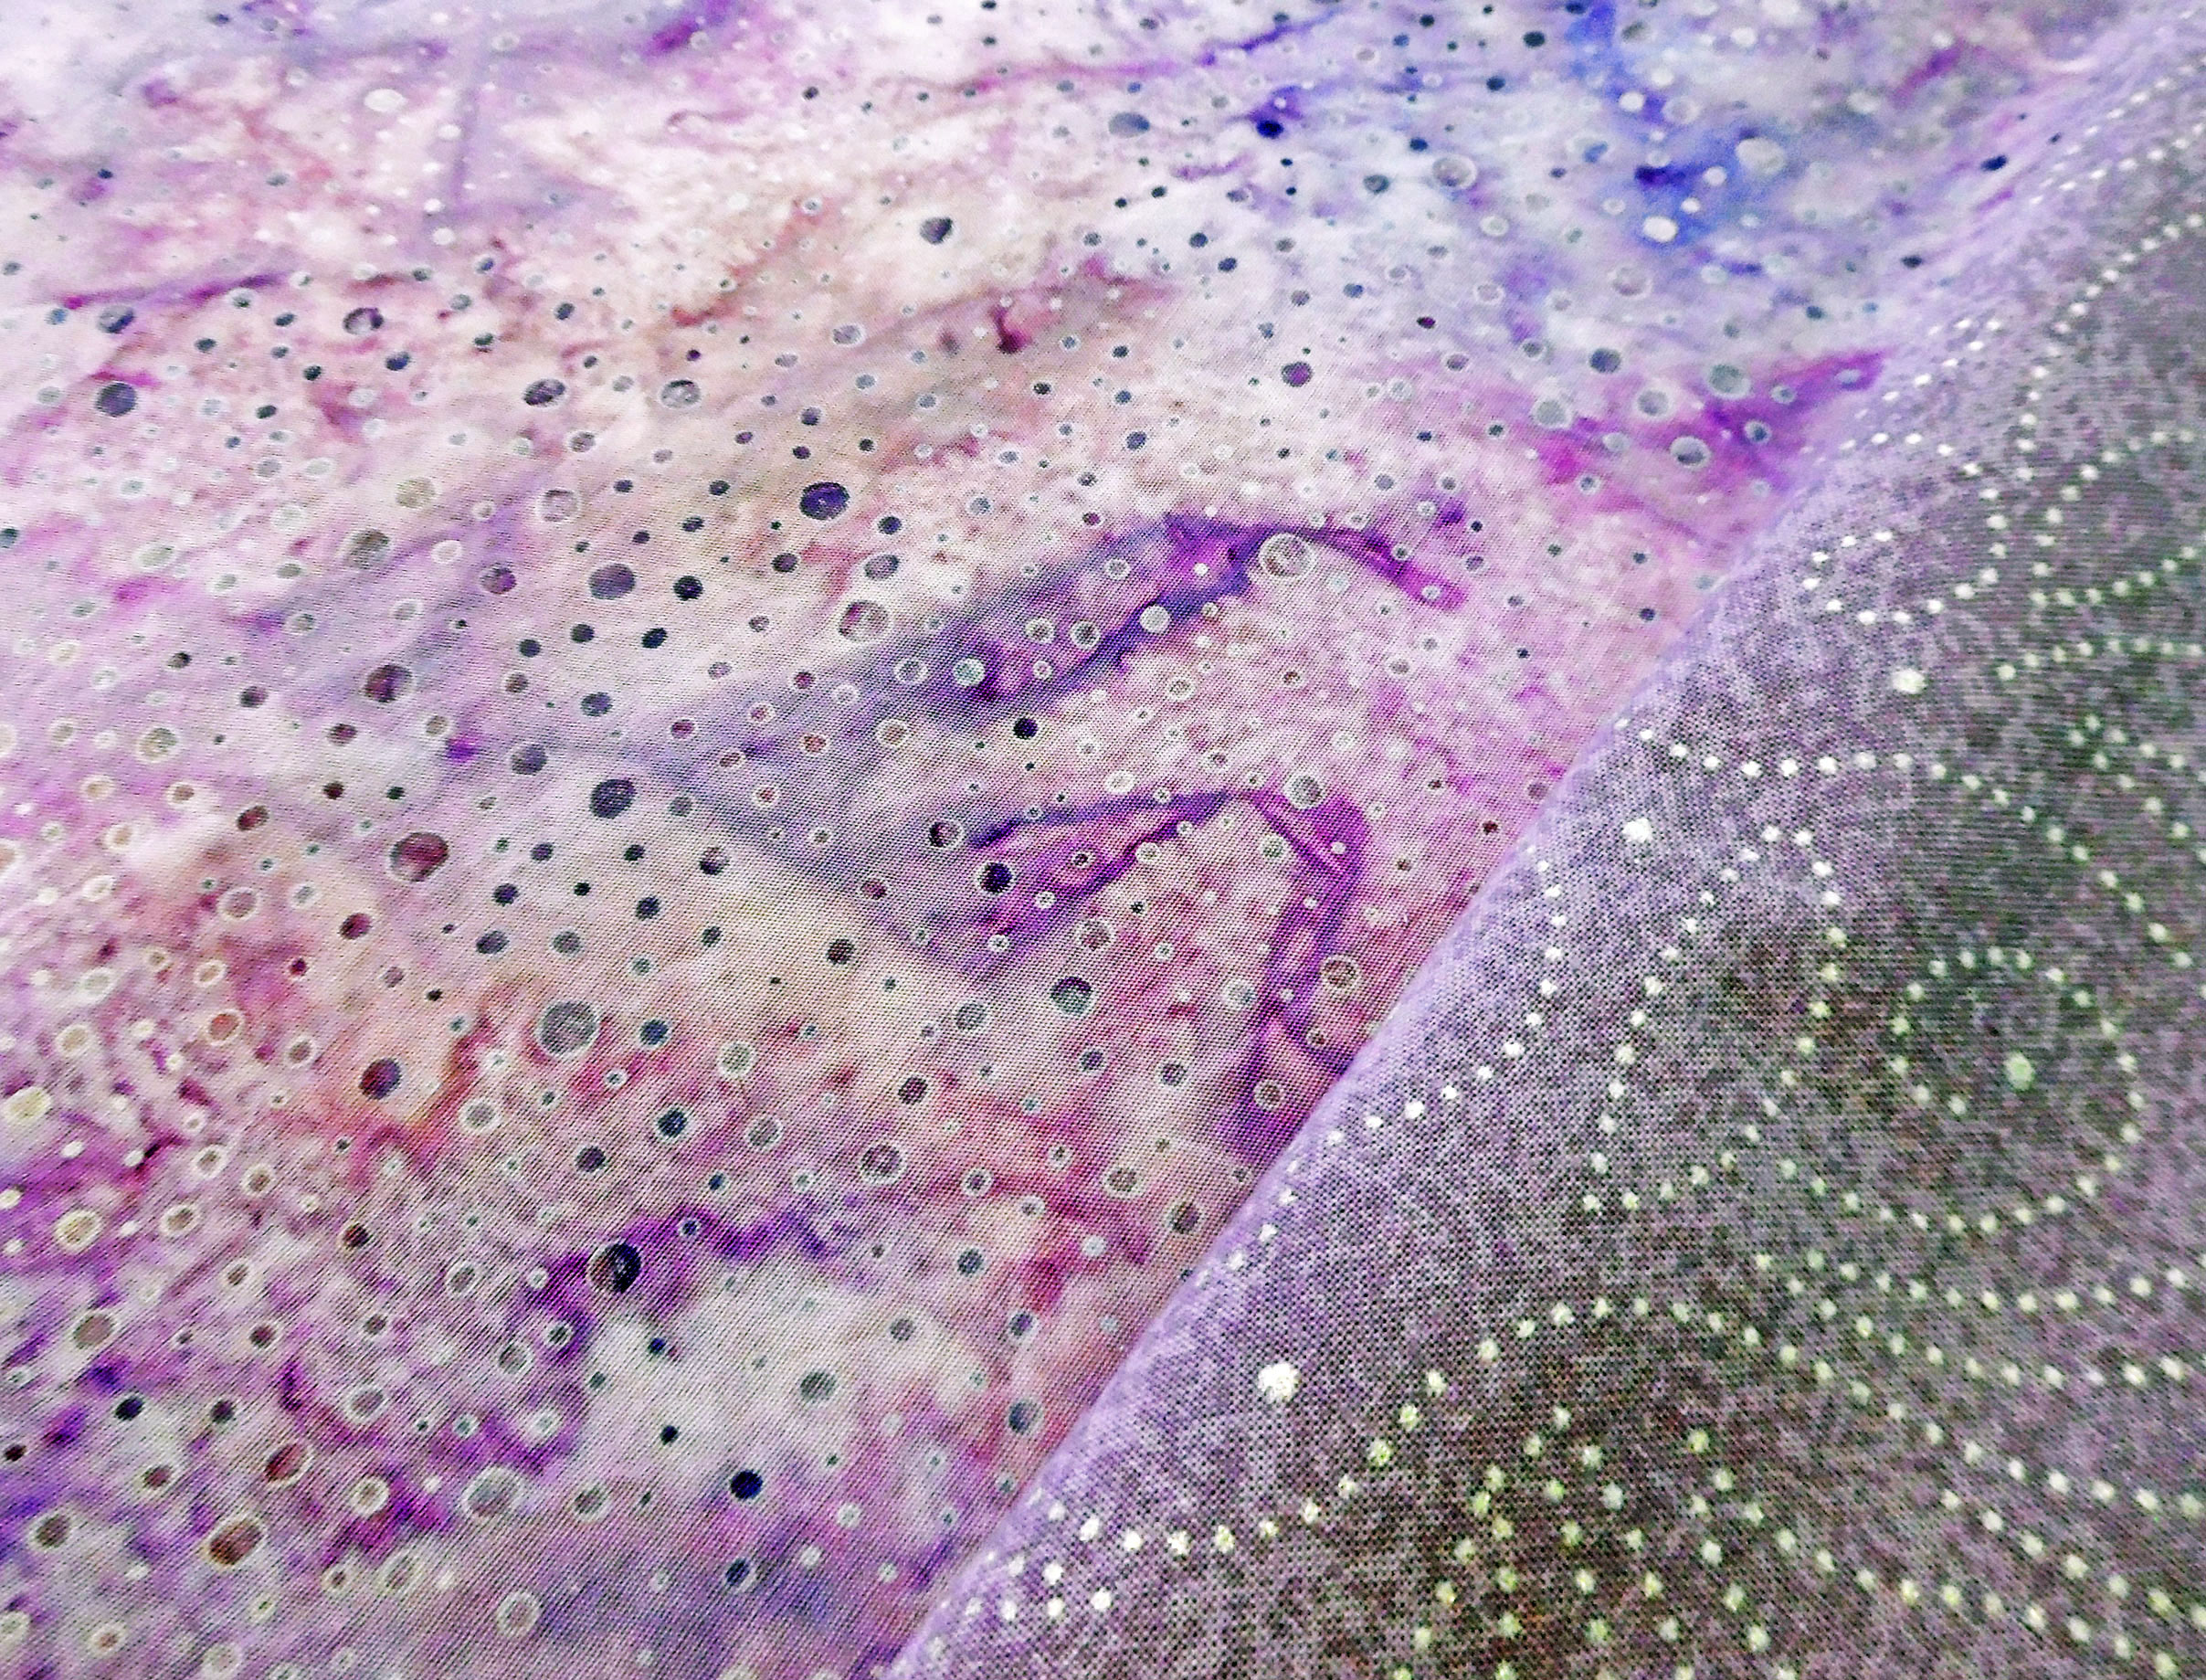
Lavender Batik & Quilting Cotton
The embellishments can be modified to fit your personal style. Here’s a few options:
- Galloon Lace
- Wide Ribbon
- Pleated Ruffle
- Beaded Fringe
- Scalloped Flounce
If you’re going with lace, it’s best to use one with a little give to it, so it will stretch around the curved stool without rippling or distorting. I used a lavender cluny lace, which worked quite well. If you want to get adventurous, you could even dye your own lace to match the fabric. (See the tutorial: Hand-Dyed Lace.)
For the padding, you can use foam, a flat cushion, a pillow form, or batting. I didn’t have any foam or cushions on hand, but I did have a roll of quilter’s batting. The amount you need will vary depending on how thick you want the padding. My batting was fairly thin, so I used three layers.
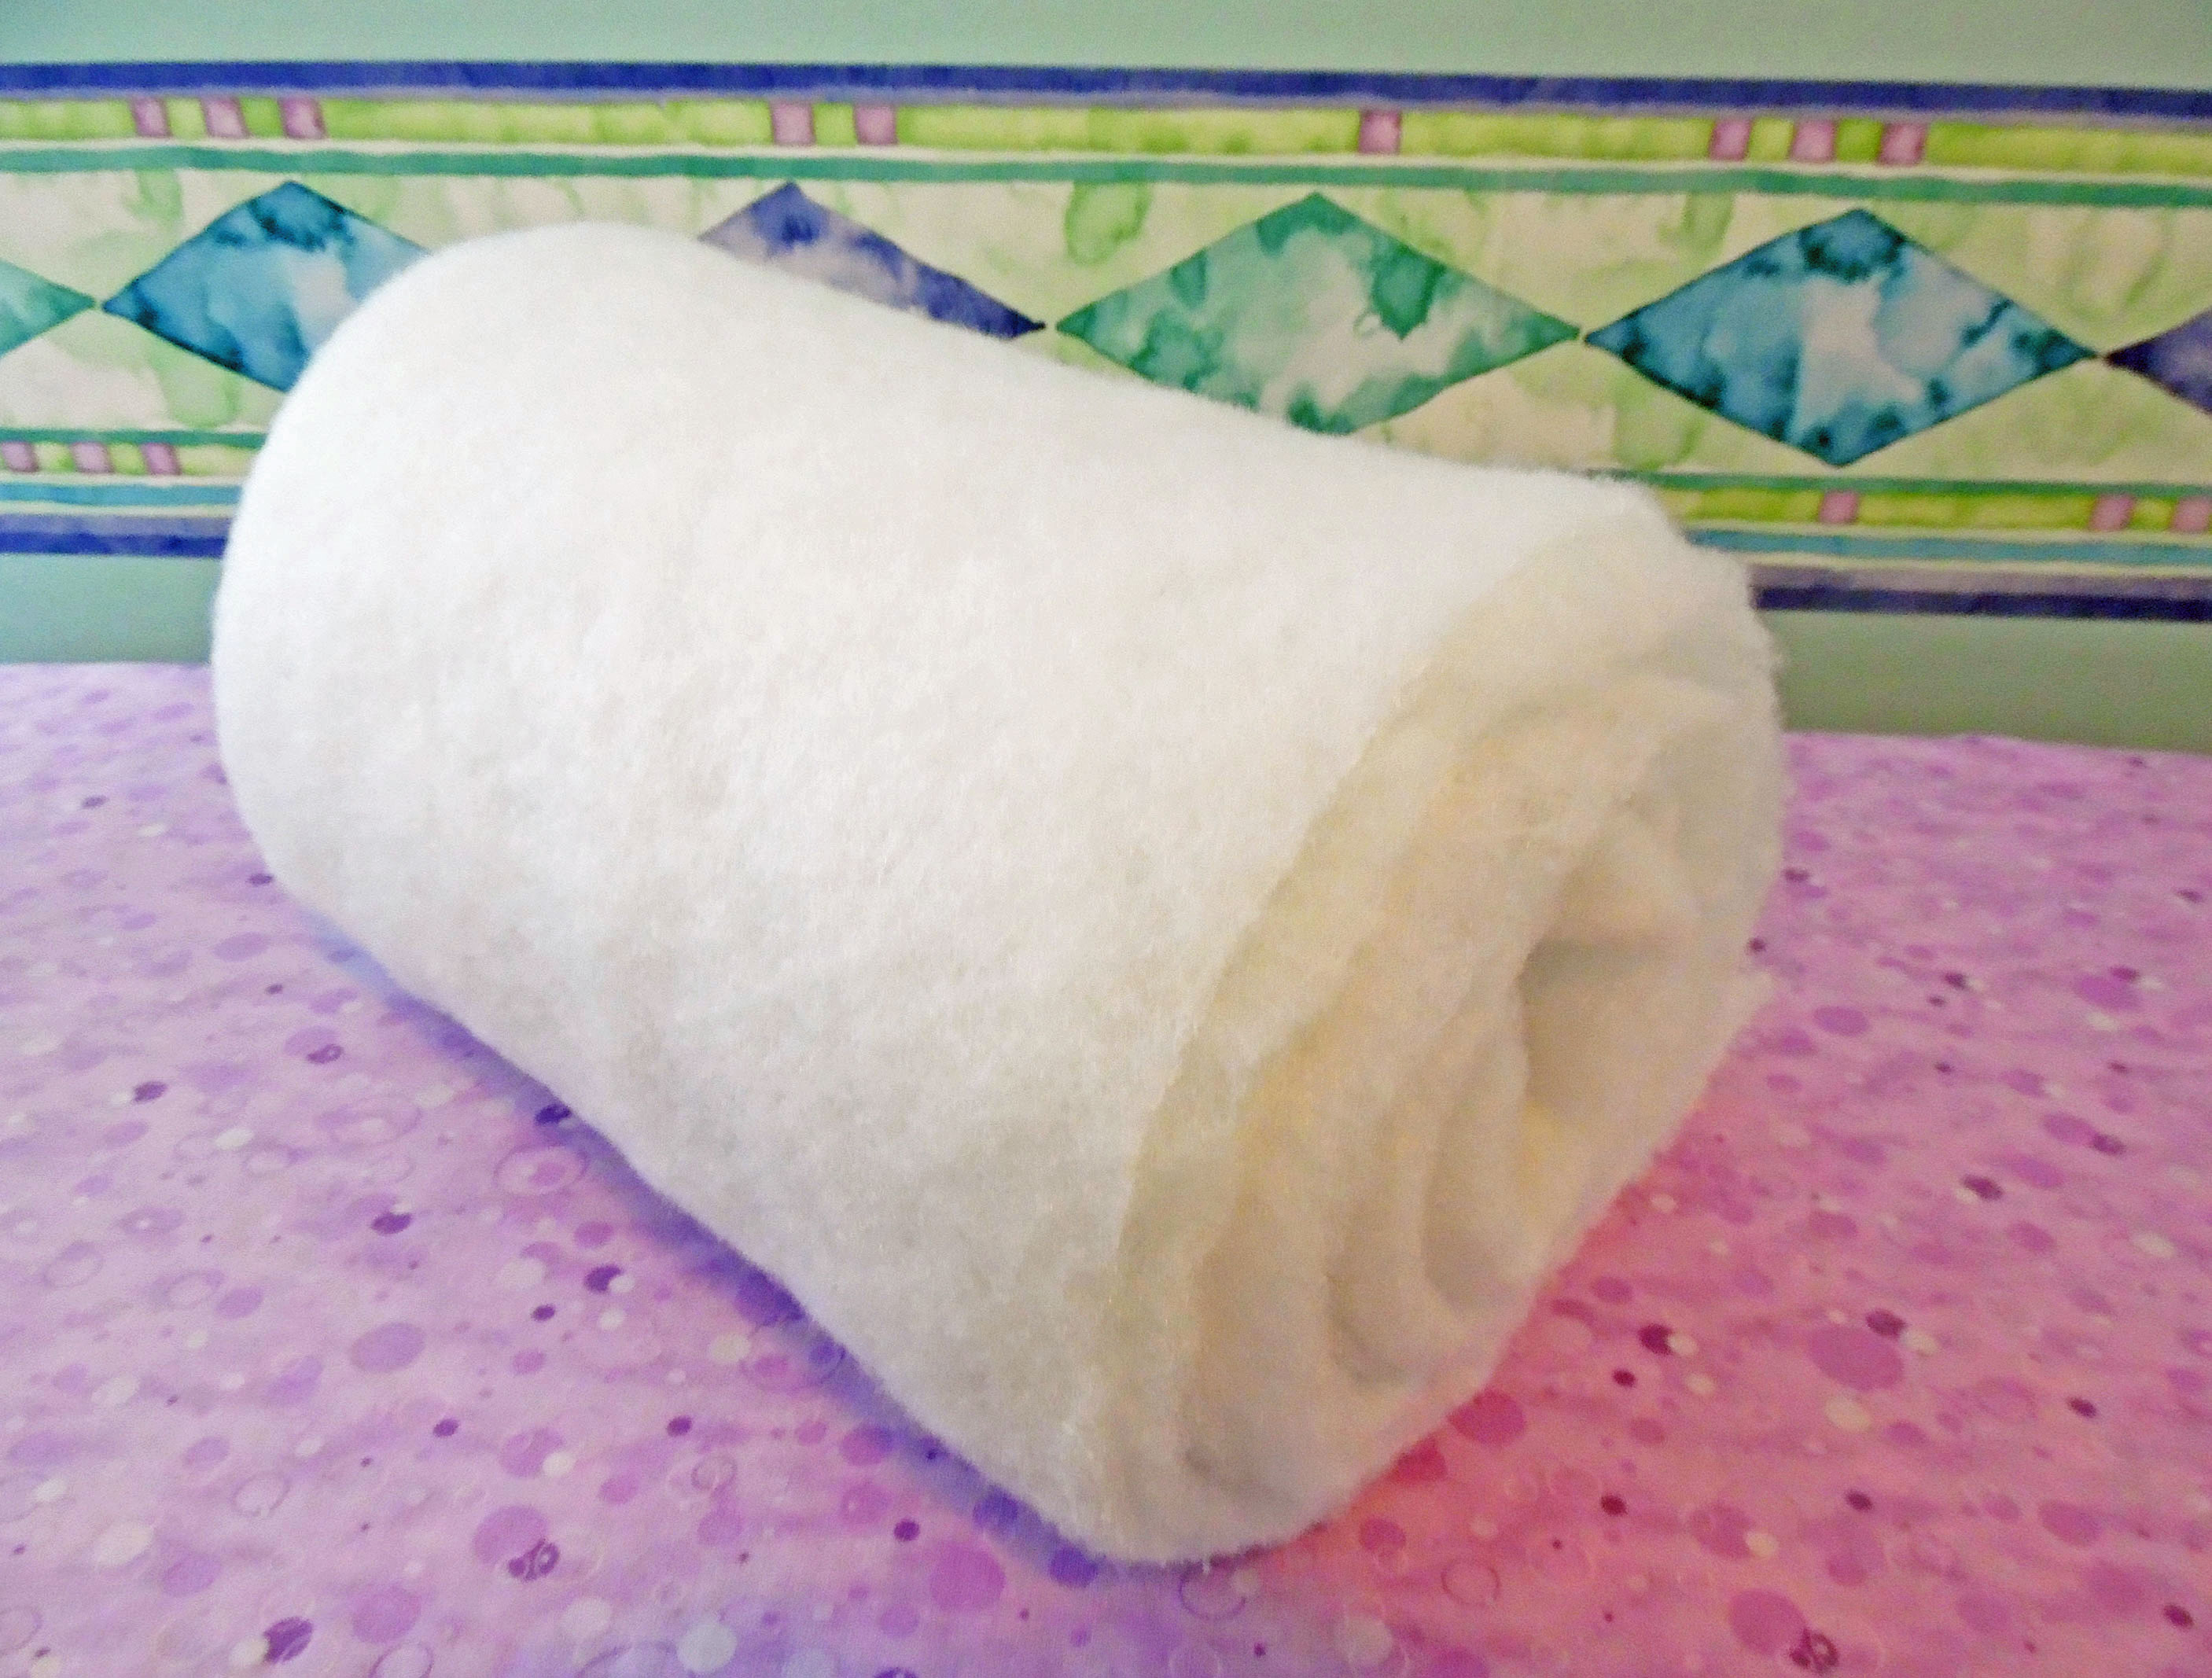
Quilt Batting
For making your pattern, you can use tracing paper, butcher’s paper, gift wrap, tissue paper, or even an old paper grocery bag. I used Swedish tracing paper, which I had on hand.
For the drawstring’s casing, you’ll need bias tape. You can make your own, as I did, or you can use purchased bias tape.
For the drawstring, you’ll need a length of 1/4″ or 3/8″ twill tape. I prefer cotton tape—it’s easier to work with and the knot you tie will be more secure. (Polyester twill tape doesn’t like to stay tied.) If you don’t have any twill tape, grosgrain ribbon will work in a pinch. Fray Check is useful for keeping the cut ends from fraying.
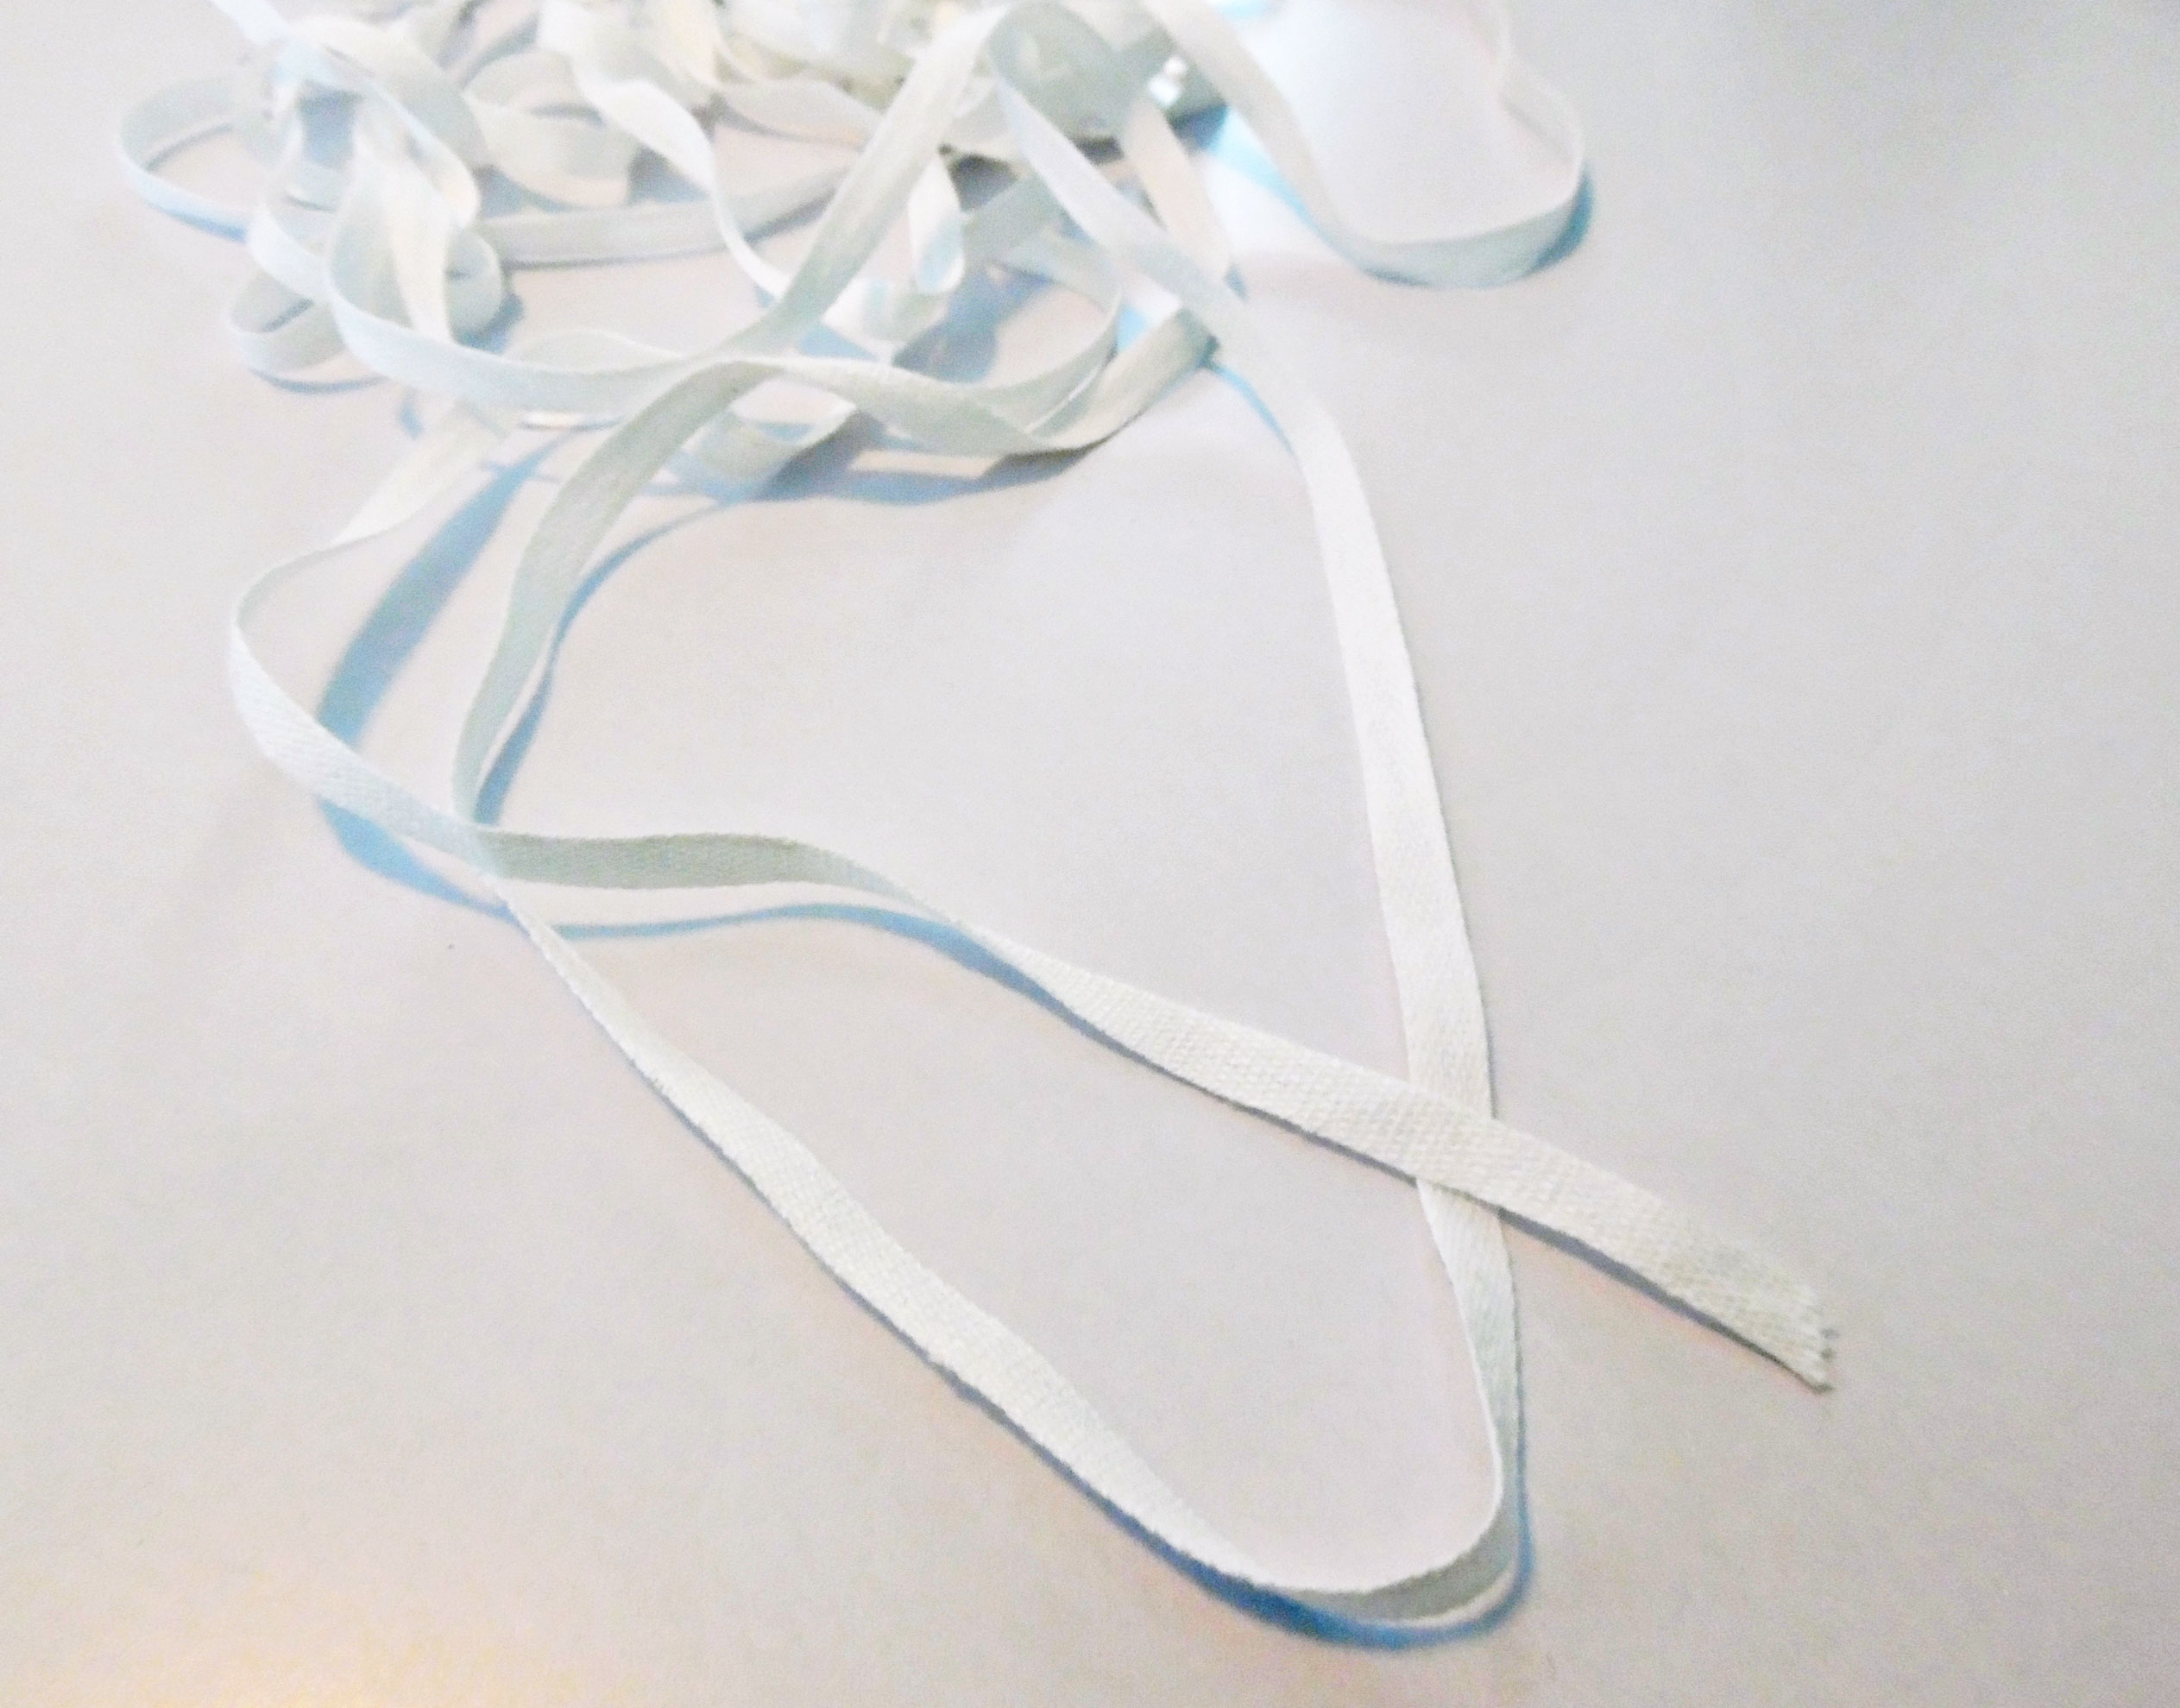
Cotton Twill Tape
Pattern & Padding
Lay your pattern-making material on a flat surface, like a cutting table. Flip your stool upside down and place it on the paper. Using a pencil, trace around the seat. As you trace, angle the pencil inward, so the size of the pattern will be more accurate.
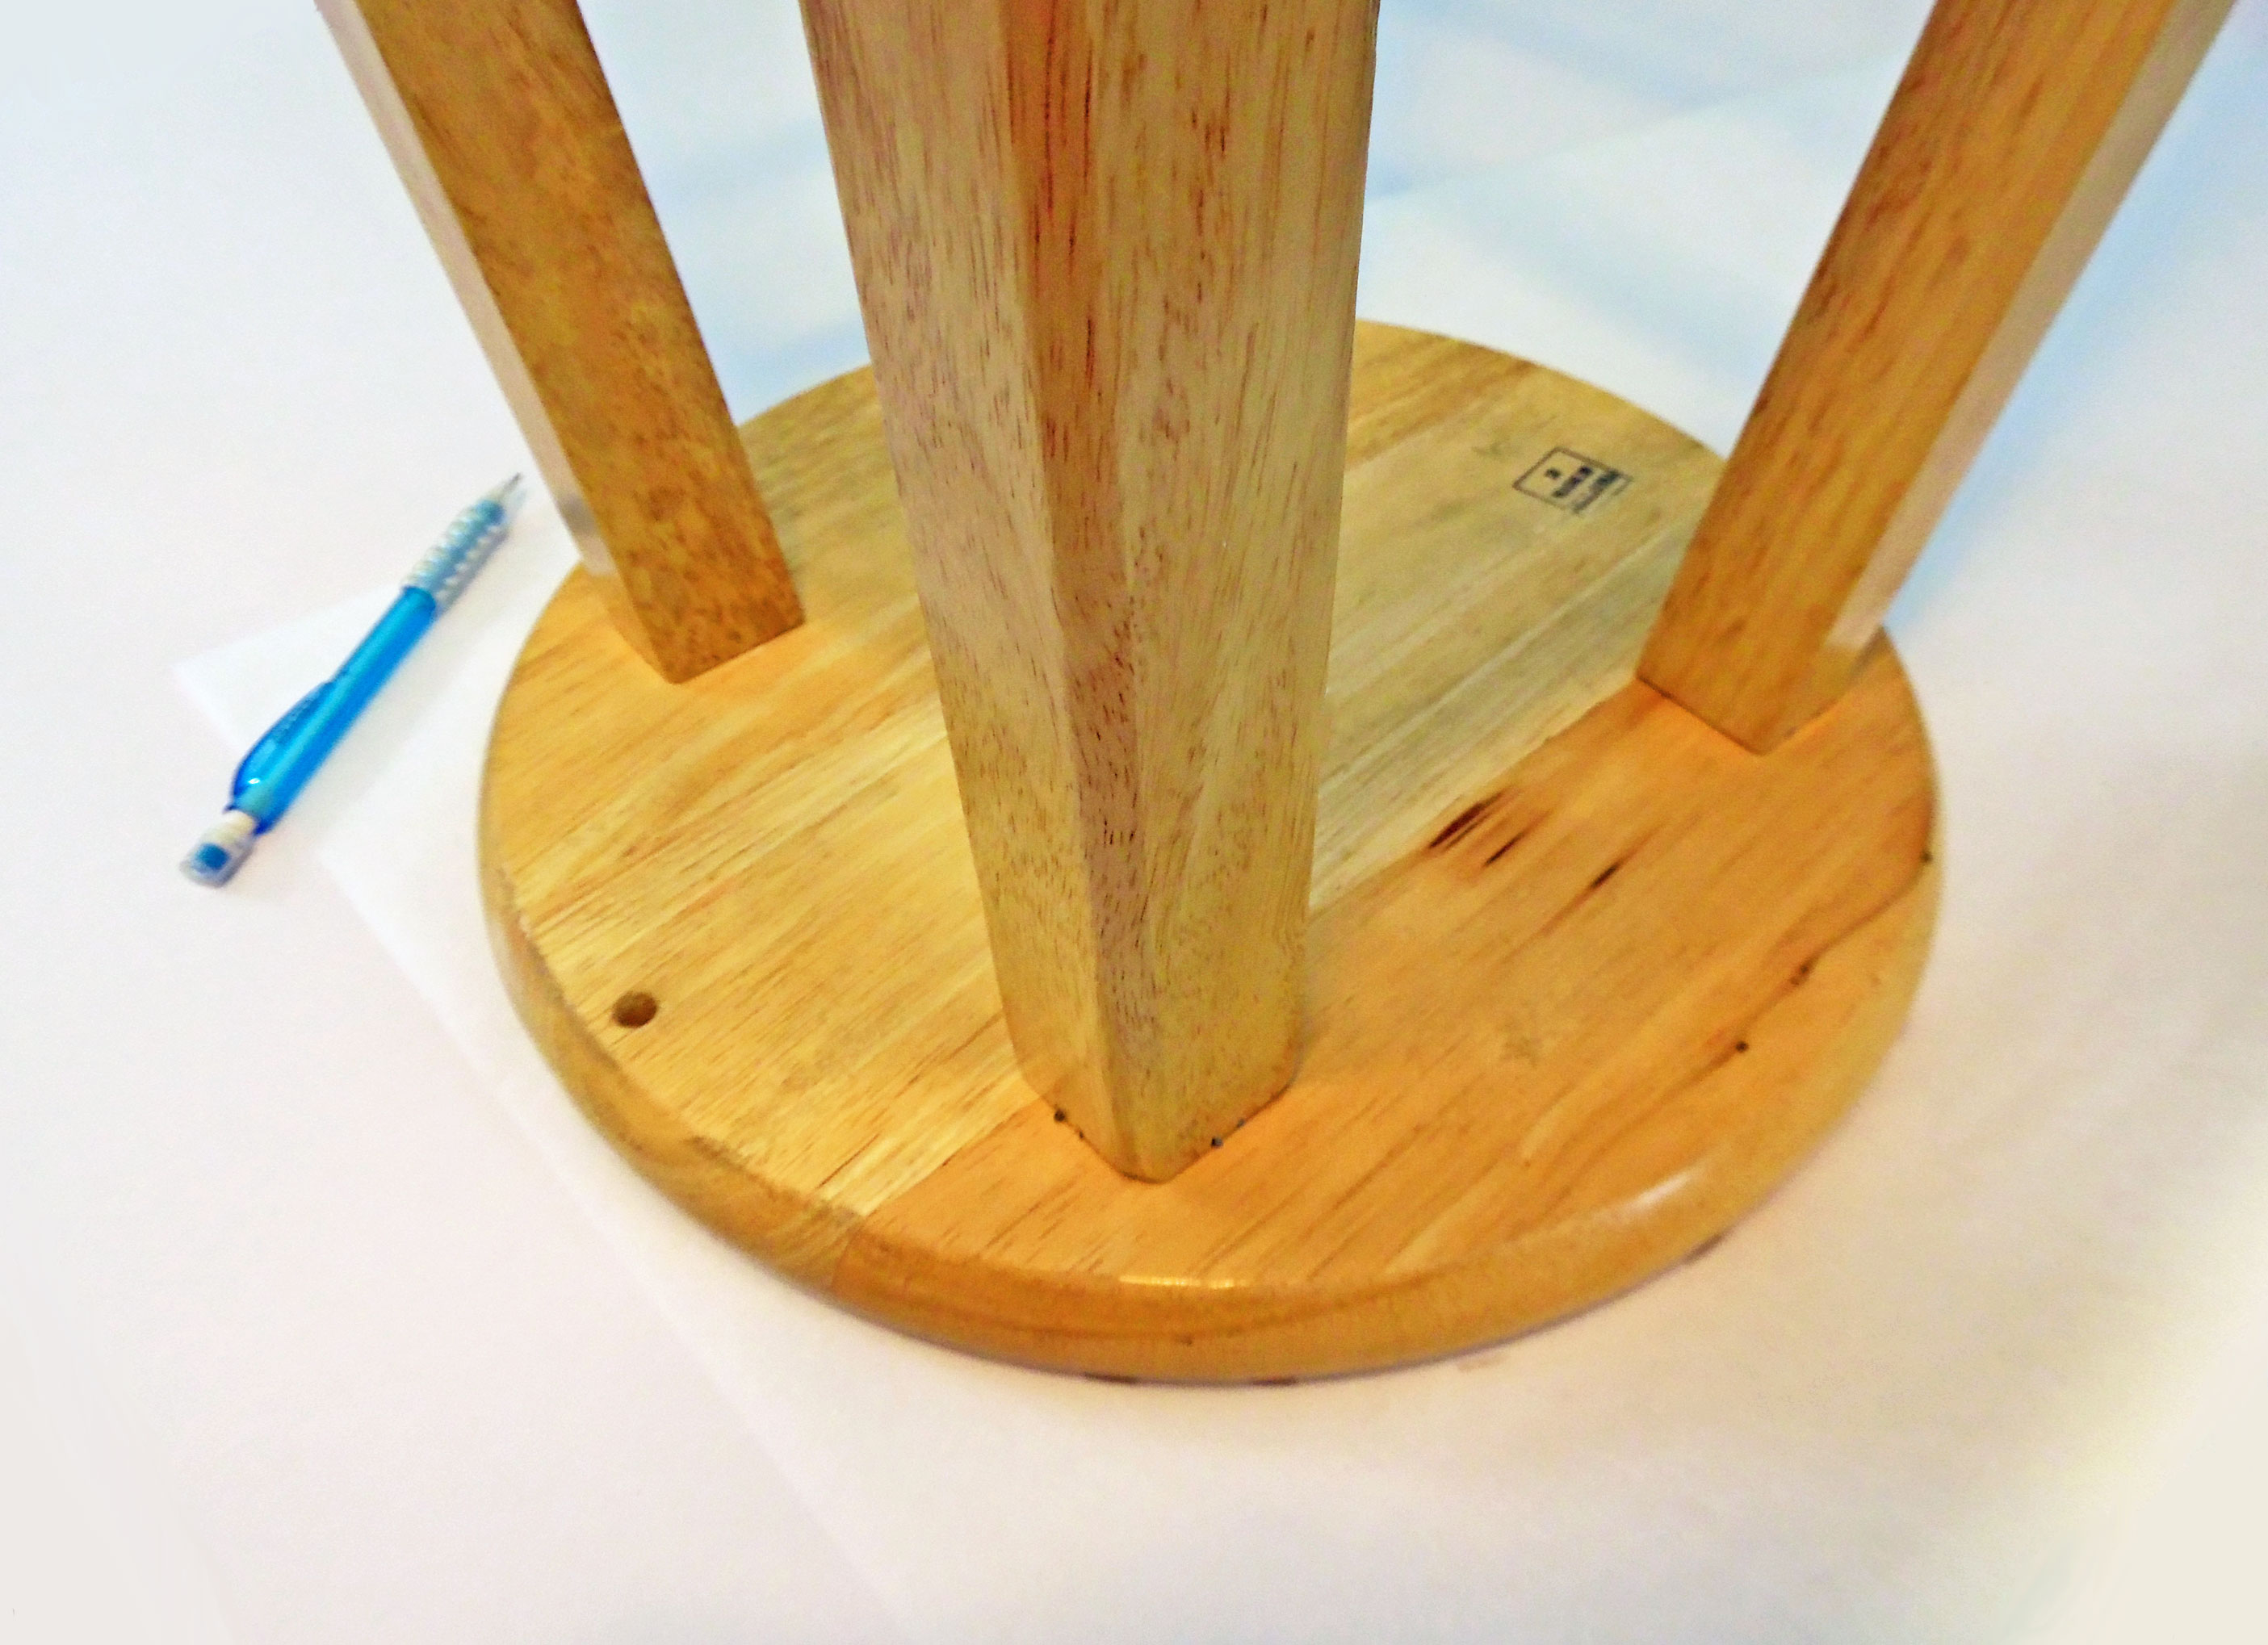
Tracing the Stool
Cut out your new pattern and lay it on top of your stool to check the size. It should just cover the top of the seat, without extending past the edge. Double-check the accuracy by folding the pattern in half. Do the edges of the circle meet all the way around? Open it back up, then fold it in half the other way, just to make sure the whole thing is perfectly round. Make any adjustments you find necessary.
Pin your pattern to the batting or foam. Trace around it, if necessary, or just cut it out. If you want multiple layers, move the pattern over, pin it, and cut it again.
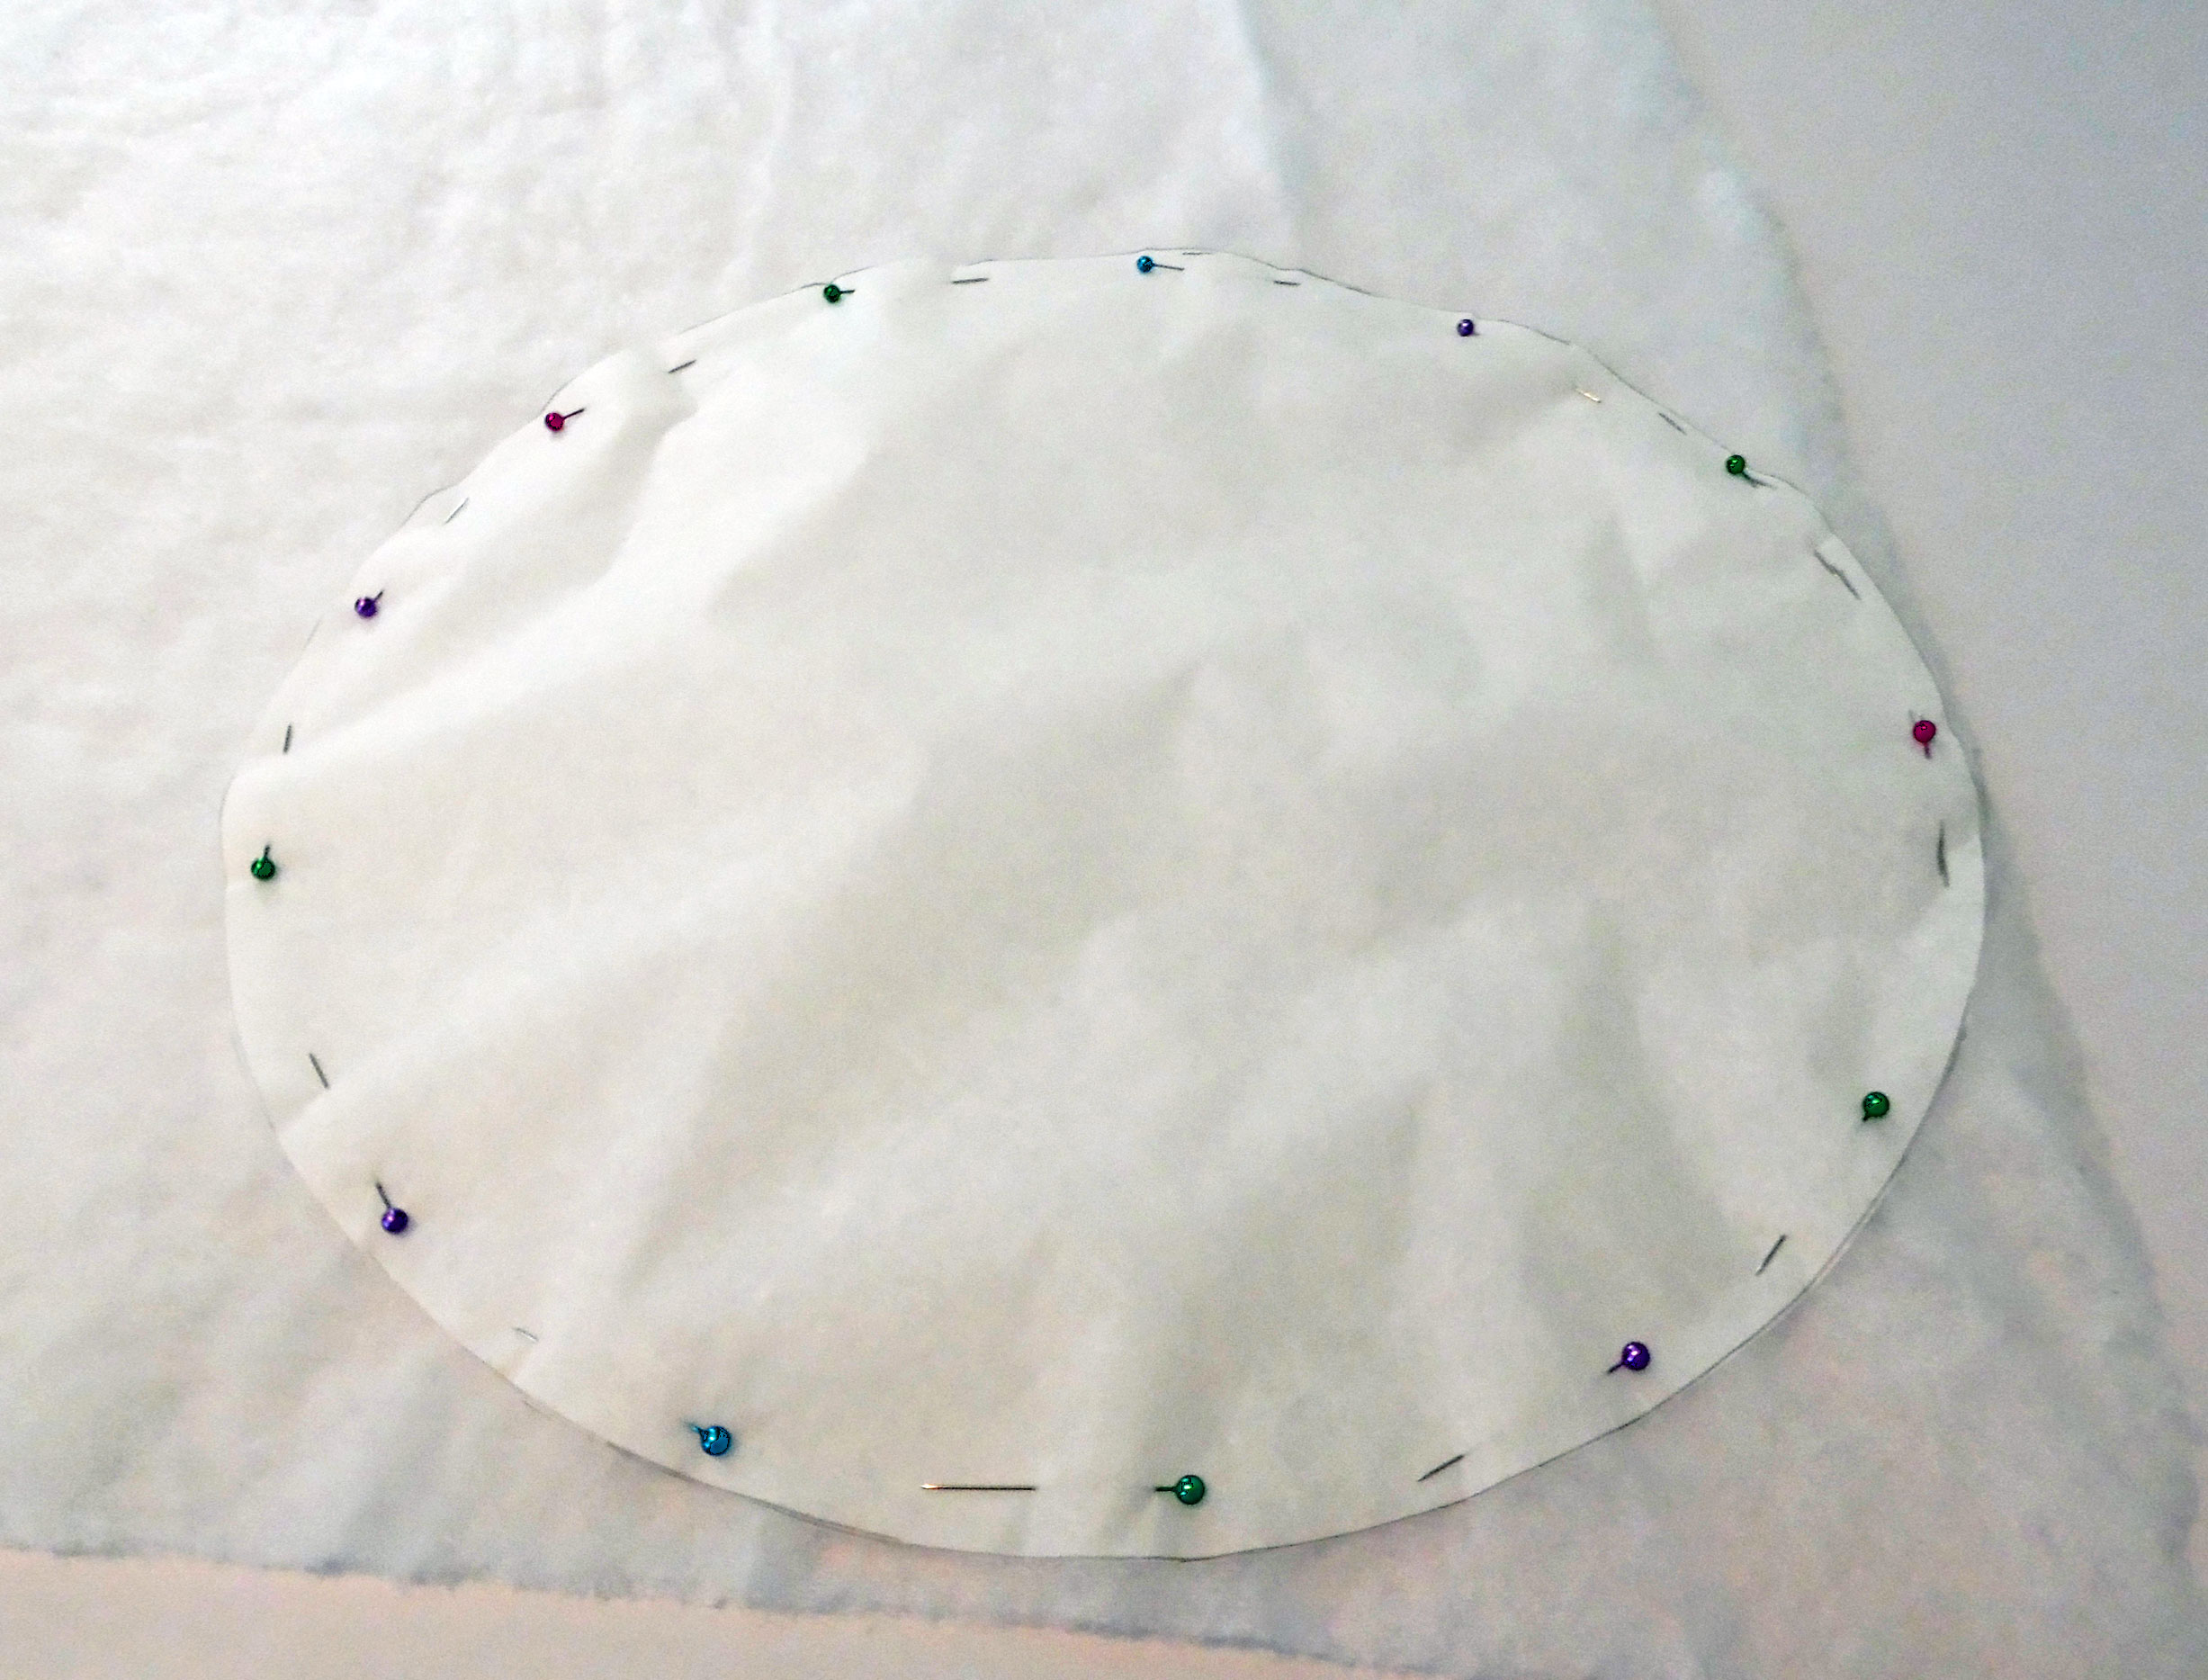
Pinning the Batting
To secure the layers of batting, baste all the way around the circle, about 1/2″ from the edge. Use a long running stitch and make sure you catch all the layers.
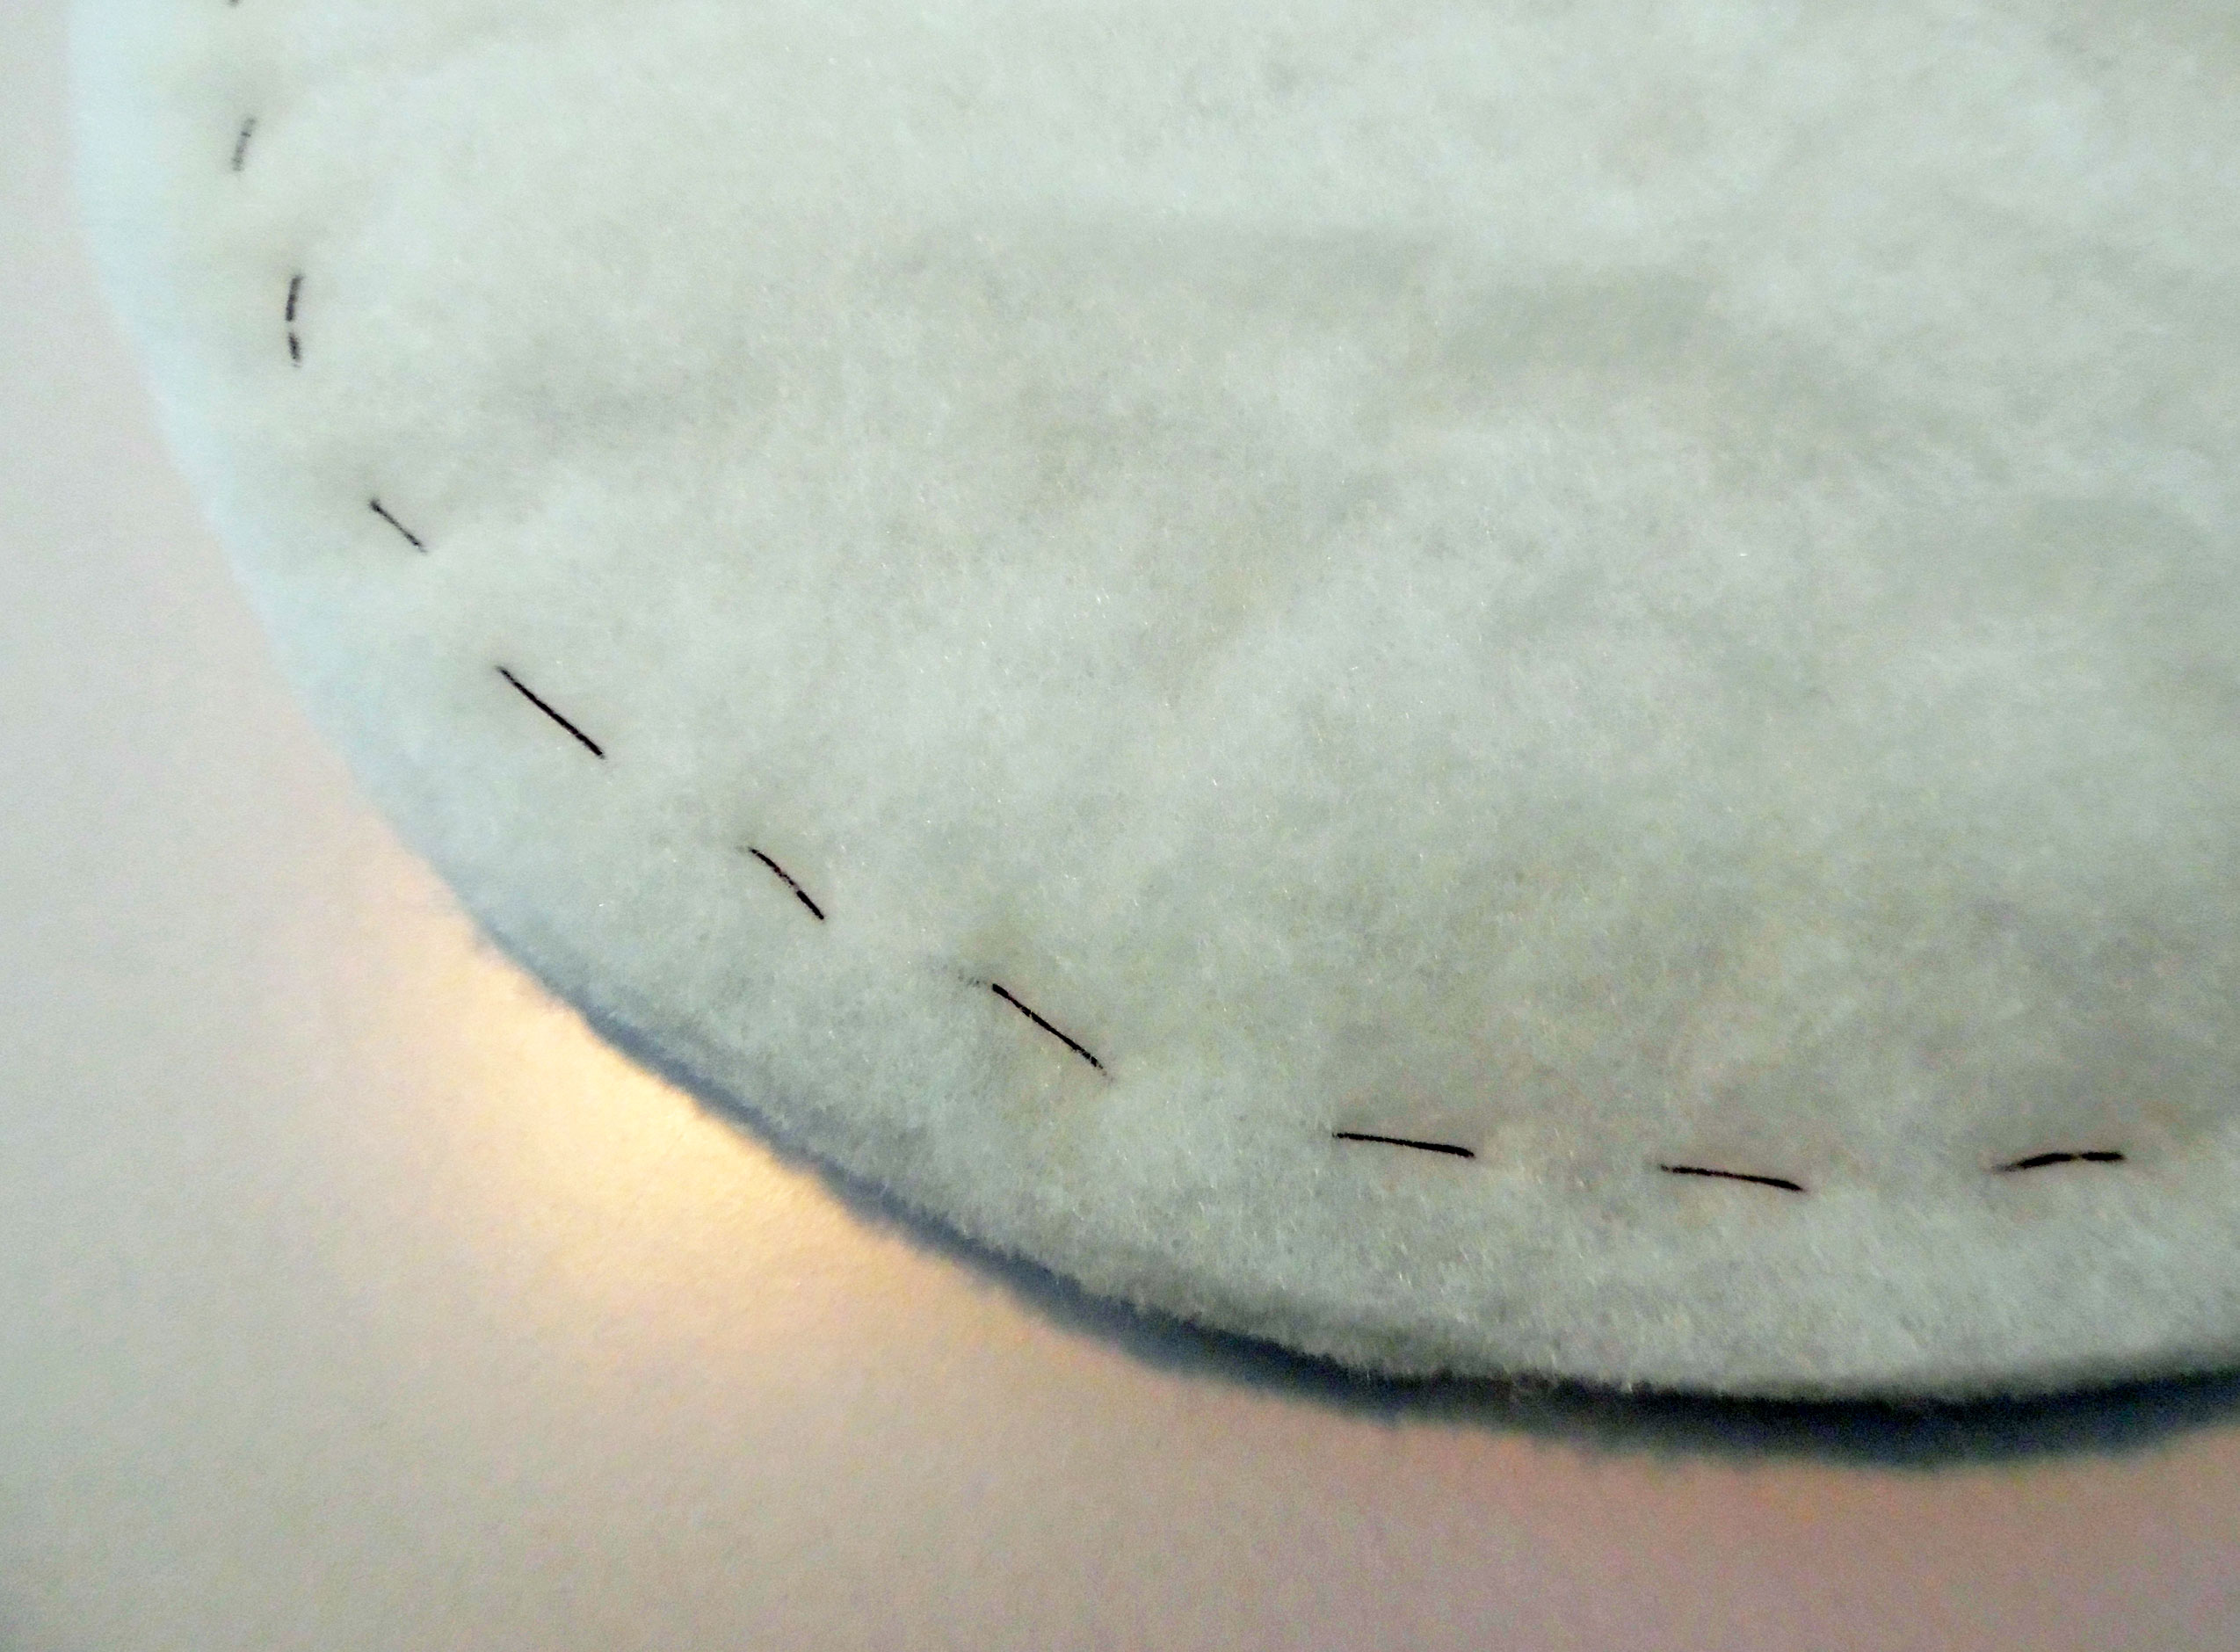
Basted Batting
Seat Cover
Place the batting on the stool’s seat and measure from the edge of the seat, over the side, and wrapping underneath. Stop where you want the cover to end under the seat. Add a seam allowance and write the total number down. (For my cover, I measured 2″, plus a 1/2″ seam allowance.)

Measuring For the Cover
Place your pattern on top of your main fabric. Using the number you just came up with, measure outward from one edge and mark. Repeat all around the circle, marking the new circumference of your cover.
Cut out the cover. To double-check the accuracy of your circle, use the folding-in-half trick from earlier.
Seat Cover
Bias Binding
Measure around the circumference of your cover and add about six inches as a safety margin. If you’re using pre-made bias binding, go ahead and cut it to this length. If you’re making your own binding, use your quilter’s ruler to measure the bias strips. Piece them together, if necessary, to get the needed length, and press them into bias tape. (A bias tape maker is very useful at this stage.)
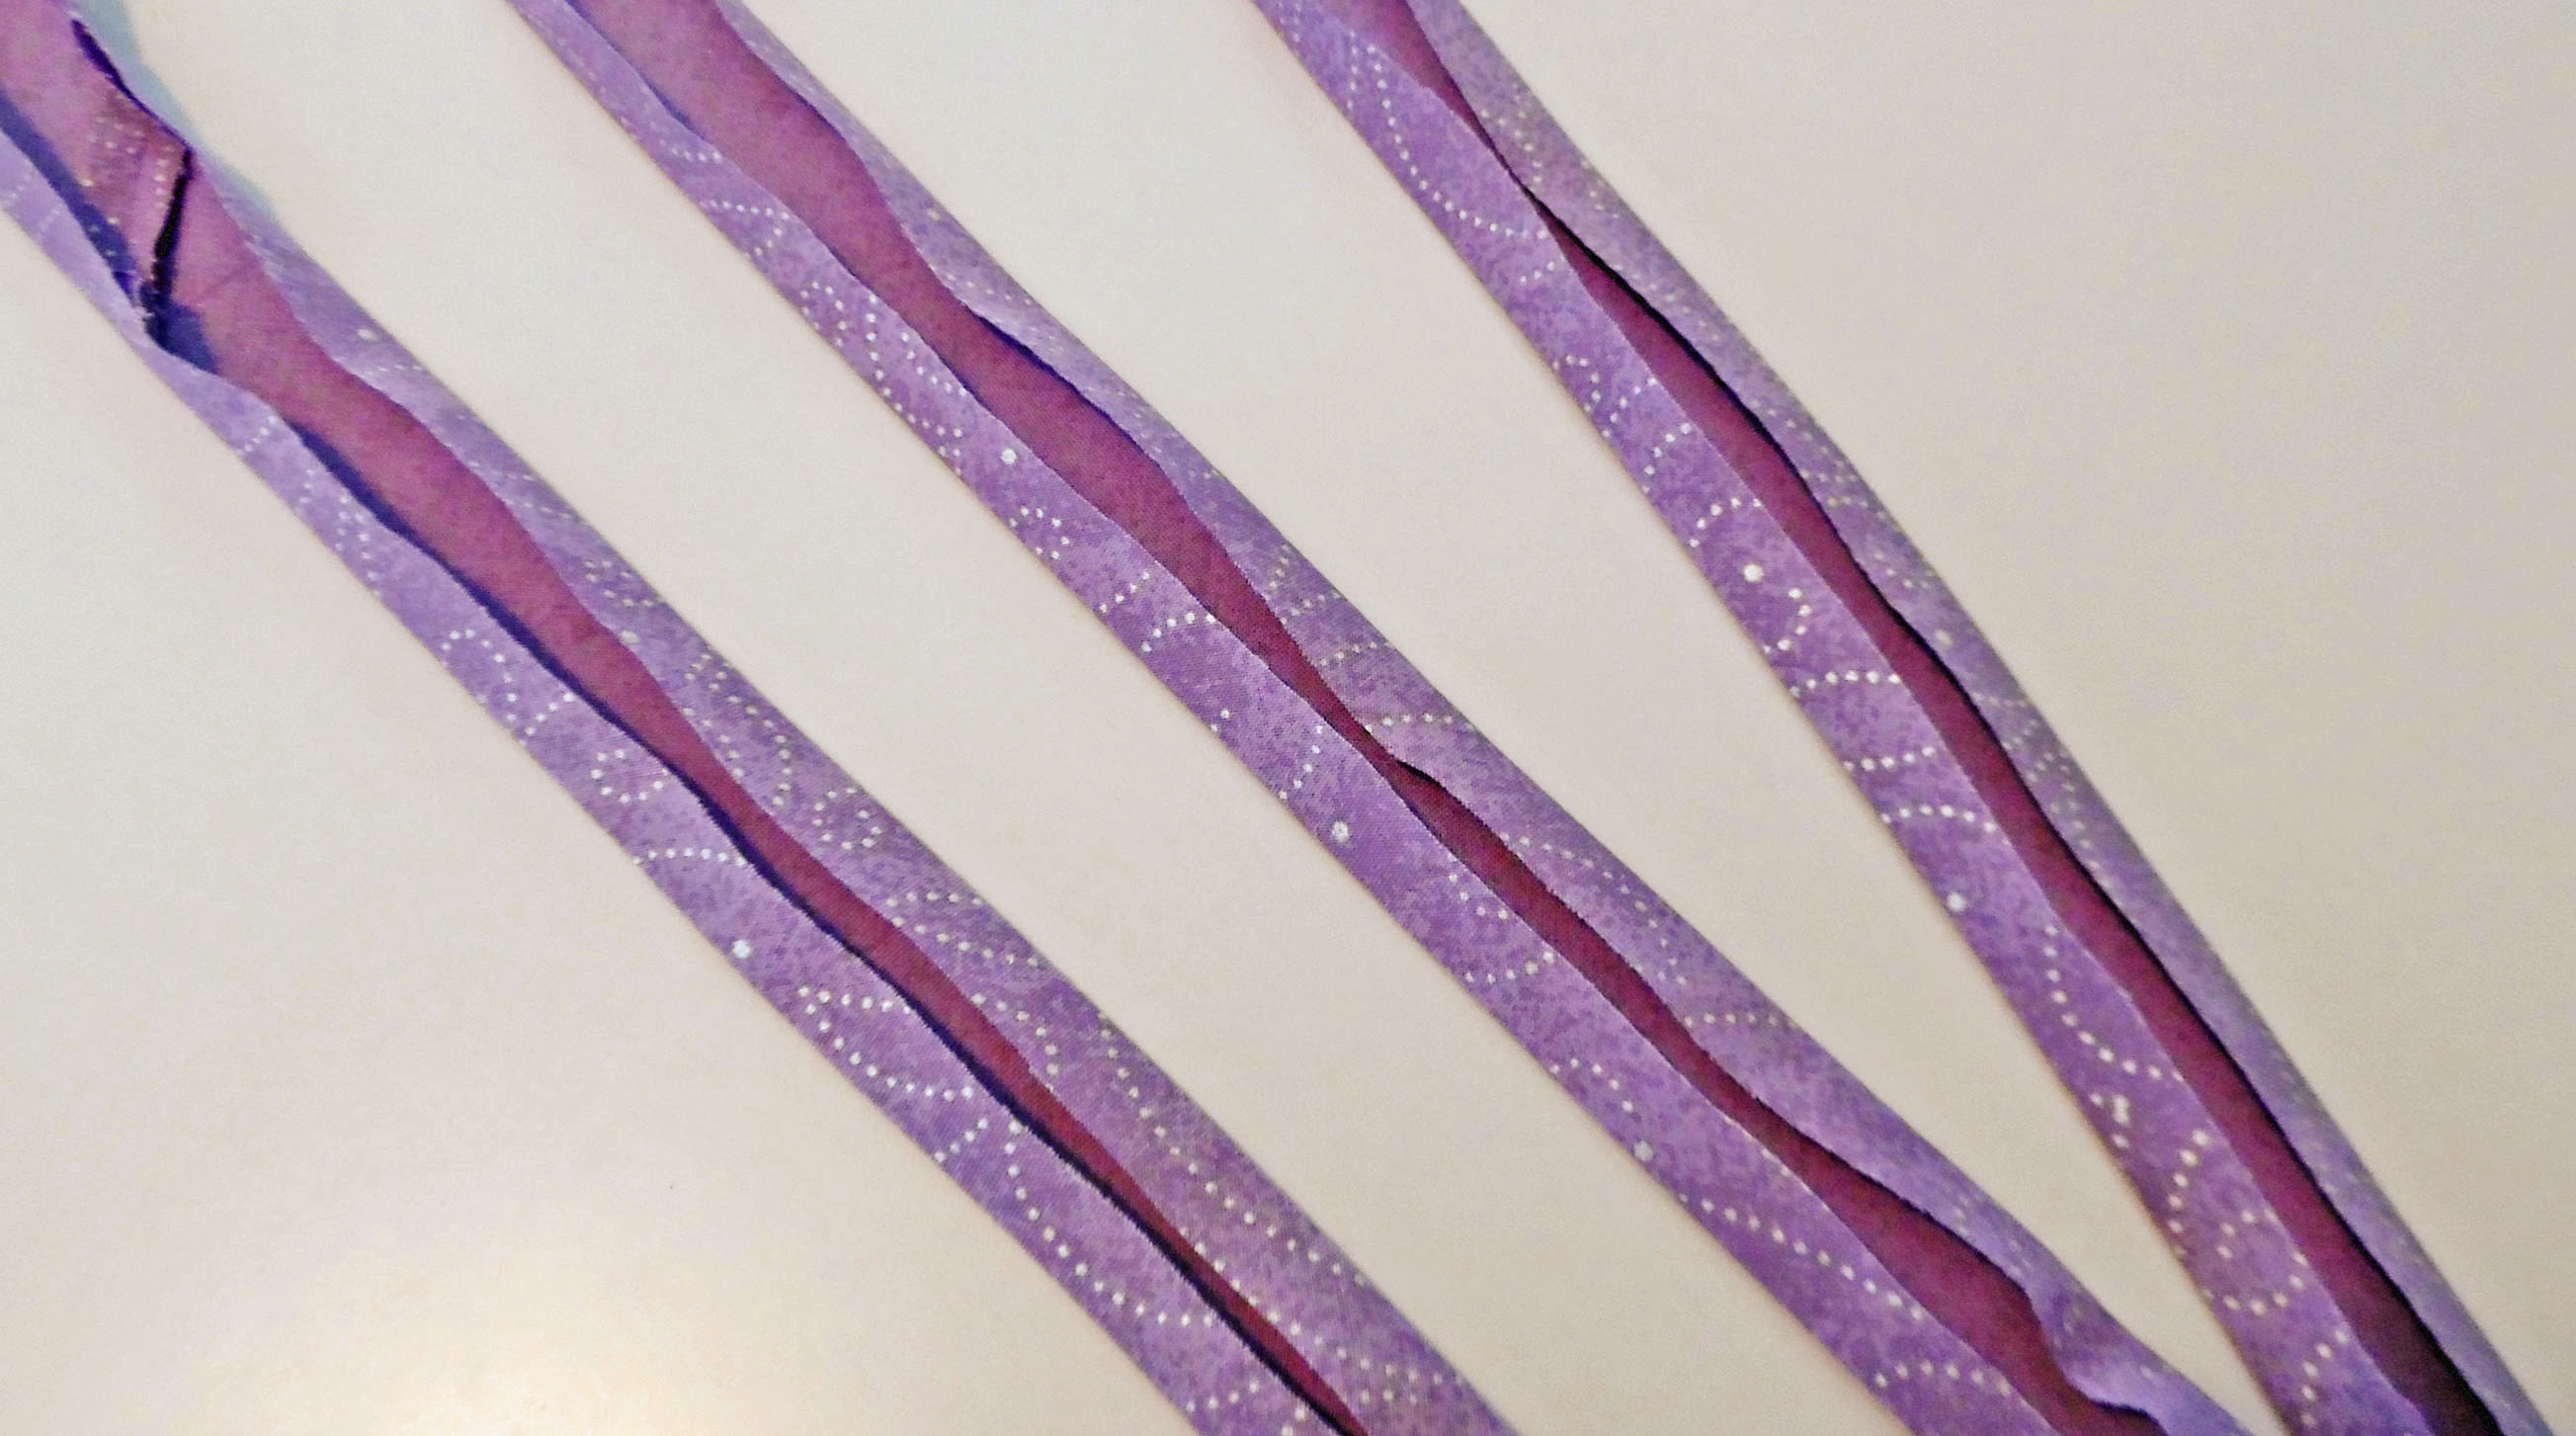
Making Bias Tape
Whether you’re using pre-made bias tape or making your own, fold it in half lengthwise and press.
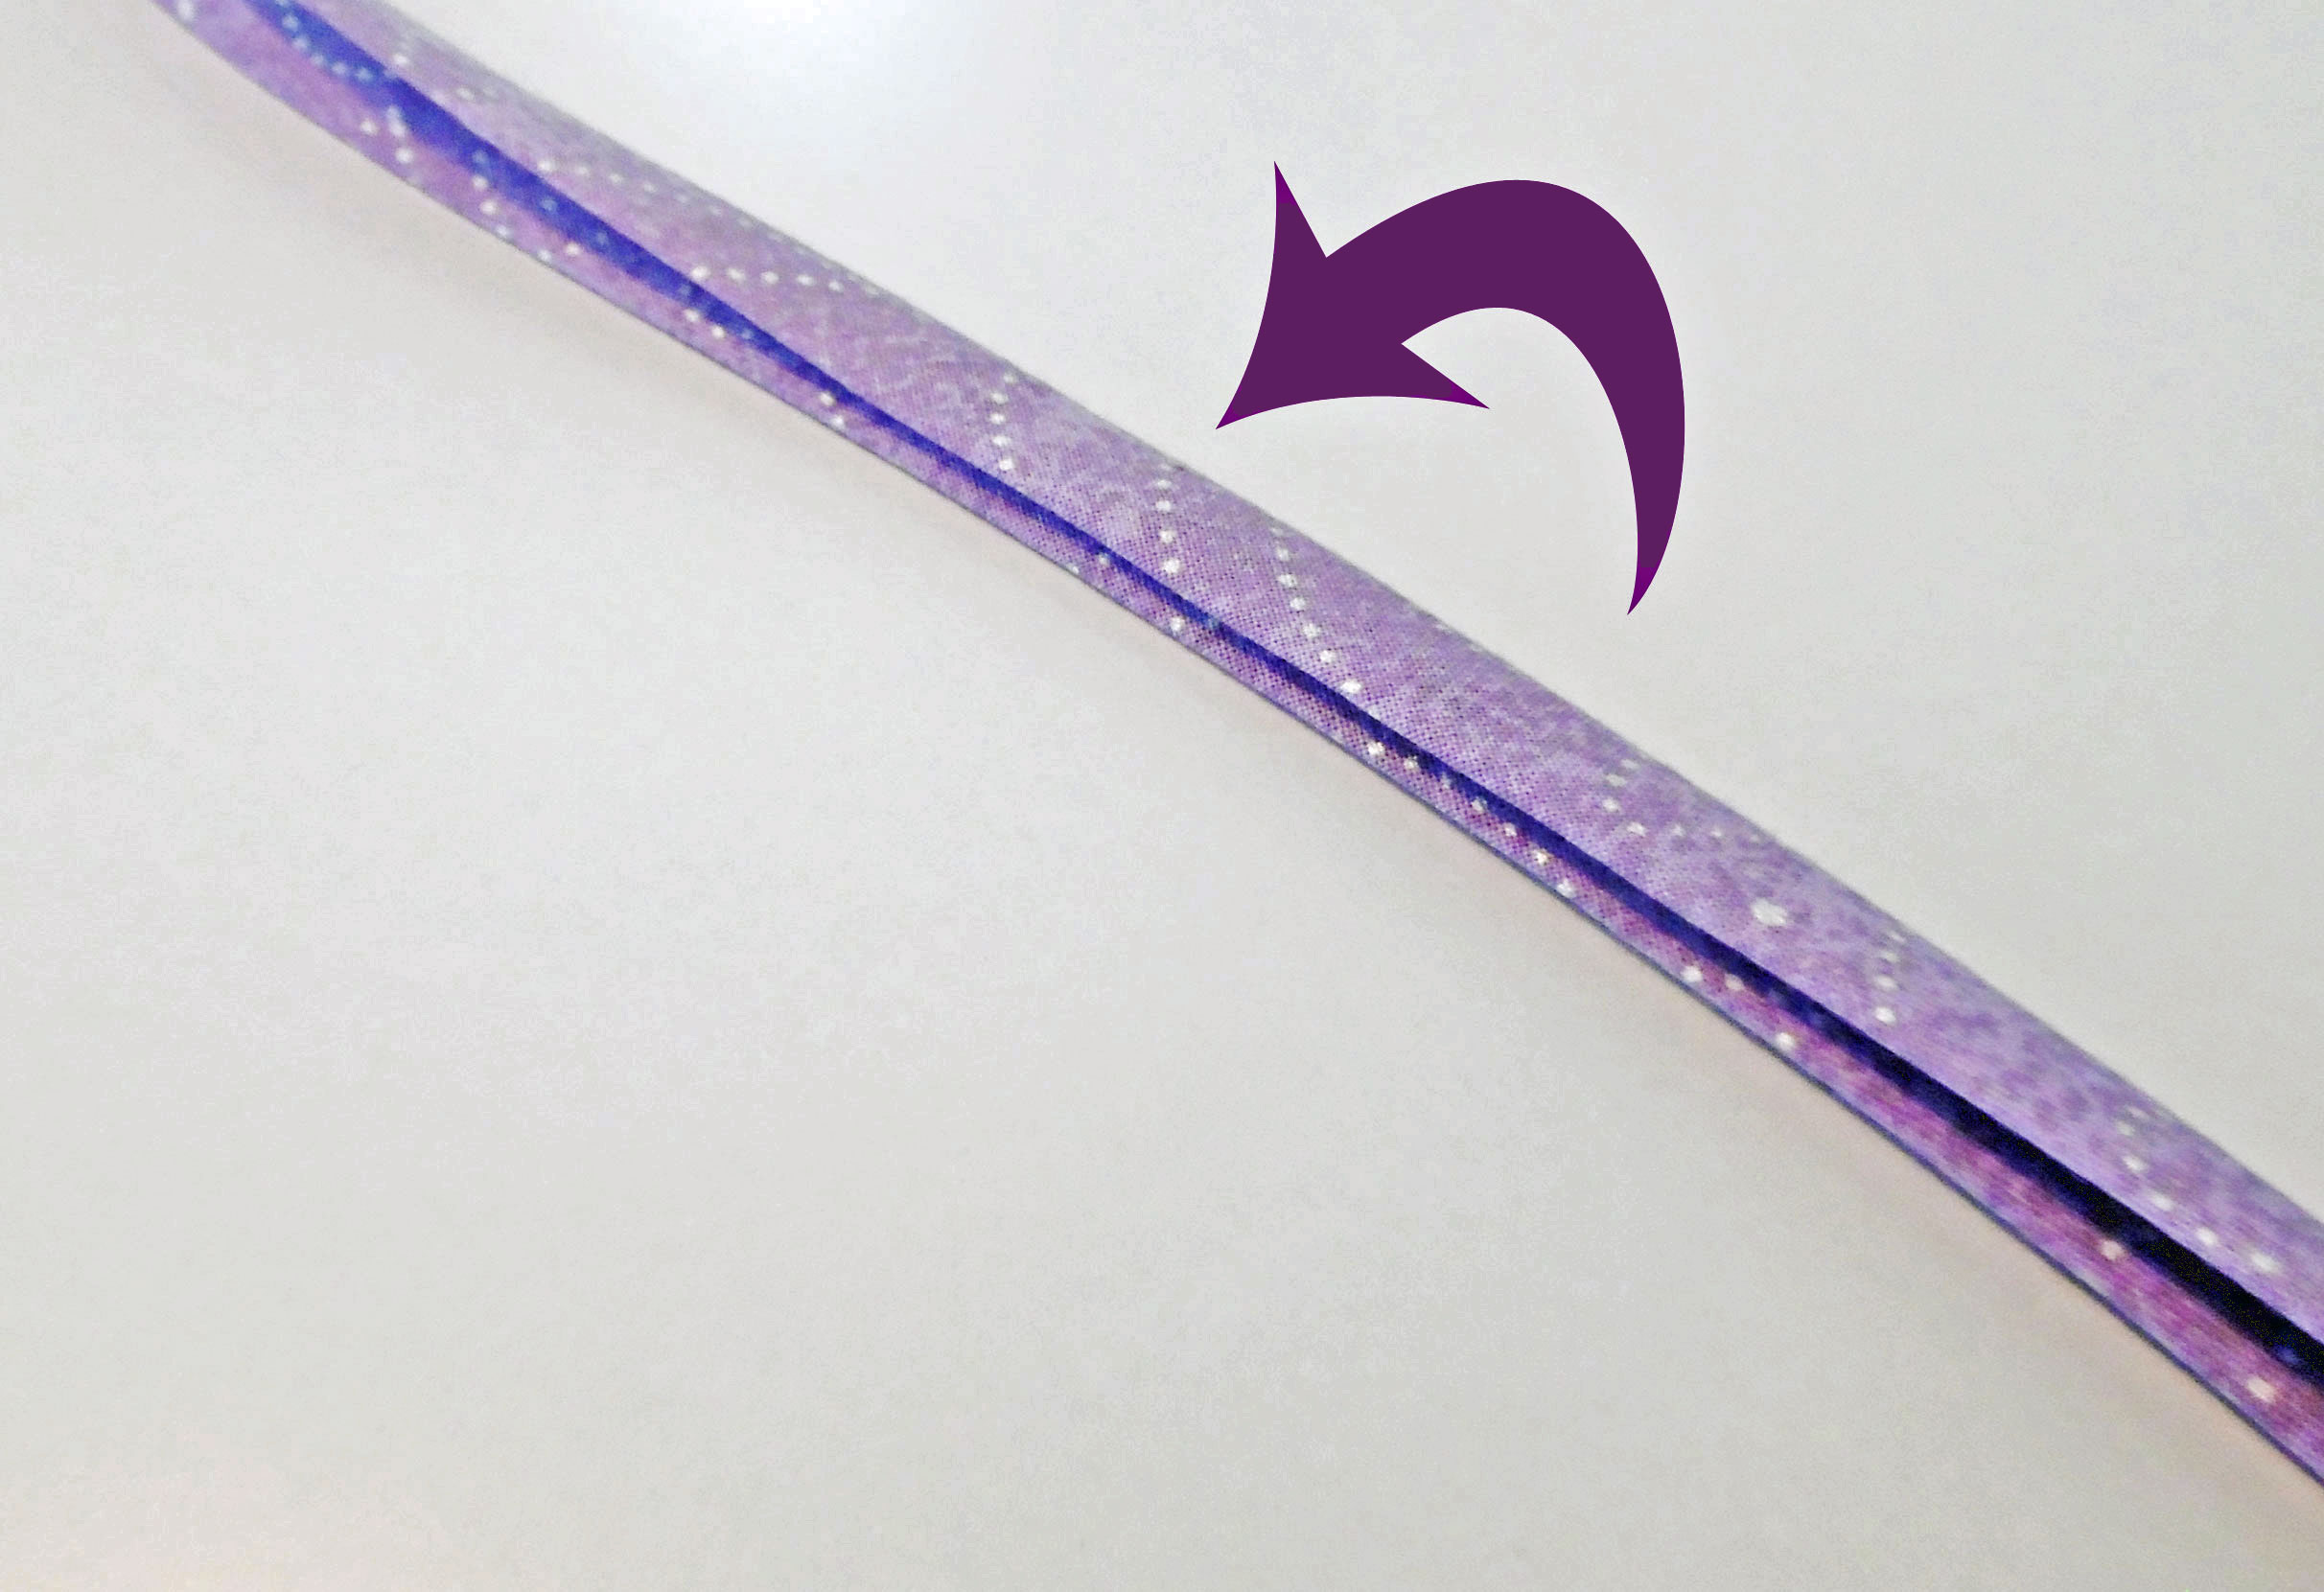
Pressed Bias Tape
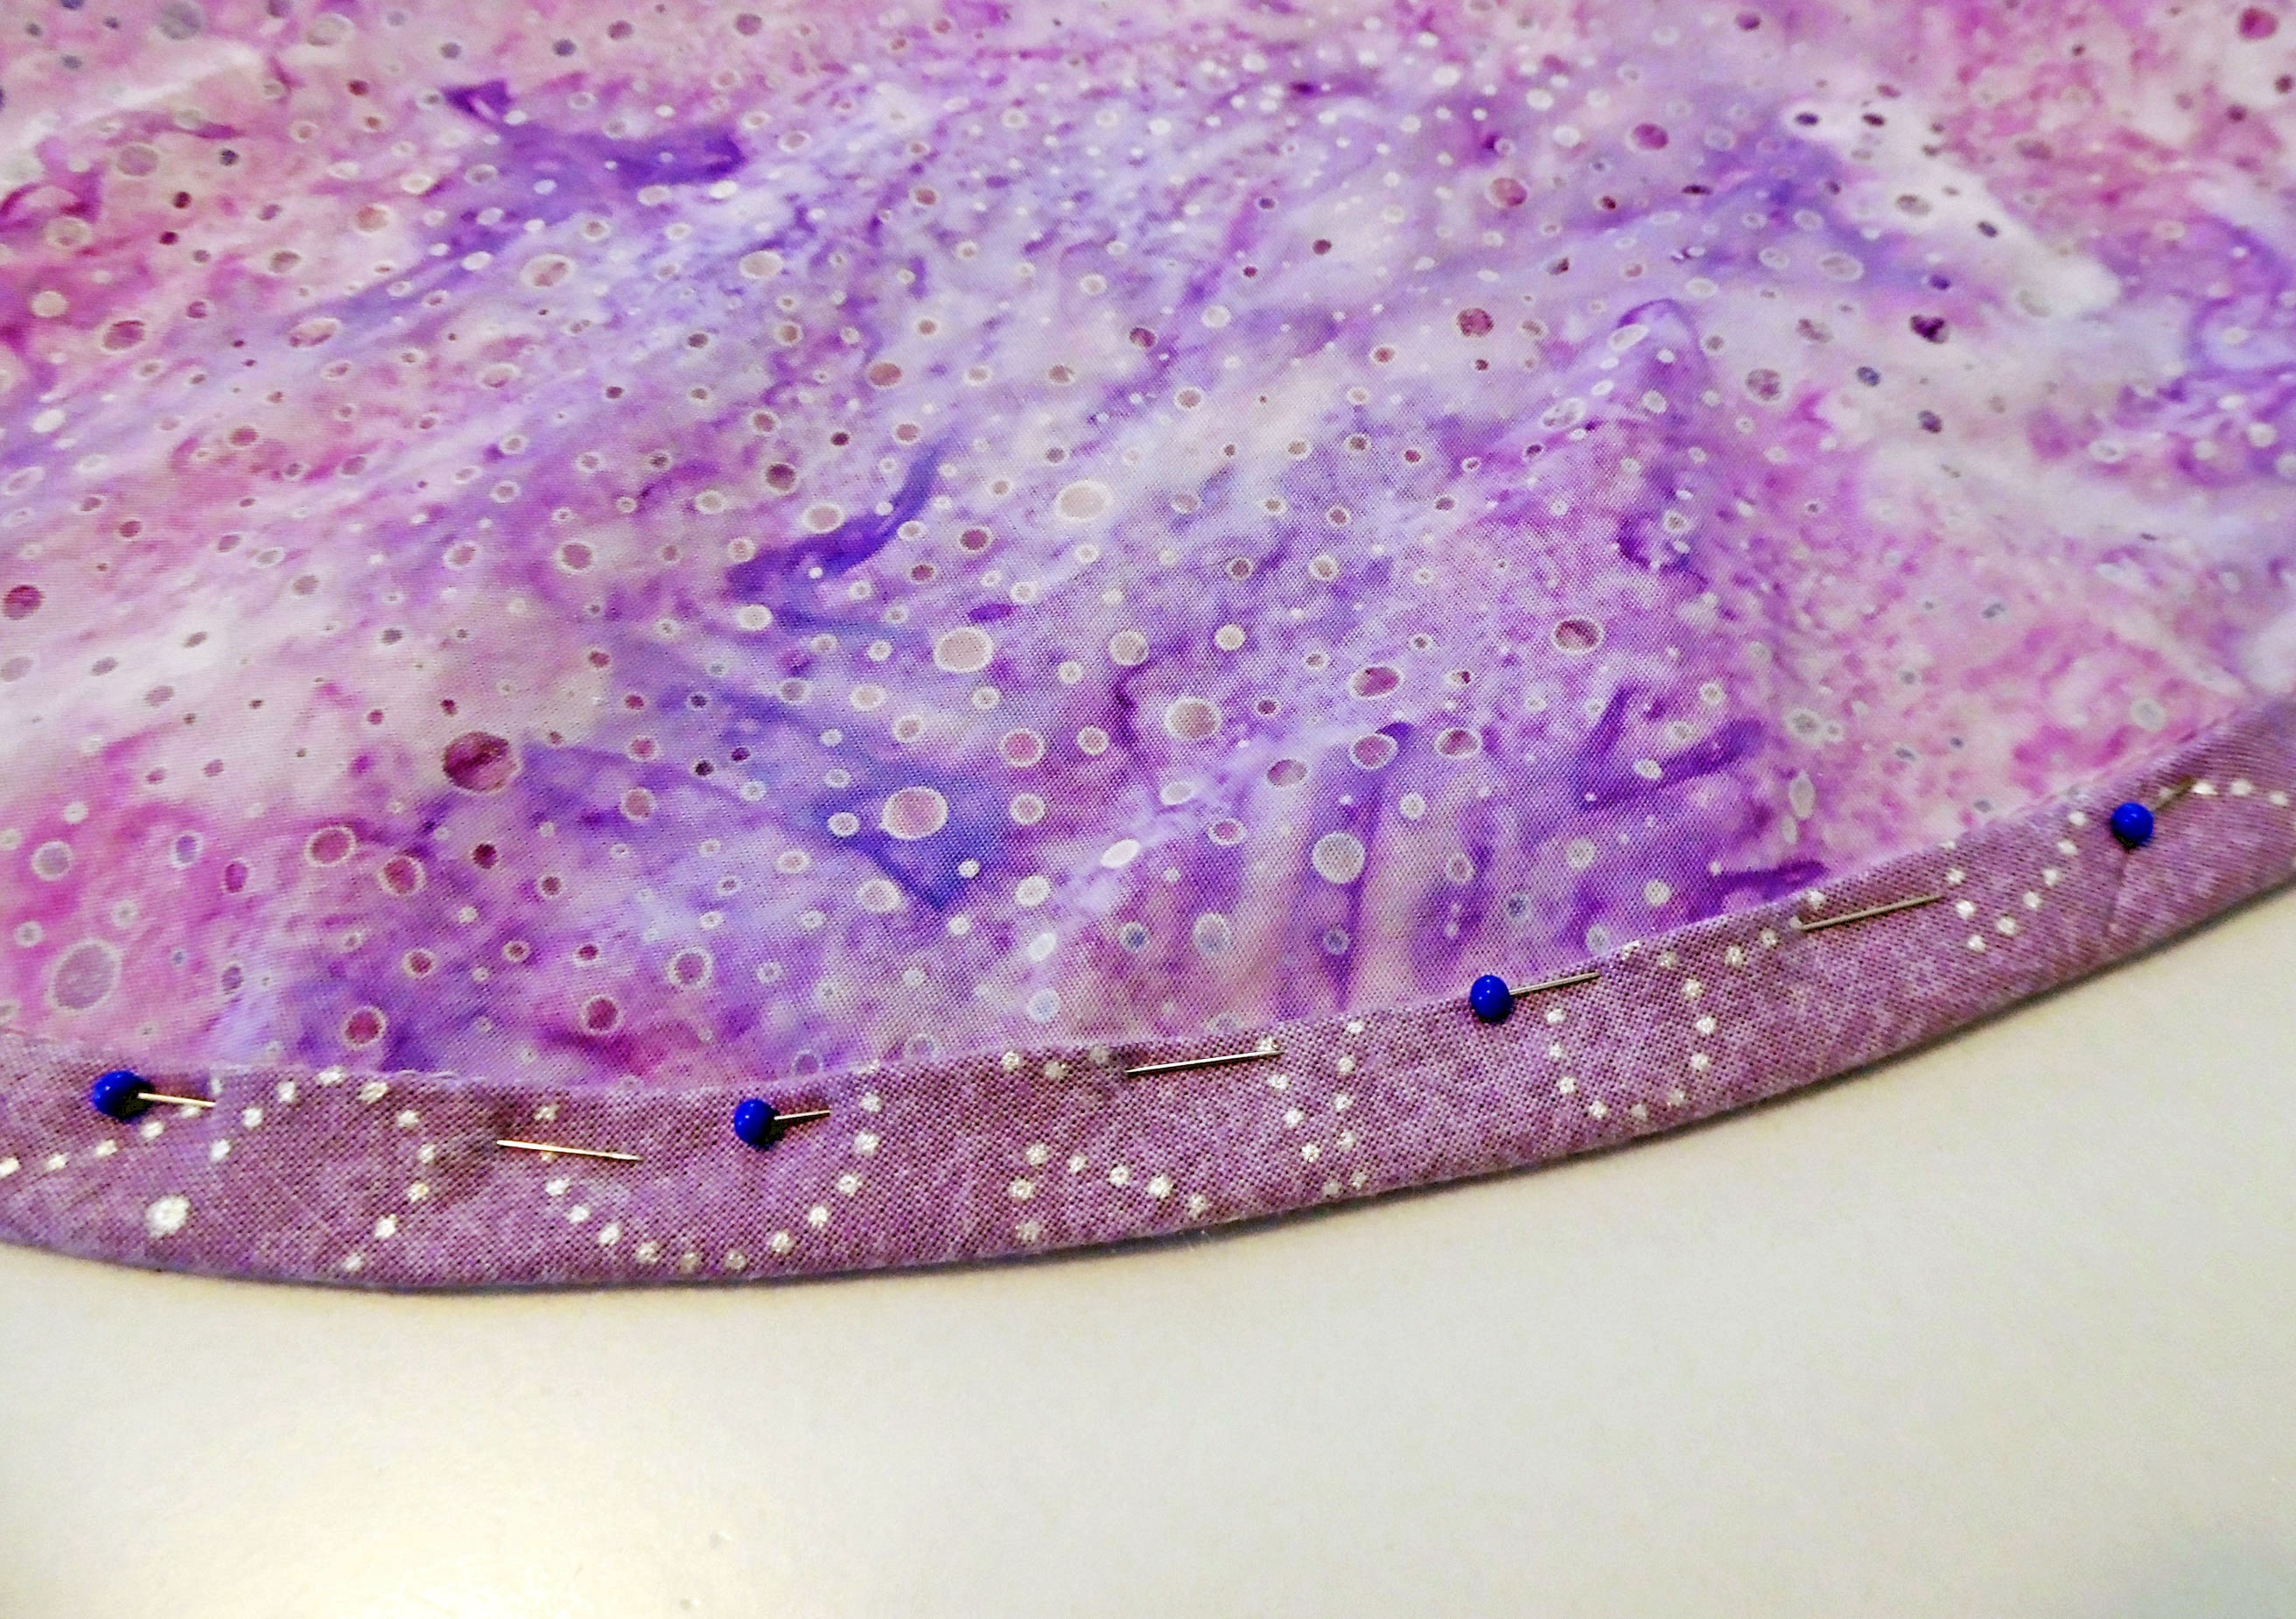
Now, open the bias tape up and pin it to the edge of the seat cover, right-sides together. Be careful not to stretch it. Otherwise, it may shrink after you sew it, causing puckers.

Pinned Bias Tape
There should be a few inches of excess bias tape at the end—enough for you to choose your method of finishing. Method #1 is tidy and completely finished, but it’s time-consuming and involves hand-sewing. Method #2 is quicker and easier, but results in a tiny gap with an exposed raw edge. This will be hidden underneath the stool’s seat, but if the idea bothers you—or if you’re ever planning to wash your stool cover—go ahead and use the first method.
Method #1: Sew a horizontal buttonhole on one side of the binding. Its location doesn’t matter, so long as it faces outward once the binding is attached. Fold the ends of the binding under diagonally and overlap them. (Once you’ve completed the binding, you can hand sew the overlap shut with slipstitching.)
Method #2: Instead of overlapping the ends, leave a 1/4″ gap between them. Trim the excess bias tape straight across, leaving just enough to fold under by 1/4″ on each end.

1/4″ Gap
Sew the bias tape around the curve, stitching alongside the crease. Backstitch at the beginning and end to secure the stitching. Press the seam from the right side, being careful not to flatten the bias tape’s creases.
Sewing Bias Tape
Flip the bias tape over the edge of the fabric, tucking the raw edge under. Pin. Make sure to leave a small gap between the ends.
Pinning Bias Tape
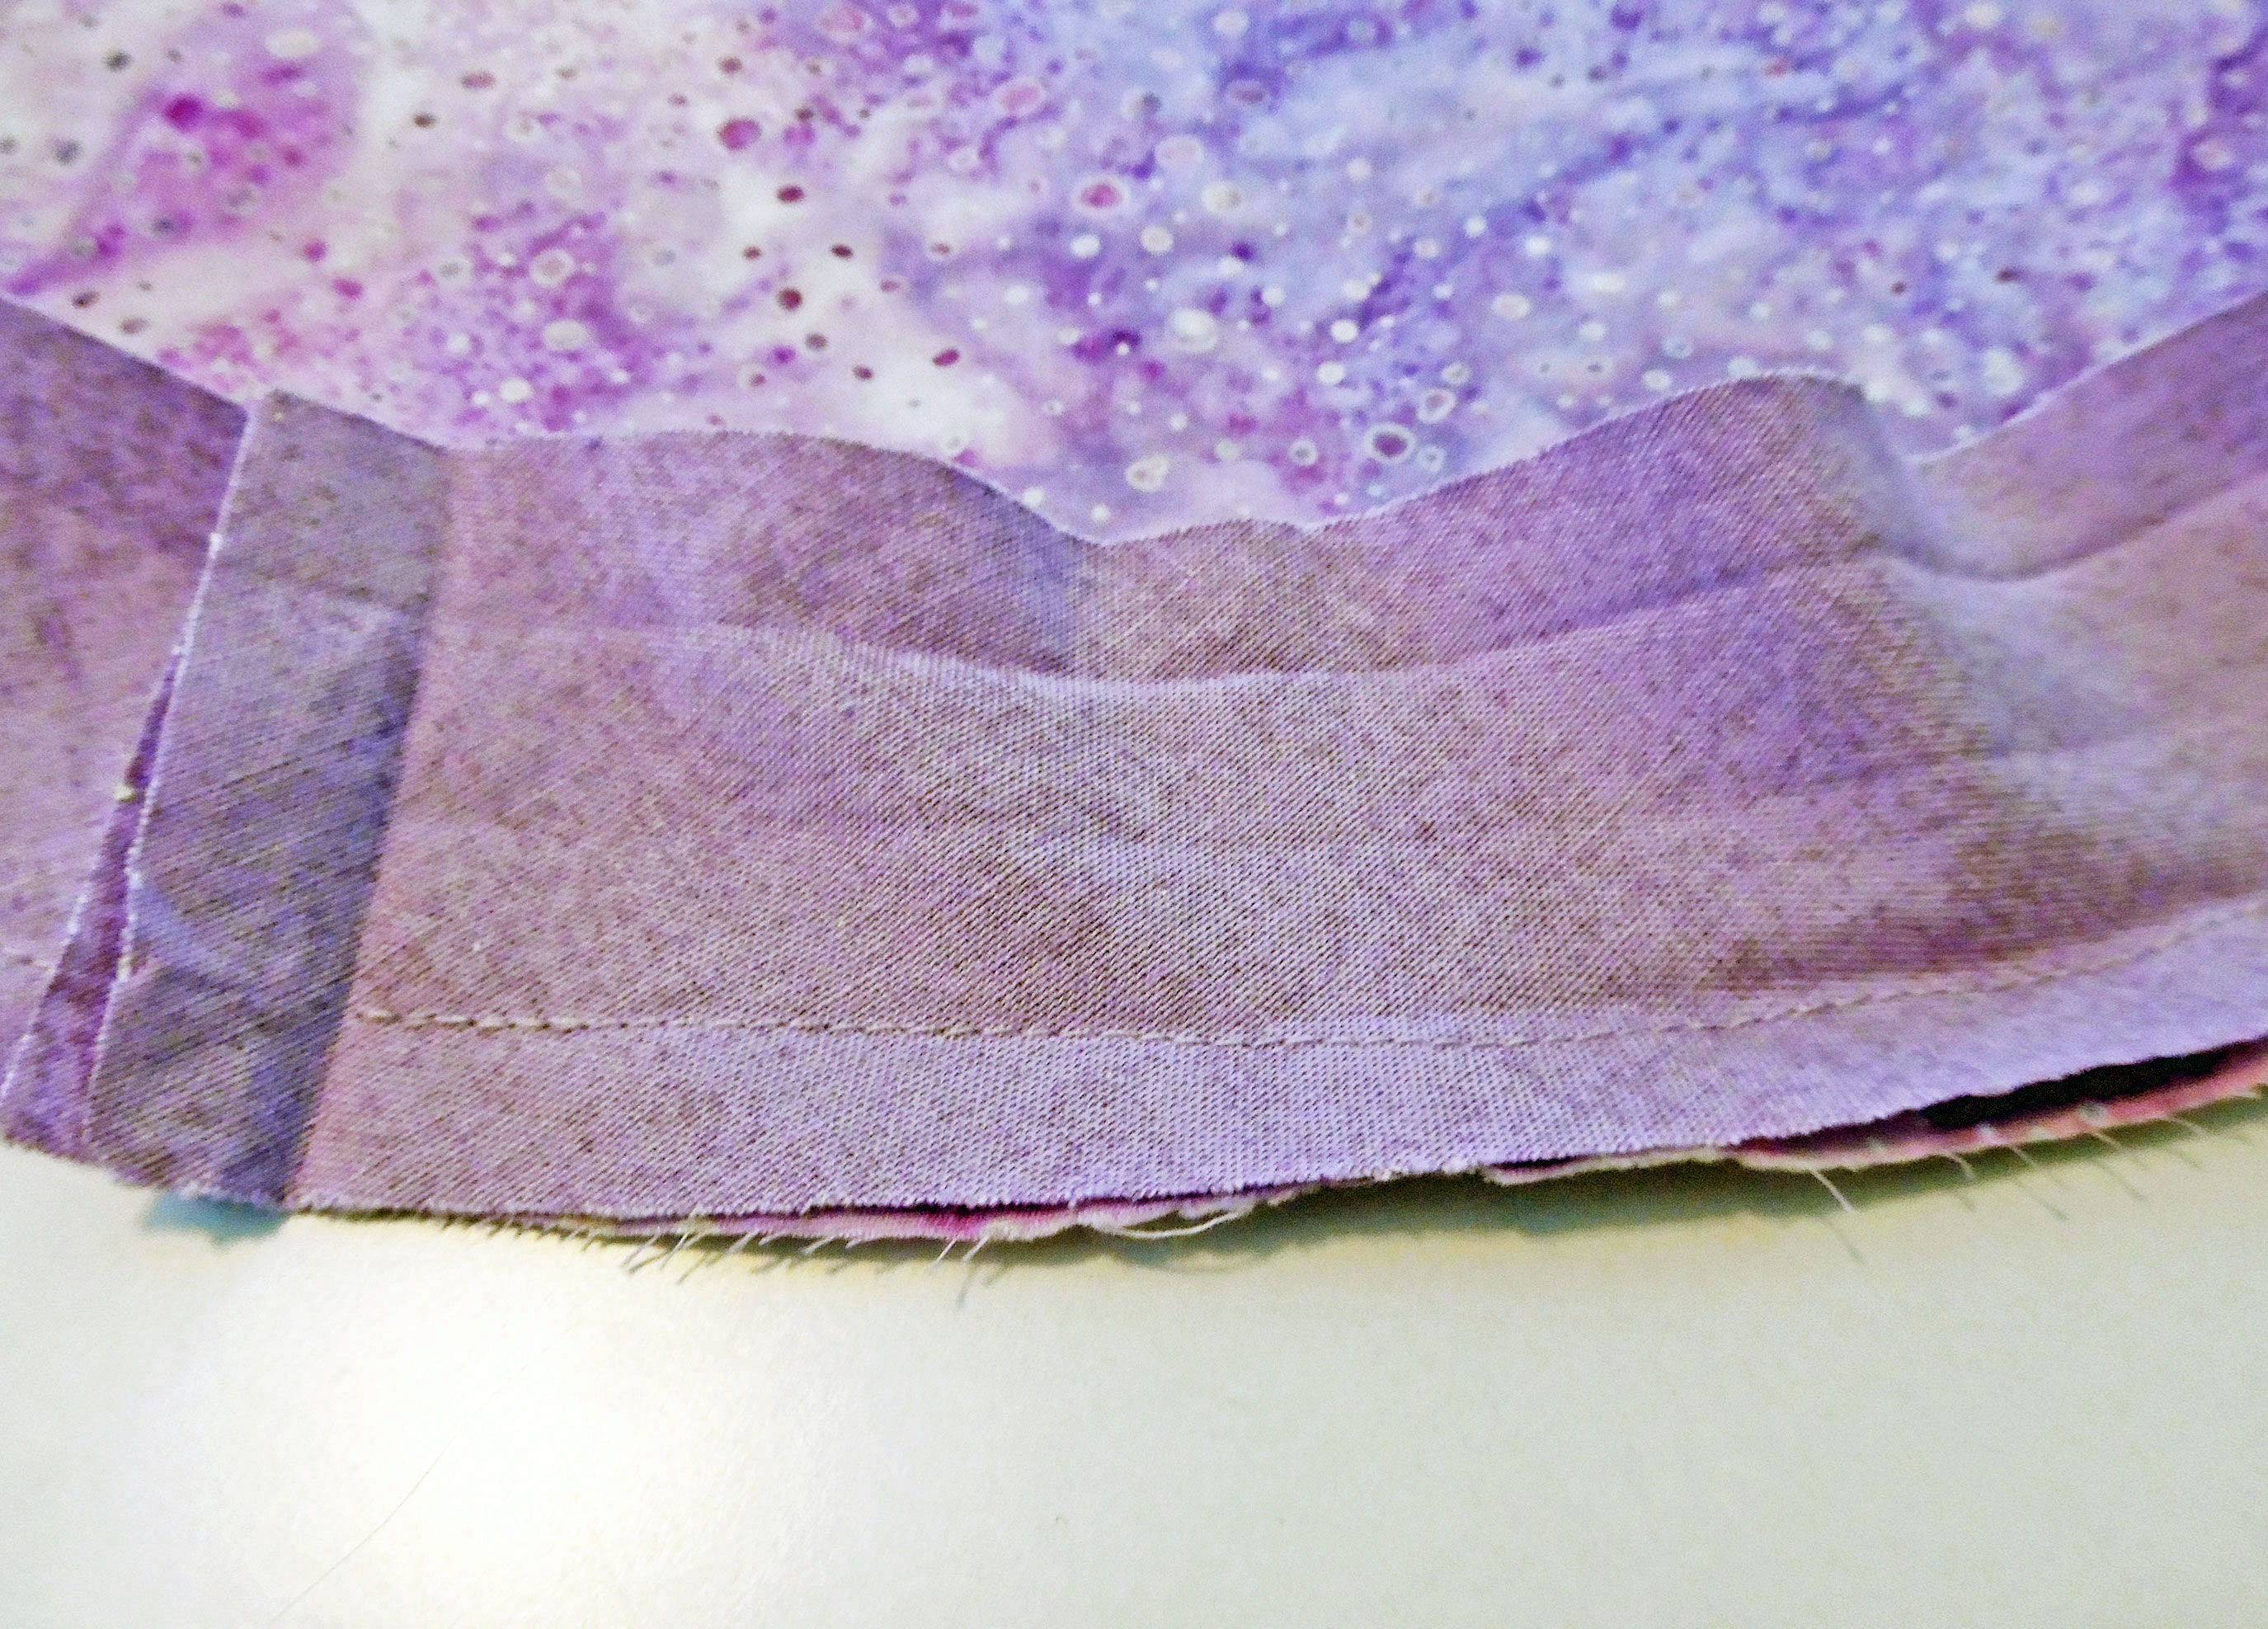
To finish the binding, you would normally either use a stitch-in-the-ditch presser foot, or you’d hand sew the edge with an invisible slipstitch. In this case, however, the binding will be hidden underneath the stool, so it’s okay to save time by edgestitching the binding. Sew right along the folded edge of the fabric.
Press the finished bias binding flat.
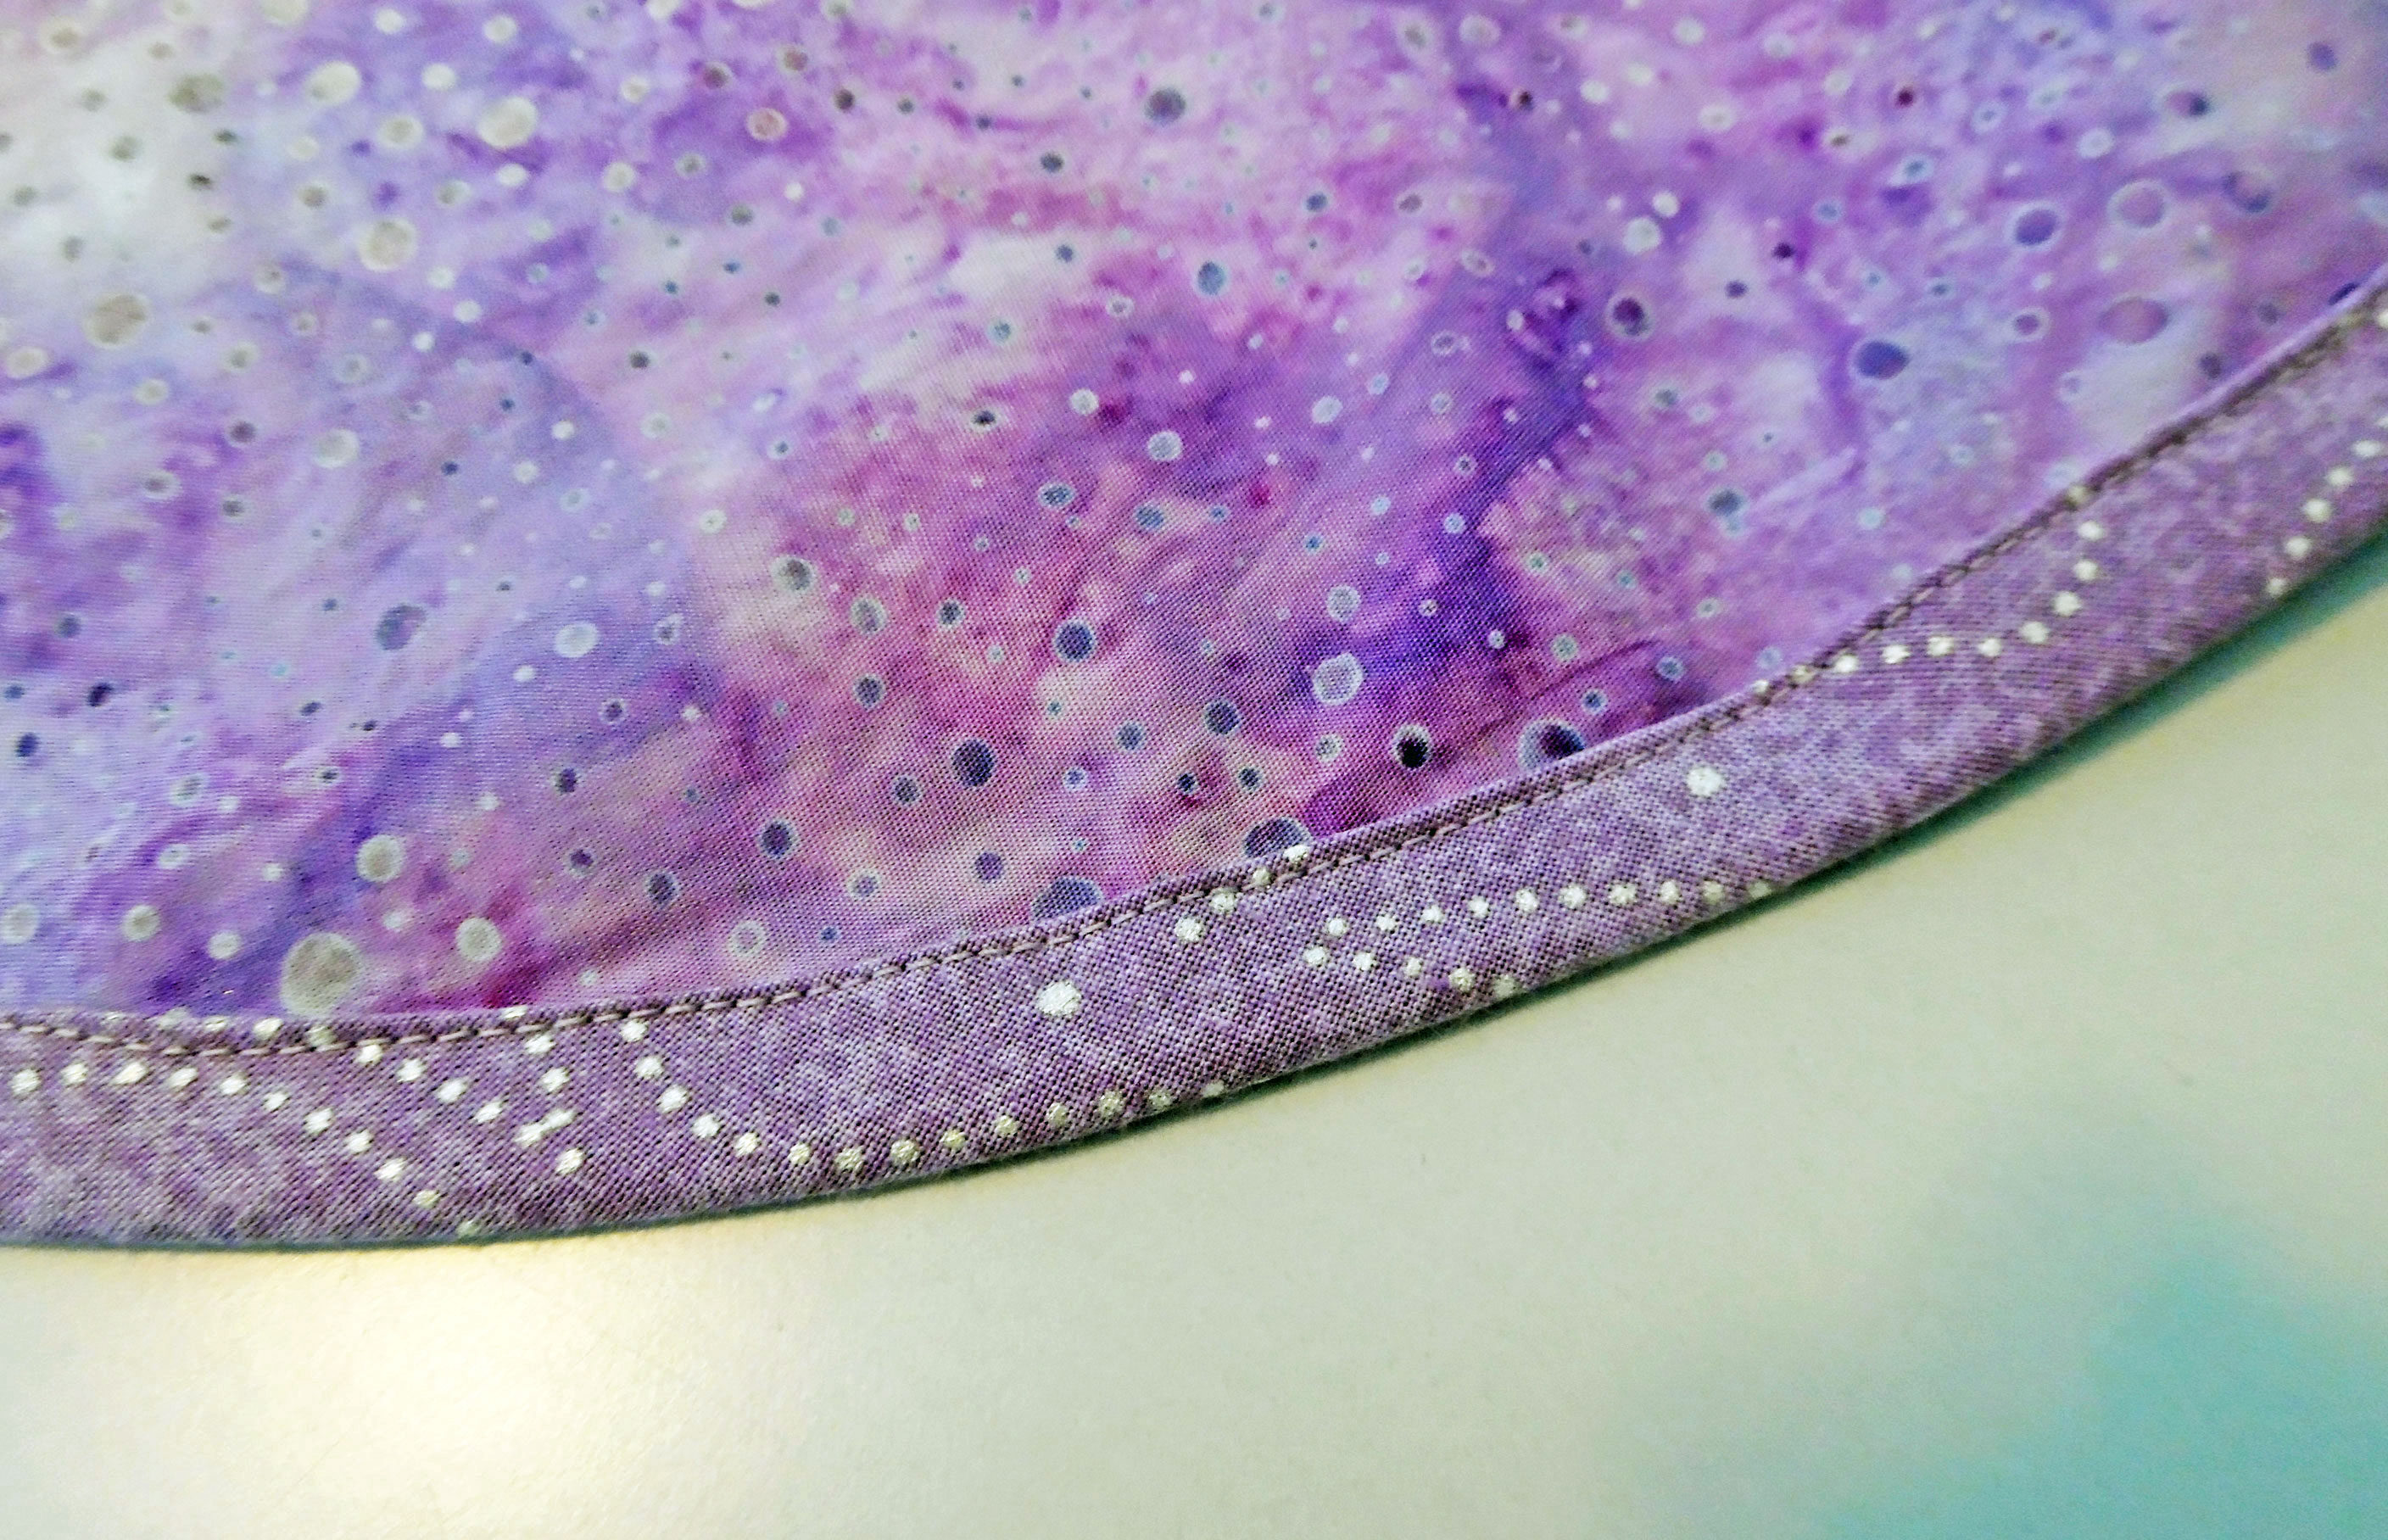
Edgestitching the Binding
Dab a small amount of Fray Check on the exposed raw edge. This will help prevent fraying.
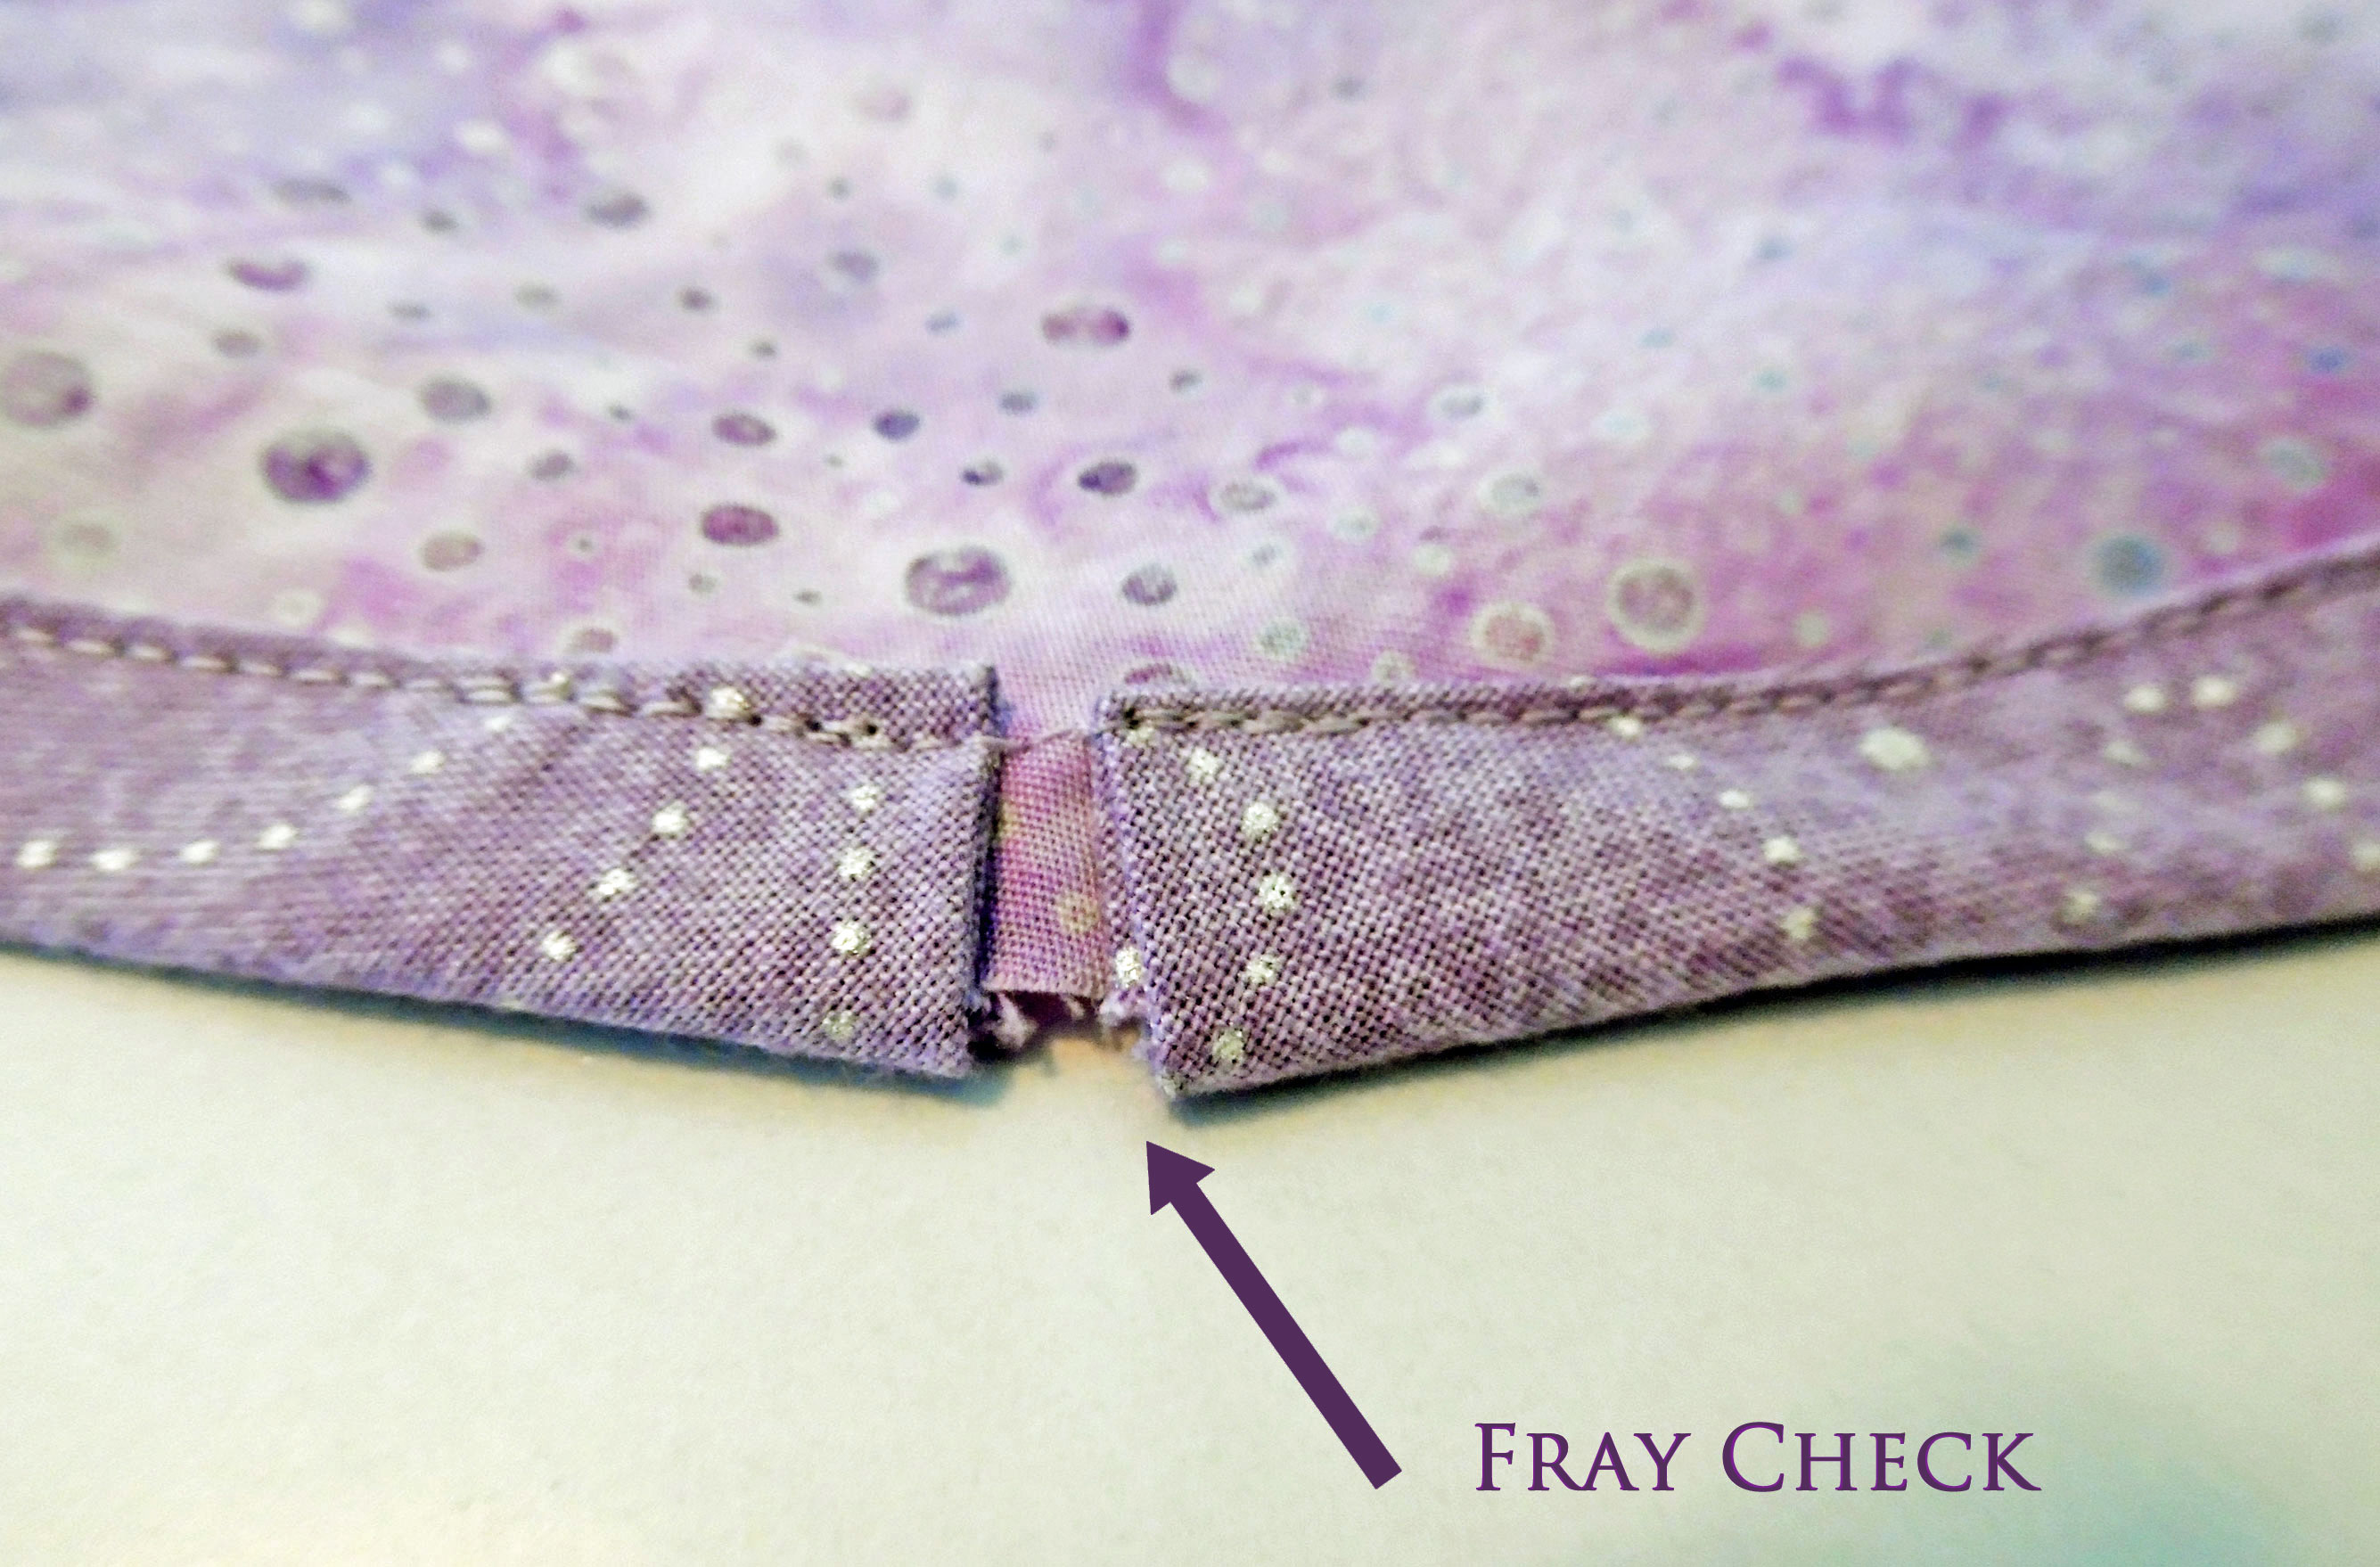
Fray Check Goes Here
Drawstring
While the Fray Check is drying, measure out your twill tape. The length should be equal to the circumference of the cover, plus 12″. Trim the ends diagonally and dab a little Fray Check on them to prevent fraying. Wait for it to dry completely before proceeding.
The easiest way to thread the twill tape into the channel is with a bodkin. A bodkin is a small, inexpensive tool that resembles tweezers. Clamp it onto the end of the twill tape and feed it through the channel. (You can use a large safety pin instead of a bodkin, but it’s much harder. Plus, you run the risk of the pin popping open halfway through the channel!)
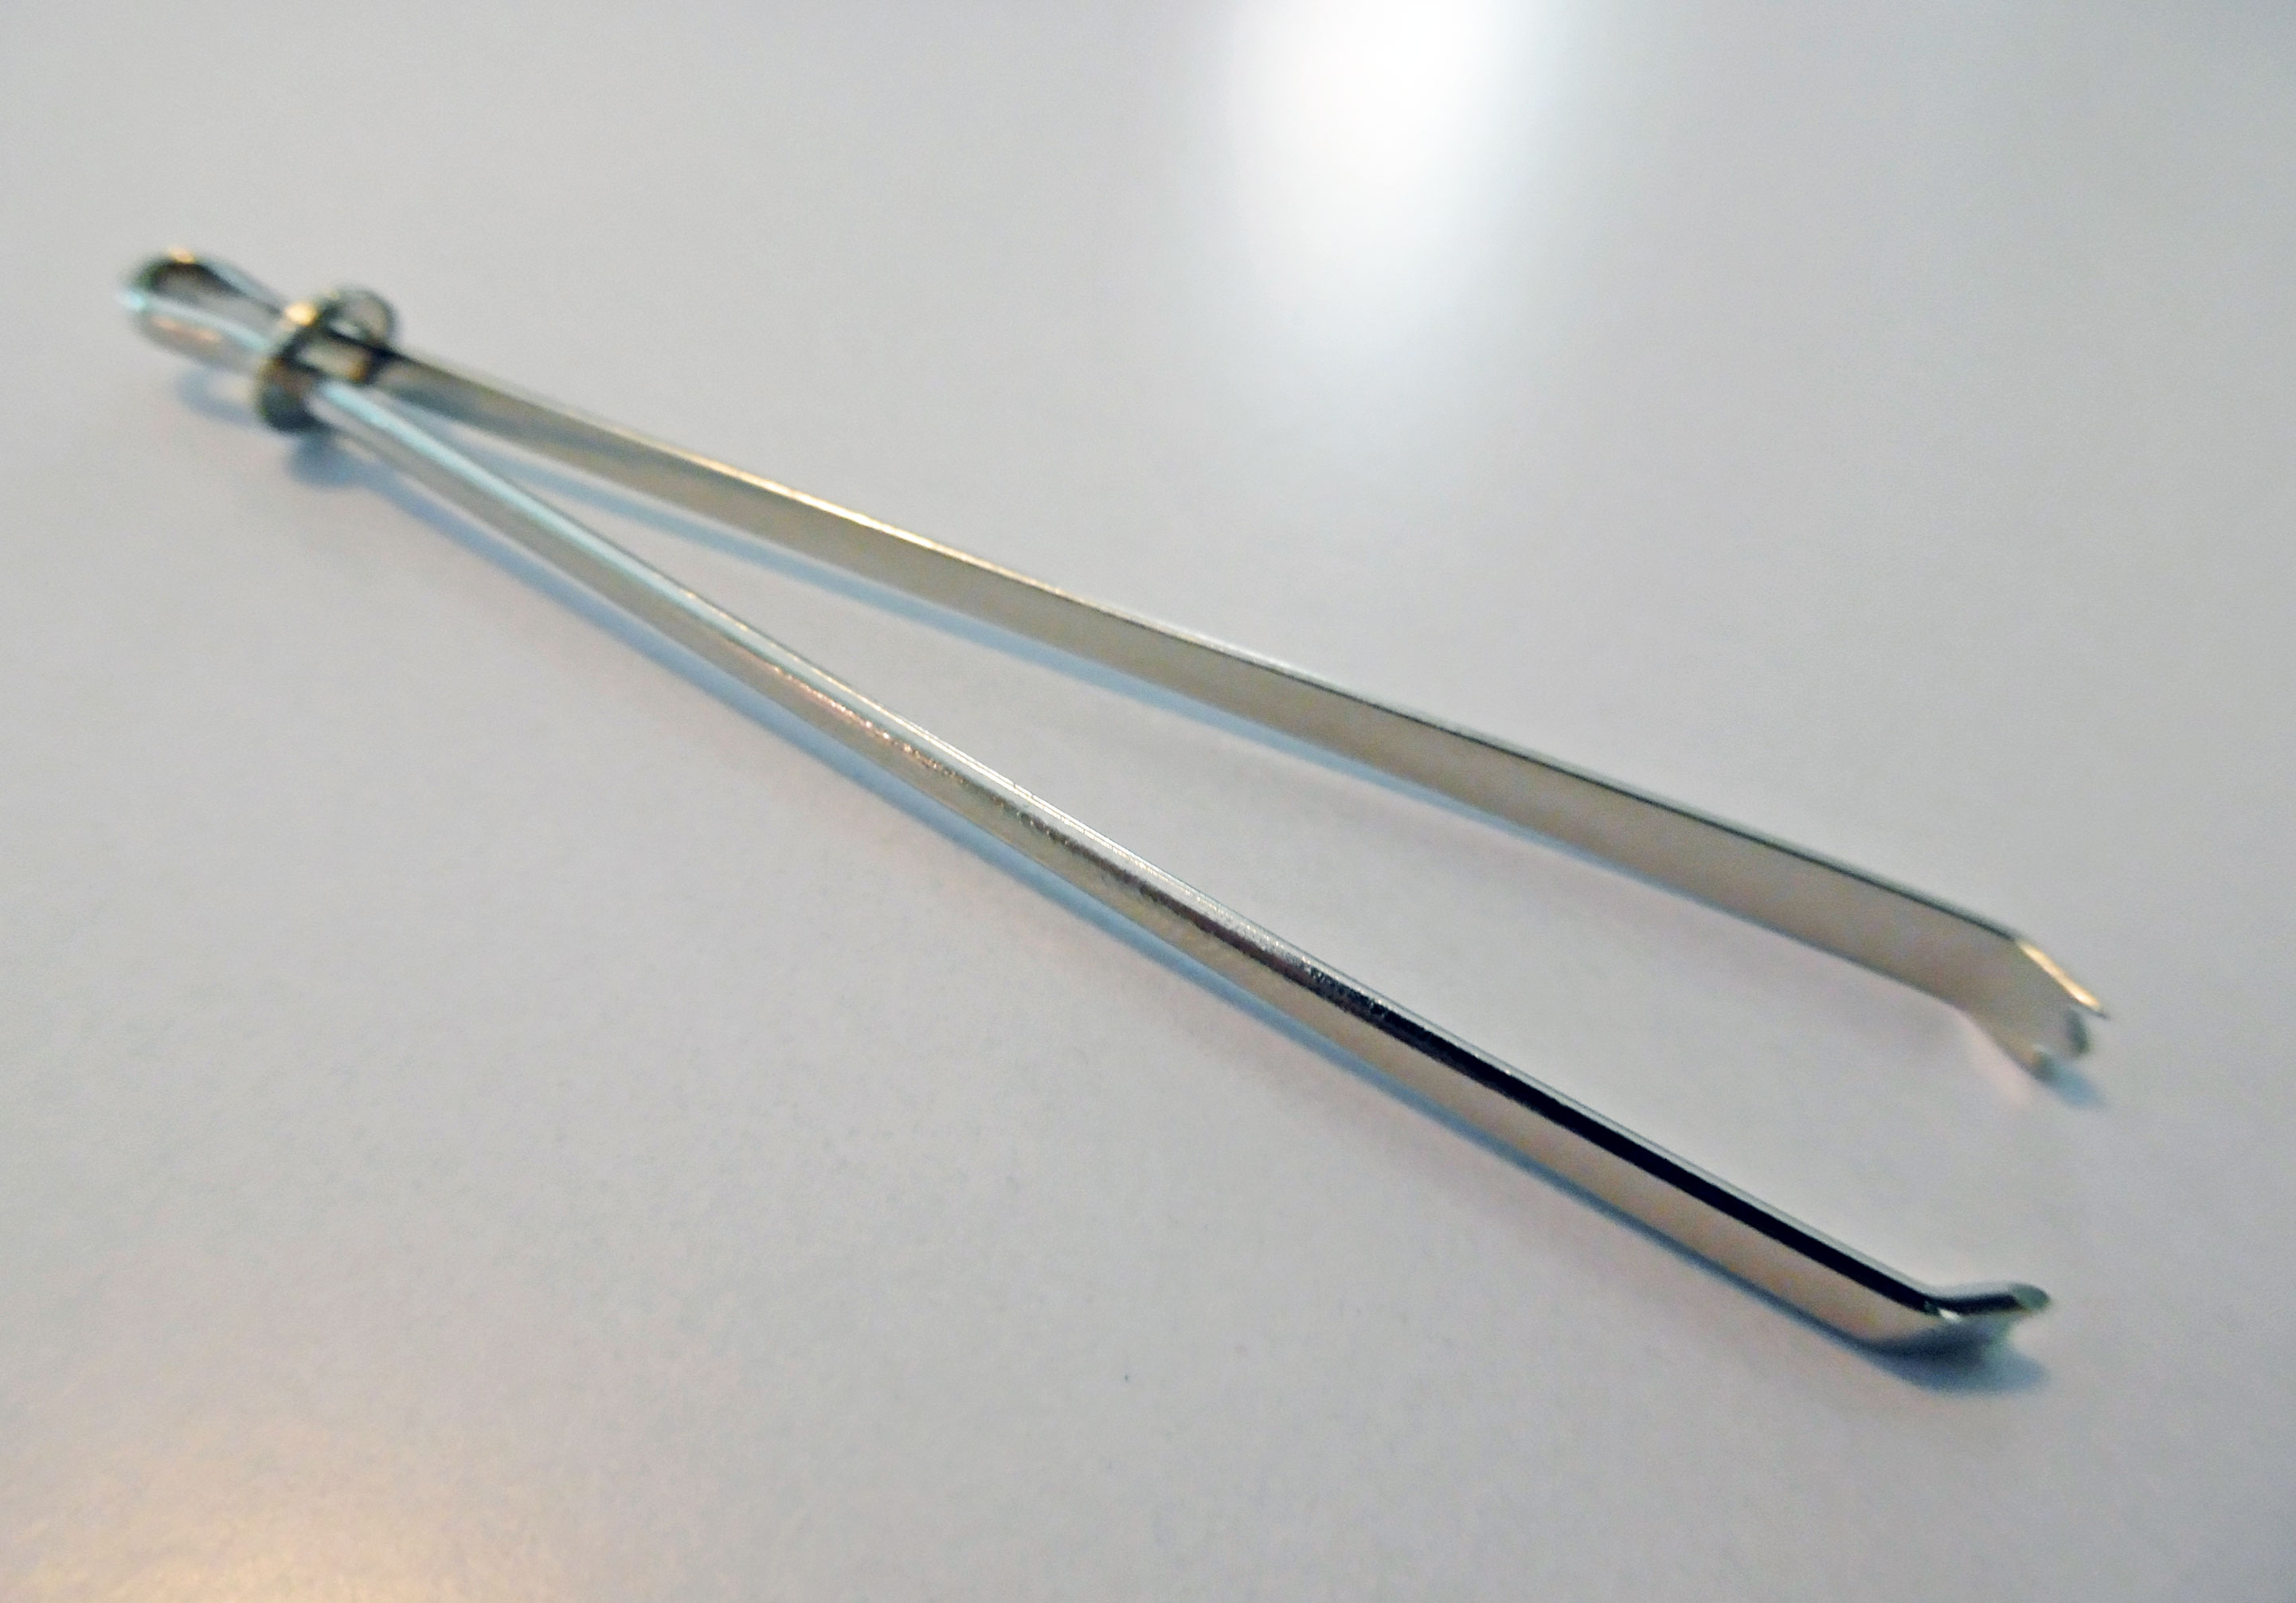
Bodkin
It’s impossible to keep the twill tape flat as you feed it through the channel, so don’t worry about it. Once it comes out the other end, pull the twill tape so the ends are even.
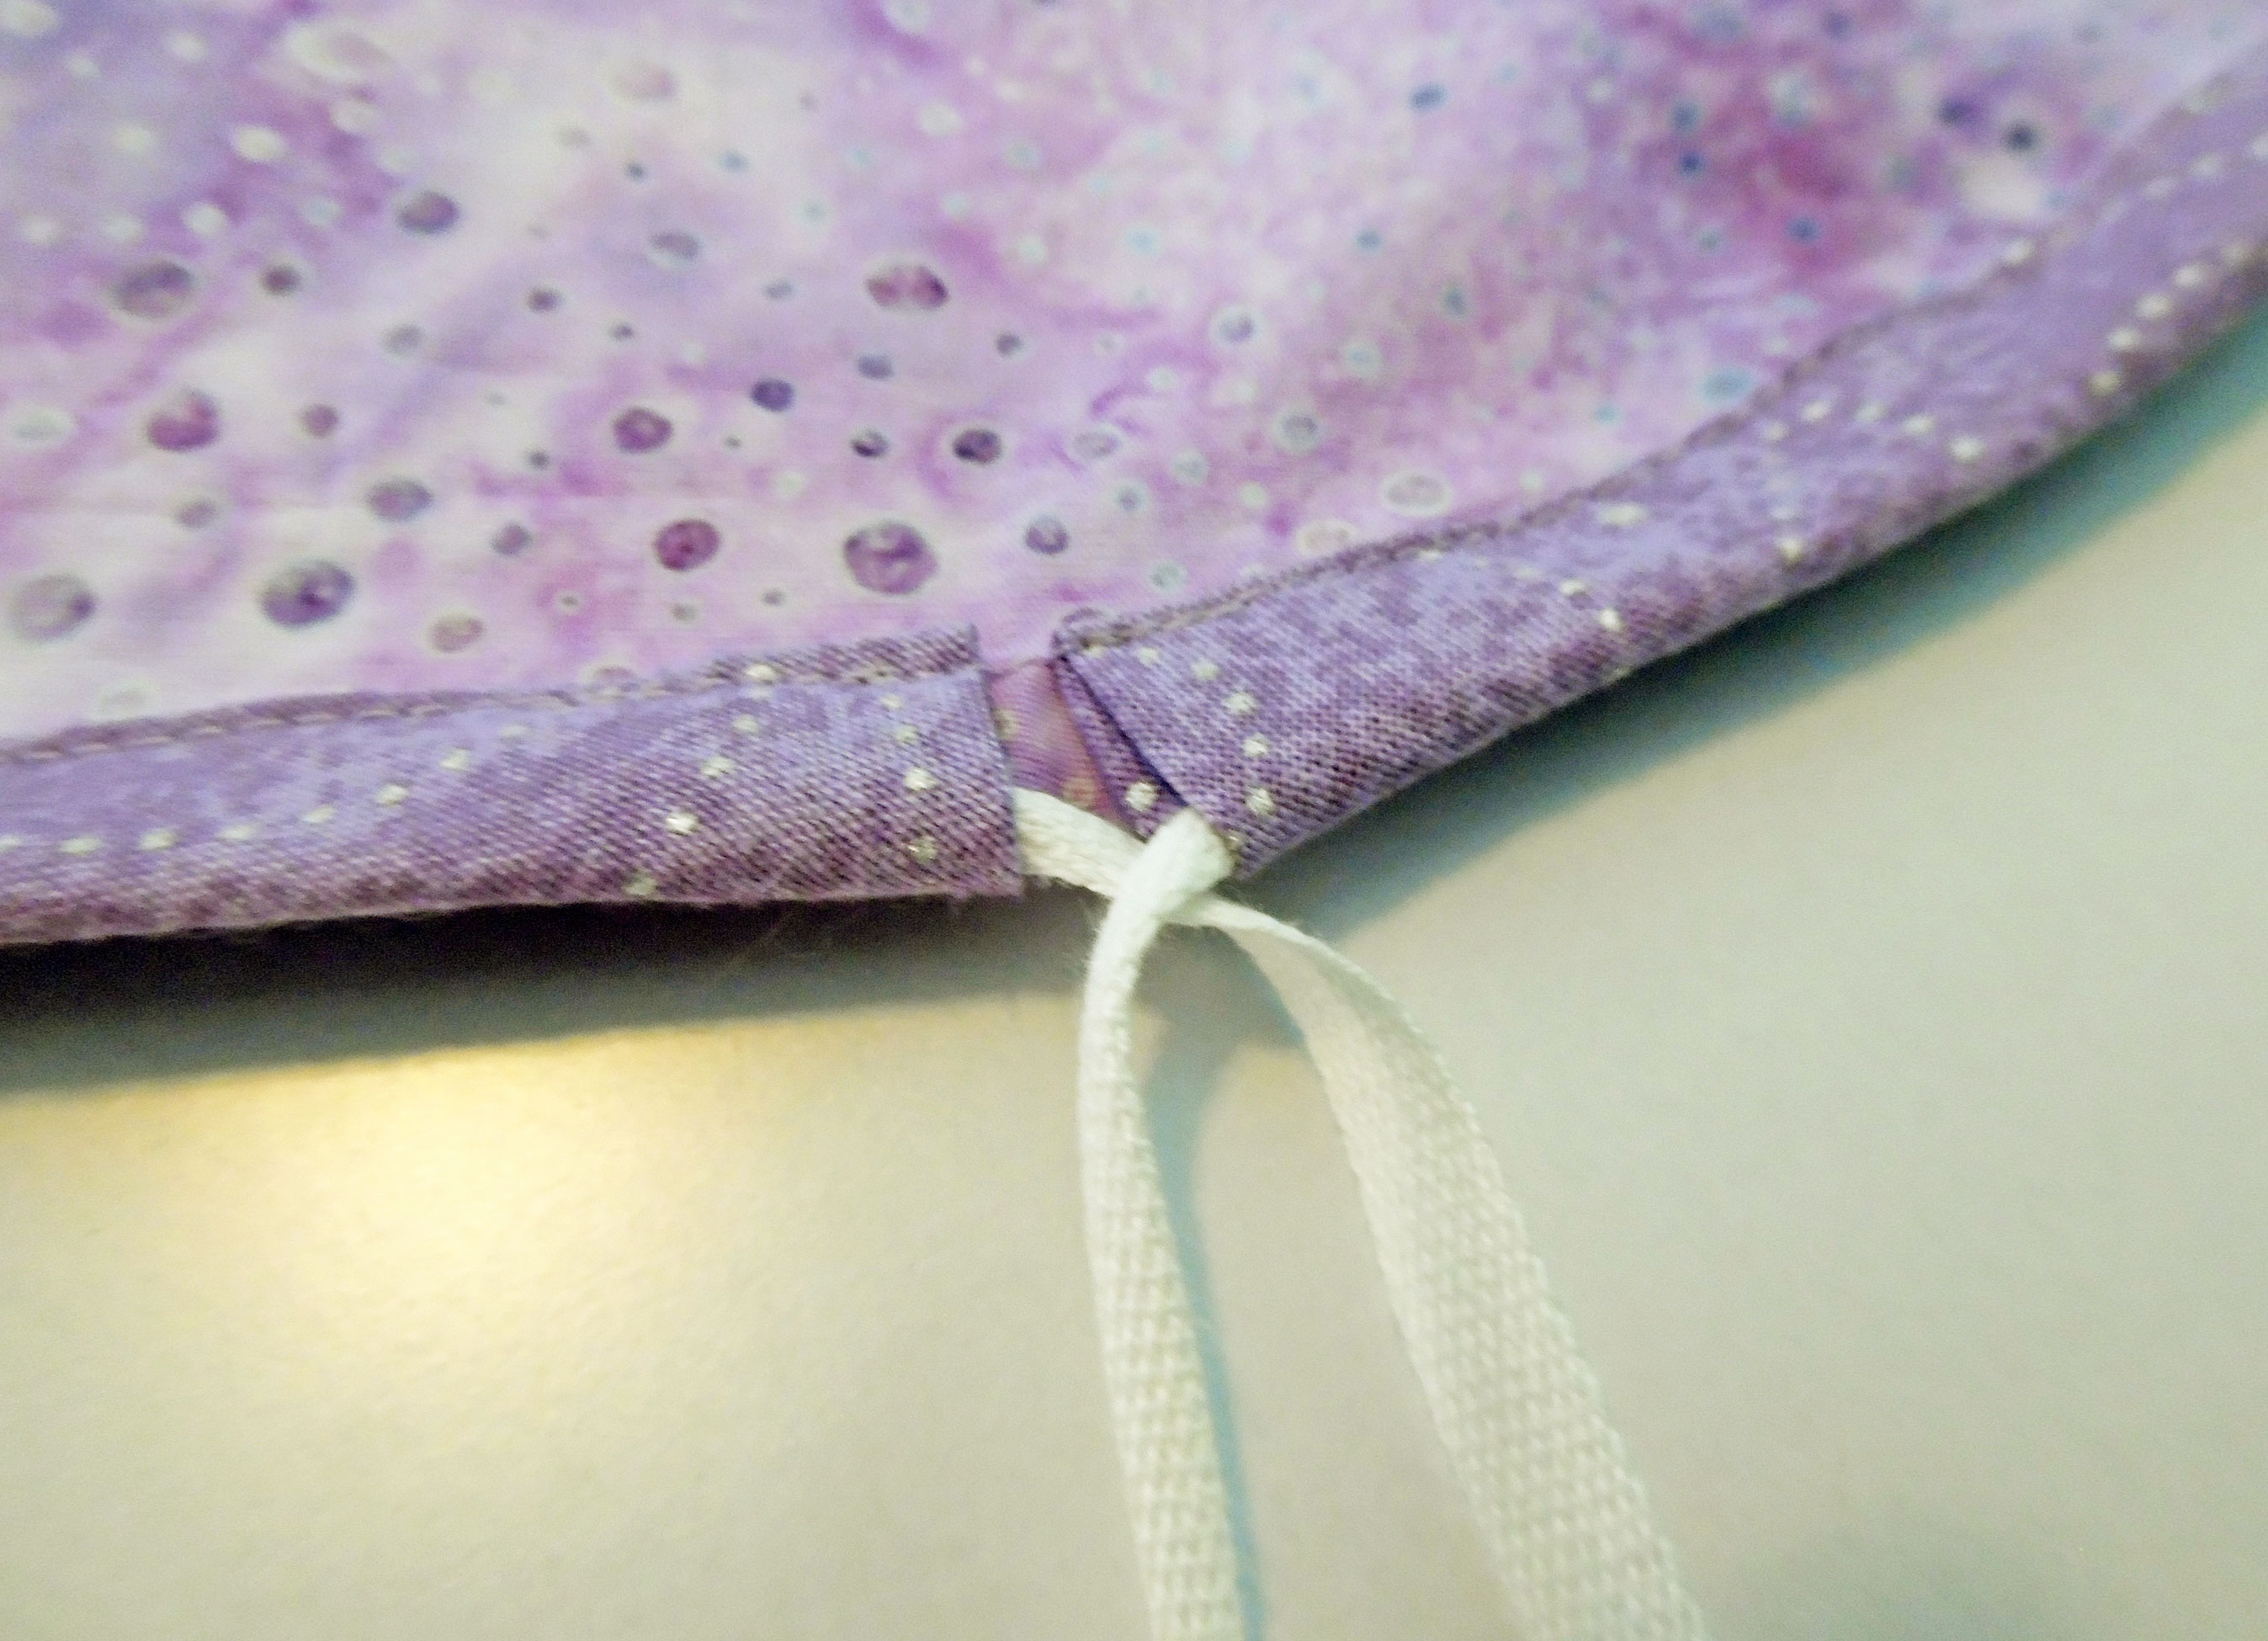
Threaded Twill Tape Drawstring
Embellishment
Place the batting on top of your stool, then slip on the cover you just finished. Pull the drawstring, so the cover fits snugly. Check the gathering to be sure it’s distributed evenly around the stool seat, without bunching.
Pin the lace onto the cover. It’s best to place it around the sides, so you won’t have to sit on the lace.
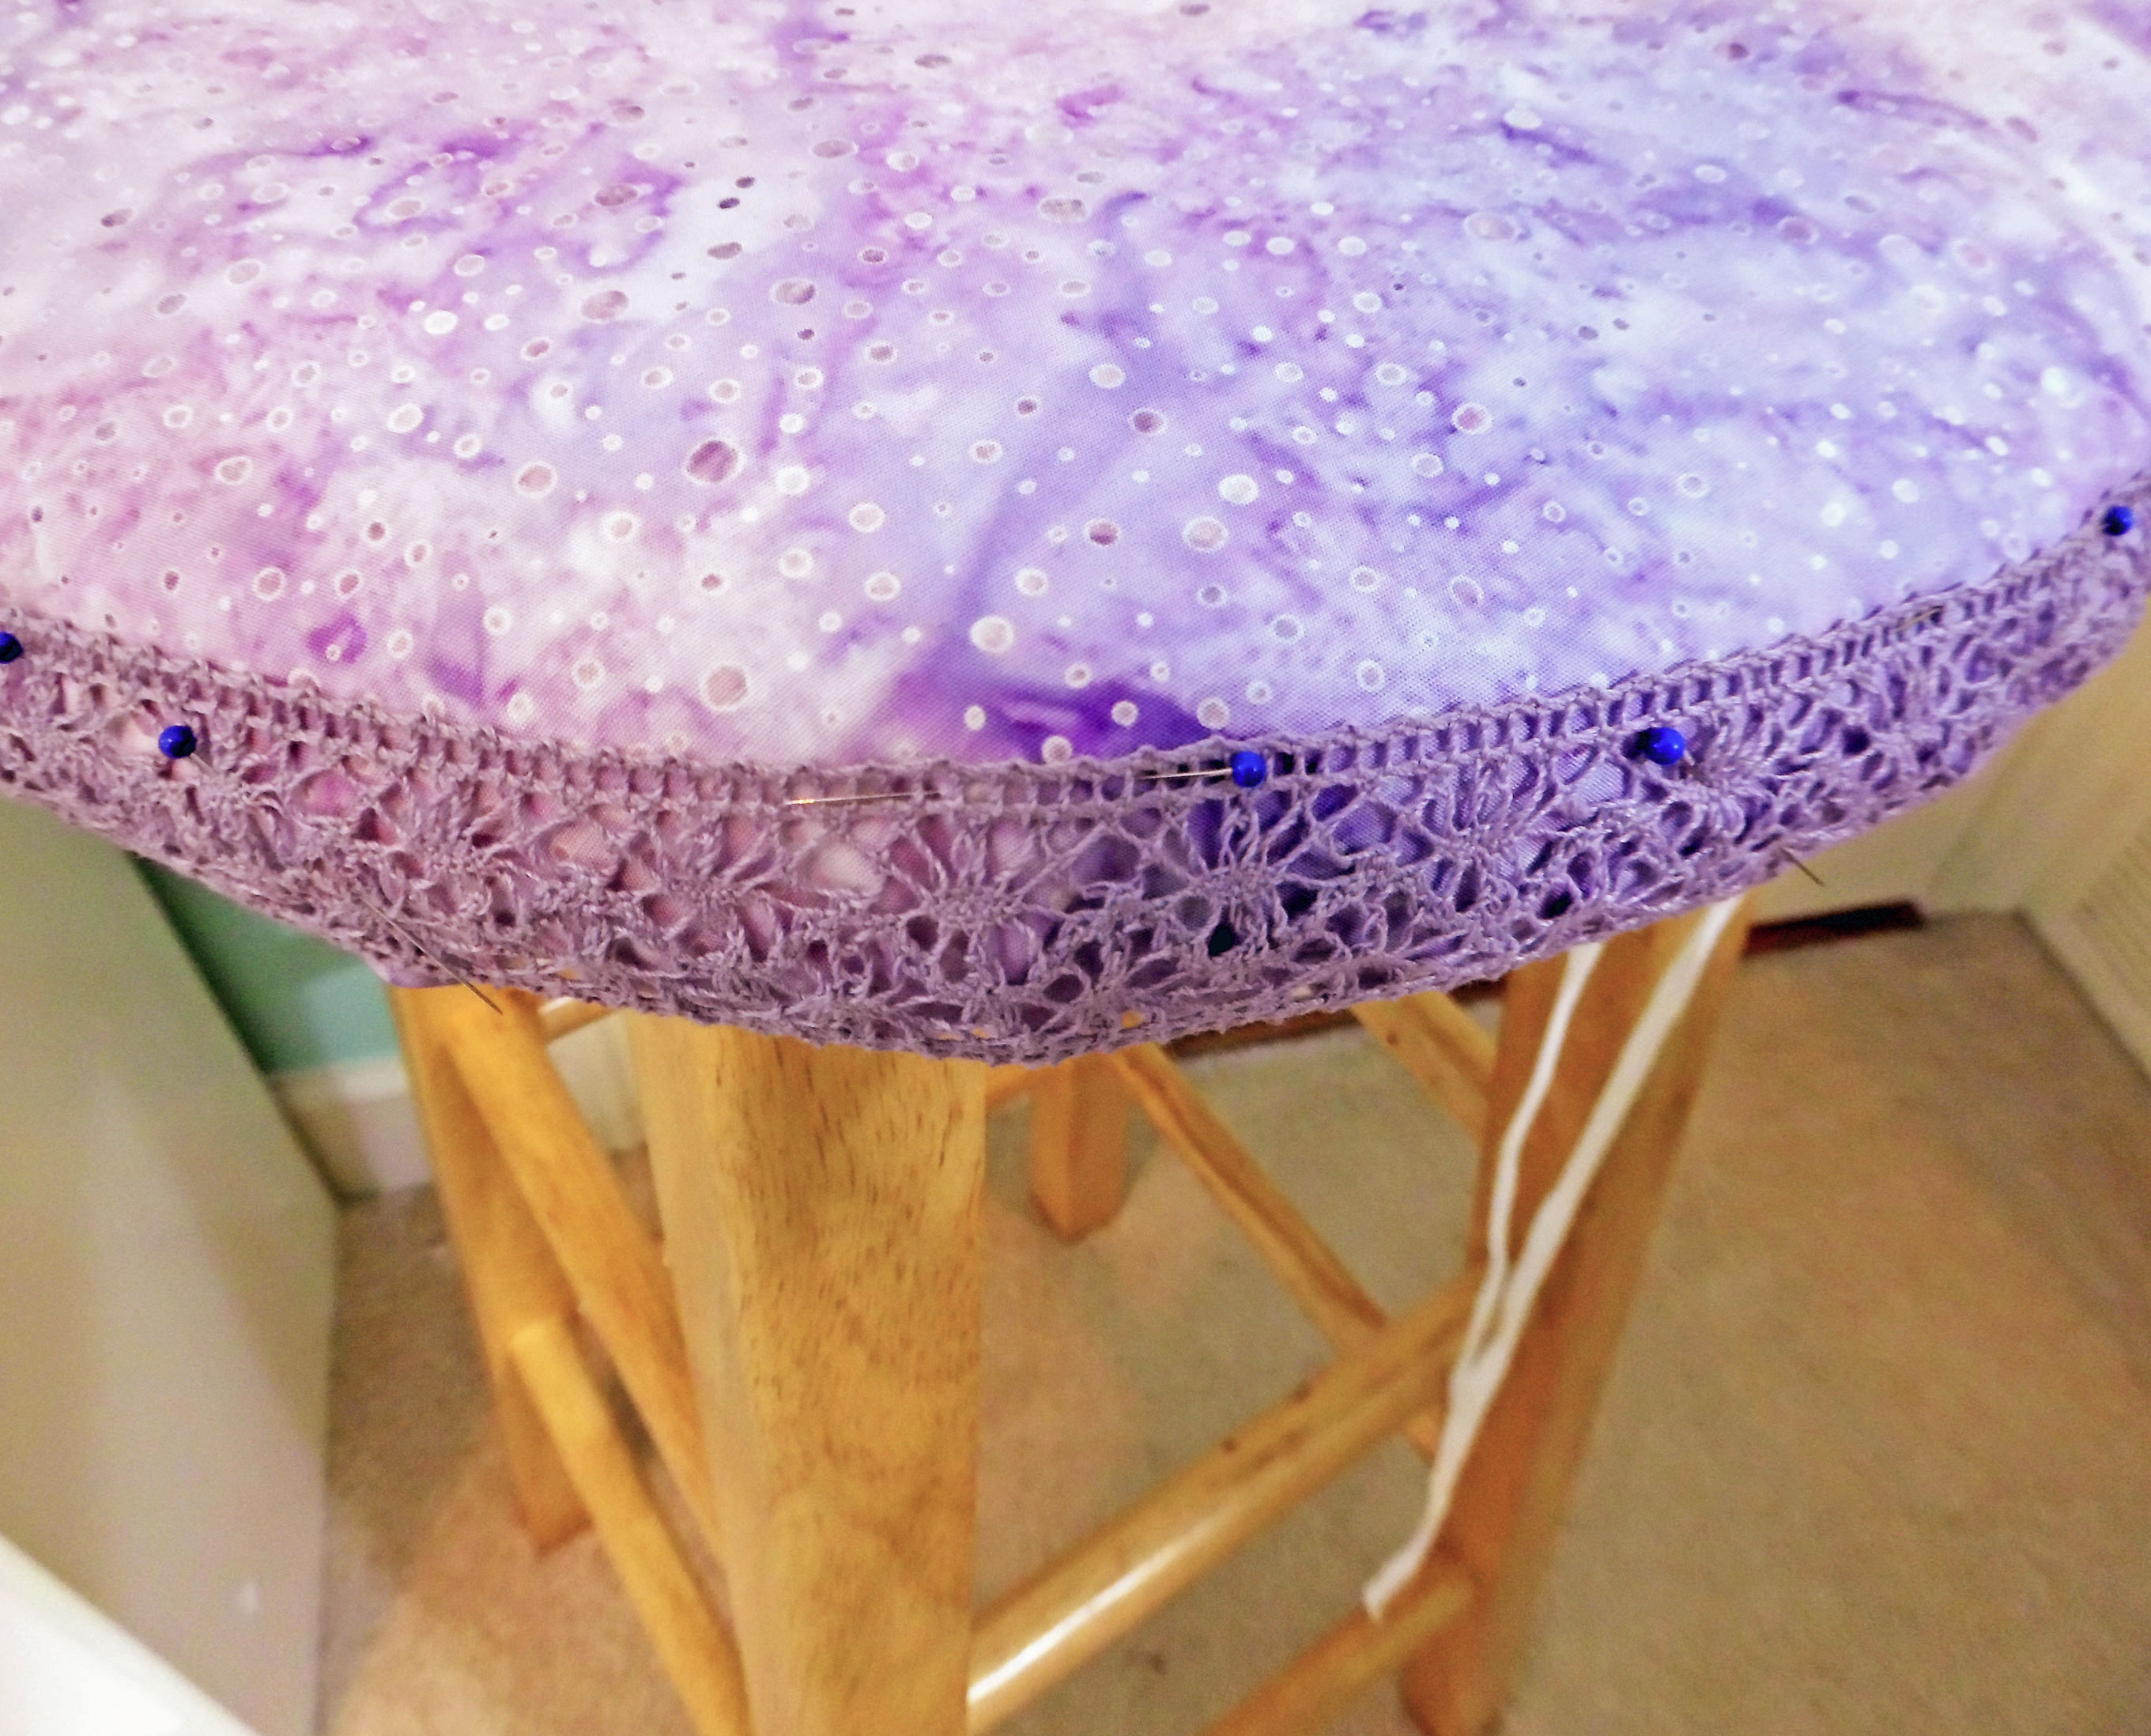
Pinned Lace
Loosen the drawstring and carefully remove the cover with the lace still pinned on. Try to keep the cover in its three-dimensional round shape, so the lace will be sewn on accurately.
Using waxed thread, hand sew the lace to the fabric with a combination stitch, all the way around the top edge. Keep your stitches small, so they won’t show. If the lace refuses to stay in place, you can sew around the bottom edge, too.
Sewn Lace
~~*~~
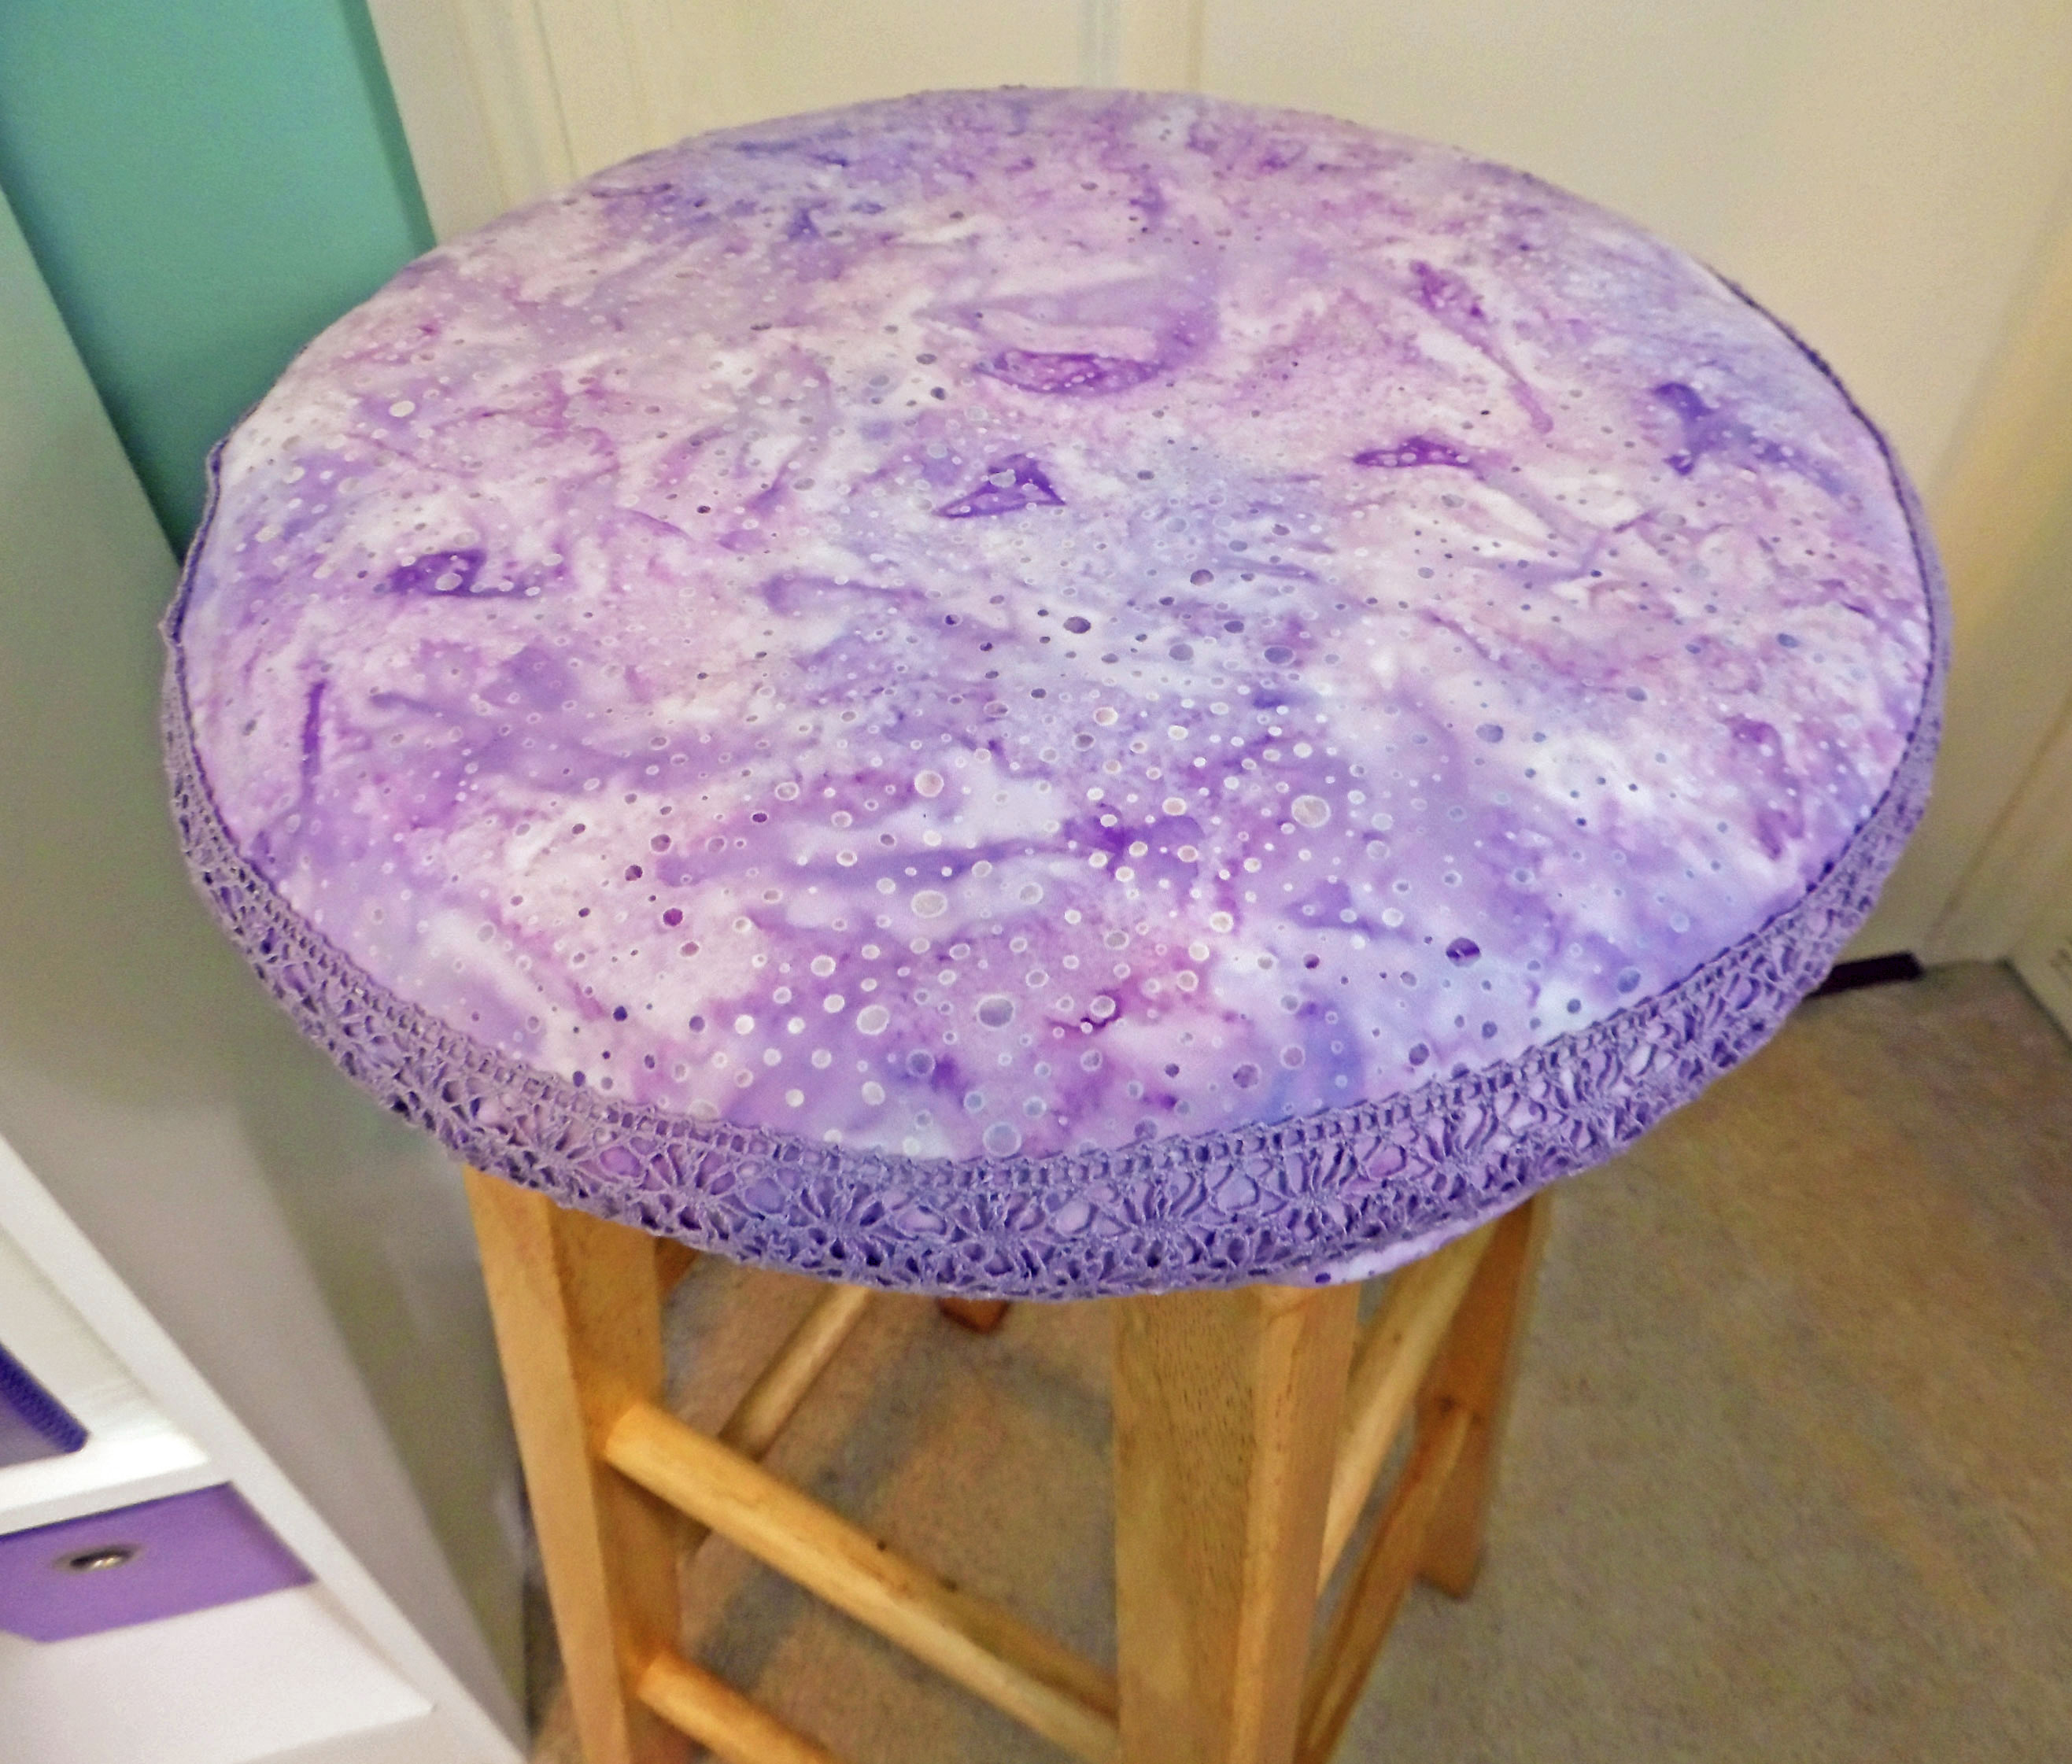
And that’s all there is to making your own custom stool cover!

Custom Stool Cover (Finished)
2 Responses to Custom Stool Cover