
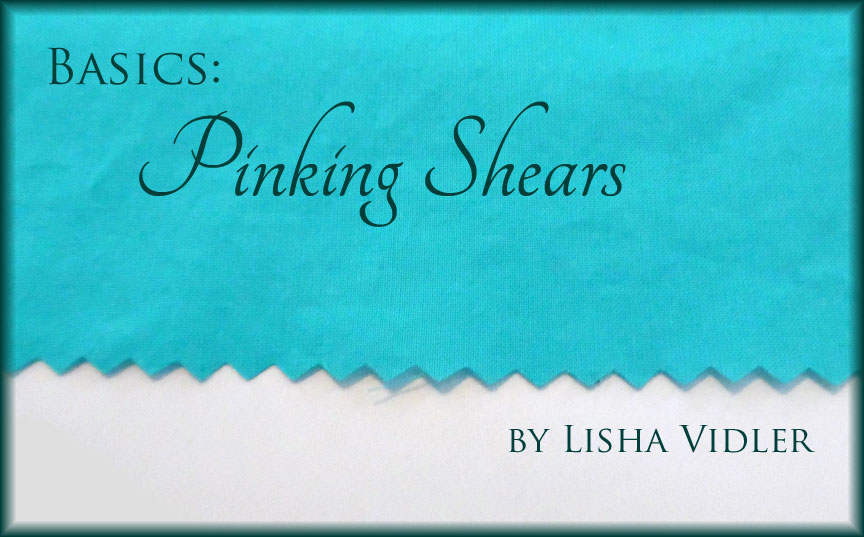
One of the first methods of seam finishing we learn about is pinking, probably because it’s quick and easy. What is pinking? When should you use it to finish your seams? And more importantly, when should you avoid using it? Let’s take a look.
Pinking Shears
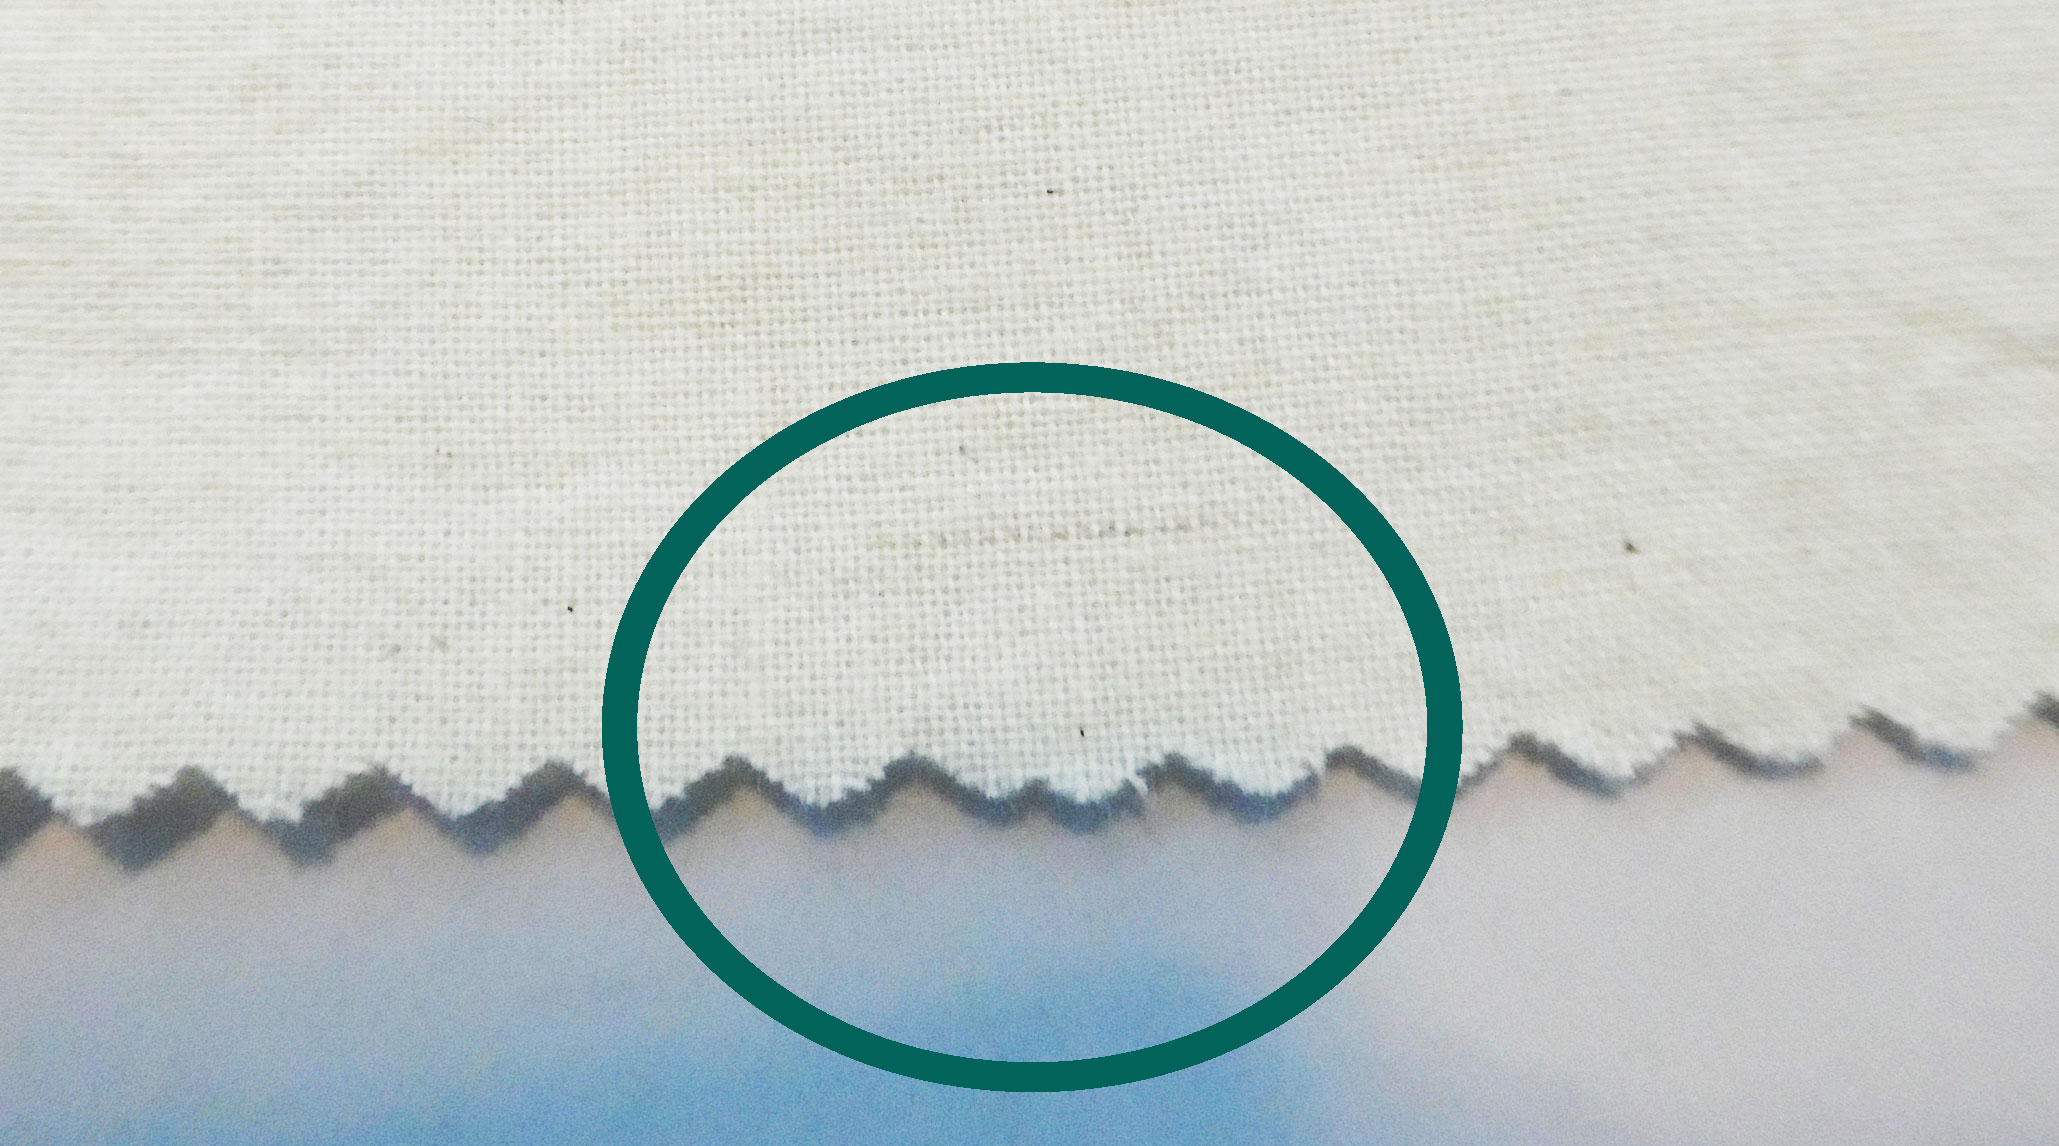
Pinking is a technique that dates back to the 18th century, at least. Back then, it involved using a special chisel to cut the fabric with a zigzag edge. Today, pinking is easier, as you can use pinking shears (specialized scissors) to cut with. If done correctly, pinking reduces fraying.
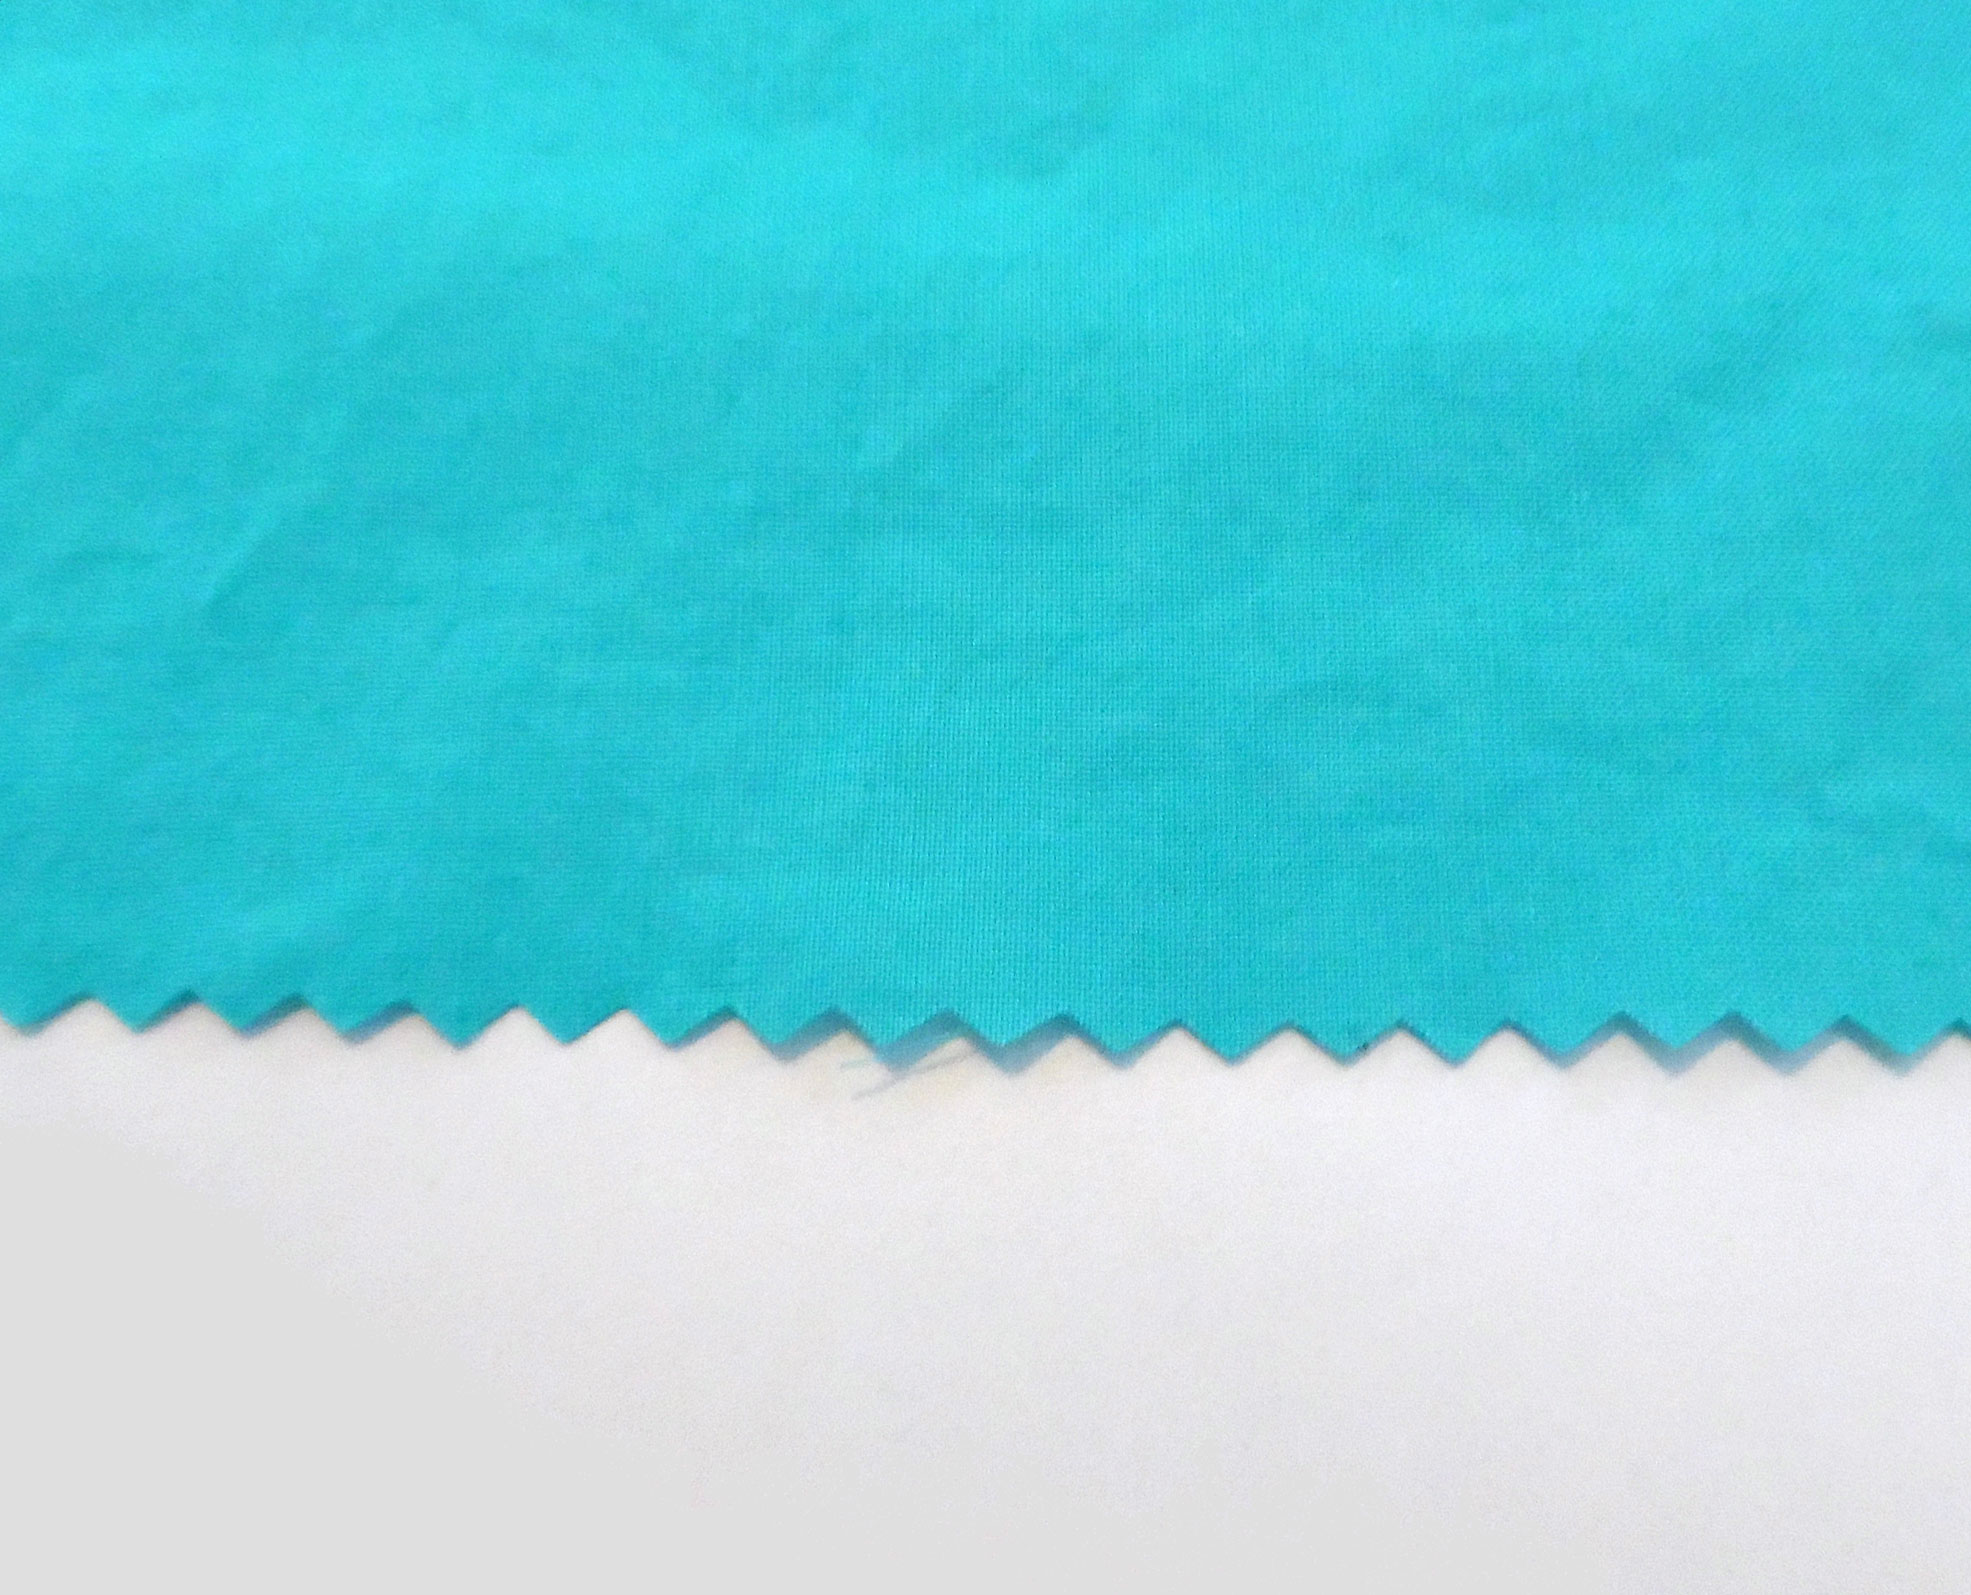
Pinked Fabric
Pinking shears tend to be heavy, and ordinary ones can be unwieldy and quite difficult to use. When pinking is called for, I prefer a pair of spring-loaded shears, which automatically pop open after every cut. They’re much easier on your hands!
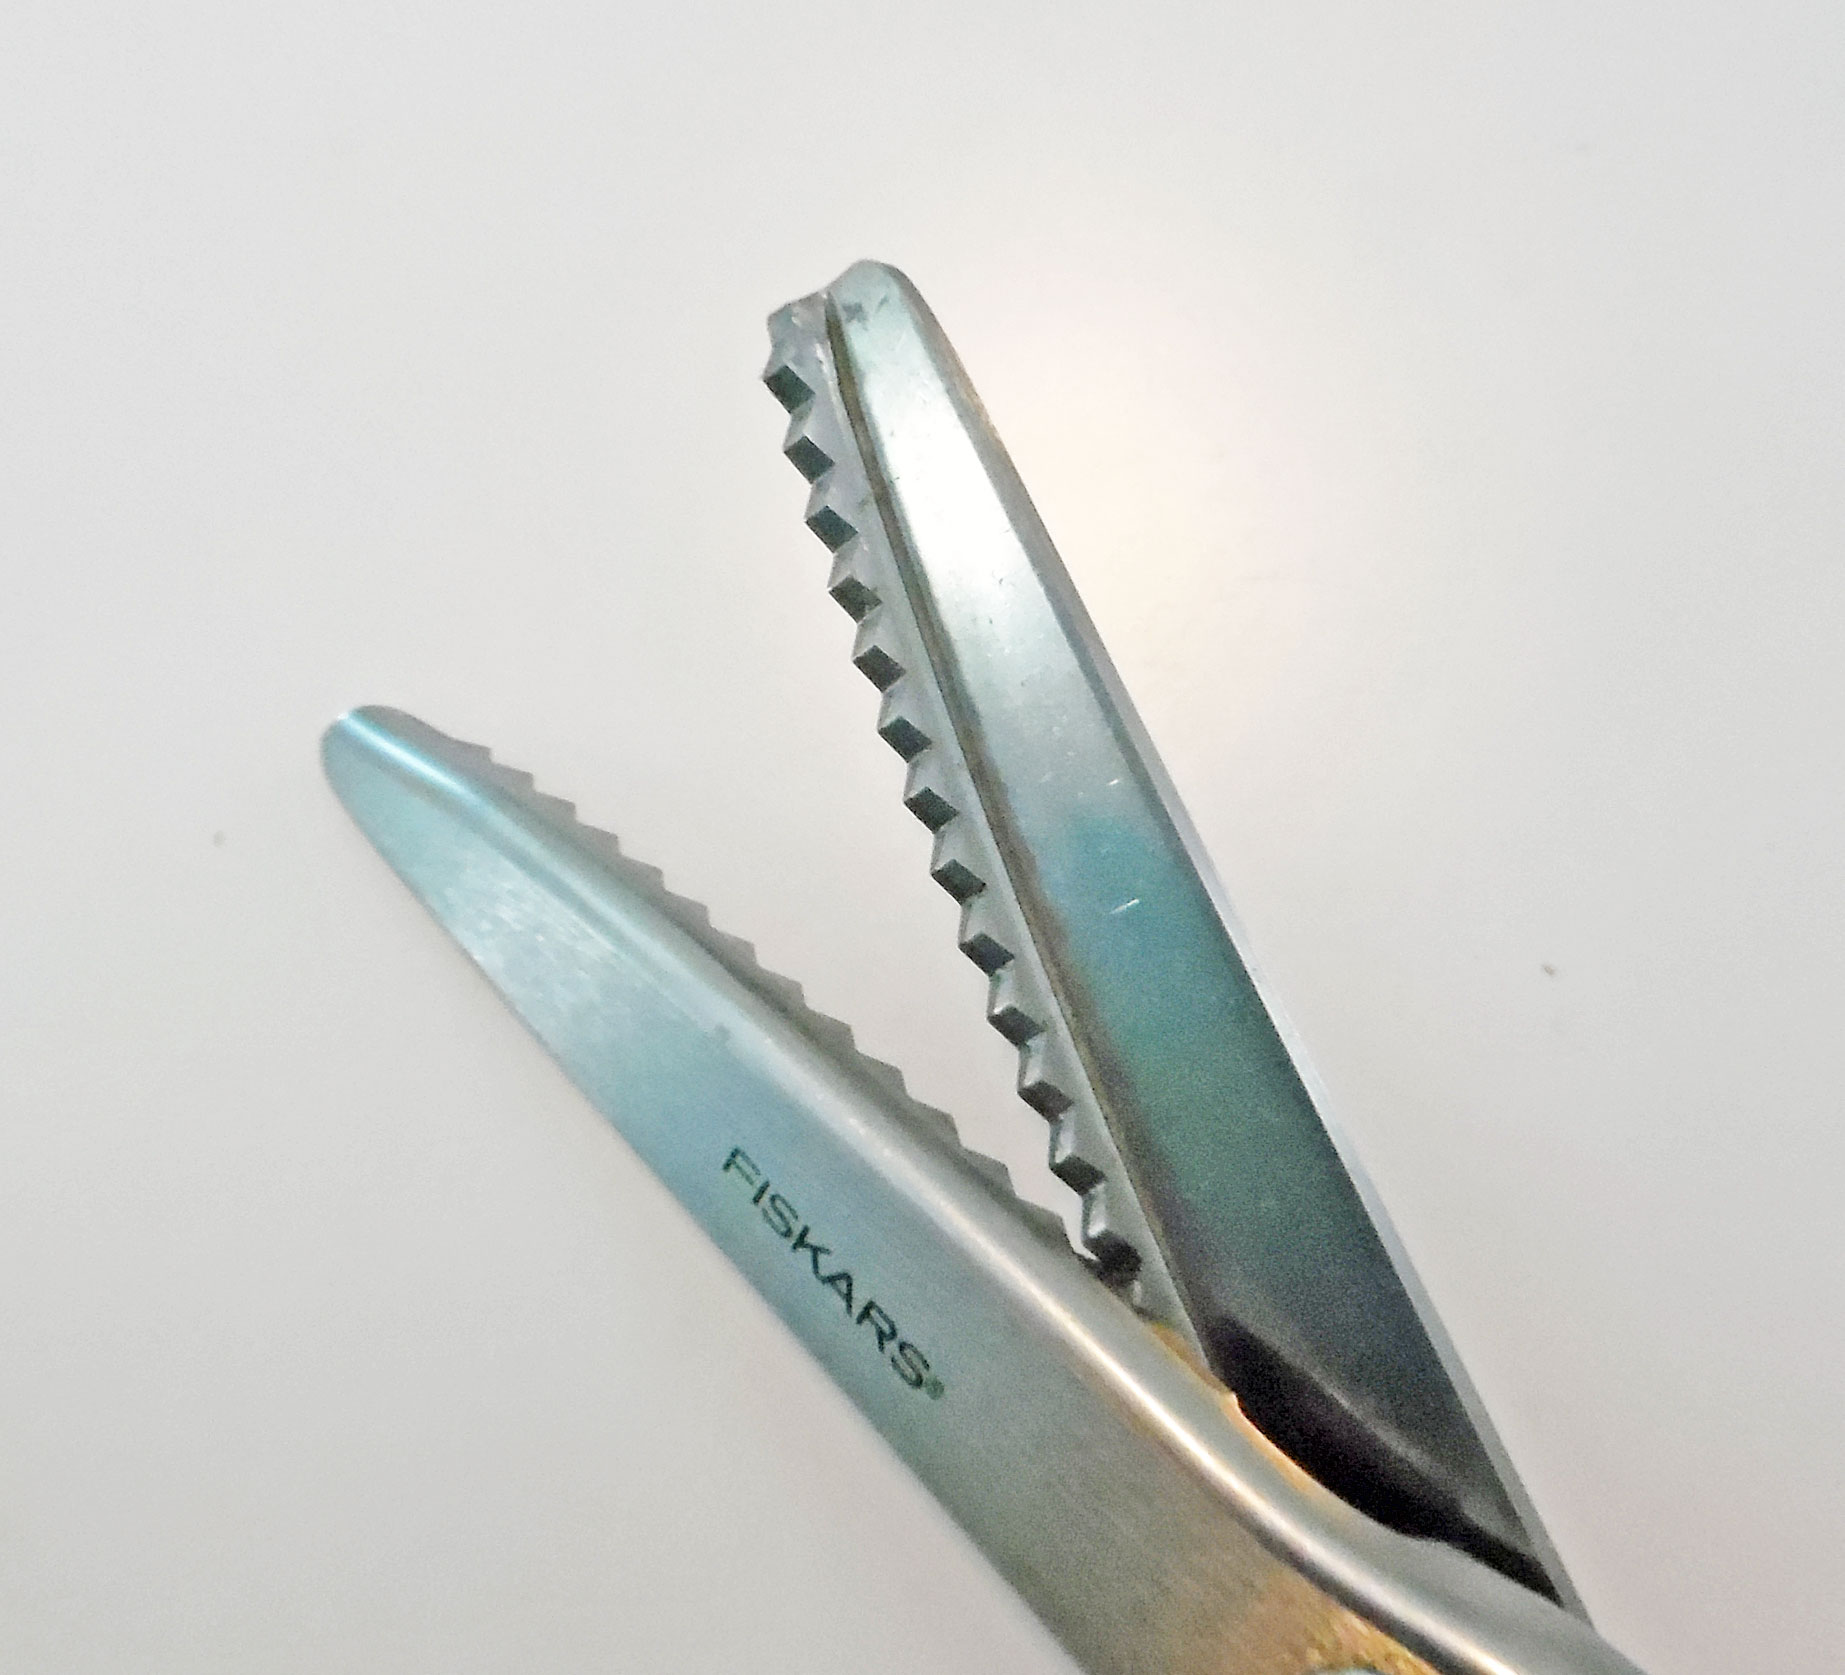
Pinking Shears
The way that pinking shears work is by cutting a row of small zigzags or triangles. But before you can understand why that stops fabric from fraying, you need to know a little about fabric grain.
Grainlines 101
Ordinary woven fabric is made by weaving threads under and over each other. These woven threads are are known collectively as the fabric’s grain.
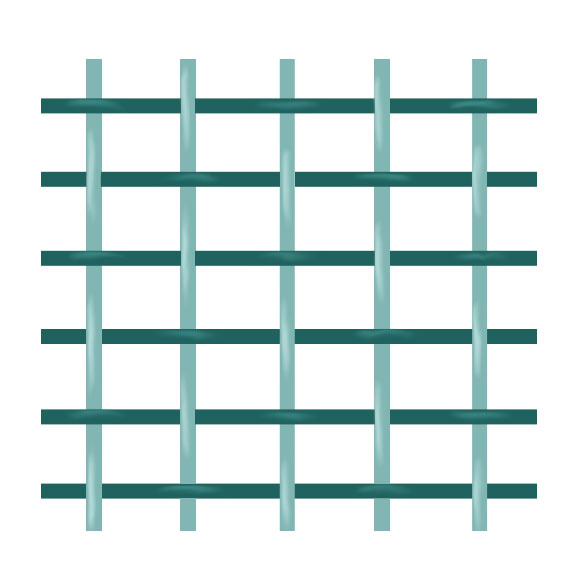
Woven Fabric
Going straight across, parallel to the selvage, is the lengthwise grain. Going the other direction, perpendicular to the selvage, is the crosswise grain.
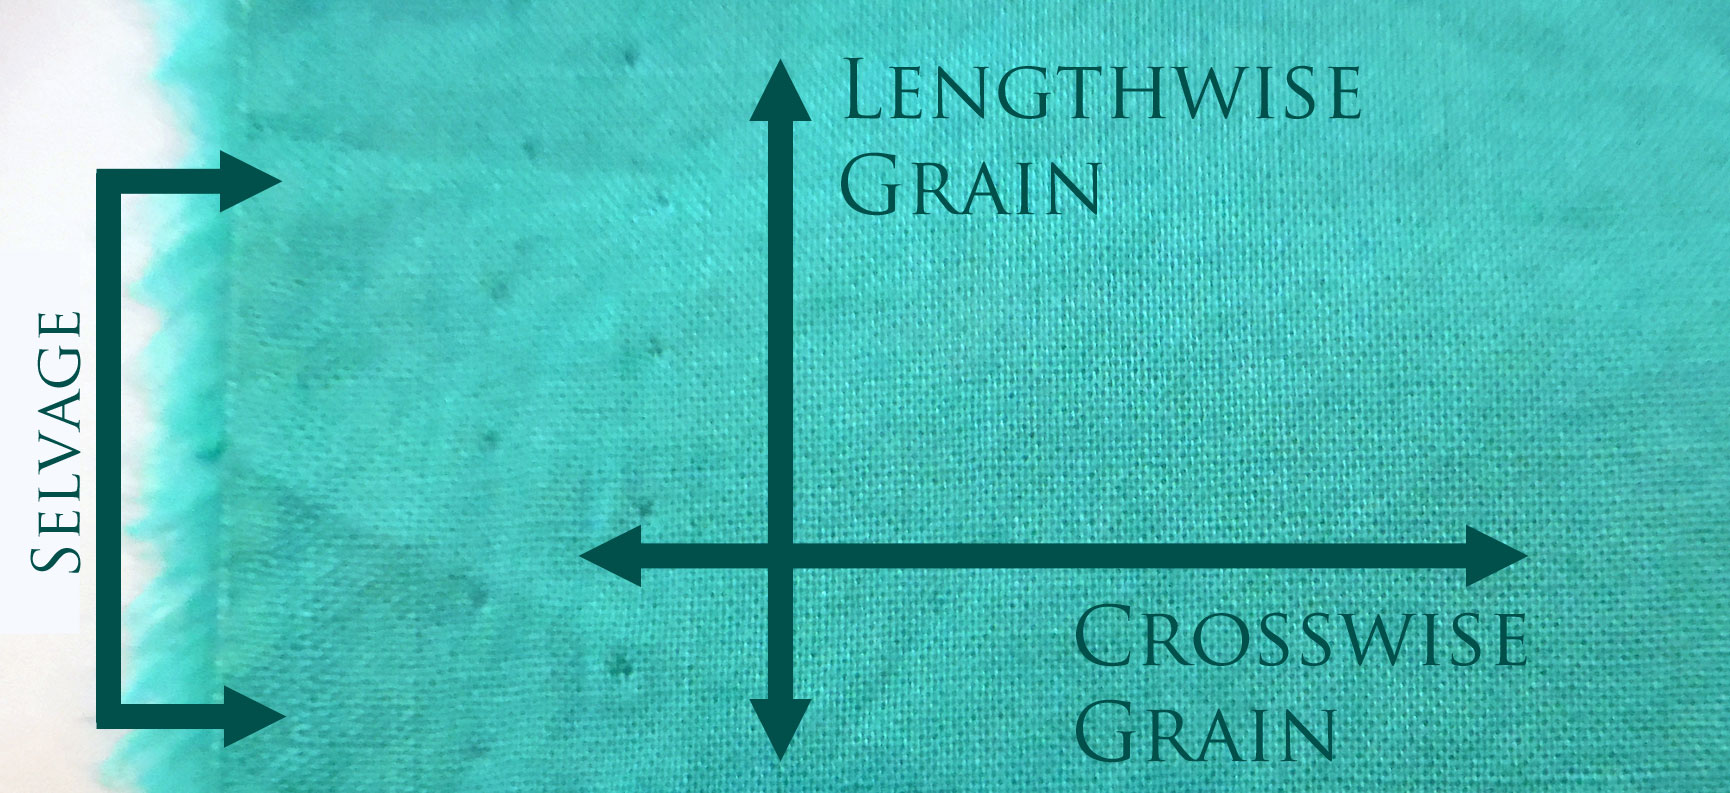
Lengthwise & Crosswise Grain
Going diagonally across the grain, it’s called the bias. The true bias is halfway between the two grains at a 45-degree angle.
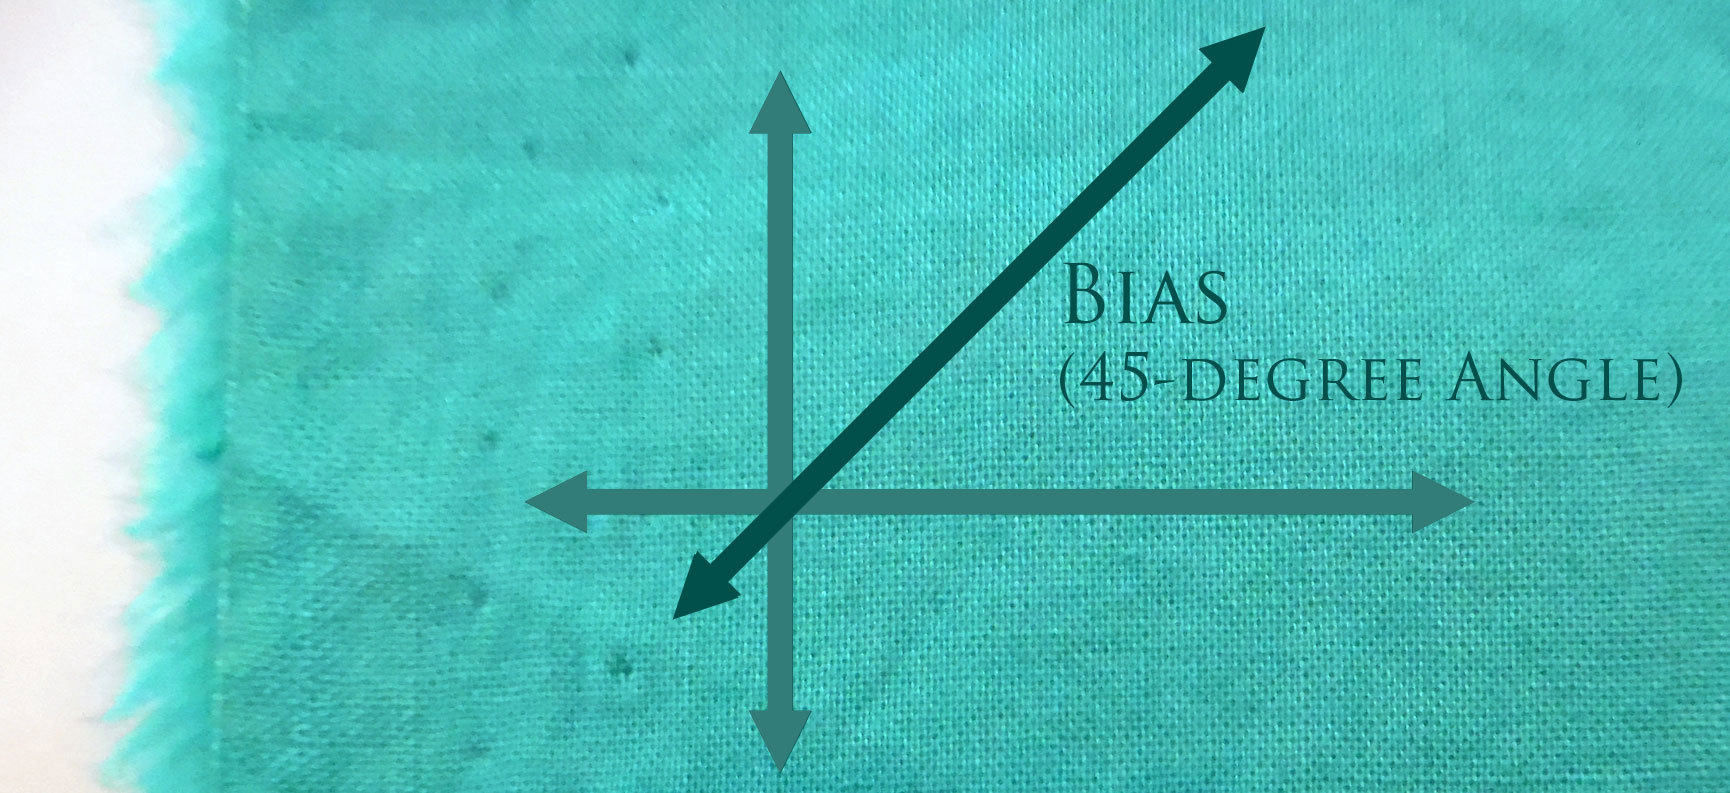
Bias Grainline
Here’s an exercise for you to try. Cut a piece of non-stretchy, woven fabric into a square, making sure the grainlines are straight. Try stretching it straight across the lengthwise grain. You’ll notice that it has no give at all, while the crosswise grain probably has a very slight amount of give. This has to do with the way it’s woven on the loom. Note that some fabrics are a little more stretchy than others, depending on how tightly they’re woven.
Now take the same piece of fabric and try stretching it diagonally, from corner to corner. See how it stretches a lot more? This is because you’re pulling across the bias, which has a great deal of give to it. For this reason, garments cut on the bias tend to be clingy, with lots of drape. This is why bias-cut evening gowns are so lovely!
The most important fact to know is that fabric cut on the bias tends not to fray.
Pinking
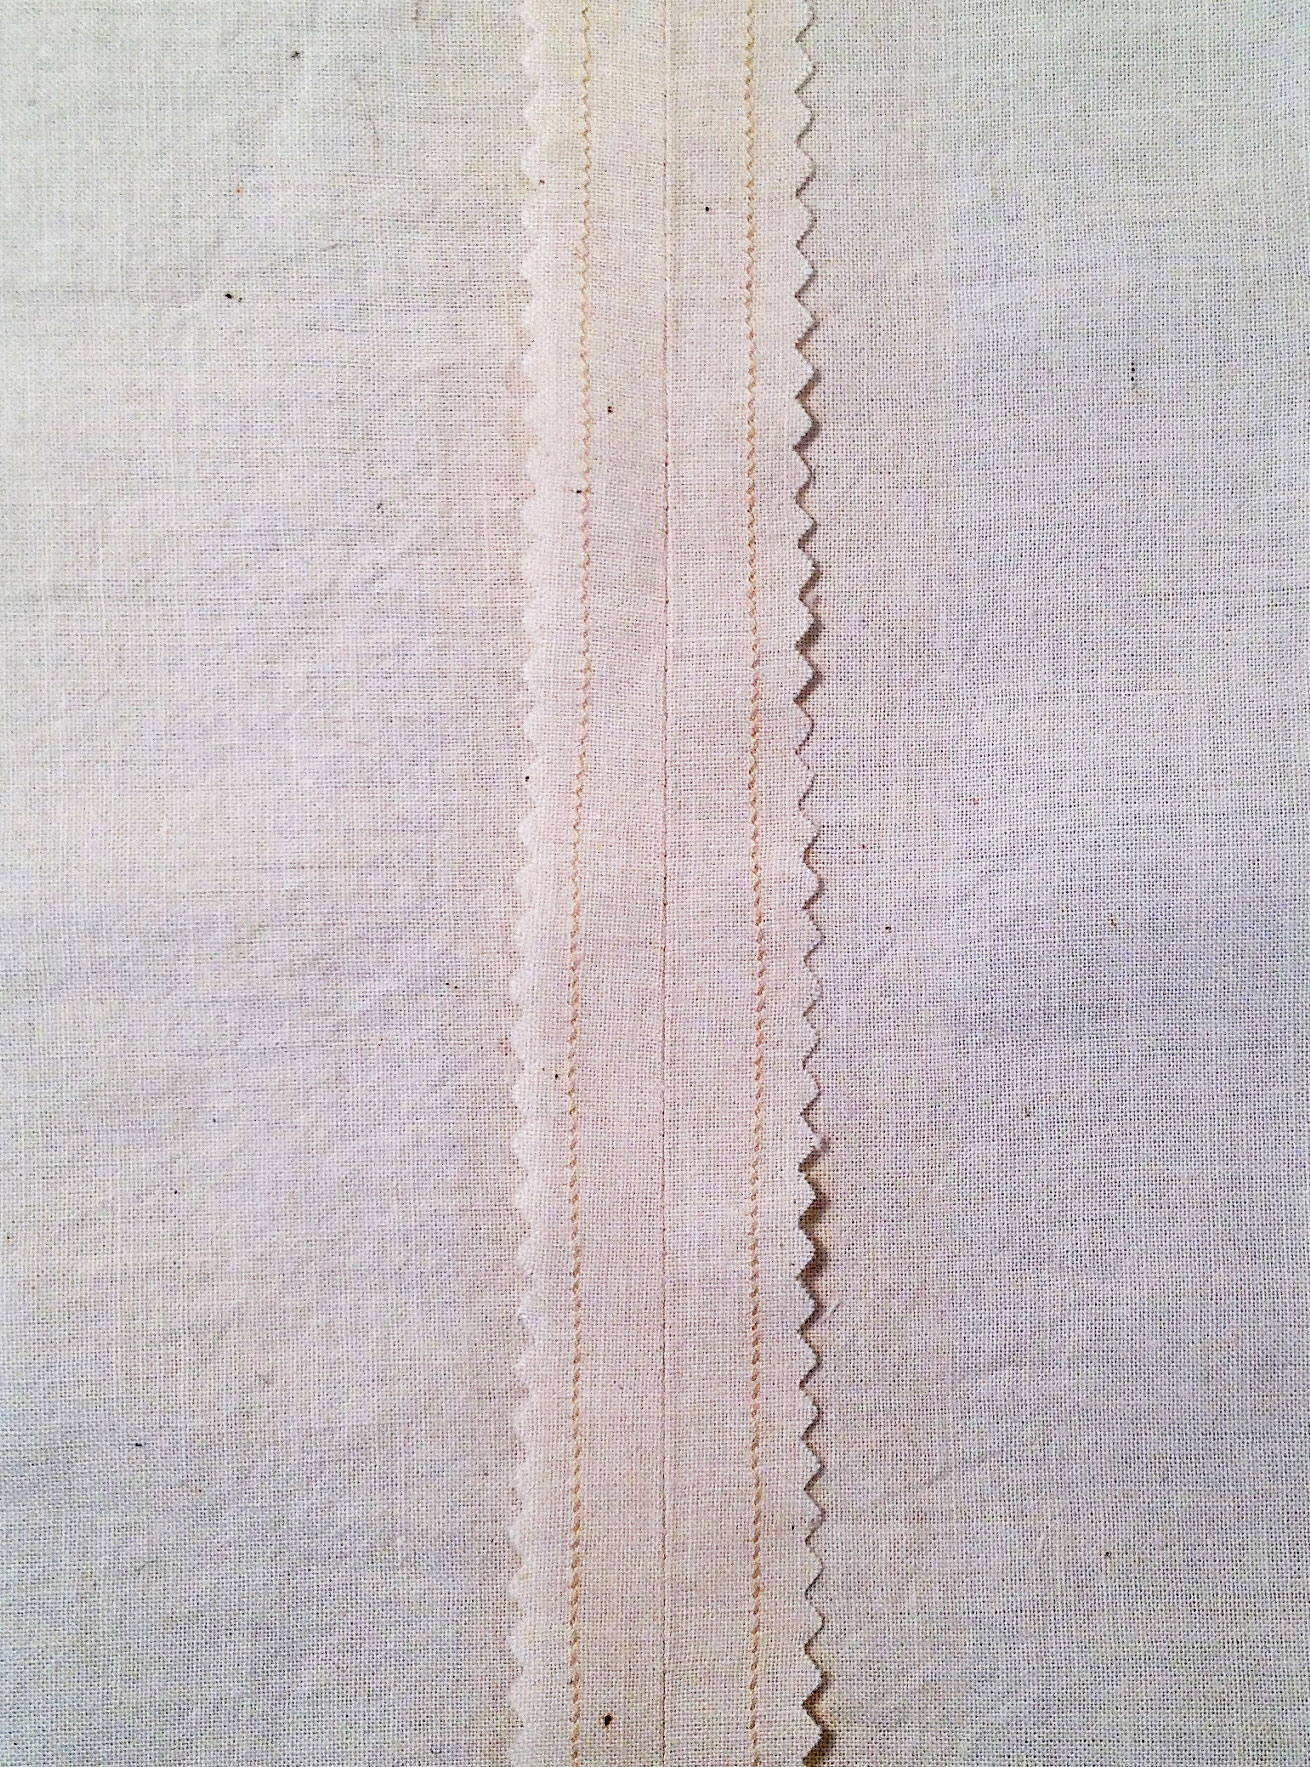
How does this relate to pinking? Remember how pinking shears cut tiny triangles or zigzags along the edge of your fabric? If you’re cutting along the lengthwise or crosswise grain of the fabric, each little triangle is going to be on the bias. This means it won’t fray, which is why pinking is such a popular technique!
The downside is, if you use pinking shears to cut across the bias—on a diagonal or curved edge—each triangle will be on the straight-of-grain, which means the fabric will likely fray.

Bias Pinking
Tips
- Pinking can last a long time, especially if you don’t wash the garment. I inherited several doll outfits made by my late grandmother—they’re probably thirty or forty years old, but still in pristine condition, with no fraying at the pinked seams!
- Don’t use pinking shears on non-woven fabrics, such as knit jerseys or sweater knits. It may cause snags or runs.
- Some fabrics, such as those that are loosely woven, may fray in spite of being pinked. Always do a sample to check before committing to pinking.
- Don’t use pinking shears to cut out pattern pieces. As mentioned, it’s fine to pink straight edges, but any curved or diagonal edges will fray in spite of being pinked, so there’s no point.
- When you’re cutting with pinking shears, try to align the teeth of the shears with the zigzag shape of each previous cut. This will ensure a perfect row of zigzags, instead of a rough, jagged edge.
Avoid Jagged Pinking
- For extra assurance that your seams won’t fray, consider straight-stitching about ¼” from the pinked edge on each seam allowance.
Pinked & Stitched Seam Allowances
- Pinking isn’t always the best option for seam finishing. For alternatives, check out: “Basics: Seven Seam Finishes.”
~~*~~
Looking for more sewing help? Our Basics menu contains lots of beginner-friendly articles. You might also enjoy our Tutorials and Articles.