
(Custom Photoshop Brushes by deviantART users: Redhead Stock & Pelleron)
(Click any illustration to view the full-sized image.)
In October of 2011, the 25th anniversary performance of Andrew Lloyd Webber’s The Phantom of the Opera was broadcast live in theaters around the world. The closeup shots of the costumes were absolutely amazing! I decided, then and there, that I was going to make a doll-sized replica of each of Christine’s costumes.
So far, I’ve completed the following:
- Hannibal Ballet Costume
- Elissa’s “Think of Me” Skirt
- “Point of No Return” aka Aminta’s Dress
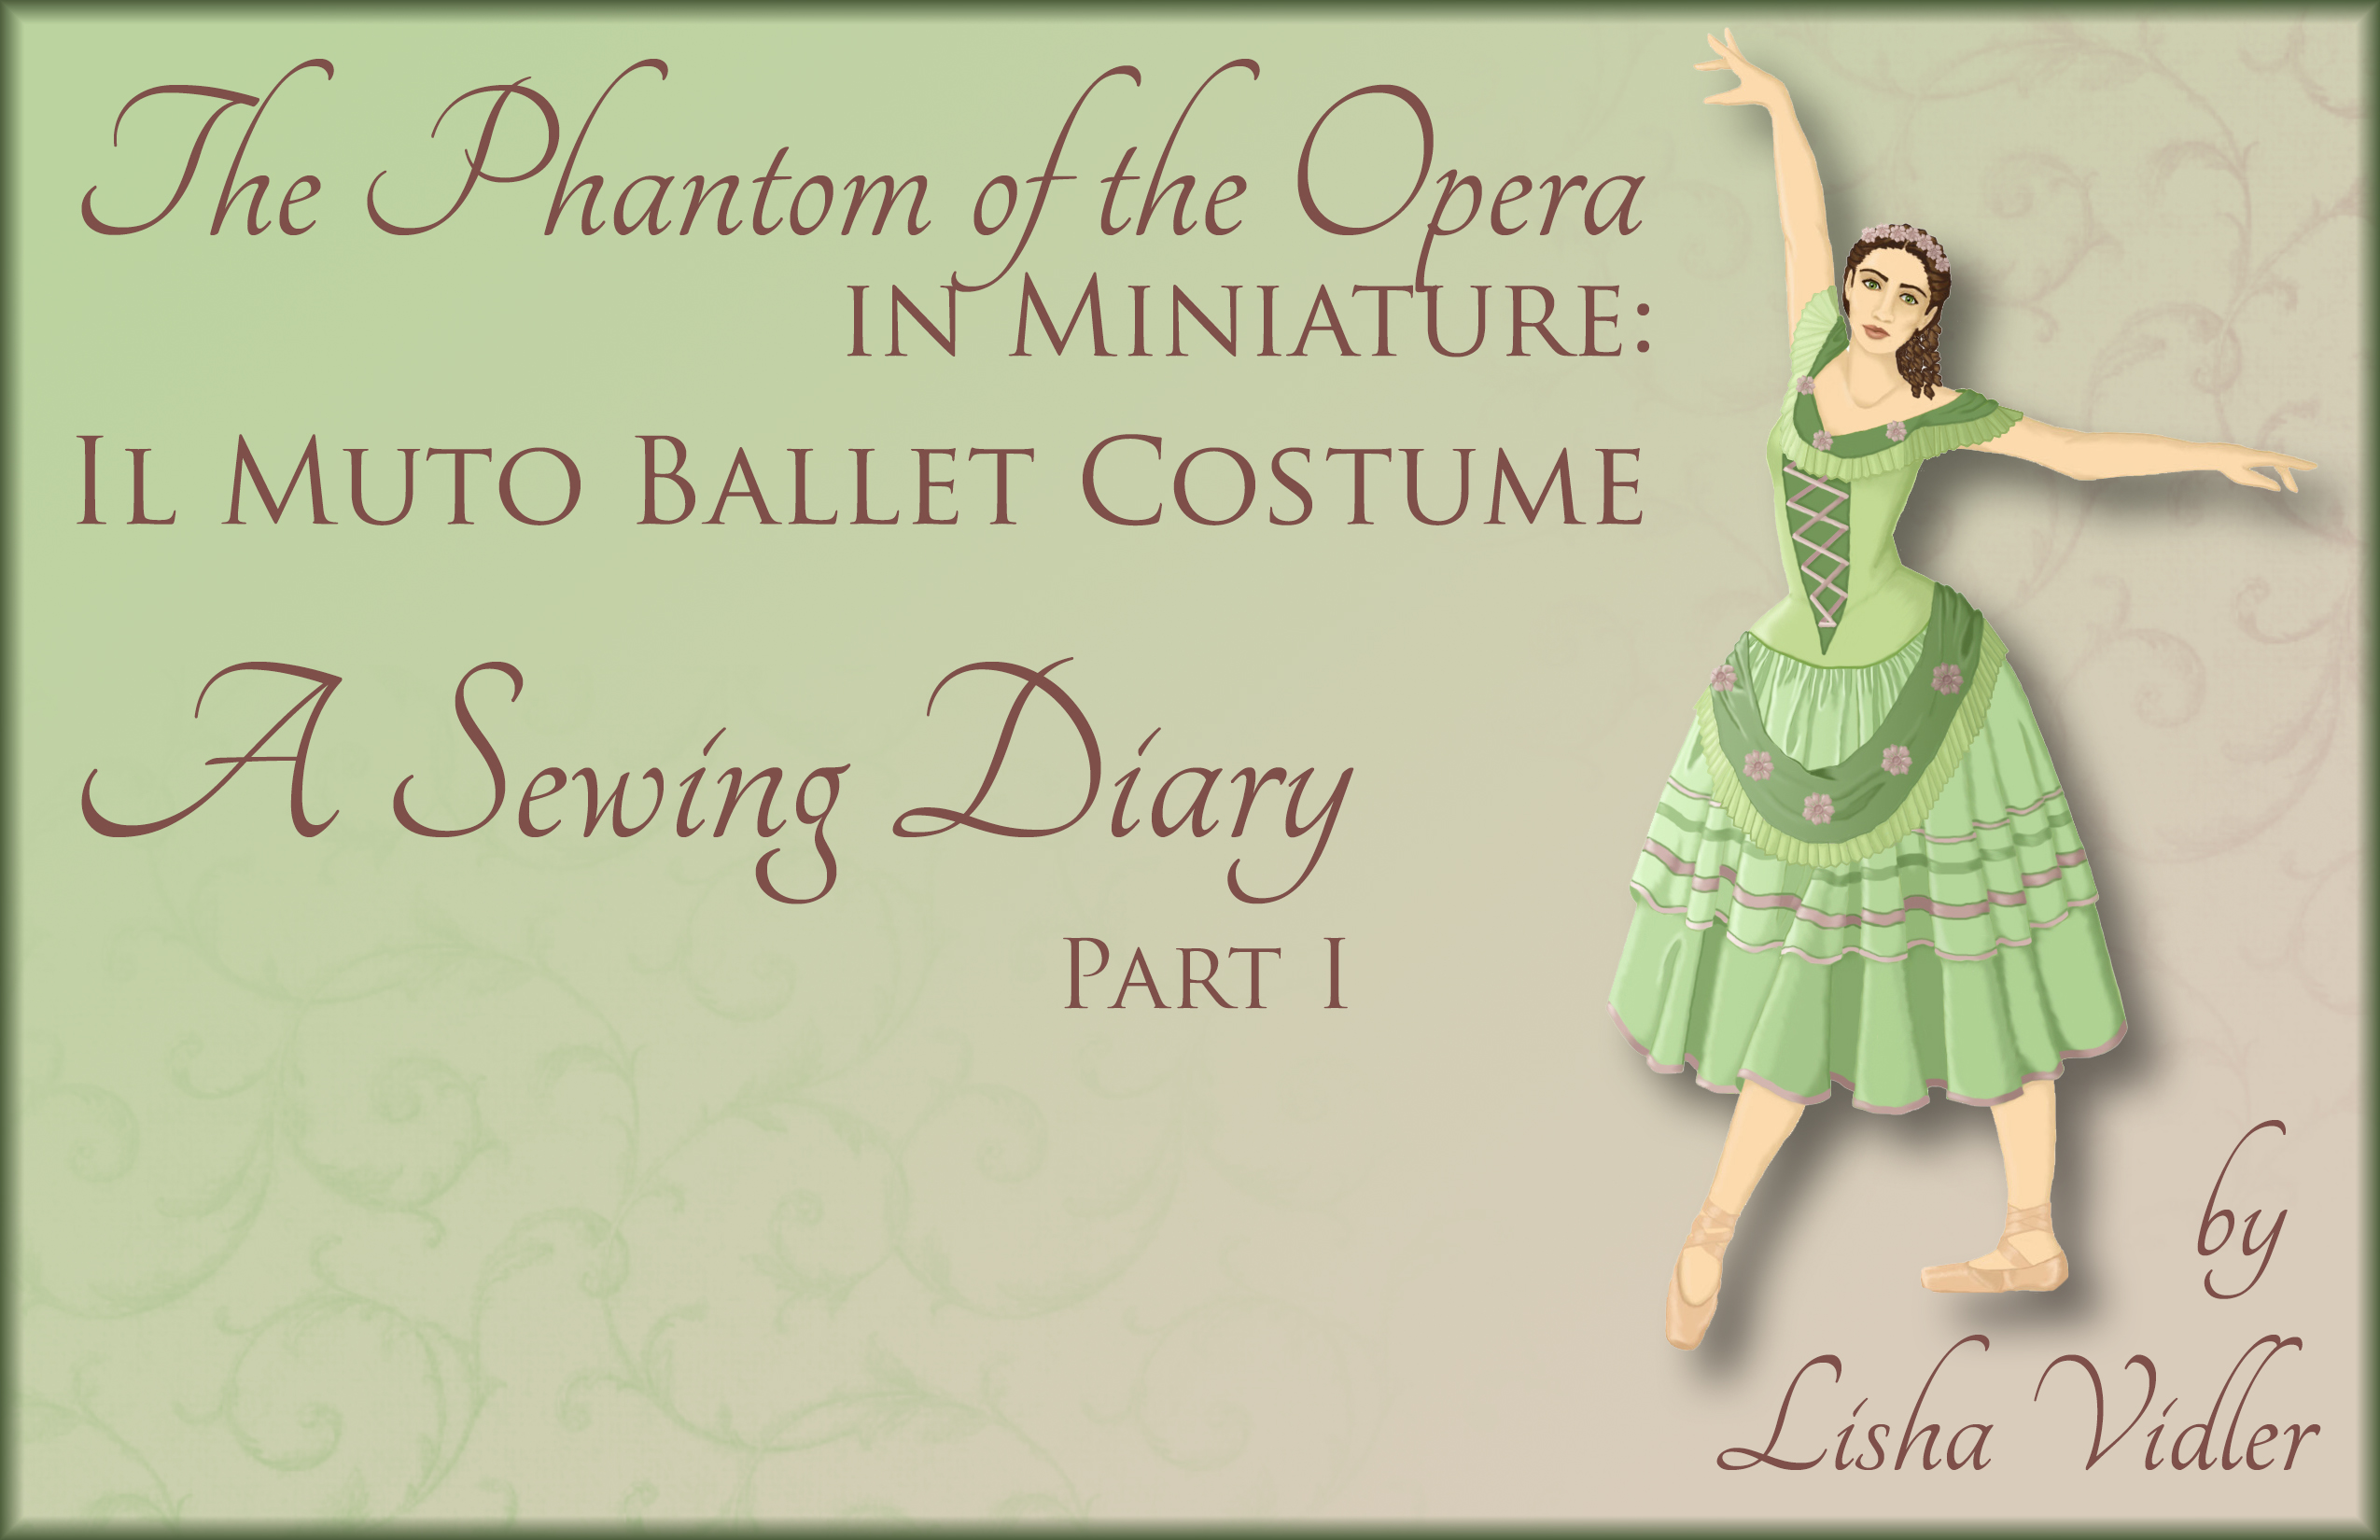
Now I’m tackling one of my favorite costumes—the mint green and pink ballet outfit from the mock-opera “Il Muto.” It’s not actually worn by Christine, but I find these ballet costumes quite appealing, particularly the British version.
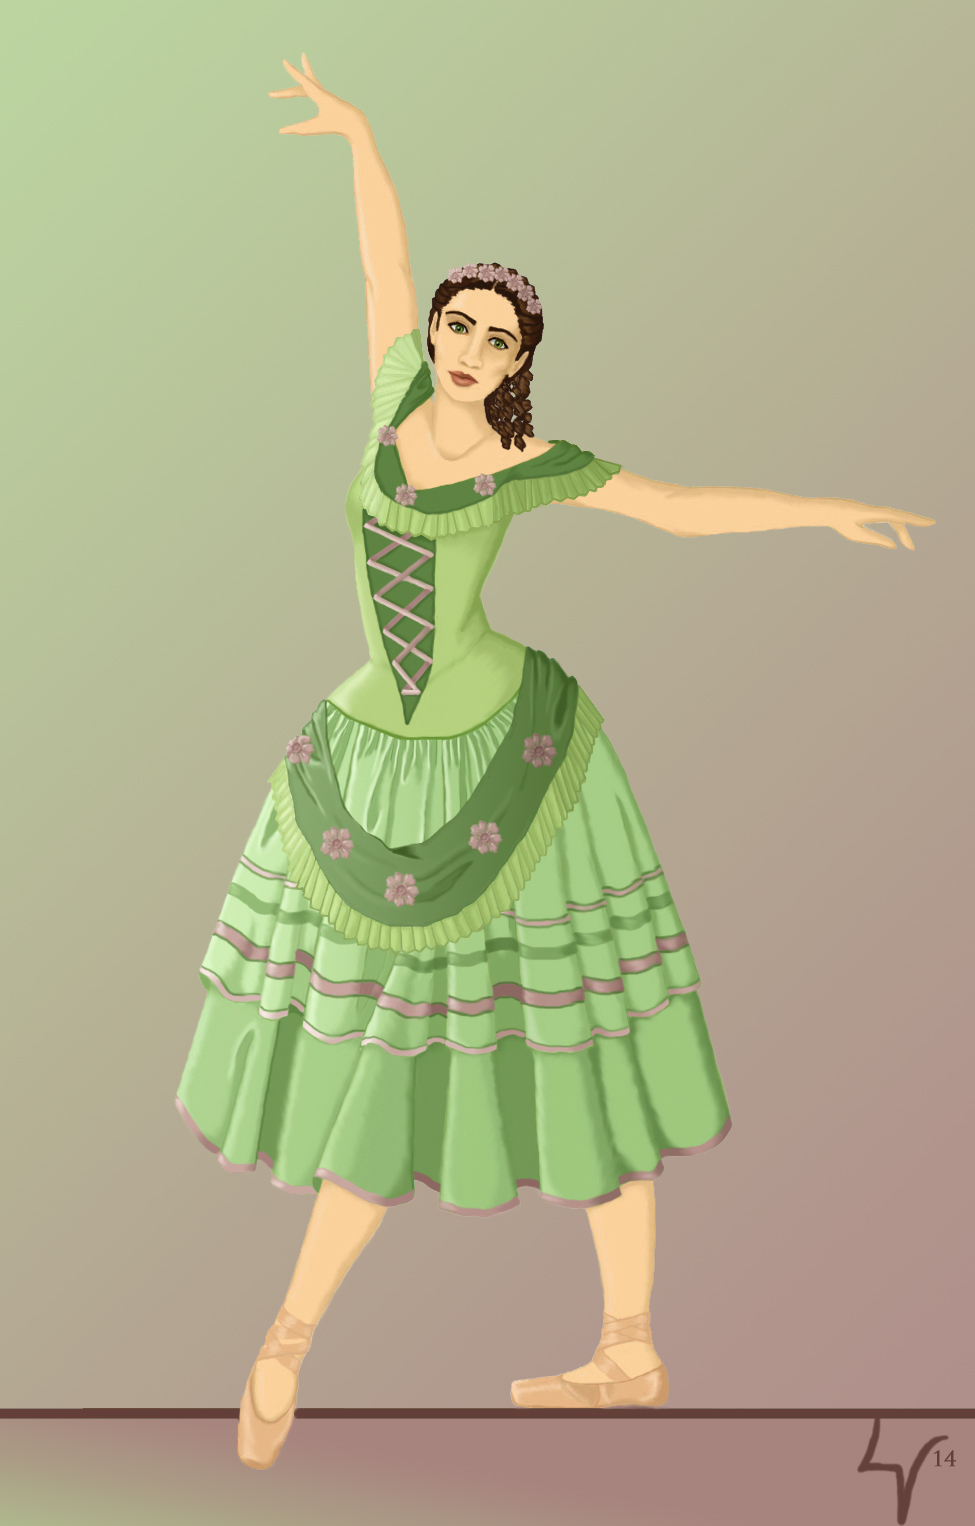
“Il Muto Ballet Costume” © 2014
Design
This particular outfit is meant to be a Victorian interpretation of a Rococo ballet costume. It’s done in the Romantic style, characterized by a long, full skirt and snug bodice. You can see similar ballet costumes in the artwork of Degas, who painted Parisian ballet dancers during the late 19th century. In fact, Maria Björnson, the costume designer for The Phantom of the Opera, took a great deal of inspiration from Degas.

Detail From a Painting by Degas, 1872
Anéa, an expert on Phantom costumes, has helpfully written a brief analysis of this ballet costume, accompanied by a multitude of photos of different versions. Each production of the show makes their own costumes, so while the basic design remains the same, there are variations in color and detail.
Since there aren’t any similar doll patterns available, I drafted my own.
Skirt: The skirt is mid-calf length and quite full, with frothy under-layers of tulle. The version I like best has a mint green base, with a shorter iridescent overskirt that has green and pink stripes formed by ribbon trim. At the hips is a pale green yoke that matches the bodice—indeed, it gives the illusion of a basque bodice, although it’s actually part of the skirt.
Bodice: The bodice appears to be hip-length and rounded, but as mentioned above, this is actually an illusion caused by the skirt’s yoke. The real bodice terminates at the natural waist, with a slightly longer pointed front. It has an olive green stomacher, with pink crisscross ribbon lacing. An olive green flounce curves around the neckline and drapes off the shoulders, accented with pink roses.
Sash: There’s a length of olive green fabric that drapes around the hips, with roses attached to it. It terminates in a giant bow at the back of the skirt.
Accessories: The ballet dancers wear flesh-colored tights and pink pointe shoes. Their hair is done in an updo with ringlets dangling in the back, and they wear floral headpieces. Some of the dancers also carry large floral wreaths.
Doll
I only have one doll capable of wearing pointe shoes: Tonner’s Nu Mood Jess, who has replaceable hands and feet. You can buy a set that includes flat feet, high-heeled feet, and tip-toe ballet feet.
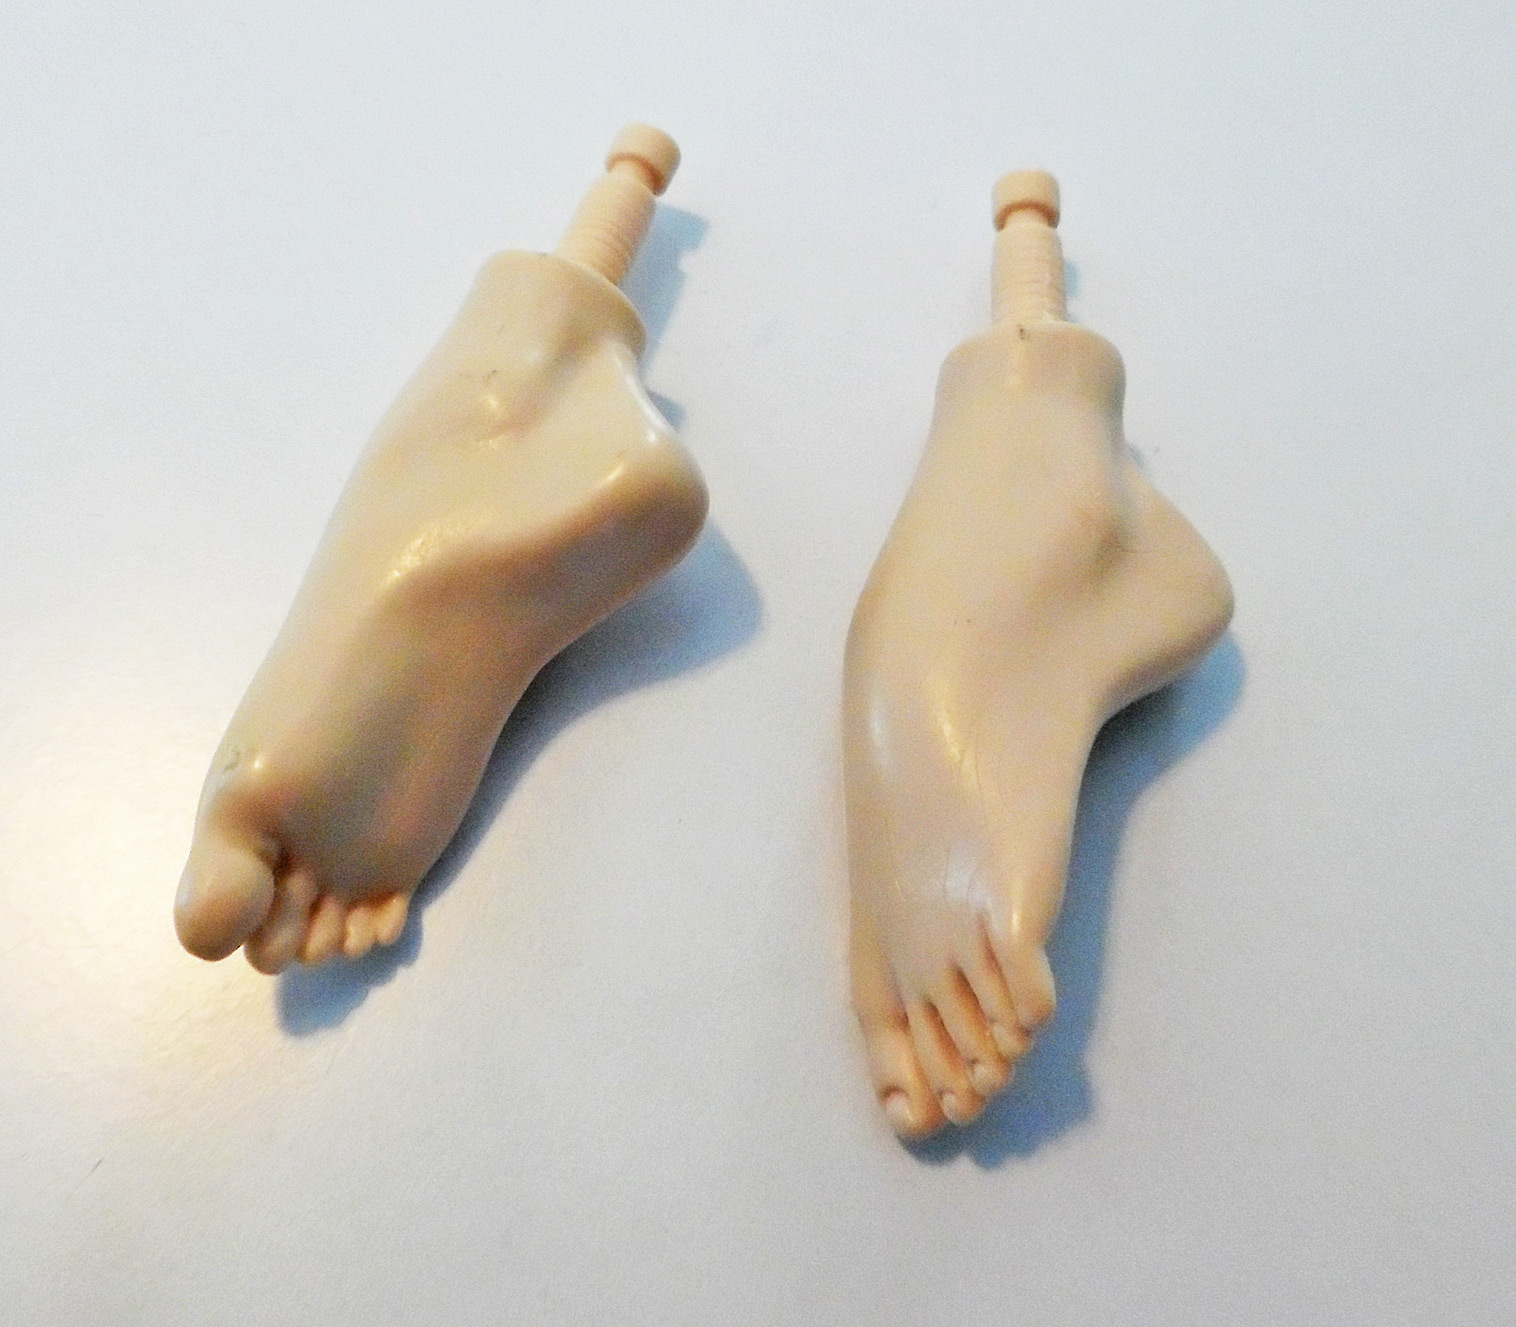
Nu Mood Ballet Feet
Jess wears wigs, but the one she came with wasn’t suitable for this project. So, I ordered the “Hilda” wig in honey blonde from Facets By Marcia. It’s a bit . . . poofier . . . than I was expecting, but I found that the wig looked a lot better if I simply tied the curls back with a ribbon.

Nu Mood Jess in Blonde “Hilda” Wig
Materials
- ½ yard Iridescent Satin—Green/Pink
- ½ yard Satin—Pale Pink
- ⅓ yard Iridescent Silk Chiffon—Olive Green
- 1 yard Tulle—Mint Green
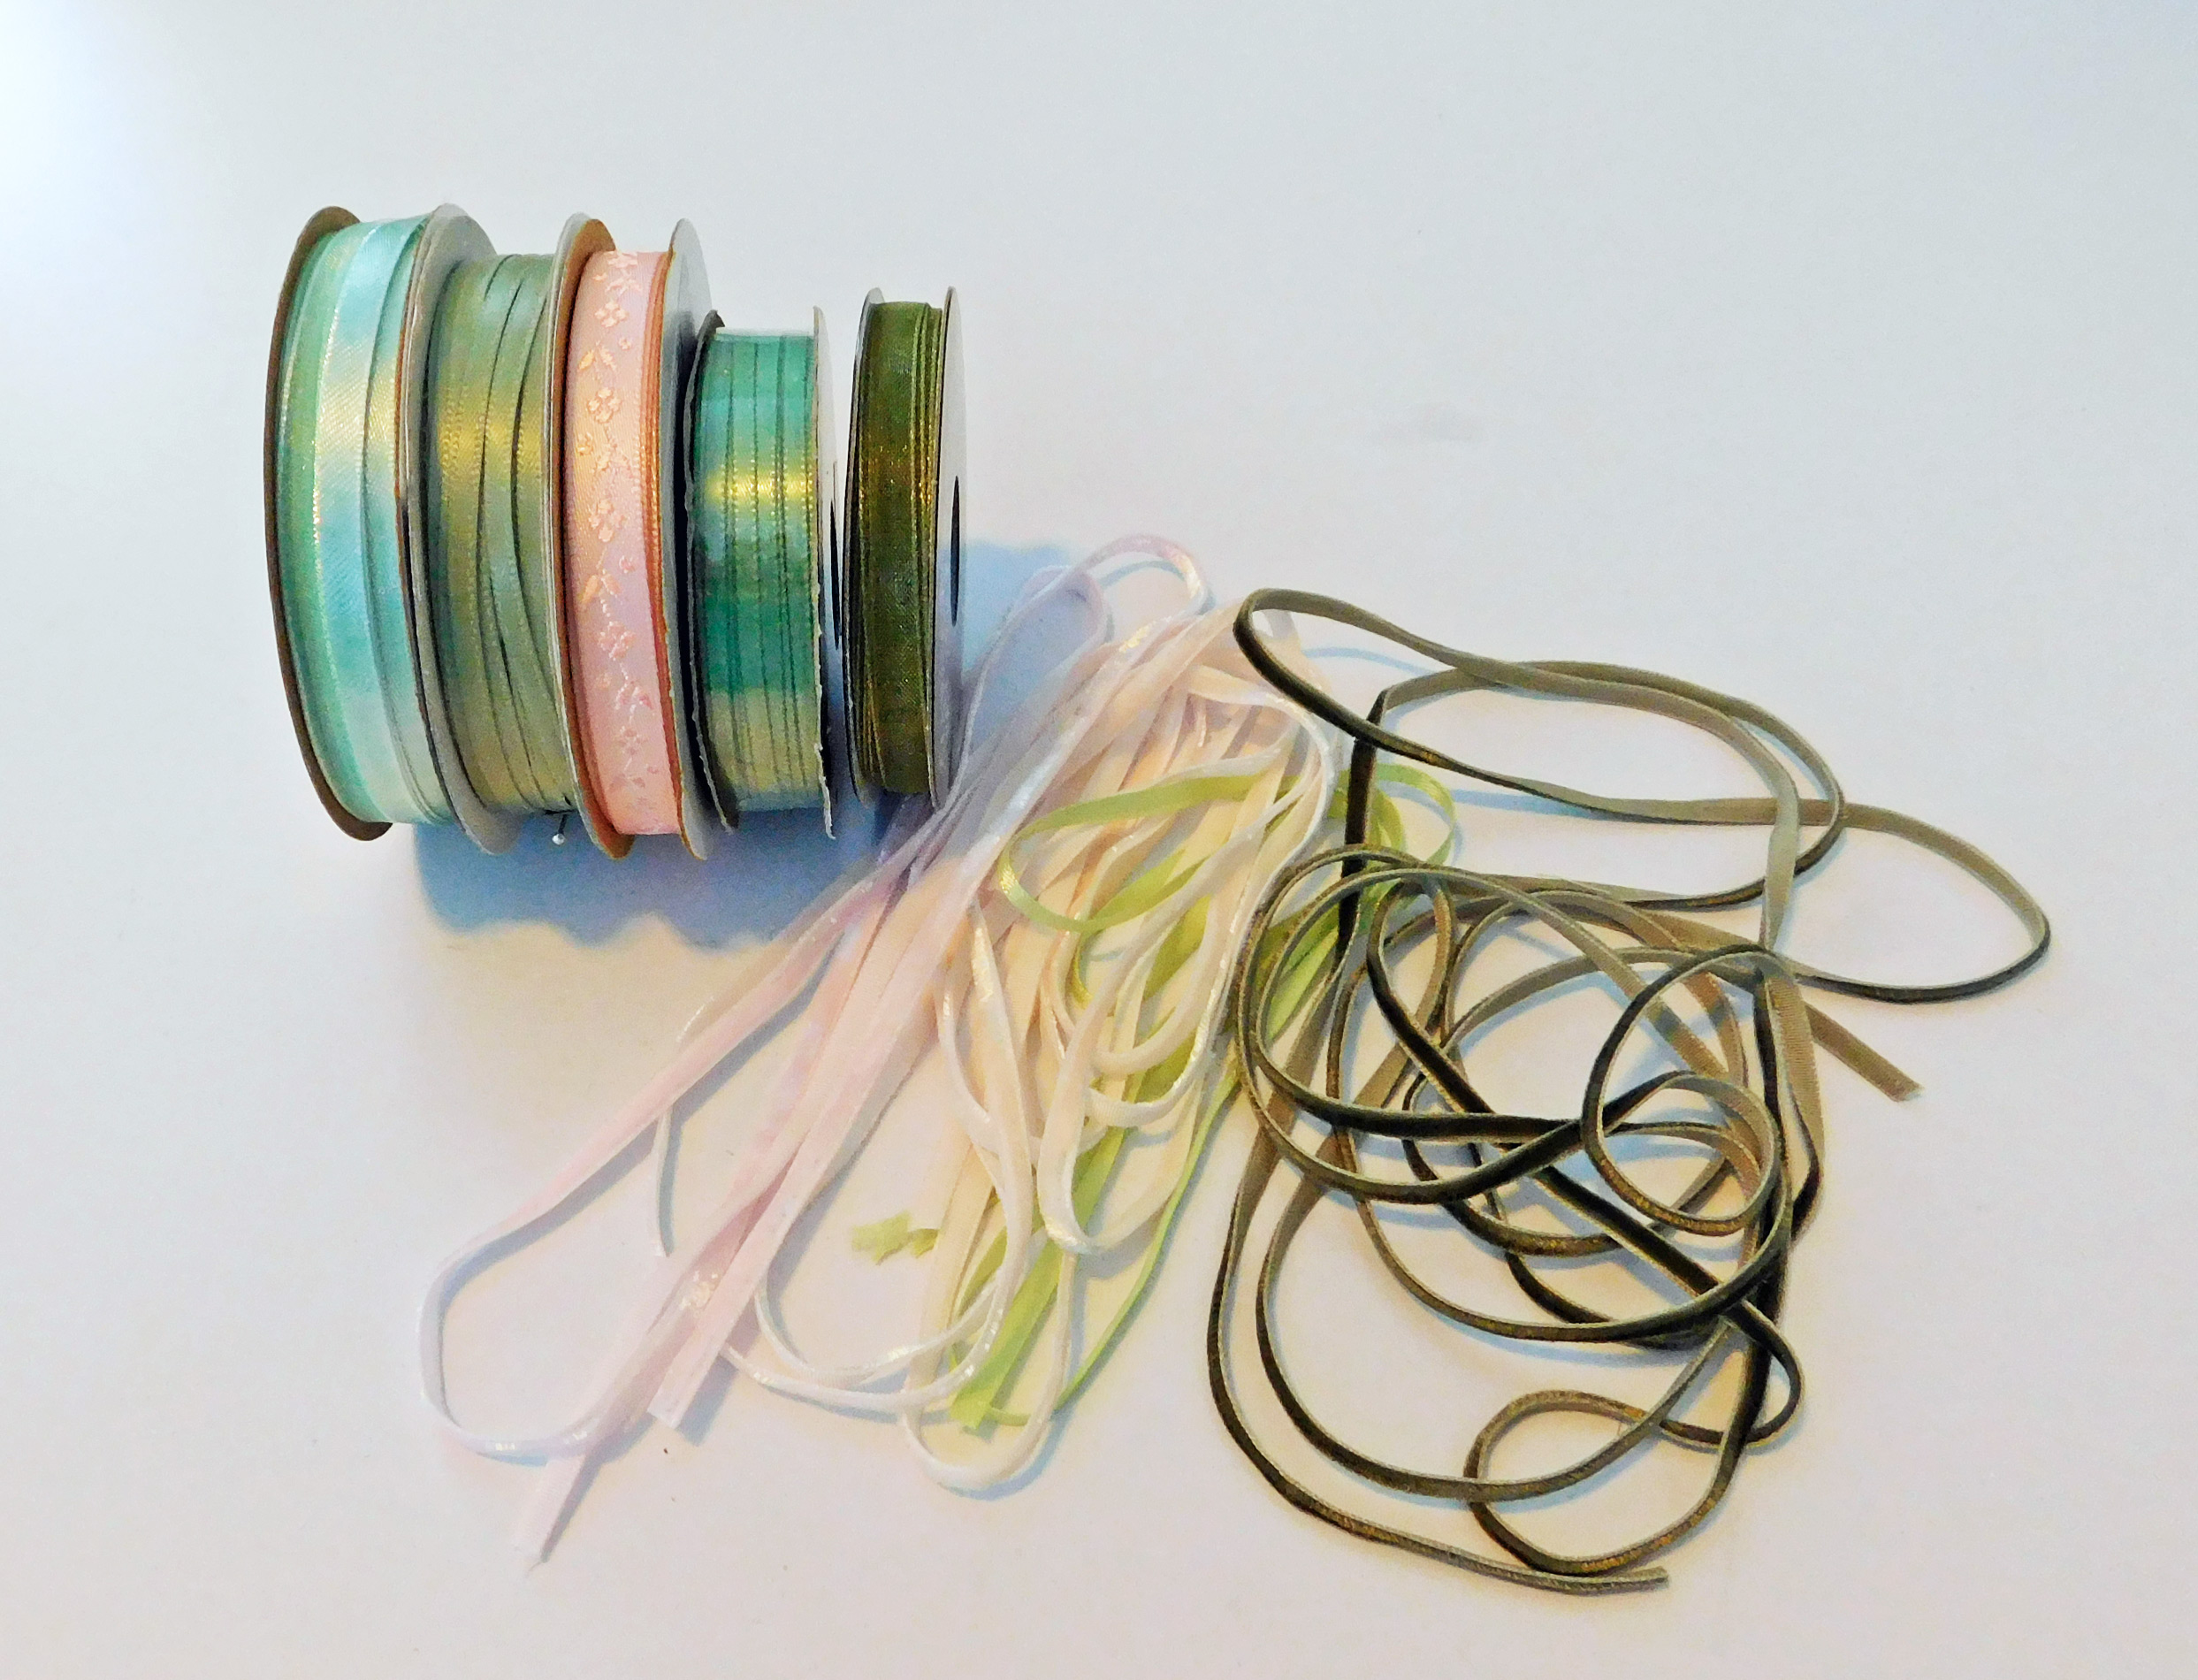
- Various Ribbons—Pink, Sage Green, Olive Green
Several years ago, I found an iridescent satin (green shot with pink) that I knew would be perfect for this project. I saved it all this time, hoping for the chance to use it. To go with it, I pulled from my stash a very pale pink satin and a light sage green satin. I also ordered an iridescent olive green silk chiffon, which ended up coordinating quite well.
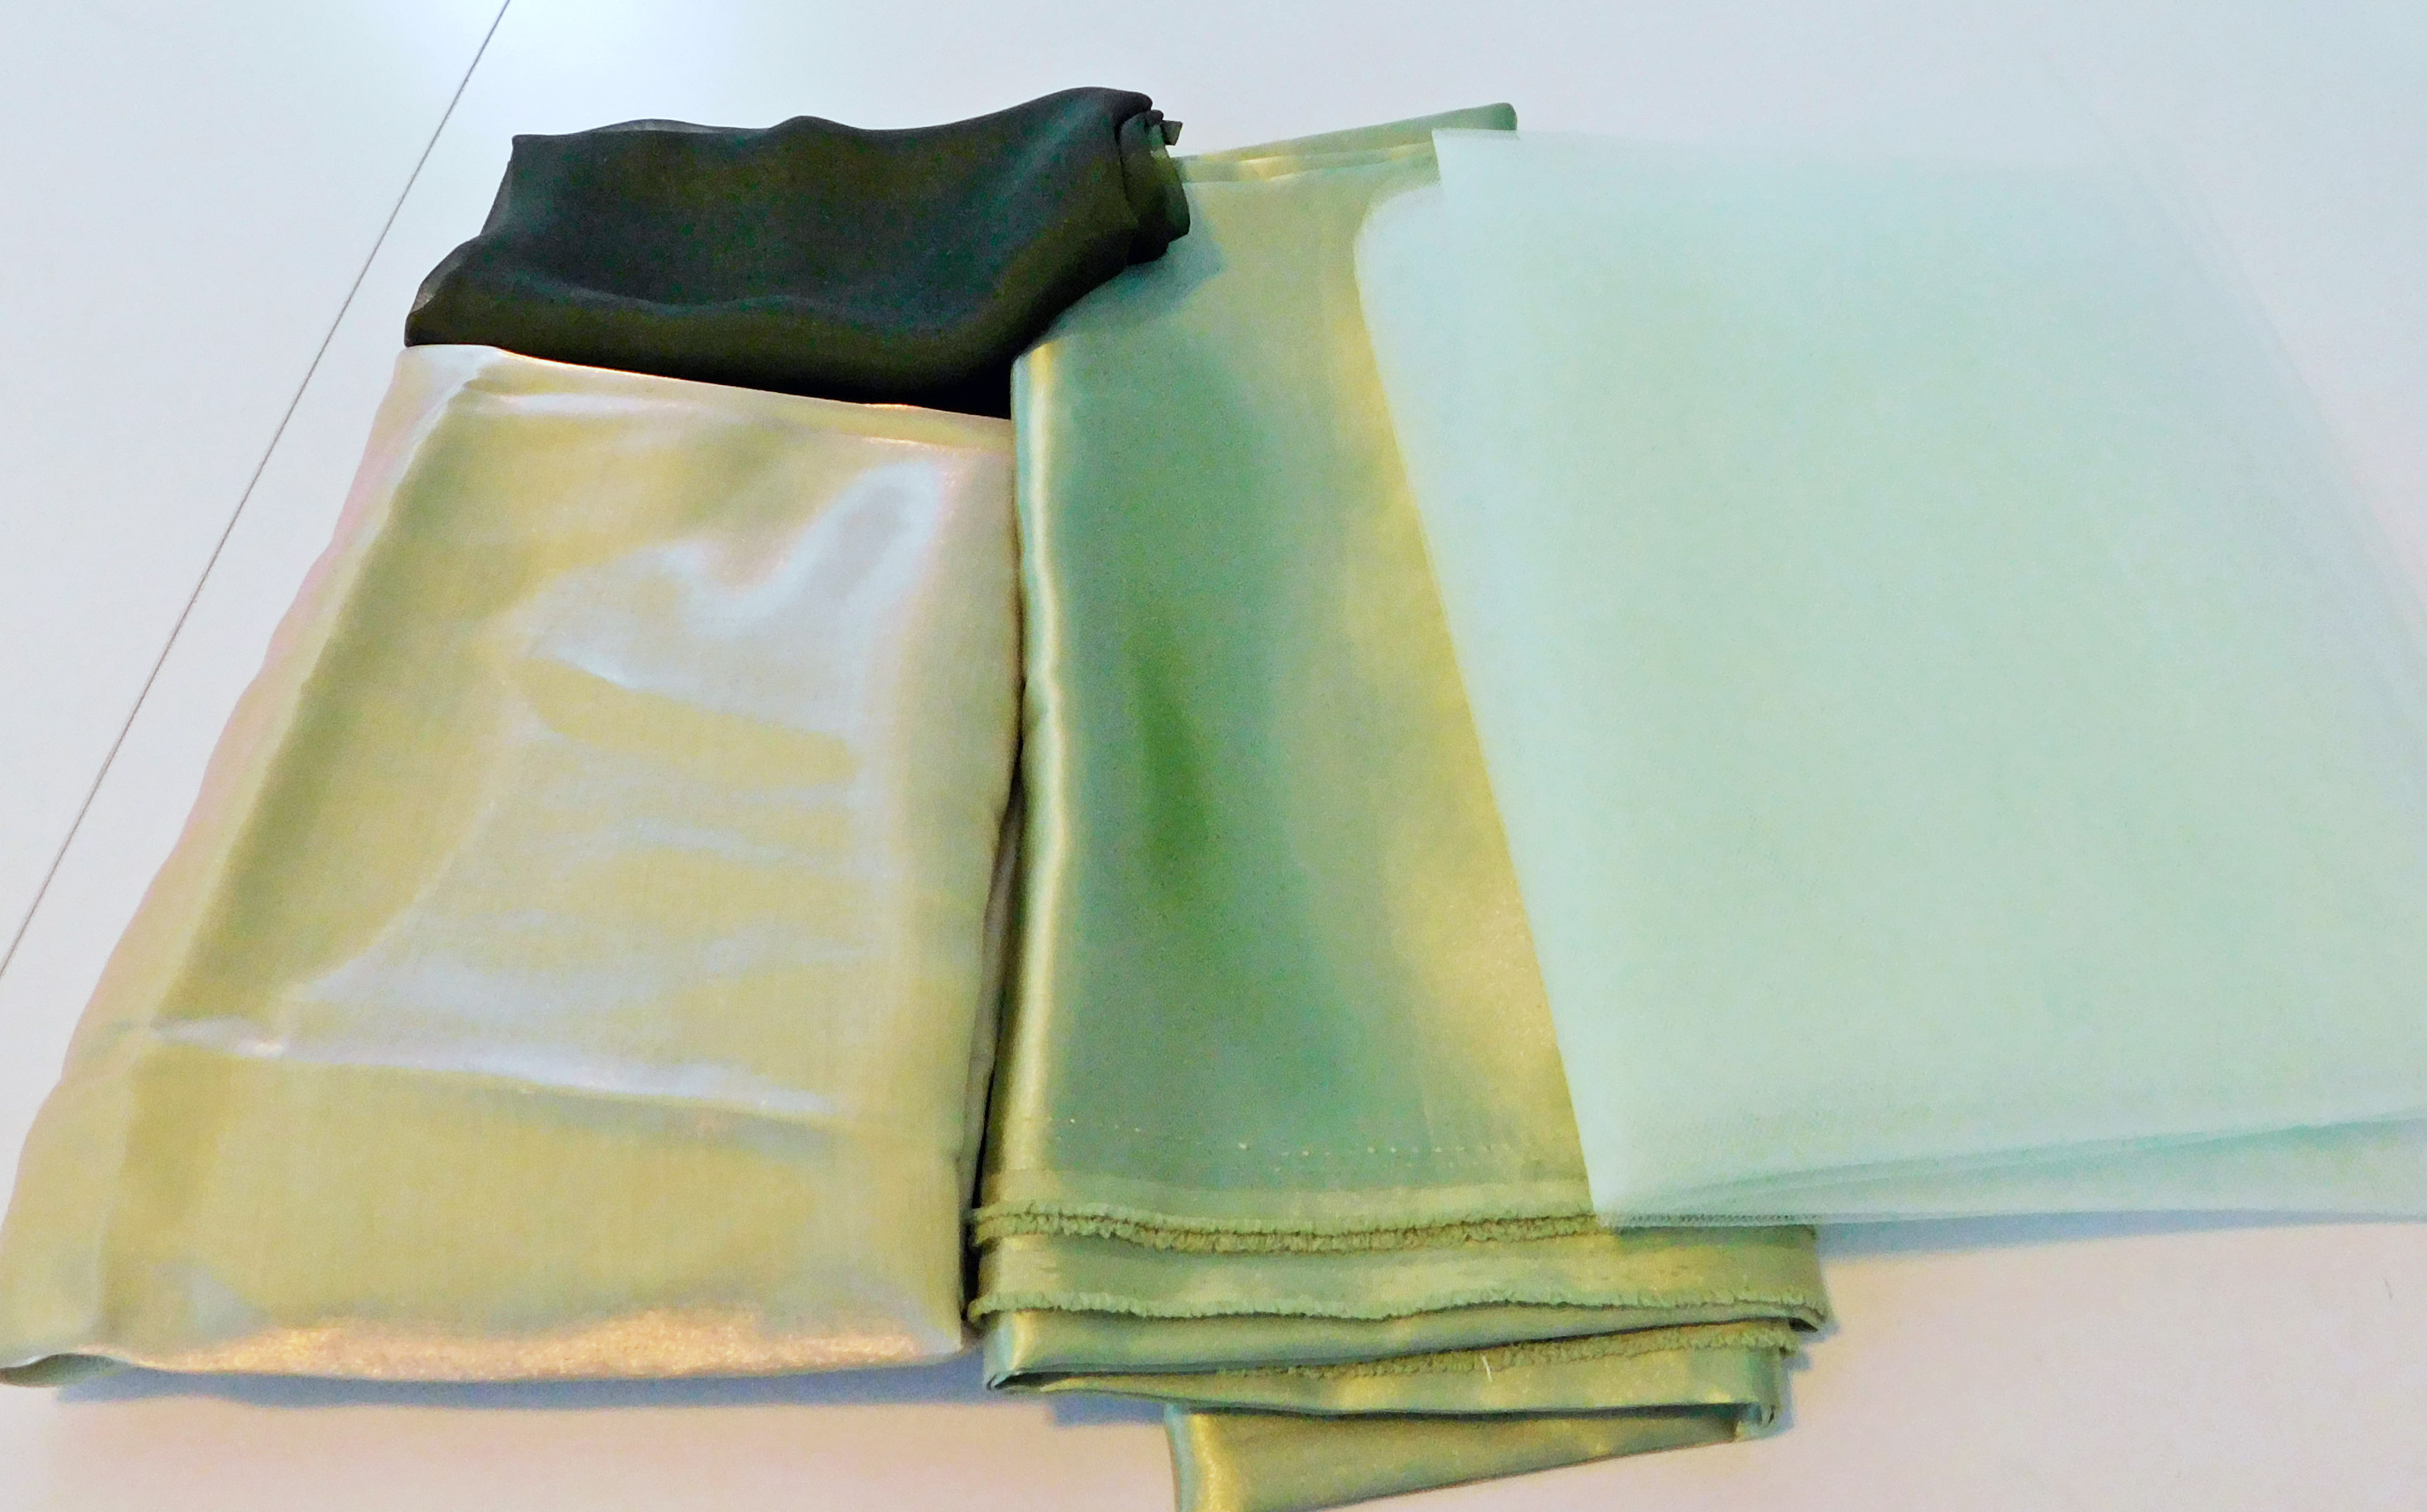
Fabrics
Trims
For the floral accents, headpiece, and wreath, I ordered some miniature paper flowers in light pink, winter white, ivory, and pale yellow.
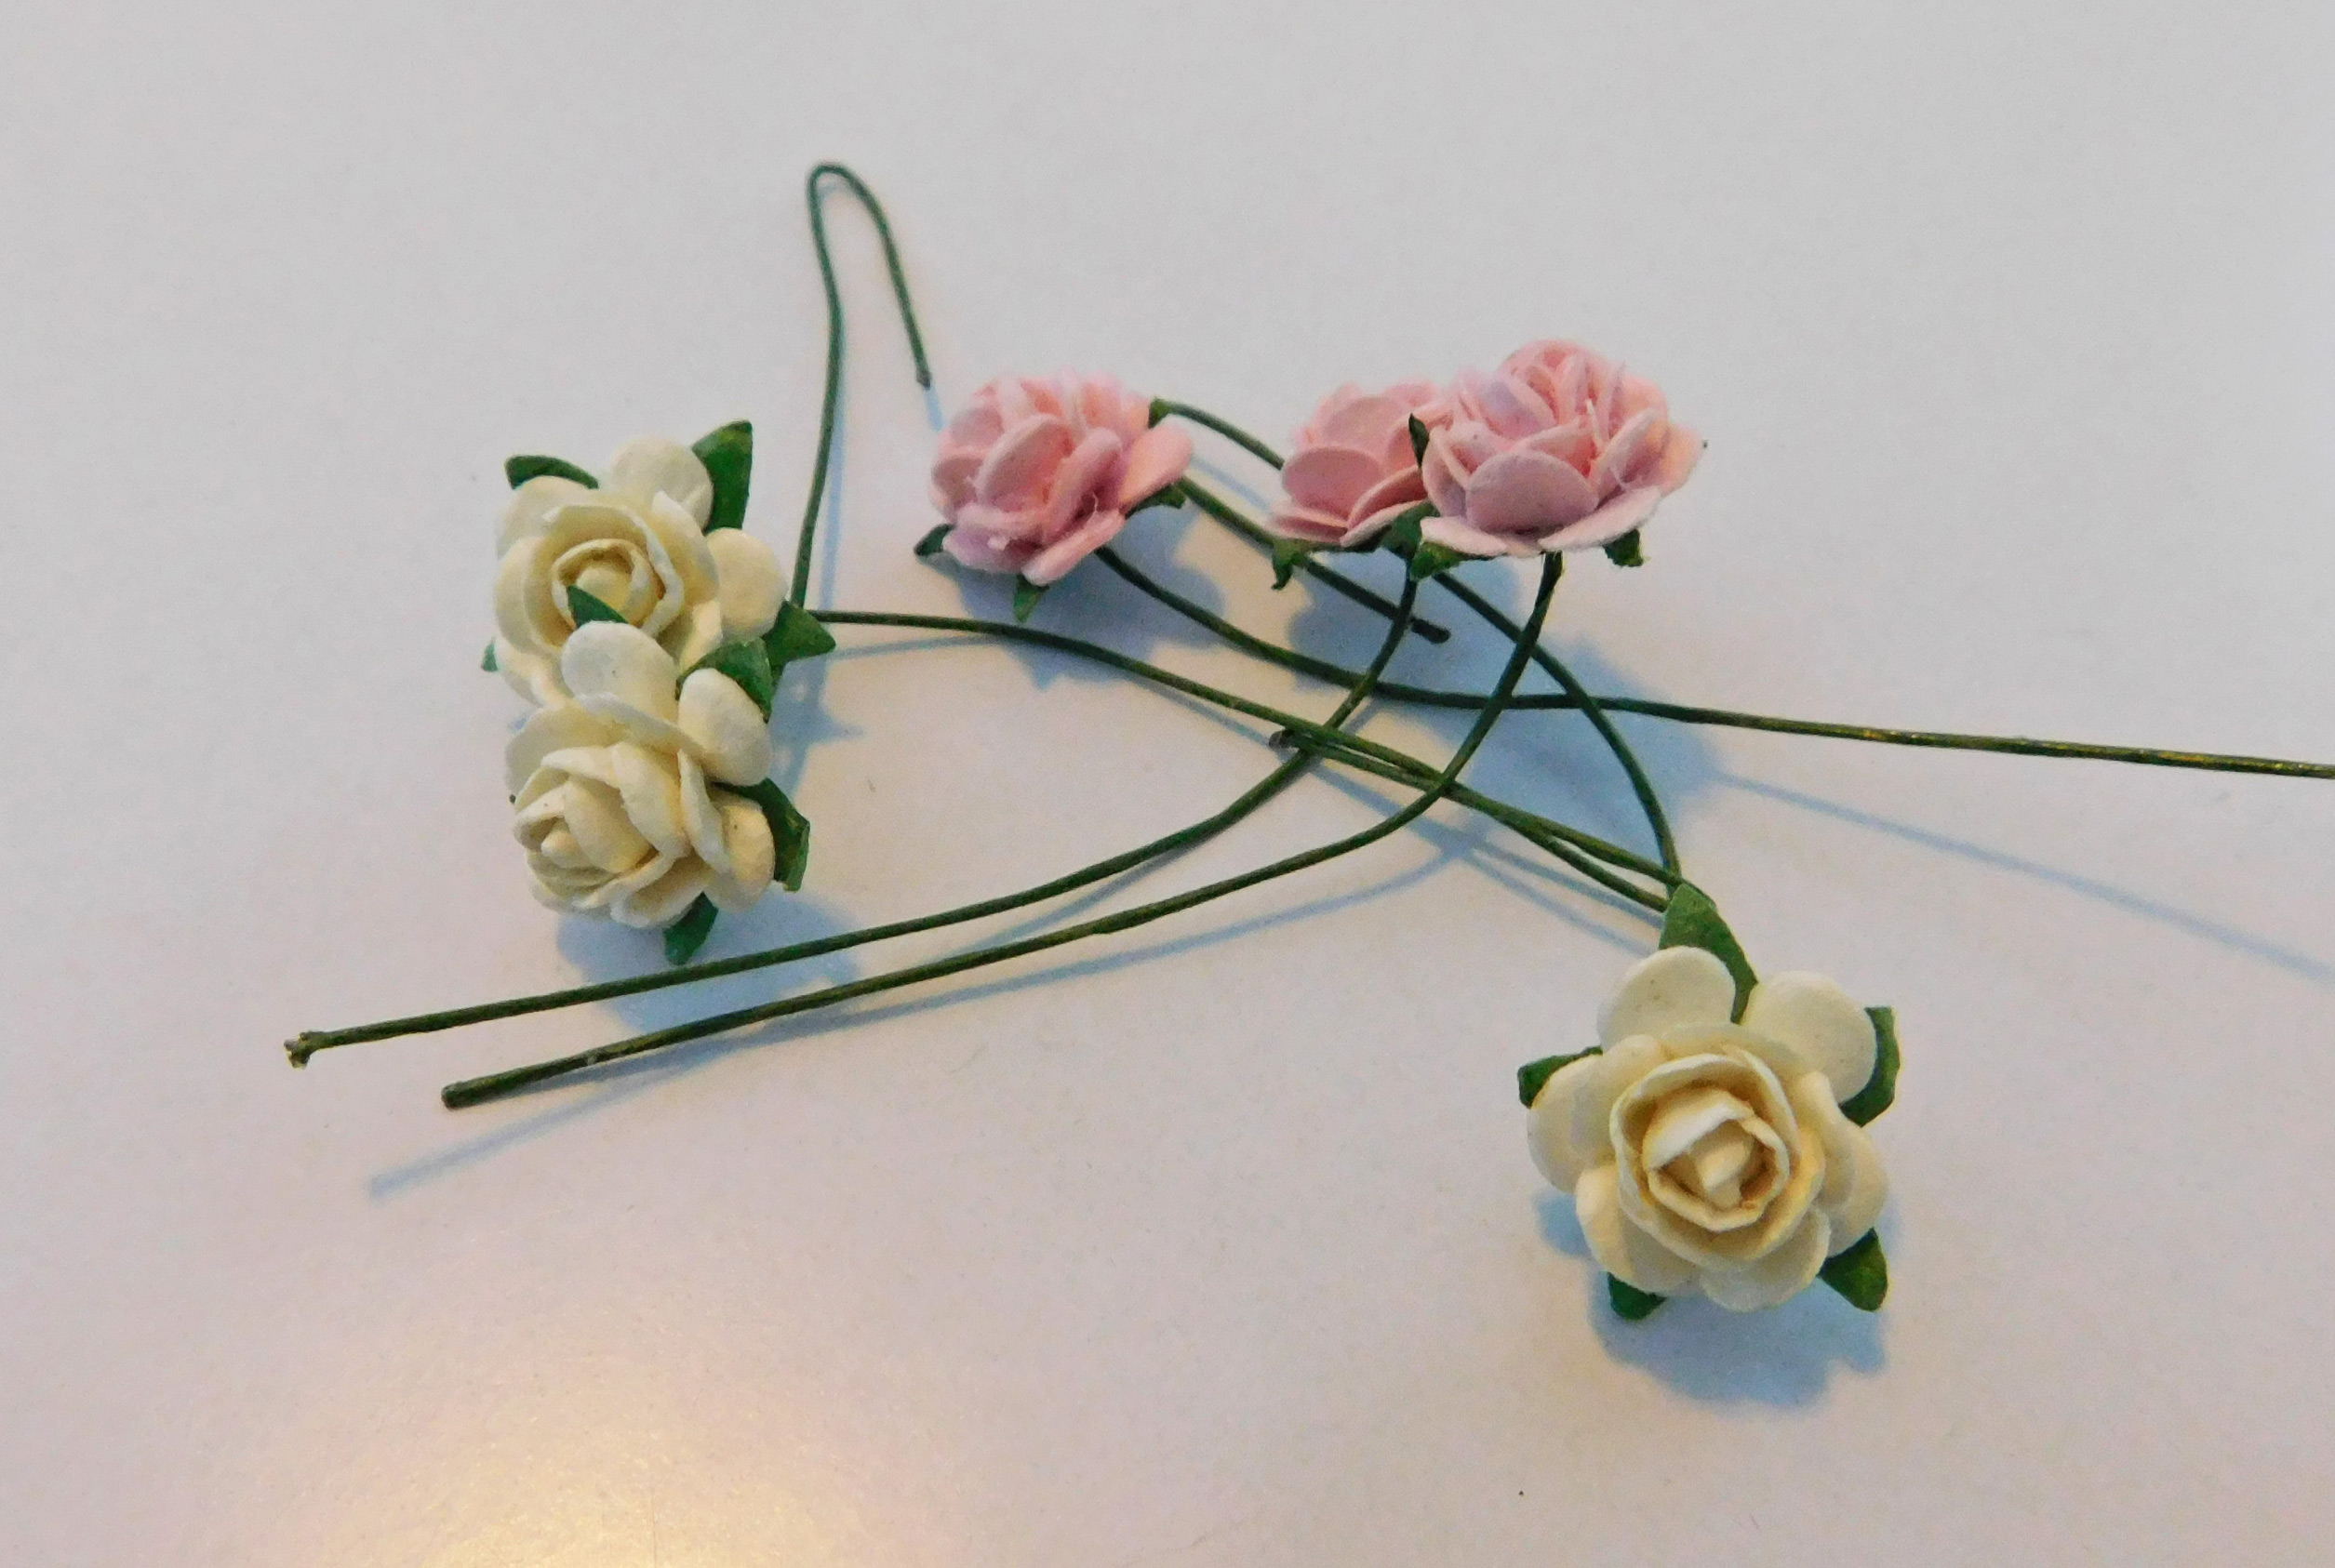
Mini Roses
Skirt Mockup
Since I drafted my own patterns, I did mockups of every element, starting with the skirt. It needed to be very full and layered, having a ruffled tulle underskirt, the main skirt, and the overskirt. That’s a lot of fabric to put around a doll’s waist, so in order to reduce bulk, I chose to use a yoked design, which drops the gathering to the hips.
For the underskirt mockup, I used a plain white tulle. I made it tiered, with the bottom section gathered to the upper portion, which in turn was gathered to the yoke. It didn’t seem full enough, so I made a note to double the length of the gathered panels for the final version.
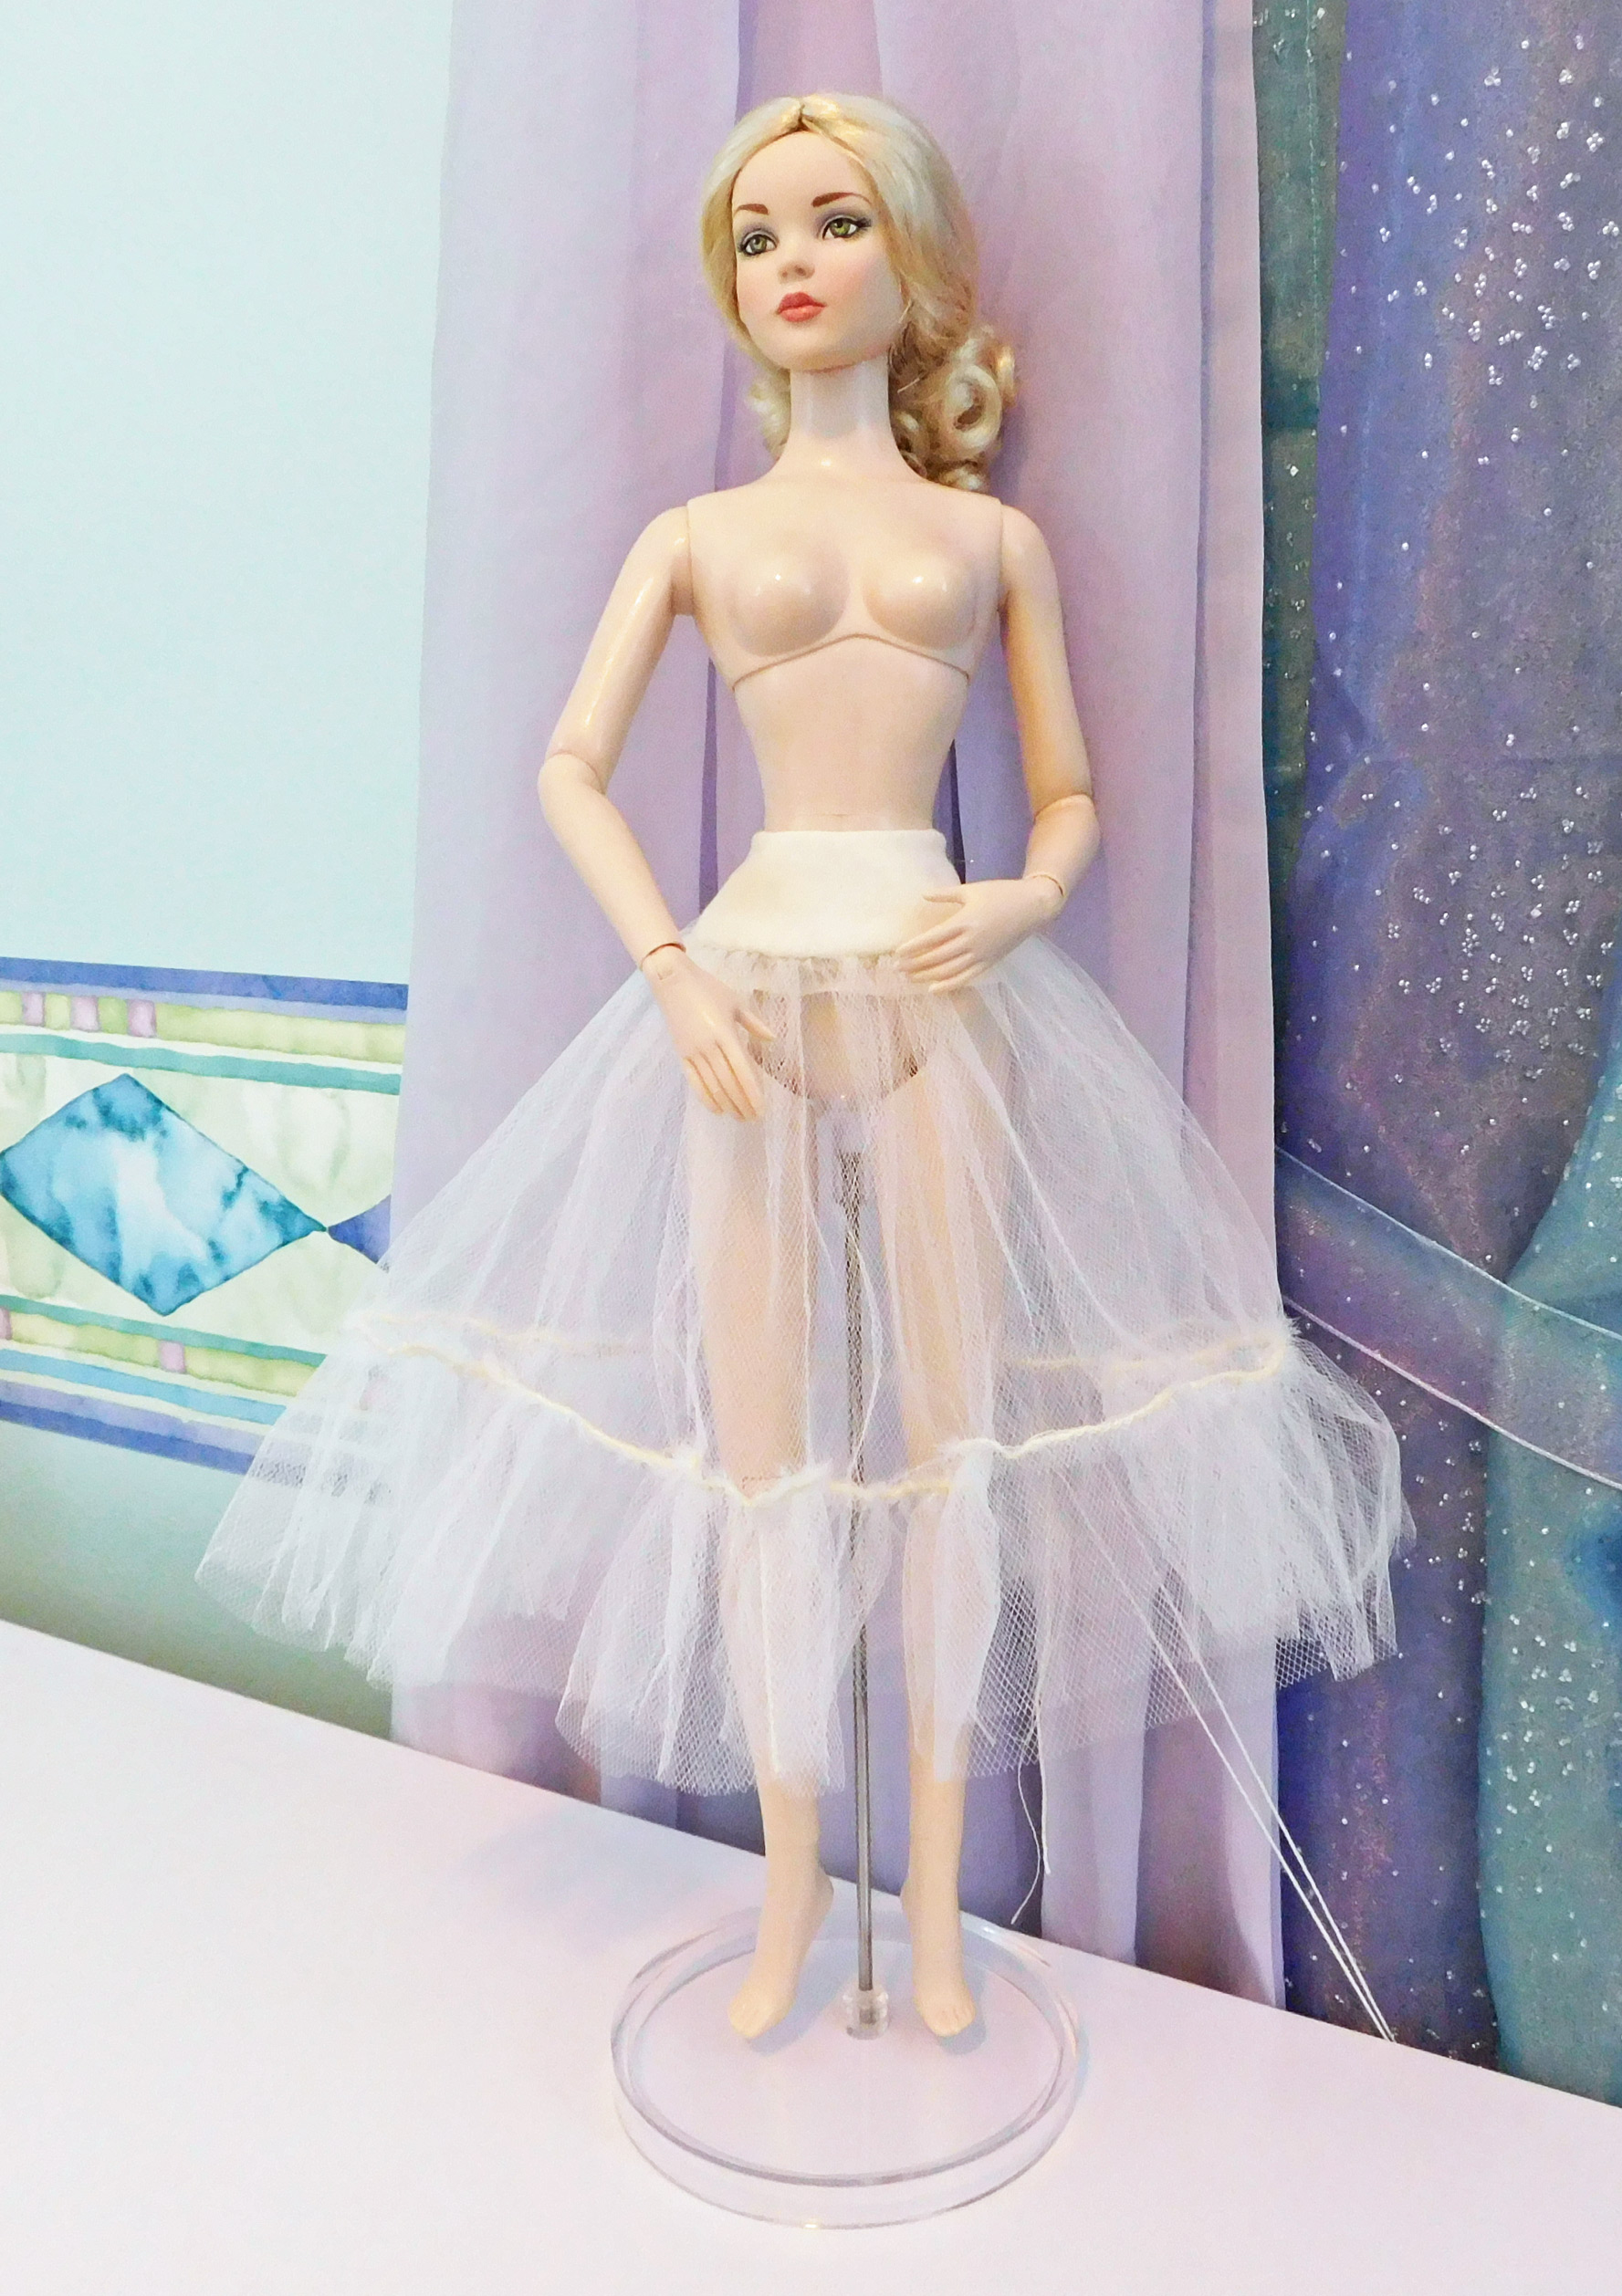
Skirt Mockup, Under Layer
Over the ruffled tulle goes a slightly shorter skirt and then an even shorter overskirt. I encountered a problem with the first mockup of these layers—I used straight panels, which I gathered onto the yoke, but it was much too bulky. After some deliberation, I changed the design to a gathered circle skirt, which reduced the amount of fabric that needed to be sewn onto the yoke.
I skipped the mockup of the shorter overskirt, simply because I didn’t feel it was necessary to gather and baste another layer. (Okay, so I was being lazy. . . .)

Skirt Mockup
Sash Mockup
For the first mockup of the sash, I took a length of muslin and narrow-hemmed the edges, then pleated it lengthwise, basting the ends to secure the pleats. Unfortunately, it didn’t work—the pleats refused to stay in place across the entire length.
I tweaked the design, so that instead of hemming the edges, which weighs it down, the length of fabric is folded in half lengthwise and stitched into a tube, which is then pressed flat. Since the actual fabric for the sash is a silk chiffon, I figured this would work better. I tested it using tulle, but because my tulle was completely sheer, it didn’t show up in the photographs I took.
I used the same technique to create the large bow that goes at the back of the skirt, but again, it refused to photograph well.
Bodice Mockup
I started the bodice with a sloper I’d created for this doll. Because the center of the bodice has a contrasting stomacher, I made it with princess-seamed panels. I wasn’t confident in my ability to draft a princess bodice, but it actually worked! Once I was sure the pattern was good, I sewed a fully lined mockup.
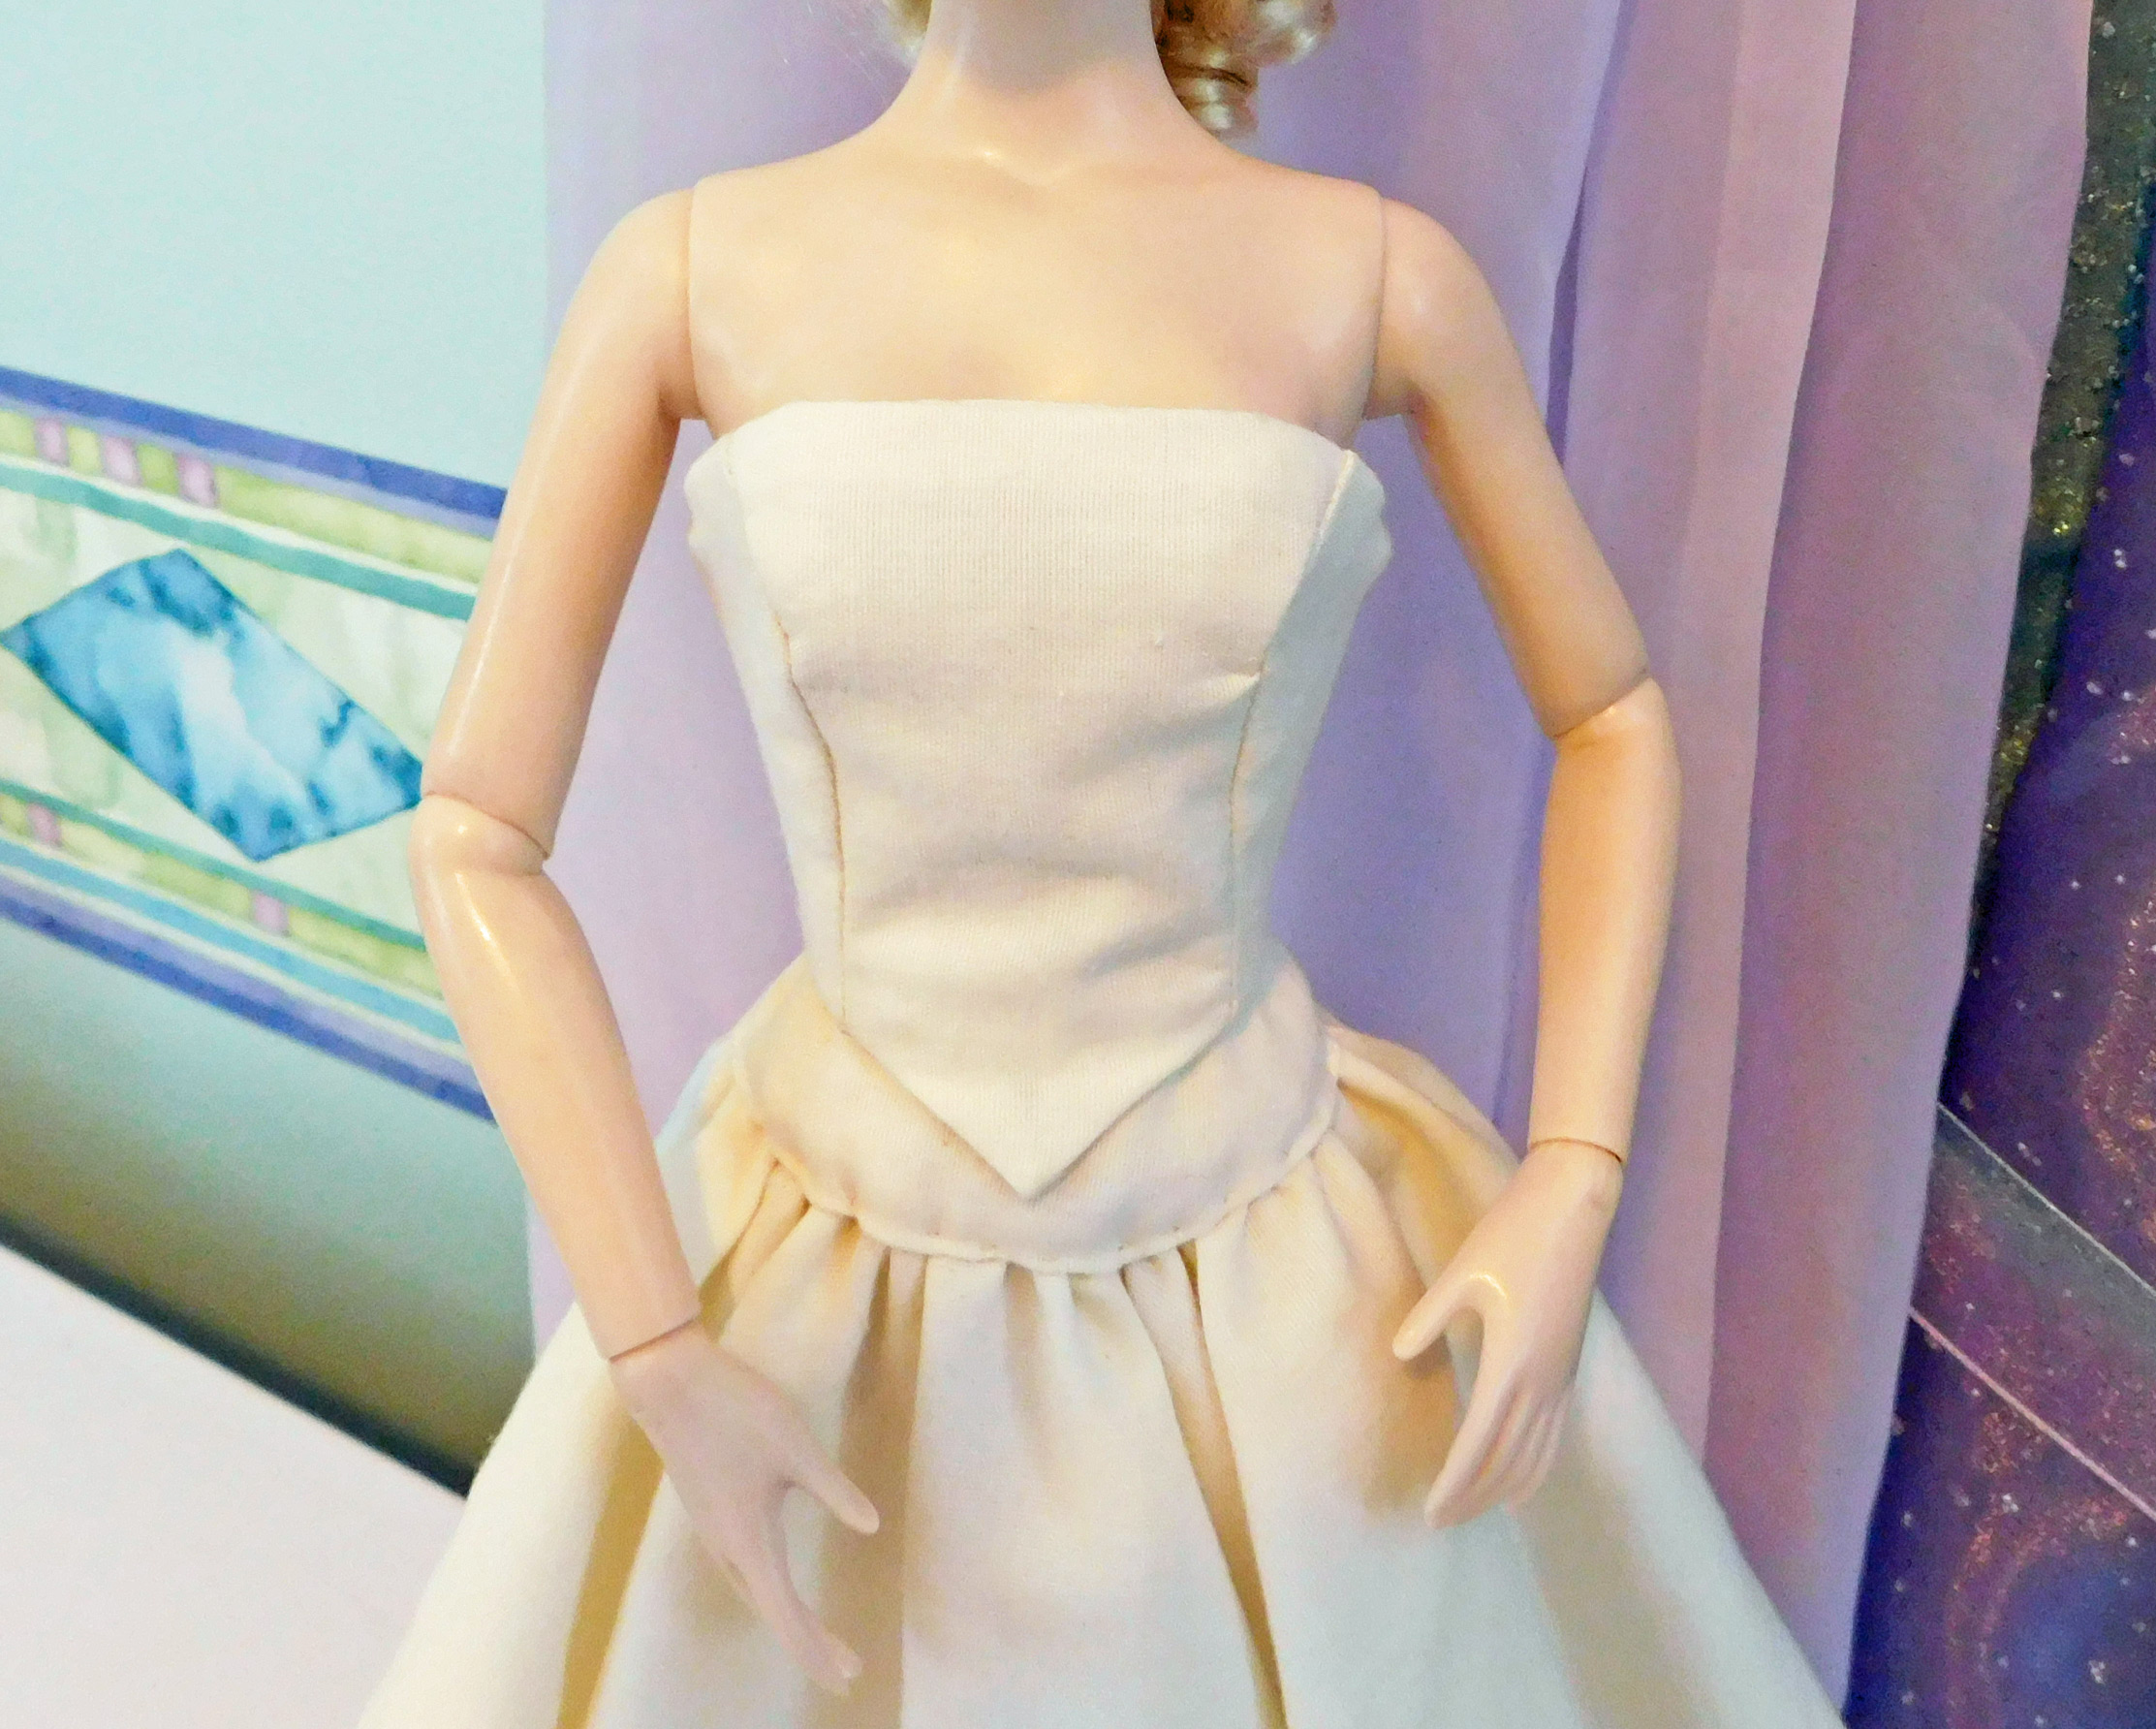
Bodice Mockup
The bodice was a bit loose on the doll, so I took in the side seams a bit. I also lowered the neckline a touch, giving it more of a curve.
The shoulder drapery consists of a long, narrow panel that’s pleated horizontally and tacked at various points. Some versions have a pleated ruffle along the bottom of the drape, but doing so in doll-scale would be too bulky.
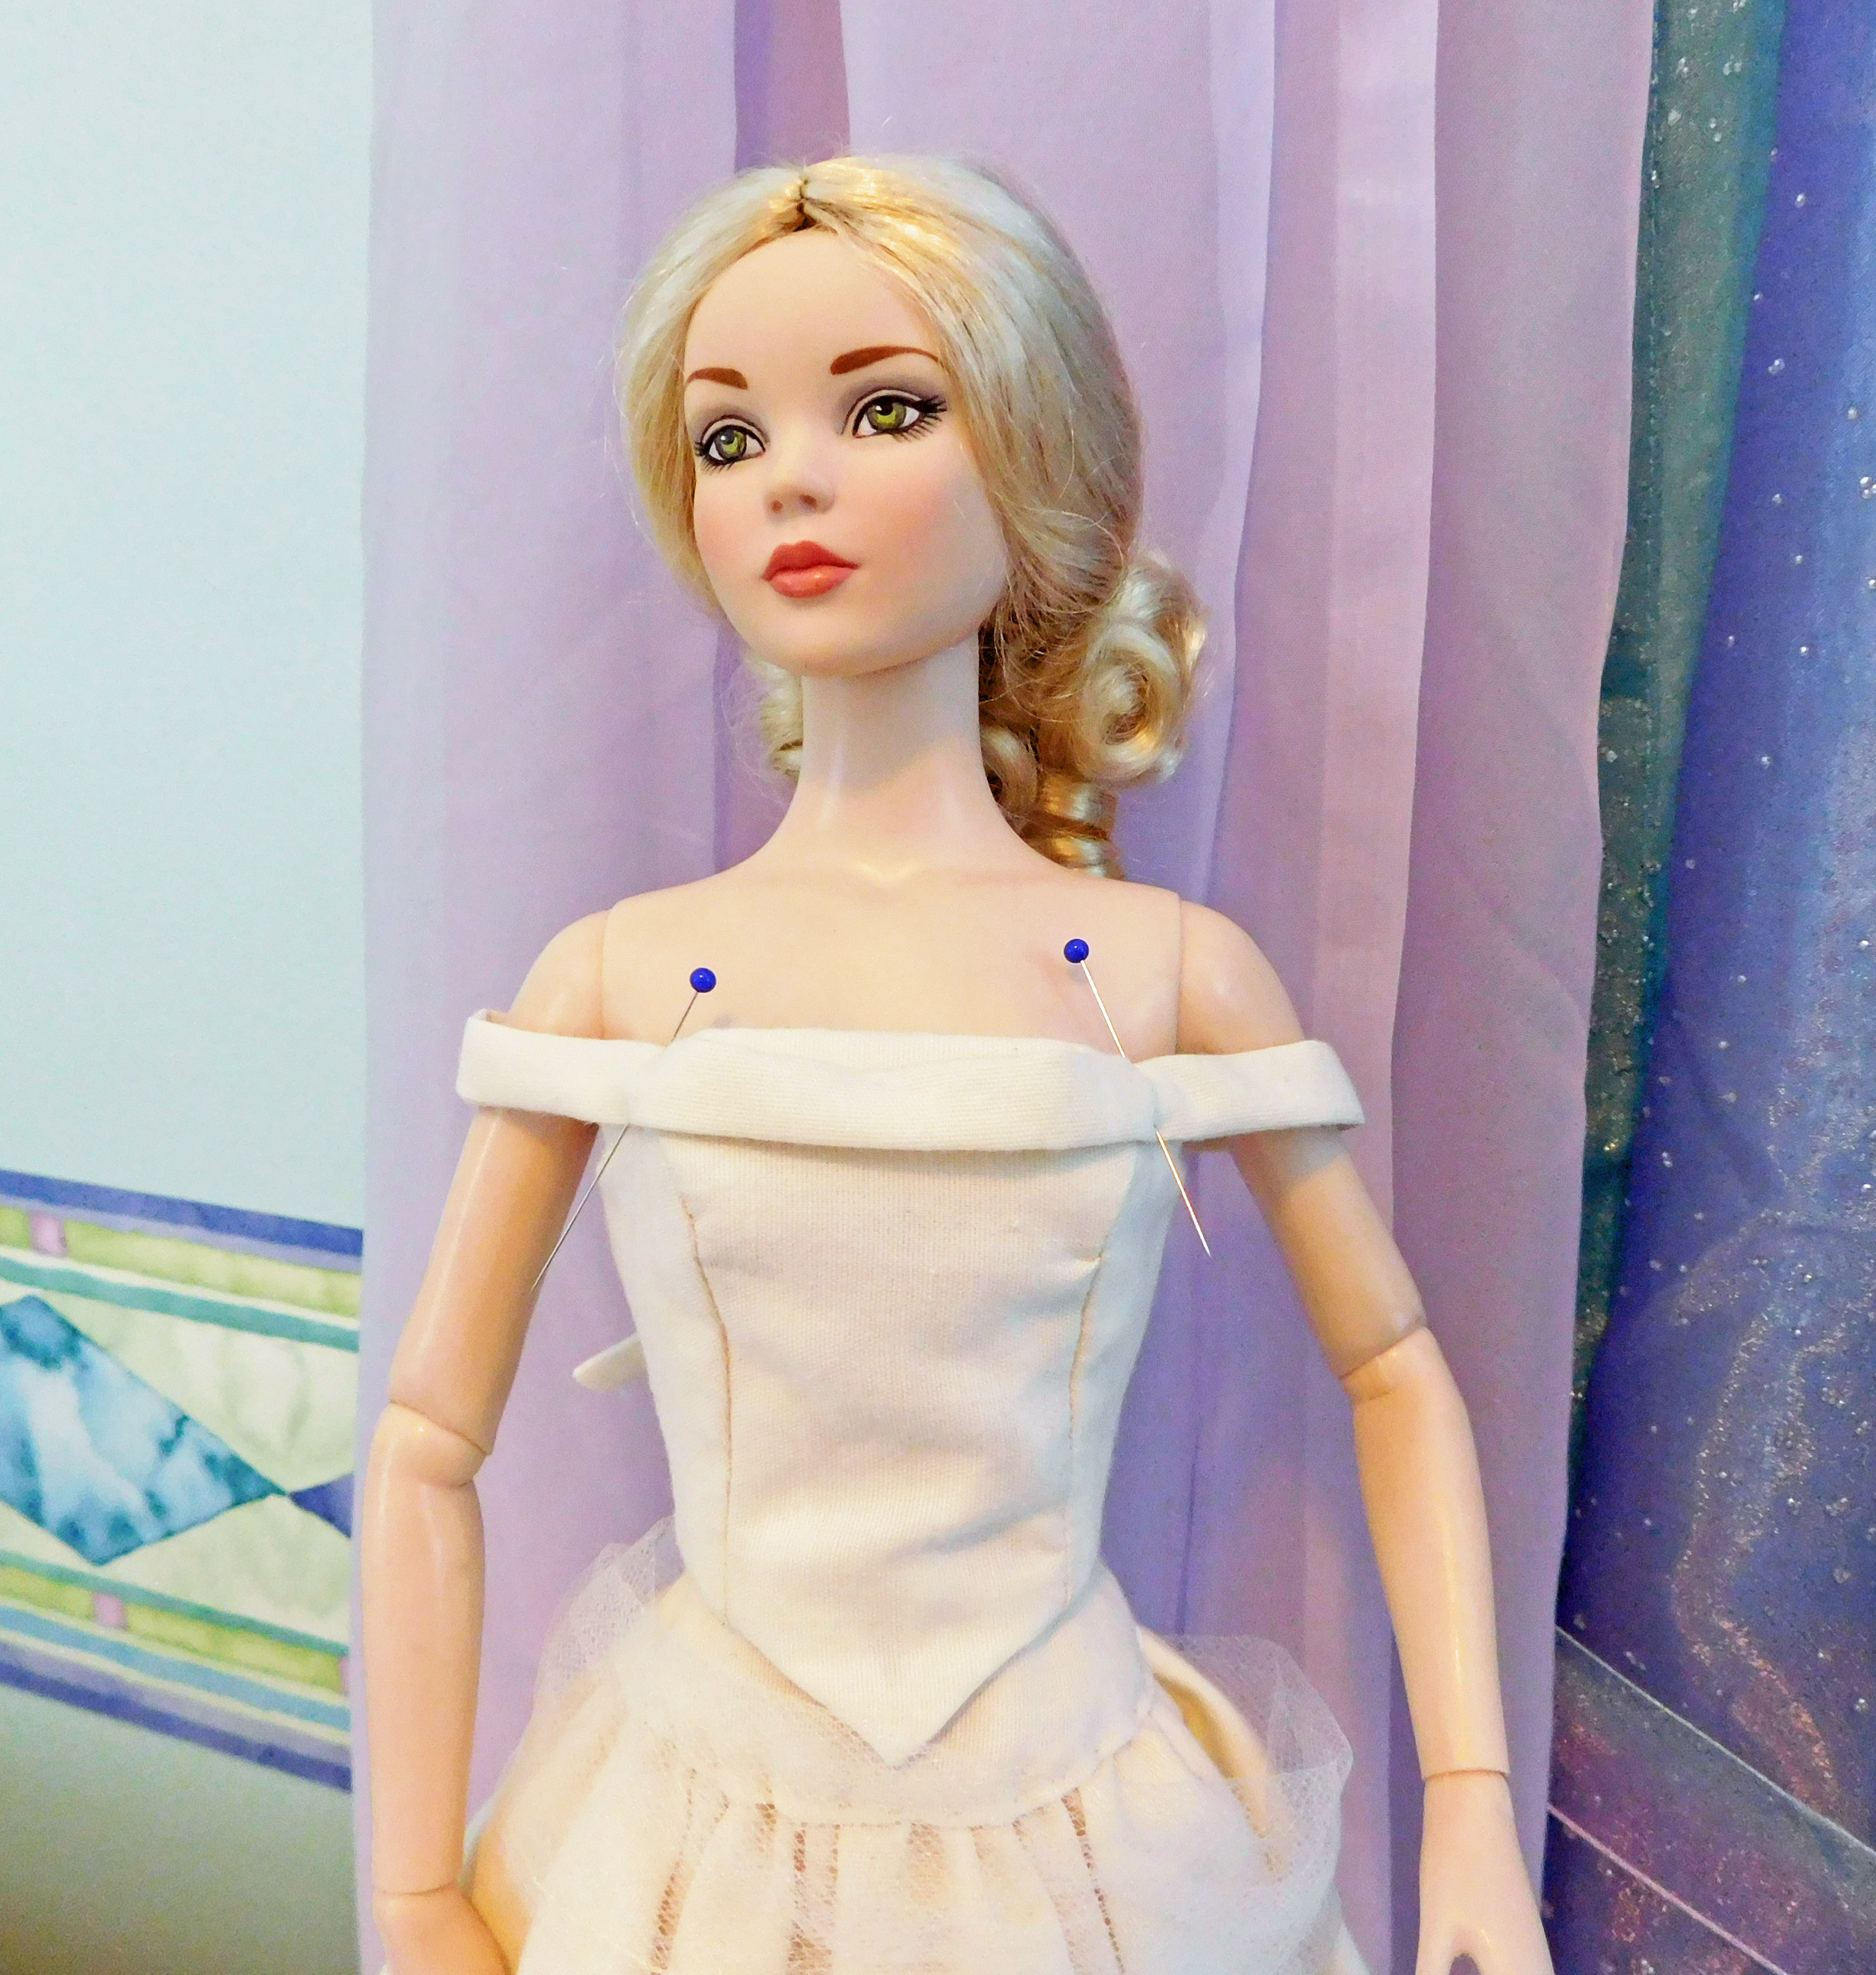
Bodice Mockup with Shoulder Drapery
Here’s the full mockup.
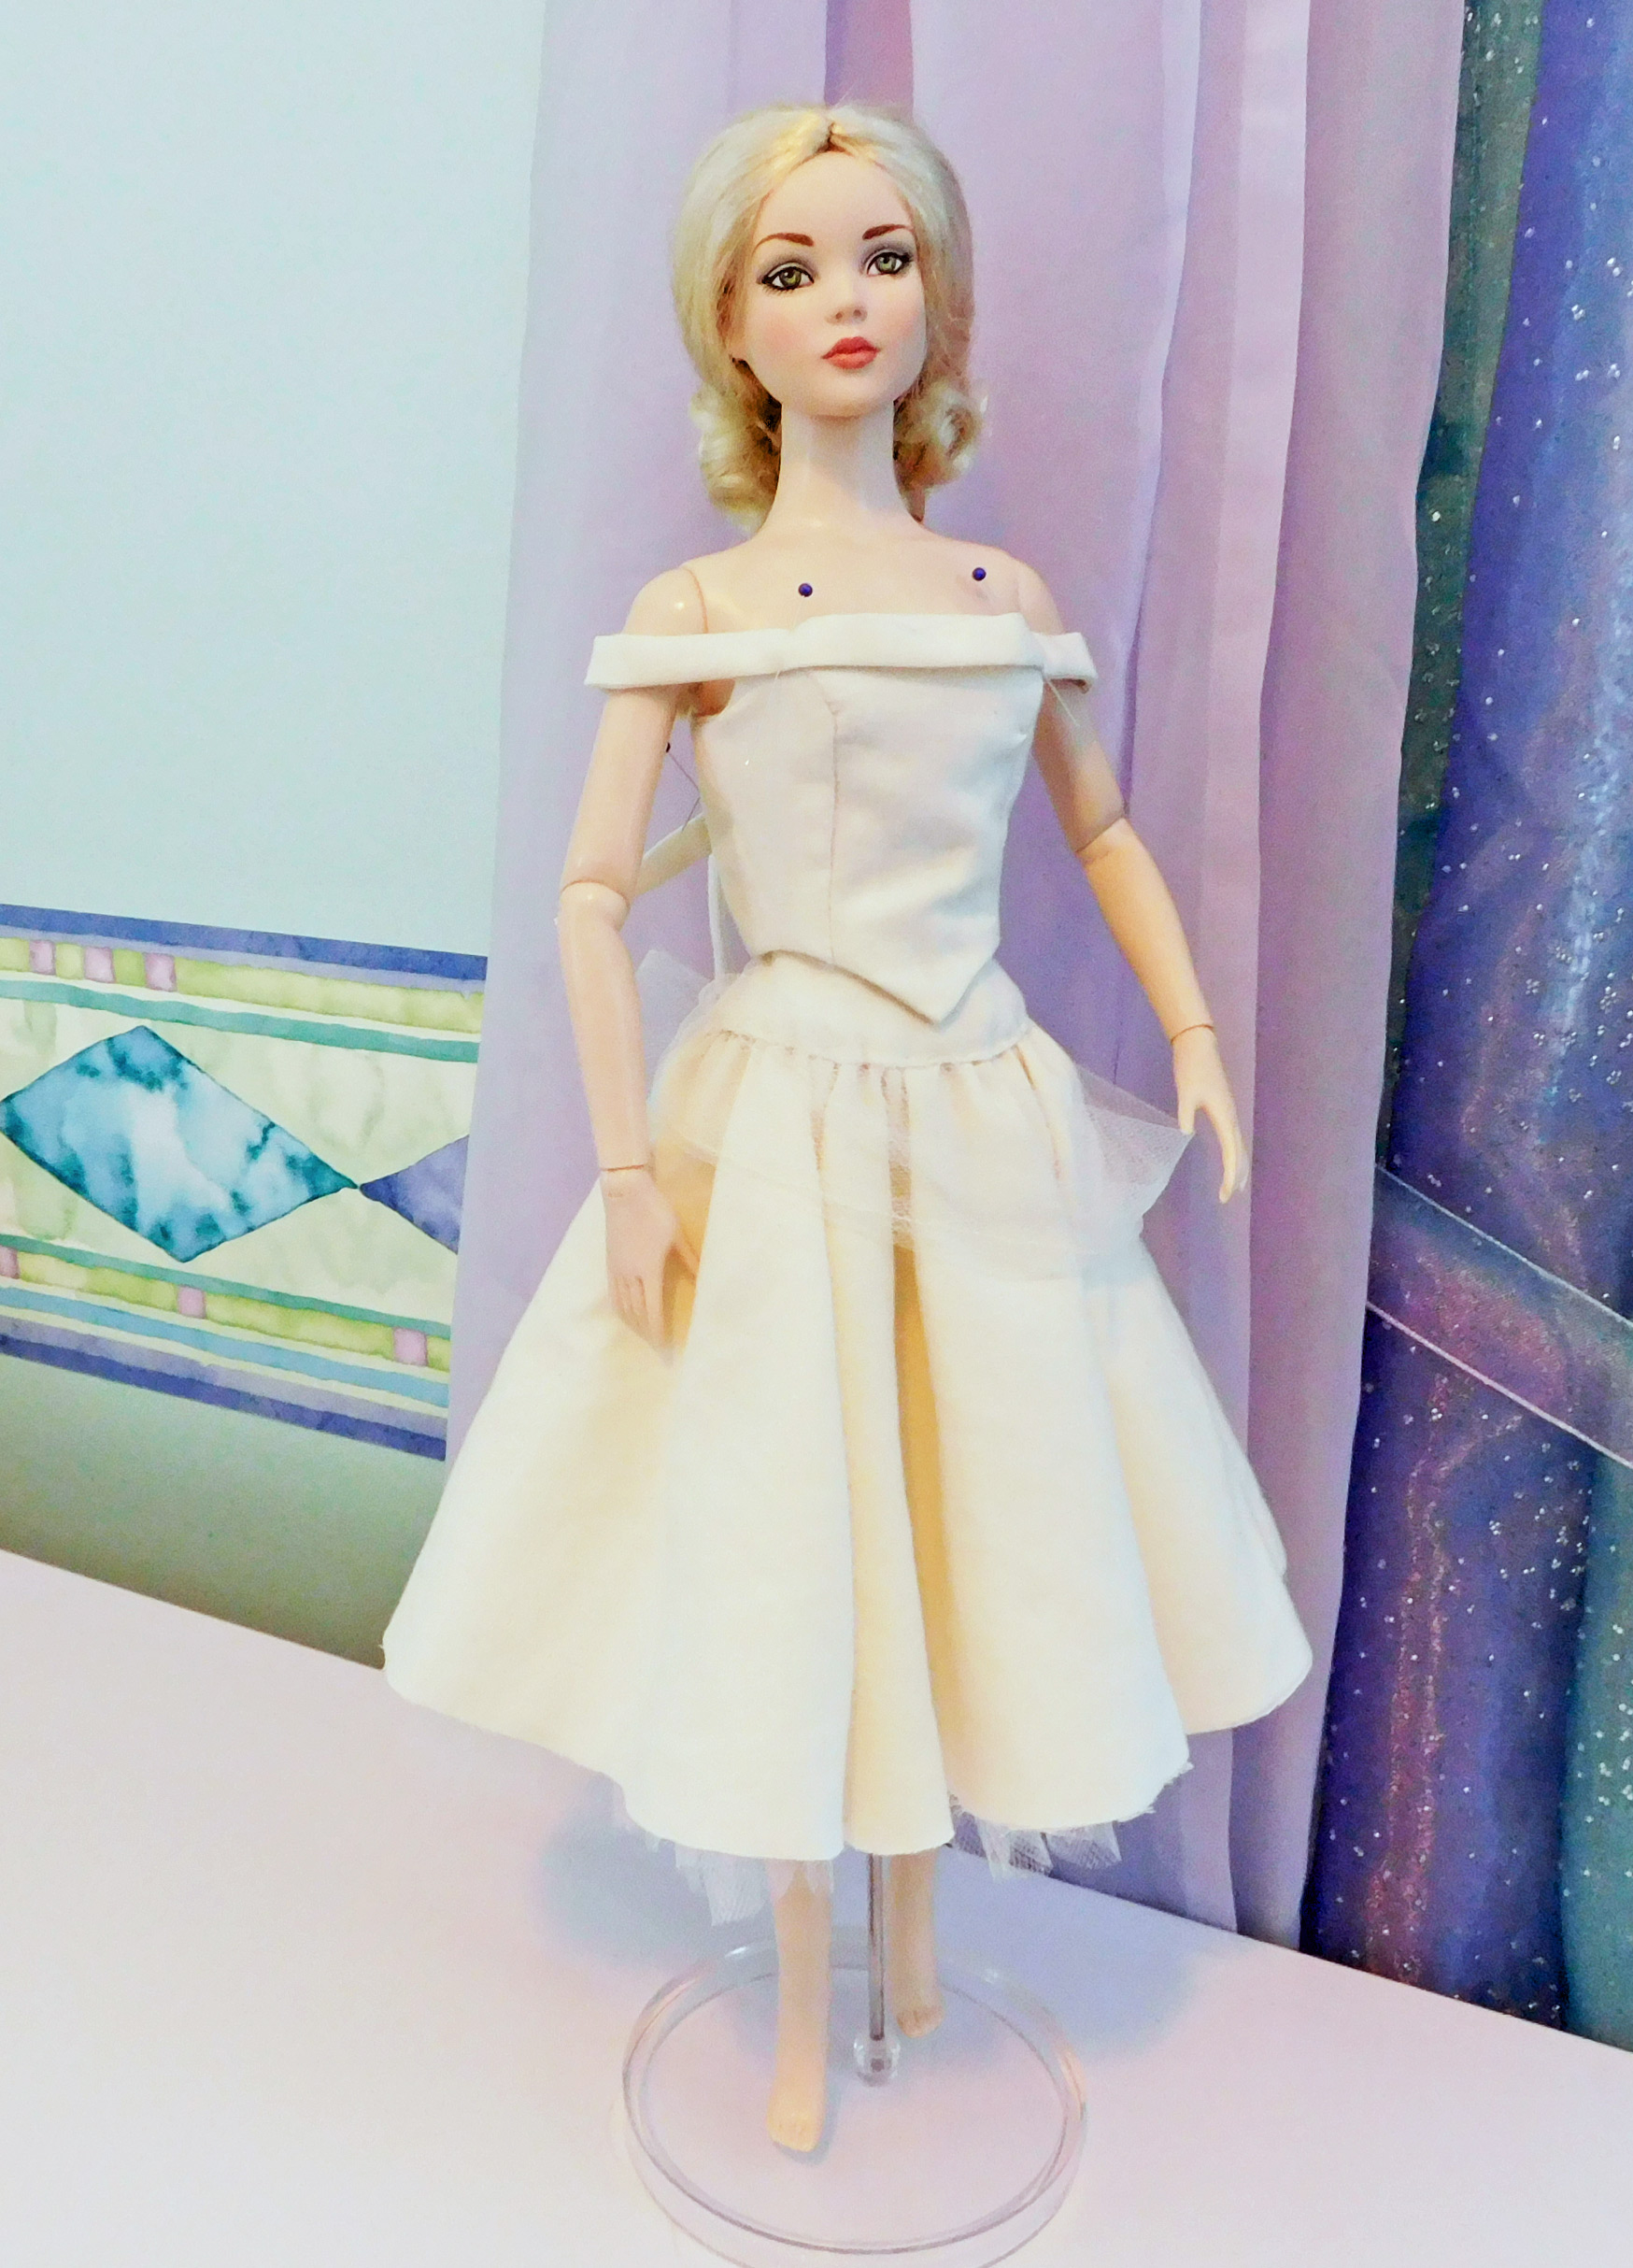
Finished Mockup
~~*~~
Next: See the construction of the final version in Part II.