

(Custom Photoshop Brush by deviantART user: hannarb)
When my local sewing guild announced that October’s sewing challenge was a bra decorating contest, I had no intention of participating. It seemed rather silly and I don’t usually do silly. Plus, I don’t have a lot of energy these days, so I didn’t want to work on something that didn’t have a point.
However, one of my sewing friends refused to take no for an answer. She showed up at my house one day with bags full of fabric scraps, beads, broken jewelry, and various odds and ends, and announced that we were both going to decorate bras for the guild challenge. It was impossible to refuse, and her enthusiasm was contagious. Before I knew it, I was actually enjoying myself!
Design
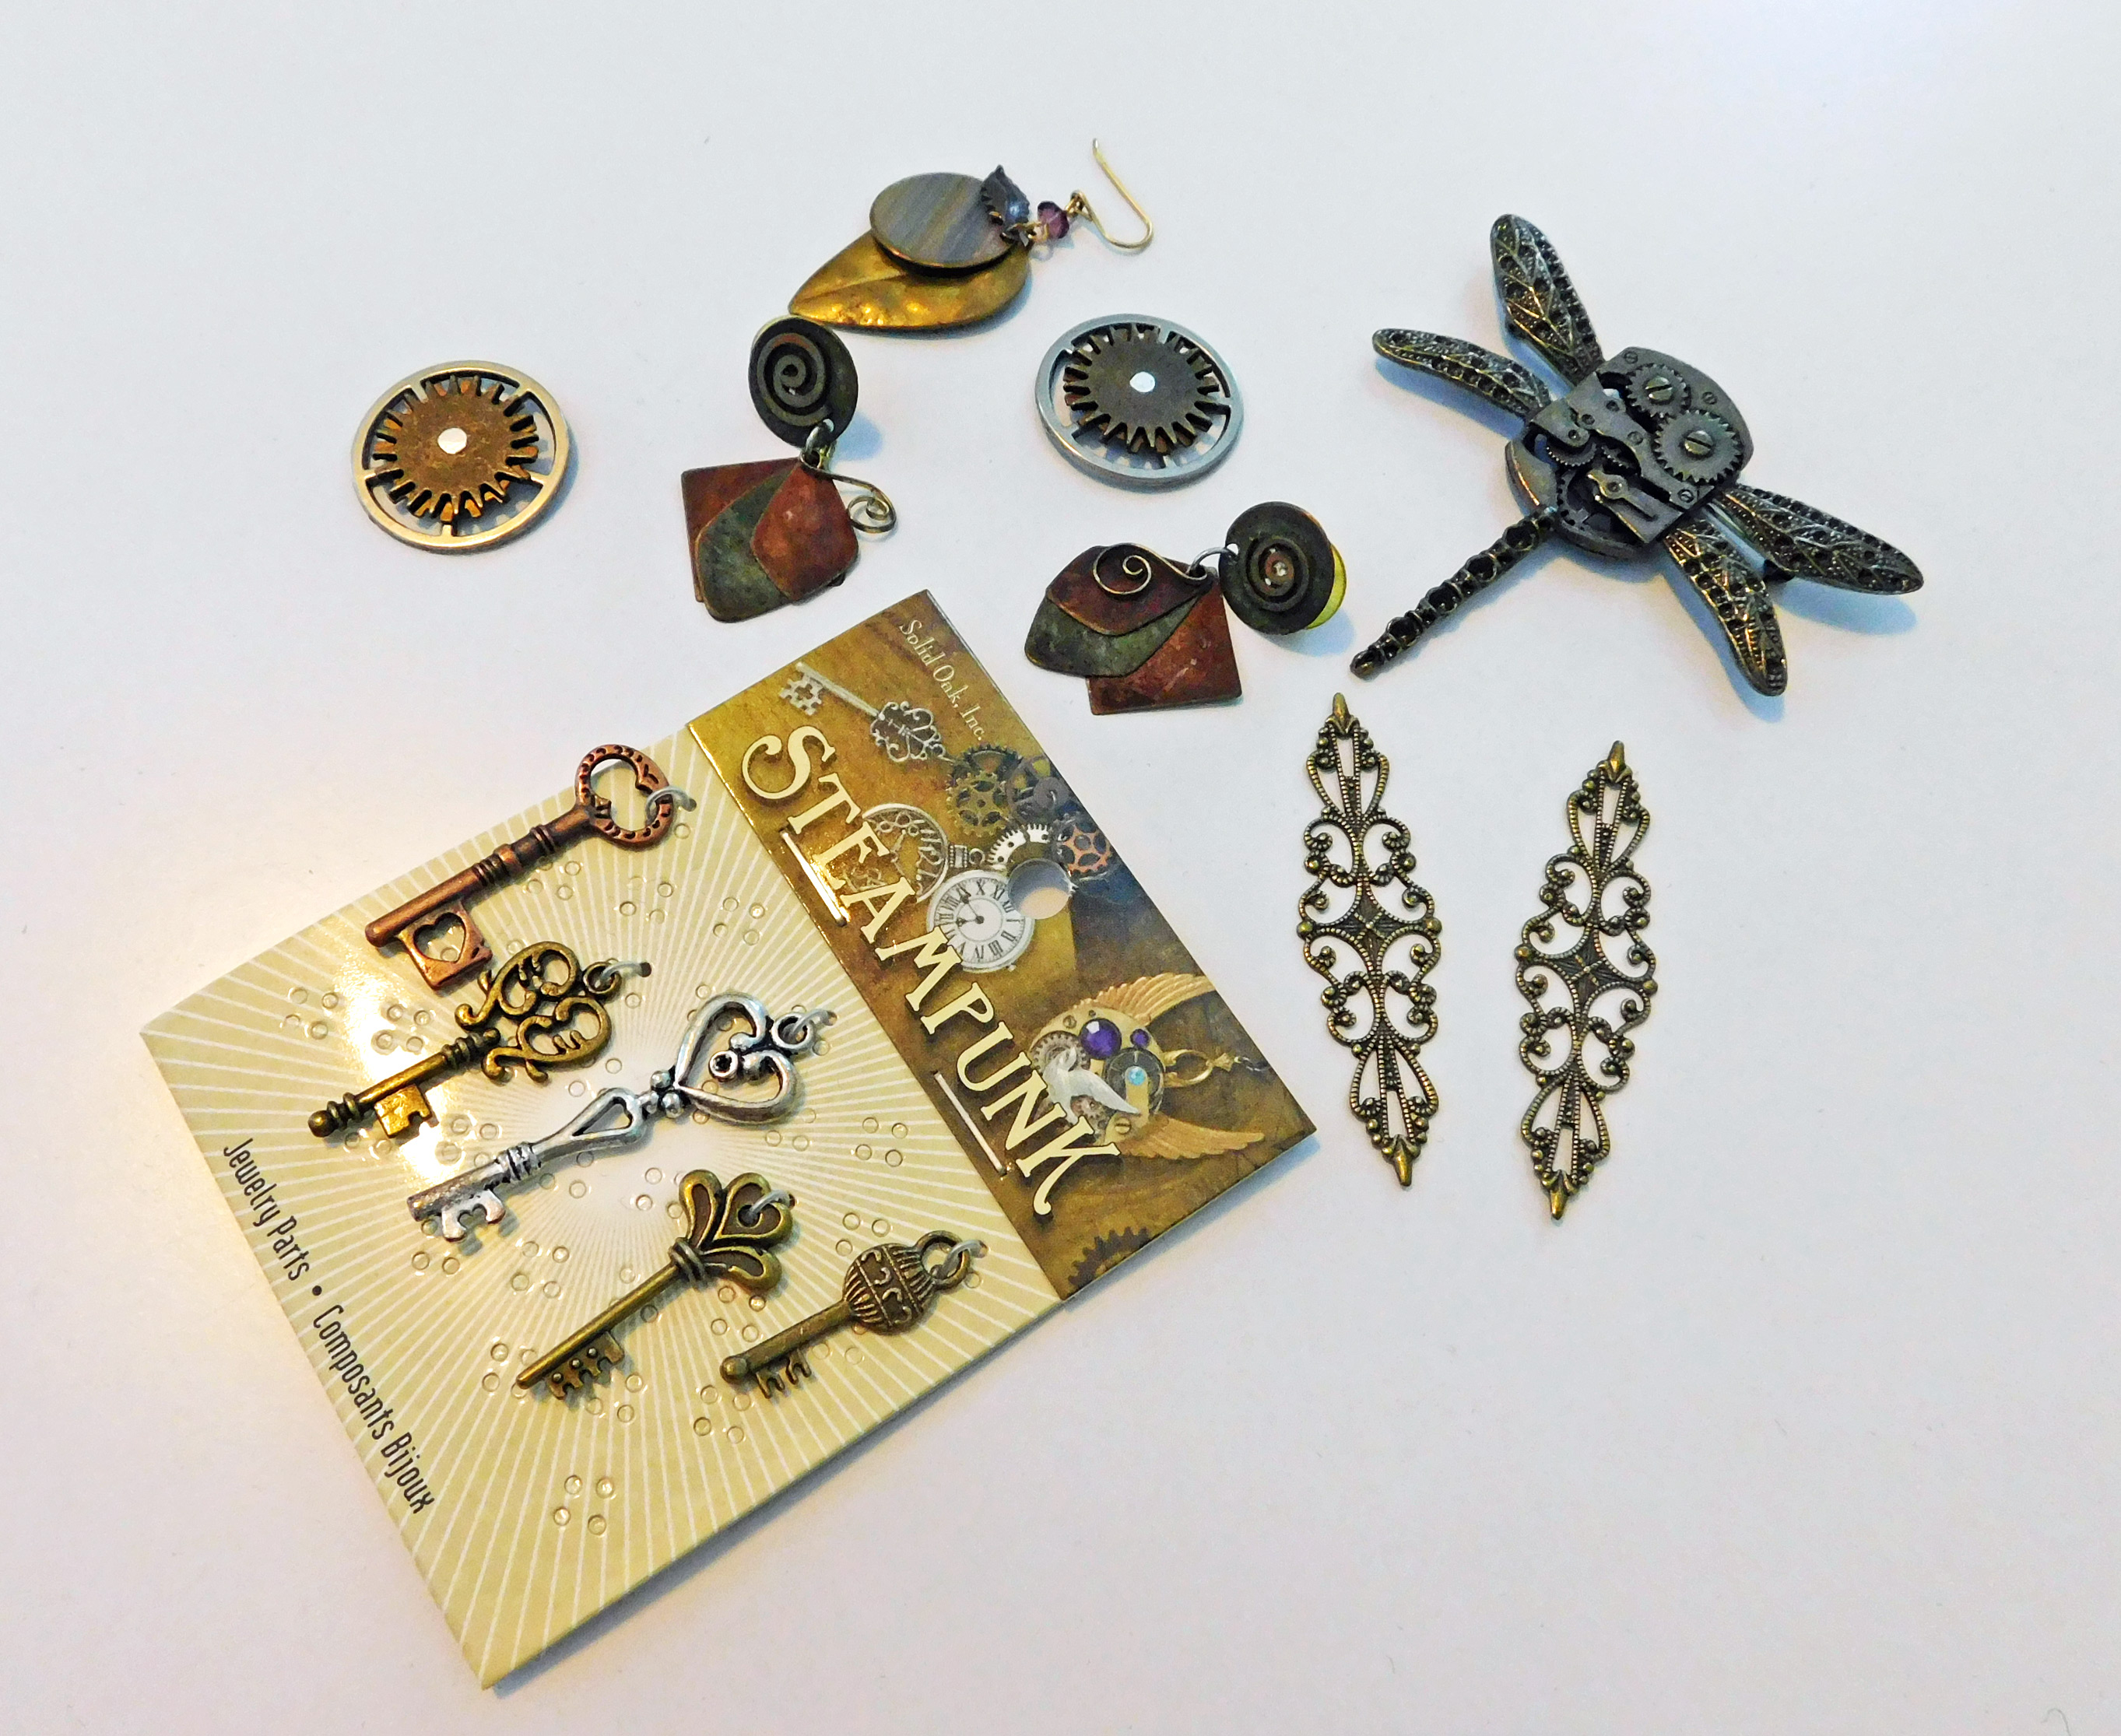
At my friend’s suggestion, I settled on a steampunk theme for my bra. She had some small cogs and gears in her scrap bag, and I had some miniature keys and a steampunk dragonfly brooch, so I ended up with a crazy steampunk bra.
Materials
- Old Bra
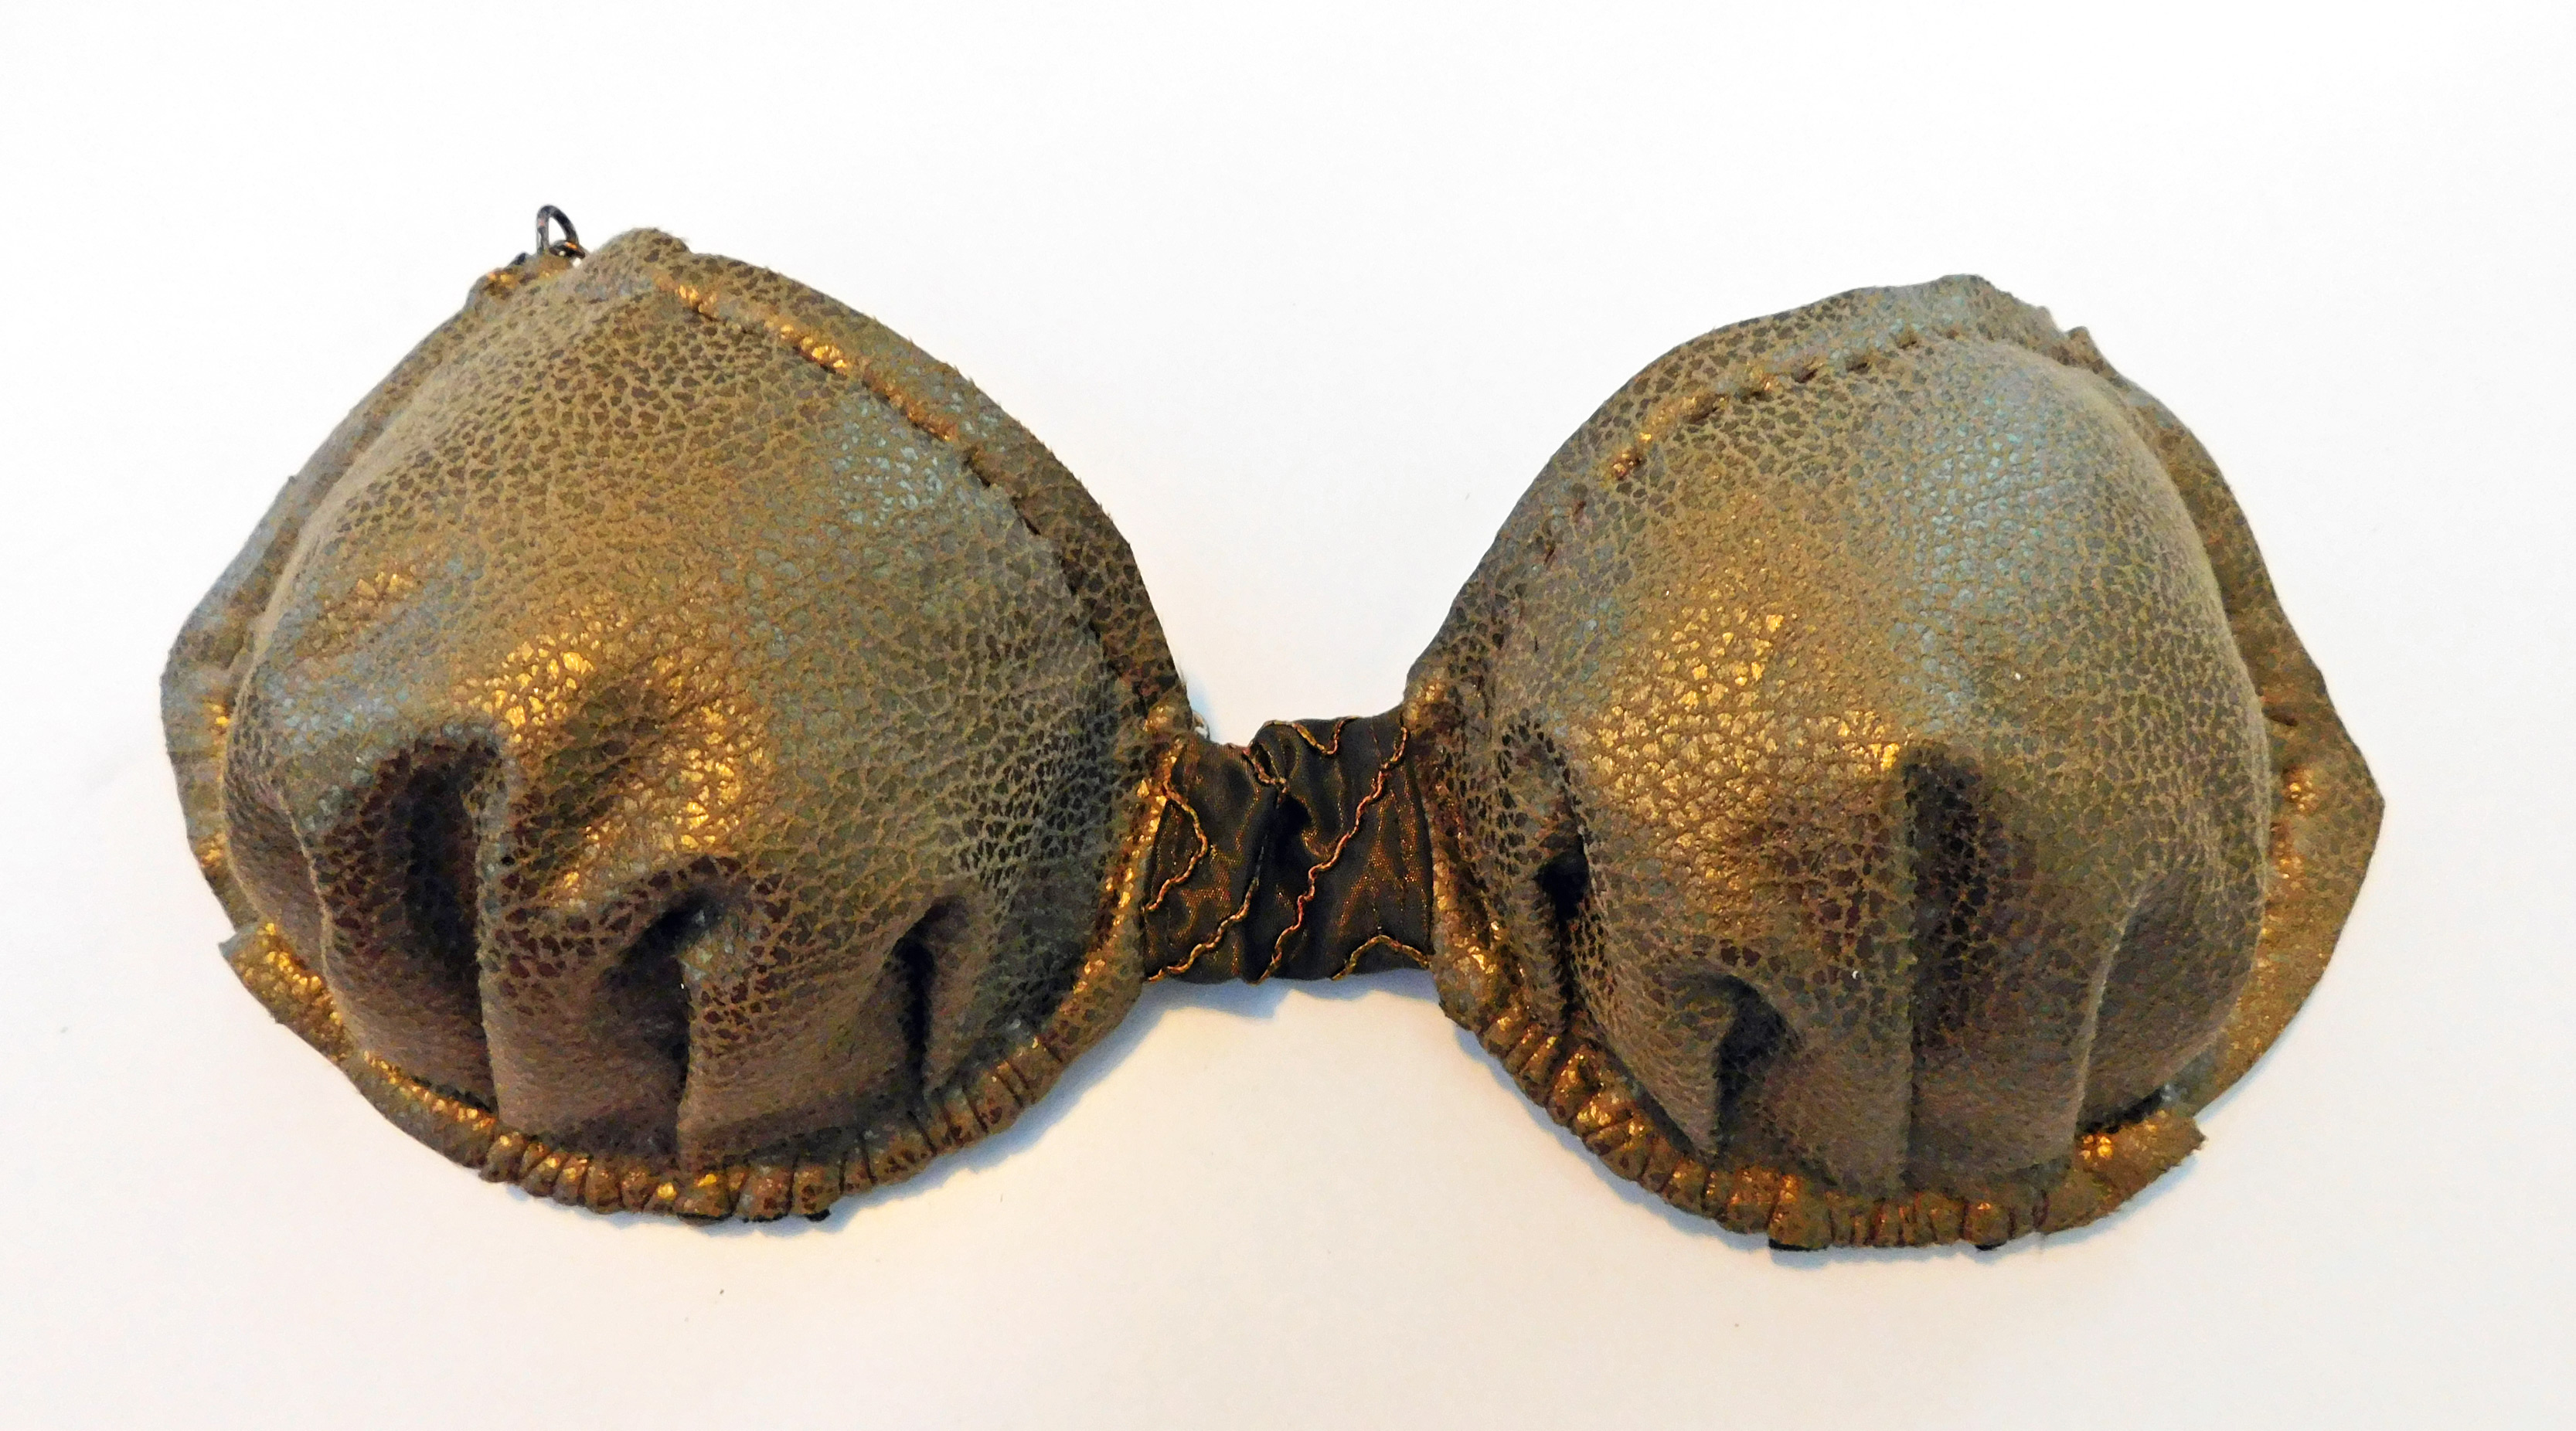
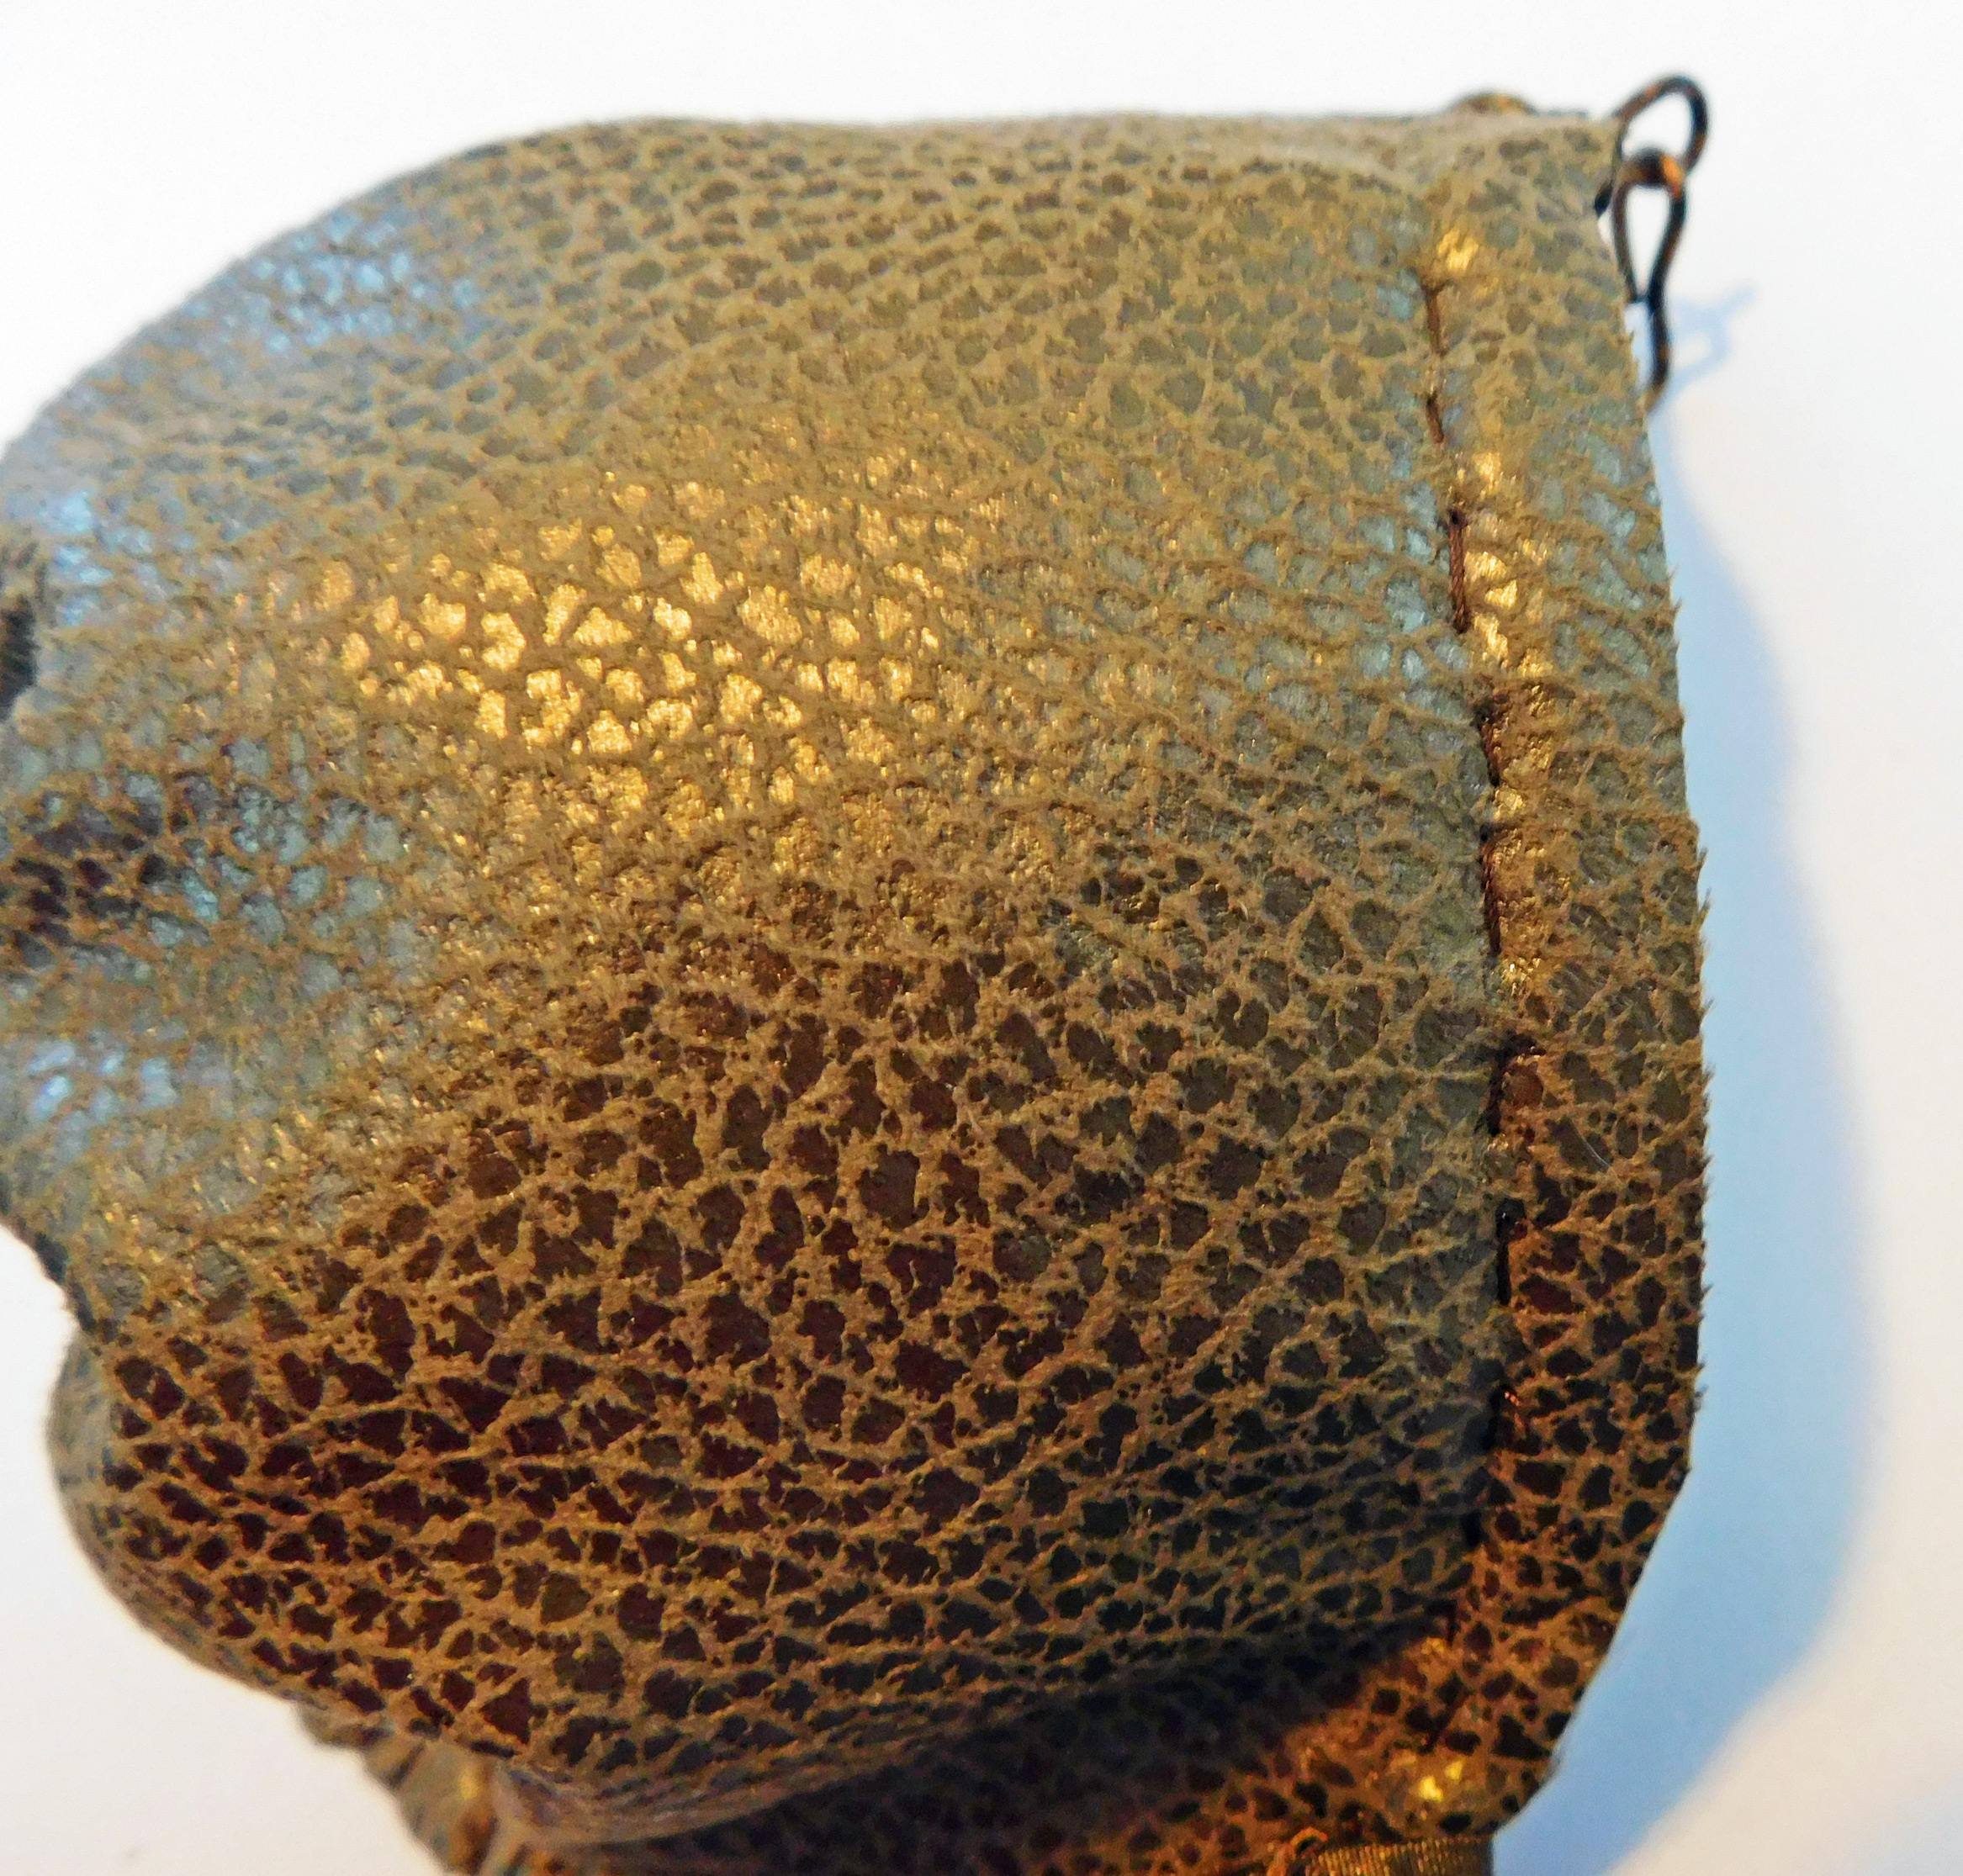
- Faux-Leather—Bronze
- Upholstery Fabric—Brown
- Chain—Copper
- Jewelry Bits
- Ribbon
From her bag of scraps, my friend produced a lovely piece of faux-leather in a bronze-brown color with reptile skin speckling. Absolutely perfect! She had a brown taffeta that was couched with a three-dimensional cording effect, which I used to accent the bra. She also had some earrings that were bronze and copper, and a long black chain, which she painted with a metallic copper/bronze paint for me.

Fabrics
Trims
Construction
I started with an old bra that no longer fit. I wanted to cover the cups with the bronze faux-leather, so I laid the fabric on top of the bra and started trying to mold it to fit. After several frustrating minutes, I realized this wasn’t going to work because I couldn’t pin the faux-leather without leaving permanent holes. Then it dawned on me that I could simply draft a pattern for the bra cups. So, I grabbed my roll of Swedish tracing paper and laid it over the bra, in order to create a pattern.
I pinned several darts into the pattern, but when I cut out the faux-leather, I realized the material was too thick for darts. Instead, I pleated the edge of the bra cups. This allowed it to fit the curved shape without adding too much bulk.
Pleated Bra Cups
Unwilling to risk breaking a needle by machine sewing so close to the underwire, I hand-sewed the fabric to the bra, using large stitches. Along the bottom edge of the bra, I whipstitched the fabric, looping the stitches over the edge. I wasn’t sure whether I wanted to cover all these stitches with trim, or leave them visible, creating a sort of post-apocalyptic effect. In the end, I covered the upper stitches, but left the whipstitches visible at the bottom.
Hand Stitching
For the small front section that connects the two bra cups, I cut a strip of a textured home décor fabric. It’s brown taffeta, with a tiny beige/brown cord sewn to it in a raised geometric design. I hemmed the edges of the strip, then wrapped it around the bra’s middle section and hand sewed it in place. I think it provides a nice bit of contrast to the faux-leather.

Taffeta Contrast
Next, I needed to do something about the bra straps. I’d cut out faux-leather panels for the sides of the bra, but my friend suggested that I not try to cover them, but remove them and use chain instead, making the bra into a sort of halter. I thought it was a brilliant idea—and it meant less hand-sewing for me—so I cut off the bra’s straps and side panels, then hand-stitched the bronze-painted chain to the bra cups, forming straps.
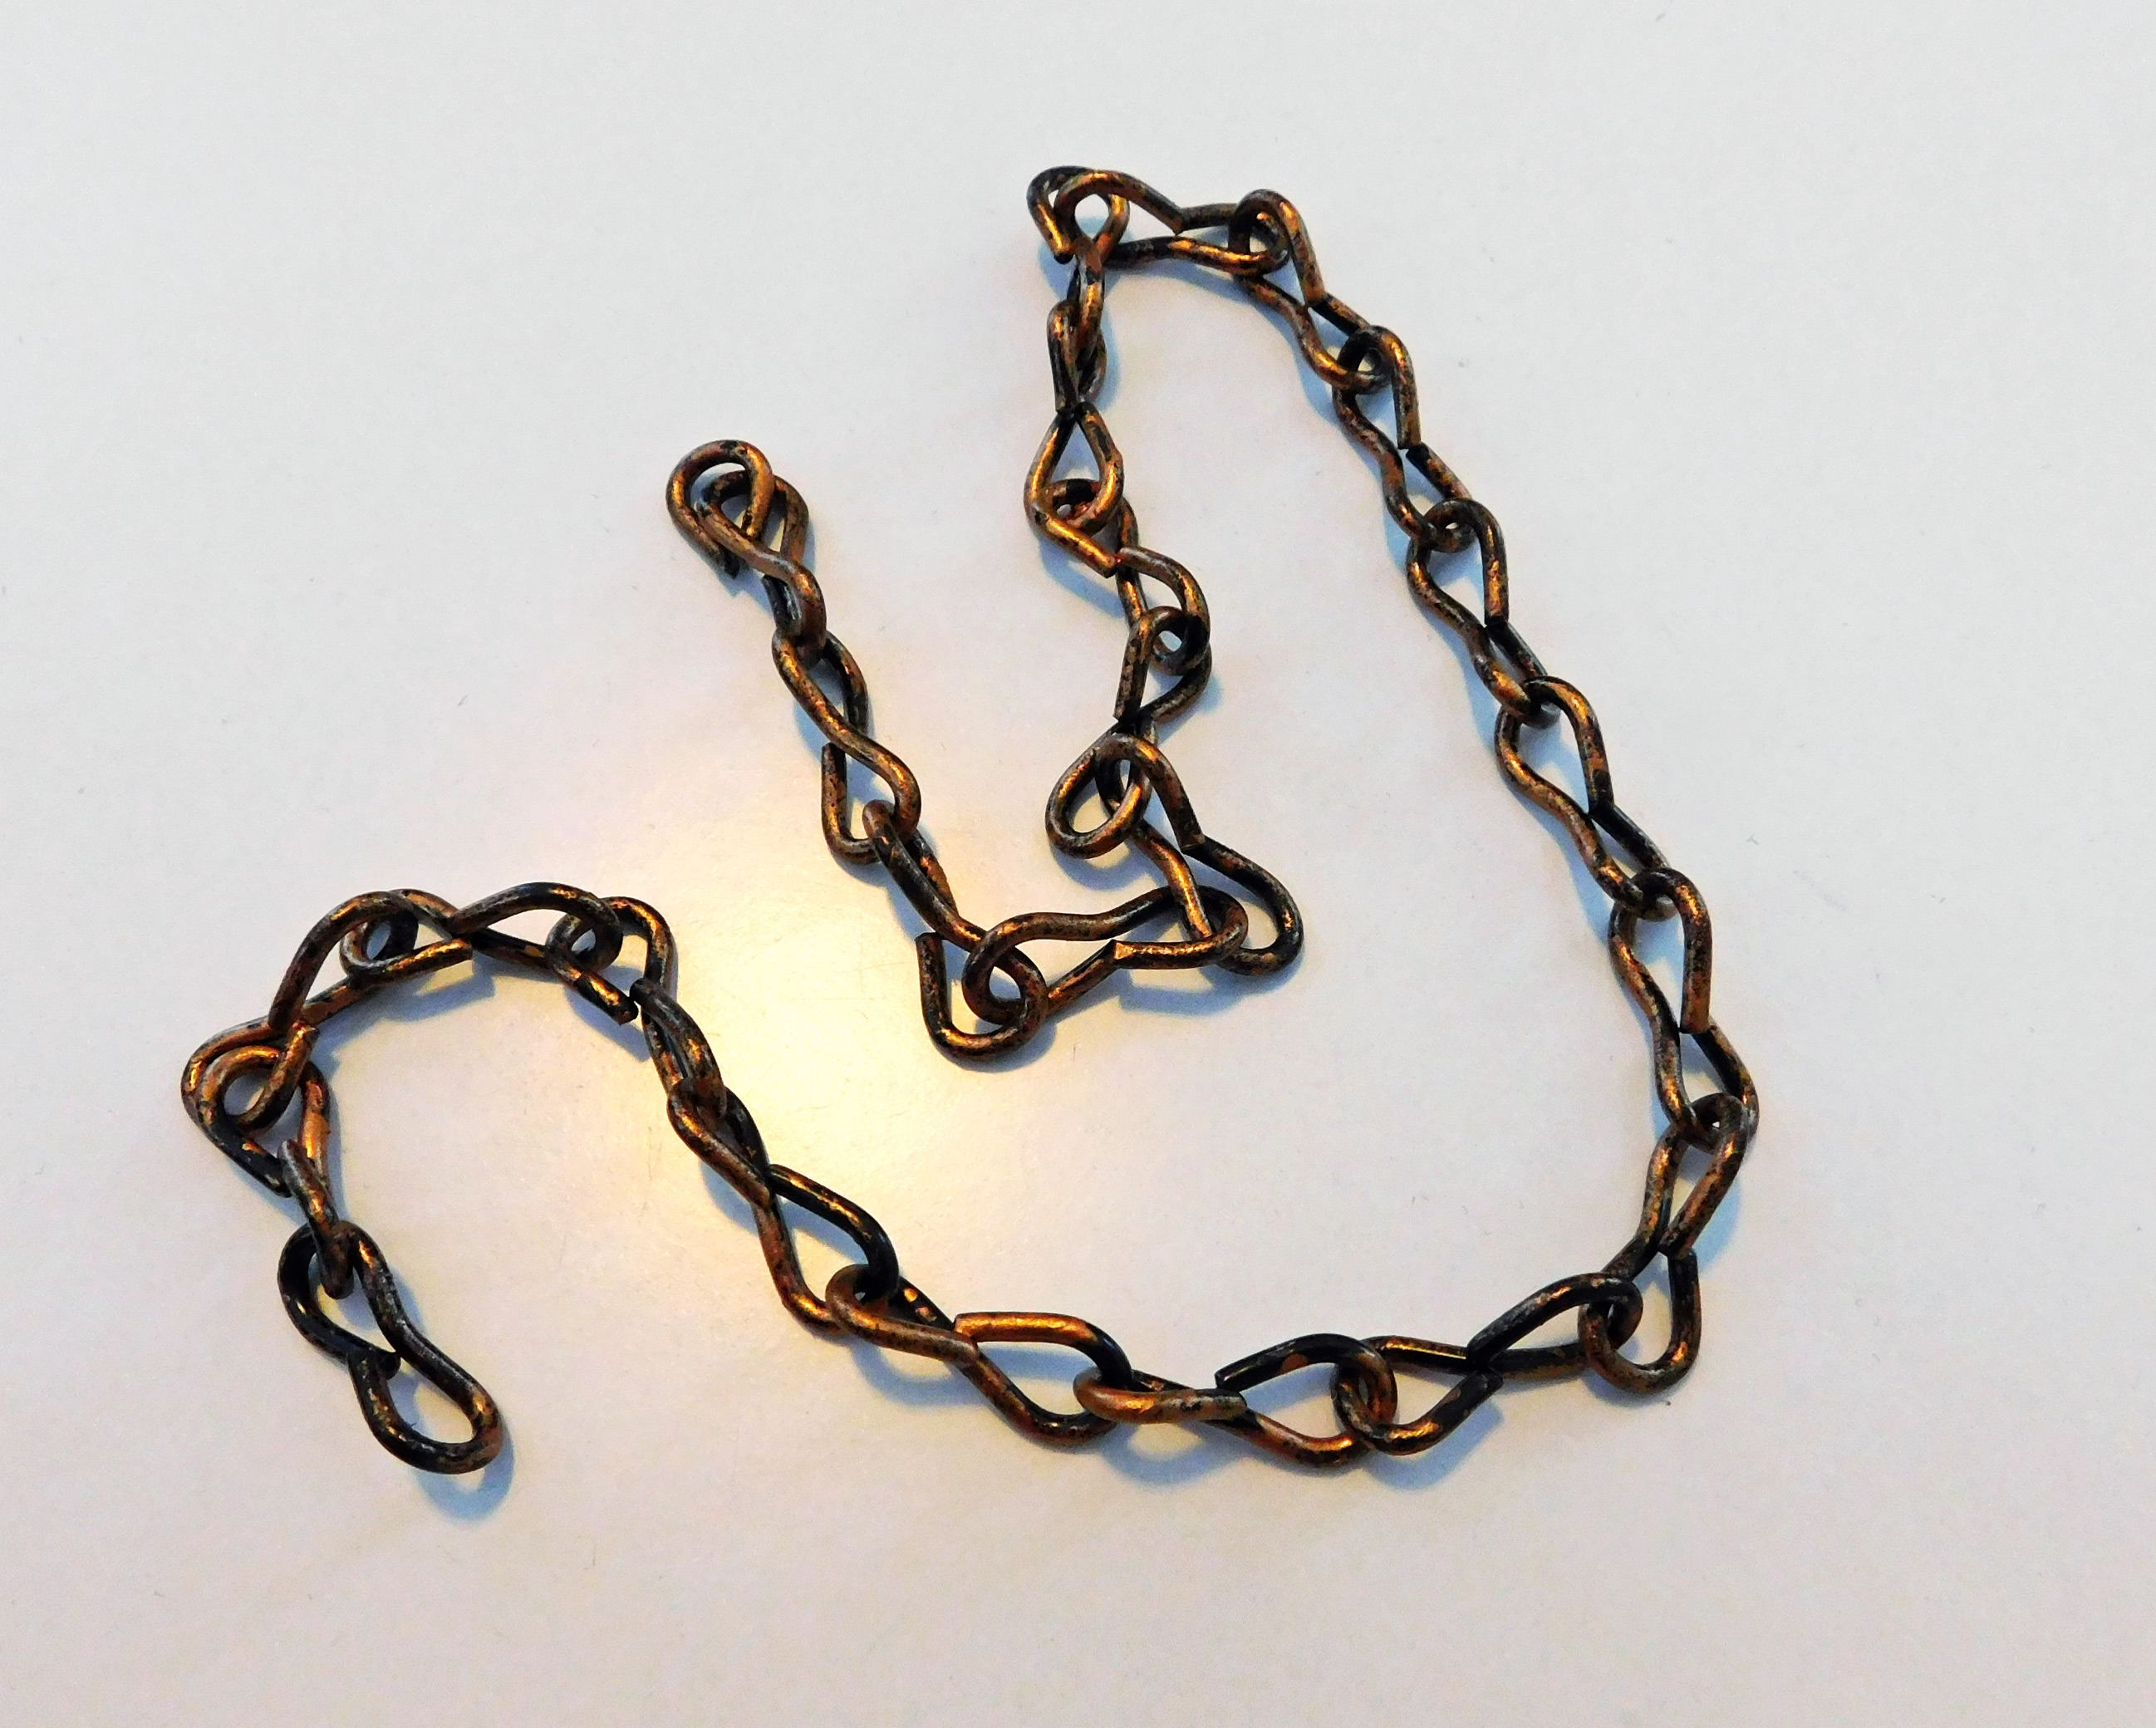
Chain for Straps
Embellishment
Once the bra was assembled, I started embellishing it. Now, I don’t normally do crazy, fun projects like this, so I felt a bit out of my depth. Not knowing what else to do, I decided to be vulgar for once in my life . . . I sewed a pair of round cogs to the center of the bra cups, forming steampunk nipples.
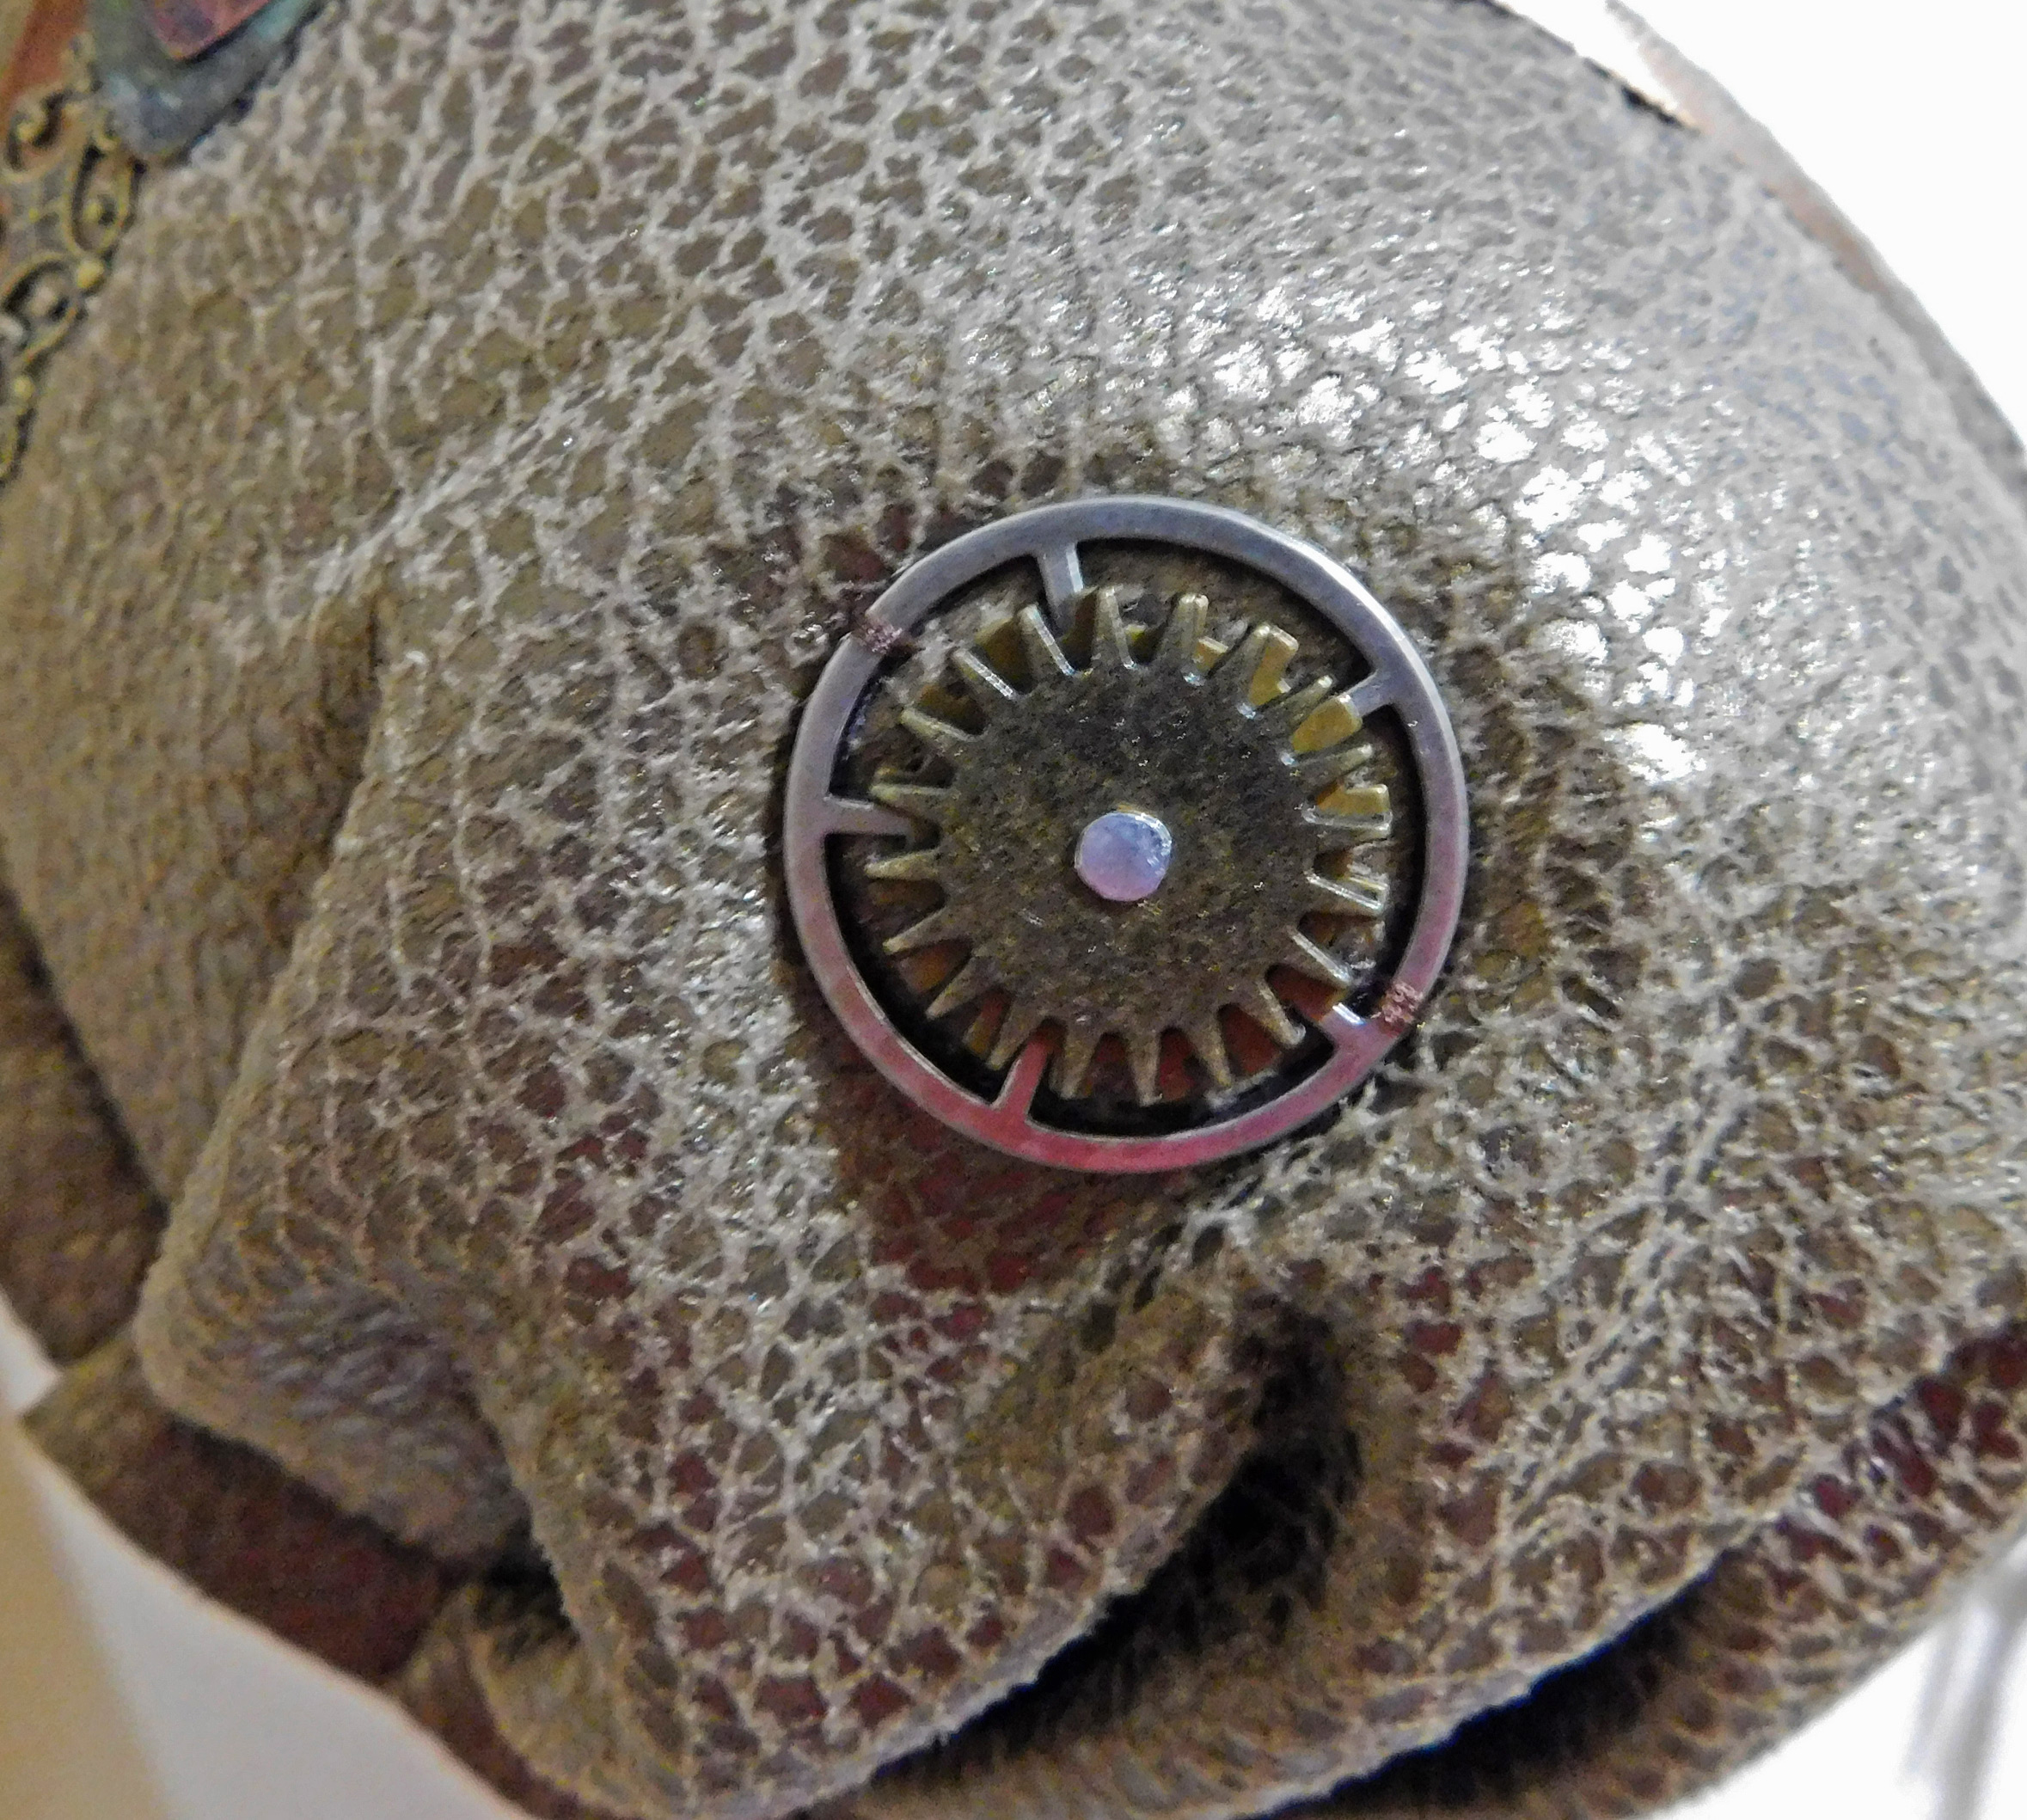
Cogs
Next, I pinned the bronze and copper earrings to the top corners of the bra, letting them dangle. I attached some antiqued bronze filigree findings to the sides of the cups. I had some miniature bronze and copper keys, which I attached to an antiqued bronze key ring, and then sewed to the center-front. I also attached my steampunk dragonfly pin to the center-front. It’s a bit minimalist, but I think it looks awesome!
Conclusion
While this project wasn’t my normal sort of thing, I ended up having a lot of fun with it. One of the ladies at the sewing guild told me, afterwards, that she was hoping I’d do a steampunk-themed bra! So, I’m glad my friend talked me into it. It was an enjoyable break from my usual sort of sewing.
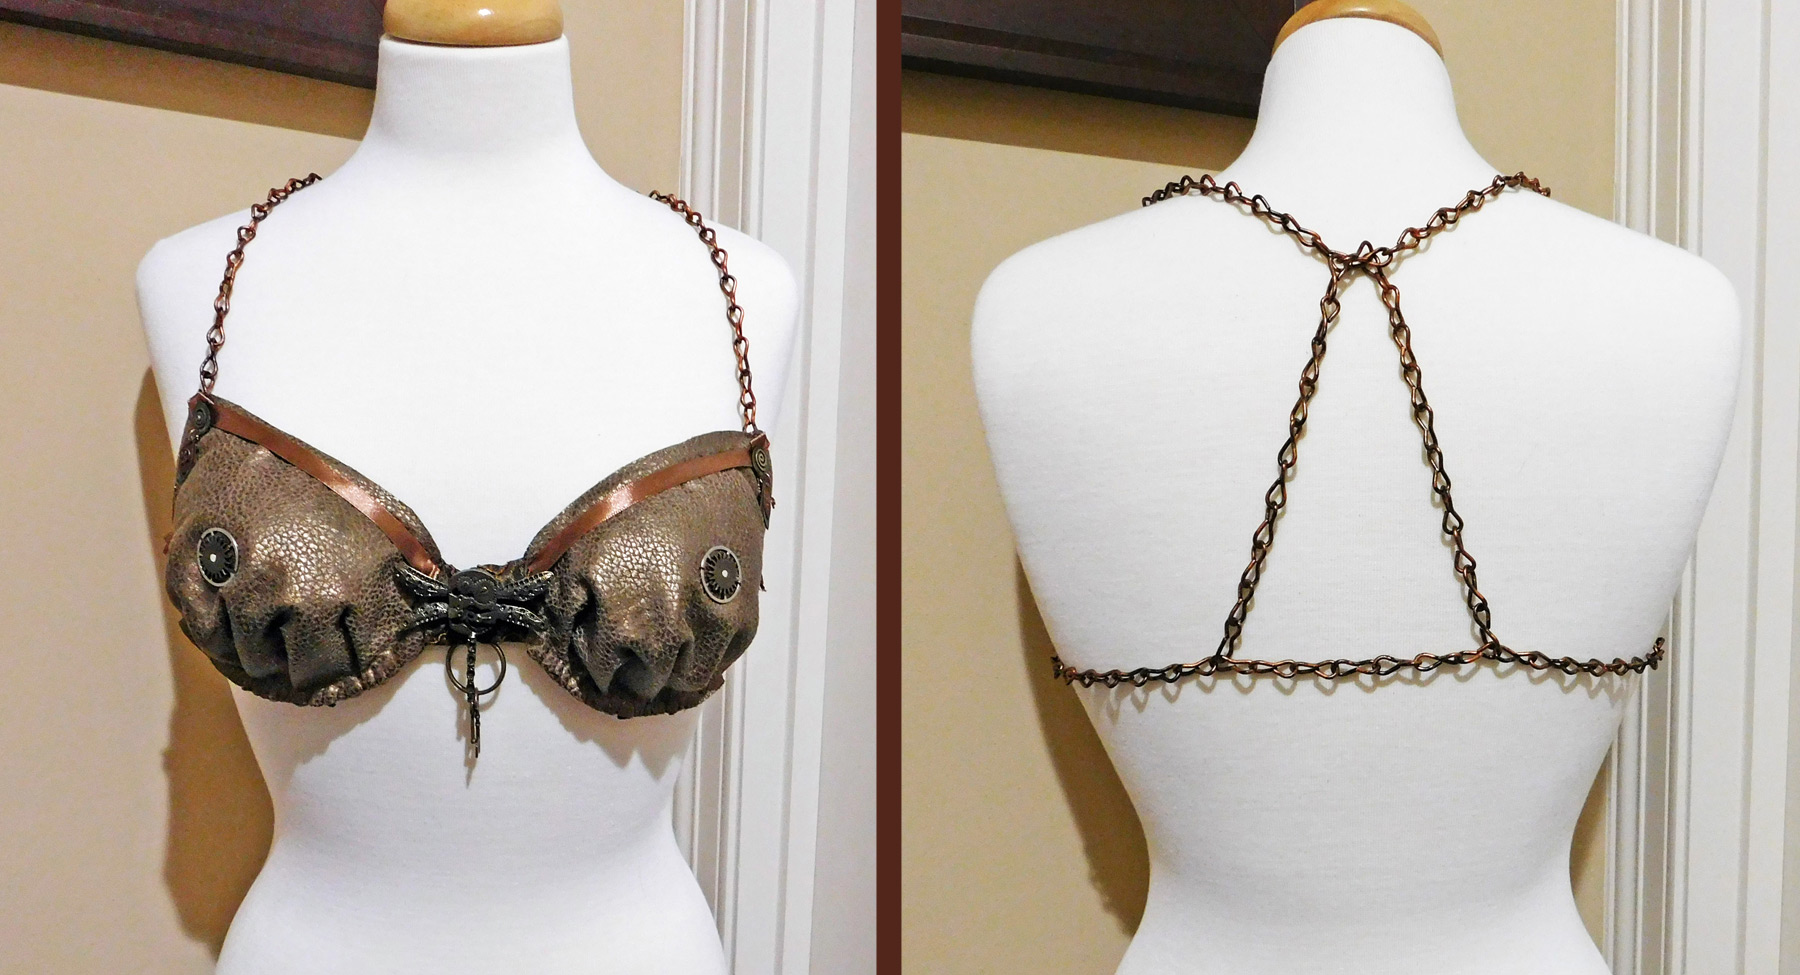
Steampunk Bra
~~*~~
Looking for more? Try browsing our Sewing Diaries! You might also enjoy the Tutorials or Articles.