
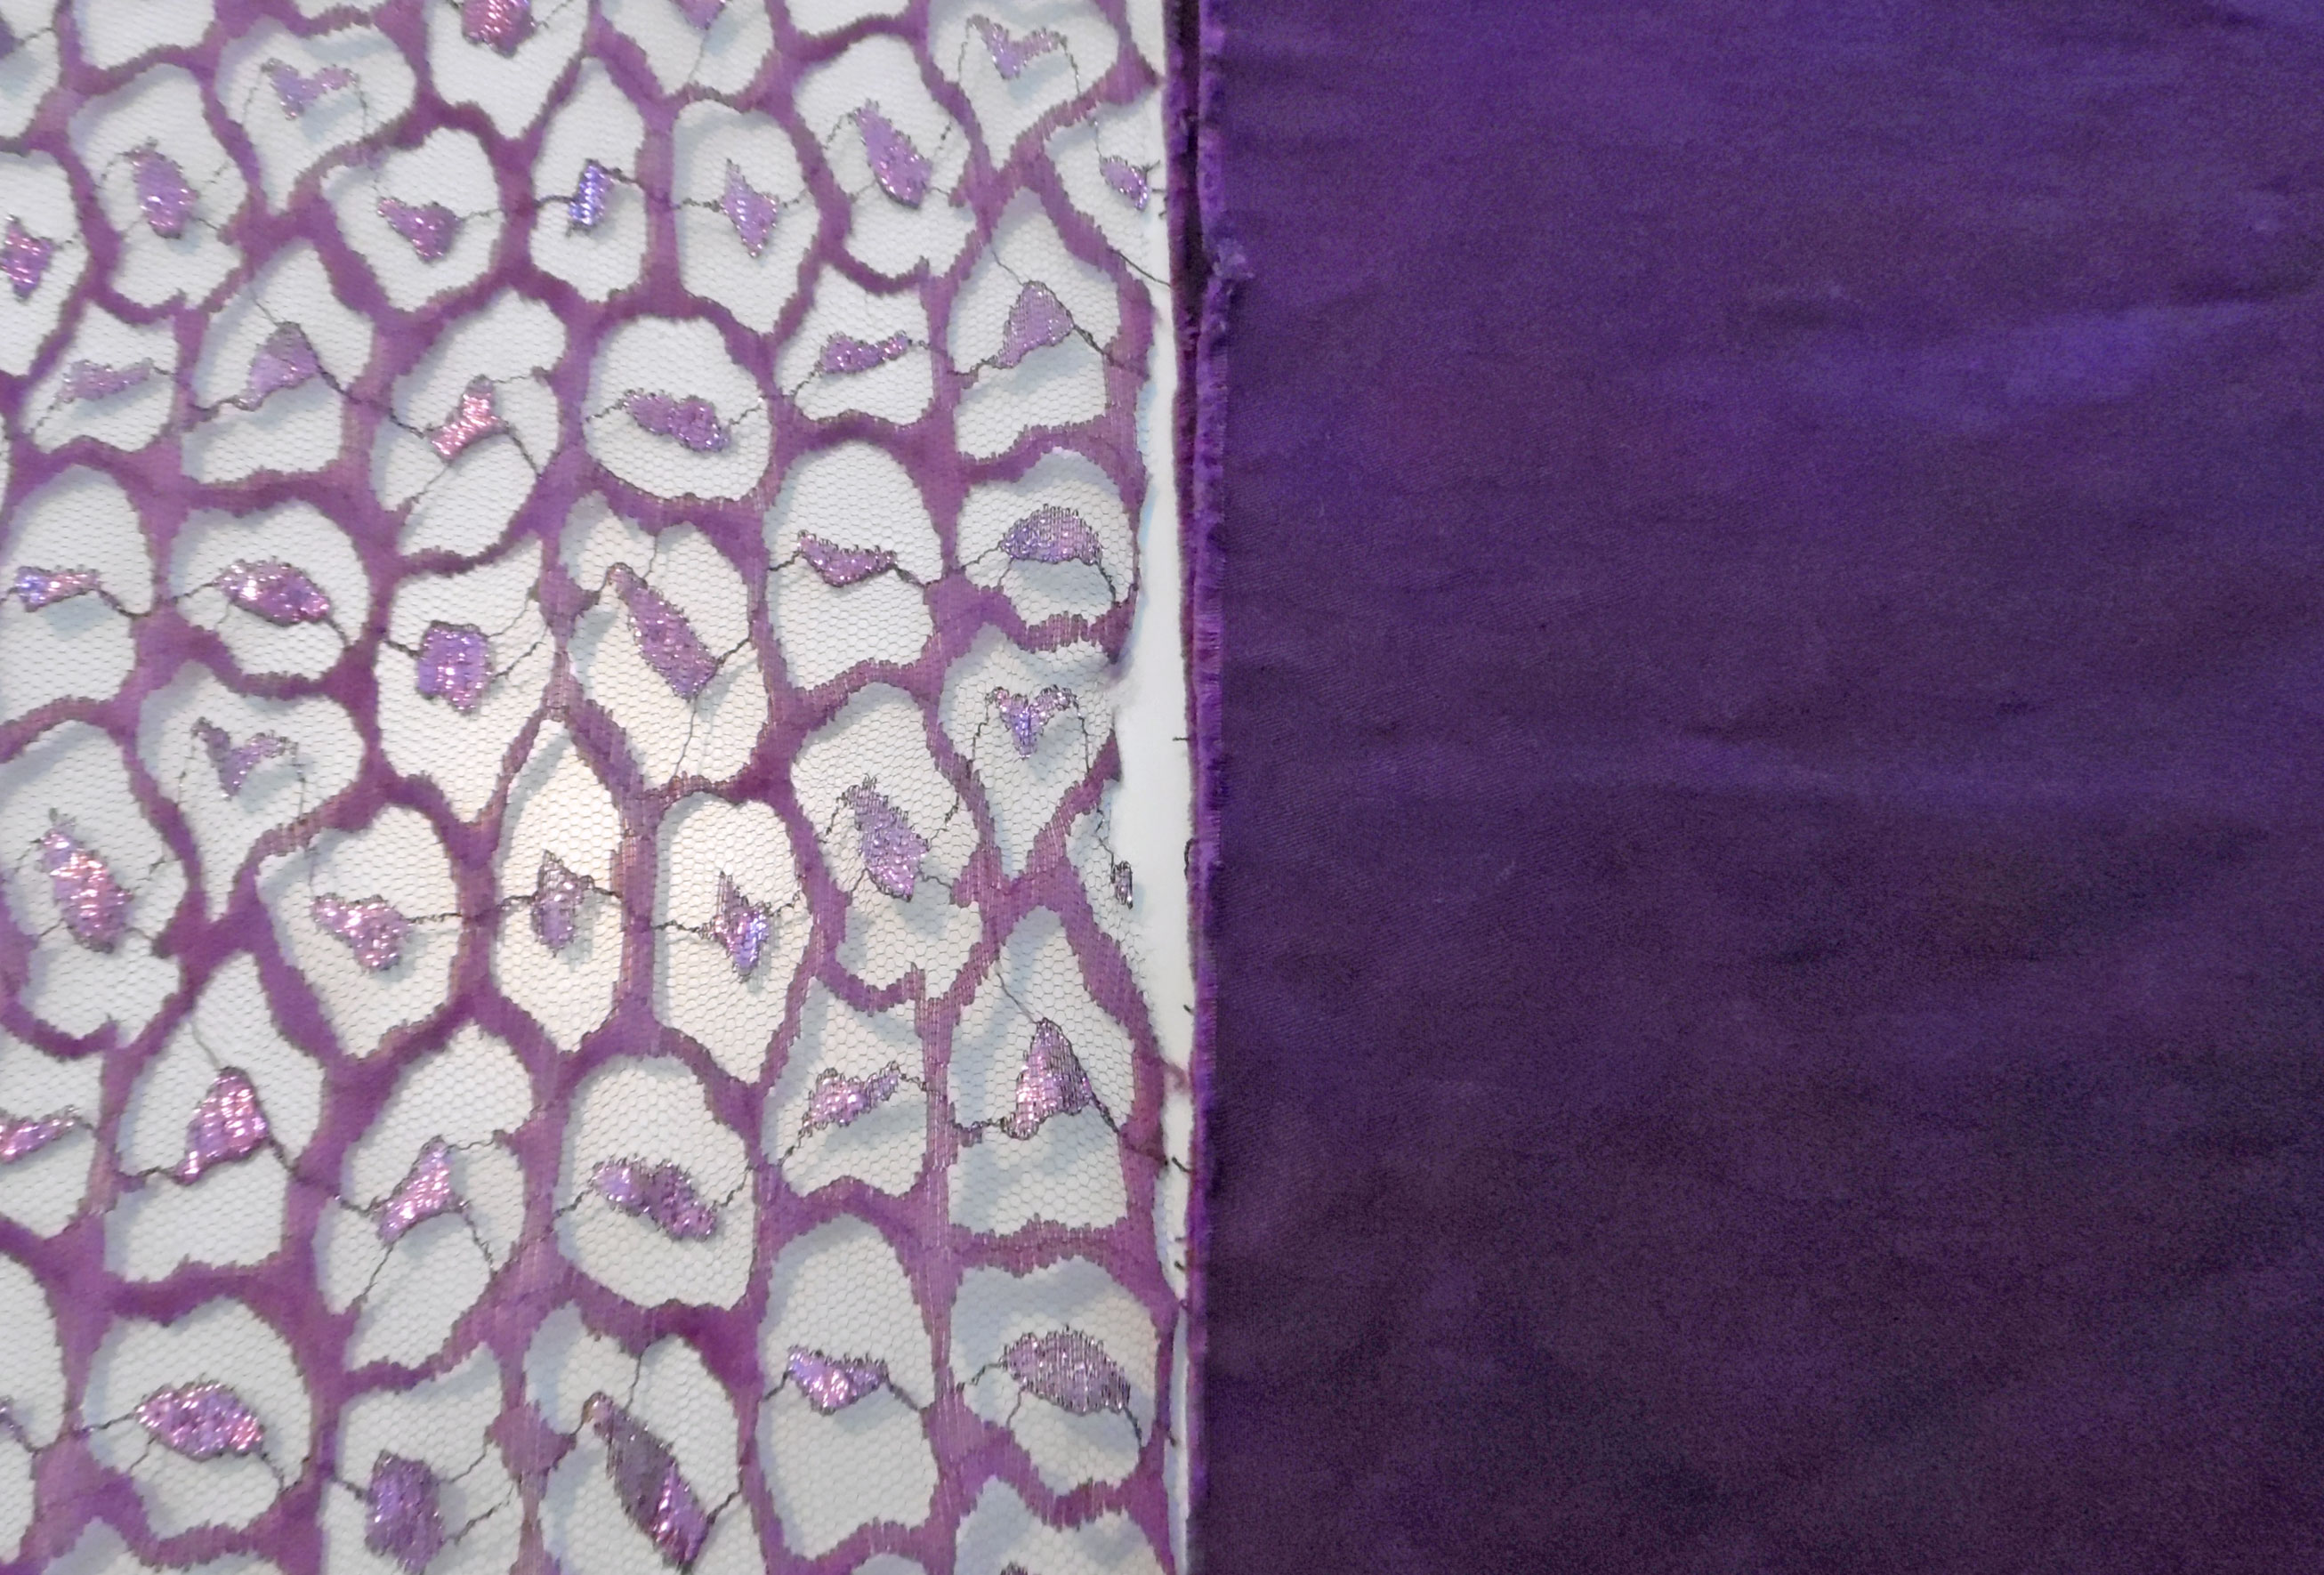
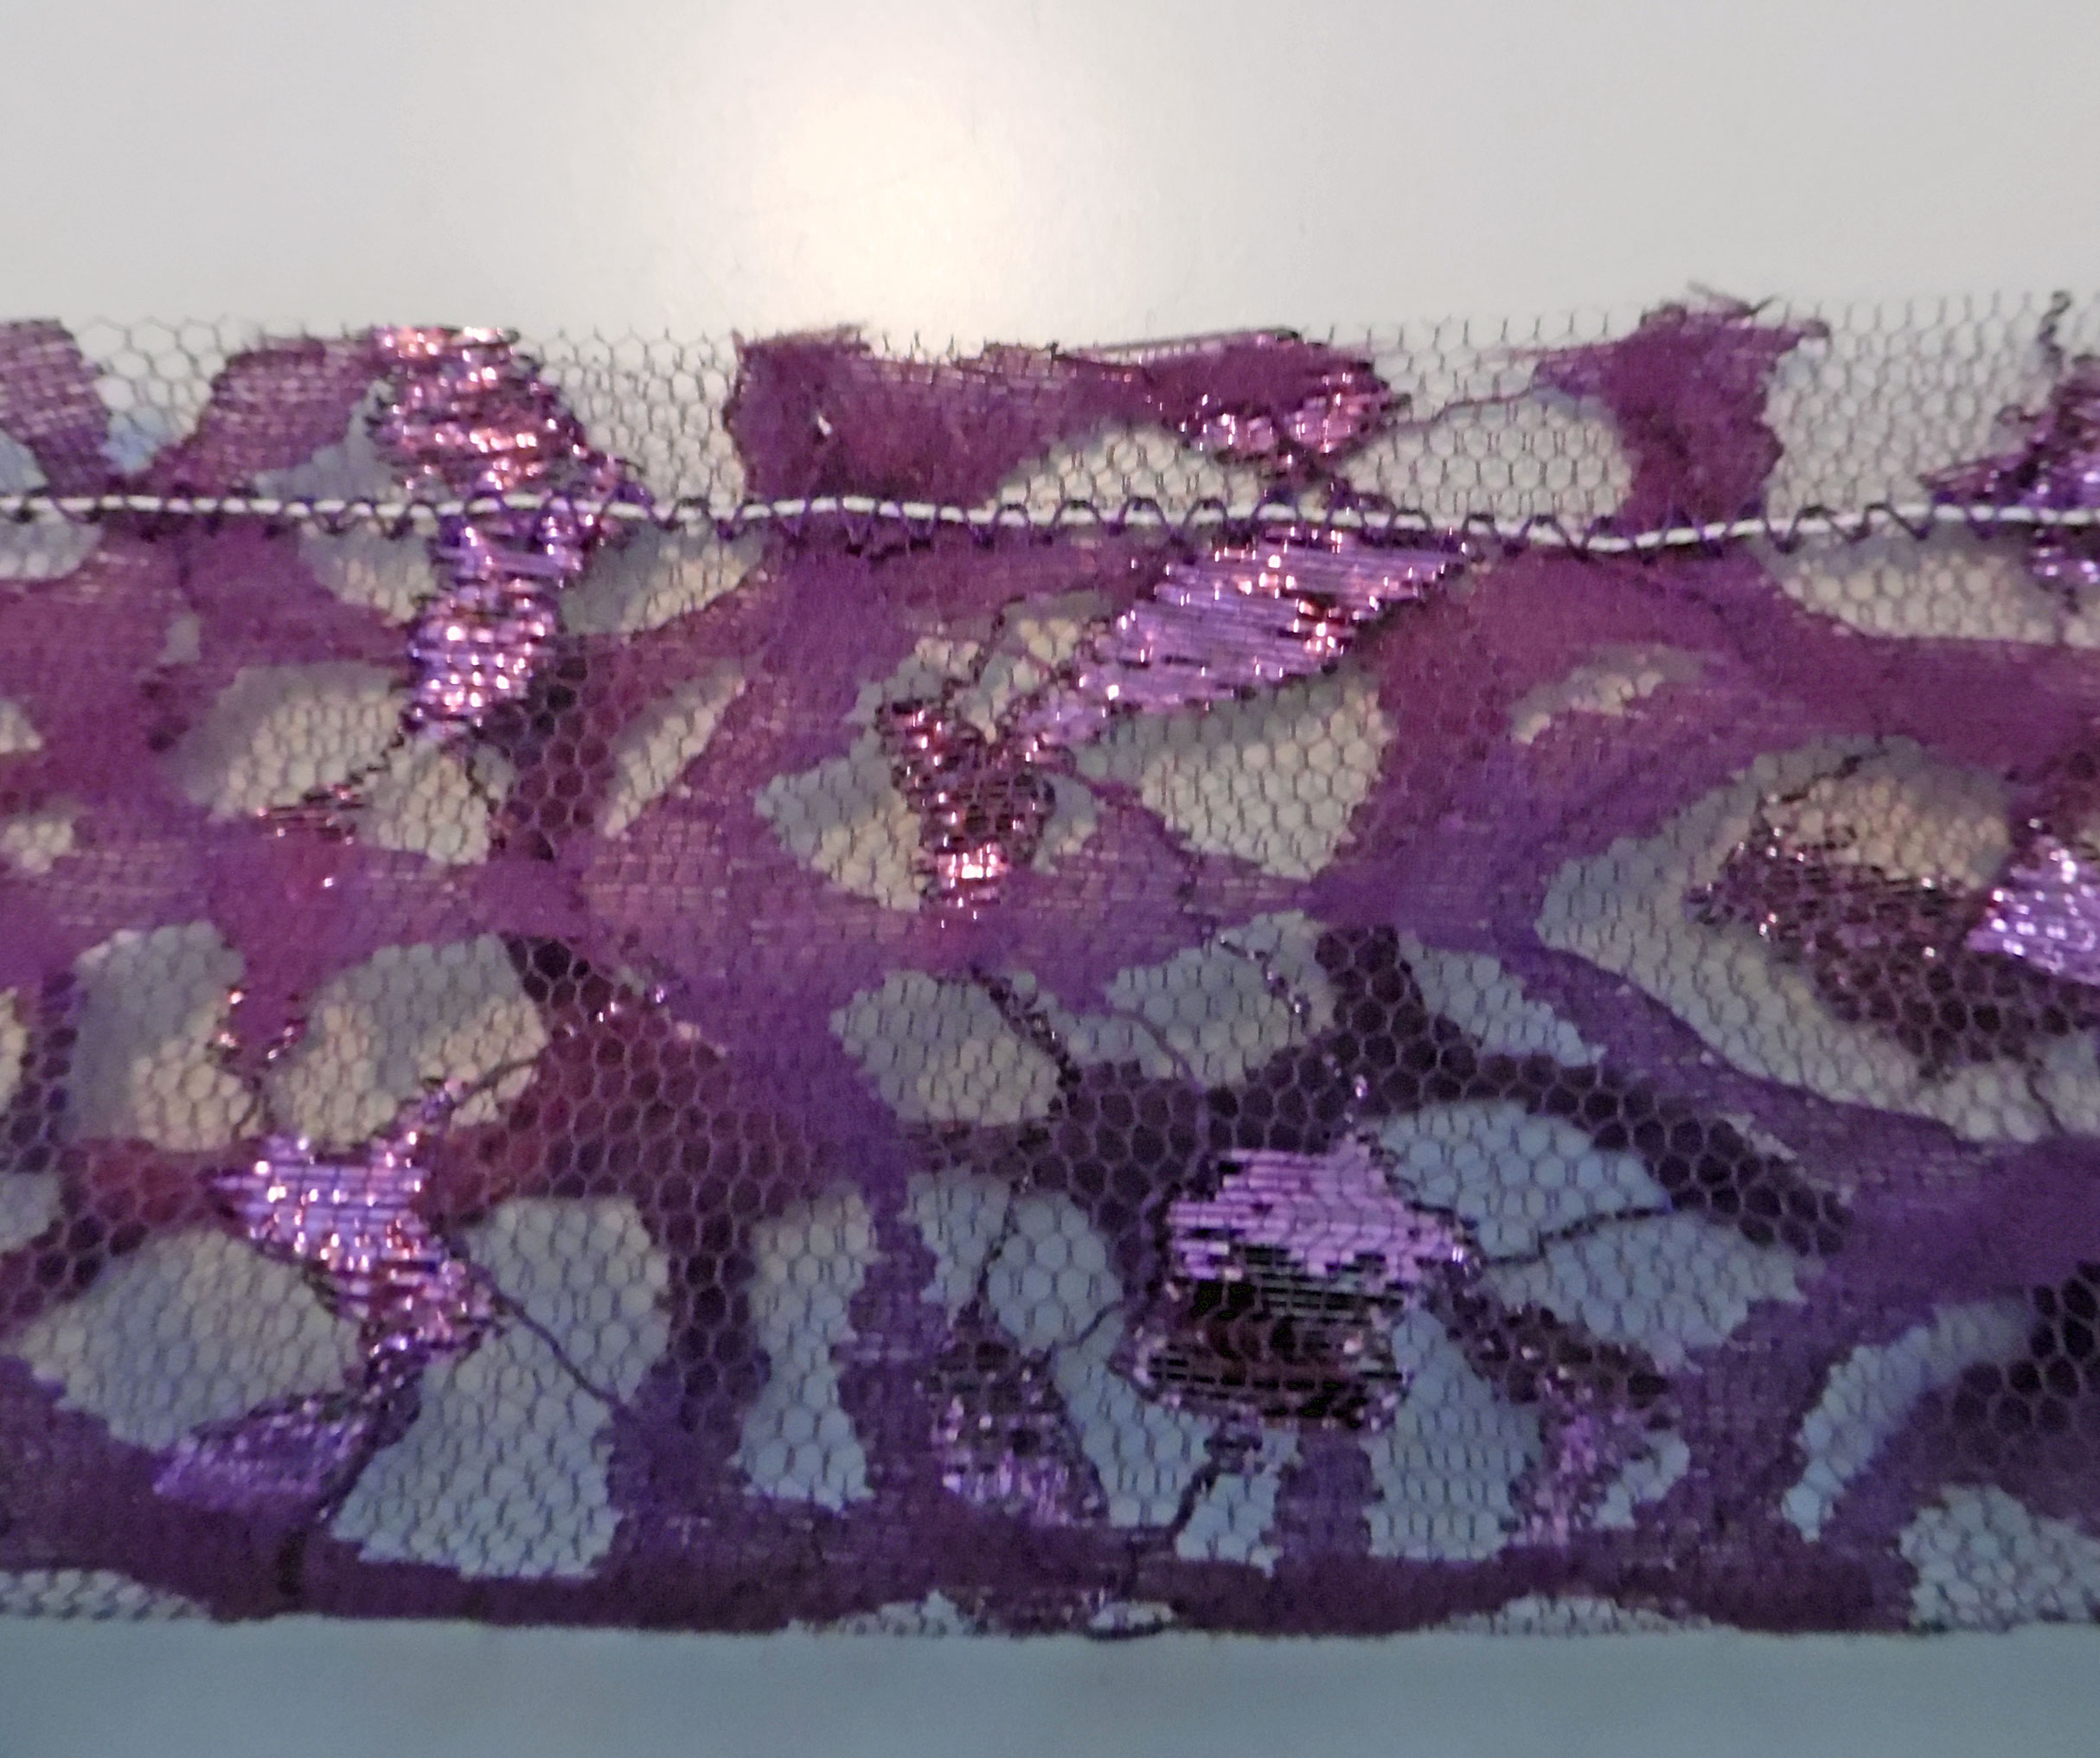
Sometimes a new project begins with an idea. You want to make something specific, and so you go in search of a pattern and fabric. Other times, it begins with a pattern you love, and you have to find just the right fabric to go with it. In this case, it actually began with the fabric. I was browsing our local JoAnn’s, where I found a bright purple animal-print lace. Then I found a purple animal-print cotton jacquard. My sister loves purple and she’s crazy about animal-prints, so it was a done deal!
Inspiration & Design
Right away, I knew I wanted to use the fabrics to make a throw pillow. I had just made myself a rectangular crazy-quilted pillow, and I had a square pillow form set aside to make another crazy-quilted pillow for a friend, so for my sister’s pillow, I decided to order a round pillow form, just for something different.
My plan was to layer the purple jacquard over the tulle lace on one side of the pillow and leave the jacquard by itself on the other side, for a reversible design. It was looking too plain, so after considering my options, I decided to add a simple ruffle around the edges.
Design Sketch (Custom Photoshop Brush: “SS Lace” by deviantART user RedheadStock)
Pattern
- Pillow Cover—Self-Drafted
I drafted my own pattern for this project, comprised of two circles sewn together around the edges, with a gap in the stitching to insert the pillow. Plus a ruffle, which is nothing but a long, narrow rectangle that’s folded in half lengthwise and gathered along one edge. Easy peasy!
Materials
- Unbleached Muslin
- Animal-Print Lace, Purple
- Animal-Print Cotton Jacquard, Purple
- Thread, Purple
- Pillow Form, Round
For the mockup, which I also used for the pattern and then turned into the pillow’s lining, I used unbleached muslin. It’s cheap and easy to work with, so it’s great for mockups and test patterns. I ordered the round pillow form from Fabric.com. And, as mentioned above, I found the main fabrics at JoAnn’s.
Fabrics
I didn’t realize until I pre-washed the fabrics that the purple jacquard was a stretch fabric. It didn’t upset my plans too much, but it was a good thing I’d recently bought a pack of stretch needles!
Mockup
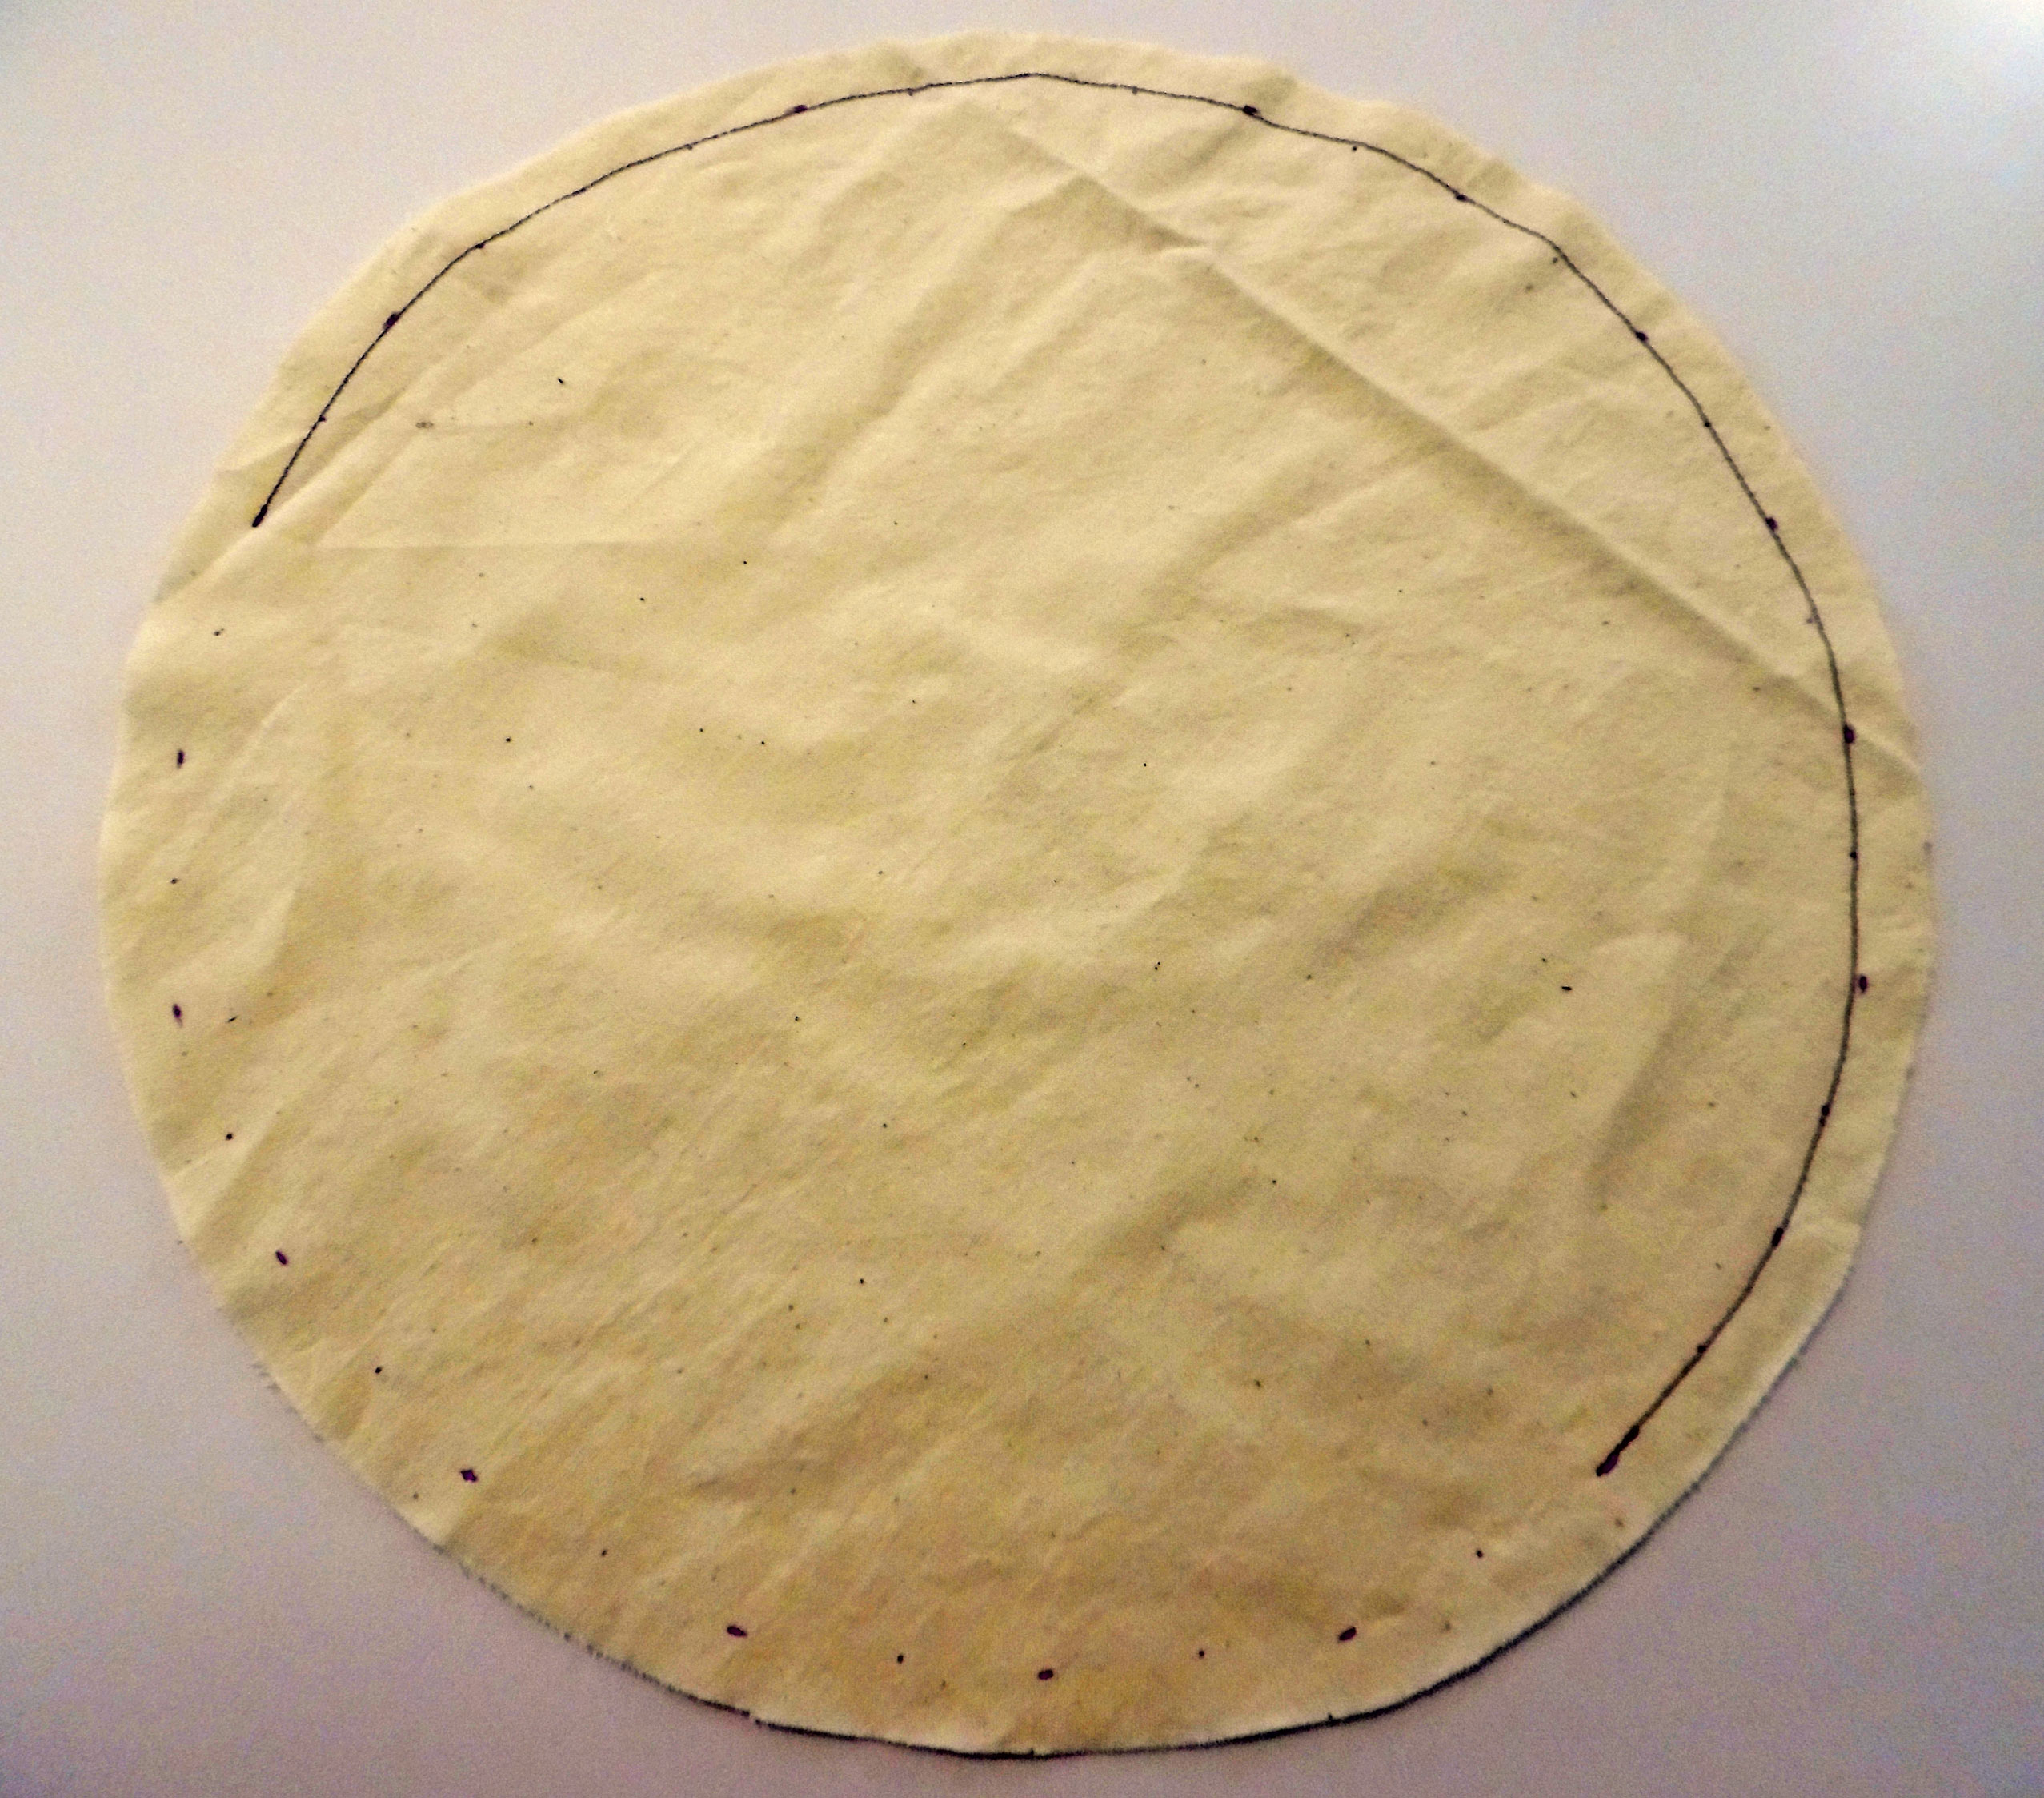
To get things started, I measured the diameter of the pillow and added an inch for ease and seam allowance. Using those measurements, I traced a circle onto the unbleached muslin and cut it out, then pinned it around the pillow form. It was too big, so I trimmed it by half an inch all around.
I used the mockup as a pattern to cut the fabric and lace. Once I was done using it as a pattern, I turned it into a lining for the pillow by sewing the layers together, stitching a little more than halfway around the circumference of the circle.
Mockup/Lining
The seam allowances needed to be notched, so the curves would lie flat. Once I did that, I stuffed the pillow form into the lining, then hand sewed the edges closed, using a slipstitch.

Finished Lining
Construction
For the actual pillow, I began with the ruffle. I cut two long strips of lace and pieced them together, making an even longer strip, and then I folded the strip in half lengthwise. I gathered the raw edge, using the zigzag method, which is my favorite gathering technique.
Basically, you lay a length of crochet thread (or any fine cord) along the seam allowance of the ruffle, then zigzag over it, making sure you don’t accidentally catch the thread with your zigzag stitching. Knot the threads at one end, so they won’t come loose, then pull the crochet thread from the opposite end, gathering up the fabric. It forms very neat, even gathers—without all the stress and drama involved with sewing two parallel rows of gathering stitches.
Closeup of Zigzag Gathering
Once the ruffle was gathered, I basted it all the way around the jacquard circle, facing inwards. (It might seem counter-intuitive, but you have to attach the ruffle backwards, in order for it to face the right way once the pillow is flipped right-side out.)
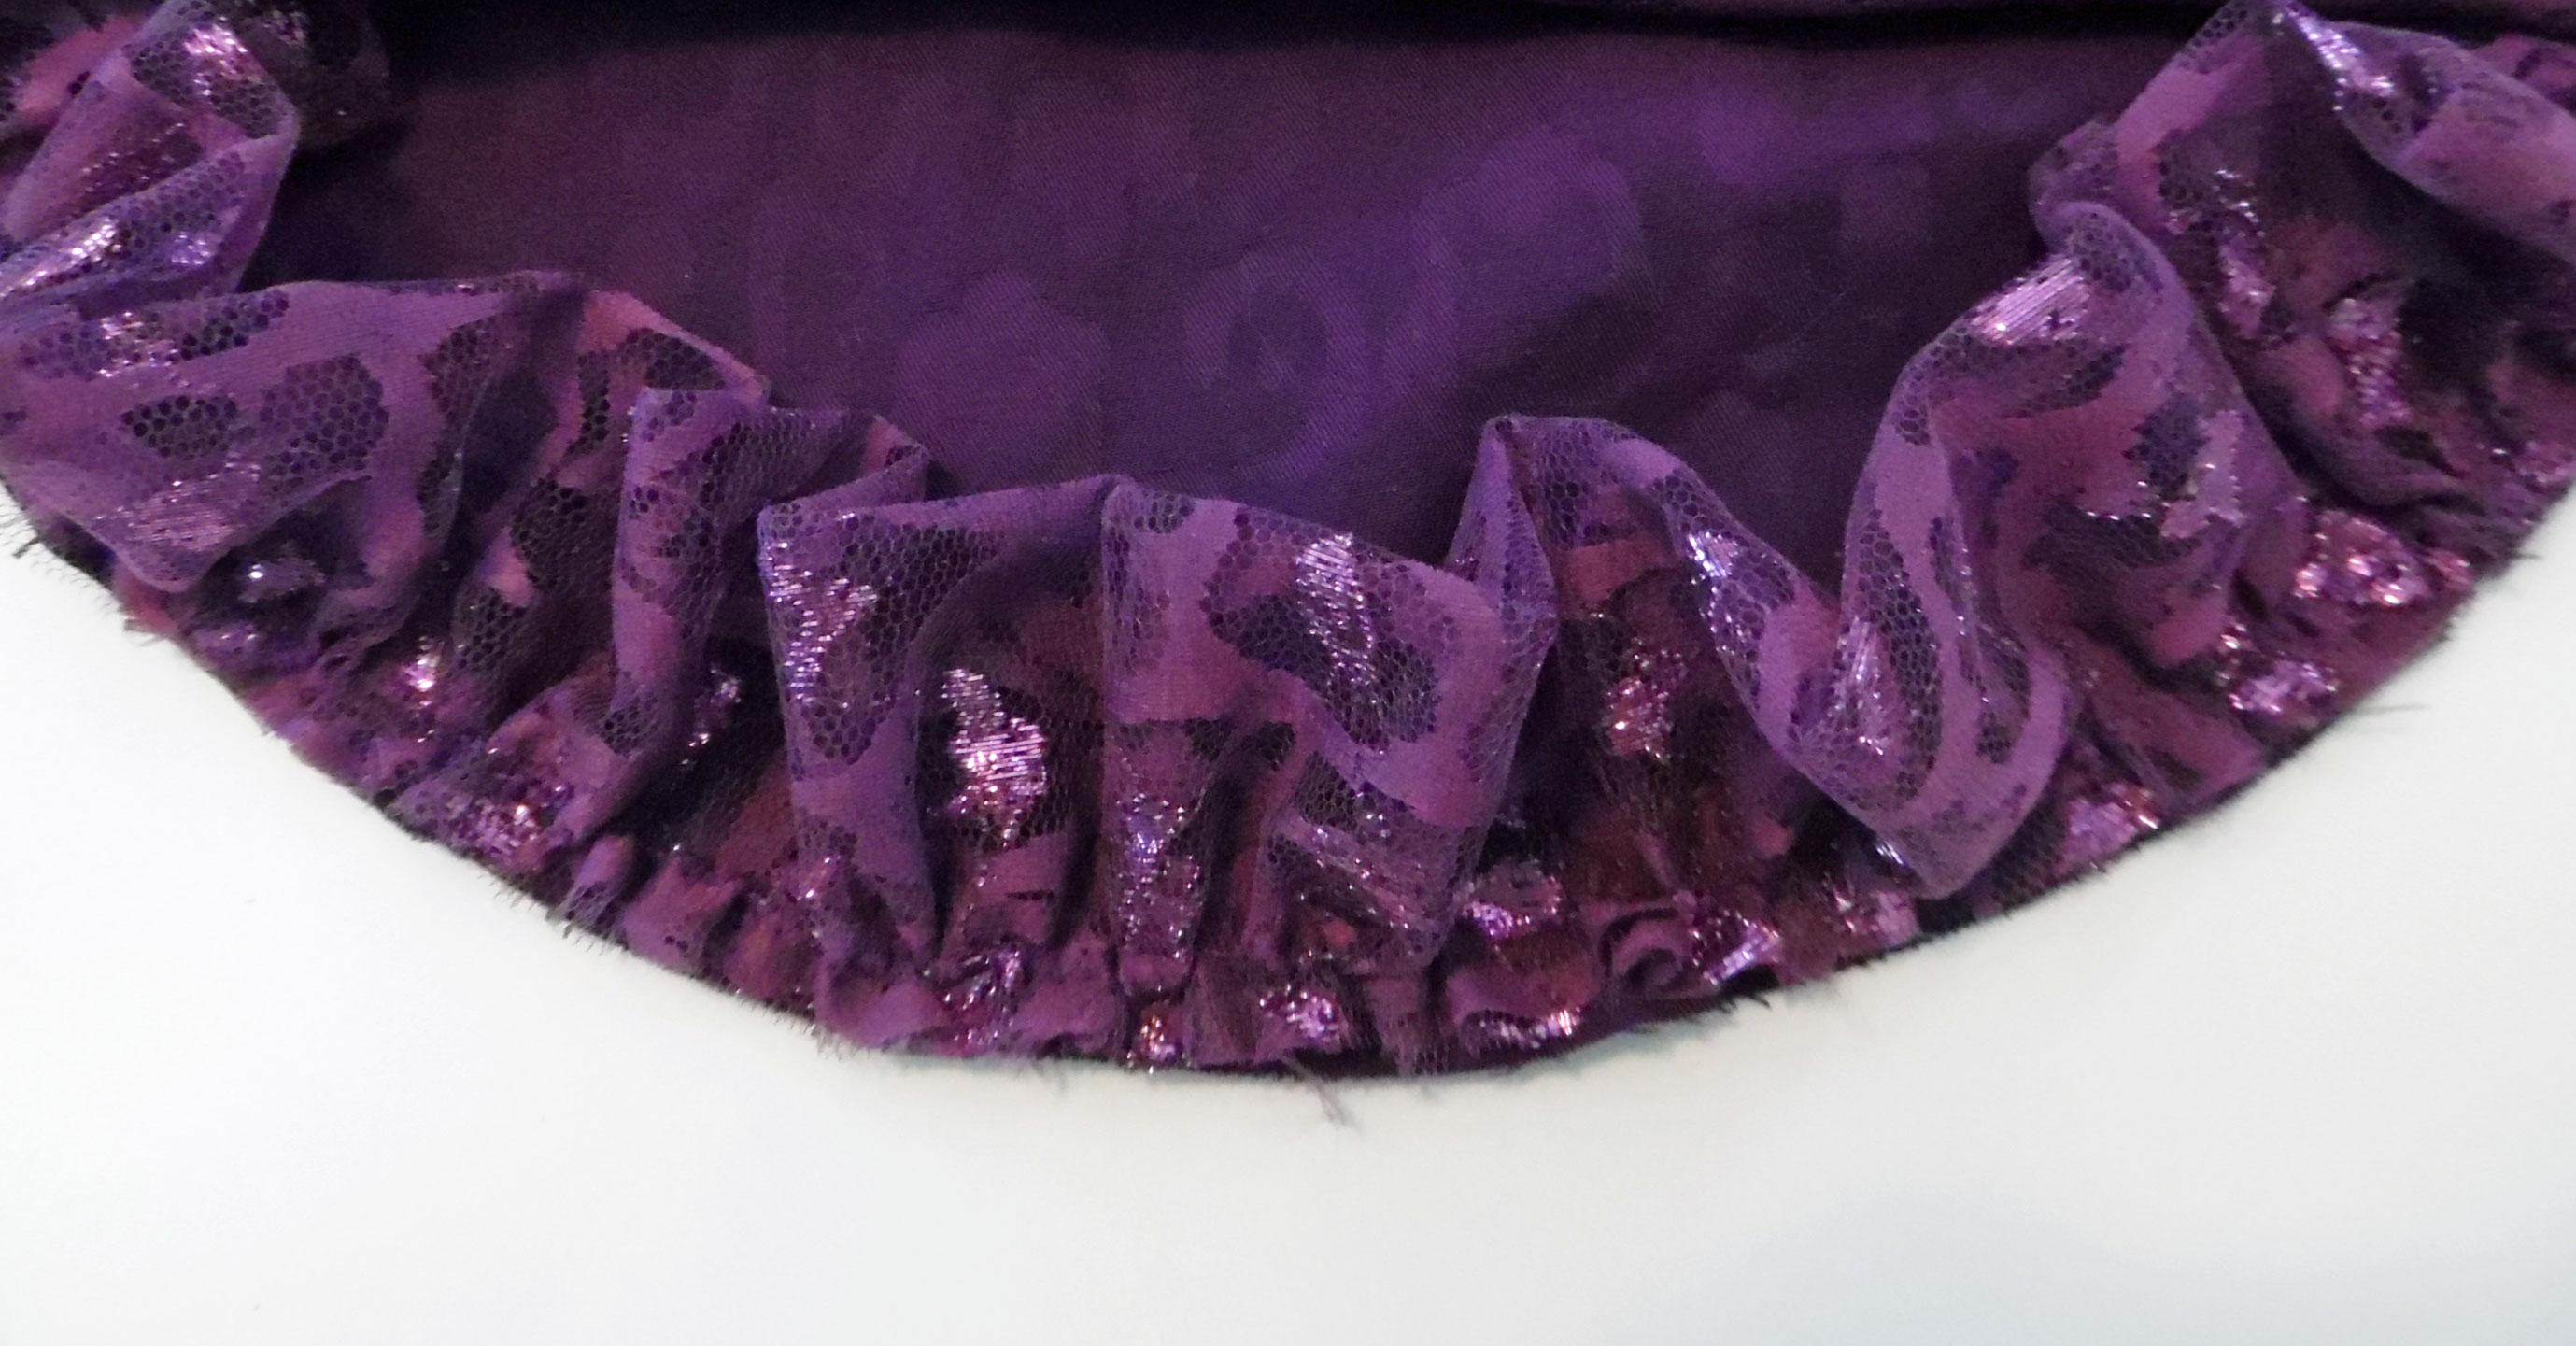
Basted Ruffle
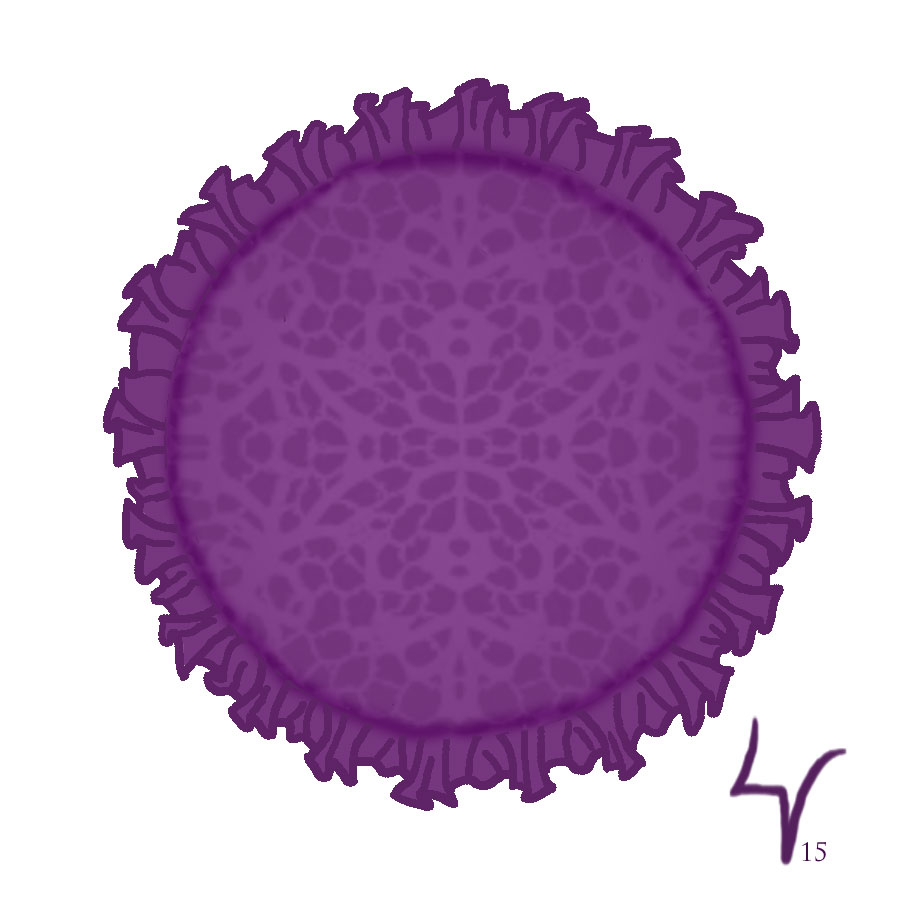
After basting the ruffle in place, I layered the front and back pieces, right-sides together, and then stitched around the circumference of the pillow, leaving a wide gap at one side. I flipped it right-side out, then stuffed the pillow through the gap, which I slipstitched shut.
And that’s all there was to it!
Conclusion
This was a surprisingly easy project. It didn’t take too long, and there weren’t any unpleasant surprises. The only thing I disliked about making it was having to slipstitch the gap closed after I inserted the pillow form. The task was made more difficult because of the main fabric being stretchy. I was worried it would look wrinkled or distorted along the seam, but the finished pillow looks great. It’s bold and glittery—exactly the sort of thing my sister loves!
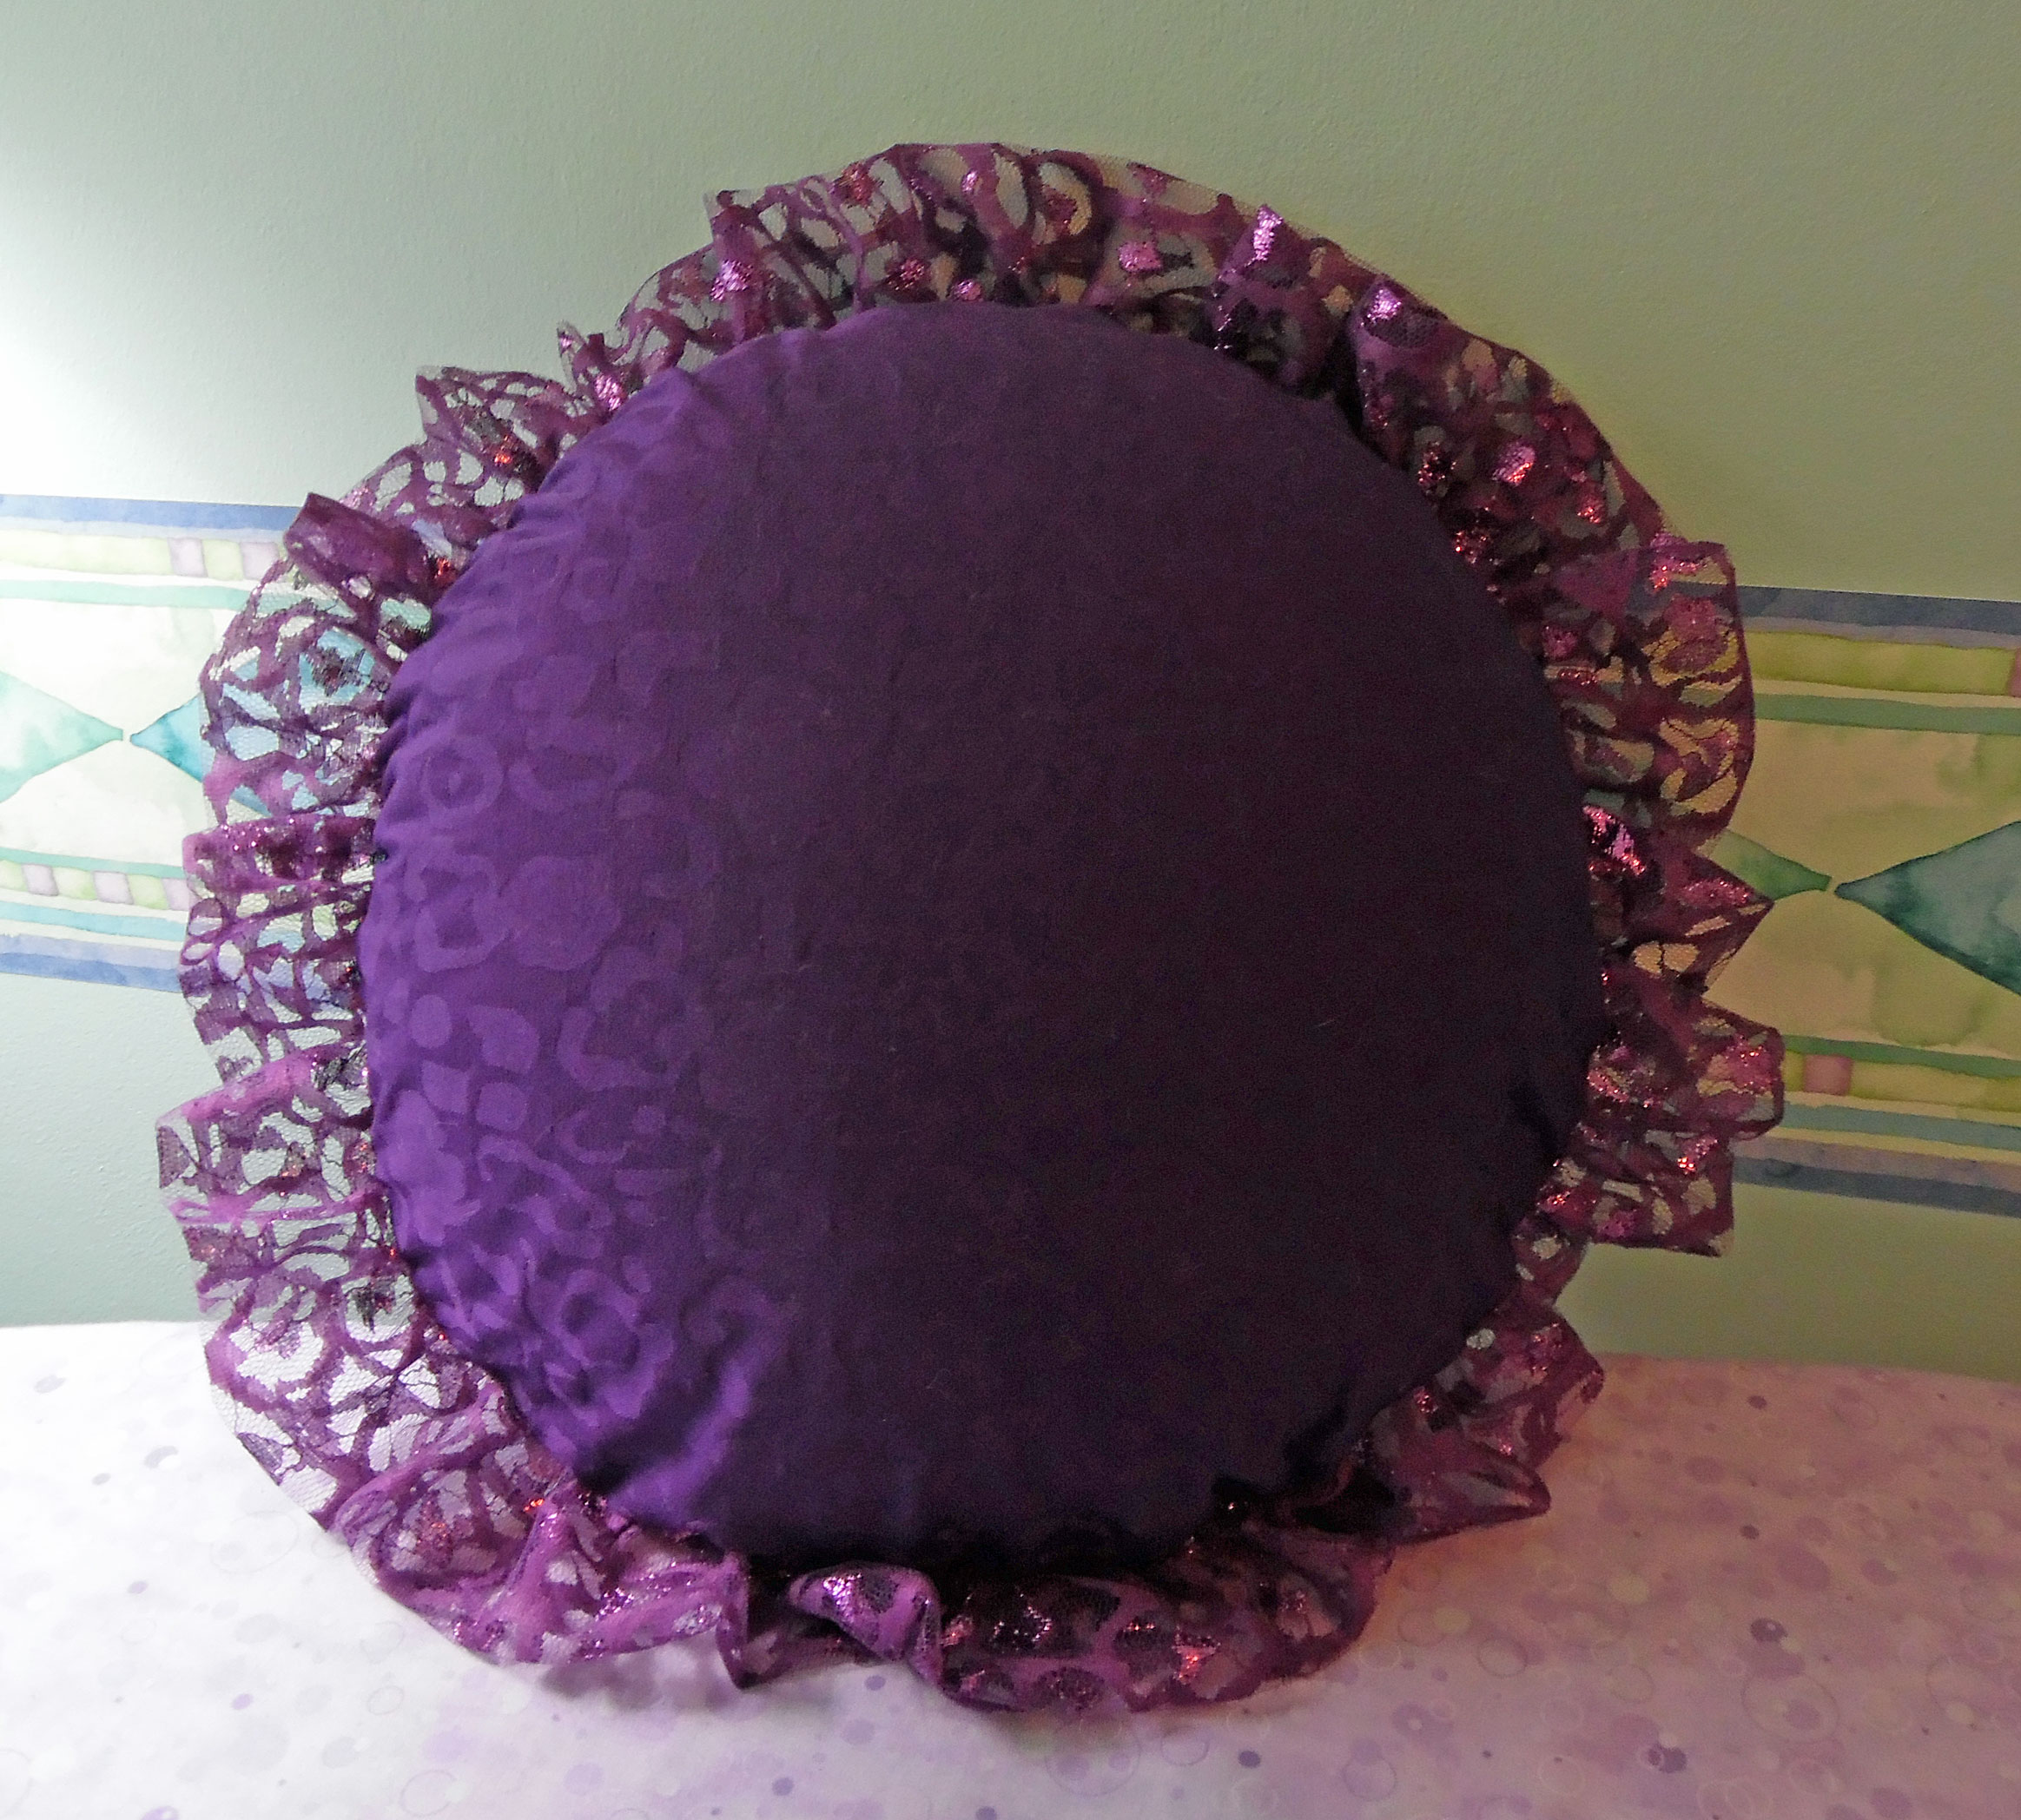
Finished Pillow, Back View
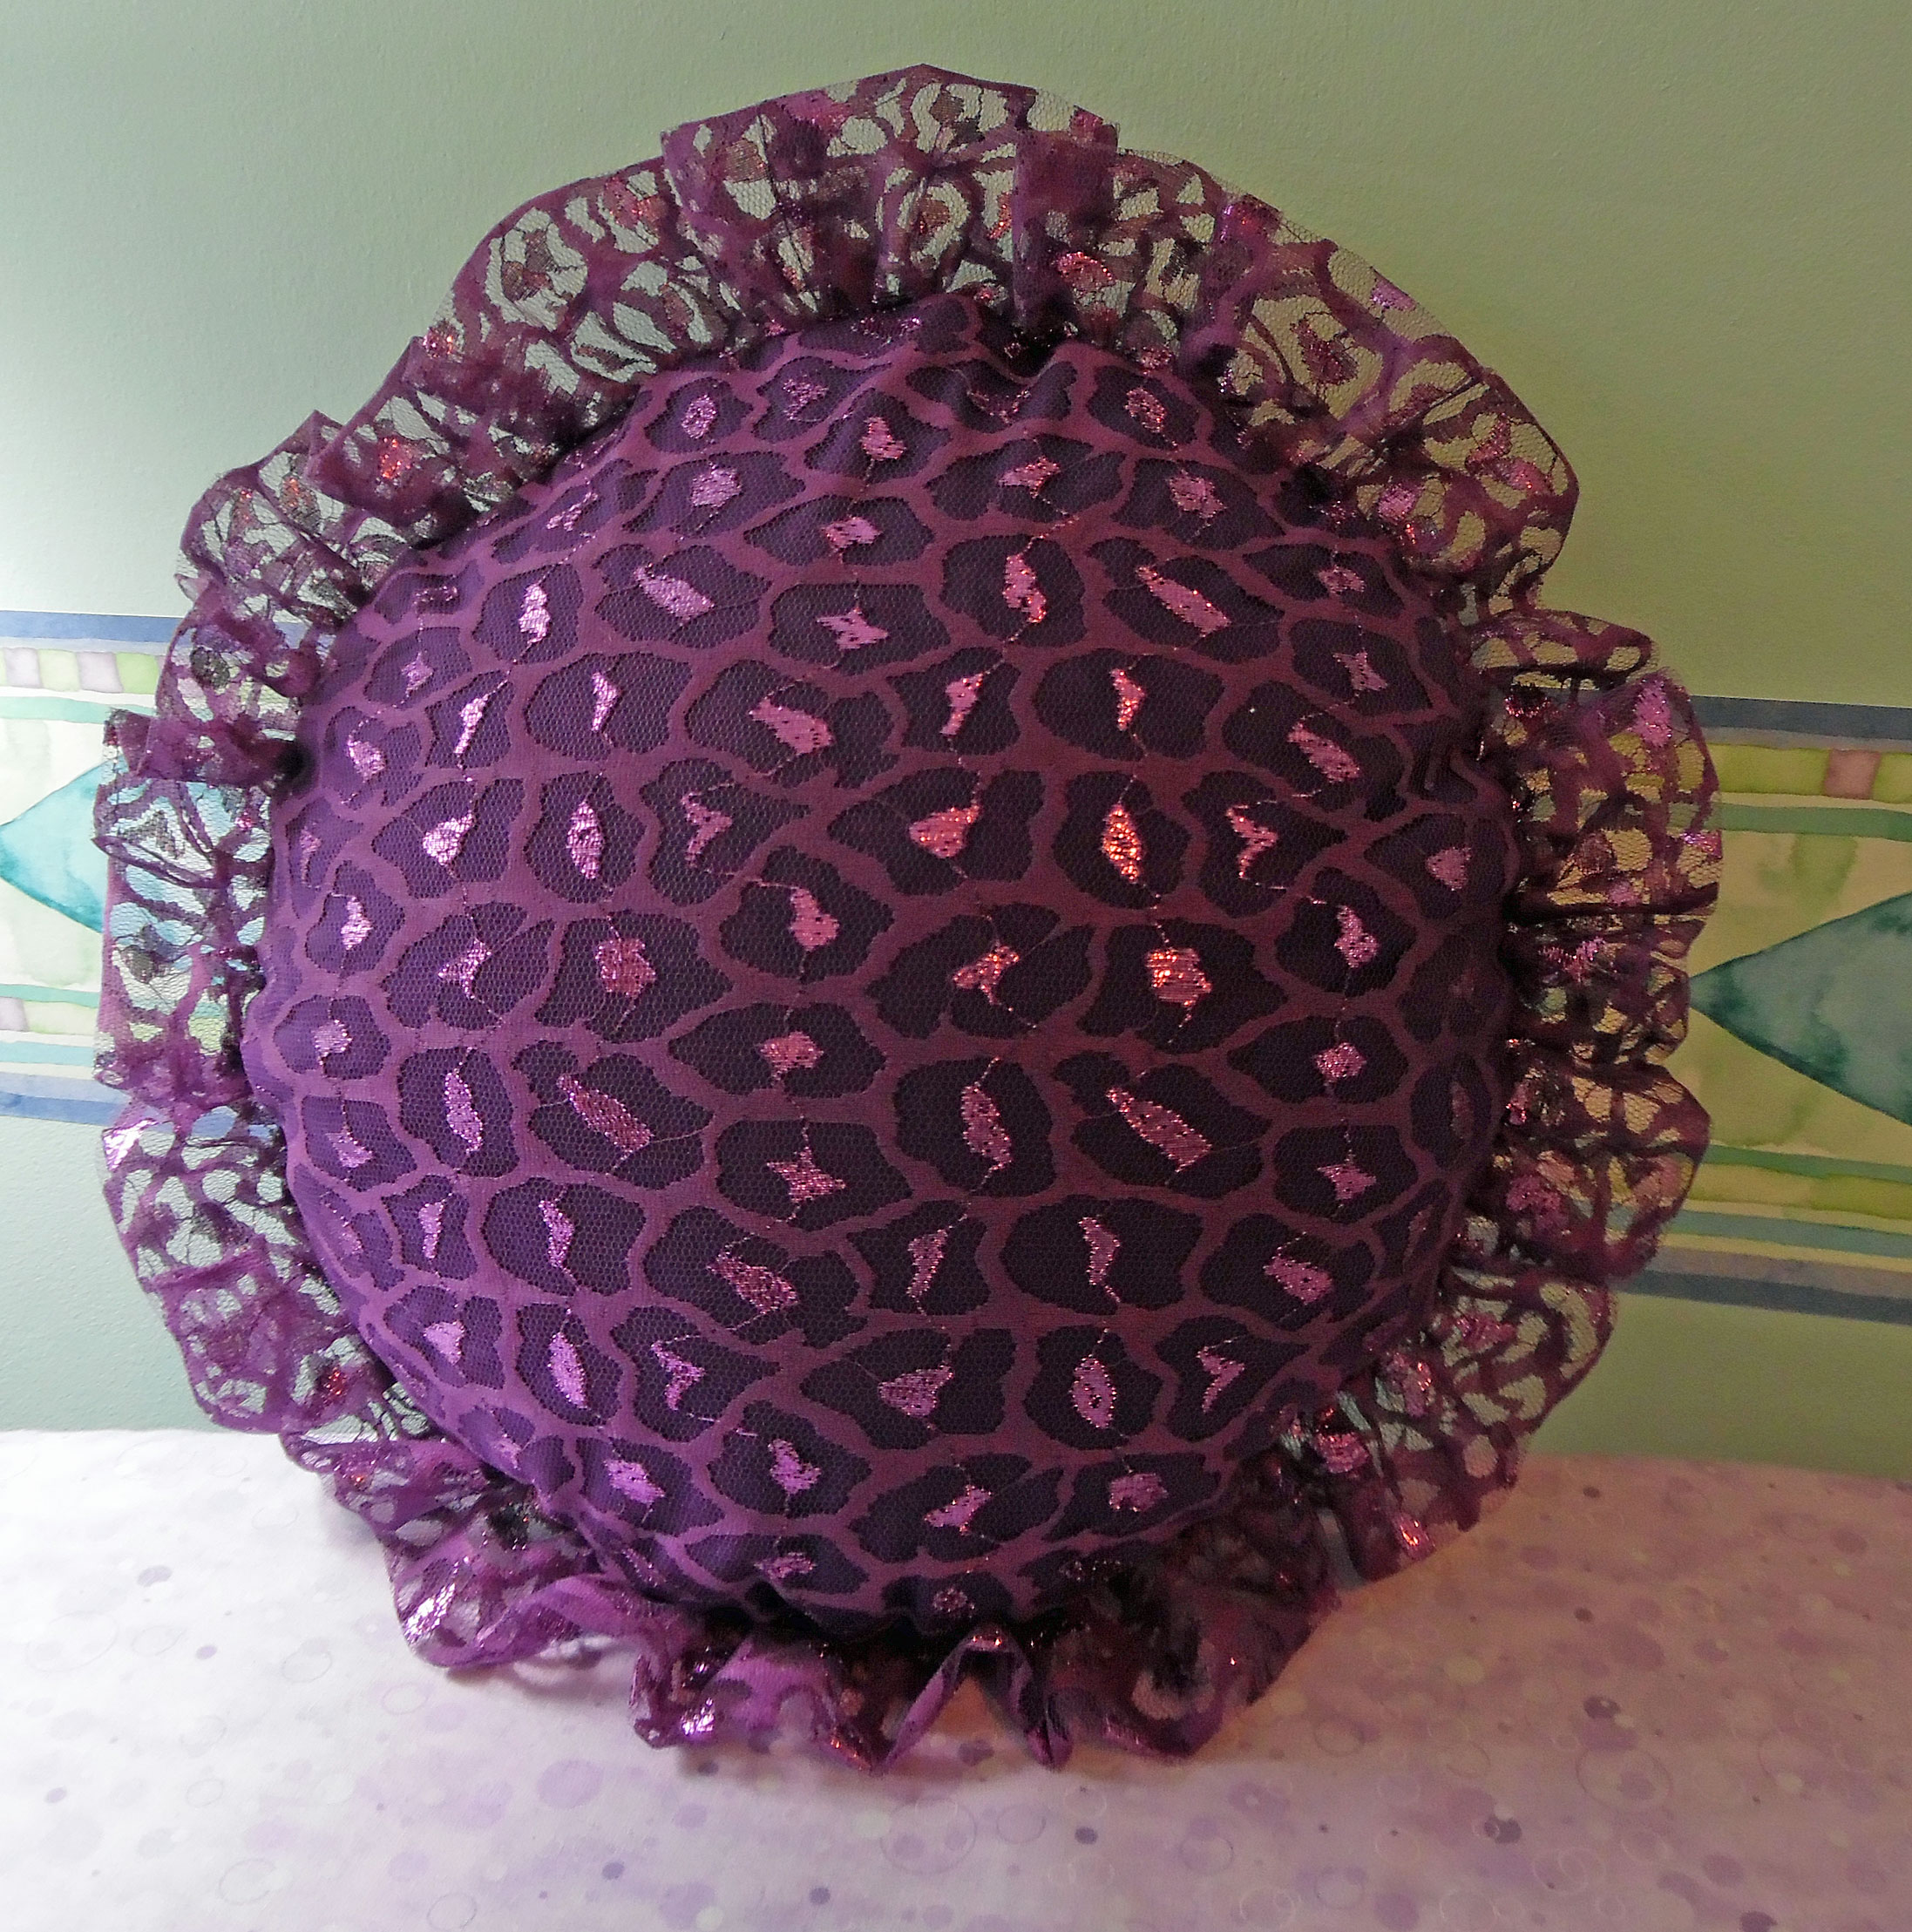
Finished Pillow, Front View
~~*~~
Looking for more sewing diaries? You can find them here!