
(Click on any illustration to view the full-sized image.)
One of my younger students wanted to make a tote bag for her next project, so when I found an easy-looking tote pattern, I grabbed it. My plan was to make it first, to see how difficult the pattern might be and whether any changes would be necessary.
Inspiration & Design
The bag is relatively simple, with squared corners, carry-straps, a zip closure, and pockets on the outside. There are two different sizes: small and large. The large version includes the option to make the outer pockets from a contrasting fabric, but I saw no reason why I couldn’t do the same with the smaller bag, too.

Concept Art (Custom Photoshop brushes by deviantART user “RedheadStock”)
Pattern
- Tote Bag—Simplicity 2830
When I found this pattern on eBay, I thought it was just too cute. Plus, it’s supposed to be an easy pattern, which should make it a good choice for my student. (Although, I’ve learned the hard way that “easy” patterns aren’t always so easy!)
Materials
- ½ yard Dotted Cotton—Multicolored
- ½ yard Stippled Cotton—Lavender
- ¼ yard Floral Cotton—Lime Green
- ½ yard Voile—Aqua
- Sew-In Interfacing
- 14″ Zipper—Lavender
- 1 yard Cluny Lace Trim—Aqua
- Flower Buttons—Lavender & Green
I started with a quilting cotton from Hobby Lobby—aqua, purple, and lime green dots in a curved stripe pattern. Adorable! They didn’t have any solid cottons that matched, so I brought it home and looked through my stash. To my delight, I found a lavender cotton that’s stippled with silver dots in a swirl pattern. The color matched and the stipple pattern echoed the dots on the first fabric. I also came across a lime green floral cotton and a solid aqua voile, both of which coordinated with the dotted fabric.
Embellishing is my favorite part of any project. I didn’t want anything too over-the-top for this tote bag, but I thought some trim would enhance it. I dug into my stash and pulled out some narrow cluny lace in both lime green and aqua. The green didn’t quite match, so I only used the aqua. I also found an aqua and green braided satin cord that I’ve had for years. I love it, but it’s never quite matched any of the various projects I’ve tried to use it with. I had high hopes for this tote, but it just didn’t look right.

Fabrics & Potential Trims
Construction
I chose View B, the smaller of the two bags. To start things off, I had to choose which fabrics to use for the main bag, the pockets, the lining, and the straps. I cut the main bag from the multicolored dotted fabric, the pockets from the stippled lavender, the lining from the aqua voile, and the straps from the lime green.
To give the bag stability, I decided to interline it with sew-in interfacing, sandwiching the interfacing between the outer fabric and the lining. This is a technique I learned from sewing Victorian bodices, but I assumed it would work just as well here! The fact that the pattern doesn’t actually call for a lining made this technique all the more appropriate, since it meant I didn’t have to figure out how to alter the pattern to include a bag lining.
Once I had everything cut out, I trimmed the interfacing, so it would be slightly smaller than the other pieces. That way, it wouldn’t add bulk to the seam allowances. I laid the interfacing over each piece of fabric, then placed the lining on top, and machine-basted all three layers together. After that, I followed the pattern directions, treating the interfaced pieces as if they were a single piece of heavy fabric.
It all went well, at least until it came time to sew the straps. The directions went something like:
- Fold and press one lengthwise edge toward the middle of the strap.
- Fold and press the other lengthwise edge toward the middle of the strap, overlapping the first one.
- Press the raw edge of the top layer under.
- Topstitch down the center of the strap.
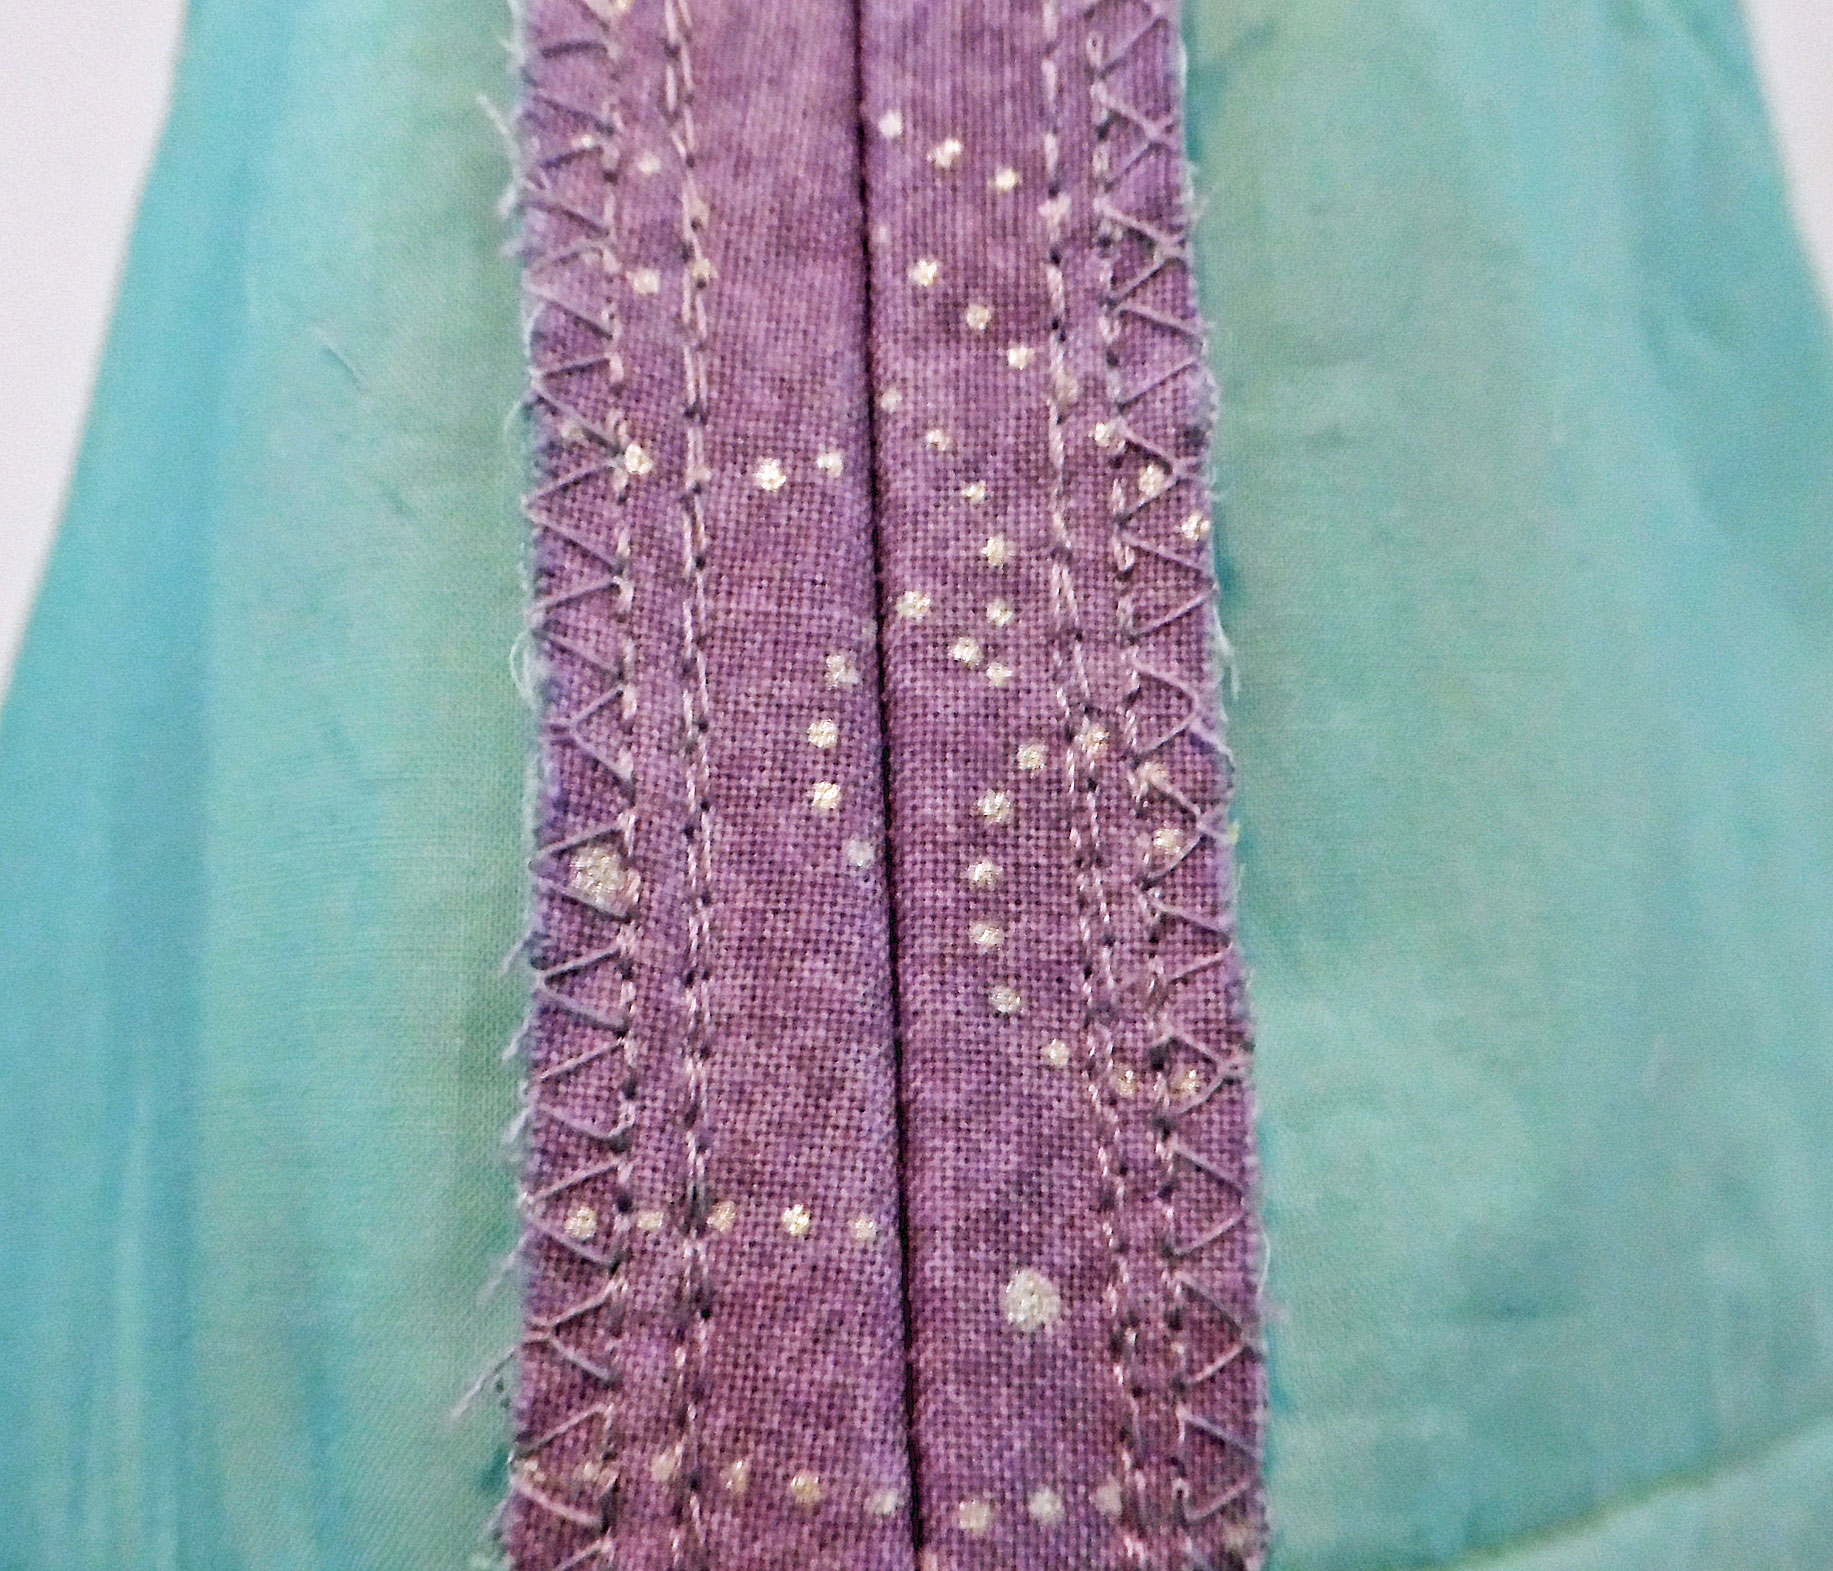
It sounds easy enough. The trouble is, your instinct is to center that pressed edge. However, the topstitching must be centered, not the edge. The pressed edge has to be slightly off-center. I spent over an hour pressing and re-pressing, pinning and re-pinning, trying to get the folds exactly right. Why does it even matter? Because when you attach the straps to the bag, you have to stitch along the outer edges of the straps. If your center seam is off-centered, it’s going to look like a mistake.
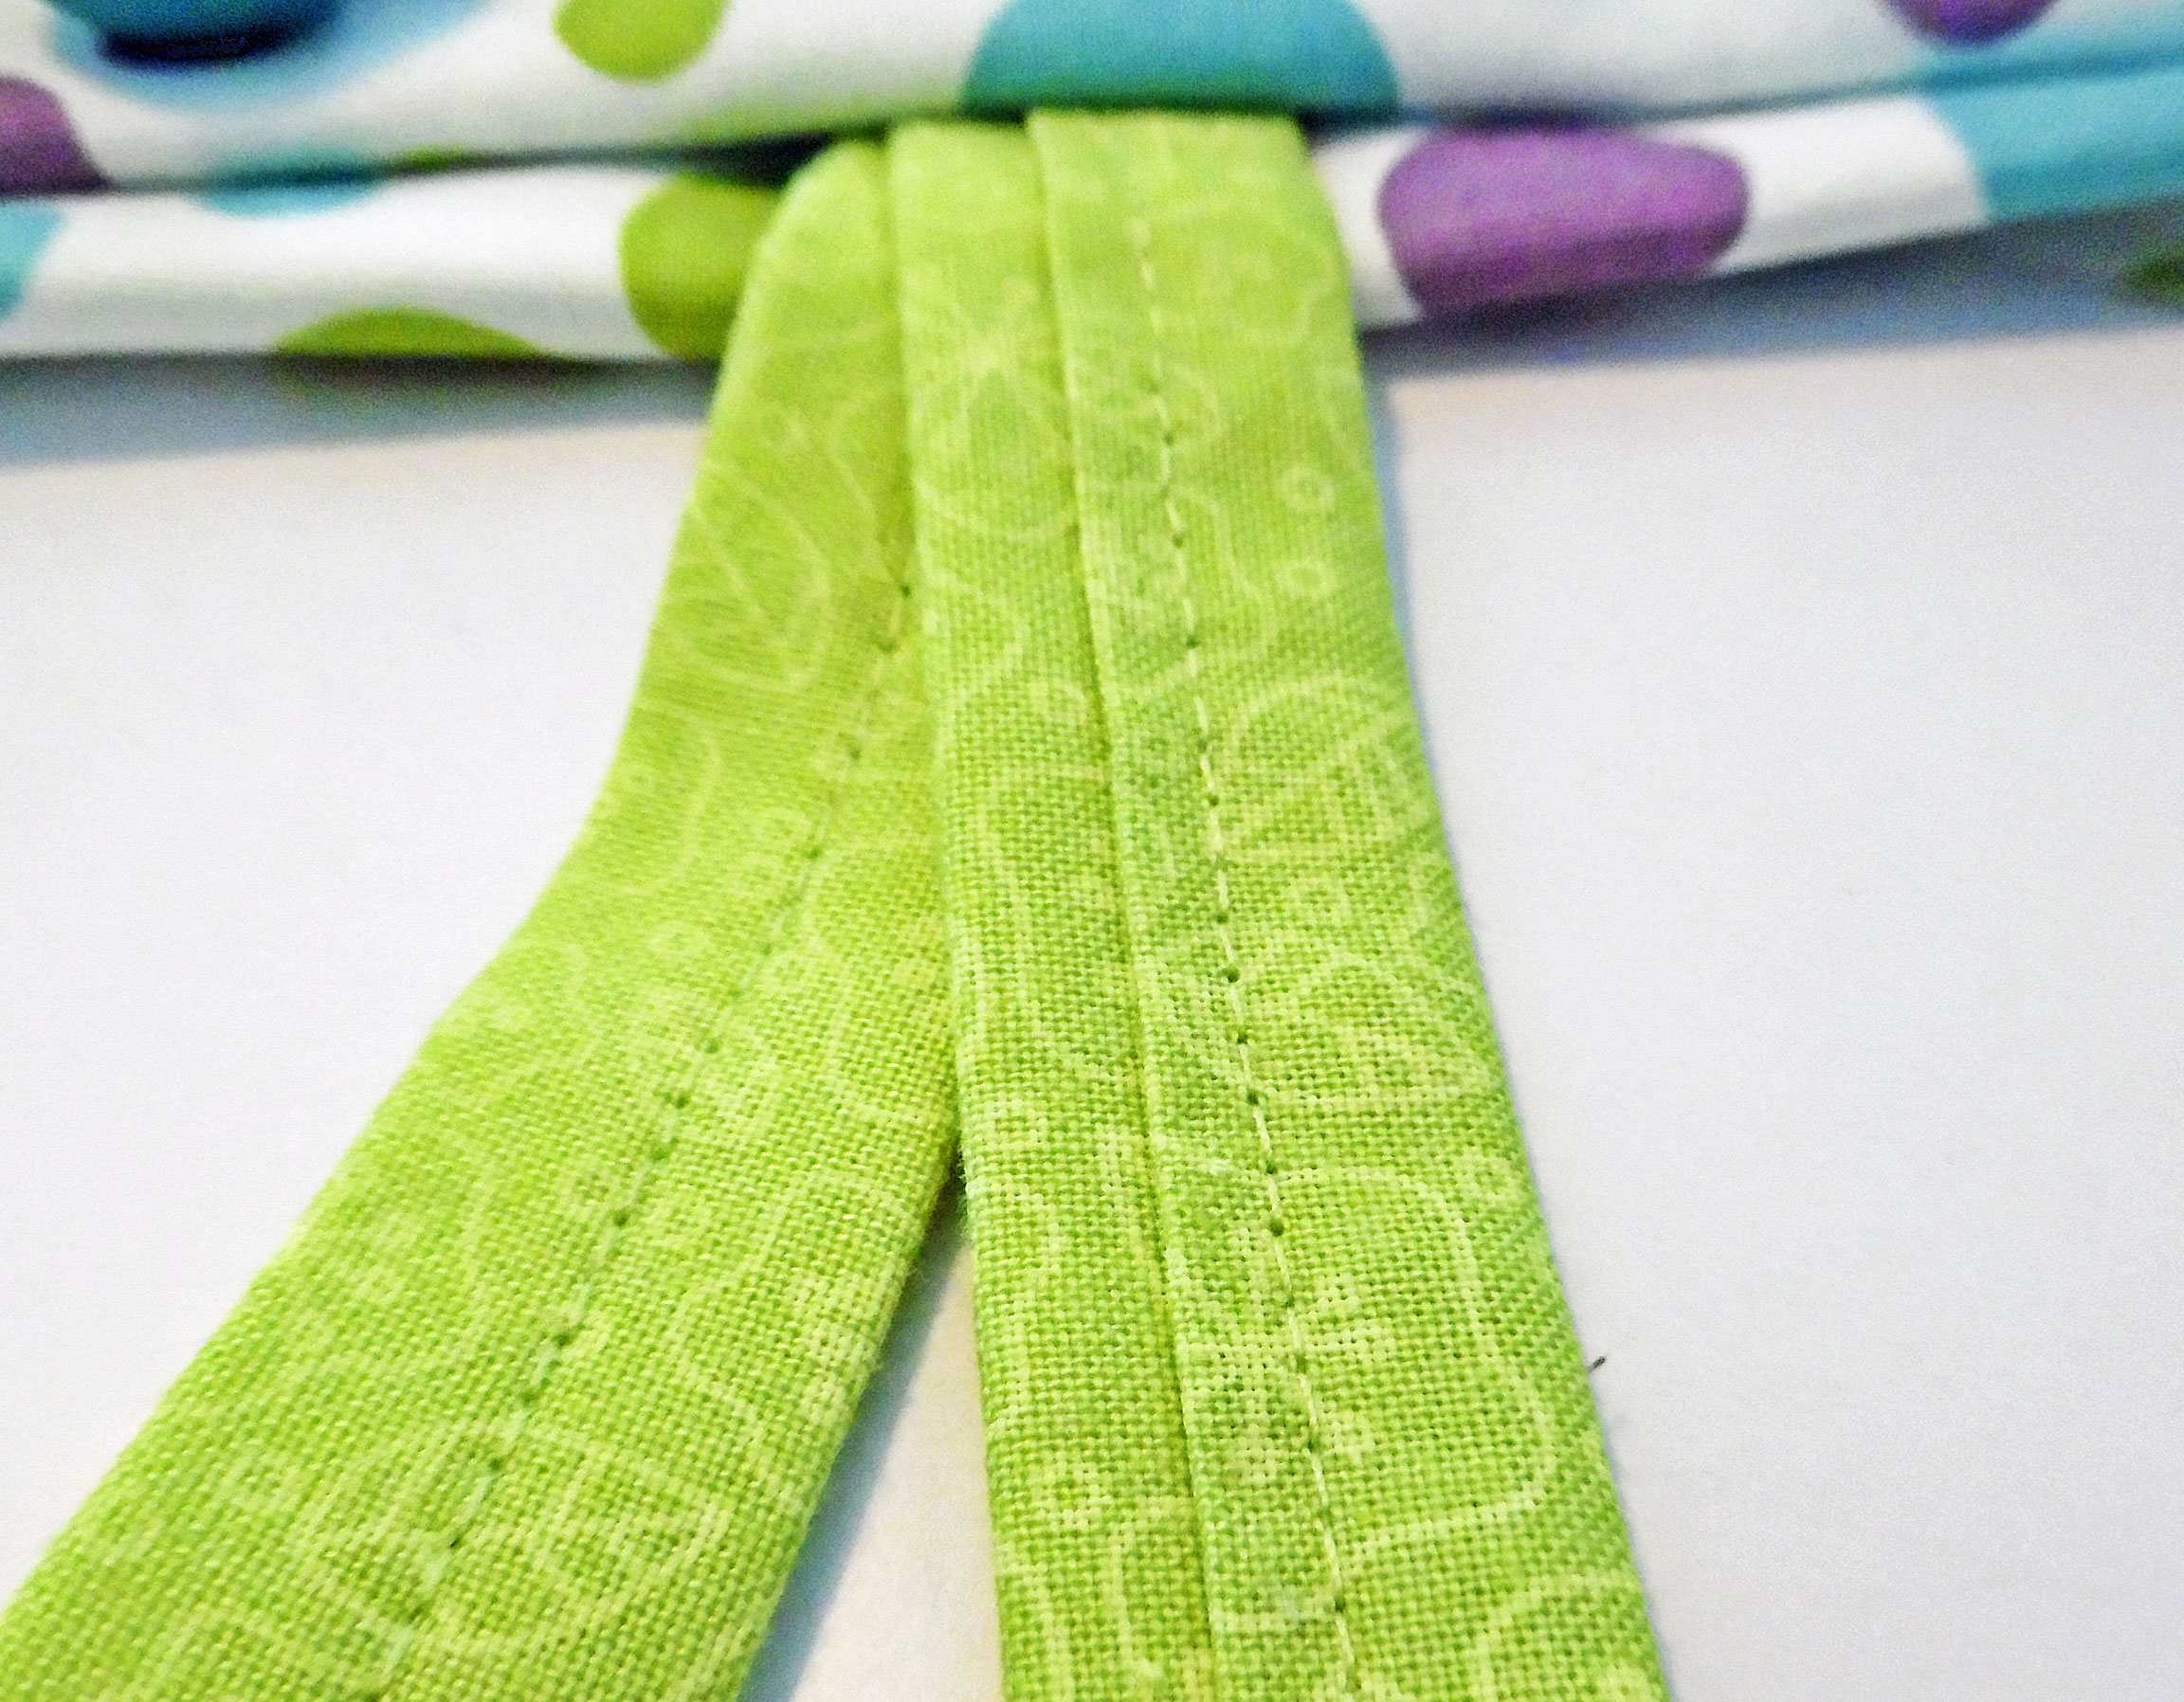
Closeup of Straps With Centered Stitching (Front & Back)
Once I had everything perfectly aligned, I hand-basted down the entire length of the strap, just to make sure the layers wouldn’t shift. I then topstitched dead-center down the strap. The next step was to sew the straps onto the bag, but as I was pinning the straps in place, I realized that if I wanted to add any embellishment to the pockets, I needed to do so before I sewed the straps on.
So, I hand sewed a length of aqua cluny lace to the first pocket. When I started to sew the trim on the opposite pocket, I realized I’d sewn the first one upside-down! Extremely irked with myself, I unpicked the stitching on the lace, flipped it right-side up, and sewed it back on. Then I trimmed the second pocket.

Closeup of Cluny Lace Trim Under Straps
Once the trim was in place, I finished attaching the straps.

Closeup of Strap’s Stitching
I had a bit of trouble while sewing the straps on. My sewing machine’s feed dogs kept faltering, so the fabric wouldn’t feed through at an even rate. This resulted in sections with different stitch lengths. I was worried I would have to take my machine in for a checkup, but the problem disappeared once I moved on to my next project. It must have disliked the bag because of all the layers of fabric.
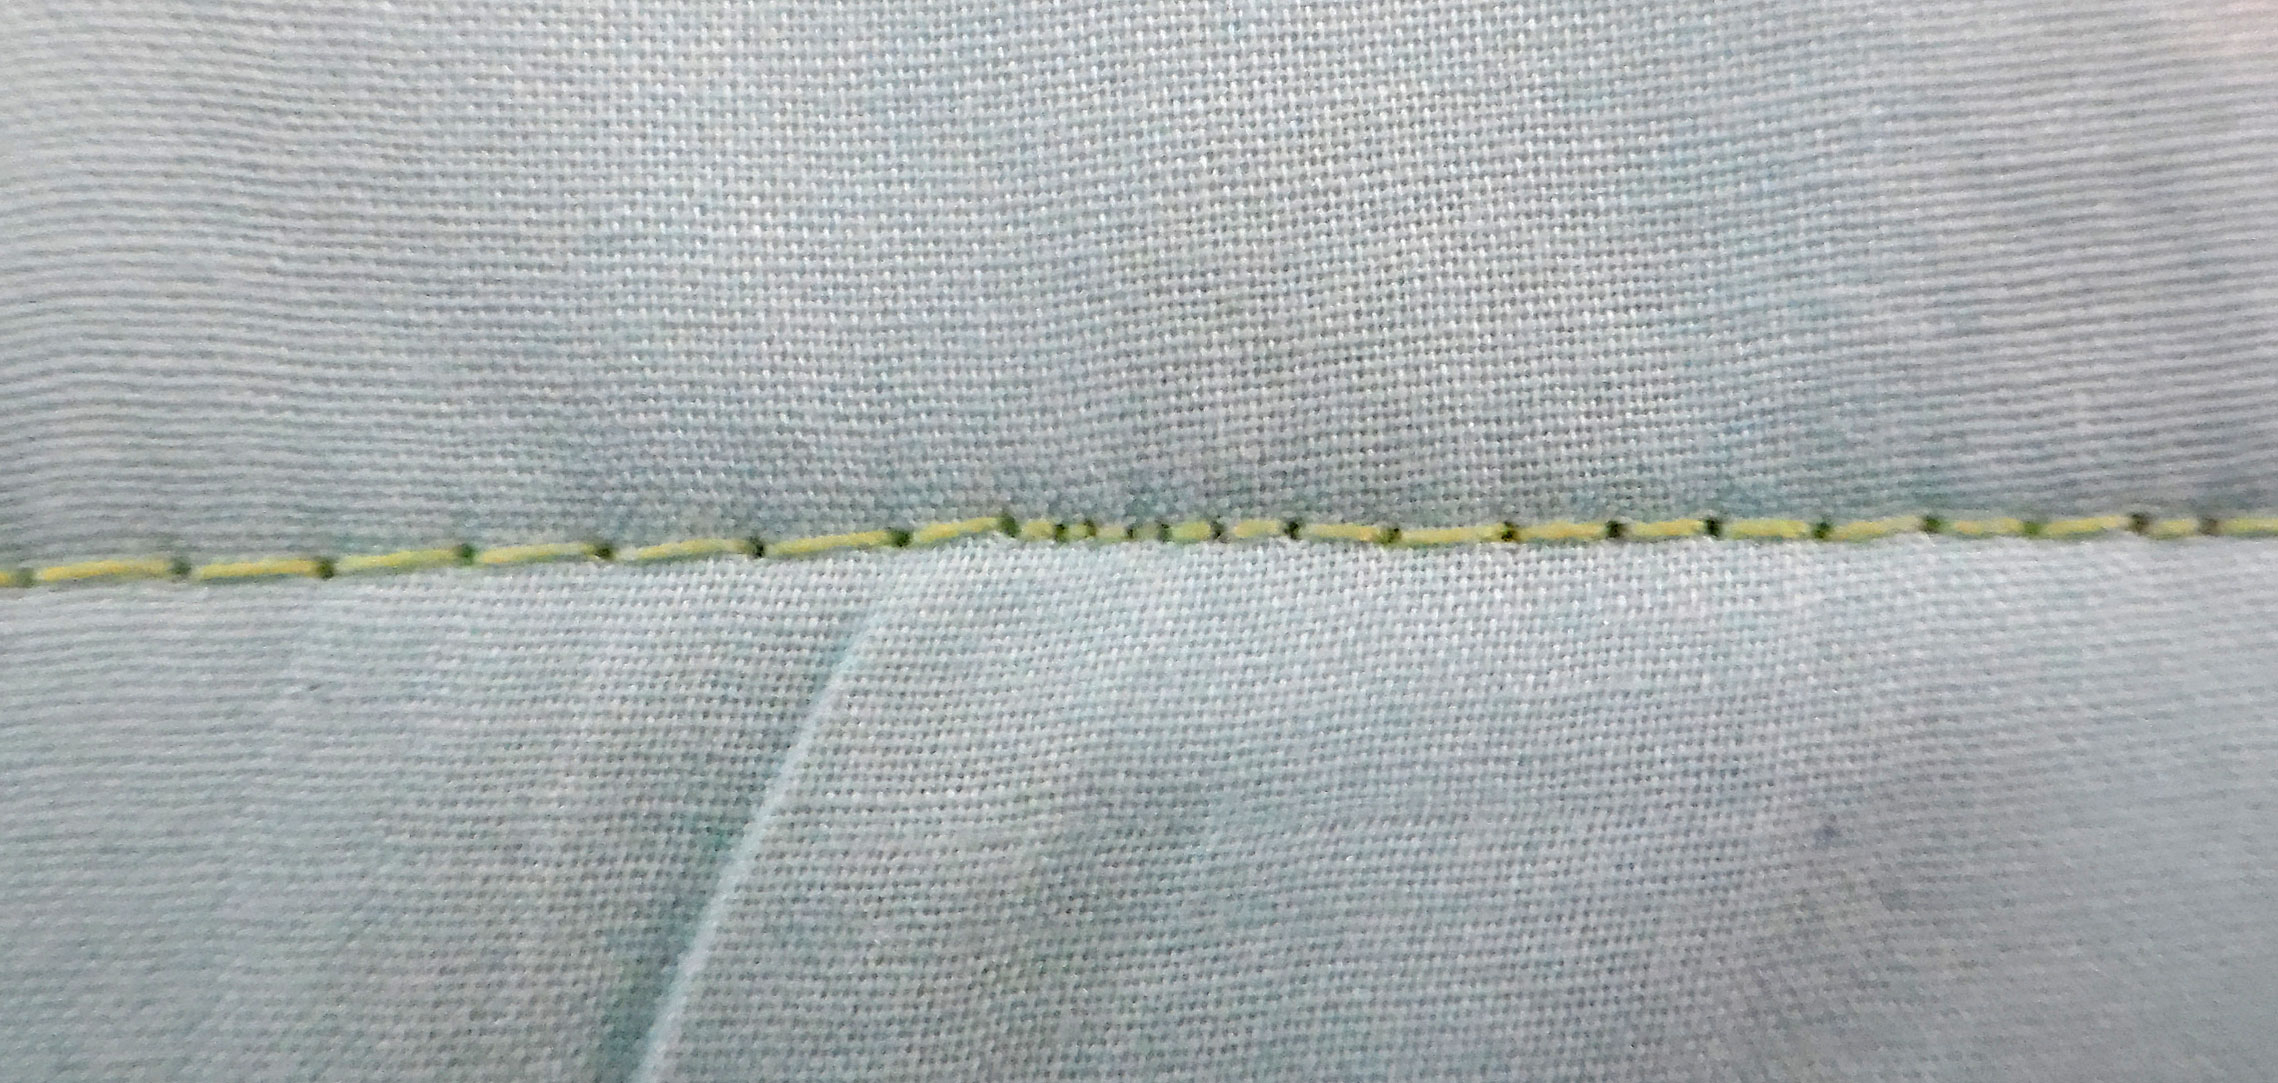
Closeup of Faulty Stitching
Next, I sewed the bag’s front to the back, being extra careful to align the pockets at the side seams. Usually, I don’t pay enough attention when I’m sewing seams like this, so any bits that are meant to match up, don’t. That’s why I almost always attach trims after all the seam are sewn. I couldn’t do that this time, so I paid extra attention to matching everything up. And it worked! The pockets and trim line up almost perfectly.
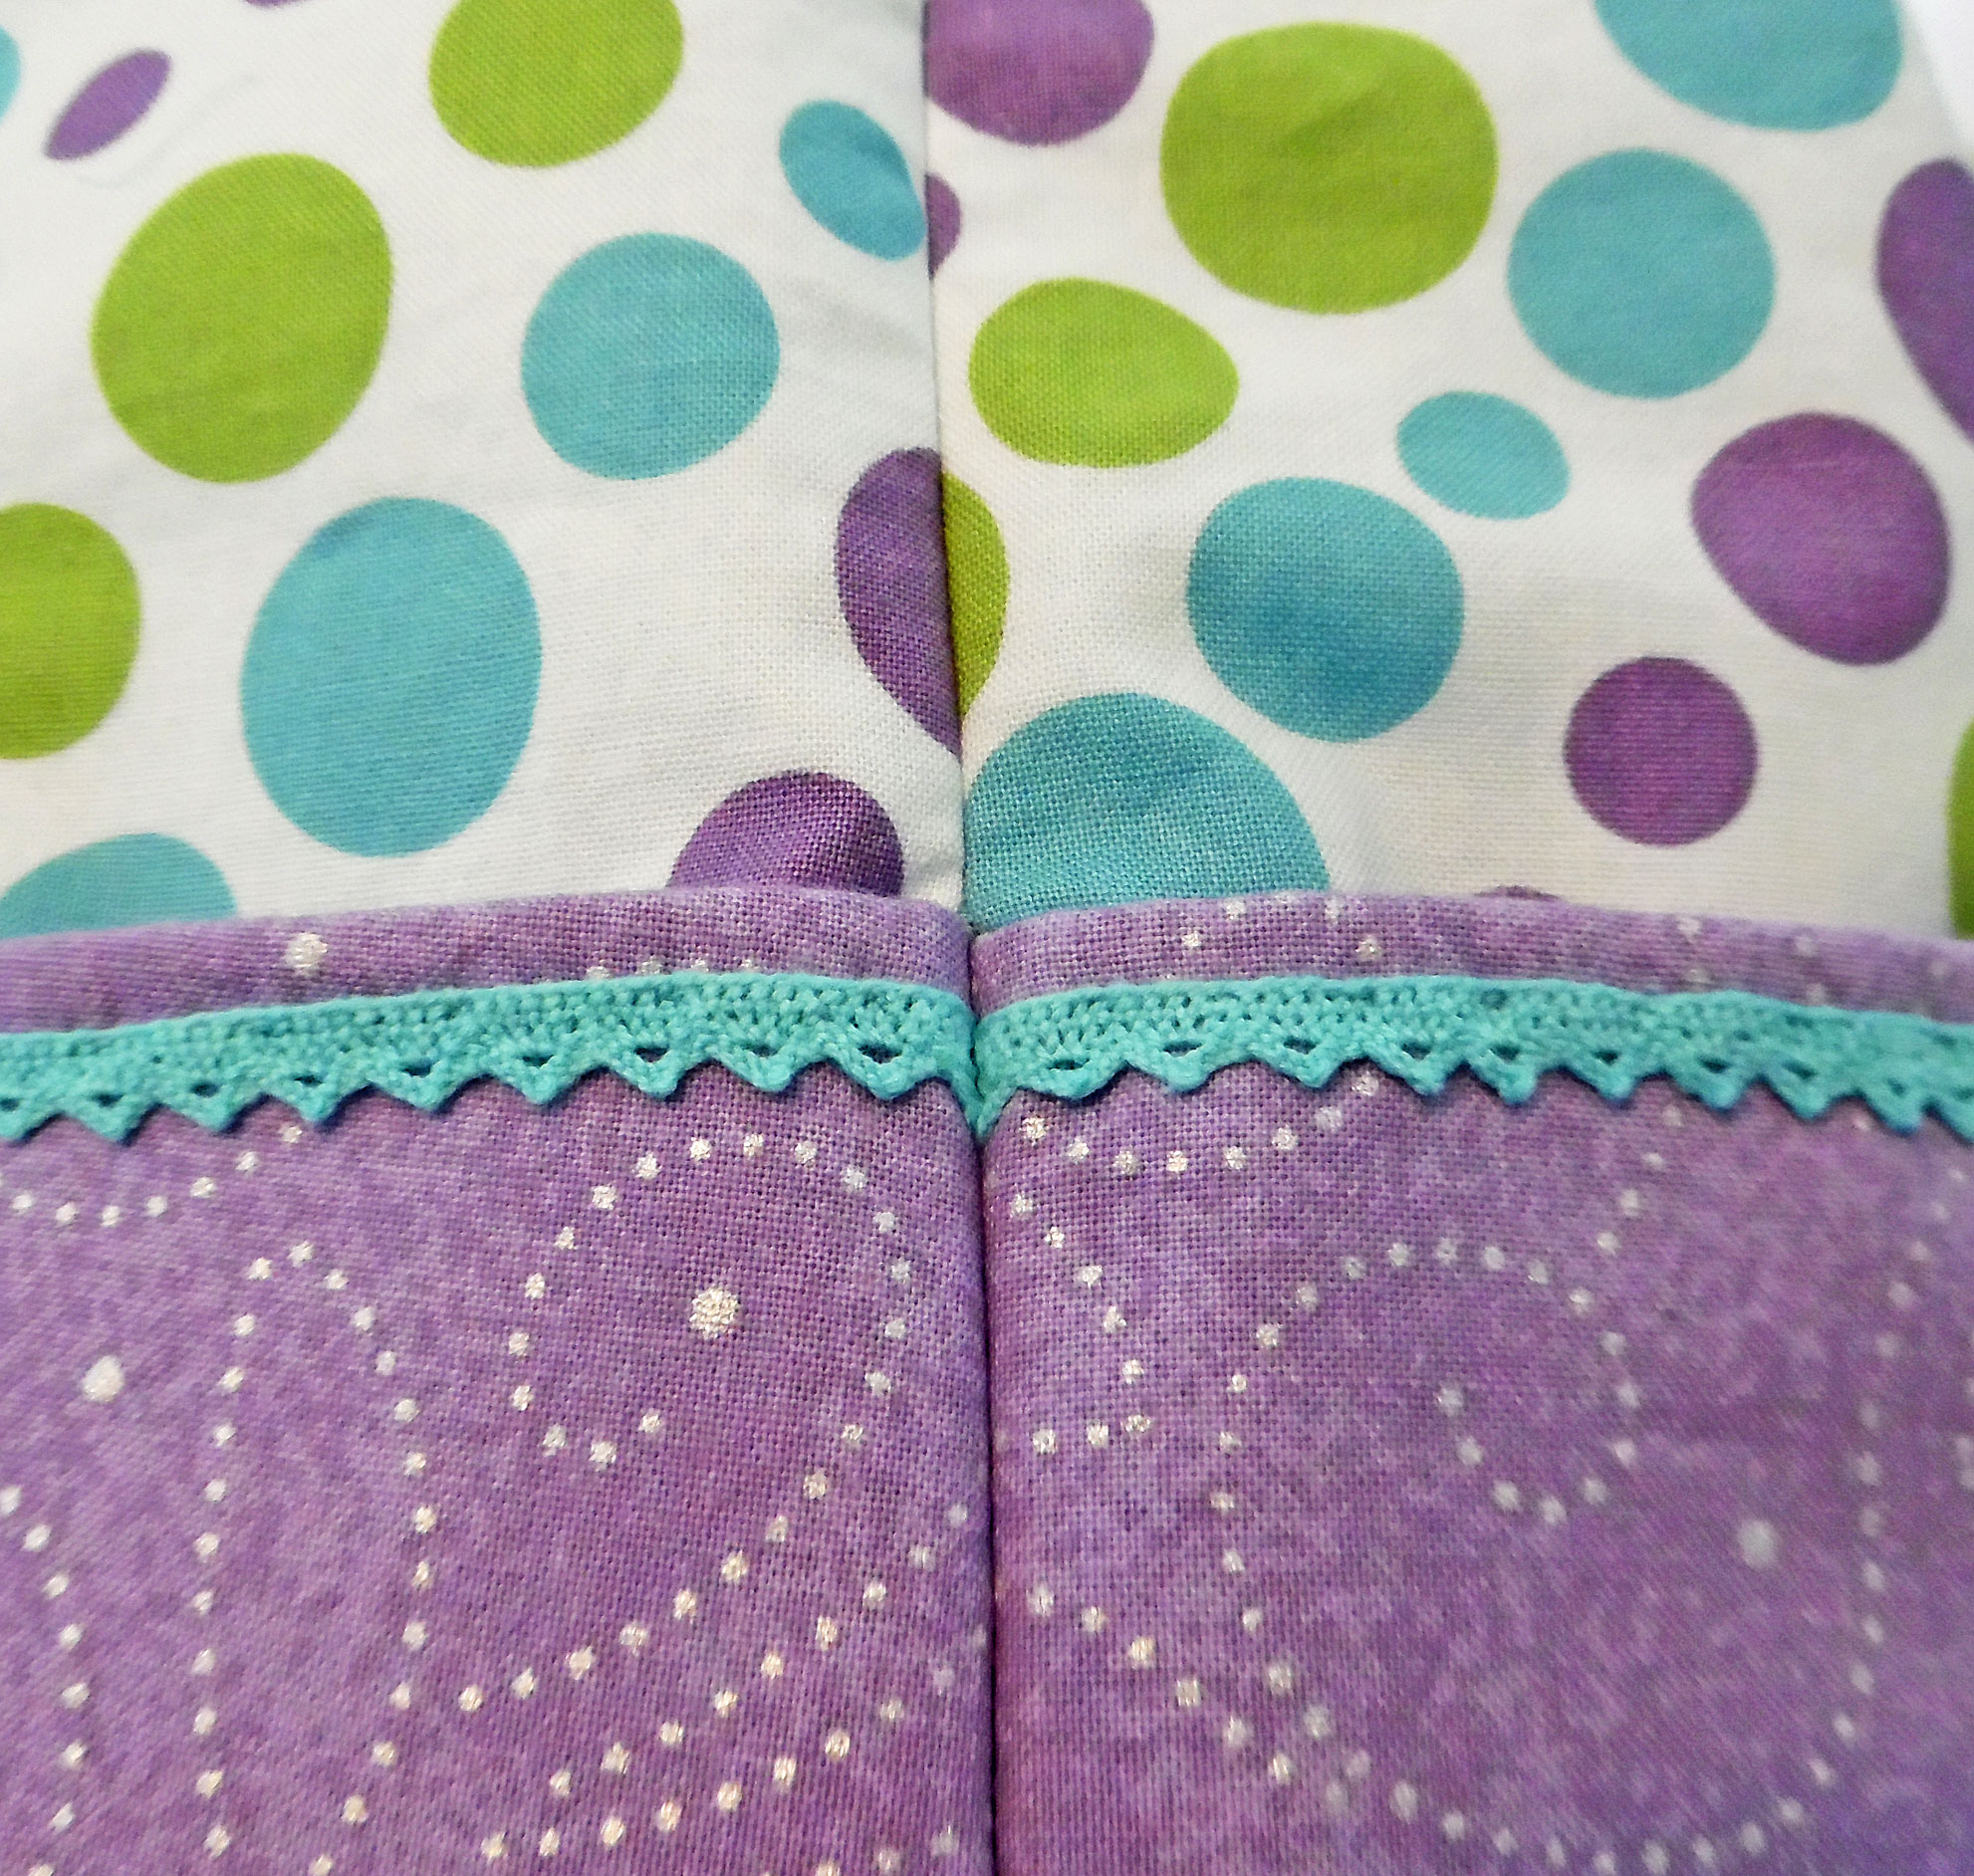
Closeup of Side Seam Alignment
What I thought was going to be a tricky part came next—sewing the bottom corners. In actuality, it was pretty simple. You just fold the notched corners (forcing the bag into a three-dimensional shape), make sure the seam allowances are matched up, and then sew across. Easy peasy! Pressing the finished seams was more difficult, because of the bag’s bulk.
After sewing the interior seams, I trimmed all the uneven edges, removed the basting stitches, and overlocked the seam allowances, so the inside of the bag would look nice and tidy. (In the photo below, I hadn’t removed the basting stitches yet.)
Closeup of Overlocked Seams
Up next was the zipper. I’d purchased a 14-inch zipper, instead of the 12-inch zipper called for, so I had to shorten it and hand sew a bar tack to serve as the zipper stop.
Once the zipper was the correct length, I hand-basted it to the top panels, and then sewed it using a zipper foot. Afterwards, I realized I’d forgotten to overlock the edges of the top panel. The pattern doesn’t call for finishing these edges, it just leaves them raw—but I wanted none of that! I unpicked the zipper, overlocked the panel’s edges, and then reattached the zipper.
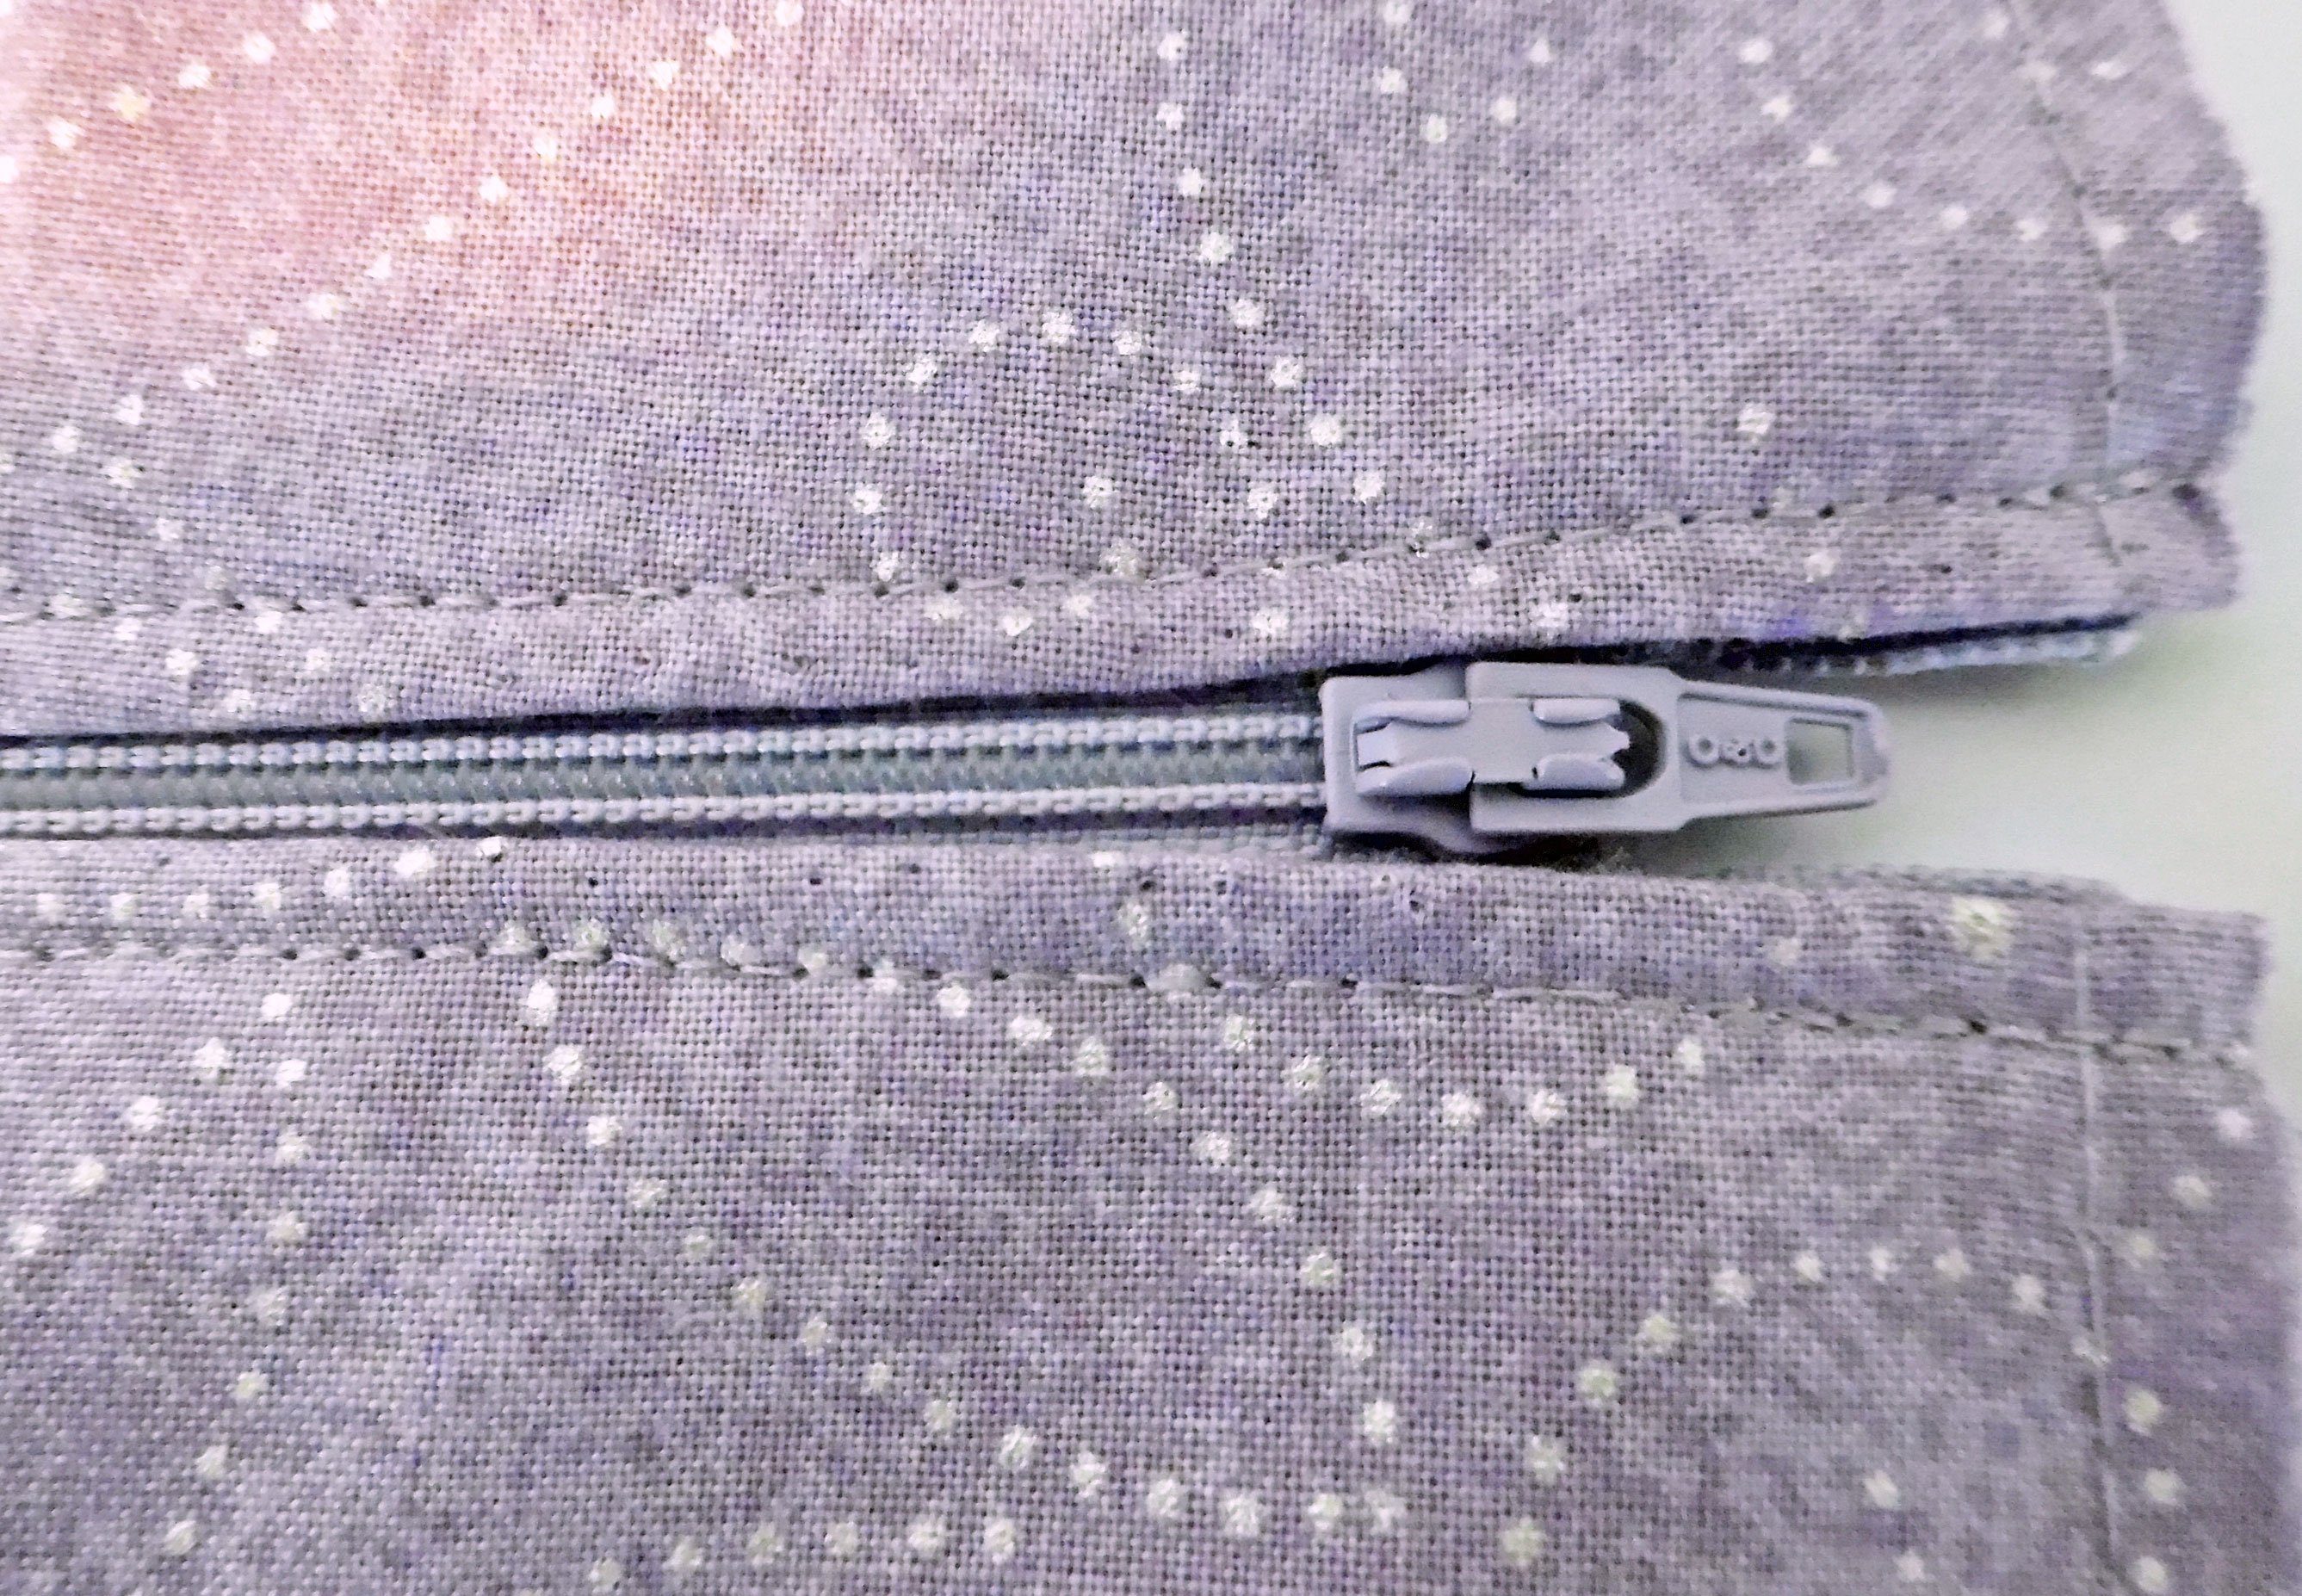
Zipper Panel
The next step bewildered me. I understood how to do it, but I didn’t understand why it needed to be done. You take the zipper panel and sew the ends together, so the panel basically forms a narrow tent.
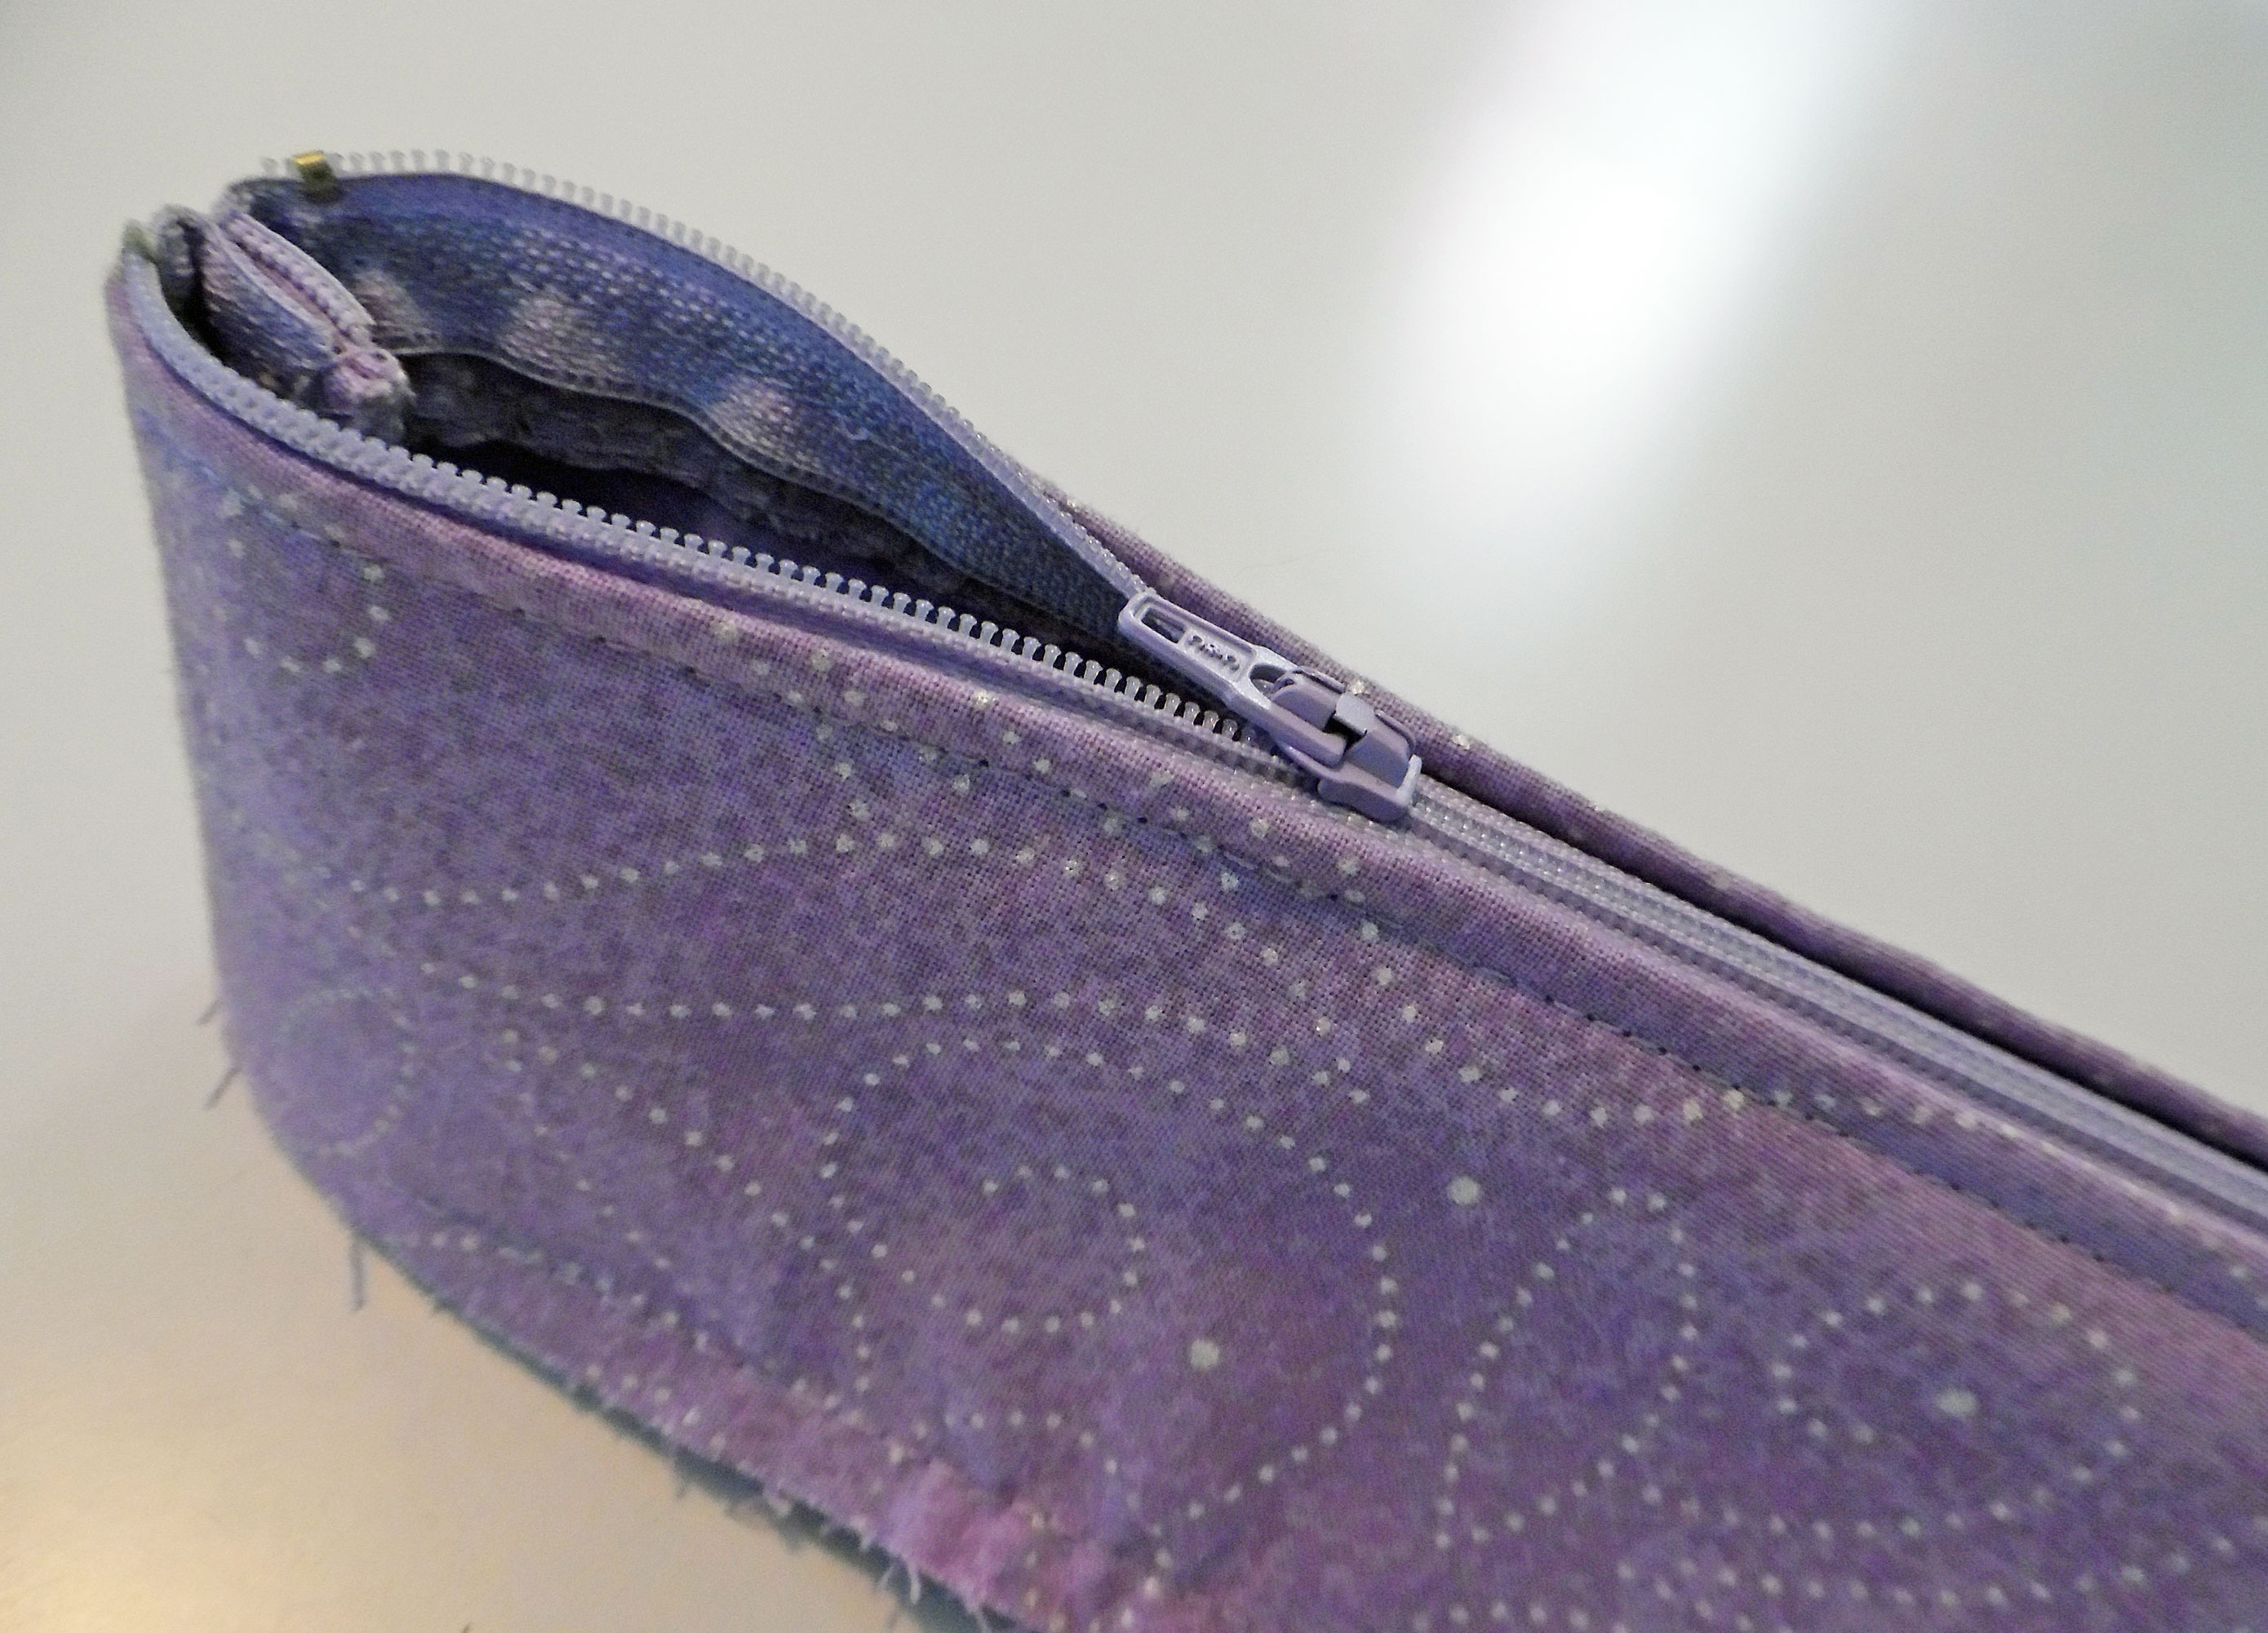
Zipper Tent
You open the zipper all the way and slip the “zipper tent” around the top of the bag, then sew all the way around to attach it. When flipped right-side out, this forms a recessed closure inside the bag—which, to be frank, seems a bit strange. It’s the tiniest bit too big to fit inside the bag neatly, so the recessed zipper buckles instead of laying flat.
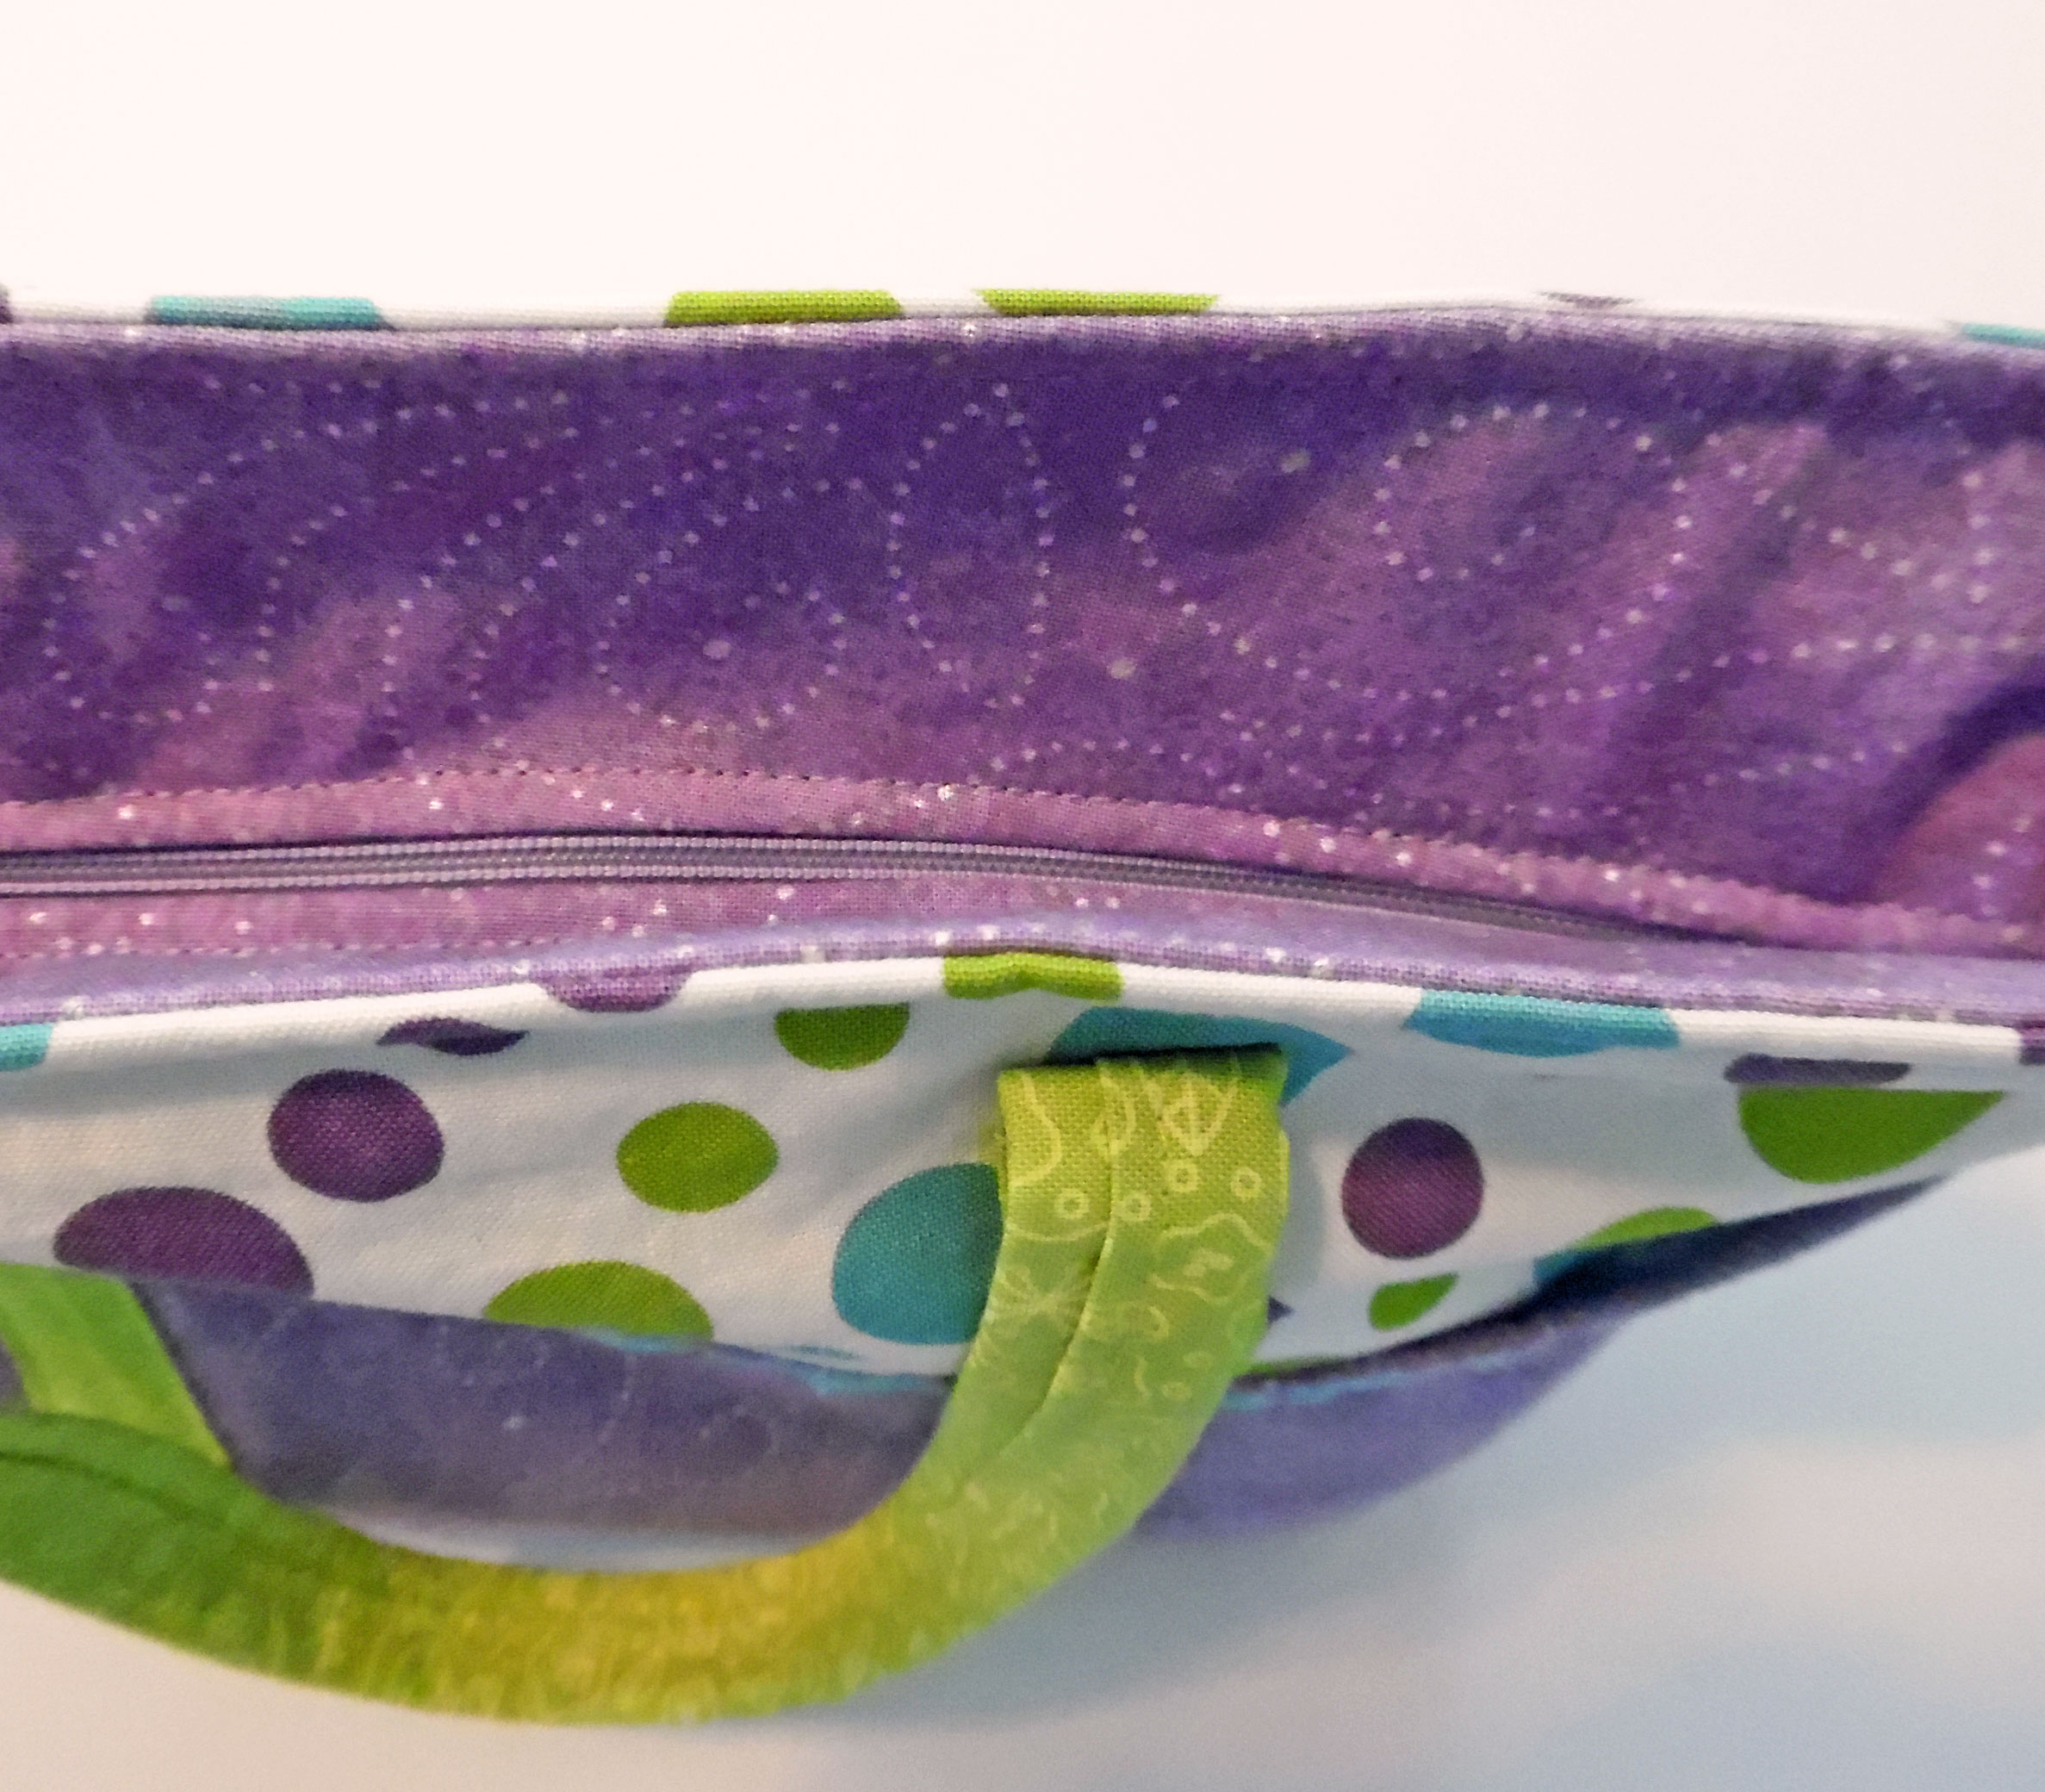
Recessed Zipper
A quick press and the bag was almost done.
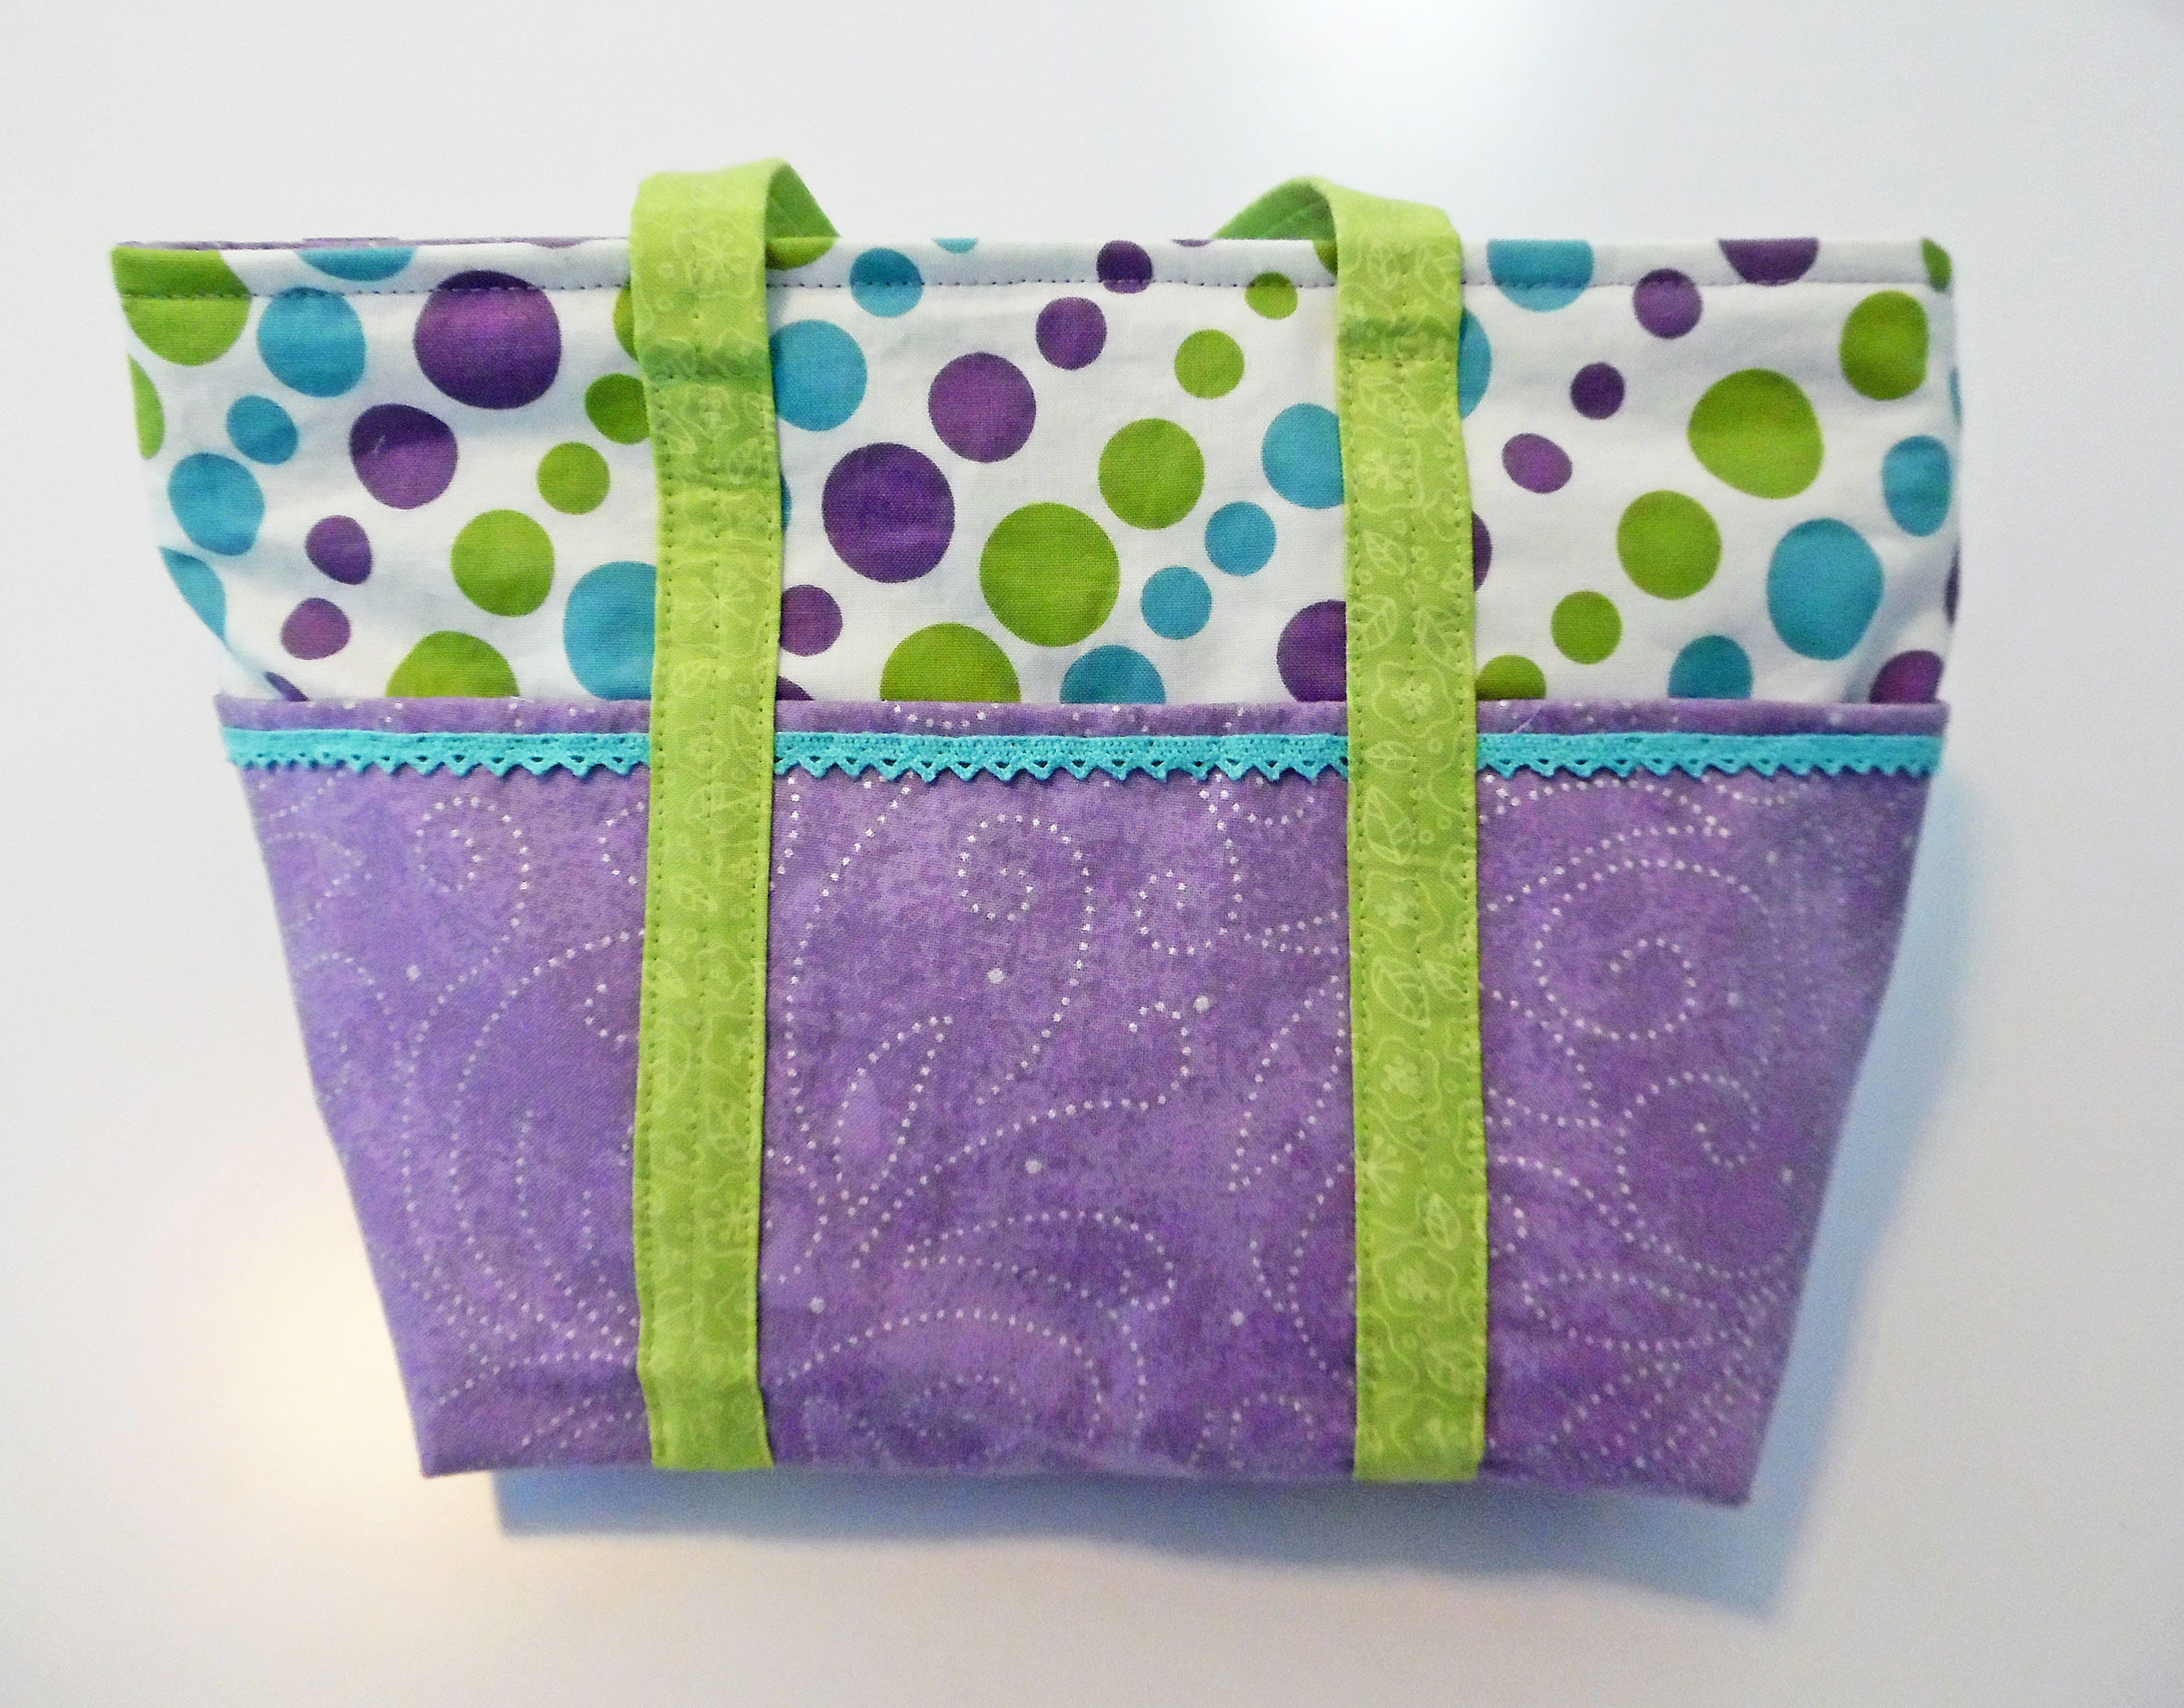
Almost Done!
Embellishment
The final step was to add some bling. I didn’t want to go too fancy, but the tote bag looked rather plain. Plus, I wanted a way to differentiate the front from the back. To my delight, I found some faceted floral buttons in my stash. I had several different colors, but I only pulled out the purple, lavender, aqua, and green ones. In the end, I put the purple back, as they didn’t quite match. I had a hard time choosing which color combination to use, but I finally decided on green and lavender, saving the aqua buttons for another time.
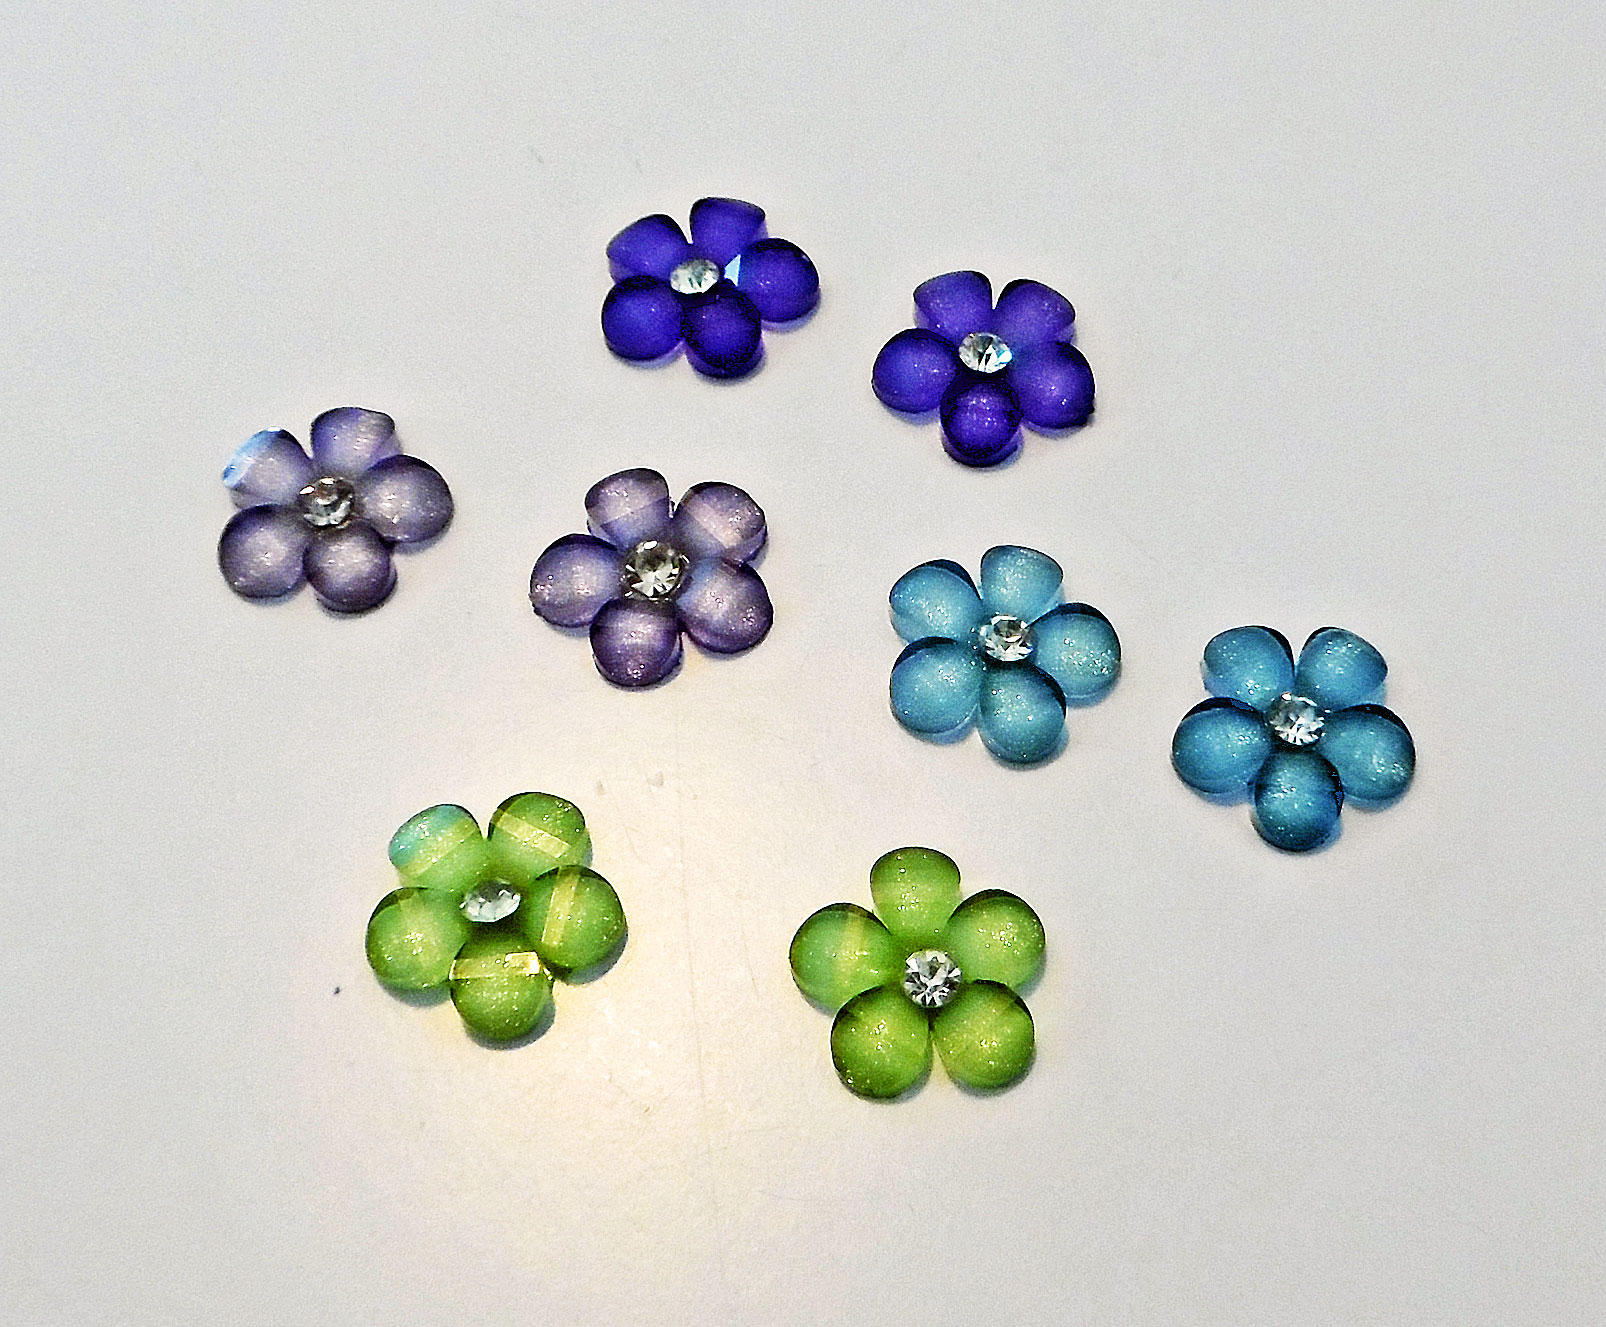
Floral “Buttons”
The thing is, they aren’t truly buttons. They lack a shank and/or holes, so they can’t be sewed in place. They must be glued. So, I pulled out my craft glue and got busy.
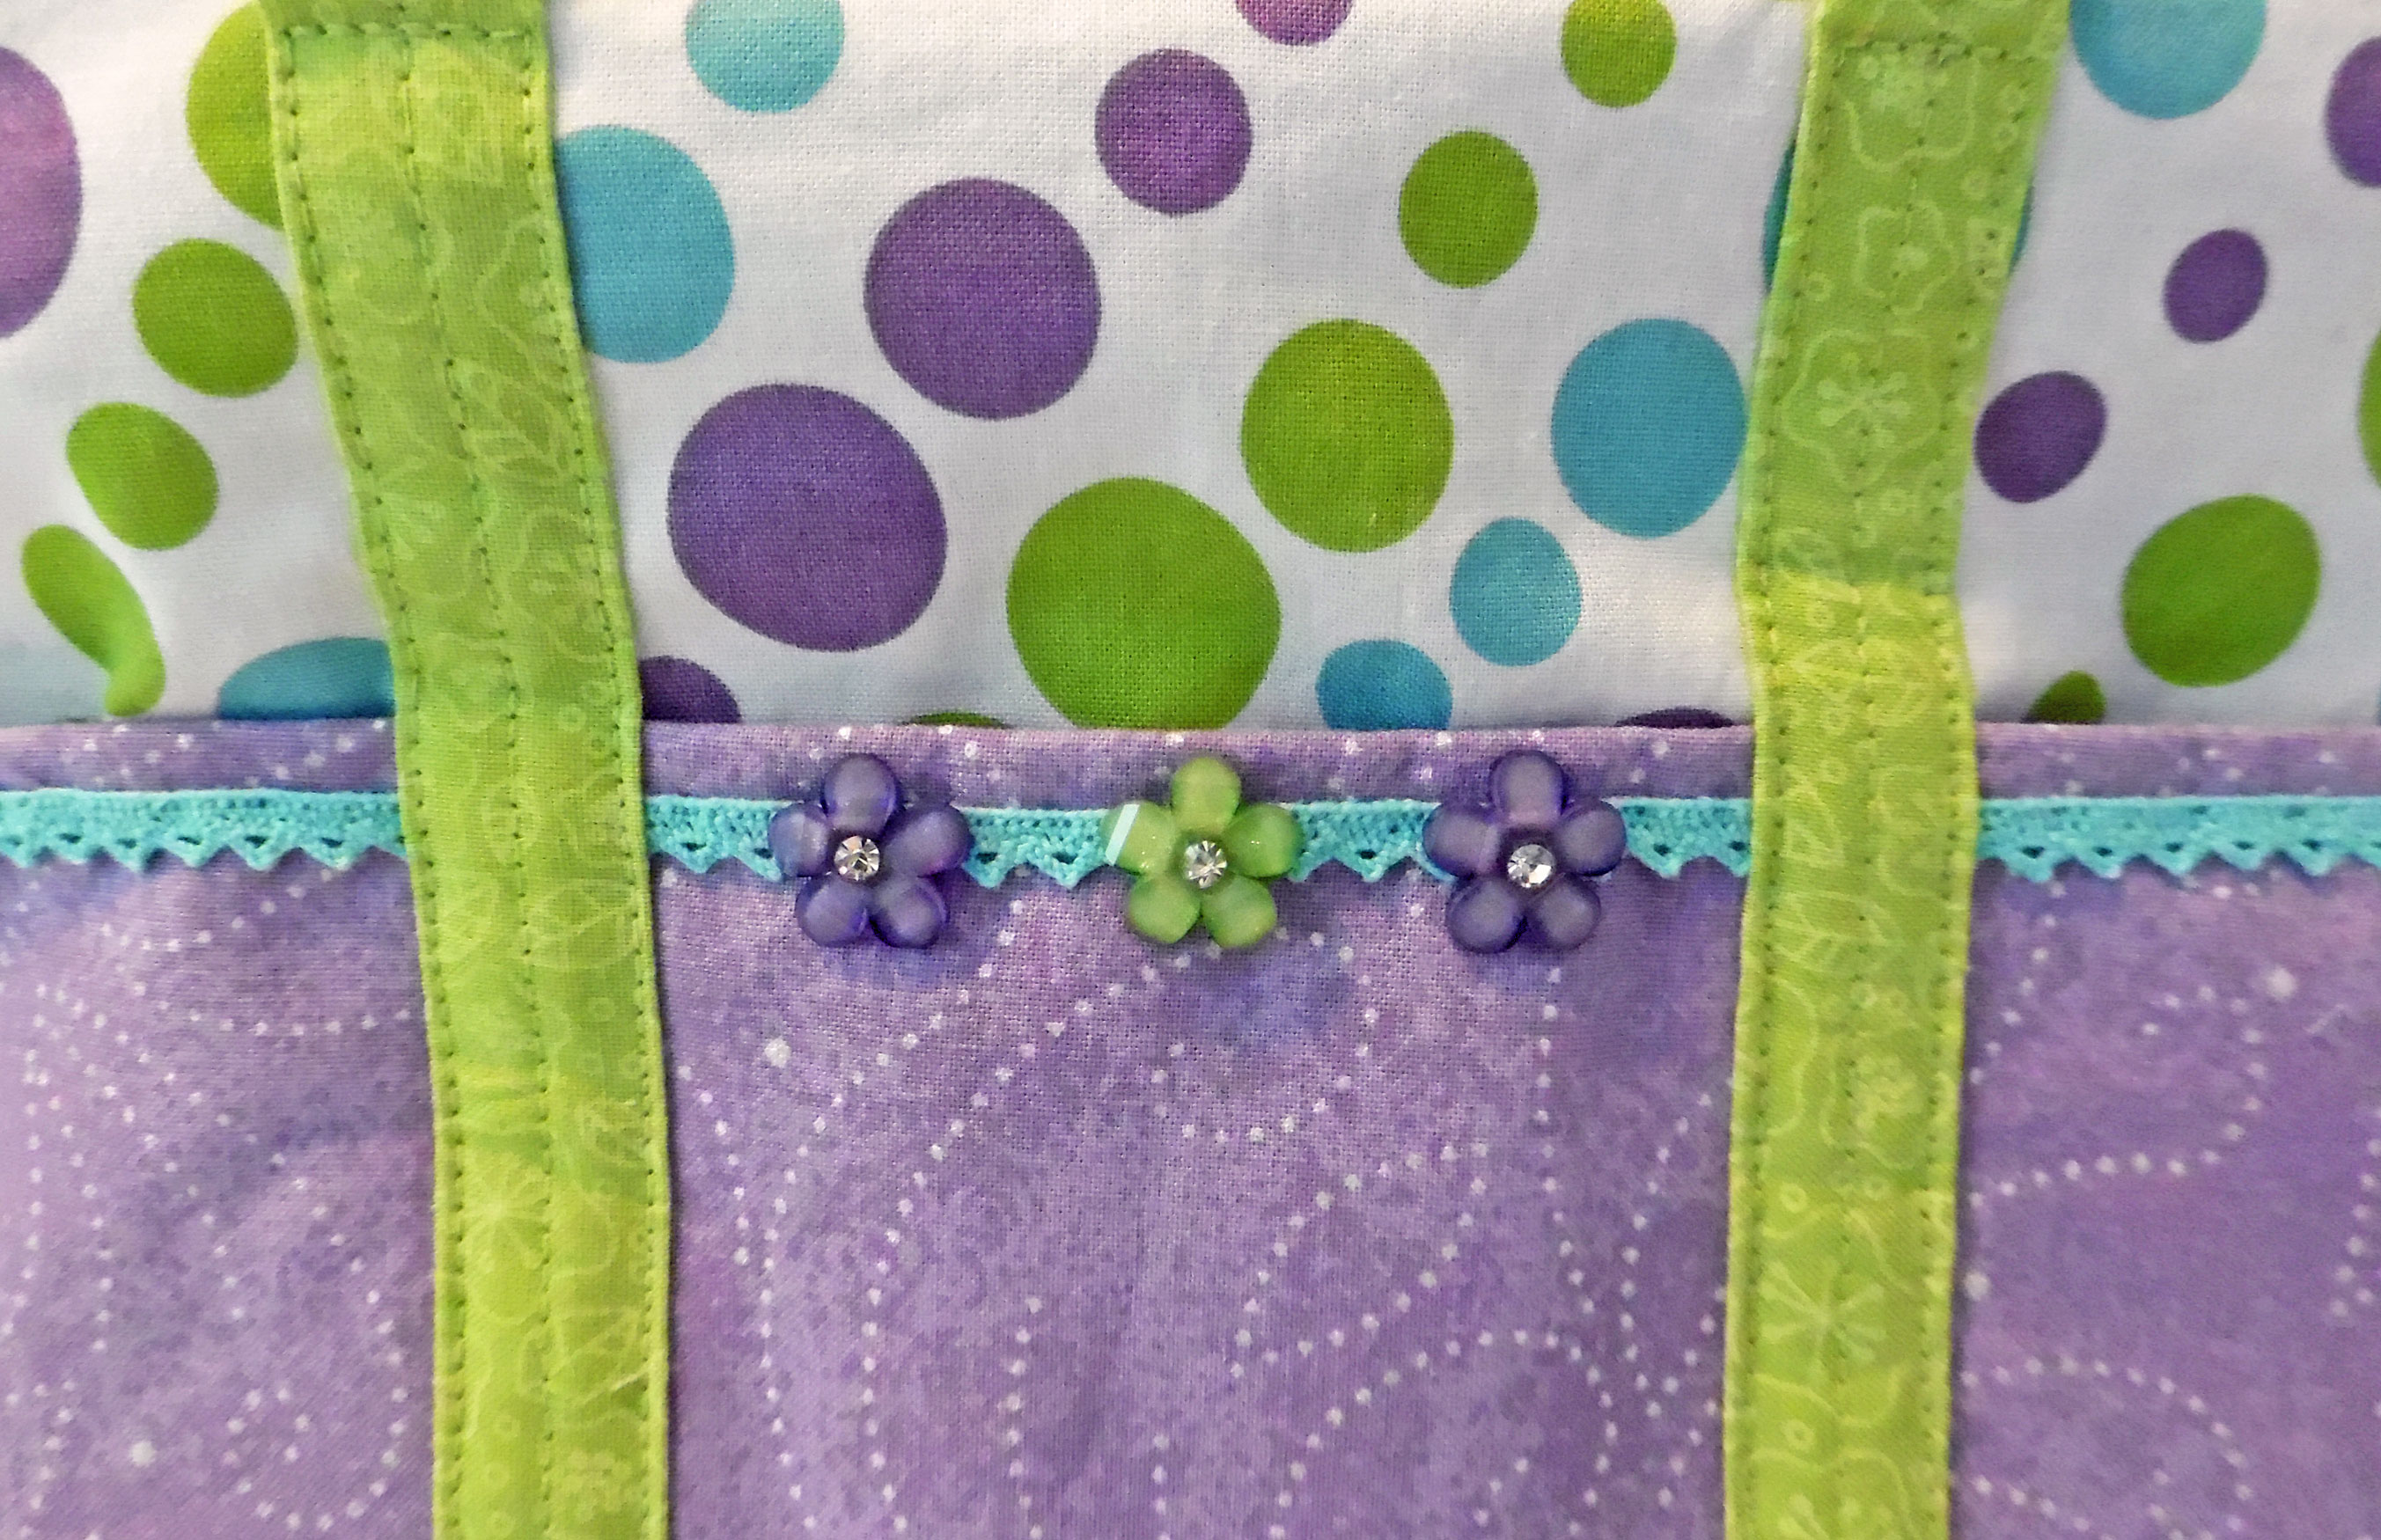
Closeup of Floral Buttons
I also created a zipper pull to make it easier to unzip the bag. I used an ultra-thin, flexible jewelry wire, which I threaded with amethyst Swarovski crystals, as well as purple and green seed beads. It attaches to the zipper with a small silver lobster clasp.

Zipper Pull
Conclusion
It isn’t often that I get to make something that’s simple and fun, yet practical and pretty, all in one! Usually, the nicer items I try to sew end up getting complicated or frustrating. But this tote bag was easy to make, even with my decision to go against the directions by interlining it and overlocking the seam allowances. I’ll definitely recommend it to my students, and it will hold a place of honor in the sewing room, carrying my stash of doll-sized yarn.
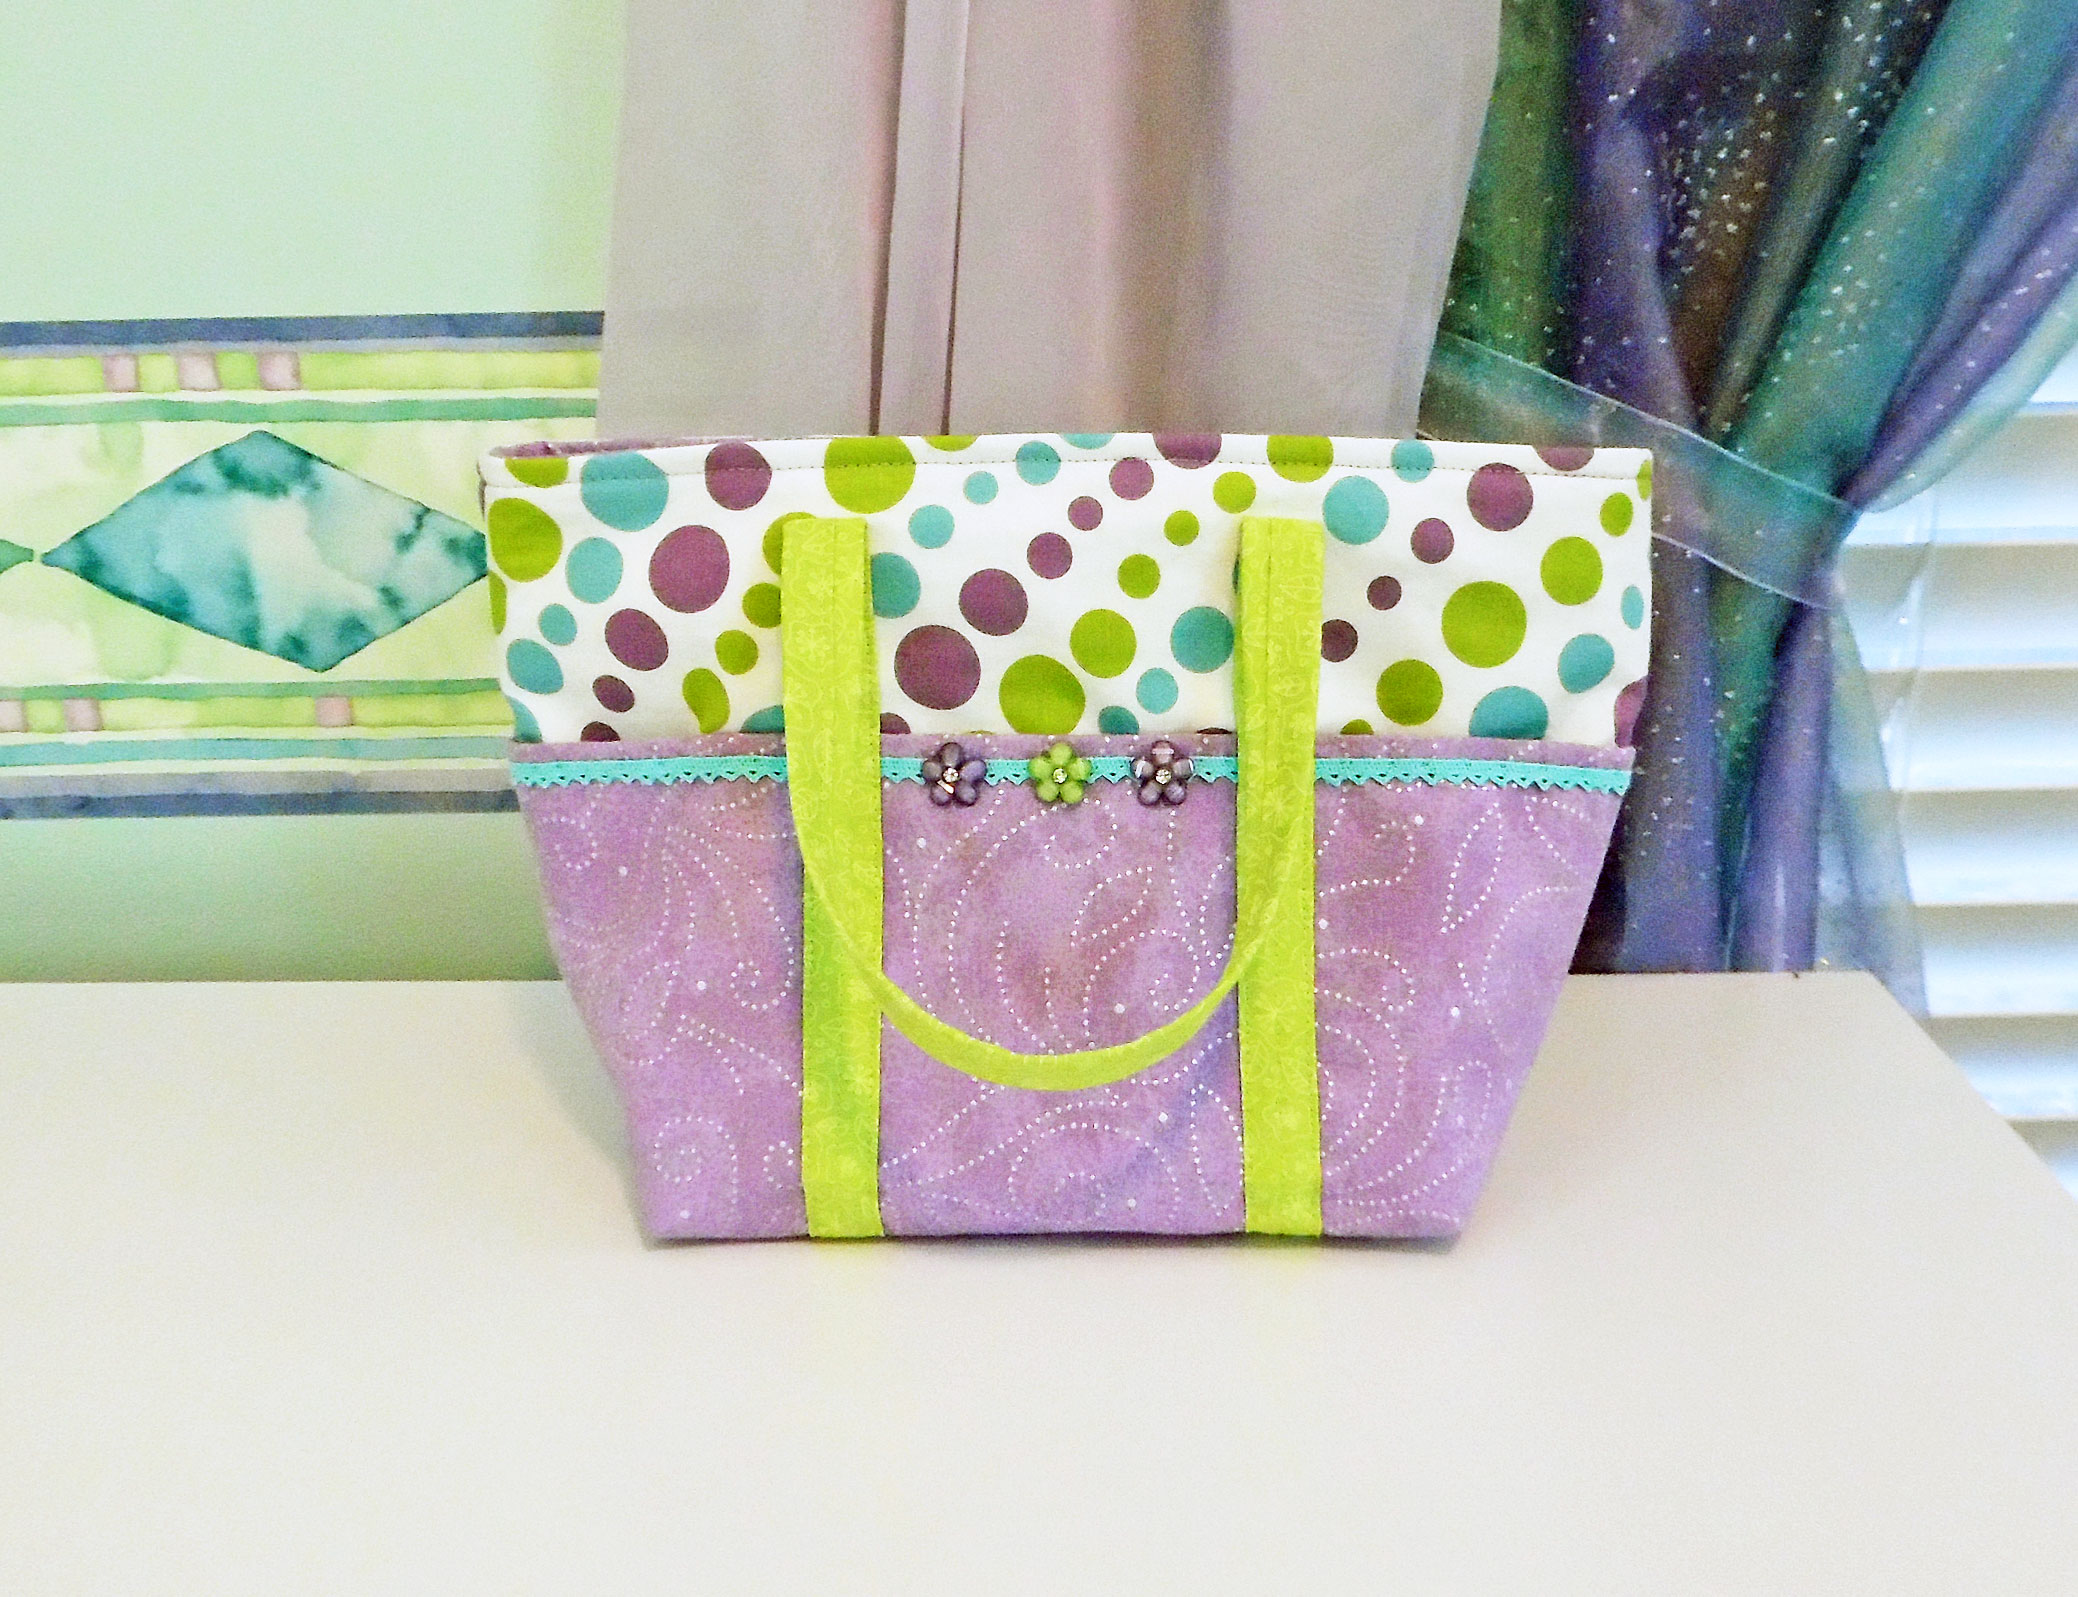
Finished Tote Bag
~~*~~
Looking for more sewing advice? See our Sewing Basics menu for beginner-friendly tips. You might also investigate our Sewing Diaries, along with our Articles and Tutorials.