
by Lisha Vidler
(Click on any image to view the full-sized illustration.)
Designing your own custom fabric—isn’t it exciting? In the first half of this article, we covered the basics of tiling and how to create a simple drawing to use as a fabric motif. But suppose you want something more sophisticated? Let’s take a look at how to create composite motifs using custom brushes, and then we’ll put all we’ve learned together and order some custom fabric.
Using Custom Brushes
For simple designs, it’s easiest to digitize a pre-drawn image—something we discussed previously. For more intricate designs, you can create the entire image on the computer. A custom brush set makes this much easier. Websites like deviantART offer a vast array of free brushes for use with various graphics programs. Simply enter the name of your graphics program into the search box, along with “custom brushes” and it should come up with more brushes than you’ll ever need: everything from textures (clouds, water, smoke, etc.) to complex designs (baroque scrollwork, lace, floral patterns, etc.). Rendering artwork like this would take hours upon hours of work, but you can make use of these brushes with a single tap of your stylus or mouse.
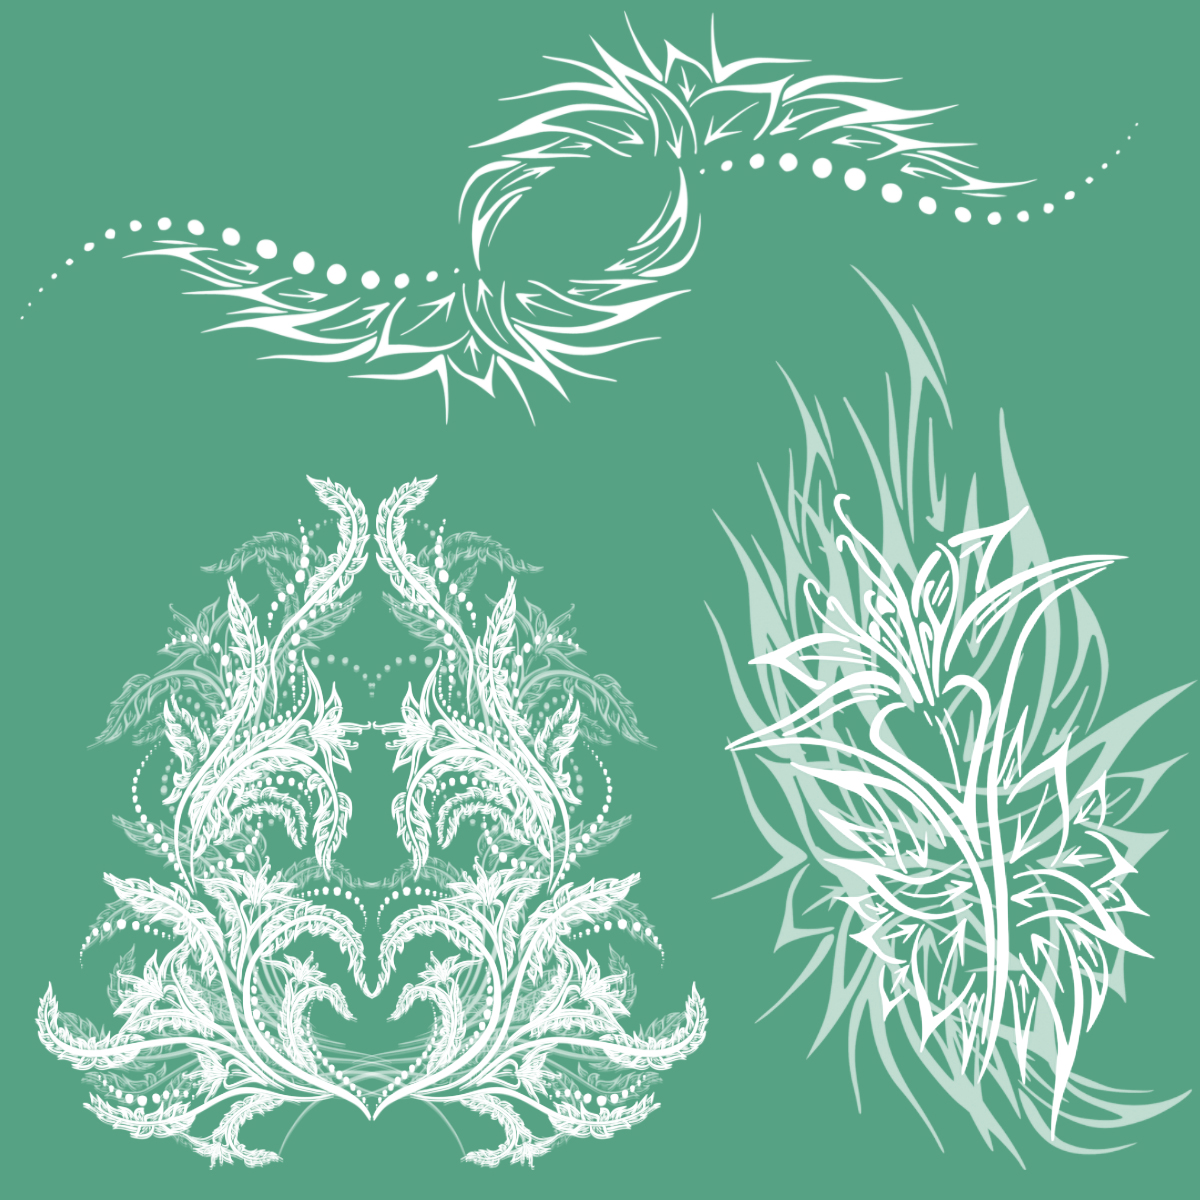
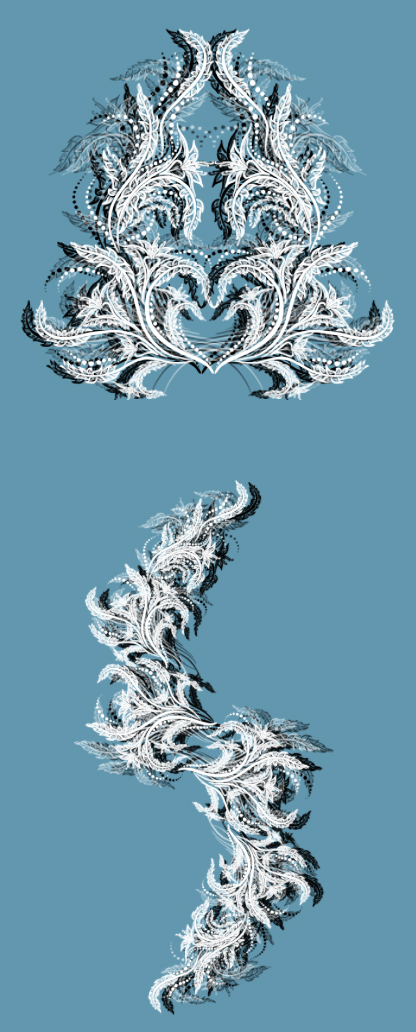
Ornament Brushes for Photoshop
(Created by deviantART user: XResch)
Some brushes may have restricted usage, so check with the creator to be sure it’s okay for you to use it to design fabric. Their reply may depend on whether or not your fabric will be publicly available for others to buy, or whether you’re using it for a commercial purpose. Many will allow you to do whatever you like with the brushes, just so long as you give them credit.
-
To install a brush set (in Photoshop Elements):
- Download the file and save it somewhere you’ll be able to find it again.
- Open Photoshop and click on the brush tool.
- Somewhere on the screen, there will be an option to change the brush size and shape. Click on that and a tiny window will pop open with a list of preset brush options.
- On the right is a small double arrow; click on it and a drop-down menu will appear.
- Choose “Load Brushes . . .” and locate where you saved the custom brush file. Double-click on the brush set you want and it will load into Photoshop.
- Now you can simply click on whichever brush you want out of that set. It may load at an impossibly huge size, but you can easily re-size it.
To use a custom brush, choose the brush you want and adjust its size to fit your image. Pick the color you want, then click anywhere in your image. The brush drawing may appear faint. If so, hit CTRL-Z to undo the action, then hold the cursor very still and click several times in a row. This will layer the same brushstroke multiple times.
Single vs Multiple Brushstrokes
Sizing & Colors
To get started with your fabric design, open a new file in your graphics program. Make it 8″ x 8″, since that’s the size of a fabric swatch at Spoonflower. (They recommend a resolution of 150 dpi.) This file will be where you paste your motif when you’re ready to test how well it tiles.
Create a second new file, also 150 dpi, for the design itself. The dimensions of this file will depend on how large you want your motif to be and how many times you want it to repeat within the swatch. The swatch is 8″ x 8″, so you’ll need to pick a size that’s a divisor of eight. For example, if you want your image to tile four times horizontally and four times vertically, it will need to be 2″ square.
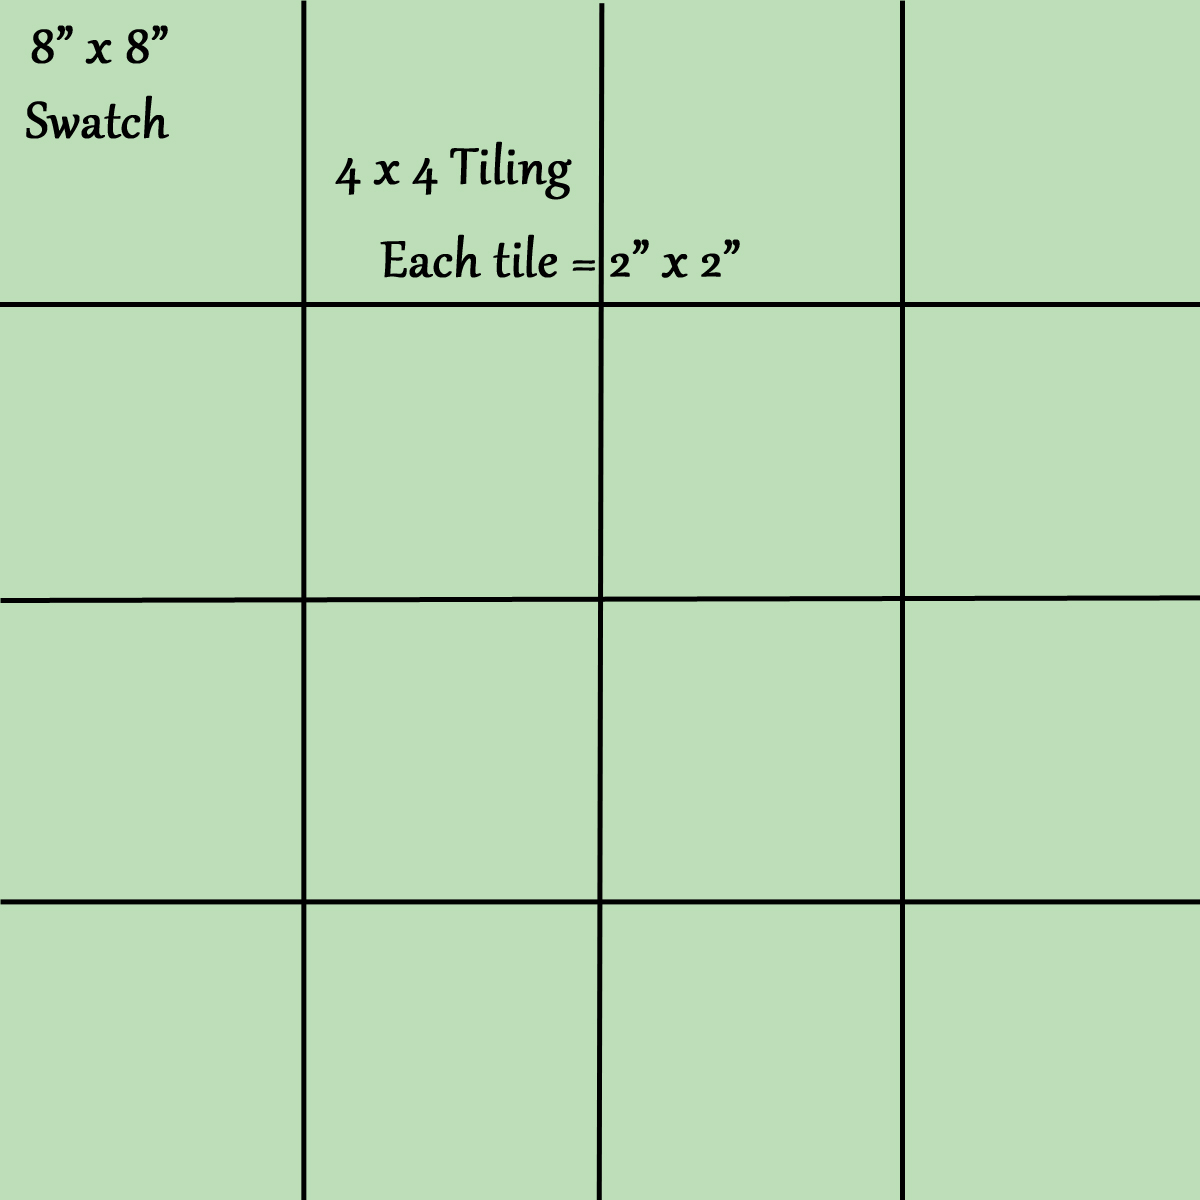
Calculating Tile Size
-
Tip
If you view your file at its actual pixel size, it will appear much larger than it actually is. I believe this has to do with the size and resolution of your monitor. To see the actual size of your fabric motif, you’ll need to print the design out. Make sure your printer scales the image at 100%, otherwise it will be larger or smaller than the actual image.
It’s important to remember that the colors you see on your monitor and the colors from your printer may be different from the colors your actual fabric will be.
Let me repeat this: The colors on your monitor and your printer may be different from how your fabric actually prints.
Why? Because everyone’s monitors and printers are calibrated differently. To work around the problem, some fabric printing companies will sell you a swatch of fabric that’s covered in squares of color, along with their hexadecimal and/or RGB numbers.
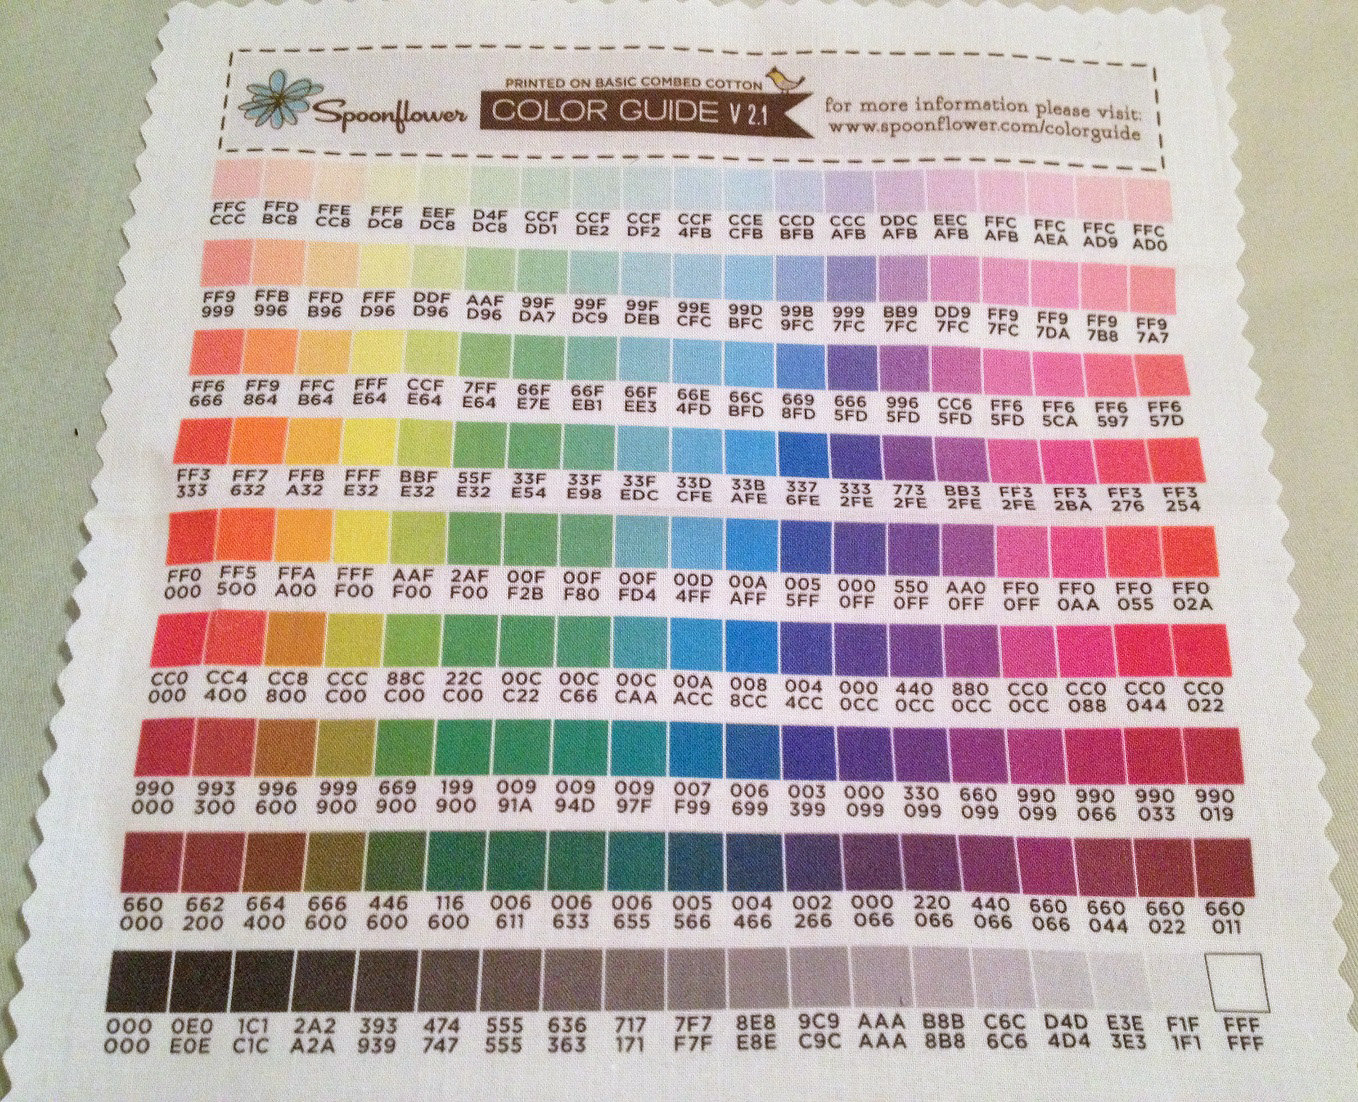
Color Swatch
Hexadecimal and RGB numbers universally identify each color, so when you find a specific color you want on the color sampler, you can use its number to choose that exact color in your graphics program. The color may show up differently when you view it on your computer, but by looking at the color sampler, you’ll know exactly how that color will look when printed as fabric.
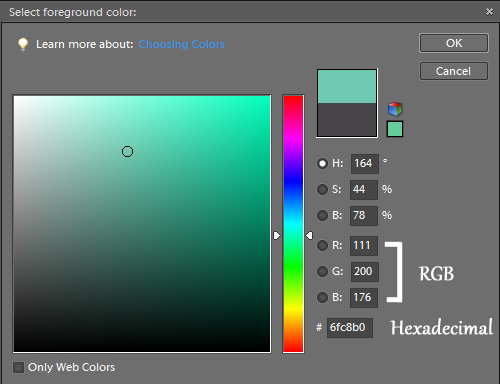
Color Picker (Photoshop Elements)
It’s worth noting that some colors don’t print well together. If the colors are too similar in hue, they’ll blend together and vanish. The only way to know for sure whether your chosen colors will work is to order a swatch and see for yourself.
Accurate Tiling
You can use your custom brushes to create any design that you want for your fabric. Just remember that the image will be tiled, which means you need to be careful that it maintains an unbroken design when repeated.
Take this dotted motif. Several of the circles are cropped at the edge of the image, which looks kind of neat when you’re looking at a single tile.
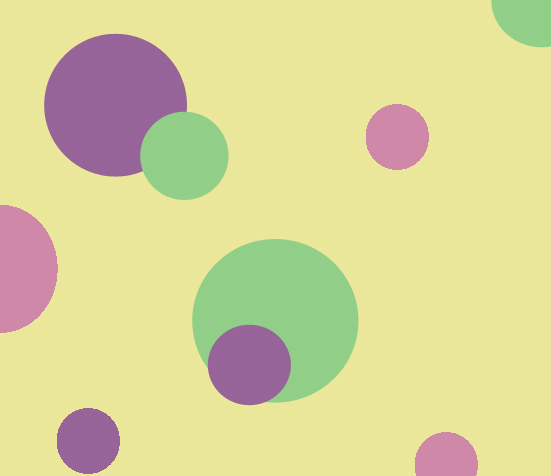
Dotted Motif #1
But look what happens when you tile the design.
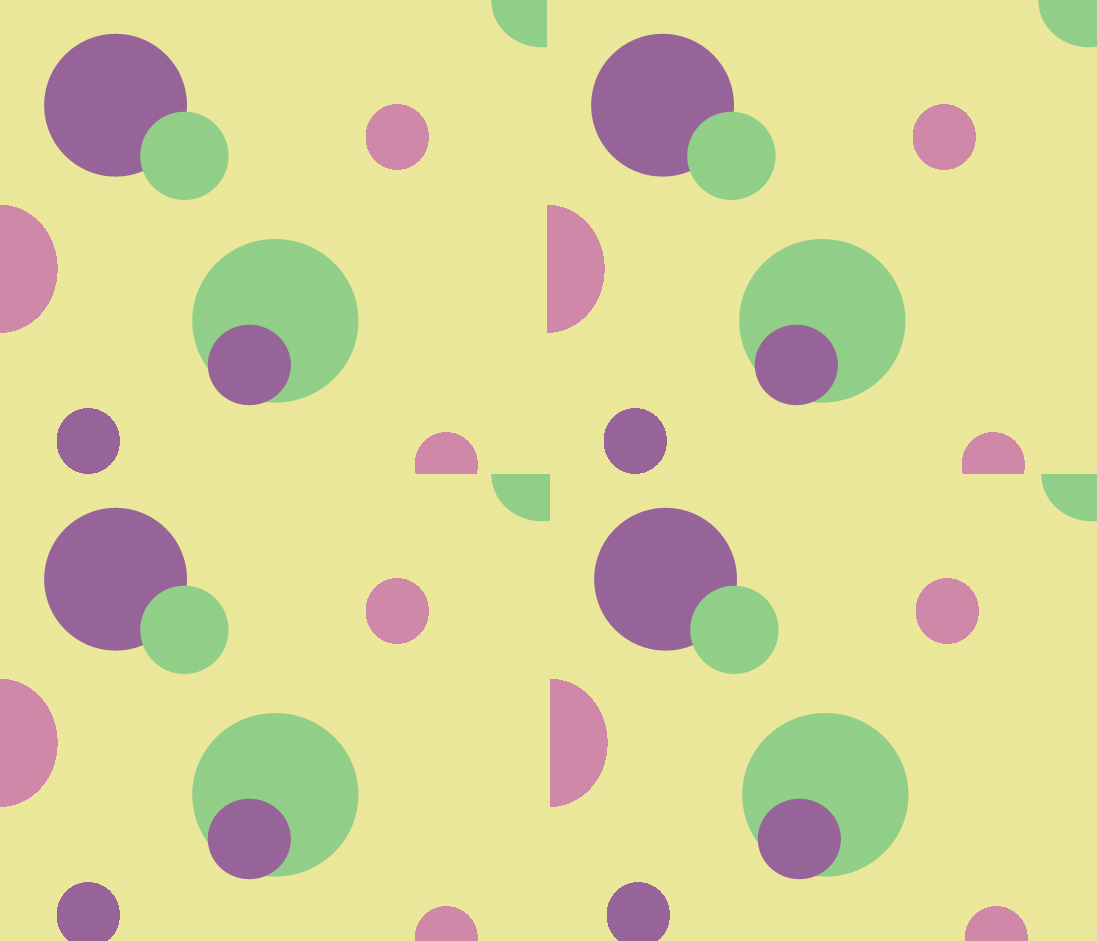
Dotted Motif #1, Tiled
With those distracting cut-off circles, it looks like the fabric designer made a mistake. To avoid this sort of thing, you’ll need to plan ahead and compensate. Visualize the whole and figure out where to place each element so that when it’s tiled, the pieces merge together, creating a cohesive design. In the image below, I made some changes to the dotted motif.
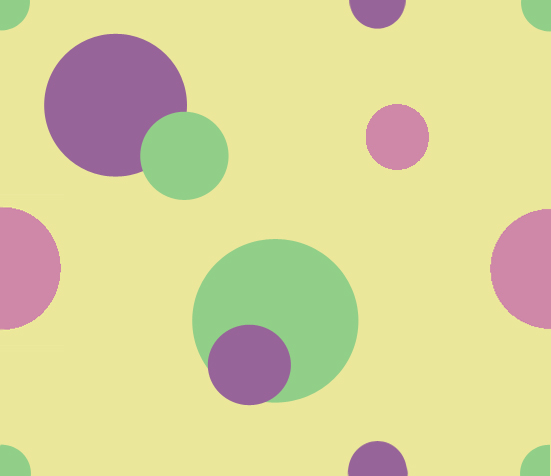
Dotted Motif #2
Placing quarter-circles in each of the corners ensures that when the image is tiled, a full circle will appear. Similarly, placing half-circles at opposite ends of the tile ensures a full circle will form where the tiles join. The end result looks more cohesive, don’t you think?
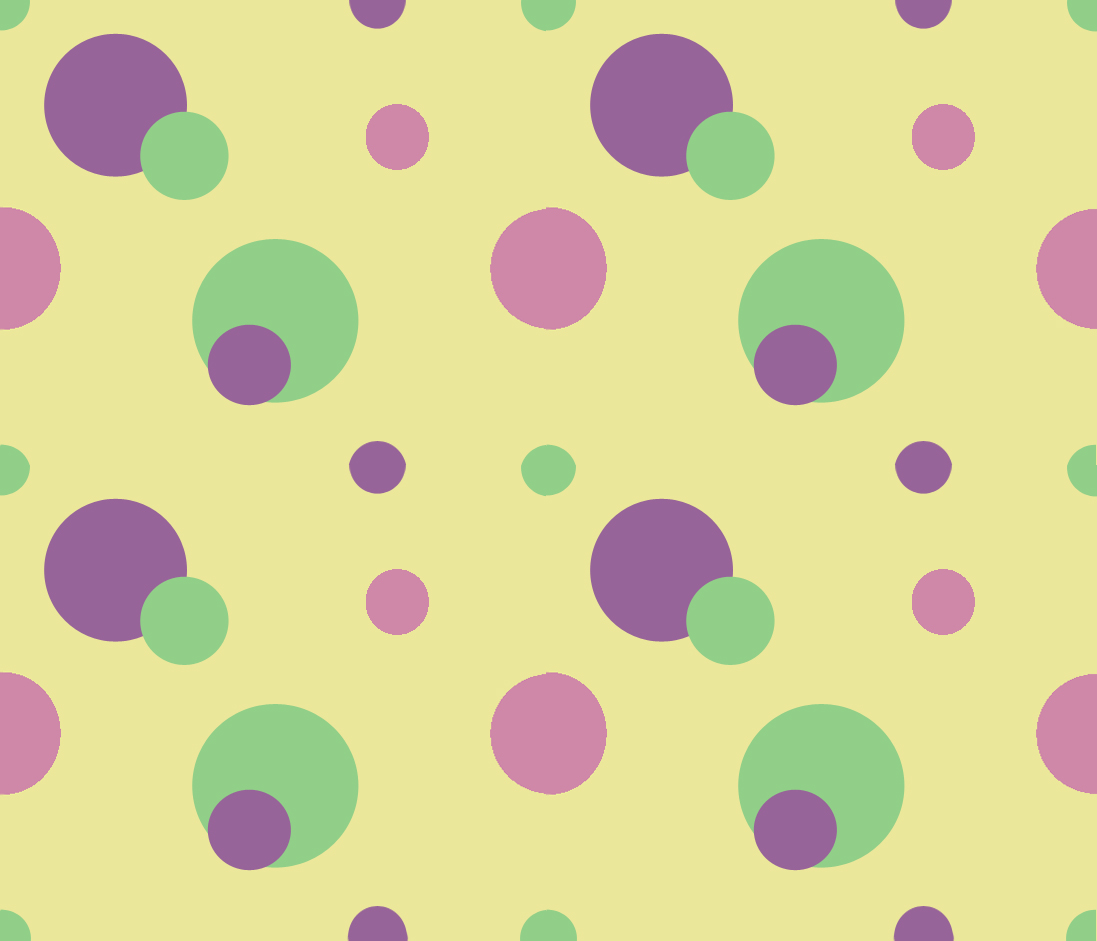
Dotted Motif #2, Tiled
This same principle applies to all complex motifs. No matter what kind of design you’re creating, its elements need to be well-planned, so everything will tile smoothly.
Creating Floral-Striped Fabric
Let’s get up close and personal with the design process, so you get a better idea of what’s involved in making a complex fabric design.
Awhile back, I decided to make a doll-sized version of the Wishing dress from The Phantom of the Opera. Now, if finding fabric for my full-sized replica was difficult, you can imagine how hard it was to find a suitable floral-striped silk small enough to work for a doll! I searched for months before realizing that what I needed probably didn’t exist.
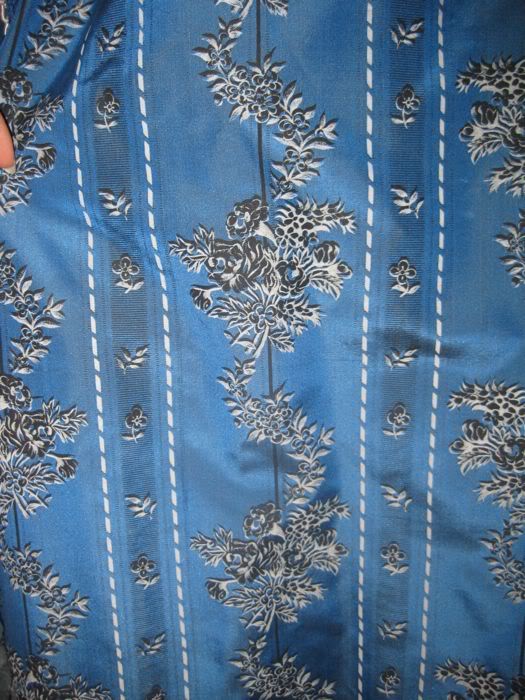
At first, I compromised and chose a slate-blue cotton with a dark blue floral print. It was pretty, but I wasn’t satisfied. I didn’t want to go through all the trouble of sewing this insanely detailed miniature costume with fabric that wasn’t accurate. Not only was the fabric the wrong color and the wrong print, but it was a lightweight quilting cotton, not a fine silk. I feared the finished costume would look more like a prairie dress, rather than the sophisticated French gown it was meant to be.
Blue Floral Calico
I considered using fabric markers or embroidery to create my own floral-stripes, but dismissed them as being too time-consuming. There simply was no easy way for me to get the fabric I needed. Not unless I made my own.
Enter Spoonflower, a website that allows you to upload your own fabric designs, which they’ll print for you
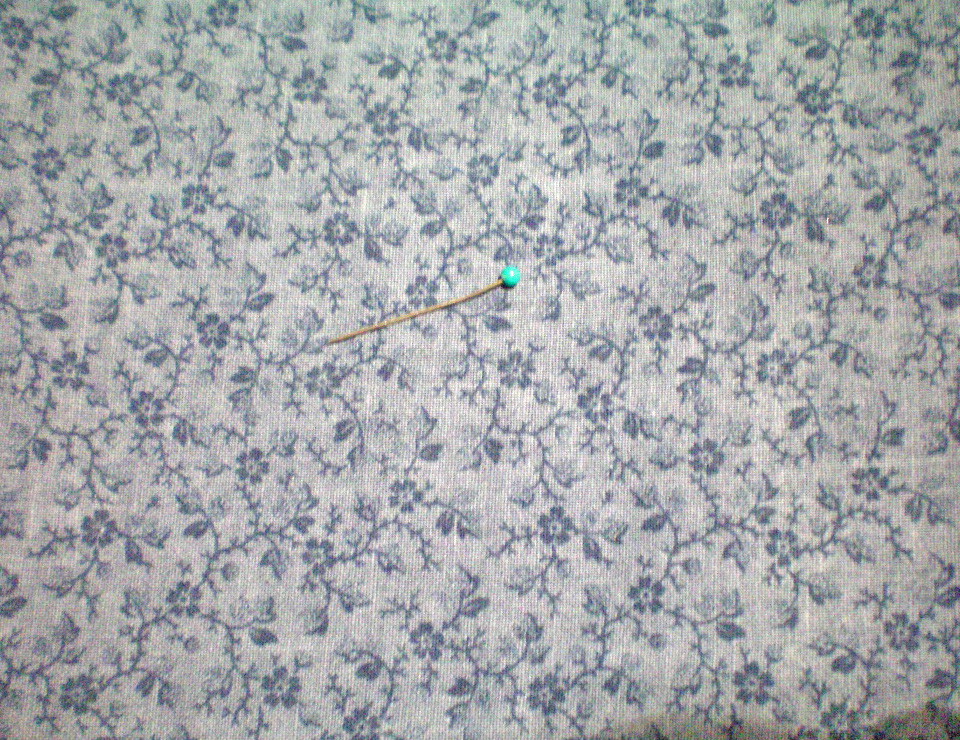
I happened to have a good photo of the costume’s floral-striped silk, thanks to Anéa, who owns one of the original costumes.
Original Wishing Dress Fabric (Courtesy of Anéa)
It wouldn’t be ethical to copy the fabric exactly, so I set about creating something similar, but which would have obvious differences up close.
For my first attempt, I drew an 8″ x 8″ sample of how I wanted the fabric to look. Because of the small scale, I simplified the design considerably.
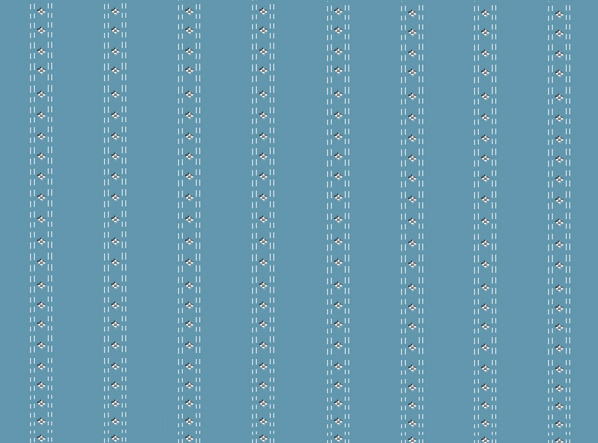
Creating the Stripes
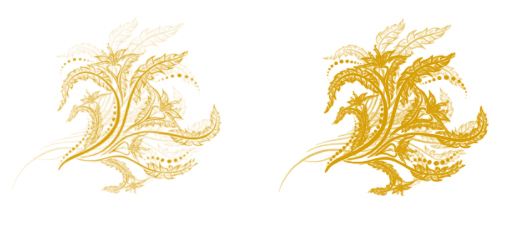
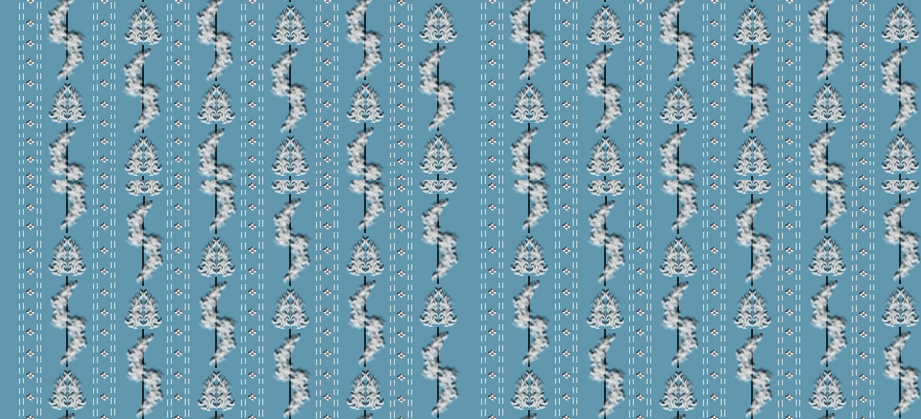
Once I had the stripes, I used an ornament brush set (created by XResch at deviantART) to make the floral clusters and vines. For the vines, I chose a twisted S-shaped pattern, and for the floral cluster, a bushy triangular shape. To get the shadowed black & white effect, I created the design first in black, then overlaid it with white.
Ornament Brushes
(Created by XResch)
The finished 8″ x 8″ sample looked fantastic. The trouble was, it wasn’t precisely drawn. Instead of using the ruler feature to make sure each motif was equally spaced, as I should have done, I merely eyeballed the placement. This meant the finished elements didn’t line up. When it was tiled, there were visible discrepancies: gaps between stripes, cropped and overlapped floral segments, and so forth.
Example of Bad Tiling
Since I intended this fabric for a doll costume, it’s possible I could have cut around the discrepancies. But the skirt needed large panels, and I didn’t want to risk having visible flaws in my final garment.
It took me hours to create the original 8″ x 8″ sample, with all its imperfections. The prospect of redoing the fabric design so it could be tiled overwhelmed me! How to ensure the edges line up? I did some research into fabric design, but I didn’t find much to help my particular situation.
Here’s a tip: When you’re faced with a problem you can’t solve, take a few days off and let the issue simmer in the back of your mind. Often, your subconscious will solve the problem for you. That’s what I did, and after several days, I had an epiphany.
Spoonflower will automatically tile the fabric design. That means you only need a single tile, not a whole swatch. Instead of making an 8″ x 8″ sample of the fabric design, I only needed to draw a small, individual motif that would be replicated to form the complete design. I worried that it would still prove difficult to match the edges together, but to my surprise it was relatively easy. I just had to make sure that the floral design stopped before the edges, and that the stripes lined up so the tiles above and below continued the design.
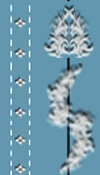
A Single Tile
I did a sample in Photoshop Elements, just to make sure the image would tile properly. To my relief, it joined together seamlessly.
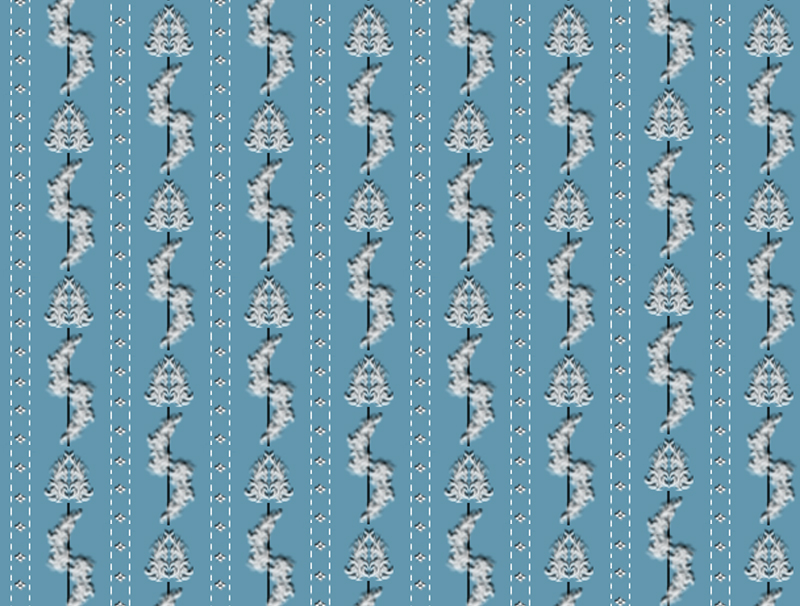
Tiled & Half-Dropped
The only thing left that worried me was the color. The real costume is dyed silk, which changes color dramatically depending on the lighting. Photos of the dress range in color from slate-blue to turquoise to royal blue. I made a few samples in different colors, to see which I preferred.
In the image below, the second tile is the original. On the far left, I shifted the color more blue. On the right, I shifted the color more green. The one at the far right is the same hue as the original tile, but with a higher saturation rate, so it’s a little more vibrant. That’s the one I ended up choosing.
Color Swatches
1. More Blue; 2. Original; 3. More Green; 4. More Vibrant
Ordering My Fabric
A swatch from Spoonflower is $5. They strongly recommend that you order a swatch, just to be sure everything is correct before you invest in a lot of yardage. Of course, I didn’t need more than a single yard for my doll costume, but since the fabric I chose was $27/yd, I decided to buy the swatch anyway, just to be sure everything worked.
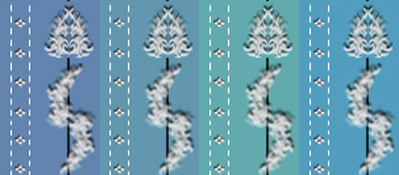
It’s a good thing I did! When my fabric swatch arrived, I learned two key facts.
First, my monitor and ink jet printer are not calibrated anywhere close to Spoonflower‘s printers. My fabric was supposed to be a rich blue, but it turned out an extremely vivid turquoise, considerably brighter than I wanted. This vibrancy doesn’t show up as well in the photo below, but you can still see the color difference. My printed sample is on top, while the actual fabric is on the bottom.
Original Image (top) vs Fabric Swatch (Bottom)
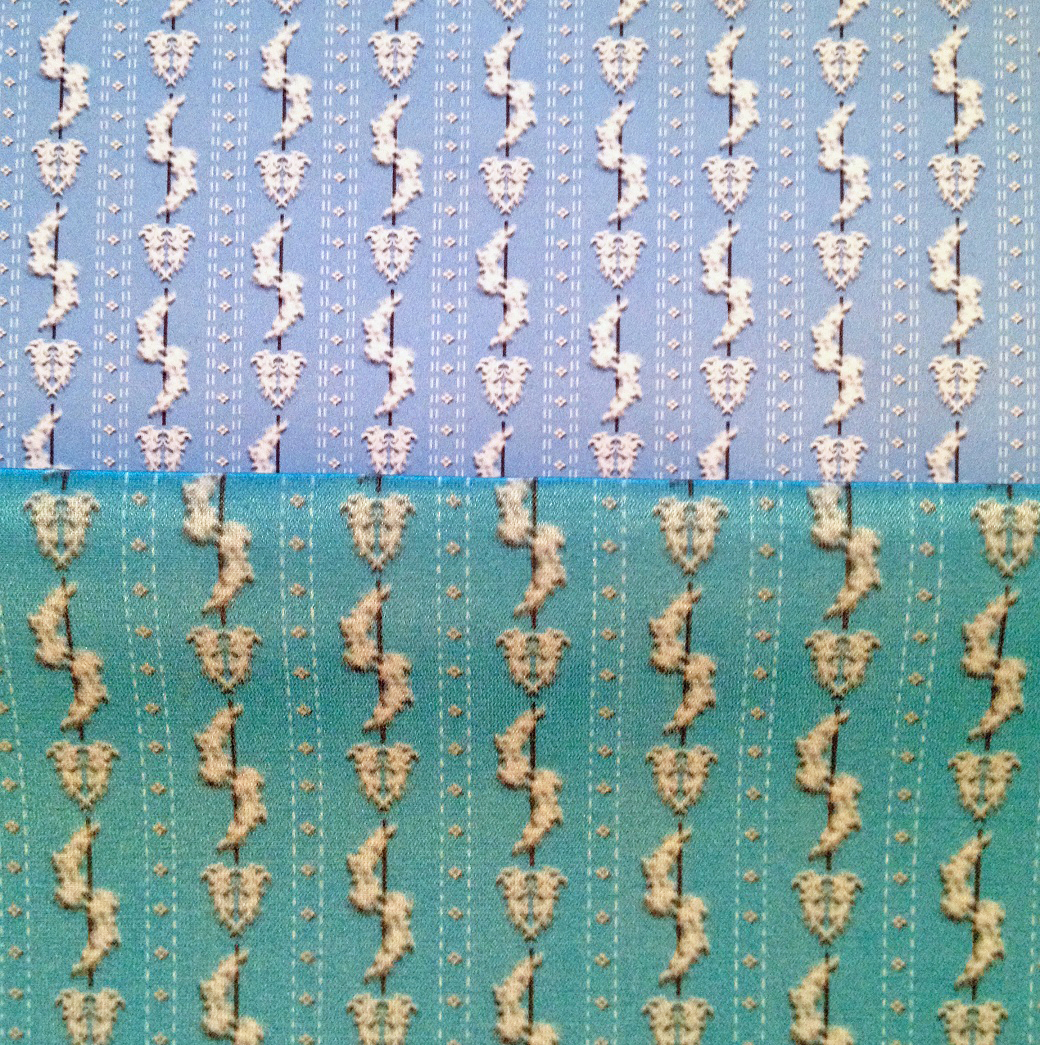
The second thing I learned is that, with certain fabrics, ink will wick when it’s printed. This means your design will blur around the edges. If you’ll be ordering sateen, silk/cotton, crepe de chine, or any fabric with a sheen to it, it’s best to limit yourself to a design that doesn’t require sharply defined edges. You’ll do better with loose florals, abstract watercolors, and faux ombré dip-dyeing. If you must try something with a detailed pattern, try sharpening your image using your graphics software and order a swatch to see if that helps counteract the blurriness.

Closeup of Blurry Fabric Motifs
After adjusting the color and sharpening the image, I ordered another swatch. This time, I was pleased with how it turned out. It’s still slightly blurry, but the color is less saturated and much closer in hue to what I wanted. It’ll do fine for the doll’s costume!
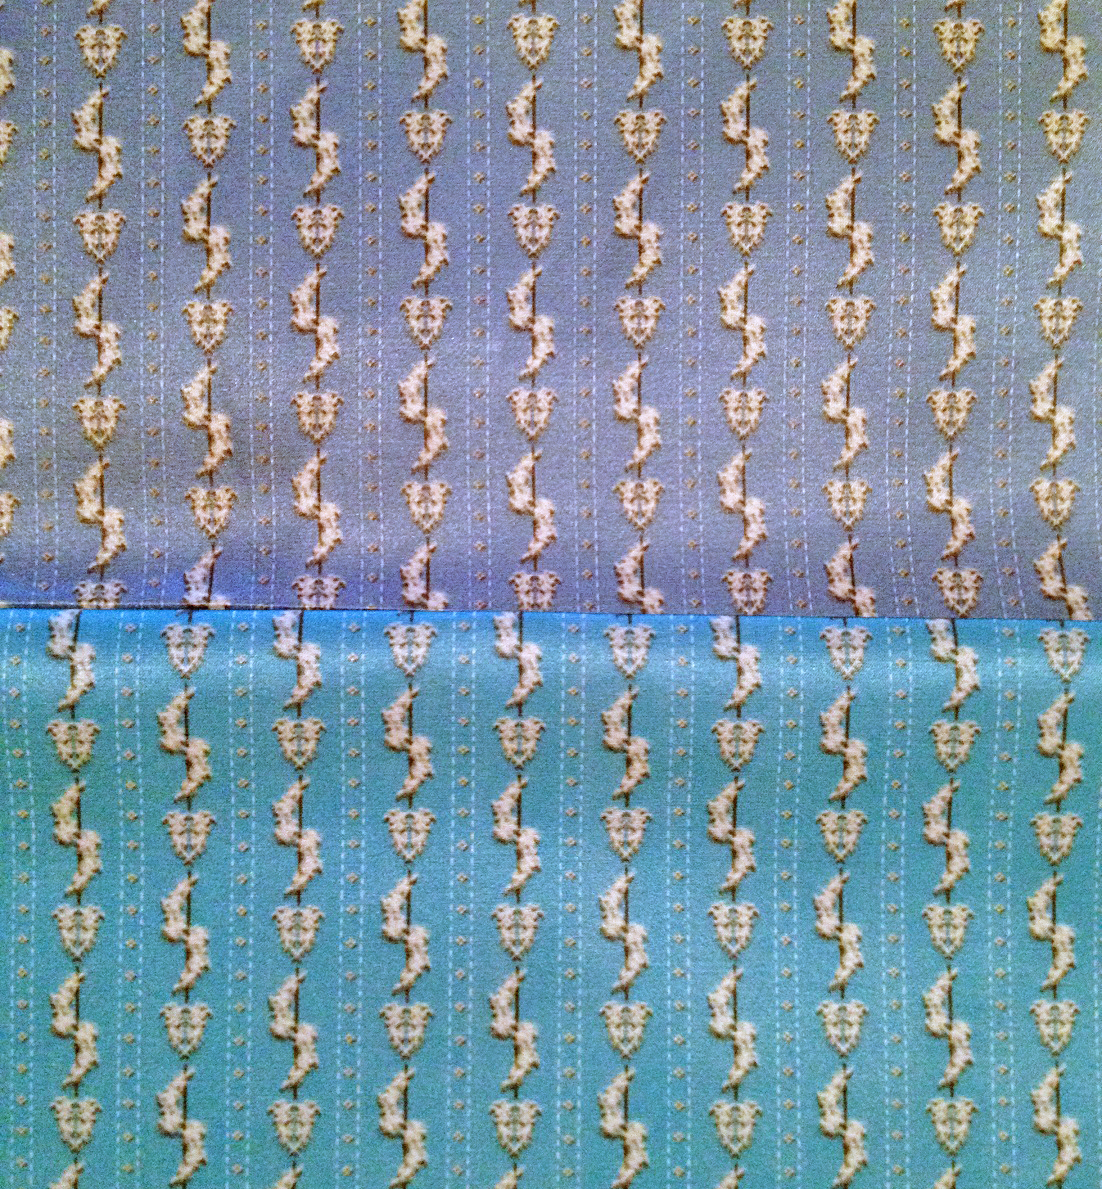
First Swatch (bottom) vs Final Swatch (top)
Conclusion
Printing your own fabric is a rewarding task, but one that requires extreme patience. Don’t be distressed if your first few attempts are different from what you’d imagined. Even experienced fabric designers encounter problems with color-matching, wicking, and tiling. If you’re willing to practice and refine your skills, especially when it comes to creating complex designs, you’ll soon be able to print the fabric of your dreams.
Just be warned—creating your own fabrics is addictive!
~~*~~
(This article was previously published at Your Wardrobe Unlock’d.)
Looking for more articles? Try our Basics menu for lots of beginner-friendly sewing tips. More advanced help can be found under Tutorials and Articles.
Pingback: Designing Custom Fabric | Yesterday's Thimble