Tuesday’s Tips & Tricks
Sewing Machine Maintenance
If you own your own sewing machine, you need to take proper care of it. This means knowing how to clean and oil it regularly. There are some newer models that don’t require oiling—indeed, that should not be oiled—so be sure and check your manual.
One precaution you can take is to always keep your machine covered when it’s not in use. You can buy specially-fitted covers, or you can make your own. Alternatively, you can just drape a piece of muslin over it, something large enough to cover the entire machine and keep dust out. Your machine will still need to be cleaned and oiled, but a cover will help keep it clean longer.
How Often?
Do a thorough cleaning and oiling at least once a week, if you’re sewing daily. If you wait a long time between sewing sessions, clean and oil your machine before using it again. Sometimes you can tell when it’s time to oil, because the sound of your machine’s motor will change. If you pay attention, the shift in sound can warn you that it’s time to oil.
Cleaning
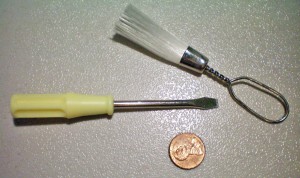
When you’re ready to clean and oil your machine, you’ll need to find the screwdriver that came with it. Many machines come with a small pouch that holds the extra presser feet, needles, and other tools. This is where I keep my screwdriver. It fits into a small compartment in the front of the machine. I’ve also found that a penny works well to unscrew the throat plate of my machine, so I keep one in the pouch with the screwdriver. Some machines may also come with a small cleaning brush, but I don’t find these very effective.
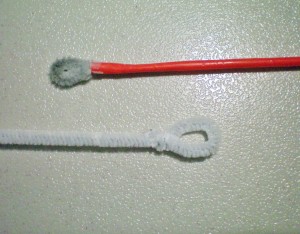
A great little tool that helps me clean is a standard pipe-cleaner or chenille stem. You can loop the end and twist it, creating a wand that will fit into the crevices of your machine. To stabilize the wand, slip a narrow coffee-straw over it and wrap a piece of tape around the edge to keep it in place. Once the loop is filthy, you can snip it off with a pair of scissors and re-loop the end, creating a new, fresh cleaning wand.
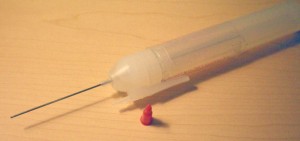
For oiling, only use sewing machine oil. Regular machine oil may be unsuitable, so purchase a small bottle of oil from your fabric store. I’ve had mine for nine years and there’s still plenty left, so it’s a good investment. (Your mileage may vary, of course, depending on how frequently you oil your machine.)
First, be sure your machine is turned off. You might even unplug it, just to be sure you don’t have any accidents. Then, remove the bobbin casing. This may vary between machines, but in mine, you flip open the bobbin hatch, then pivot the arms aside, and pull out the bobbin and its casing. Once they’re removed, use your cleaning wand to dust the bobbin area thoroughly. Add a drop or two of oil to the moving parts, then reassemble everything.
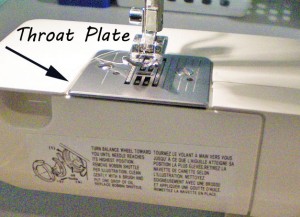
The throat plate is the metal plate beneath your presser foot, where the feed dogs come up. Use a penny to unscrew the throat plate and dust around the feed dogs, then put the plate back and screw it in place.
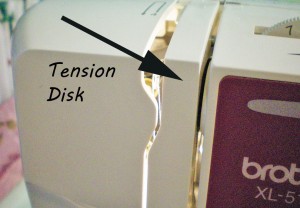
Using a scrap of muslin or broadcloth, gently clean your tension disks. Slide the fabric between the disks, where your thread goes. You may be surprised at how much lint gets trapped in there.
Now comes the tricky part. You need to open up your machine. Check your manual for directions. With mine, there’s a single screw that holds the end piece on. With the screw removed, the end of the machine case pulls right off.
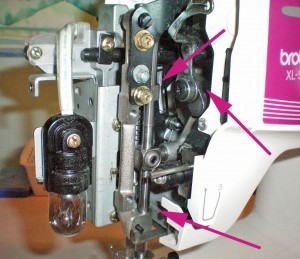
Using your cleaning wand, carefully dust inside your machine. Mine tends to collect black goo around the shafts, along with dust everywhere else.
Once it’s been cleaned, you need to oil your machine. Typically, the oil goes anywhere that metal rubs against metal. Slowly turn your hand-wheel and watch the moving parts within your machine to see which ones rub against each other. Place a drop or two of oil at these locations. You don’t need to use much oil, so be frugal with it.
Now, reassemble your machine, plug it back in, and turn it on. Starting slowly, press on the foot pedal. Increase your speed until you’re going at full throttle, then ease back. This allows the oil to work its way into the machinery where it’s needed. Finally, take a scrap of fabric and sew several rows of stitching. This cleans away any oil that might be on your throat plate or needle assembly, so that you won’t get grease on your next project.
~~*~~
How often do you clean and oil your machine? Do you have any tips you’d like to share?

