Wednesday’s Project
Pincushions
While writing an article, I needed to research how to make your own pincushions. In so doing, I came across Martha Stewart’s Homegrown Tomatoes. How adorable! I had to try making my own. They looked ridiculously easy, and I had plenty of fabric scraps, so I glanced at the directions, then set off and altered them to suit me.
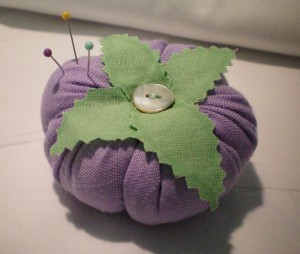
My sewing room is decorated with aqua, lavender, blue, and green and I wanted the pincushion to coordinate, so I took a scrap of lavender faux linen (rayon-poly blend) and a scrap of green Kona cotton. The colors looked pretty together, so I decided the lavender would be my tomato and the green would be the leaves on top.
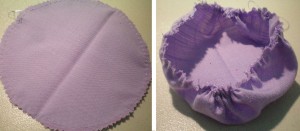
First, I cut a circle, using pinking shears. I hand stitched a running stitch around the edge of the circle, then gathered it up about halfway.
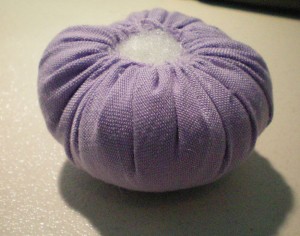
Next, I stuffed the tomato full of polyfill, gathered the edges tight, then stuffed it some more. The edges wouldn’t meet, which left a gap on top of the tomato about an inch across. This would eventually be covered by the leaves, so I pulled it as tight as I could and didn’t worry about it.
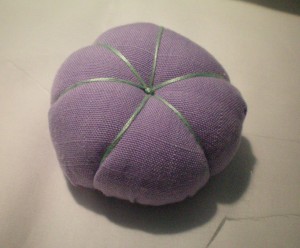
To make the segments, I used mint green embroidery floss. I cut a long piece, threaded it through a large tapestry needle, then knotted one end several times, as I needed to be sure the knot wouldn’t slip through the loose weave of the fabric. I jabbed the tapestry needle through the opening in the tomato and out the bottom, then wrapped it snugly around and back into the top. Once I’d created all the segments, I knotted the thread securely and pulled it through the center one last time.
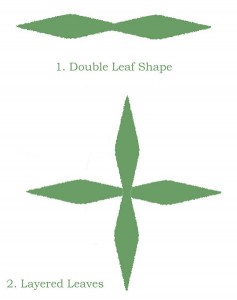
I then took the green Kona cotton and cut two propeller shapes from it with pinking shears. Each one represented a double leaf. I sealed the edges with Fray Check® to be sure they wouldn’t ravel, then layered both pieces on top of each other, angled to create a cross or starburst shape.
Using the same embroidery floss, I stitched the leaves to the pincushion. The thread went all the way through the center of the pincushion and out the bottom, then back up to the top. The pressure of the thread pulled through the whole pincushion tugged on the leaves at the center, giving them a realistic curve.
Finally, I sewed a button to the center of the leaves, to hide the stitching and give the pincushion a bit of charm. I chose a flat shell button because the iridescence picked up the lavender and green of the pincushion. The end result is about three inches across, about an inch tall, and somewhat lumpy. It’s absolutely adorable! I’ve promised pincushions to several of my friends, but I haven’t got around to making them yet.
~~*~~
Have you made a pincushion for yourself? How did it turn out?

