
by Lisha Vidler
This article first appeared at Foundations Revealed
Please click on any photo to view it full-sized.
Silk ribbon embroidery is an age-old technique that can be used to add embellishment to any number of modern garments and décor elements: evening gowns, lingerie, and throw pillows, just to name a few possibilities. It’s great for historic costuming, too. It will add feminine charm to undergarments, a Victorian handbag, a baby’s cap, or a pair of formal slippers. You’re not limited to the Victorian era: Rococo aprons often used floral embroidery, as did Regency ballgowns.
It’s easy to learn, the supplies are not expensive, and you can finish your project considerably faster than with traditional embroidery. Why not give it a try?

Example of Silk Ribbon Embroidery
To whet your appetite, here’s a few examples of antique garments that incorporate ribbon embroidery.
- Doucet Ballgown, 1902
- Doucet Evening Gown, 1902
- Evening Shoes, 1875-1885
- French Robe & Petticoat, 1775-1780
- Evening Dress, 1807-1811
- Young Girl’s Dress
Materials
Before you begin, you’ll need to gather a few supplies.
- Silk Ribbon
- Fabric
- Pattern
- Needles
- Embroidery Hoop (optional)
- Embroidery Floss
- Transfer Method
-
Online Sources
Ribbon: While you can use other kinds of ribbon, it’s best to work with silk. It’s lightweight and fluid, lending itself well to embroidery. Silk ribbon comes in several widths; the most common sizes are 2mm, 4mm, 7mm, and 13mm. To give you an example of what the different sizes are useful for, 7mm is often used for large flowers, 4mm is good for smaller flower petals and leaves, and 2mm works for tiny details, such as flower buds and stamens, monograms, or a delicate border.

Silk Embroidery Ribbon
Fabric: Every artist needs a canvas. In this case, most woven or knit fabrics will work. It’s not a bad idea to make a test sample first, just to verify the fabric is appropriate. It should be woven tightly enough to hold the ribbon secure, but not so tight that the silk is ruined by being drawn through it.
If you want to embroider a garment that will need frequent laundering, or an object that’s not easy to sew, such as a pair of shoes, consider working the embroidery on a separate piece that can be basted, pinned, or glued in place. Crinoline, horsehair, or heavy interfacing can work as a backing to support the embroidery.
Pattern: While it’s possible to embroider freehand, most people need a guide to follow. Lots of free patterns are available online, or you can purchase a pattern, or even draw your own. (More on patterns in a minute.)
Needles: For knit fabrics, you’ll need a tapestry needle, which has a blunt tip that won’t snag. For woven fabrics, chenille needles work best, since they have large eyes to hold the ribbon.
The higher the number, the smaller the needle is—and the smaller the ribbon it should be used with. Your needle should be large enough to punch a hole in the fabric for the ribbon to pass through, but not so large that it leaves a bigger hole than necessary. If you have difficulty pulling the ribbon through the fabric, or if the silk develops a run, try a larger needle.
-
Ribbon Size Needle Size 2 mm 24 4 mm 22 7 mm 20 13 mm 18
When working with embroidery floss, switch to a smaller needle.
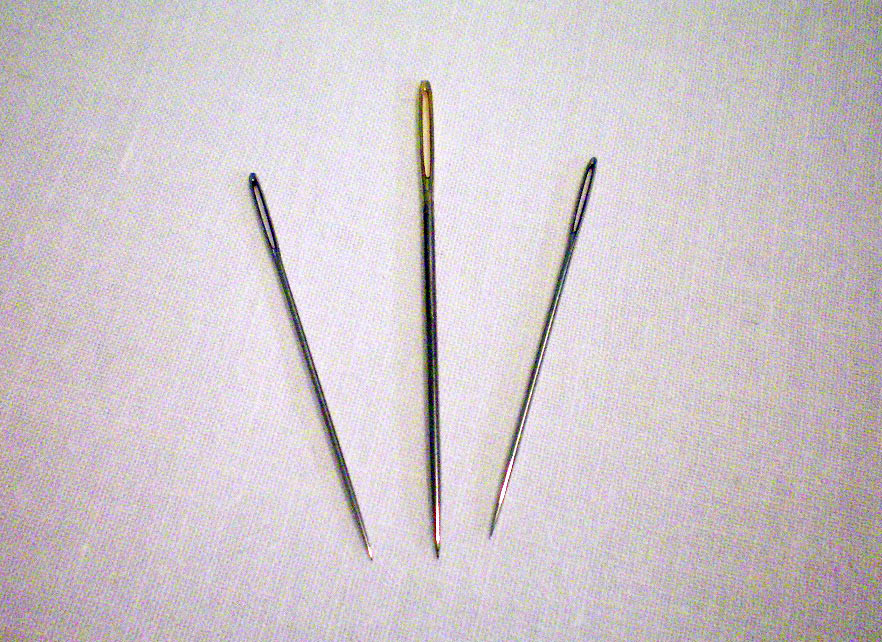
A Variety of Embroidery Needles
Embroidery Hoop: With most embroidery work, you need a hoop to hold your fabric taut. Not everyone uses a hoop for silk ribbon embroidery, but you can. Choose a hoop size that’s larger than your embroidery design, so you don’t have to move it and risk crushing what you’ve already embroidered.
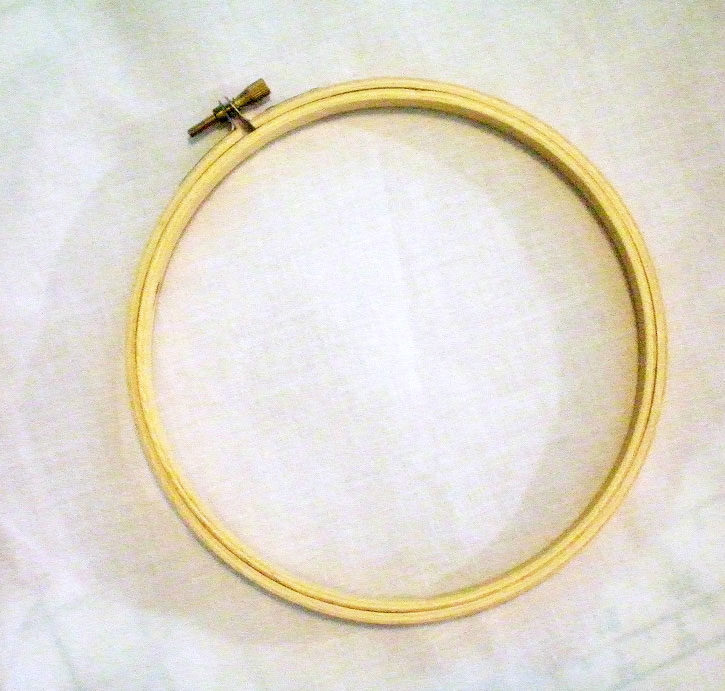
Embroidery Hoop
Embroidery Floss: Some designs call for embroidery floss. For example, you might want to couch the ribbon, or gather it, or stitch it onto the fabric. In these cases, use floss that closely matches the color of your ribbon.
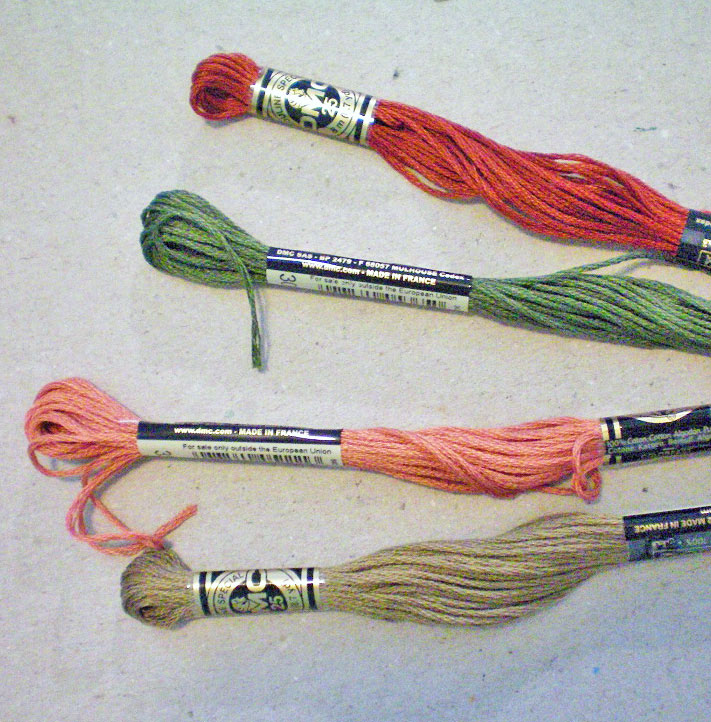
Embroidery Floss
Transfer Supplies: If you’re using a pattern, you’ll need a way to transfer the design onto your fabric. There are several options, which we’ll discuss in a moment.
Preparation
Pre-wash your fabric and your silk ribbons, but do so separately, in case the silk is not colorfast and bleeds when wet. Another reason to pre-wash is to shrink your ribbon. Let me clarify: silk does not shrink, per se—that is, the silk fibers will not shrink as cotton or wool tends to do; however, the weave can tighten, which will reduce the size of the ribbon. If you don’t pre-wash, this shrinkage will happen the first time you wash your embroidery project, which may distort your work.
Silk becomes extremely fragile when wet, so be gentle when washing it. Some recommend using baby shampoo, rather than soap or detergent. Shampoo is designed for cleaning natural protein fibers, which is what silk is, so it’s an ideal cleanser.
- Fill your sink with four to six inches of water. Add a dollop of shampoo and make sure it’s fully dissolved before you add the ribbon.
- Place one length of ribbon in the water and let it soak for a minute. Use your fingers to agitate the water, swishing the ribbon around.
- Remove the ribbon from the water—but do not squeeze or wring it. Drain the water and rinse the sink of all shampoo residue, then fill it with clean water.
- Drop the ribbon back in the water and agitate it with your fingers to get all the shampoo out. Repeat, if necessary, draining the sink and adding clean water, until the water remains clear.
- Sandwich the wet ribbon between several layers of white paper towels and press gently with your hands to remove excess water. Again, never squeeze or wring the ribbons! If a great deal of dye stains the paper towels, wash the ribbon again.
- Either lay the ribbon flat or drape it over a hanger and allow it to air-dry.
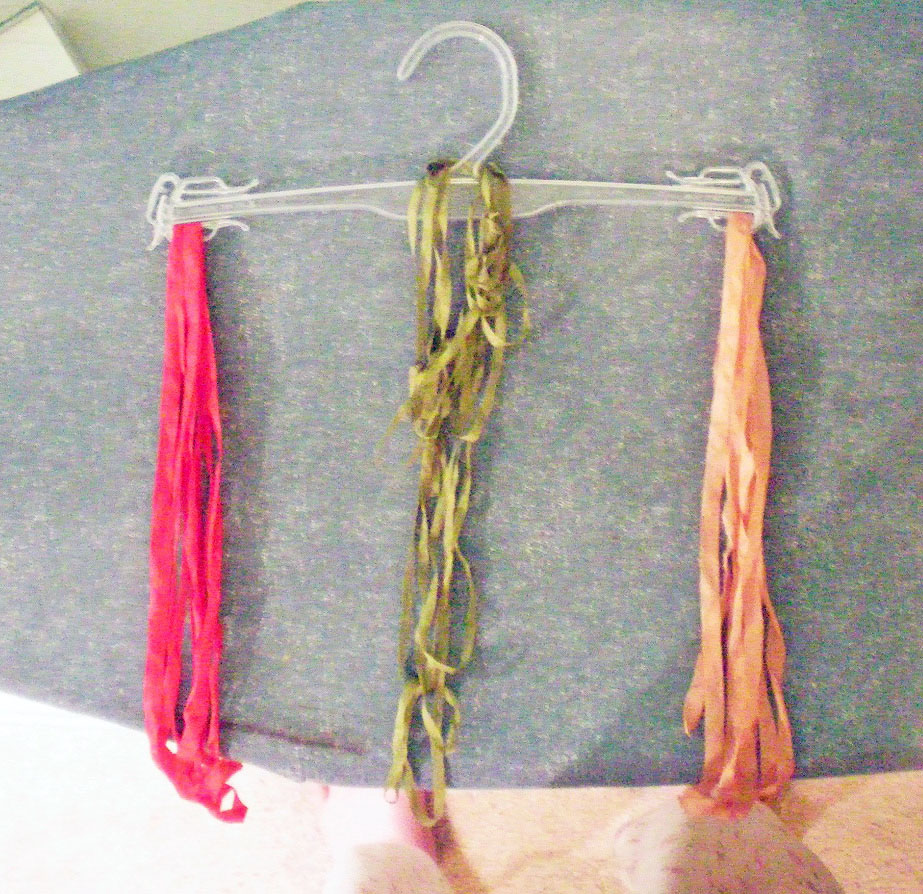
Air-Drying Ribbon
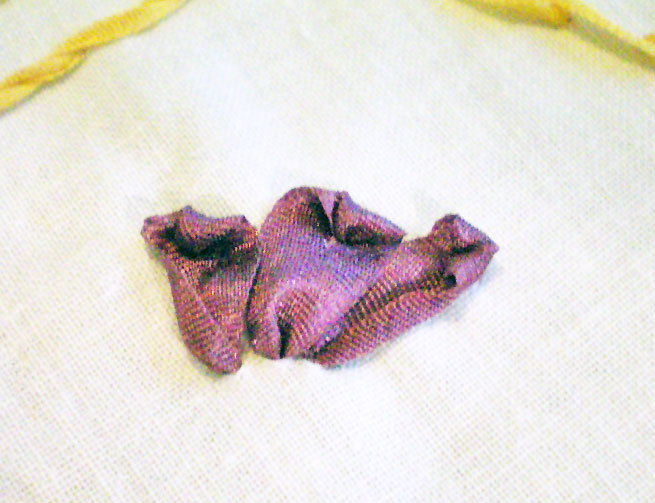
Once your ribbon is dry, you’ll need to press it. This will not only remove the wrinkles, but it will soften the silk, making it easier to embroider with. Melissa of Honey Bee’s Bliss teaches a quick and easy method for pressing your silk ribbon: pull the ribbon underneath a warm iron. It’s much faster than pressing the ribbon in a traditional manner.
Set your iron to its lowest setting. While it’s heating, use your fingers to gently untangle the length of ribbon. Loosely wind it into a mass about the size of your hand. Place it on the ironing board and lightly spritz with water, then flip the ribbon over and spritz it again. It will look tangled again, but don’t worry, it really isn’t.
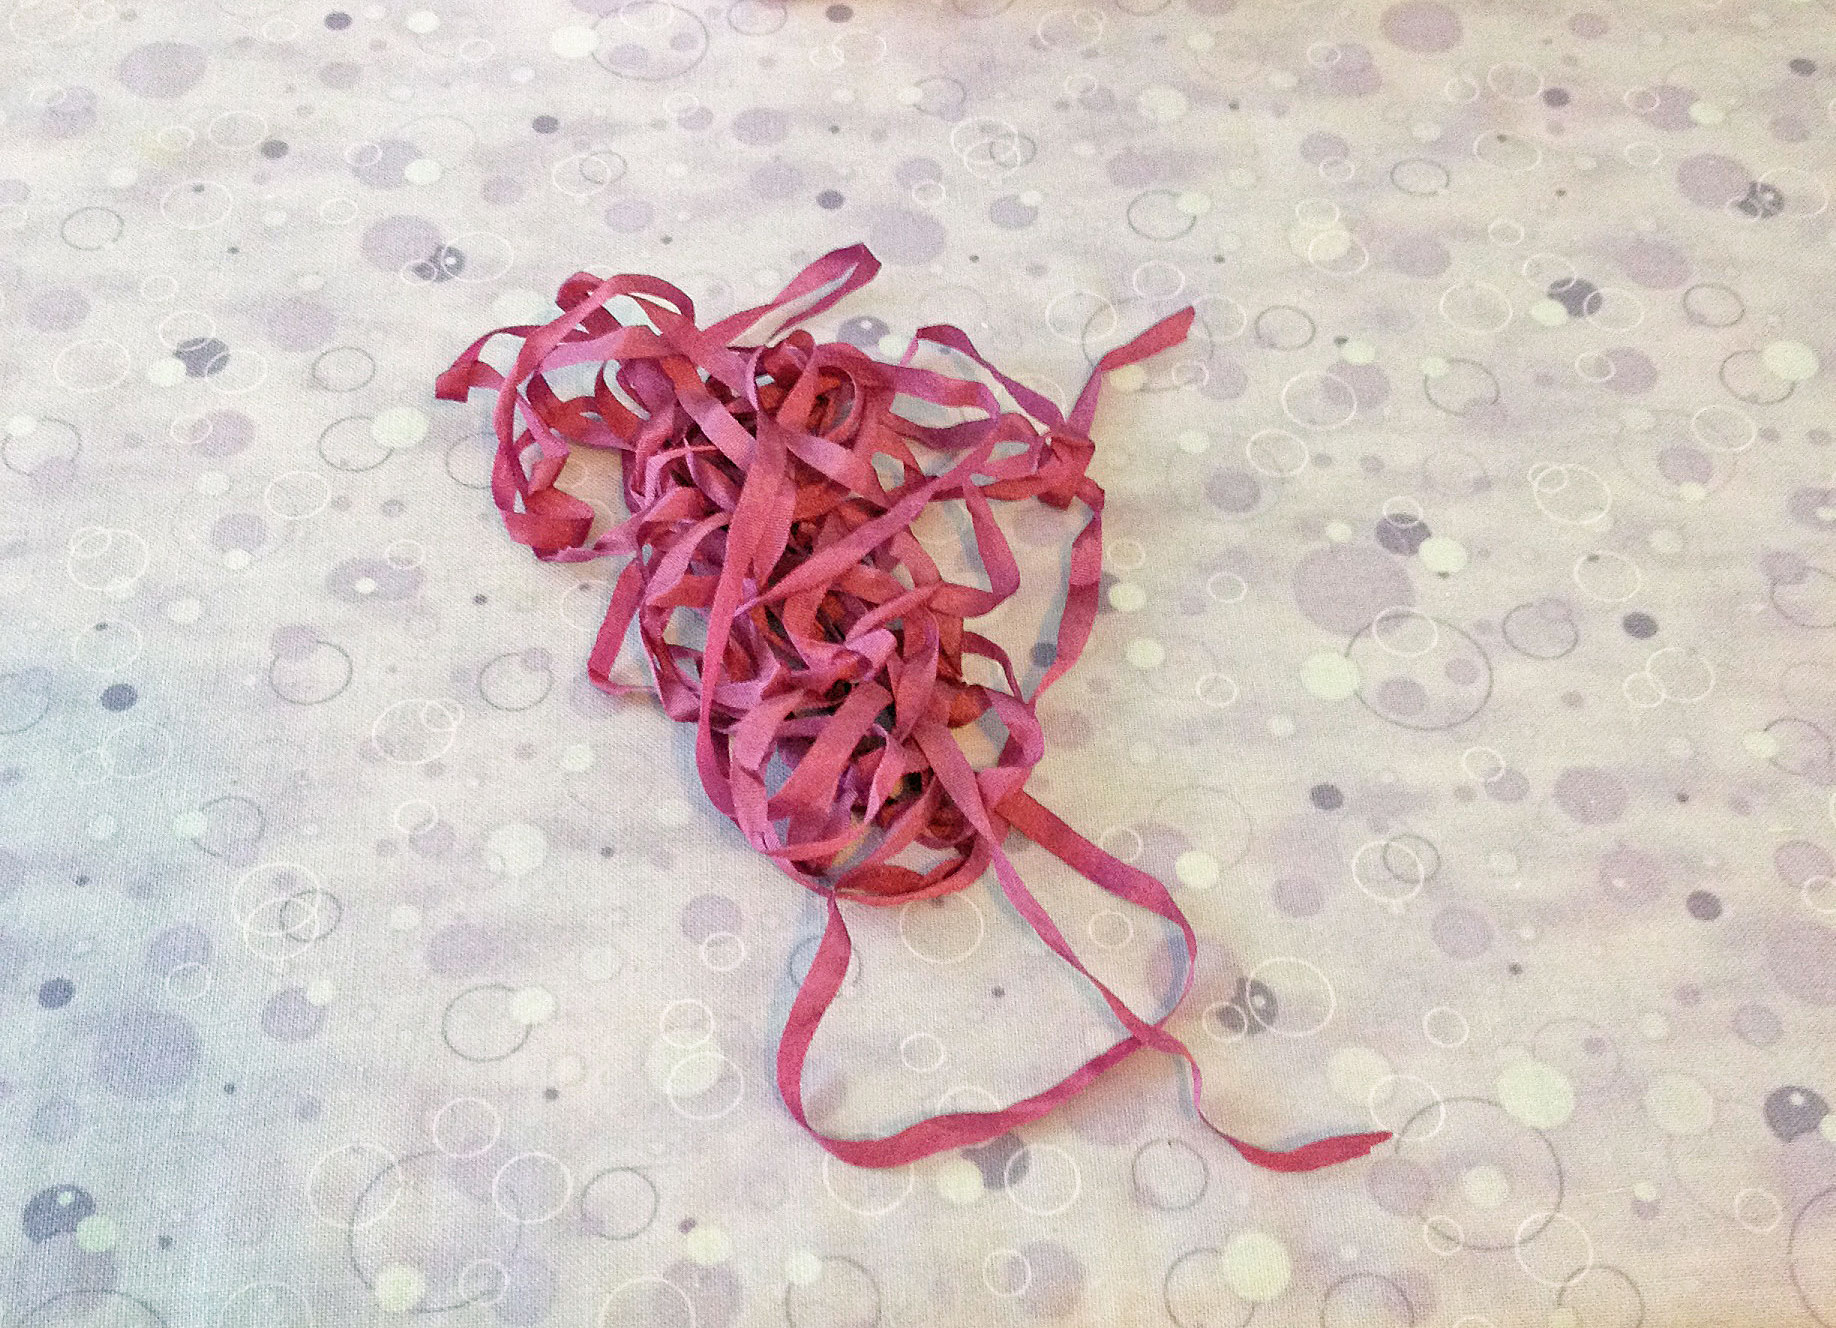
Loosely Wound Ribbon
Place the ribbon near the back edge of your ironing board. If you’re right-handed, it’ll be easier if you put it behind the iron, toward the right; if you’re left-handed, it might be easier if it’s on the left.
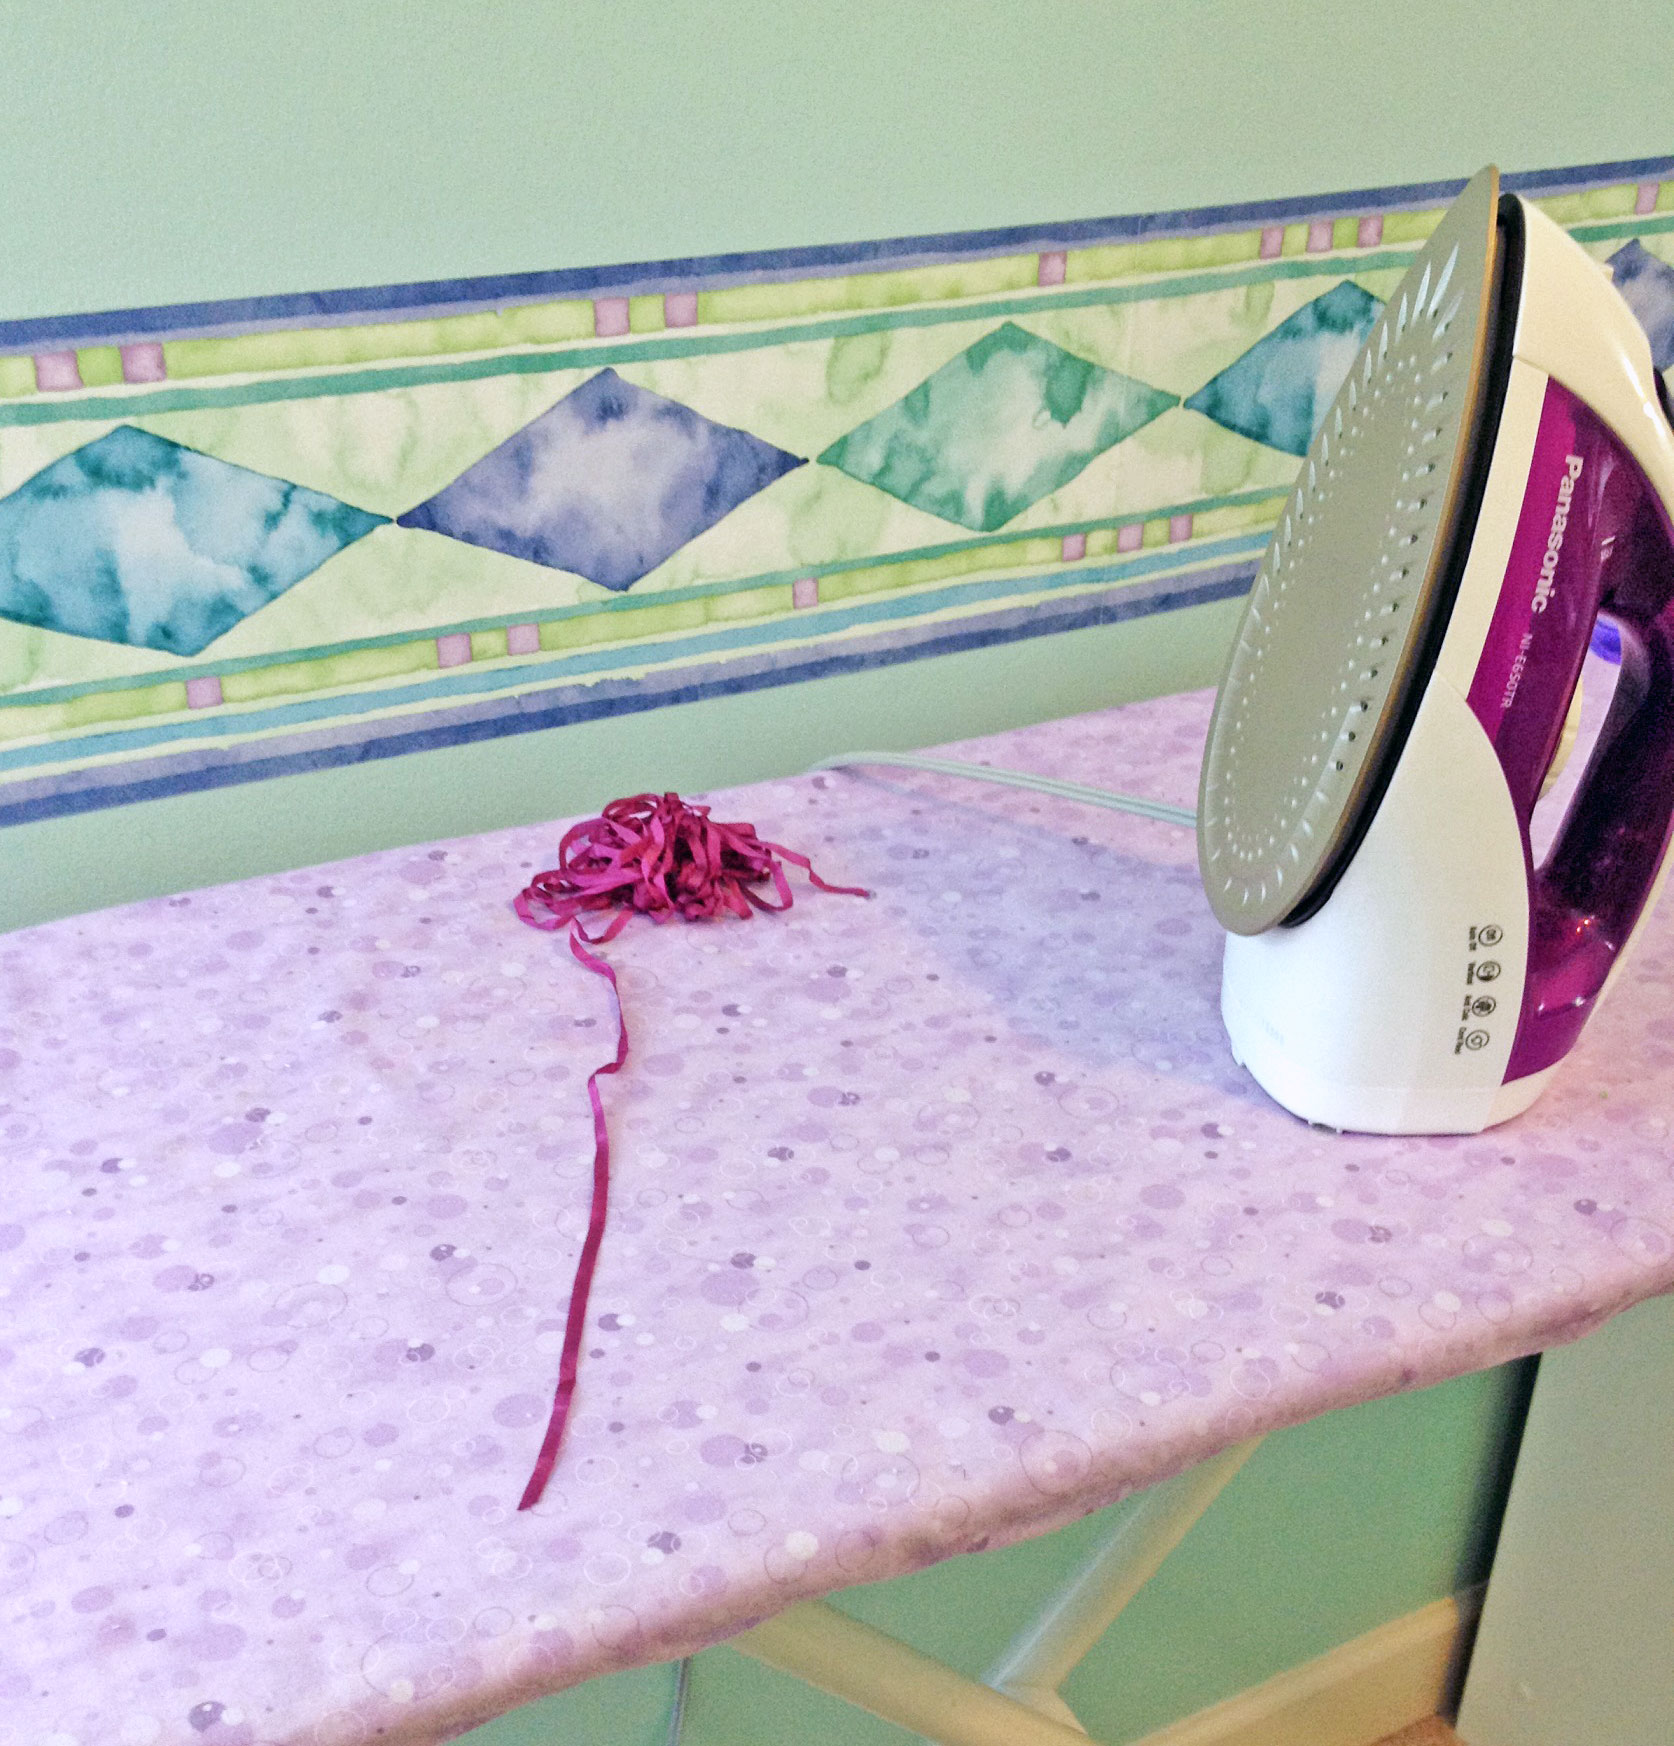
Ribbon Placement
Press the first few inches of ribbon in a normal fashion. Then lay the iron directly on the flattened ribbon and pull the ribbon toward you, so it slides underneath the iron. There’s a bit of a trick to this—don’t pull upwards, causing the ribbon to rub against the rim of the iron, as this will stress the silk.
You don’t want to press any creases into the ribbon, so make sure it isn’t twisted when it reaches the iron. The easiest way to do this is to gently pinch the ribbon, pulling it through your fingertips. In other words, hold onto the ribbon on both sides of the iron, pulling it toward you, so it passes beneath the iron without twisting.

Pinching the Silk Ribbon
Once your ribbon is ironed, wind it loosely around the spool it came on, or around a small piece of cardboard. This will keep it from tangling when you store it. Don’t wind it too tightly or the ribbon may be distorted. Cardboard spools will cause the ribbon to crease at the edges, which is normal, but means you’ll have to iron the ribbon again, right before you begin embroidering with it.
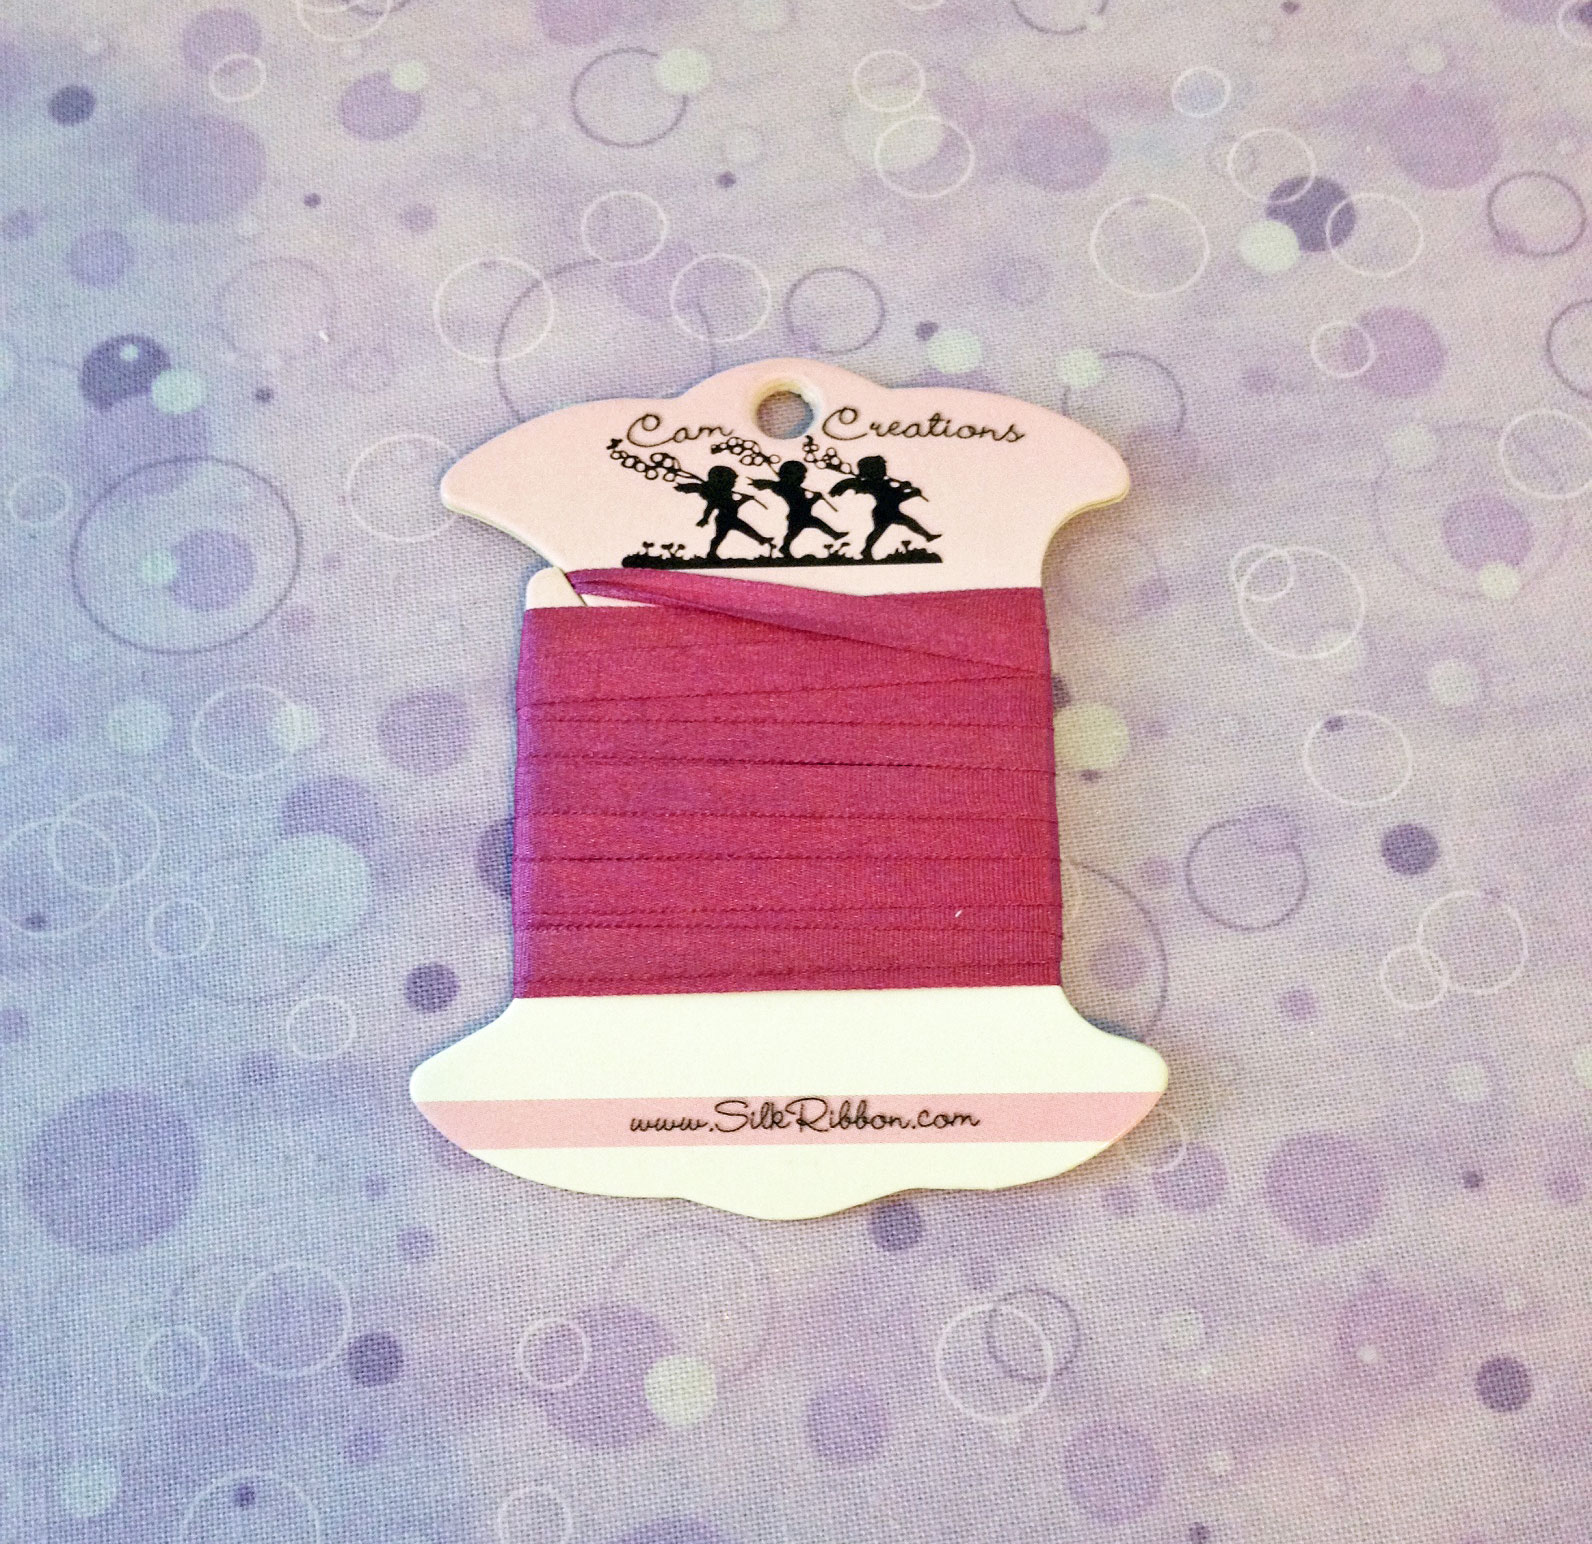
Spool of Ribbon
Pattern Design
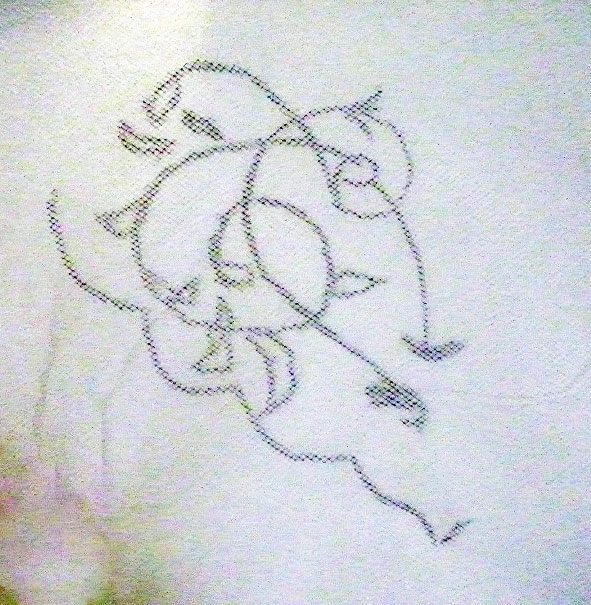
Now your ribbon is ready, but unless you choose to embroider freehand, you’re going to need a pattern to follow. If your design is complex, with a wide variety of stitches and colors, consider creating two patterns: one that’s a basic sketch or outline of your design, and a second pattern that includes symbols to represent each kind of stitch and color of ribbon used. The sketch is what you’ll transfer onto your fabric and embroider over, while the second pattern serves as a guide to remind you what stitches and colors to use.
Free Pattern Design from “Needle ‘n Thread”
If you’re creatively inclined, you can make your own patterns. When designing a pattern, keep in mind that flowers and leaves look better in clusters of odd numbers. You don’t want perfect symmetry, as this tends to bore the eye. Instead, keep things off-balance. It may seem strange, but it’s visually appealing.
-
Celtic Knots
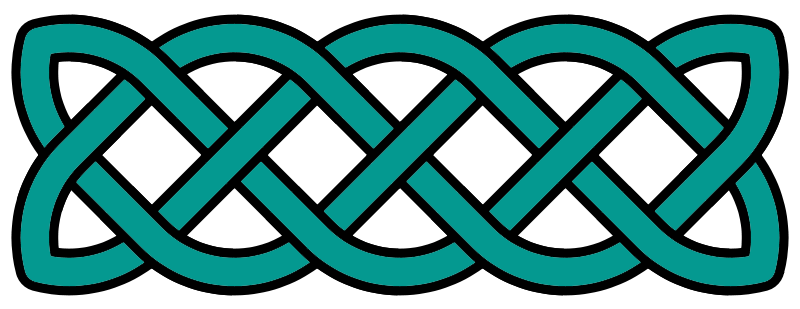
Celtic knots make beautiful embroidery motifs. There are many books on the subject of creating Celtic knots, as well as websites that offer free instruction. You can also find free designs to copy or trace.
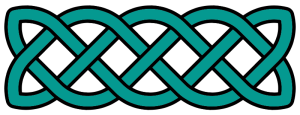
Celtic Knot
If drawing doesn’t appeal to you, there are many books and websites that contain embroidery patterns. Another option is to browse libraries of clip art and see if anything catches your eye. Antique fashion magazines, such as Godey’s Lady’s Book, Harper’s Bazar, or La Mode Illustrée often contain embroidery patterns, too. Here’s a few links to get you started.
-
Free Clip Art Free Embroidery Patterns
Embroidery Pattern Books
- Early American Embroidery Designs by Elizabeth M. Townshend
- Victorian Floral Iron-On Transfer Patterns by Claire Bryant
- Garden Flowers Iron-On Transfer Patterns by Claire Bryant
- Ribbon Embroidery With 178 Iron-On Transfers by J. Marsha Michler
(Just so you know, Yesterday’s Thimble is a participant in the Amazon Services LLC Associates Program. Basically, this means if you click a link to an item that Amazon sells, and then buy it, I earn a small fee that helps support this website.)
Fashion Magazine Archives
- Harper’s Bazar, 1867-1900
- Godey’s Lady’s Book, 1855
- Godey’s Lady’s Book1874
- Godey’s Lady’s Book, 1880 (January-June)
- Godey’s Lady’s Book, 1880 (July-December)
Be aware of copyright laws when using designs that are not your own. Regardless of whether you intend to make a profit, you cannot copy someone else’s artwork unless they grant permission for its use. Antique patterns, or ones in the public domain, are copyright-free, but it’s always better to make sure, so you’re not surprised with a lawsuit down the road.
Transferring Your Design
Once you’ve chosen a design, either print it out or draw it on a sheet of paper. Keep the design simple. Don’t include colors or intricate detail. There are several methods you can use to transfer the design to your fabric prior to embroidering. Each has its own advantages and disadvantages, so choose the transfer method that will work best for your project.
- Freehand Drawing
If your design is uncomplicated, you can draw it onto your fabric with a chalk pencil or a fabric pen. To get rid of the ink marks, either wait for air-soluble marks to fade, or spray them with a little water and rub gently.
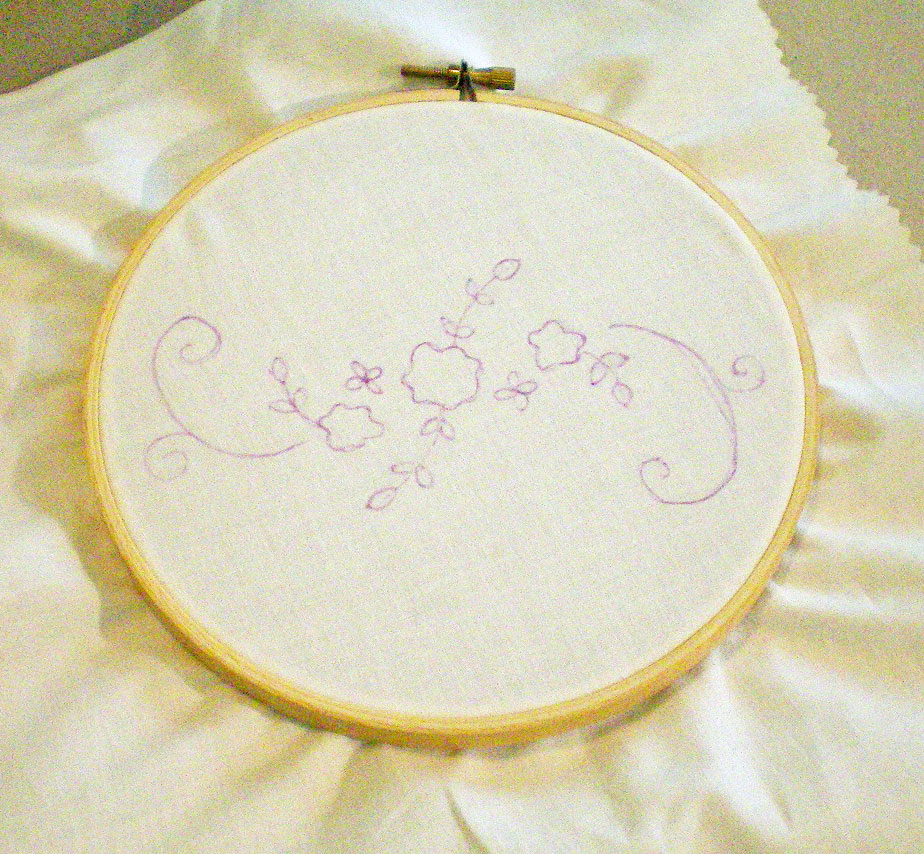
Freehand Drawing
-
Warning: Water-soluble ink can have a chemical reaction with some laundry detergents. When this happens, the marks will turn brown—permanently. To be safe, rinse your fabric with plain water first, only adding a mild detergent once the marks are completely gone.
- Transfer Pen or Pencil
This handy pen or pencil allows you to trace your design and iron it onto your fabric. Print or draw your design on paper first, then flip it over and trace the image on the back of the paper using the transfer pen. To do this, you can tape the paper to a window on a sunny day or use a light-box.
Note: Make sure the design you draw is the reverse of how you actually want it to look, because with the iron-on process, the image will be flipped.
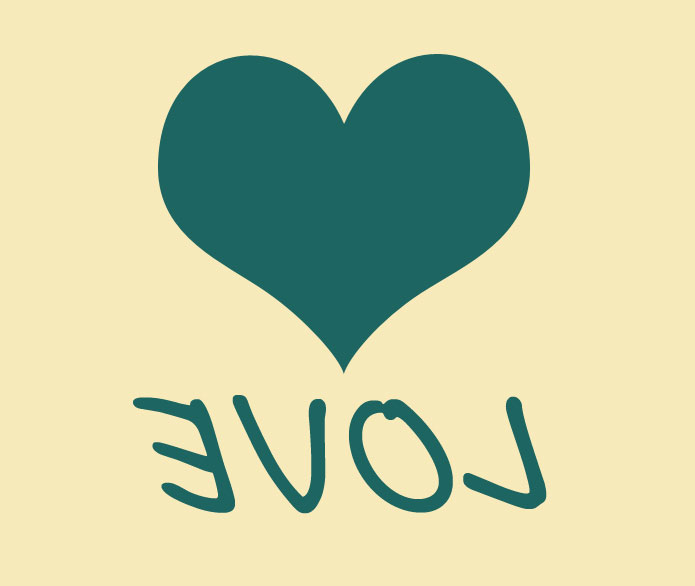
Reversed Pattern Design
- Tulle Tracing
This is a simple method. Print or draw your design on a sheet of paper. Take a piece of white tulle and lay it over your printed design, then carefully trace over it with a black Sharpie or marker. (You might place a sheet of cardboard beneath the paper, so the ink won’t seep through and stain your work surface.) Allow time for the marker to dry, then pin the tulle to your fabric and trace over the design with a fabric pen. Ink will pass through the holes in the tulle, leaving behind a faint image that you can embroider over.
Tulle Tracing
Here are a few more transfer methods you might consider.
- Transfer (Carbon) Paper
- Iron-On Transfer
- Water-Soluble Transfer Paper
- Ink-Jet Fabric
- Direct Tracing
- Thread Tracing
Getting Started
Before you handle the silk ribbon, make sure your hands and fingernails are smooth. Silk snags easily, so keep your hands moisturized and your nails filed.
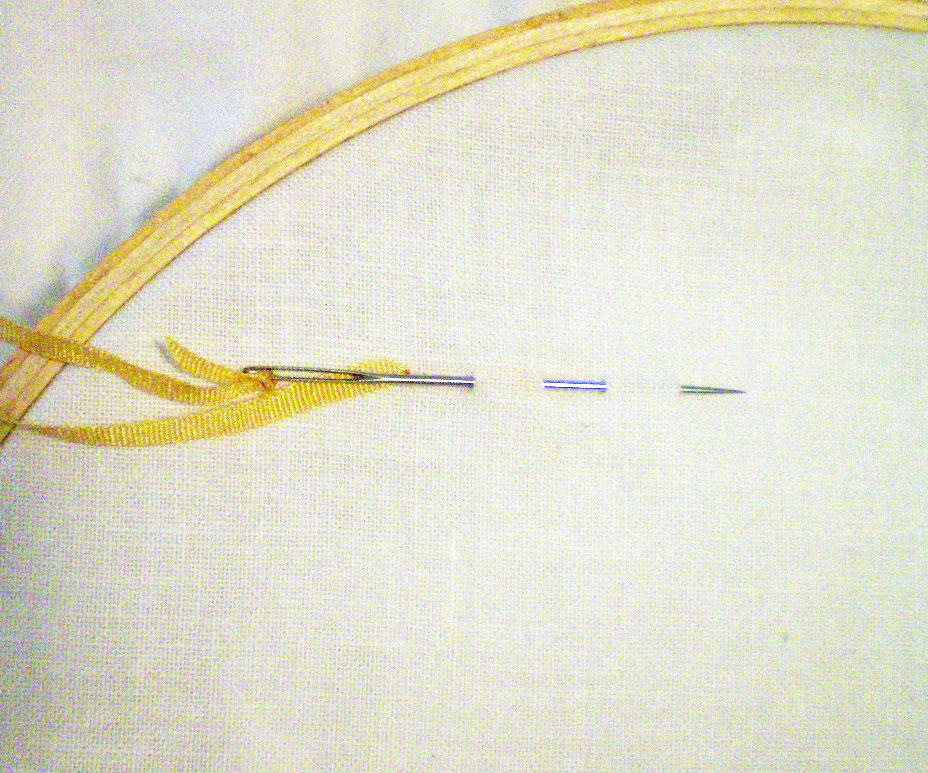
Cut a length of ribbon that’s 12-14″ long. Thread your needle, then secure the ribbon with a lock stitch. The lock stitch is formed by piercing the ribbon a few inches from the needle, then pulling the needle through and gently tightening the ribbon’s tail to create a “knot” that prevents the ribbon from coming unthreaded.

Lock Stitch (Click to see the full-sized image.)
Unlike with traditional hand-sewing, do not knot the end of your embroidery ribbon. A knot can produce a lump that shows from the right side of your fabric. Instead, leave a short tail on the underside of your fabric. You have three options for securing this tail.
- Weave the tail into nearby stitches.
- Pierce the tail with your first stitch.
- Once you’re done embroidering, sew the tail to a nearby piece of ribbon on the underside of the fabric.
When you’ve finished working with one length of ribbon, leave a tail on the underside of the fabric and secure it in the same manner.
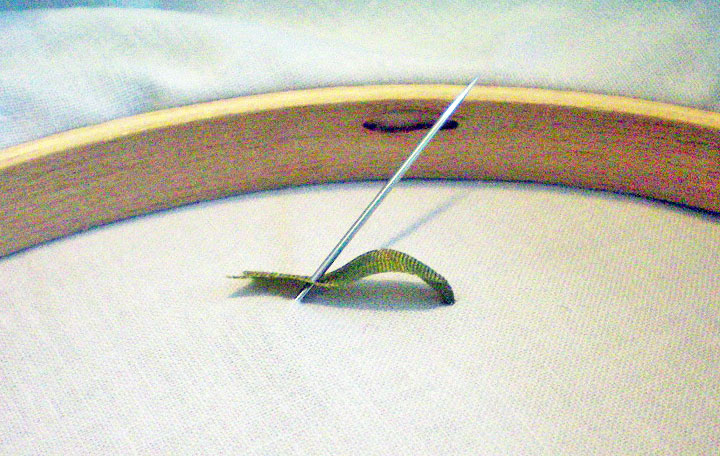
Option #2: Piercing the Ribbon Tail From Underneath
Stitches
There’s a wide variety of easy stitches you can use to create borders, vines, leaves, flowers, and so forth.
- Running Stitch
This is a very basic stitch that can be used as a plain border or as a foundation for other stitches. Pull the ribbon up from underneath at point A. Go a short distance and stab the fabric at point B, pulling the ribbon to the underside of the fabric. Go a short distance to point C and bring the ribbon back up to the top of the fabric; repeat.
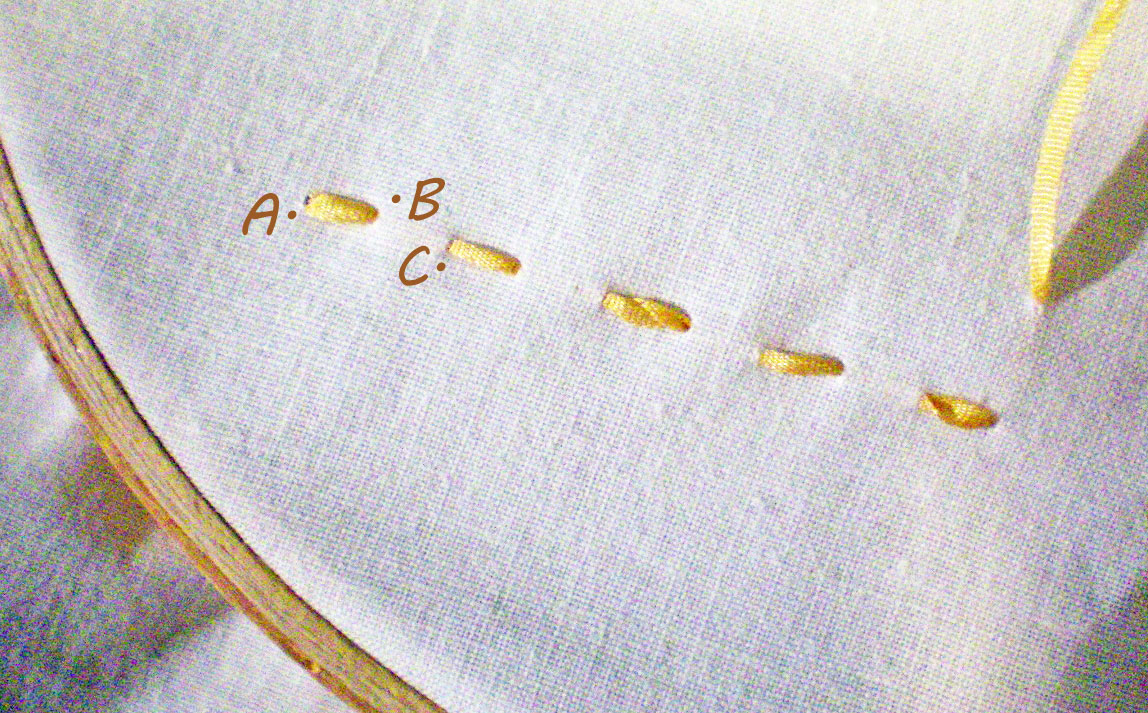
Running Stitch
You can create a running stitch that’s equal, where the top and bottom stitches are the same length, or you can can alternate the length of the stitches, making the top stitches either longer or shorter than the bottom stitches. Just make sure you keep the stitches consistently spaced.
| Tip: Notice how in the demonstration, the ribbon has twisted slightly? This is usually something to avoid. Slide a blunt needle under the ribbon to help straighten it out. |
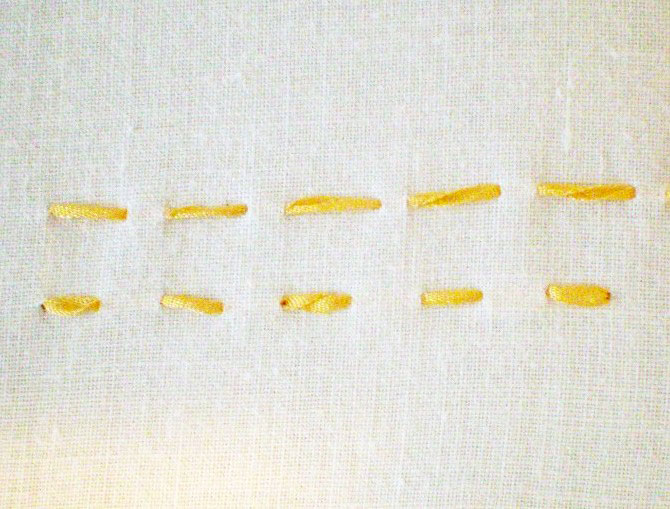
Types of Running Stitches
For a quicker version of this stitch, weave the needle through the fabric several times before pulling the ribbon through. However, if your fabric is tightly woven, or if your ribbon is large, it may be difficult to pull the ribbon through so many layers, especially without putting a run in the silk. You’ll have to try it and see whether it works with your materials.
Faster Running Stitch
- Straight Stitch
This is similar to the running stitch, except you only embroider one stitch at a time. It can be used for flower petals, leaves, and other decorative shapes. To make the straight stitch, bring the needle up at point A, go a short distance and go down at point B. This creates a single, short stitch.
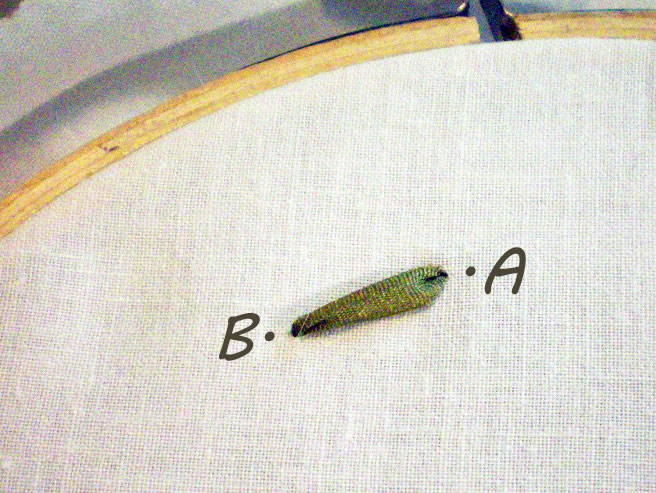
Straight Stitch
You can make several straight stitches close together, angling them to resemble clusters of flower petals or leaves. You can also embroider them in a radiating circle, for a starburst or floral effect.
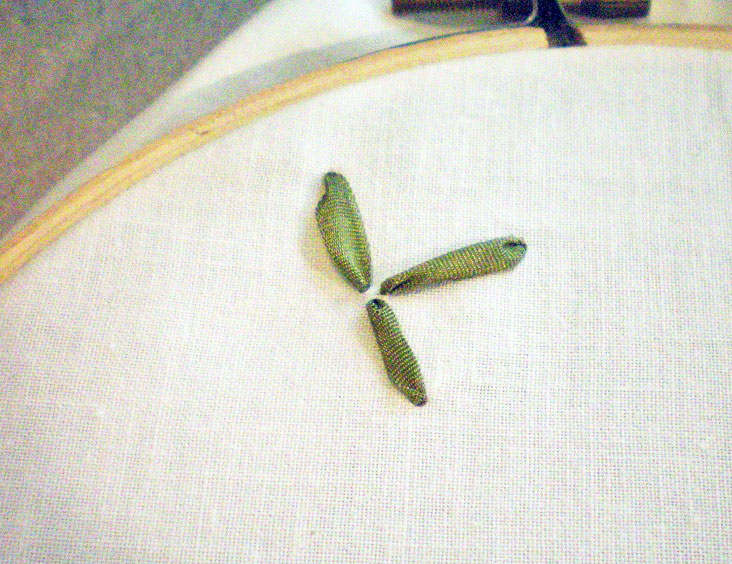
Straight Stitches Forming a Leaf Cluster
- Ribbon Stitch
This stitch is unique to ribbon embroidery—it will not work if you try it with thread. It’s excellent for creating curled flower petals or leaves. Bring your ribbon up at point A. Go a short distance, making certain your ribbon is lying flat against the fabric, then pierce the ribbon at point B. This creates a fold-back effect, like a flower petal.
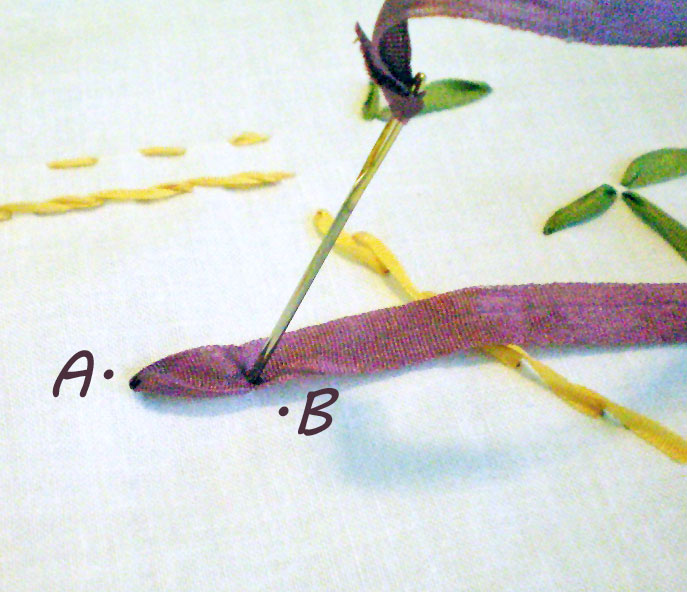
Ribbon Stitch
To ensure that you don’t pull the ribbon too far through, which will ruin the effect, slide a blunt tapestry needle through the loop that forms after you pierce the ribbon. Once your ribbon looks the way you want, pull the tapestry needle free.
You can vary the effect of the ribbon stitch by piercing the ribbon off-center, or by adjusting how tightly you pull the ribbon through. Keeping the stitch shorter will increase the realistic effect, as will using wider ribbon.
Ribbon Stitch Variations
~~*~~
In the second part of this article, we’ll look at more advanced stitches that you can use to produce beautiful flowers, monograms, and borders. We’ll also explore ways of adding detail to your embroidery work.
Pingback: The Art of Silk Ribbon Embroidery | Yesterday's Thimble