Tuesday’s Tips and Tricks
Threading Your Sewing Machine
Threading your sewing machine is something you’ll need to do often. At the least, you’ll need to change your thread color every time you begin a new project. There are other times you might re-thread your machine, too. If you start having skipped stitches or loops that aren’t caused by tension issues, re-threading your machine will often help. Sometimes the thread doesn’t pass between tension disks properly, or doesn’t catch on the take-up lever or guide hooks. Your machine will behave oddly when this happens and your best bet is to try re-threading it.
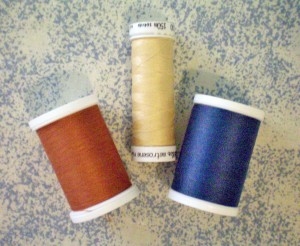
Always buy the best thread you can afford. Never buy “bargain” thread. It may seem like a good deal, but cheap thread will shred, causing lint and fuzz to clog up your machine. It will also break easily, forcing you to re-thread halfway through a seam. In general, I stick with dual-purpose thread from Coats & Clark. It’s 50/50 cotton/polyester. 100% polyester thread has a tendency to stretch and warp as you sew, causing weakened seams or rippling along your seamline.
Choose thread that’s close to the main color of your fabric. If you’re working with black or very dark colors, however, don’t pick an identical thread—you won’t be able to see it as you’re sewing. Instead, choose thread that’s somewhat lighter. With black fabric, for example, choose a gray that’s dark enough to blend in, but not so dark that it turns invisible.
Threading Your Machine
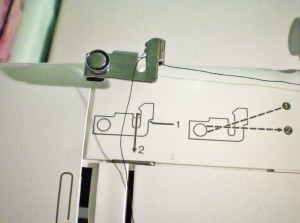
Before starting, be sure and turn your sewing machine’s power off, or unplug it, so you won’t injure yourself. Every machine threads differently, so consult your manual for the exact method used. Some machines will have arrows that help guide you in the right way of threading your machine.
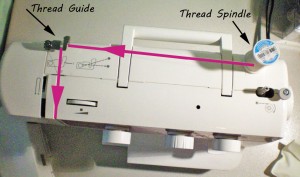
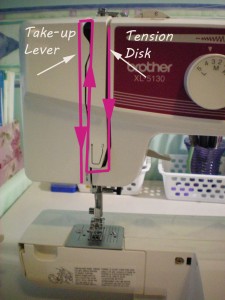
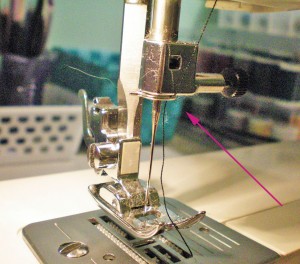
Typically, there’s a spindle for the thread somewhere on top of your machine, usually to the right. Over to the left should be a thread guide, which is a hook to align the thread before it enters the tension disks. Also on the left will be a thread take-up lever, which bobs up and down when you sew. Down on your needle assembly should be another thread guide, a small hook that holds the thread in place before it enters the needle. In the images below, the pink arrows show the path the thread takes.
Find the loose end of your thread and pull a few inches loose. Place the thread on the spindle, poking a hole through the paper end of the spool, if necessary.
Turn the hand-wheel toward you, until the thread take-up lever is raised up. This is important later on.
Hook the thread around the first thread guide, which should be on top, to the left. Check to be sure the thread is actually caught around the wire guide, otherwise your machine won’t sew properly.
Next, pass the thread down through the tension disks. It’s important to check and be sure the thread slides between these disks and isn’t on either side.
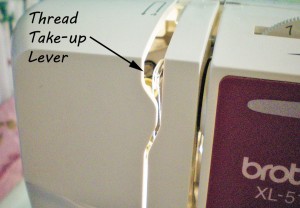
After passing through the tension disks, the thread loops up to the thread take-up lever, which is the metal arm that bobs up and down when you sew. Most sewing machines are designed so that you can simply pull the thread through the slot and it will automatically hook around the lever. If you’re not sure whether the thread is caught properly, try turning the hand-wheel and see if the thread moves up and down with the take-up lever. If it does, you’re good. If not, try again.
Next, the thread comes down to the needle. There should be a thread guide, a small hook just above the needle, which will hold the thread in place. Hook it through this, then thread your needle.
Over the next few weeks, we’ll look at how to wind and thread your bobbin.

