A Sewing Diary
by Lisha Vidler
(Click on any illustration to view the full-sized image.)
Pattern
-
New Look 6886, skirt view A, modified
Inspiration & Materials
I’ve needed a new half-slip for some time, as the two I had weren’t adequate for my needs. One was very short and straight, with a slit that reaches up past my derriere—and I ask you, what is the point in that? Besides, it’s much shorter than any of the skirts I wear. The other is a good length (past the knee) and slightly A-line, but quite worn. Not old enough to be vintage, sadly, nor pretty enough to be worth salvaging.
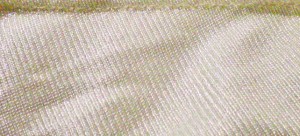
Intending to make two or three half-slips, I bought several yards of both ivory and white nylon tricot from Fabric.com. The ivory is almost a creamy pale yellow, while the white is a nice bright white. It stretches width-wise and has a slight ribbed texture to the wrong side.
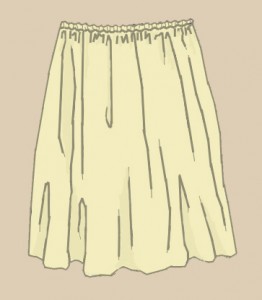
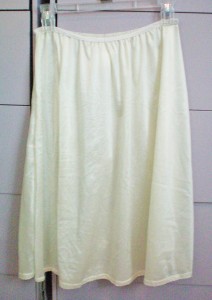
The first slip will be just below the knee in length and A-line in shape. I decided to use New Look 6886 for the pattern, since the skirt is approximately the right shape and fullness. It’s a dress pattern, but I used the skirt pieces and shortened them by several inches. The skirt is gored, which means that there won’t be excess fullness at the waist. That’s perfect, because you can only ease so much fabric into an elastic waistband.
I used the ivory tricot, with 1/2″ lingerie elastic for the waist.
Construction
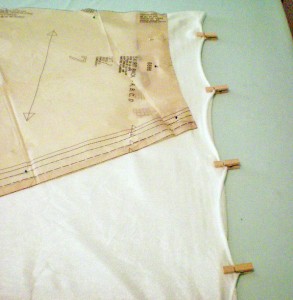
I had a hard time getting the fabric to lay smooth. It kept sliding all over the table. Finally, I borrowed a trick I read about on Gertie’s New Blog For Better Sewing and used clothespins to secure the fabric. I had a box of miniature clothespins that worked perfectly. They’re about 1/4″ wide and maybe 3/4″ long. They held the layers of tricot together so that I could have a straight grainline when I cut the pattern out, and they kept the fabric from shifting off the table, too.
There were only two pieces, front and back. I ignored the pattern directions and cut both on the fold to eliminate extra seams. I stitched them together using a narrow zigzag stitch, then used a wider zigzag to finish the edges together. I was in such a rush that I completely forgot to press the seams. Shame on me!
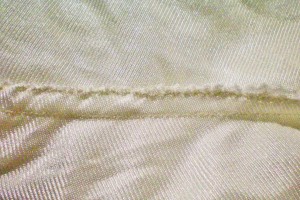
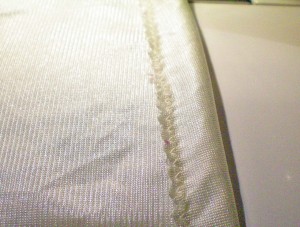
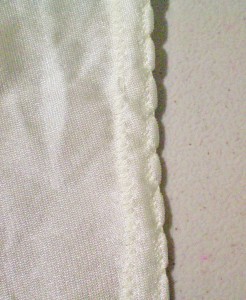
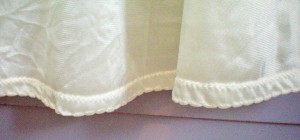
I hemmed the slip by turning the bottom edge up by about 1/2″ and used a narrow zigzag on it. I didn’t have enough lace to trim the bottom, so I decided to add a shell-tuck stitch along the bottom edge just to fancy it up a little. I like how it turned out: simple, but with a touch of pretty.
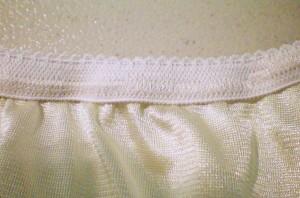
To elasticize the waist, I used 1/2″ lingerie elastic, which is softer than your typical elastic and has a picot edge. It’s meant to be sewn directly to the fabric, rather than being encased in a channel.
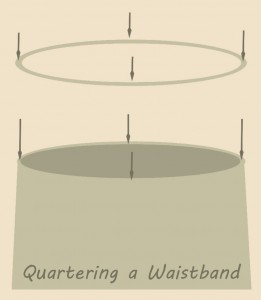
To determine how far to stretch the elastic as I sewed it down, I quartered the top of the slip and the elastic. This is an easy trick to ensure an evenly gathered waist. Fold the elastic in half and find the halfway point and mark it, either with a pen or a pin. Likewise, fold your waistline in half and mark its halfway point. Now fold each in half again and mark the quarter points. Line up the marks, so that the quarter points on the elastic match the quarter point on the skirt’s waist. The ungathered waist will be larger than your elastic, but having the quarter points aligned will ensure an evenly gathered waistband.
Using the widest zigzag stitch my machine was capable of, I stitched the elastic to the fabric of the waist, pulling it taut as I sewed.
I ended up having to sew the waistband twice. The directions that come with the elastic warn that the elastic won’t spring back as much after it’s been sewn down, so you’re supposed to subtract 3″ from your waist measurement to ensure a snug fit. I did, but the waist was much too loose. It fell to my hips and a gentle tug caused it to fall to my ankles! I unpicked all the stitches, trimmed another two inches off the elastic, and sewed it back down. This time, it fit perfectly.
And voila! We have a half-slip.

Pingback: Half-Slip | Yesterday's Thimble