Tuesday’s Tutorial: Faux French Seams
I discovered this technique by accident, when I was in a pickle and couldn’t figure out how to finish a seam so the raw edges wouldn’t show. Up until that point, I’d used French seams in the garment, but then I encountered a seam that tapered to the edge, like a dart. I couldn’t sew it with a proper French seam, yet I still wanted to finish the seam neatly. So, after stitching the seam normally, I folded the raw edges toward each other and pinched the seam closed, as if it had been French seamed. I figured I could sew near the edge and it would look almost as good.
I was surprised at how well my faux French seam turned out. It’s easier than a regular French seam, because there’s no trimming involved, no pressing and turning. You just sew a normal seam, right sides together, and then stitch the raw edges together, neatly encasing them within the seam. Follow along and I’ll show you, step-by-step.
- First, sew a normal seam with either 1/2” or 5/8” seam allowance.
- Reduce bulk by trimming your corners, where possible
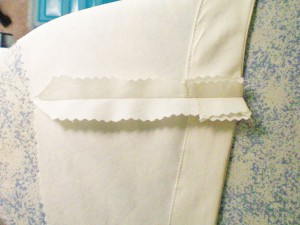
- Fold the raw edges inward, toward the middle of the seam and press
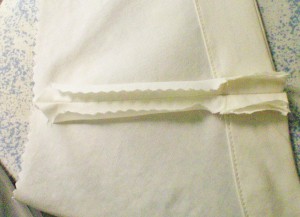
- Pinch the folded edges together and pin, then stitch the length of your seam, as close to the edge as possible. You should be enclosing the raw edges within the seam
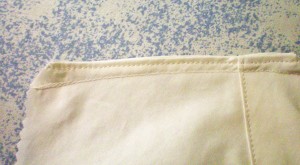
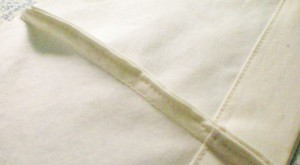
- Press the seam and you’re done! It should look very similar to a French seam, with the exception of the row of stitches near the edge
~~*~~
Have you ever used this type of seam finishing? I’d love to know if it actually has a name!


