Tuesday’s Tips & Tricks: Threading Eyelet With Ribbon
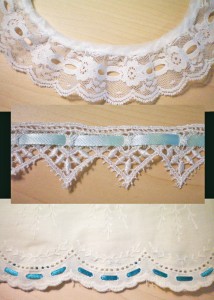
There is a particular kind of lace known as beading, which has holes woven into it so that you can easily thread a ribbon through the lace. The ribbon can add a touch of color to your garment and is often used for lingerie, children’s wear, home decorating, and historic costuming.
Standard beading lace is easy to thread ribbon through. However, you may choose an unconventional lace, in which case the job may be more difficult. If you’re going to use a non-beading lace, choose one where the holes are spaced regularly and are wide enough for your ribbon to pass through. A loosely woven Venetian lace or any eyelet with spaced holes will work. Don’t try to force a ribbon through a too-small opening or you may damage your lace.
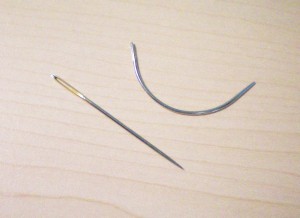
If your lace is loosely woven with large holes, you may be able to thread the ribbon by hand, but in most cases it will be easier to use a blunt tapestry needle. Choose one that is large enough to hold your ribbon flat within its eye.
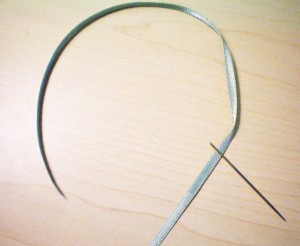
You may leave your ribbon on the spool, if you have quite a lot of lace to decorate, or you may measure out a generous length and then cut it, making sure to give yourself at least six to twelve inches extra to work with. Thread your ribbon through the tapestry needle, making sure it lies flat in the eye and does not fold or wrinkle. If you’ve cut your ribbon, do not double it and tie a knot at the end, but leave it as you would embroidery thread: unknotted, with one end just a few inches long.
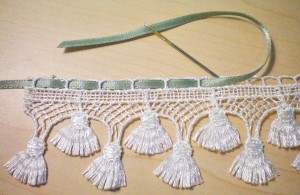
Gently push the tapestry needle through the holes in the lace, being certain that you don’t catch or break any threads with your needle. To work faster, you may slide the needle through several holes and then pull the ribbon through, but only do this if the holes are sturdy enough. Take the time to straighten the ribbon every few holes, making sure that it lies flat and is not twisted or knotted. Be careful not to accidentally pull the tail of the ribbon through. Pin it to the starting edge of the ribbon to prevent any accidents.
When you’ve finished, you’ll want to sew the ribbon ends to secure them. Use thread that matches the ribbon and a small, sharp hand needle.
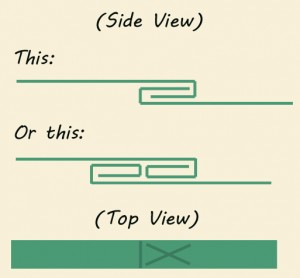
If the ends of your lace meet, as with a lace flounce that goes all the way around the hem of a skirt, you’ll need to secure your ribbon ends to each other. First, be sure the ribbon is not twisted anywhere along the lace. (Once you’ve stitched it down, you won’t be able to straighten it.) Fold the edges of the ribbon under, so that they face each other; overlap the ends and proceed to take several small stitches to secure the ribbons to each other. You may sew in the shape of an X, or with parallel bars—whichever you prefer. If you don’t want to risk this join sliding through the eyelet and showing, take a few small stitches to secure it to the back side of the lace.
If, on the other hand, your lace ends don’t circle around and meet, you’ll need to sew each end of the ribbon separately to the lace. Fold the tip of the ribbon under twice, then secure it to the lace, either by stitching an X several times through all layers, or by first sewing just the ribbon end with an X and then whip-stitching the folded edge to the lace.
If your ribbon is prone to fraying, dab a little Fray Check on the raw edges. Allow it to dry, and your ribbon-threading is done!
~~*~~
Have you threaded a ribbon through lace that wasn’t intended as beading lace? How did it turn out?

